Mike, quick question...
With the 3M Trizact sanding discs did you use an interface pad and what speed did you run the Griots machine at?
Yes.
Normally it's a bad idea to wet sand single stage metallic paints. It's okay to wet sand single stage paints, just not METALLIC single stage paints and the reason why is because you are sanding and buffing directly on the metallic particles.
I explained this to the owner, Mike Gelter. Understanding the issues he still told me it would be okay because the paint looked so dull and flat unless the Jeepster was in the sun.
I then called the painter and talked to him about sanding on the single stage metallic paint. He told me that while he agreed it's not a good practice, he said they sprayed a LOT of paint on the Jeepster and he didn't think it would be a problem to use lightly sand it.
I told him if we took on the project we would stick with high grit sanding discs and this is exactly what we did, we used the 3M #3000 sanding discs.
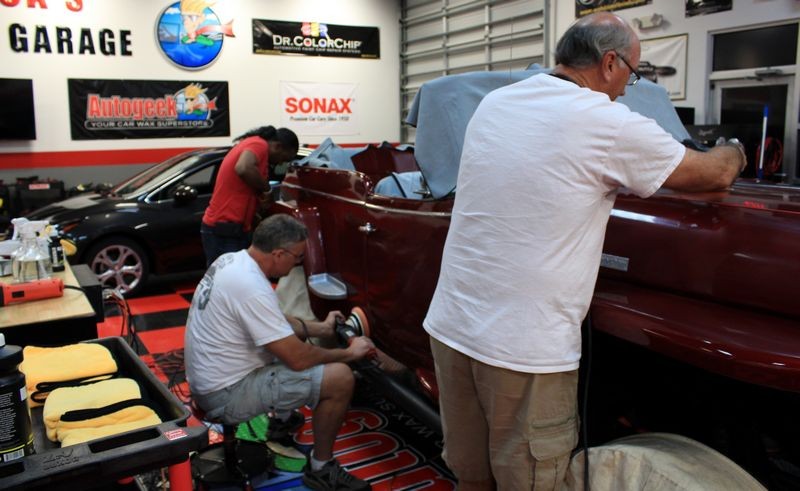
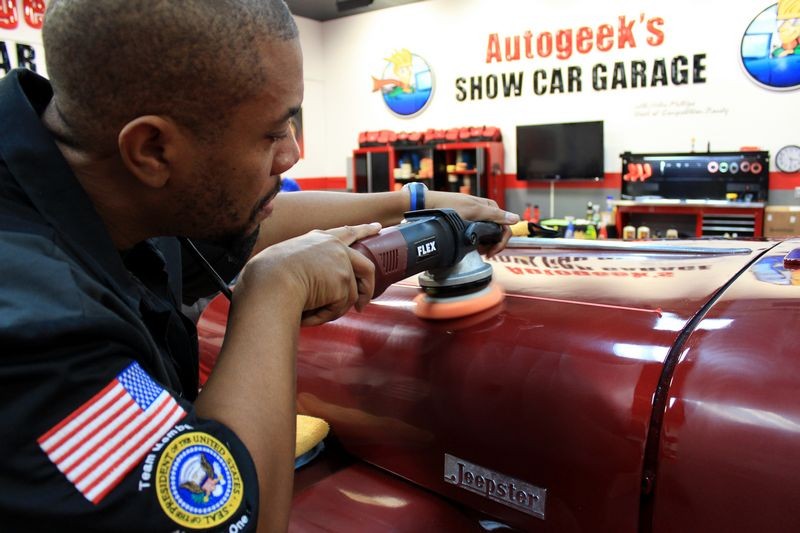
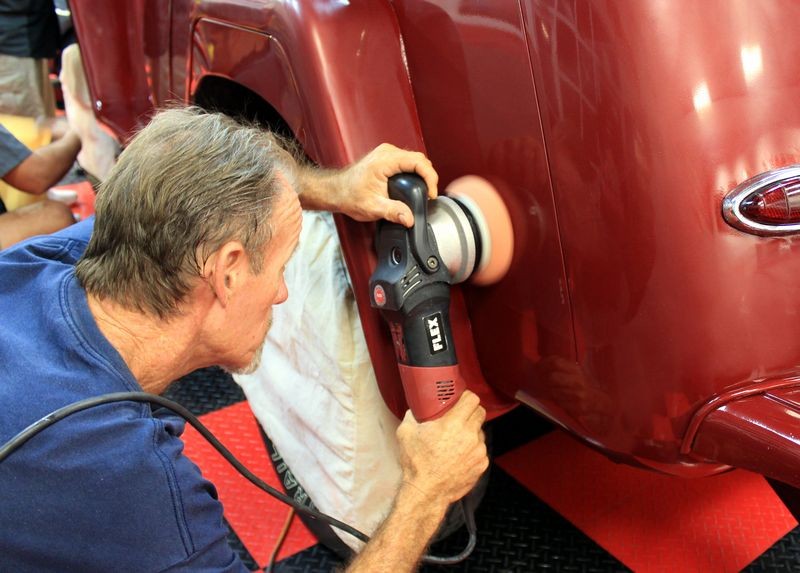
To make the sanding even LESS aggressive and because some of the guys had never wet sanded before, I did have them use an foam interface pad between the backing plate and the sanding disc. If you look through the pictures carefully you can see the foam interface on all but one of the Griot's 3" polishers.
I see one guy sanding without the interface pad and that could be because when he switched to a new sanding disc he removed the old sanding disc PLUS the interface pad. If a person wasn't paying attention this could happen. But originally I did set them all up with interface pads.
I was doing IDA SV testing at the same time so I couldn't monitor the wetsanding project as much as I would have liked to.
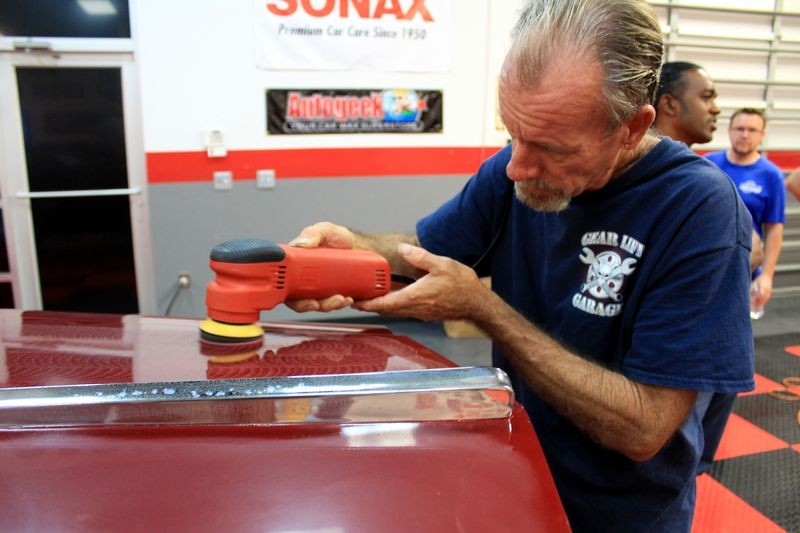
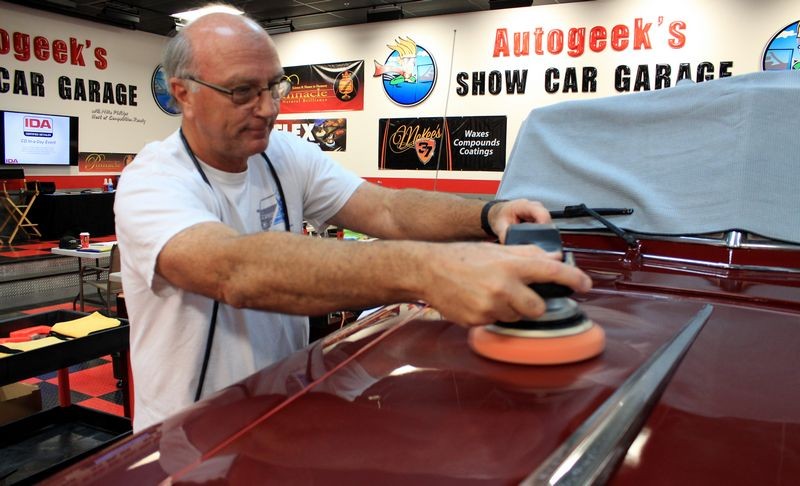
As for speed setting, I did a demo showing the guys to start out at a low setting to see if the low setting would maintain pad rotation. If it would then go for it. If not then gradually increase the speed setting until pad rotation was maintained.
In my demonstration I found I could maintain pad rotation on the 4 setting. Remember, unlike compounding and polishing you're NOT pressing down hard but instead it's a light touch, about the weight of the machine.
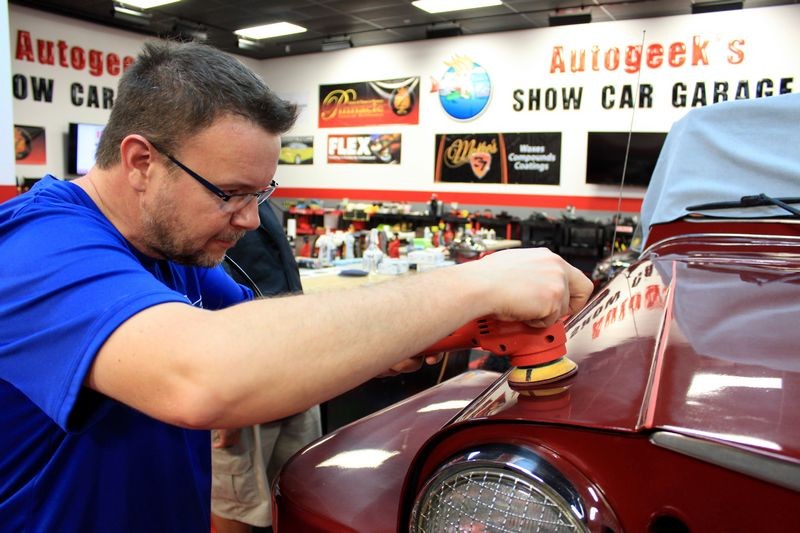
I assume the next steps were the Flex rotary with a wool pad then the Flex DA with the orange foam pad.
Correct.
Here's the deal with the pictures.
First - Everyone is busy. The guys sanding are busy sanding, not playing photographer. Me? I was giving tests, not playing photographer.
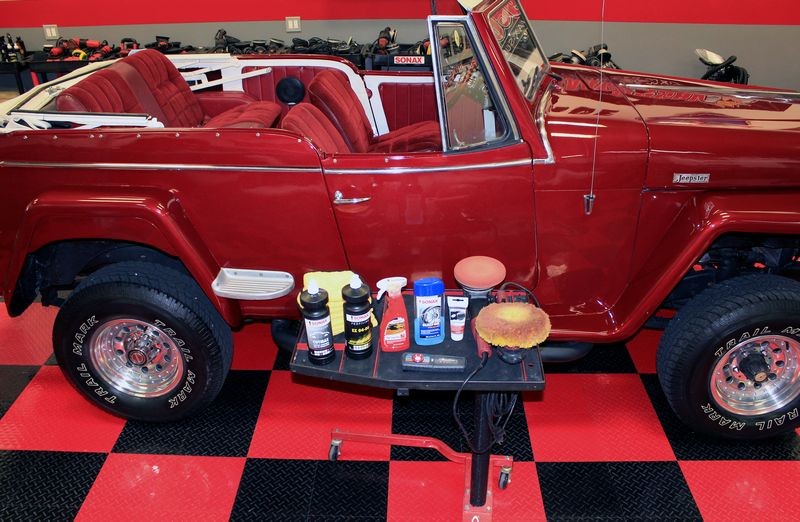
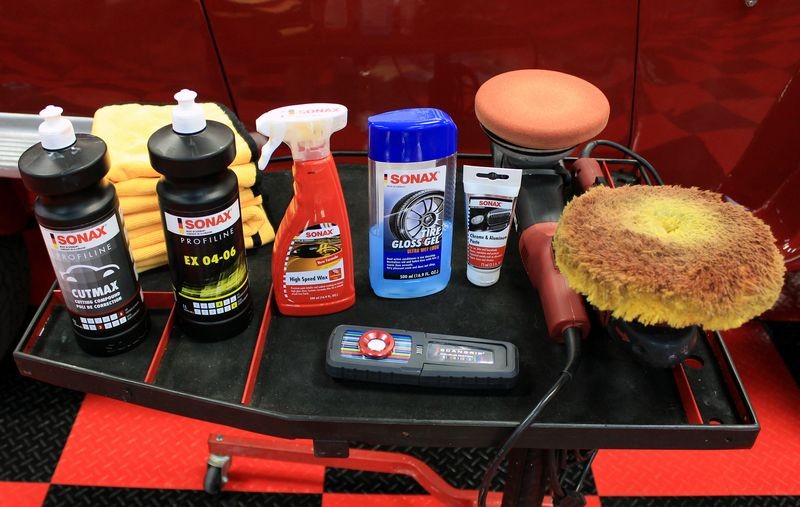
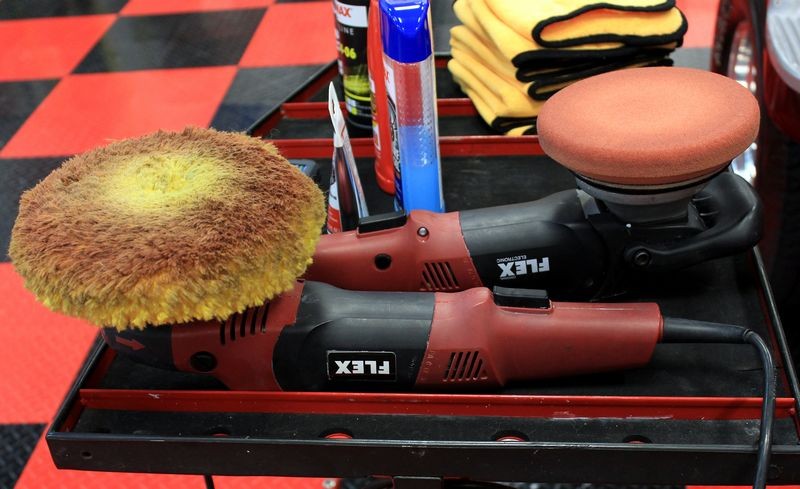
Second - Because we sanded with #3000 Trizact, we tried to remove the sanding marks using an LC Orange Hybrid pad with SONAX products on the FLEX 3401 aka the BEAST. We found that while it worked with enough buffing it was not fast enough or effective enough. So we switched over to LC wool cutting pads on the FLEX PE14 Rotary Polisher and that did the trick.
My goal was to keep the guys and the process very NON-AGGRESSIVE due to complications and risks of sanding AND compounding with rotary buffers on single stage metallic paints.
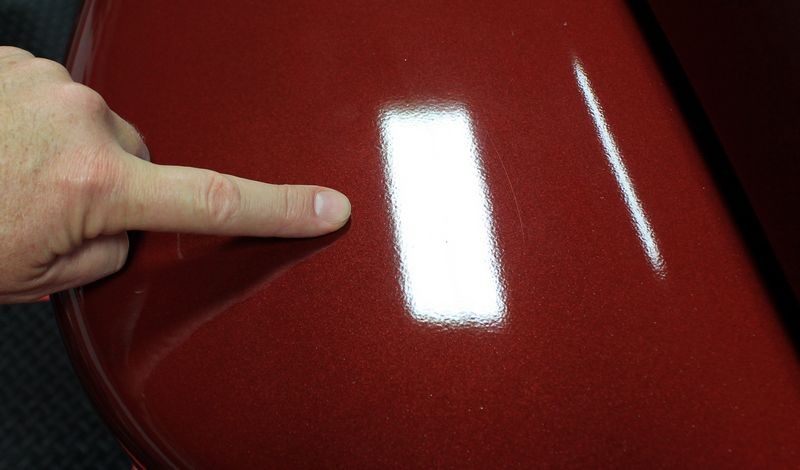
It's very easy to alter the appearance of the paint in a negative manner. You can instill what are called Tiger Stripes from buffing and simply screw up the paint job by sanding. Again I would not have done this project without first explaining the risks to the owner and talking to the painter.
I'm happy to say we got lucky, even though I don't believe in luck.
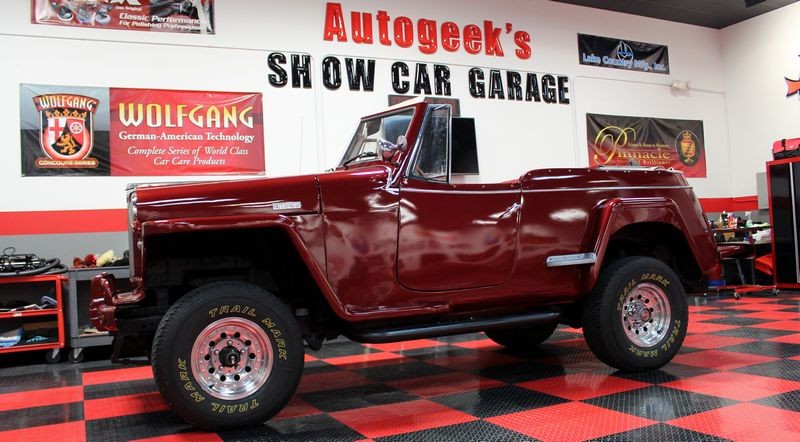
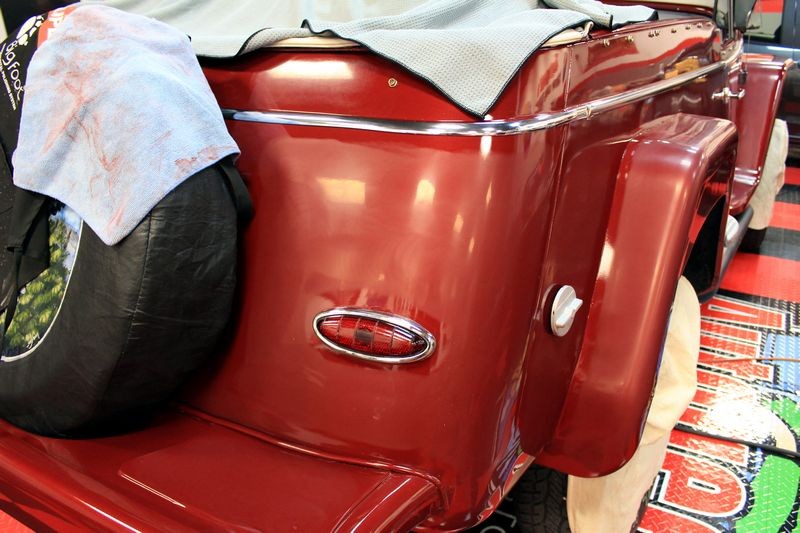
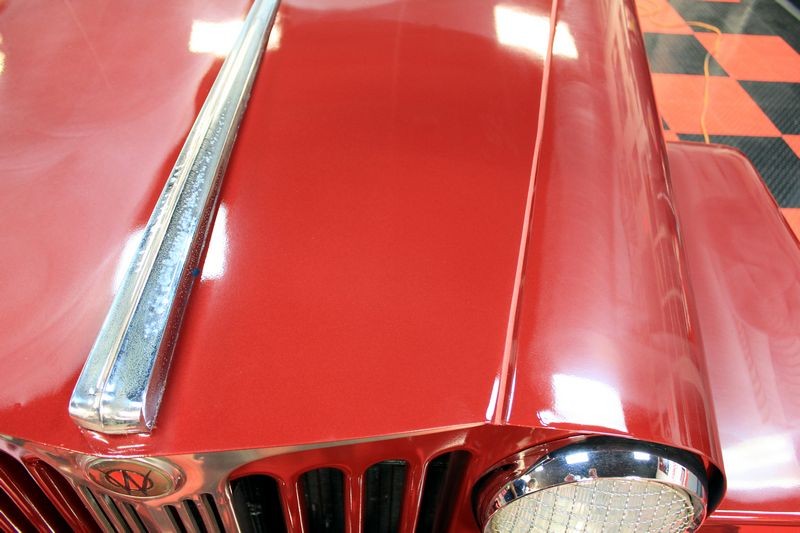
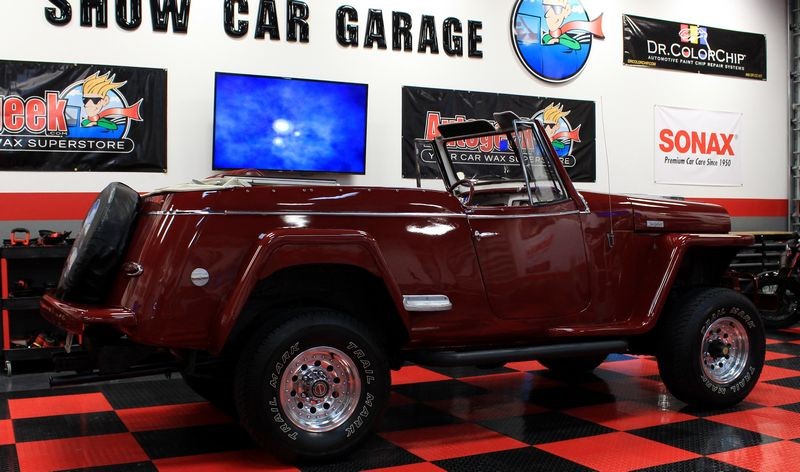
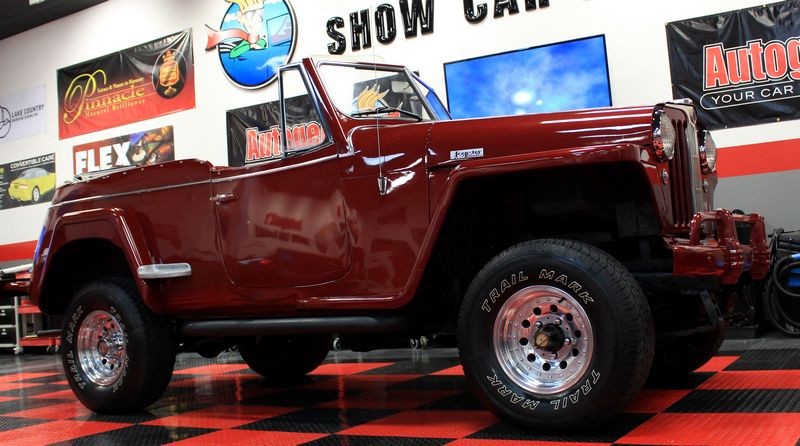
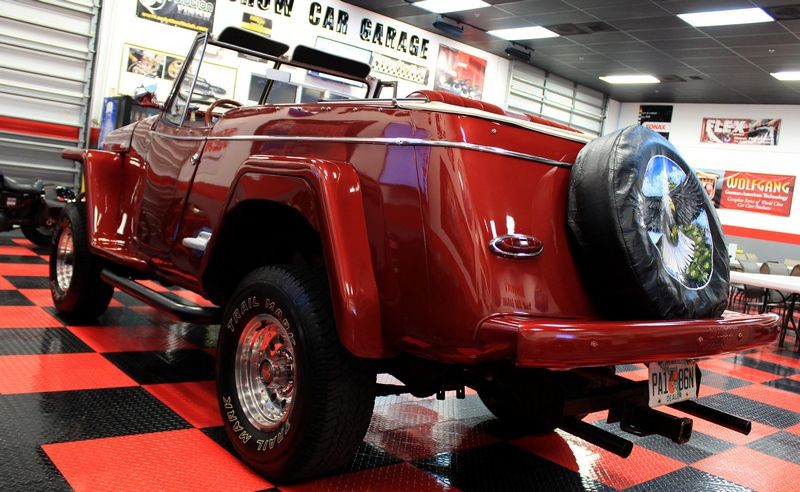
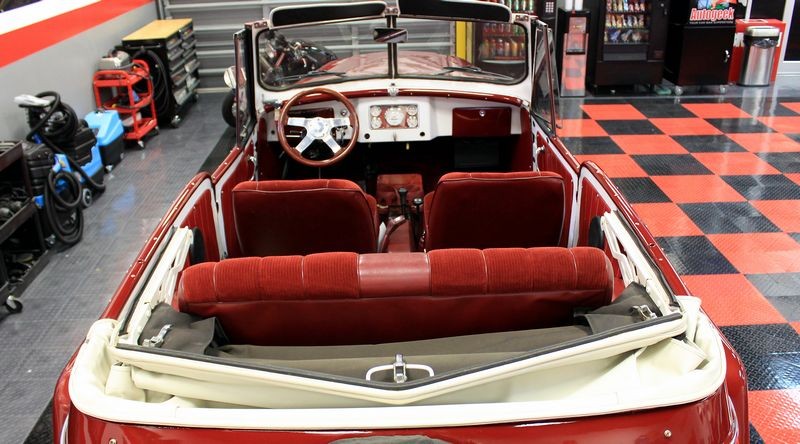
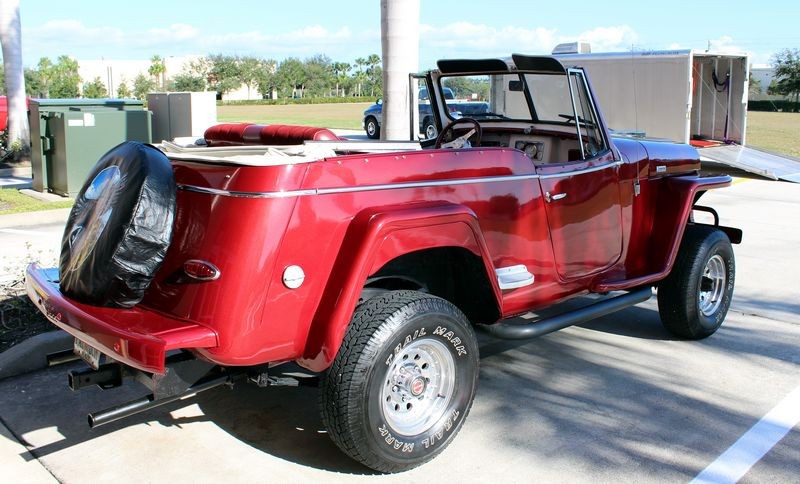
We only mildly reduced the orange peel appearance but the sanding, compounding and polishing fixed the dull appearance issue and now the paint has amazing gloss and shine in both the sun and out of the sun.
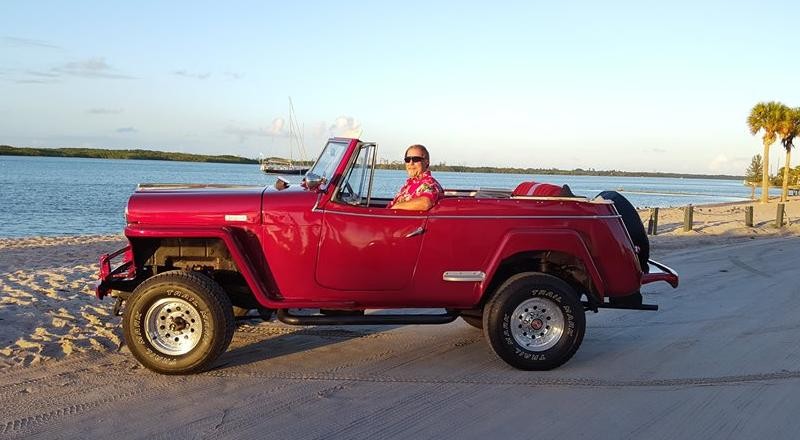
Here's a picture Mike posted to his Facebook page a few days after picking up the Jeepster
Looks happy to me and the Jeepster looks great! He also sent me a very nice thank you message for taking on this project.
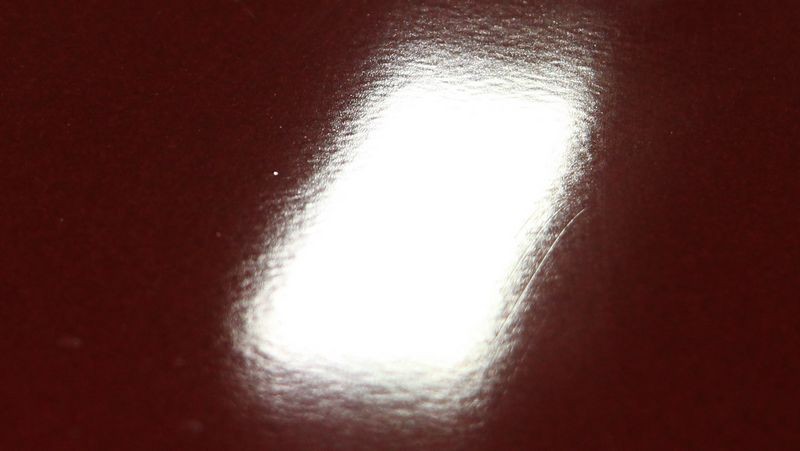
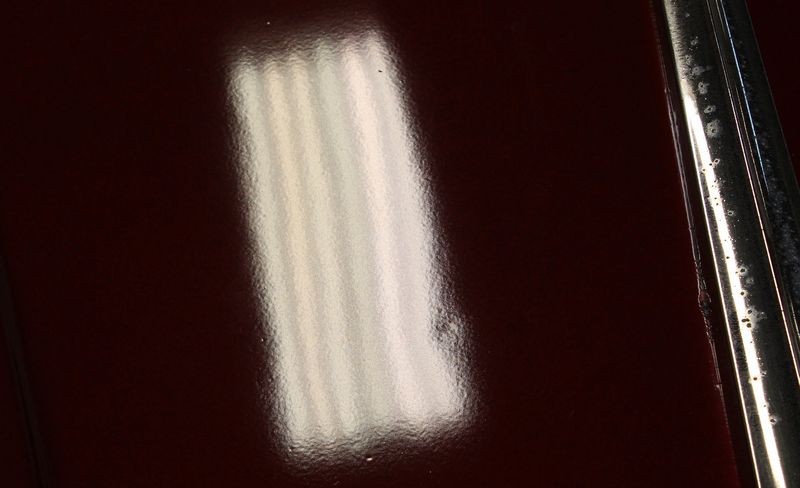
Thanks. All the credit really goes to the team of guys that did the majority of the work. A few days later I used the SCANGRIP Swirl Finder Light to inspect the results and found a few places with sanding marks still in the paint so I compounded them out, polished and re-waxed before turning the Jeepster back over to Mike. The grunt work was all done by the team though.
For the record, I don't think I'll ever take on a single stage metallic wet sanding project again... it's just too nerve racking for me and I'm not comfortable with this type of paint work.
")


")