SeaJay's
New member
- Aug 2, 2010
- 3,070
- 0
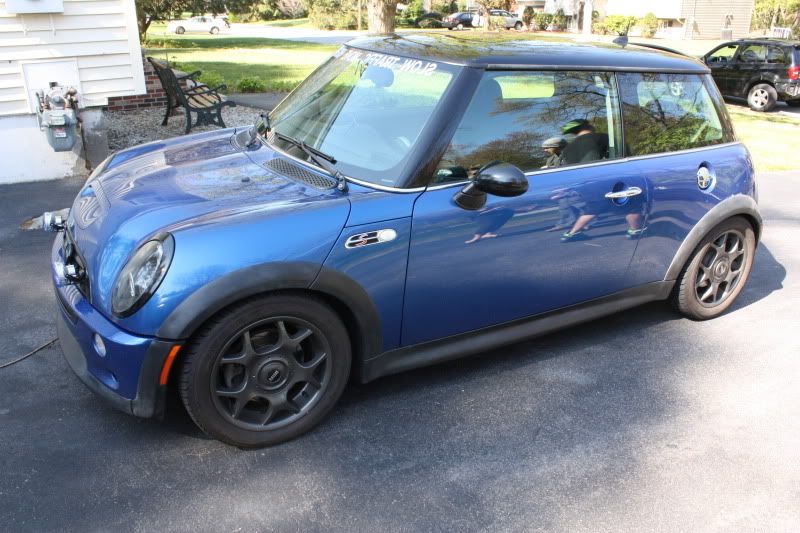
This is one of my sister's friends cars. He takes part in Mini's on the Dragon each year in North Carolina. He is there actually right now.
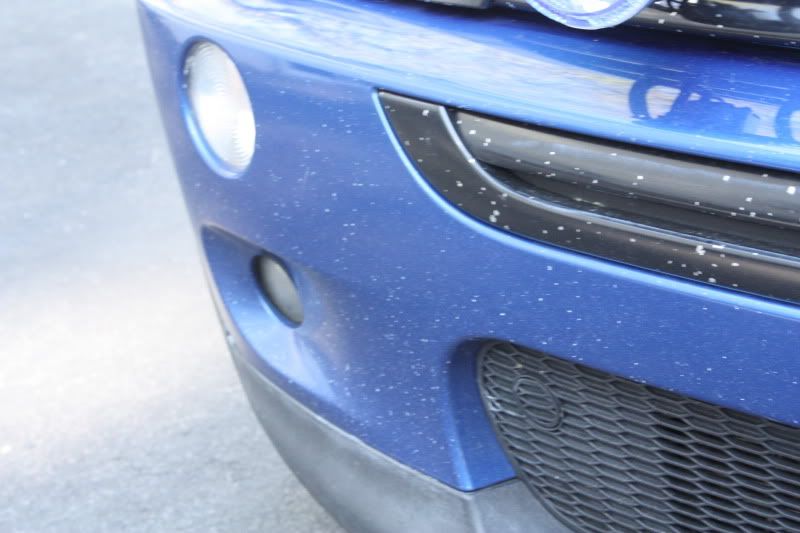
He had some sever road rash on the front of his Mini. Upon initial inspect I actually told him he should look into a repaint. But he was just looking to get it looking better. So, I told him I'd attempt some Dr. Colorchip and 1 step polish to the whole car. To my surprise the Dr. Colorchip did a really great job.
Products Used:
DP Extreme Foam - in two bucket wash and foam cannon
Dawn - in wheel bucket and foam cannon
Megs Super degreaser - diluted 4:1 for tires and wheel wells
Iron-X - used for rims and paint decontamination
D300 - used with LC orange pad and Megs MF cutting disk
Blackfire Wet Diamond Paint Sealant
Dodo Supernatural
Pinnacle Black Onyx Tire Gel
Megs Window Cleaner
Poorboy's Trim Restorer
P21s metal polish
ONR - Diluted to clay lube strength
Equipment Used:
Karcher Pressure Washer
3 - 5 gallon buckets
PC 7424xp
4 inch orange LC pad
Megs MF Cutting disk
Speedy Prep Towel - used to clay
Microfibers
Various brushes - daytona wheel brush, raceglaze XL brush, rim brush, tire brush, and small raceglaze brushes
Cobra Tire Applicator
Pinnacle foam applicators - for applying trim restorer and tight areas for sealant & wax
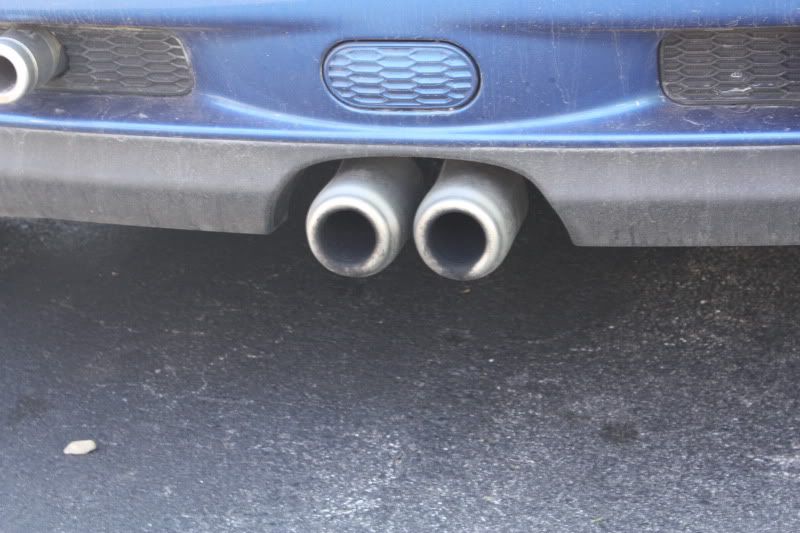
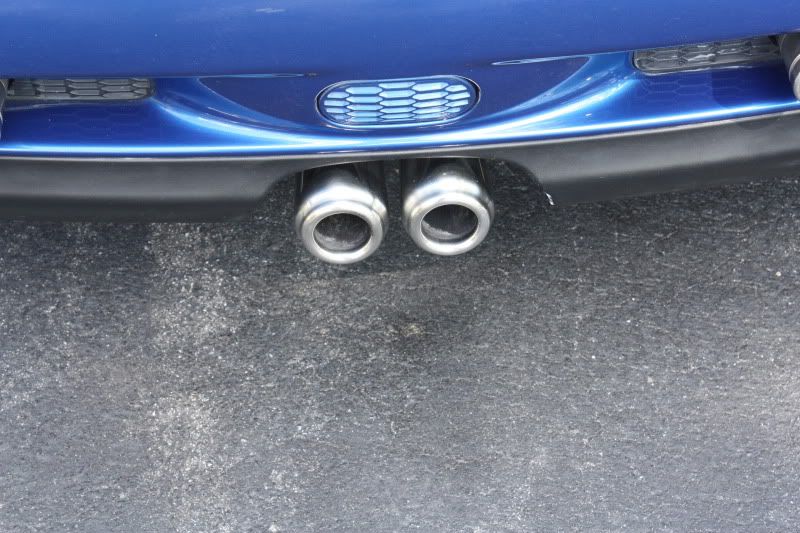
0000 Steel wool - used for exhaust tips
My application for the Dr. Colochip was some what unconventional. I started by polishing the whole car first. Then did the dr. colochip last. I started by wiping everything down with eraser to ensure a clean surface.
After I attempted to fill in the holes and road rash with the little brush and toothpicks and it was just taking way too long. So, I decided to do a small area using a different method. I dipped my gloved finger into the paint, and rubbed it onto the paint in all circular motions. I allowed it to dry and then used the sealact that they provide to remove the excess paint. To my surprise it worked great.
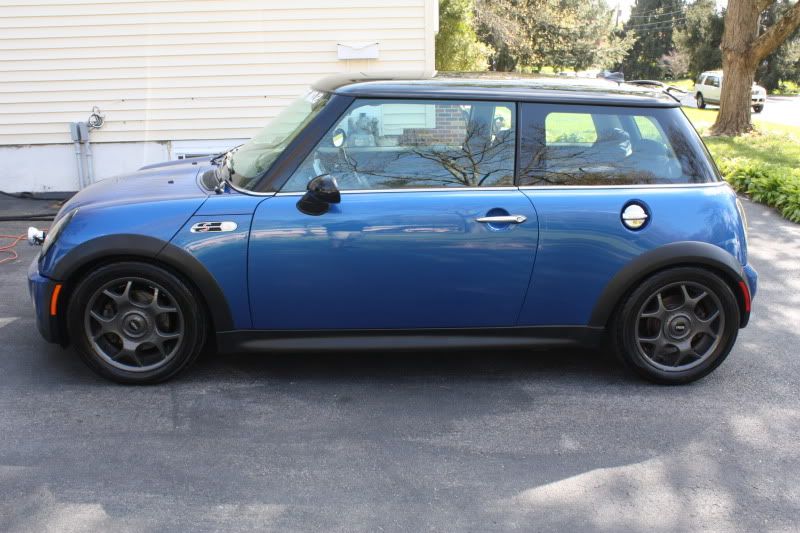
Onto the pics...
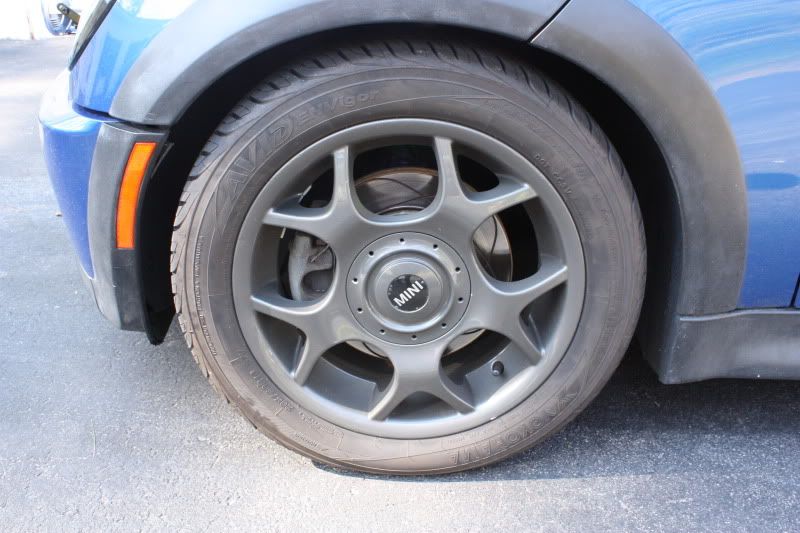
Before
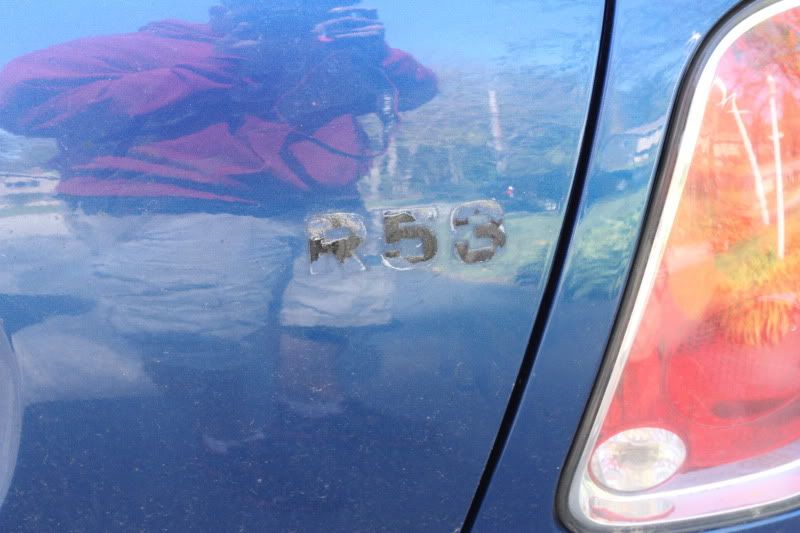
After
Before
After
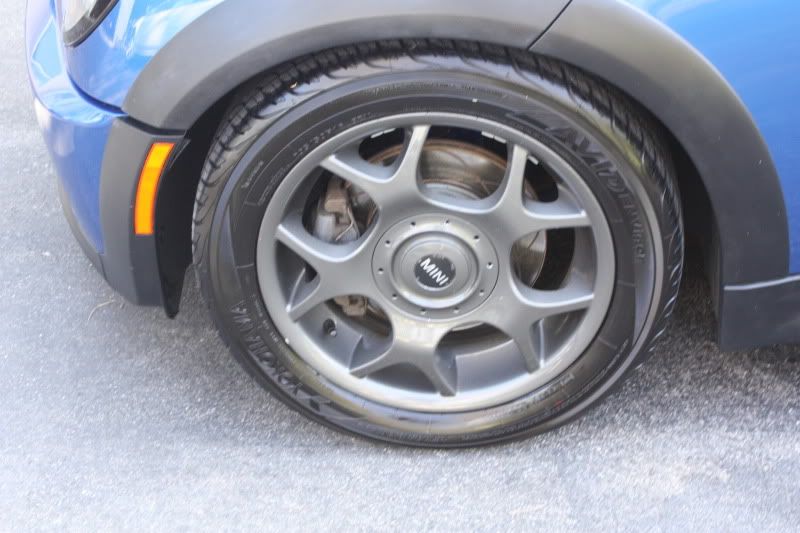
Before
After
Before
After

Before
After

Before
After
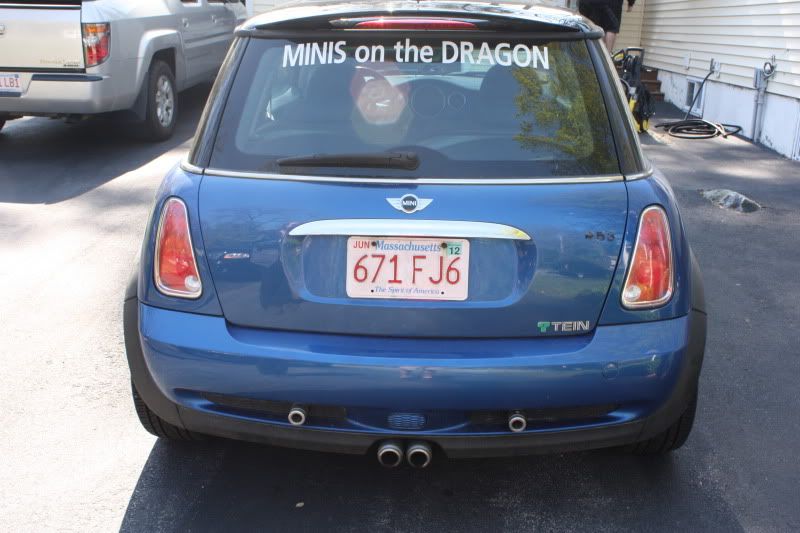
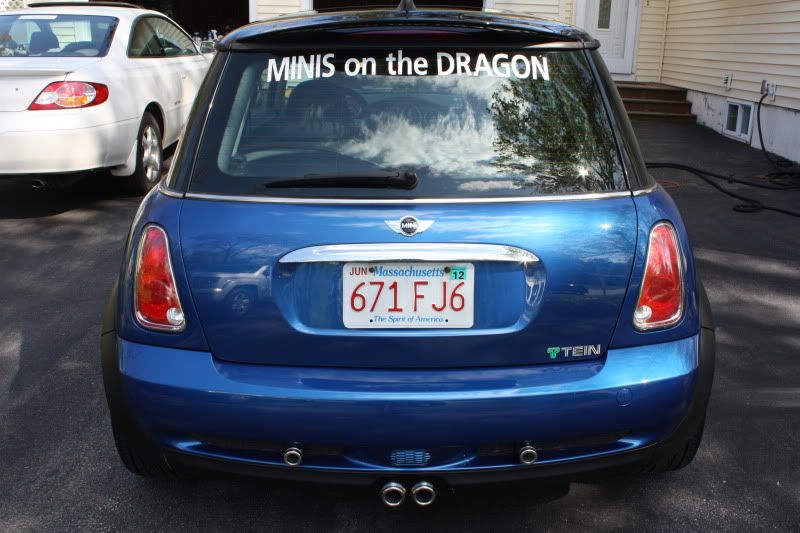
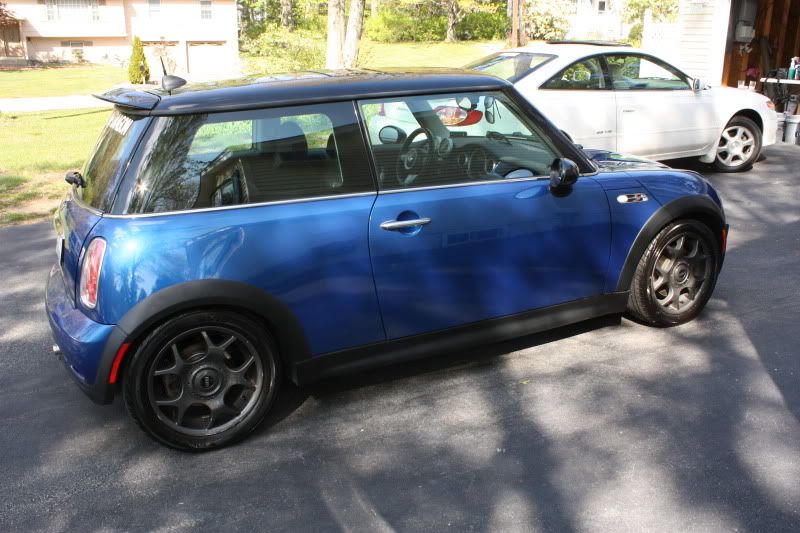
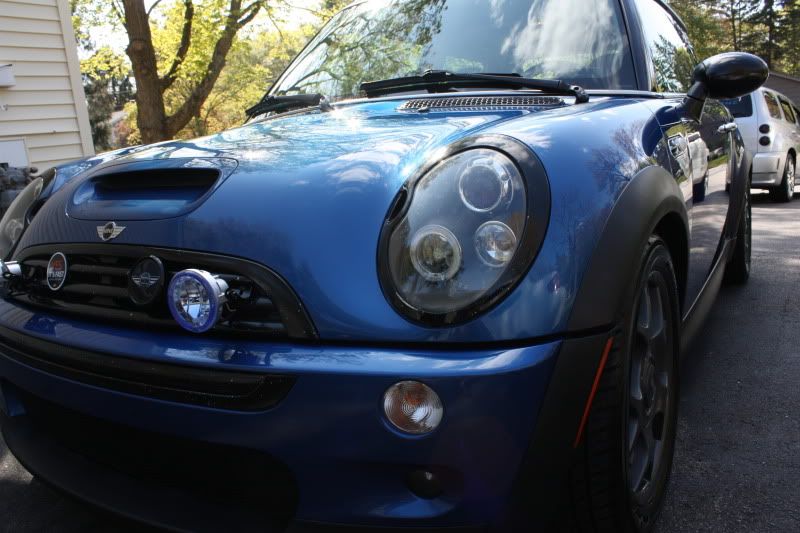
A few after photos that didn't fit with the before and afters...

Thanks for viewing!
He had some sever road rash on the front of his Mini. Upon initial inspect I actually told him he should look into a repaint. But he was just looking to get it looking better. So, I told him I'd attempt some Dr. Colorchip and 1 step polish to the whole car. To my surprise the Dr. Colorchip did a really great job.
Products Used:
DP Extreme Foam - in two bucket wash and foam cannon
Dawn - in wheel bucket and foam cannon
Megs Super degreaser - diluted 4:1 for tires and wheel wells
Iron-X - used for rims and paint decontamination
D300 - used with LC orange pad and Megs MF cutting disk
Blackfire Wet Diamond Paint Sealant
Dodo Supernatural
Pinnacle Black Onyx Tire Gel
Megs Window Cleaner
Poorboy's Trim Restorer
P21s metal polish
ONR - Diluted to clay lube strength
Equipment Used:
Karcher Pressure Washer
3 - 5 gallon buckets
PC 7424xp
4 inch orange LC pad
Megs MF Cutting disk
Speedy Prep Towel - used to clay
Microfibers
Various brushes - daytona wheel brush, raceglaze XL brush, rim brush, tire brush, and small raceglaze brushes
Cobra Tire Applicator
Pinnacle foam applicators - for applying trim restorer and tight areas for sealant & wax
0000 Steel wool - used for exhaust tips
My application for the Dr. Colochip was some what unconventional. I started by polishing the whole car first. Then did the dr. colochip last. I started by wiping everything down with eraser to ensure a clean surface.
After I attempted to fill in the holes and road rash with the little brush and toothpicks and it was just taking way too long. So, I decided to do a small area using a different method. I dipped my gloved finger into the paint, and rubbed it onto the paint in all circular motions. I allowed it to dry and then used the sealact that they provide to remove the excess paint. To my surprise it worked great.
Onto the pics...
Before
After
Before
After
Before
After
Before
After
Before
After
Before
After
A few after photos that didn't fit with the before and afters...
Thanks for viewing!
 rops:
rops: