kennymathews
New member
- Apr 11, 2013
- 18
- 0
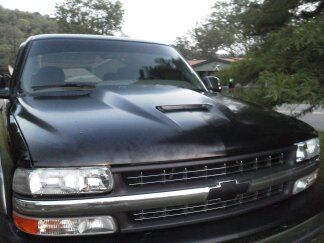
I put full length rocker panels and cab corners in this truck for my brother in law. After I finished, he dropped off this Ram Air hood for the truck.... here is the process
Test Fit
Next the hood was cleaned with DX330 and a Waterborn cleaner prior to sanding, the hood had some box rash from shipping so it was DA with 320
Next after another wipe down, I sealed the hood and to be honest I can't remember what sealer I used... old age kicking in!
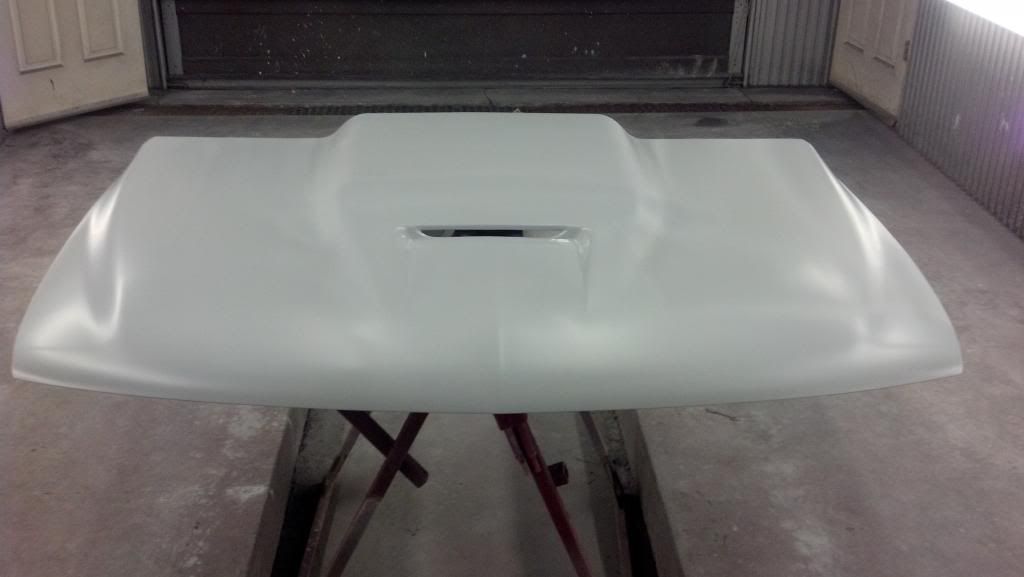
The truck was two toned so I decided to do an inlay on the hood with the matching colors. So first was the pewter, the reason being one you spray the pewter, it was must easier to mast that section. And you remove any chance of any metallic over spray from showing up on the black. I won't go into grave detail on the painting procedure but is it in a nutshell.
Next photo is with all the base coat on.. no clear..
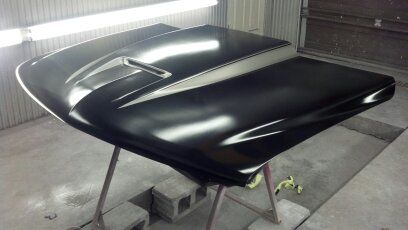
Next came 3 coats of Clear, and left to dry overnight. I did what called flow coating on this hood. The next day, I came in and wetsanding the entire hood with 800 grit by hand. Then applied three more coats of clear. This completely hid the edge of the two colors. So if you feel the hood, you cannot feel where the pewter and black meet.
After another night of drying, the hood was DA with 1500 followed by 3000.
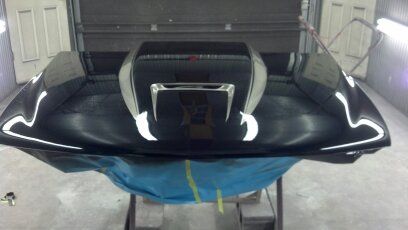
Then compounded with M150 with a 3M 3m 8" Compounding Pad. When you flow coat a panel, you cut all the texture out with the 800 grit sanding before you apply the second round of clear, so there is very very little sanding required before compound
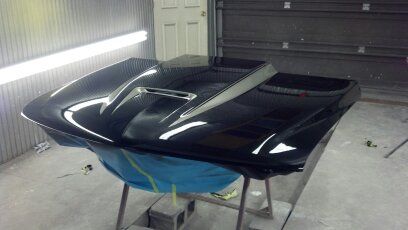
Polish was m205 on a 6.5 Meg soft buff 2.0 polishing pad on a G110. 205 finished awesome on this clear, I have swirl finder pictures to prove no swirls or marring but can seem to find them now lol...Here are some shots of the finished hood in the booth.
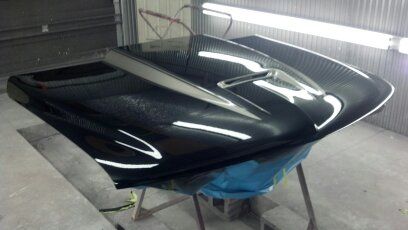
As a former painter/body tech. I always judge my work a month or so down the road after you have complete solvent evaporator and product "shrink"
These photos were about a month or two after the hood on the truck...
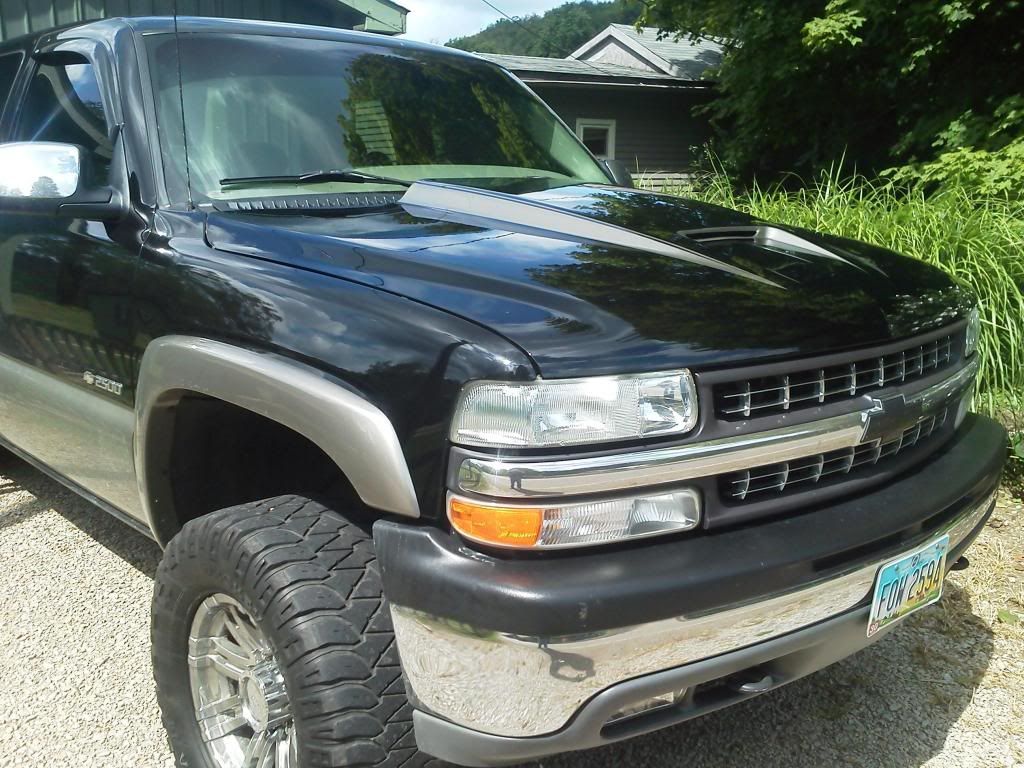
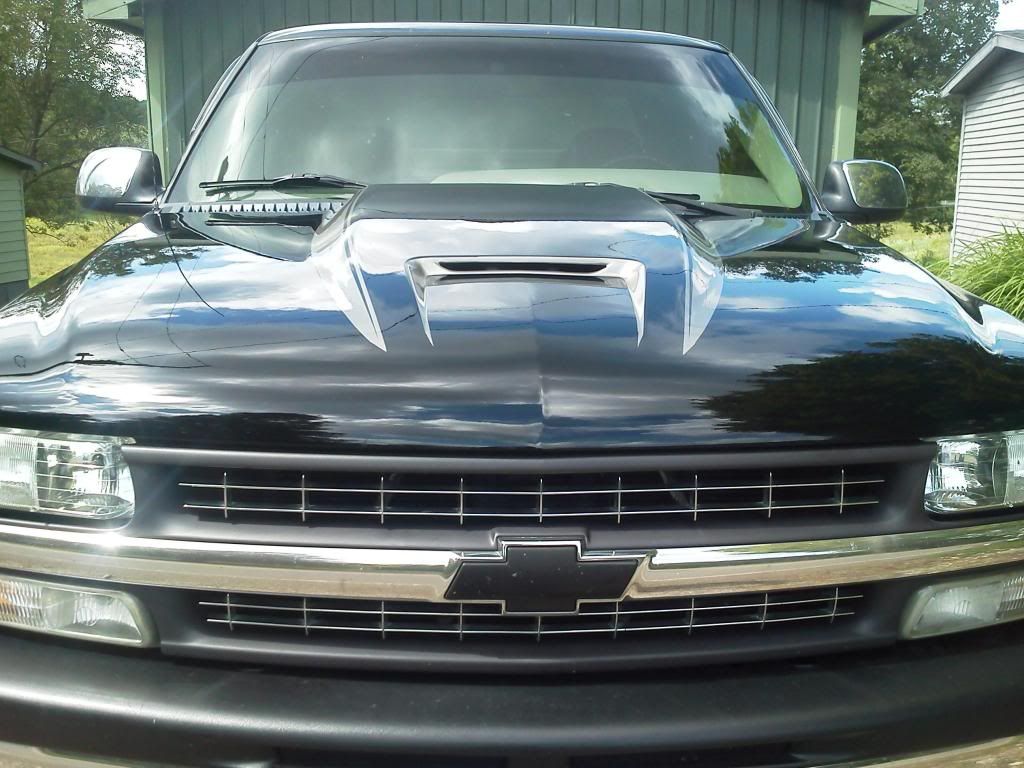
I was very happy with zero pinch back or die back....
Test Fit
Next the hood was cleaned with DX330 and a Waterborn cleaner prior to sanding, the hood had some box rash from shipping so it was DA with 320
Next after another wipe down, I sealed the hood and to be honest I can't remember what sealer I used... old age kicking in!
The truck was two toned so I decided to do an inlay on the hood with the matching colors. So first was the pewter, the reason being one you spray the pewter, it was must easier to mast that section. And you remove any chance of any metallic over spray from showing up on the black. I won't go into grave detail on the painting procedure but is it in a nutshell.
Next photo is with all the base coat on.. no clear..
Next came 3 coats of Clear, and left to dry overnight. I did what called flow coating on this hood. The next day, I came in and wetsanding the entire hood with 800 grit by hand. Then applied three more coats of clear. This completely hid the edge of the two colors. So if you feel the hood, you cannot feel where the pewter and black meet.
After another night of drying, the hood was DA with 1500 followed by 3000.
Then compounded with M150 with a 3M 3m 8" Compounding Pad. When you flow coat a panel, you cut all the texture out with the 800 grit sanding before you apply the second round of clear, so there is very very little sanding required before compound
Polish was m205 on a 6.5 Meg soft buff 2.0 polishing pad on a G110. 205 finished awesome on this clear, I have swirl finder pictures to prove no swirls or marring but can seem to find them now lol...Here are some shots of the finished hood in the booth.
As a former painter/body tech. I always judge my work a month or so down the road after you have complete solvent evaporator and product "shrink"
These photos were about a month or two after the hood on the truck...
I was very happy with zero pinch back or die back....
Last edited: