Re: 2008 Lexus IS 250 - Pinnacle Detail
Continued...
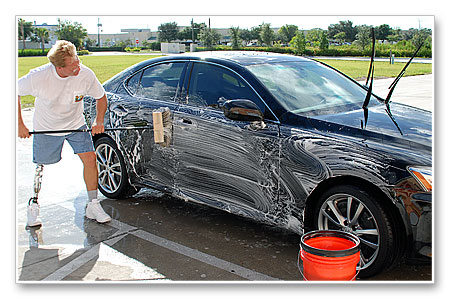
Taping off trim isn't an excuse to be sloppy or work faster than you should, it's a form of cheap insurance to save you time cleaning up after the detail job. We used
3M Scotch 233+ Premium Automotive Masking Tape and lucky for us there wasn't too much rubber or plastic trim to have to cover up.
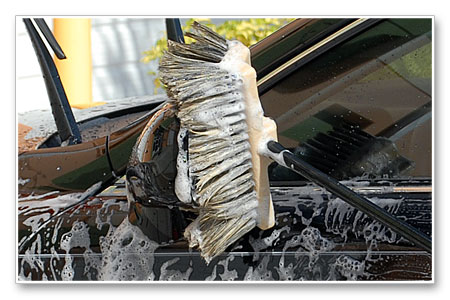
Often times the plastic surrounding the windshield wipers is black pebble textured plastic and this type of plastic is very difficult to remove splatter off of not that I plan on throwing any splatter but an ounce of prevention is worth a couple hours of painstaking clean-up work.
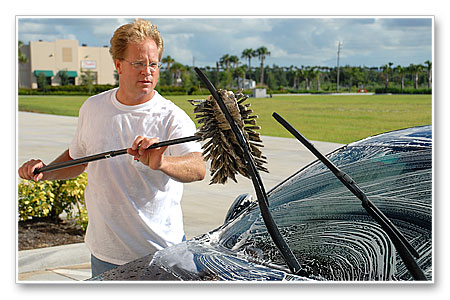
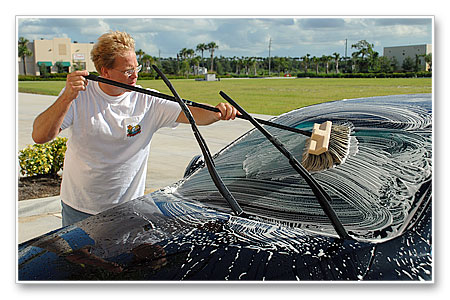
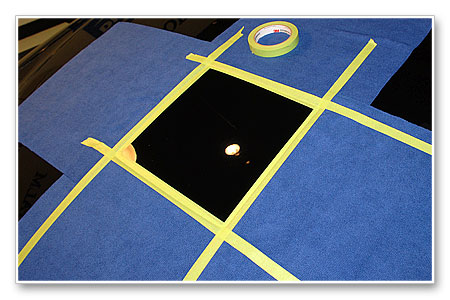
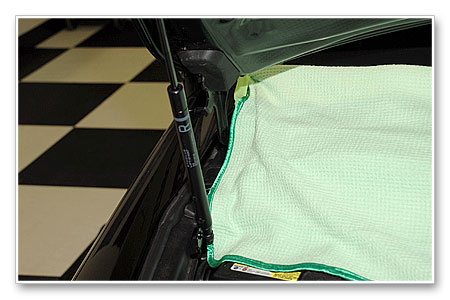
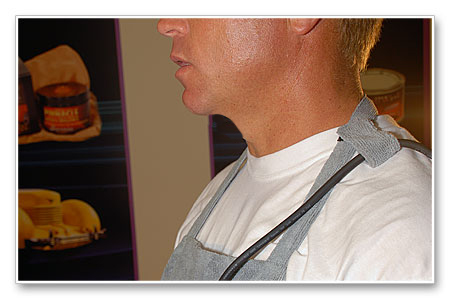
I usually use a beach towel because they're fairly long and work well to cover the plastic between the lower part of the windshield that leads to the engine compartment. Since I didn't have a beach towel handy we used two
Cobra Guzzler Waffle Weave Microfiber Drying towels.
These are the same 16 x 24 size we used to dry the car, (not the same towels though), and two were long enough to completely cover the plastic surrounding the windshield wipers. It's important to make sure that whatever you use to cover the plastic, as well as the windshield wipers, doesn't bind anywhere around the hood hinge or with the hood so you can safely close the hood without doing and damage.
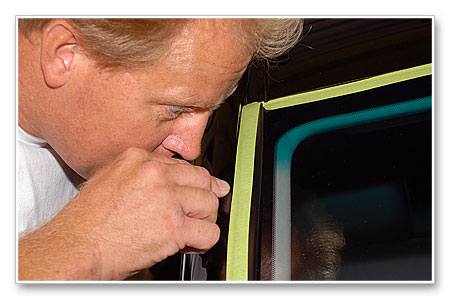
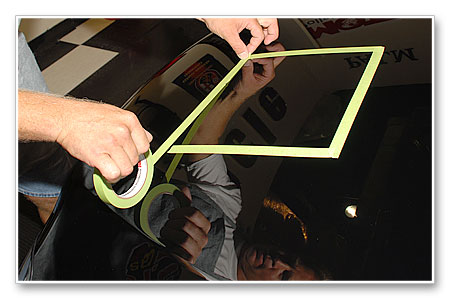
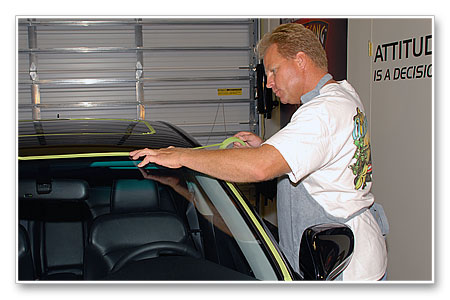
The Lexus IS 250 has a rubber gasket that runs all the way around the hood and is exposed, so if you don't tape this off be careful not to run your polisher over it. We're going to tape it off.
The gasket is taped-off and the hood is now closed.
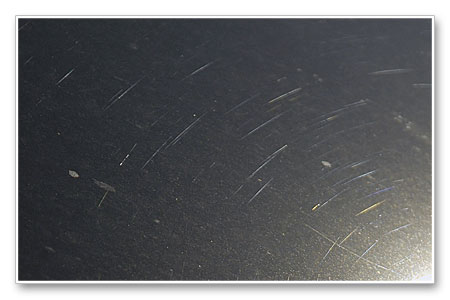
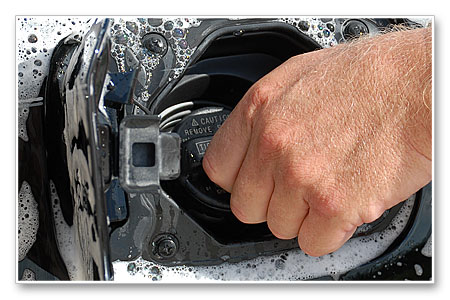
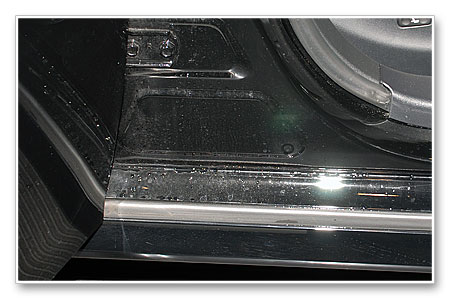
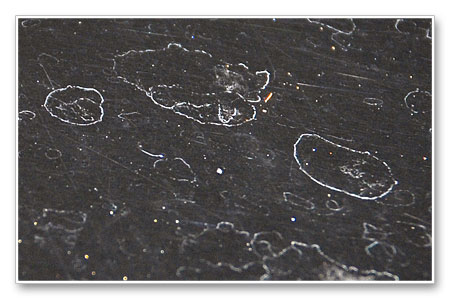
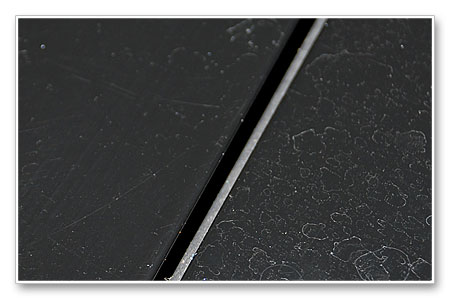
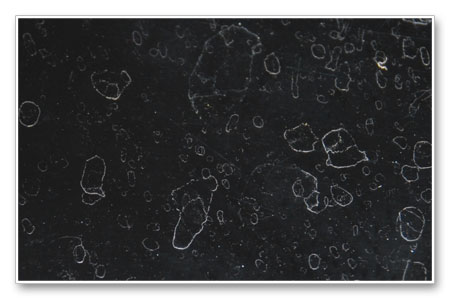
This is why I tape-off everything I detail, it's cheap insurance to prevent dried polish and wax residue from getting into cracks and crevices like you see in the two pictures below. This residue was left by the detailer who detailed this car before we got it. We'll do our best to remove this so the owner doesn't blame us.
Anytime you're detailing cars for customers and you find dried residue like this, it's a good idea to take a picture of it to document you didn't do it and also show the owner. Doesn't even hurt to have them see you documenting it as it shows them you're paying close attention to their car and you take your job seriously.
Ugh... someone else's wax in the cracks...
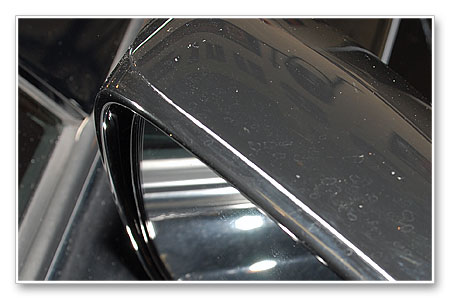
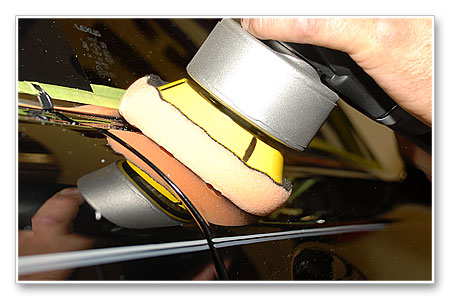
This rear view mirror housing also has a very sharp edge between the seams where the dried wax is stuck and if you run a buffer over this edge you'll burn right through it and expose whatever's under the black paint, (probably black plastic but you never know).
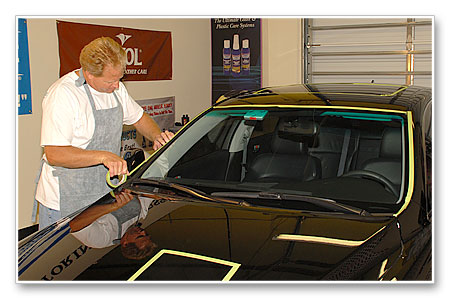
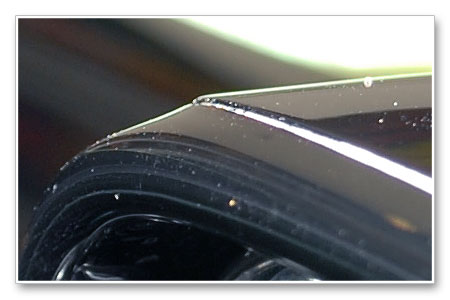
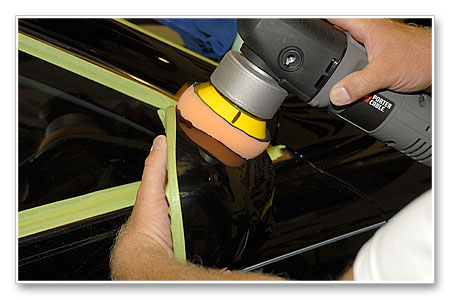
Here we've taped-off the rubber gasket between the glass and the window frame and I'm pointing to show that there's about an 1/8th of an inch of paint that's not going to get buffed with either of the two polishing steps. After the correction steps we'll remove the tape and carefully wax these areas for a uniform look that will match the polished areas next to the tape line. While not perfectionist detailing in some eyes, remember this is a daily driver, not a show car. You can invest more time and just run the tape down the rubber and get it close to the edge of the panel if you want or just overhang a little like I did here. It's your choice based upon what you're trying to accomplish and how much time you want to invest.
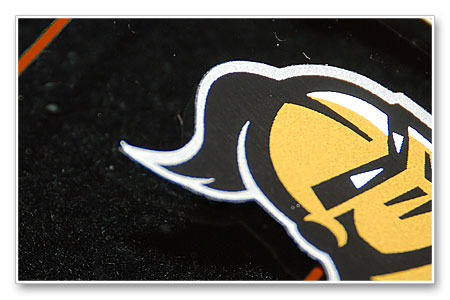
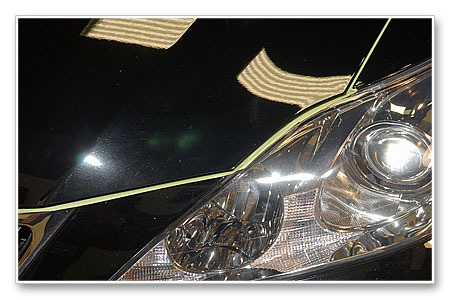
Custom hand applied pinstripes look cool but they are sure a pain to buff around. You never want to buff on top of them as it's pretty easy to remove quite a bit of the pinstripe paint very quickly and that's not going to be any fun to show the owner. In cases like this, carefully buff up to the stripe but don't buff on the stripe.
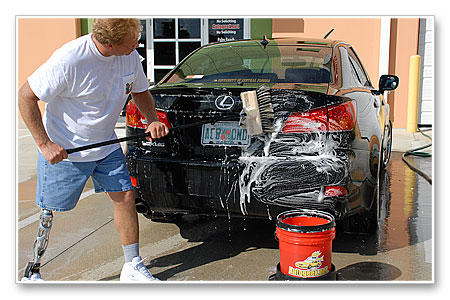
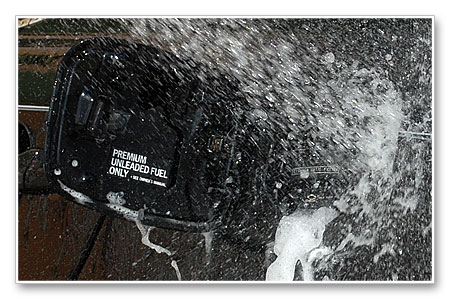
We did tape off the emblems to keep splatter from getting in-between the letters and later we just hand waxed them as best as we could.
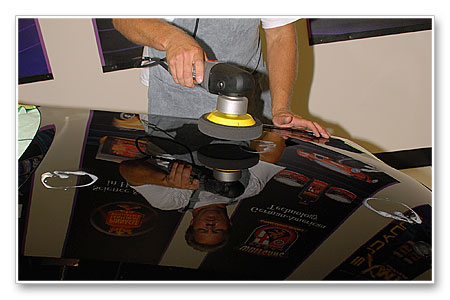
Ready to buff. If I were using a rotary buffer on this car I would also cover the wheels and tires up as a rotary buffer can throw splatter quite a distance. Not that I would ever throw splatter with a rotary buffer.
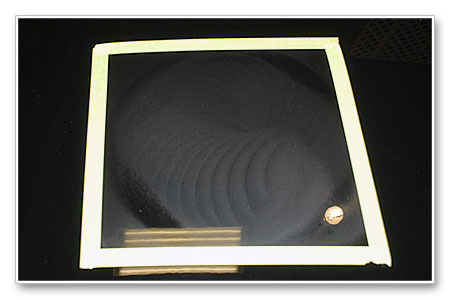
Now that we've taped-off the car it's time to remove the tape surrounding our Test Spot and then carefully wipe-off the Souveran wax.
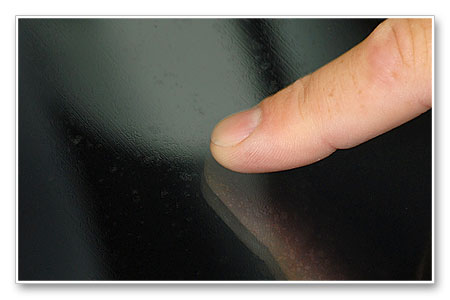
The Swipe Test
The directions on most labels for the various waxes and paint sealants on the market will state to allow the product to dry for 15 to 20 minutes or allow the product to dry to a haze. These are general indicators. A more specific indicator is called the
Swipe Test.
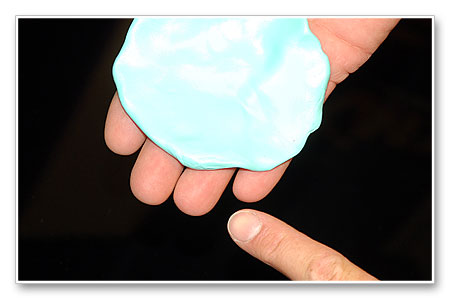
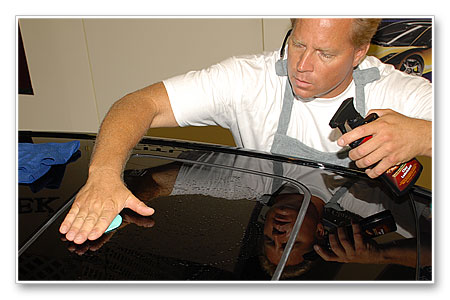
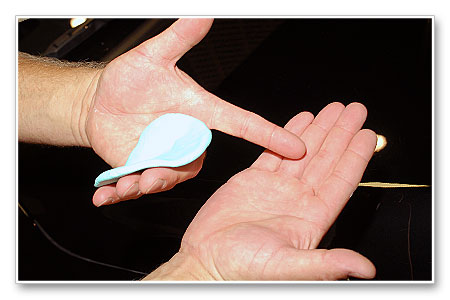
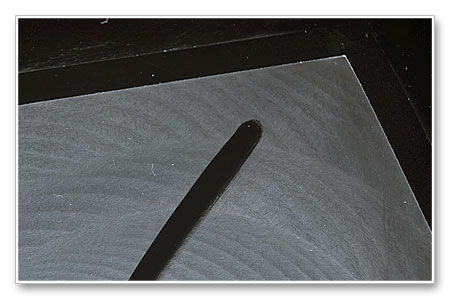
The Swipe Test is where you take your clean finger and give a waxed panel a
brisk swipe with your clean fingertip. Then you inspect the swiped area to see if it's clear and glossy or if it looks smeary. If it's clear and glossy then this indicates the wax or paint sealant is ready to remove. If the swiped area looks smeary then this indicates wax or paint sealant is still wet and it needs more time to dry. Simple and accurate.
Removing the dried wax or paint sealant
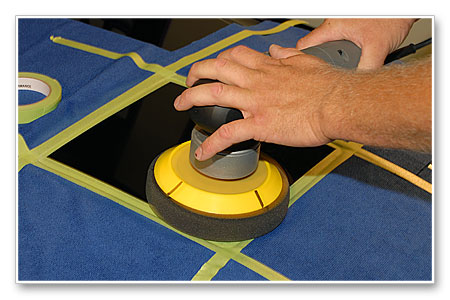
When the Swipe Test indicates the wax or paint sealant is ready to remove, you can remove it the traditional way by hand or you can use a microfiber bonnet on a foam cutting pad on your DA Polisher to remove it.
Removing Wax by Hand
Removing wax by hand is pretty basic but here's a few tips to help insure you remove the wax in gentle manner so as not to instill any swirls or scratches back into the paint.
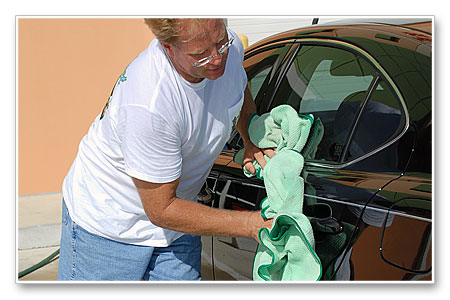
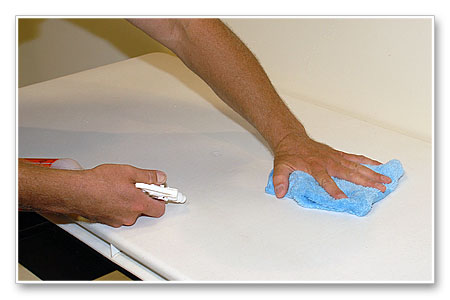
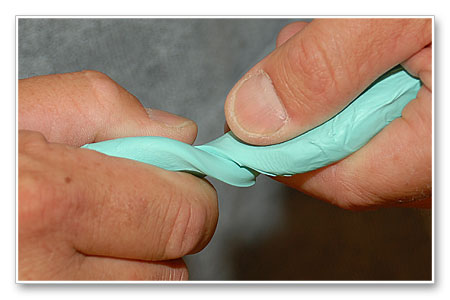
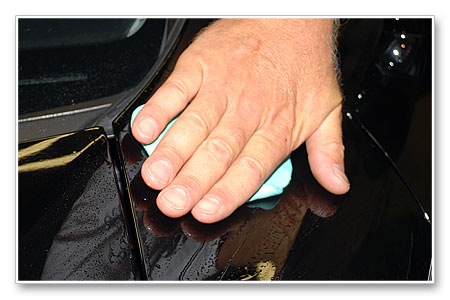
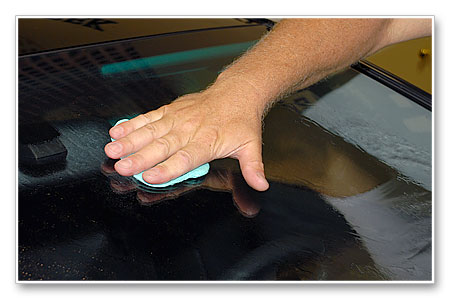
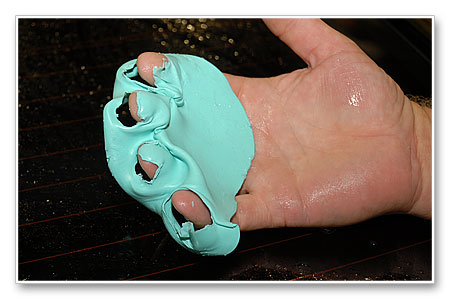
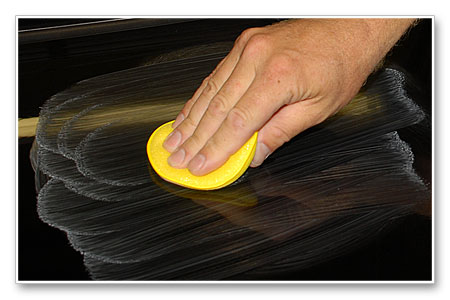
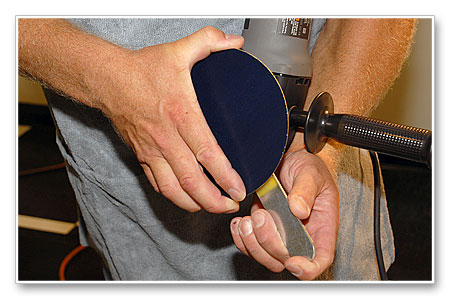
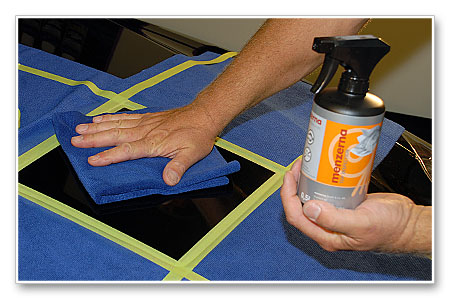
First, fold your microfiber polishing cloth 4-ways to provide you with a thick, plush wiping cloth with 8 dedicated sides for removing wax. The thickness of a folded polishing cloth will also help to spread out the pressure from your hand.
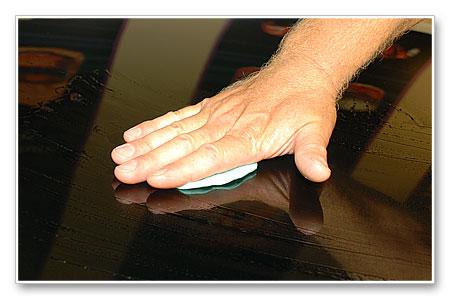
Next, and this is key, place the microfiber onto a panel and then place your hand on top of the microfiber polishing cloth and then gently twist the microfiber a few times like this,
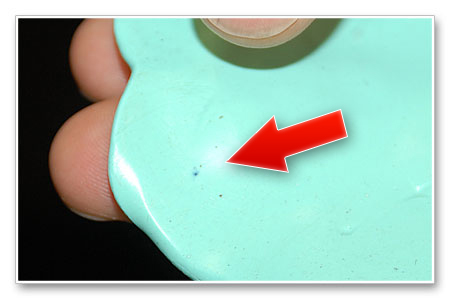
This is called
breaking the wax or
breaking the wax open.
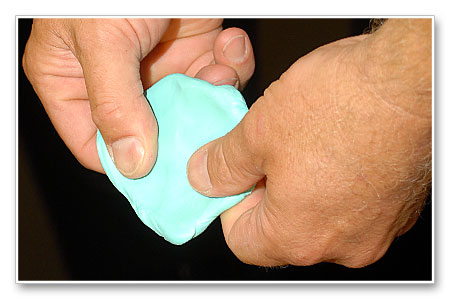
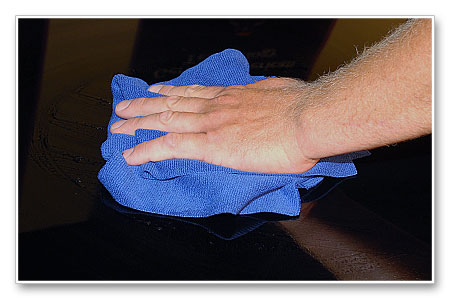
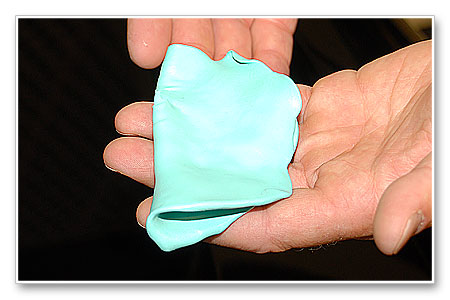
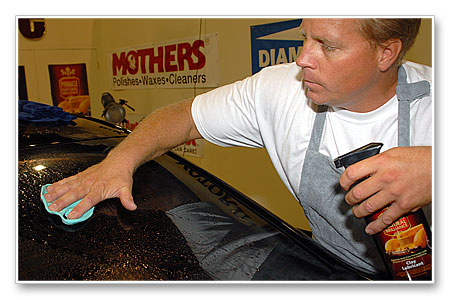
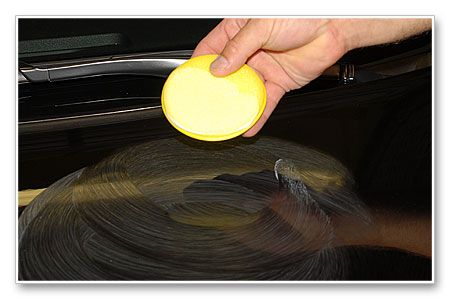
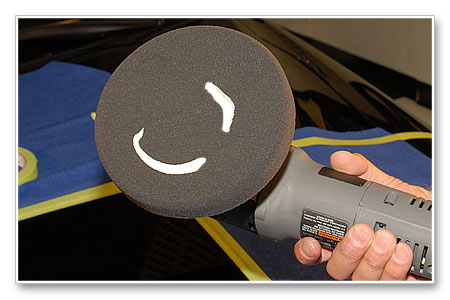
Once you have a shiny spot, turn the microfiber over to a clean side and place it back onto the shiny spot. Now from here, take your hand and do the
Pac Man, which means start taking little bites out of the wax coating using overlapping circular motions.
Re-fold your microfiber to a new, clean side often and also shake your microfiber polishing cloth before re-folding to allow dried wax to fall off of it.
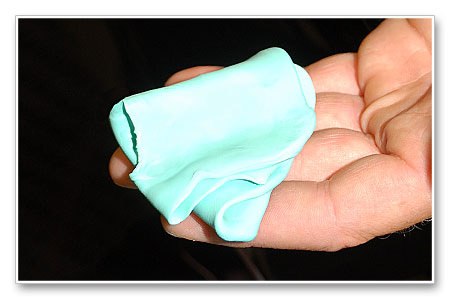
The idea is to break open the continuous layer of wax and then once you've broke open a spot, start to
creep-out. No, I don't mean get weird on us, I mean
move-out from the shiny spot by taking little bites out of the dried wax. This is a very gentle way to remove wax and there are two key things to keep in mind,
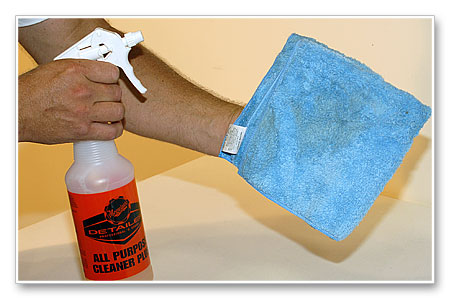
- Always use your best, softest microfiber polishing cloths.
- Taking little bites, not big bites.
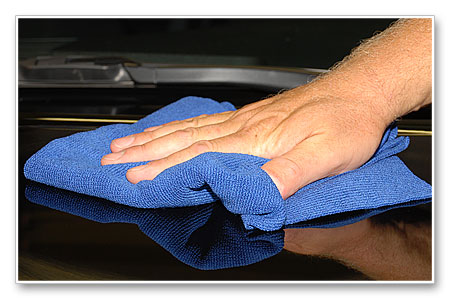
A 16" microfiber folded 4-ways gives you a surface area for your hand that is 8" square with plenty of cushion to spread out the pressure from your hand.
As long as you're only taking off little bites or swipes, the microfiber cloth will have more leverage over the bond the wax has on the paint and thus the wax will wipe off easy. This assumes you have a stronger arm than my elderly Grandma bless her soul.
Continue this method and work your way around the car. Have plenty of premium quality microfiber polishing cloths on hand and switch to a new, clean microfiber as the current one loads up with dried residue. I like to have a cloth in each hand as often times I'll use one hand to support myself while I'm removing wax from off lower panels. This way I don't get dirt or finger oils on the freshly wiped-off paint.
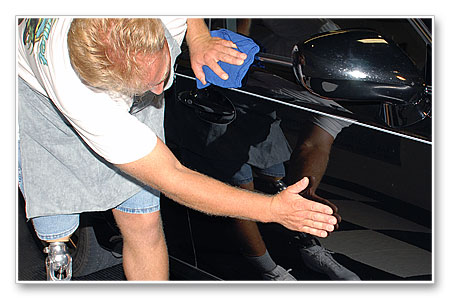
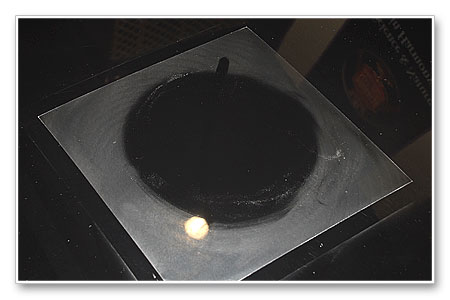
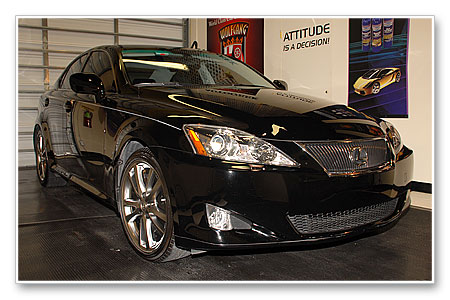
The after results were more than satisfactory.
Our Test Spot with the Pinnacle Brilliance System produced the results we were looking for and gave us the confidence to duplicate this process over the rest of the car.
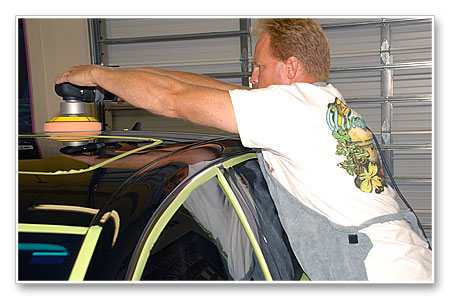
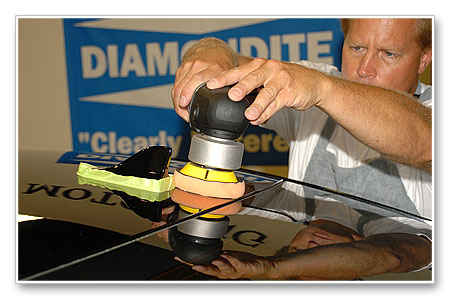
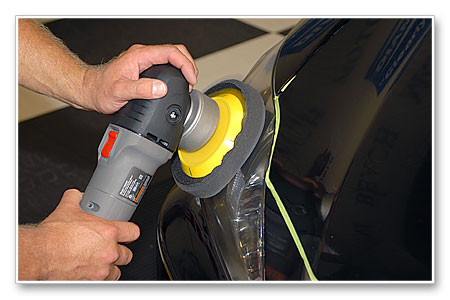
Now the
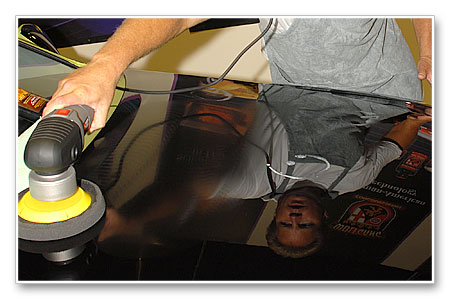
work step begins. The work step is usually the first correction step as that's the step that takes the longest and has to be executed perfectly as it will determine your end-results.
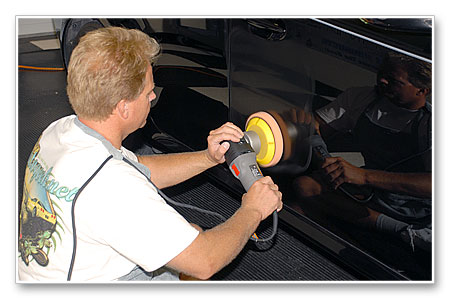
This first correction step takes the longest of all the steps and if you don't have 4-6 hours minimum to invest into this first polishing step then you might consider breaking the car up into sections and only tackle specific section at a time.
For example, on one Saturday maybe just tackle the roof and A and B pillars. The next Saturday tackle the hood or maybe the hood and front fenders. Make sure you set aside enough time to complete each panel you polish all the way through to the waxing or sealing step so you can put the car back into service.


 :dunno:
")
 rops:
rops: