slickooz
New member
- Nov 8, 2010
- 2,657
- 0
Warning over 150 photos, go grab a drink while it loads. :dblthumb2:
I finished my winter prep about a week ago but been busy and haven't had time to post write up about it. I spent about 15 hours detailing inside out and took about 3 days to finish. I did a Klasse twin with 2 coats of 845, thinking about washing my car and putting one more coat.")
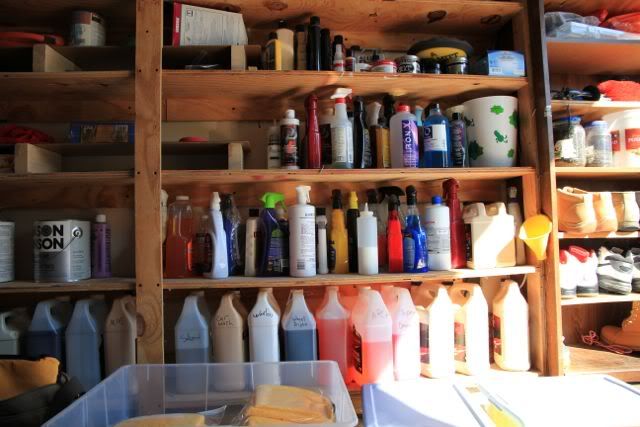
Exterior products
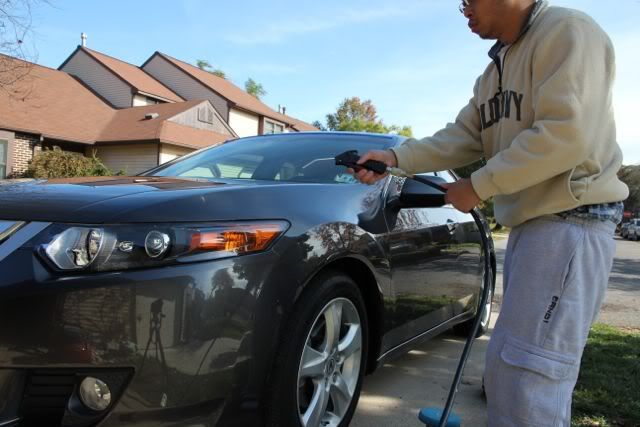
Pressure washer
Foam cannon
OPC 3:1 (lower panels)
Meg's hyper wash + OPC (foam cannon)
Duragloss car soap
Meg's wheel brighter
Meg's super degreaser
Various brushes
2 buckets with grit guard
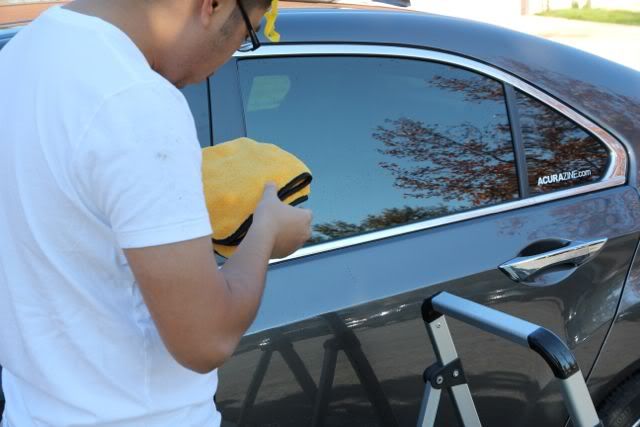
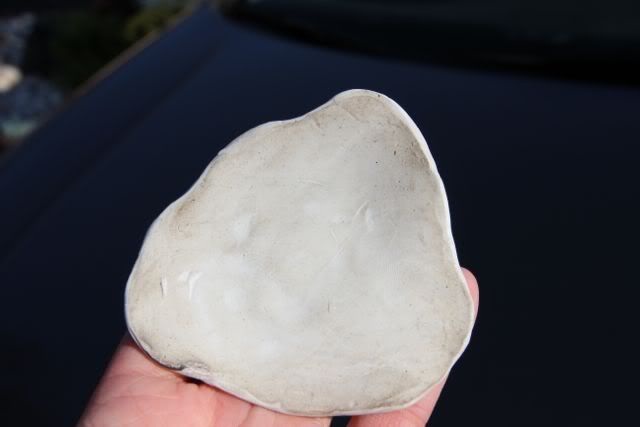
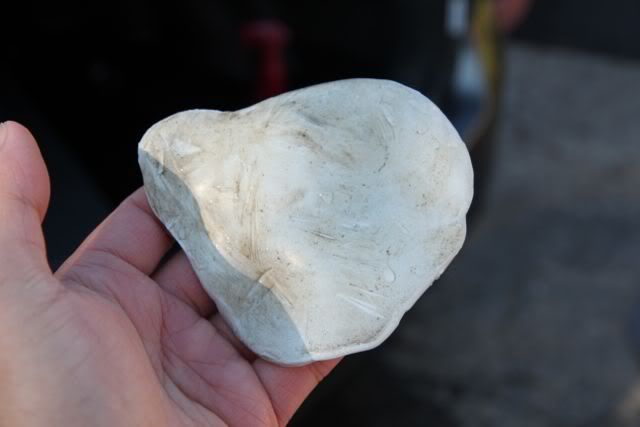
Different grade clay bars
MF 16x16
Sheep mitt
Meg's MF mitt
Leaf blower
Blue masking tape
Griot's DA
5" and 3" various pads
Quick detailer
Compressed air
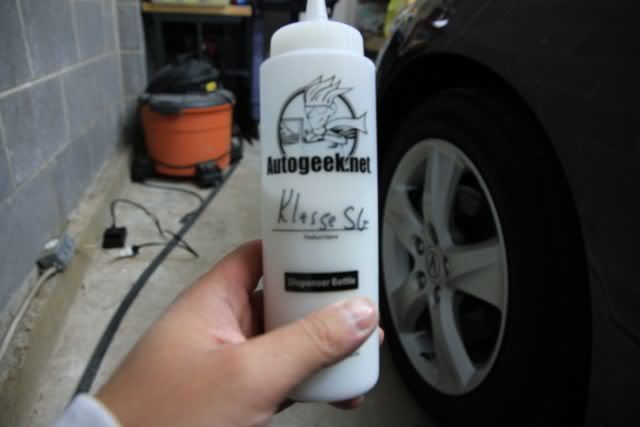
Klasse twin
Collinite 835
Meg's glass cleaner
Various applicators
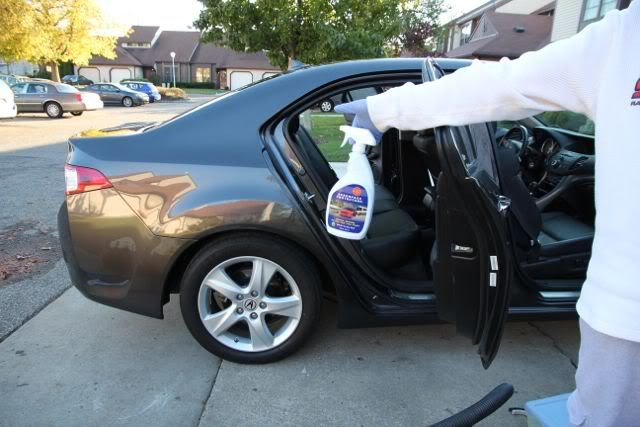
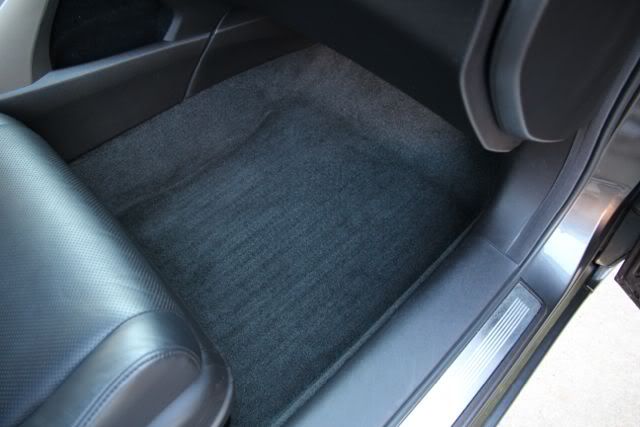
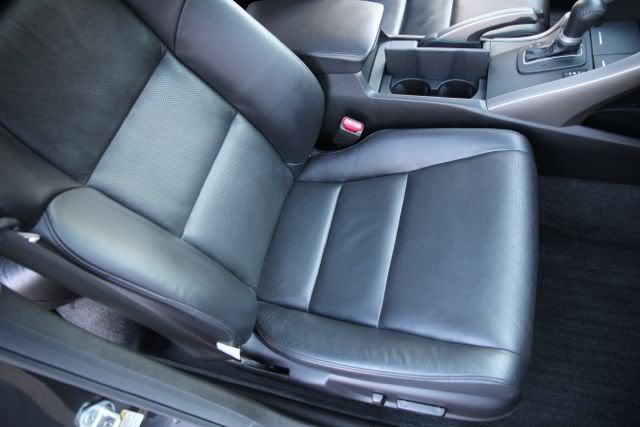
Interior
Ridgid vacuum with different attachments
Various brushes
Sam's club MF
OPC 3:1
Aerospace 303 protectant
Meg's glass cleaner
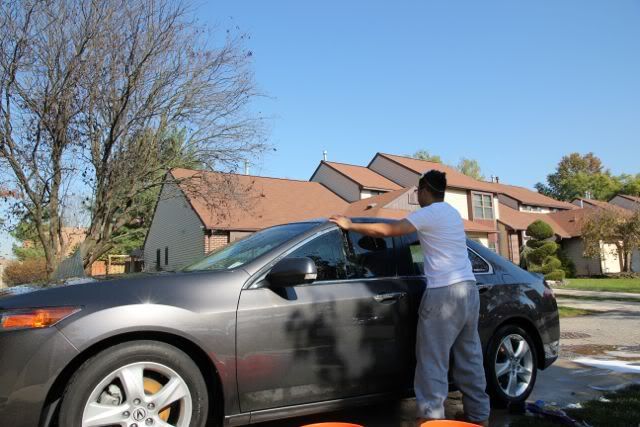
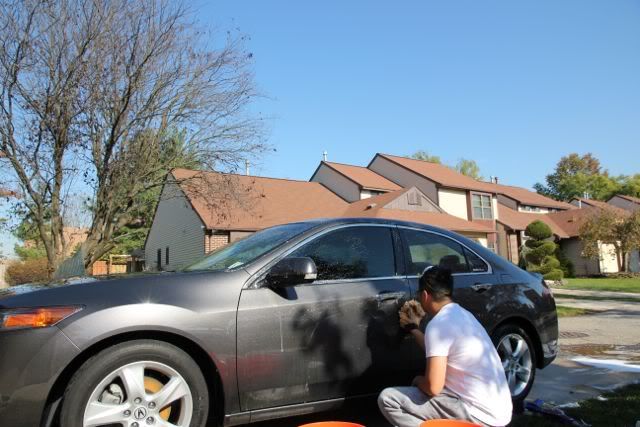
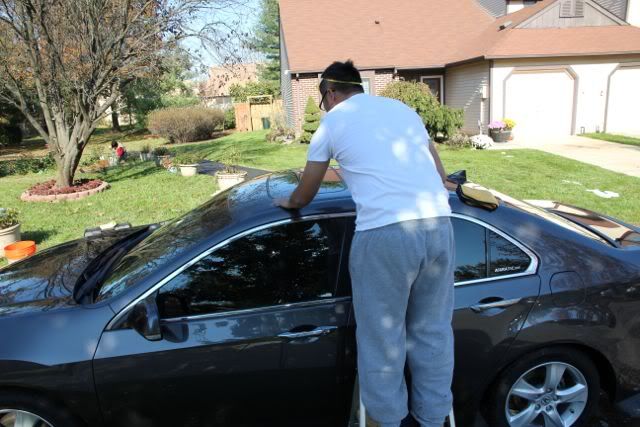
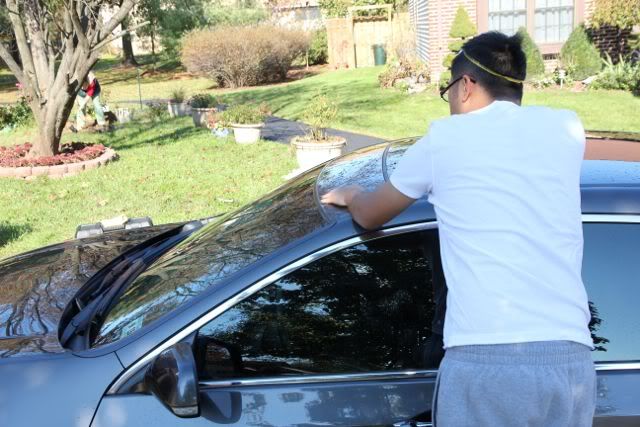
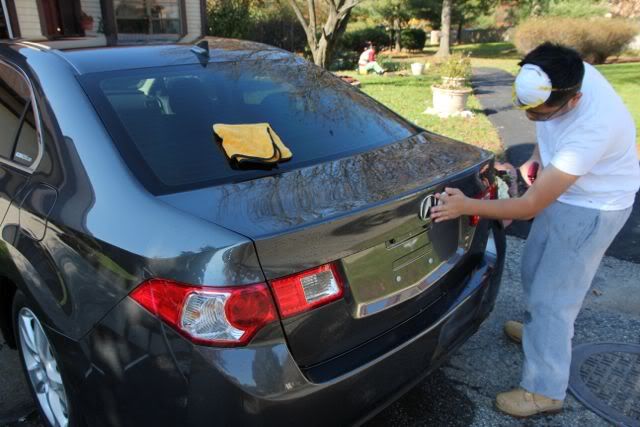
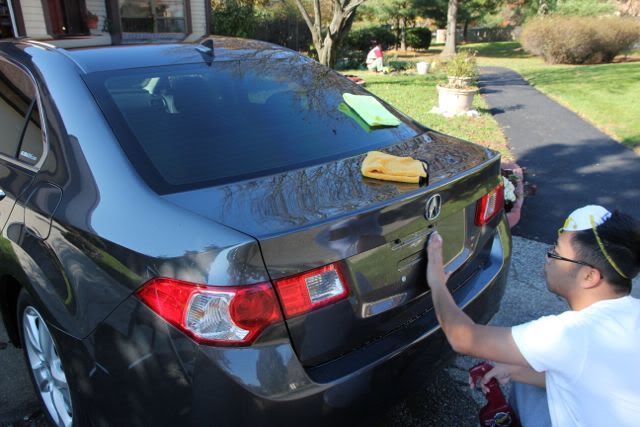
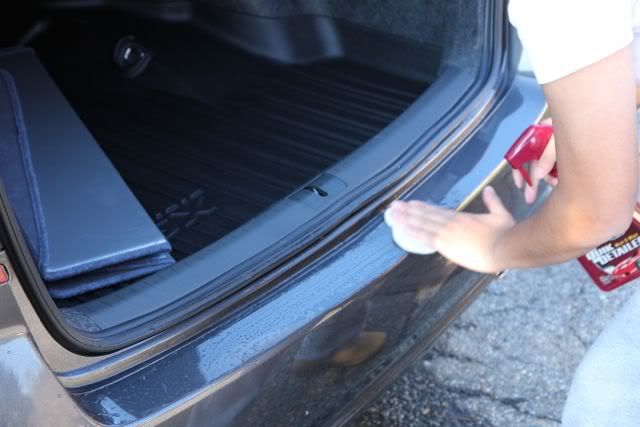
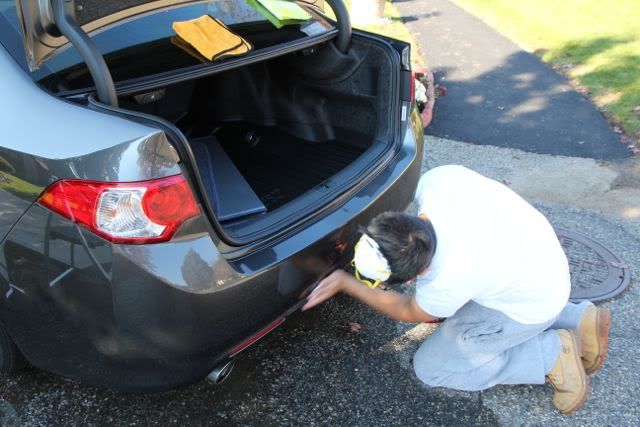
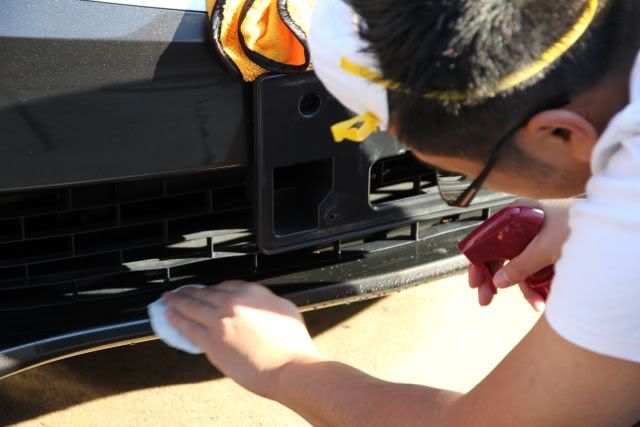
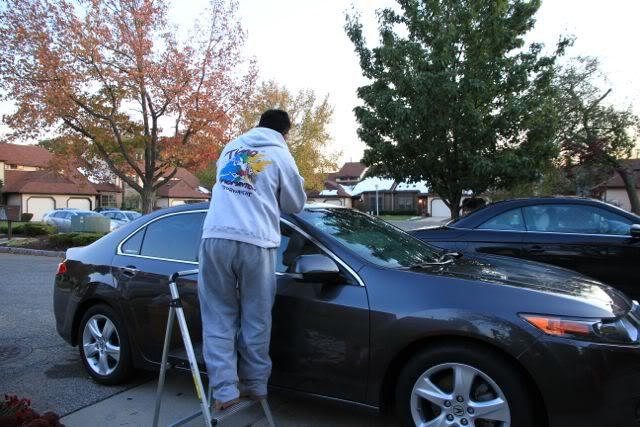
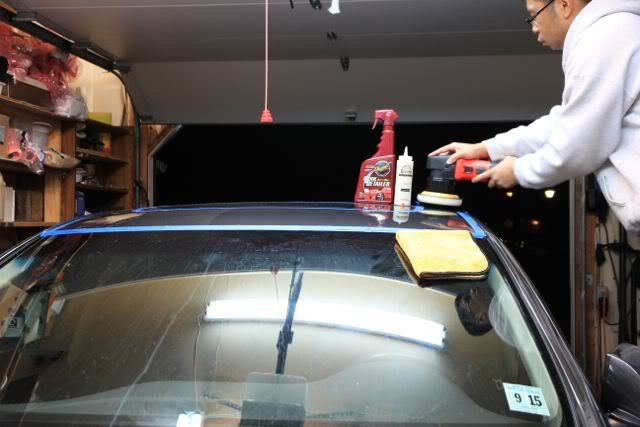
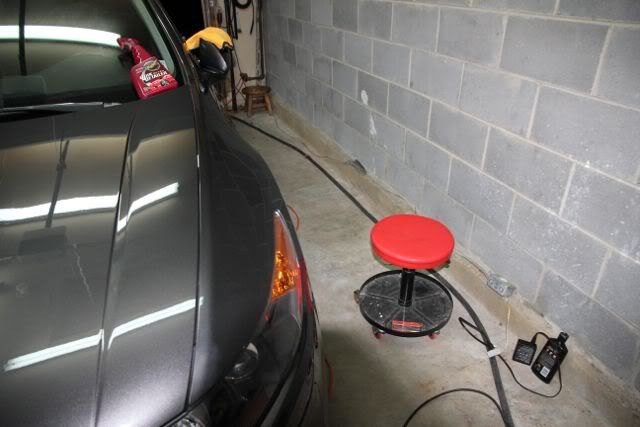
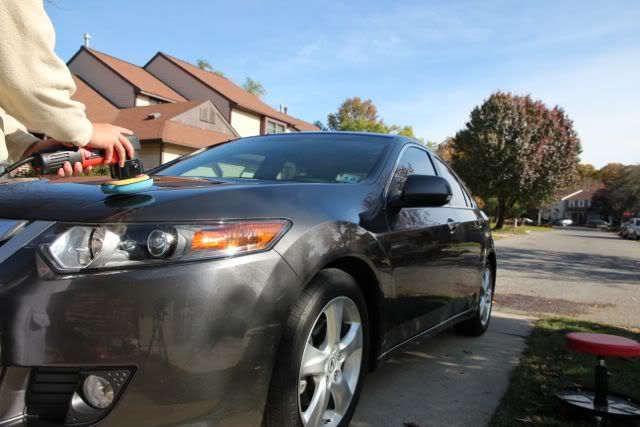
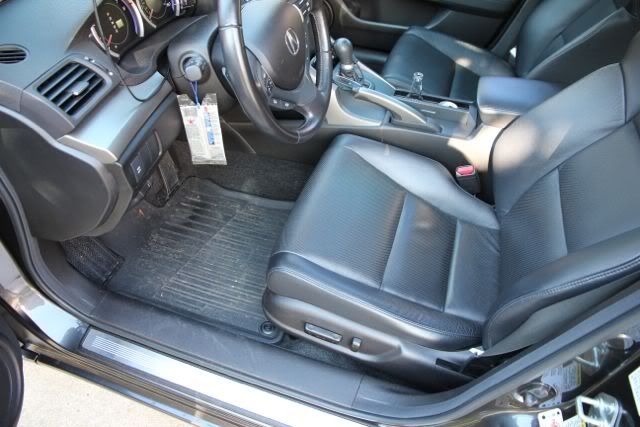
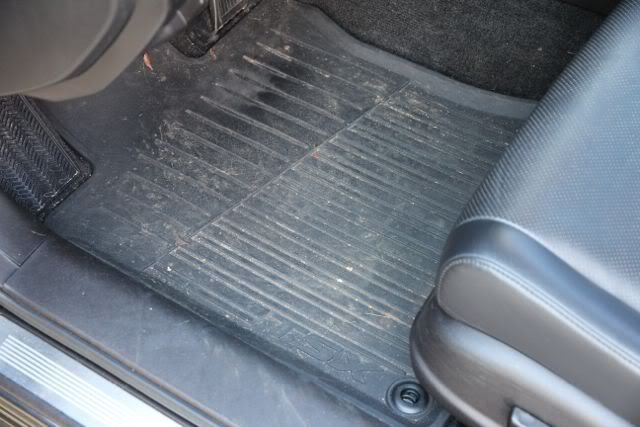
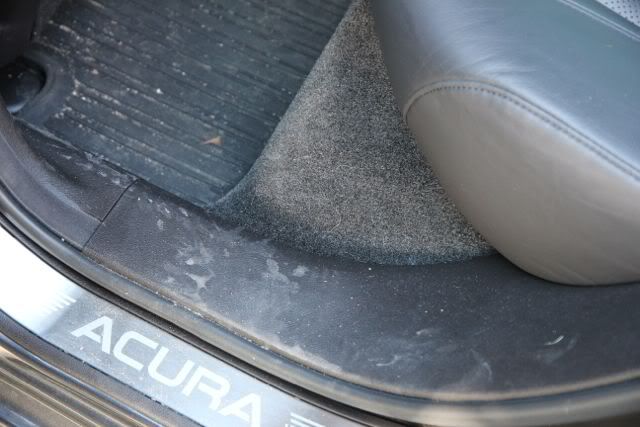
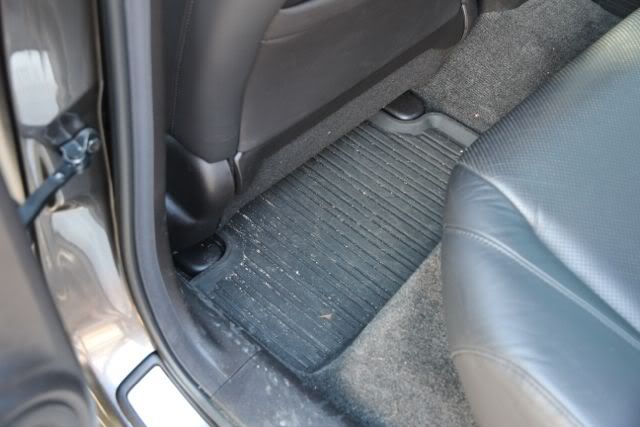
Here is a step by step process in doing a winter prep. Everything was shot with T2i with 15-85mm on Manfrotto tripod. Now onto the pics.
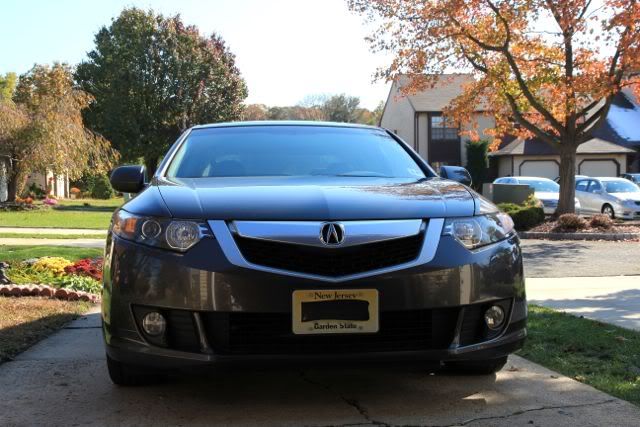
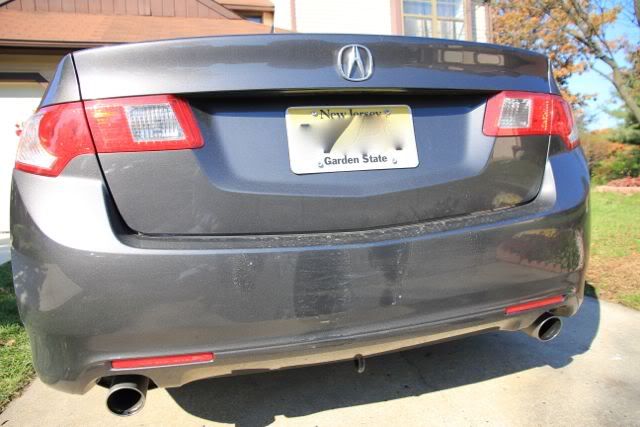
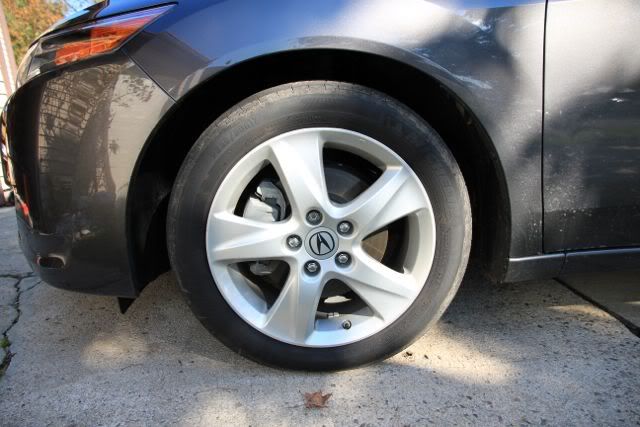
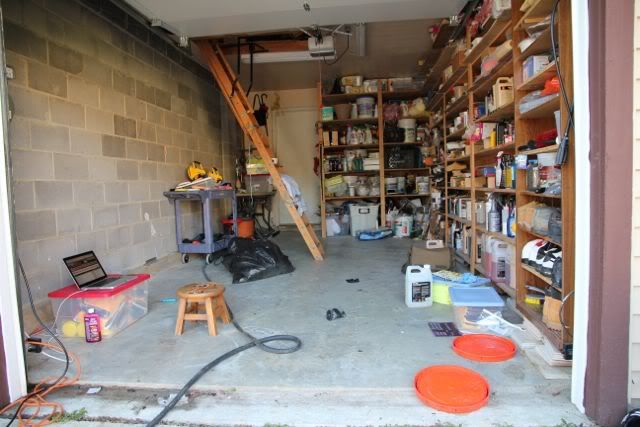
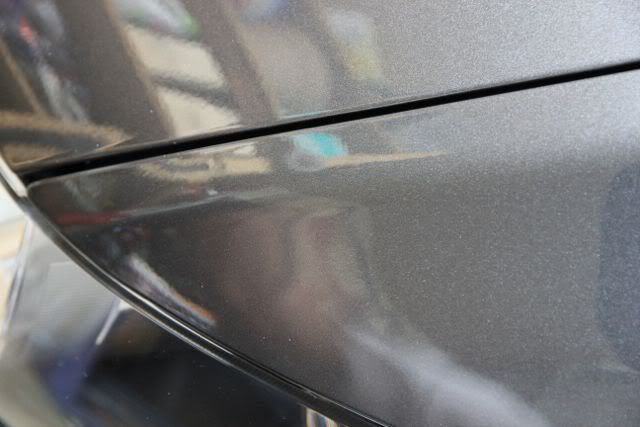
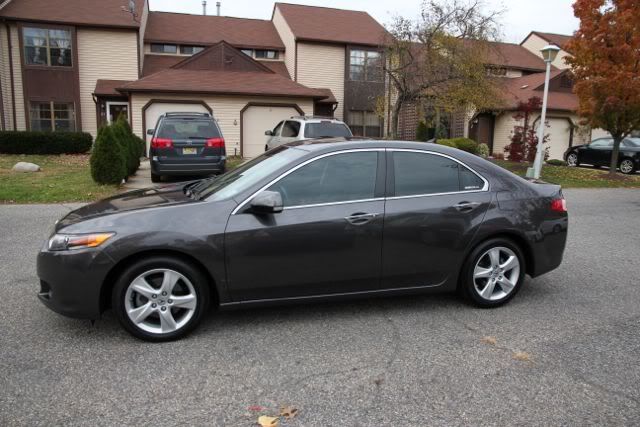
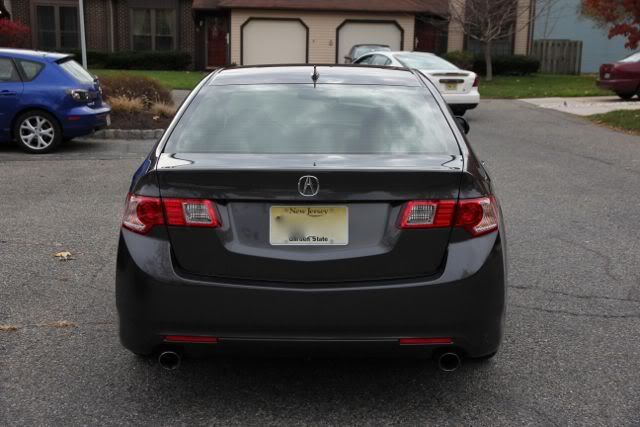
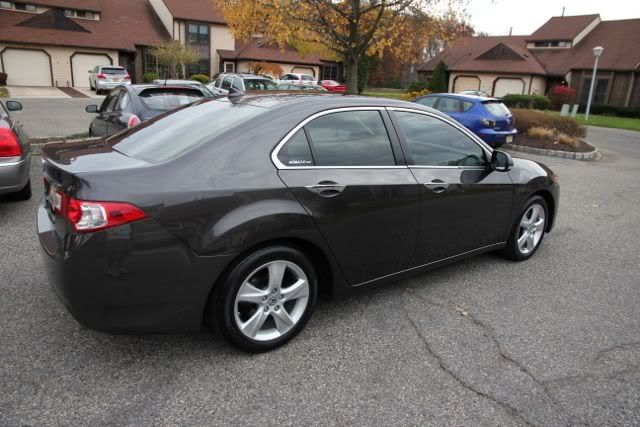
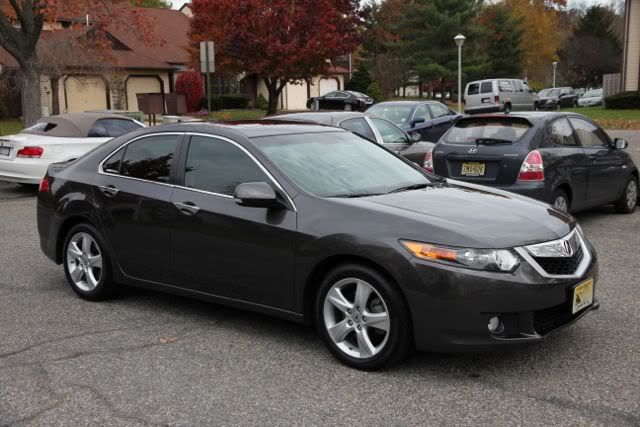
Before exterior

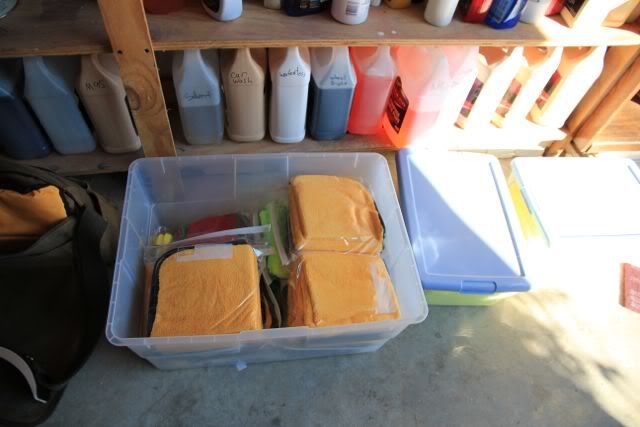
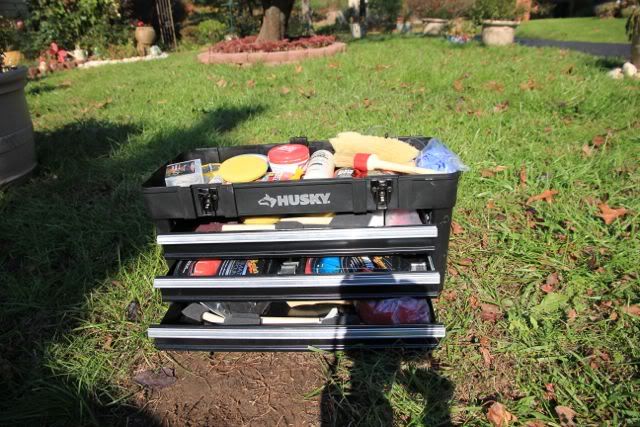
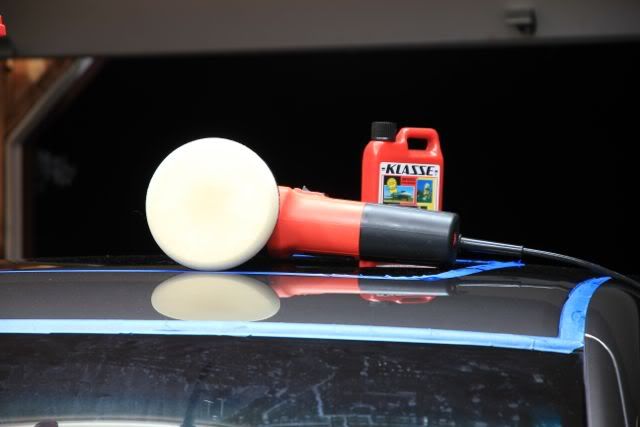
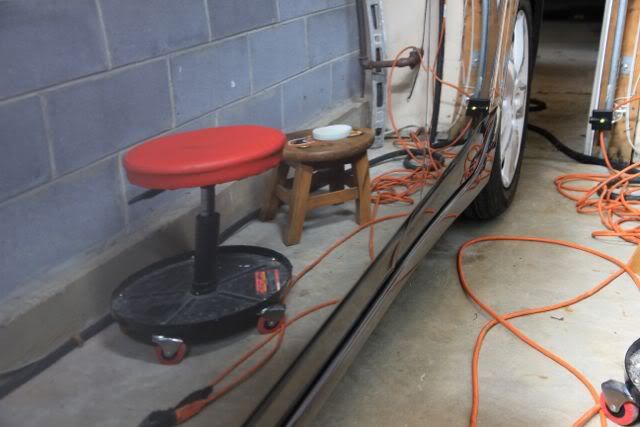
Here is some of the stuff I used.
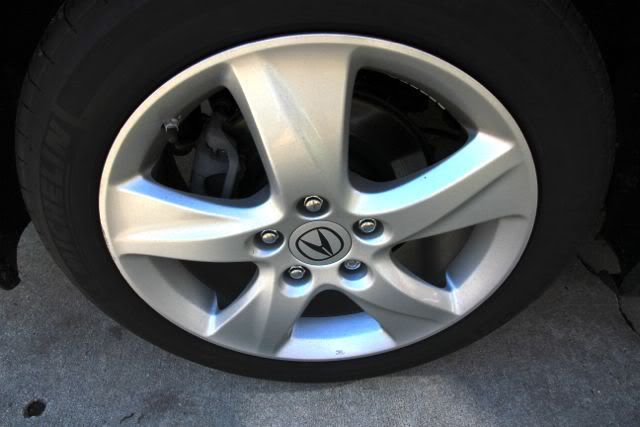
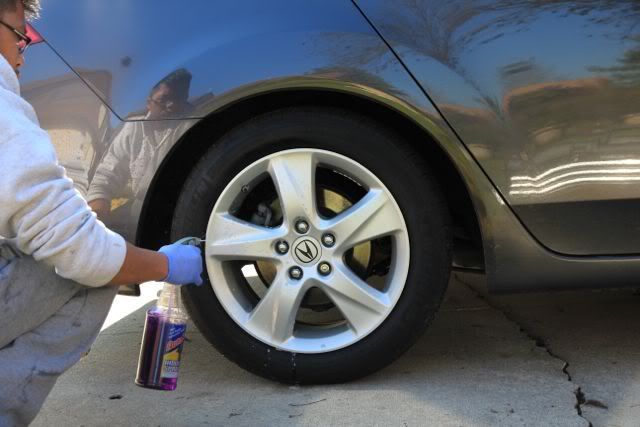
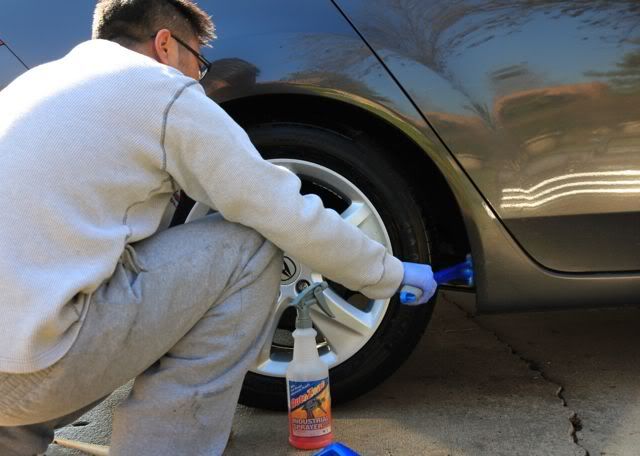
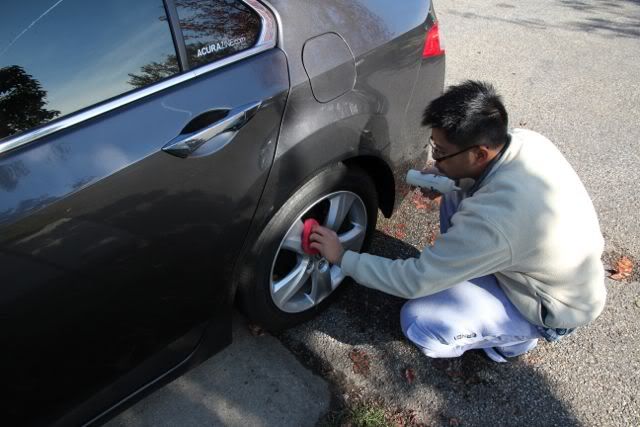
Cleaning the wheels first
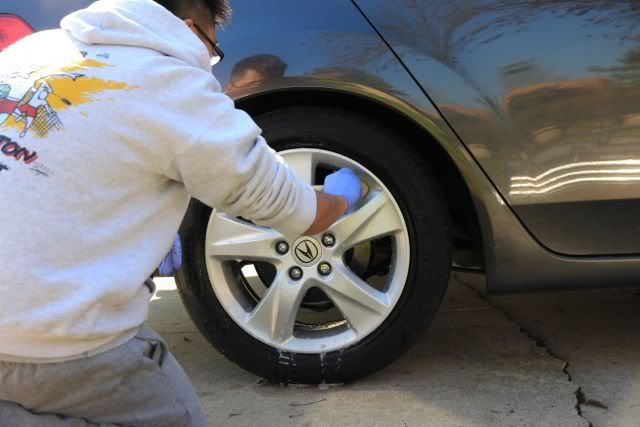
Now cleaning the wheels well
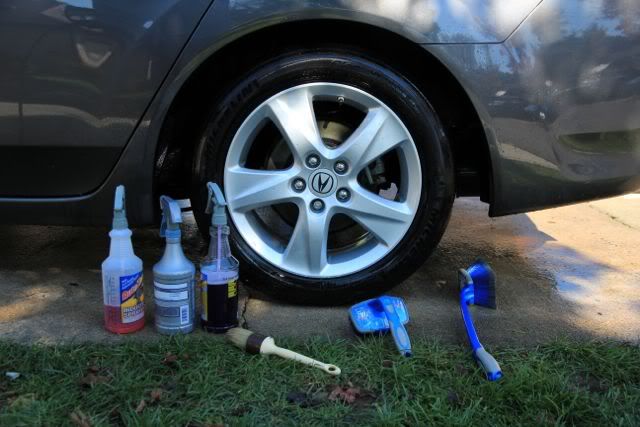
The items used to clean wheels/tires/wells
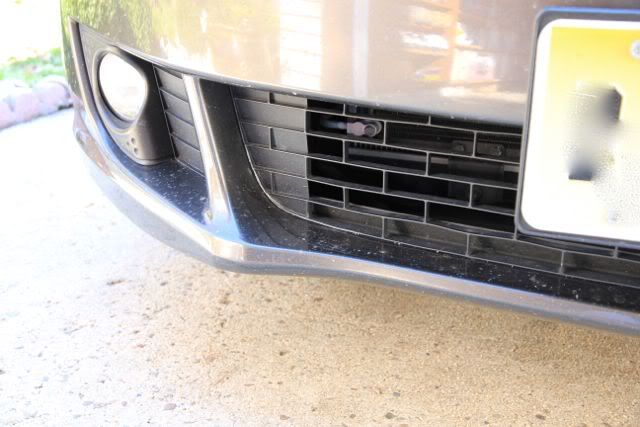
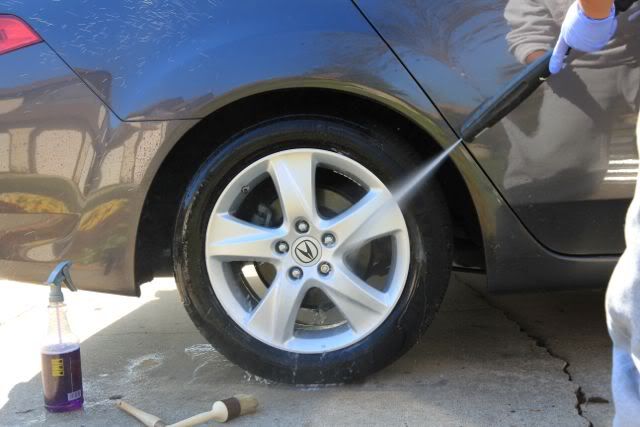
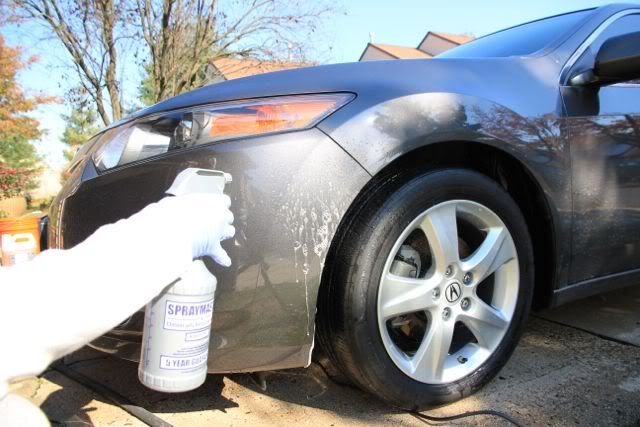
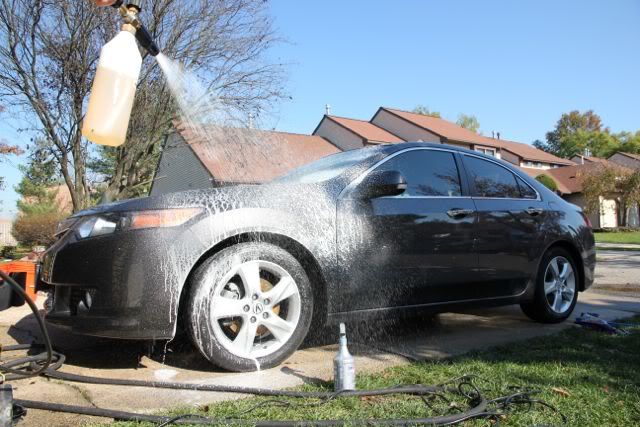
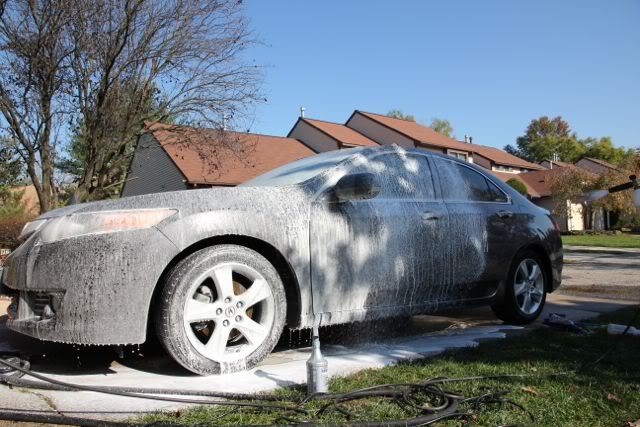
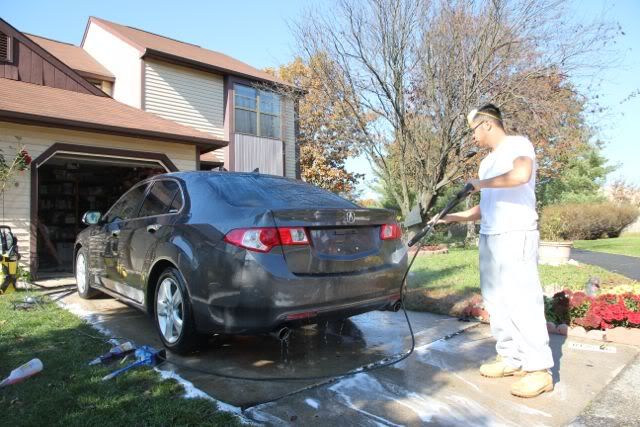
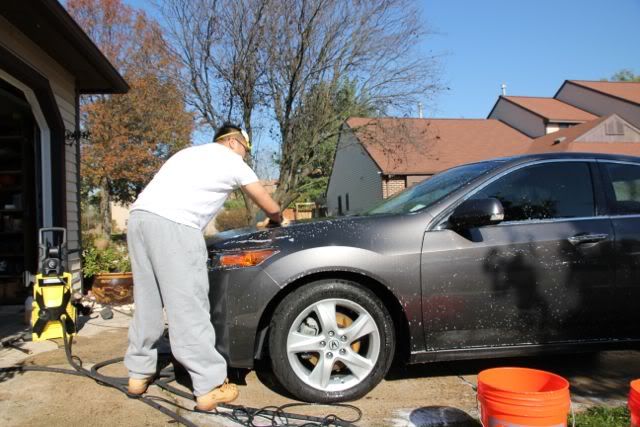
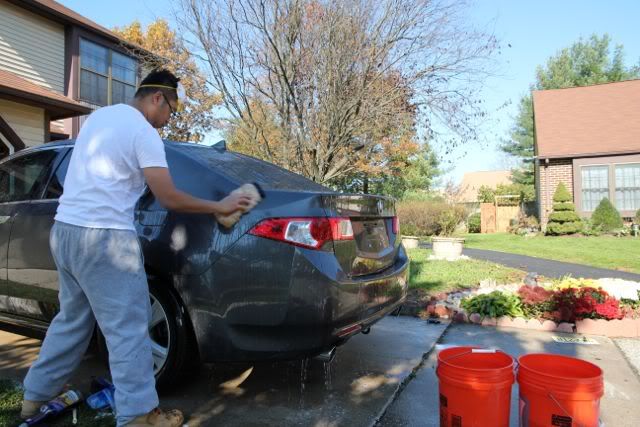
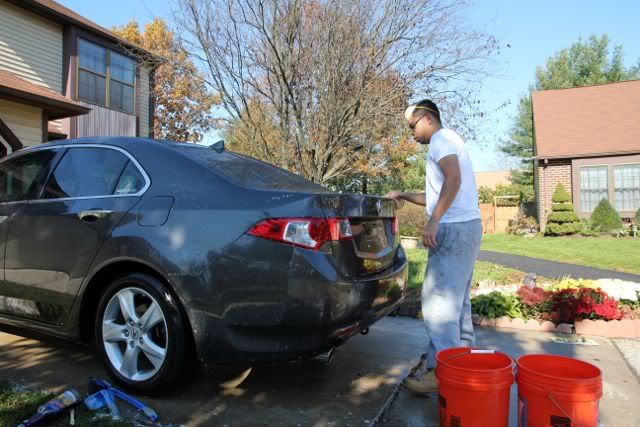
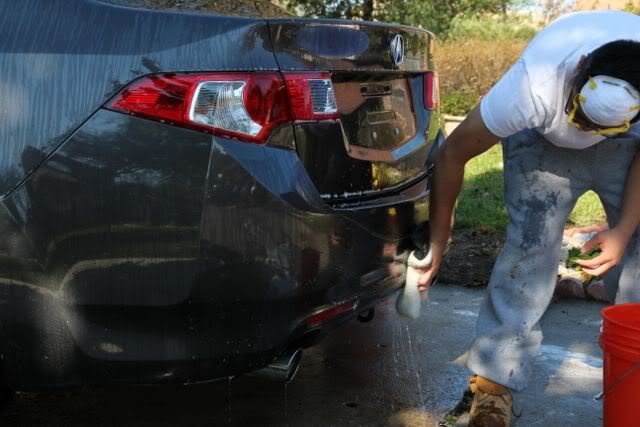
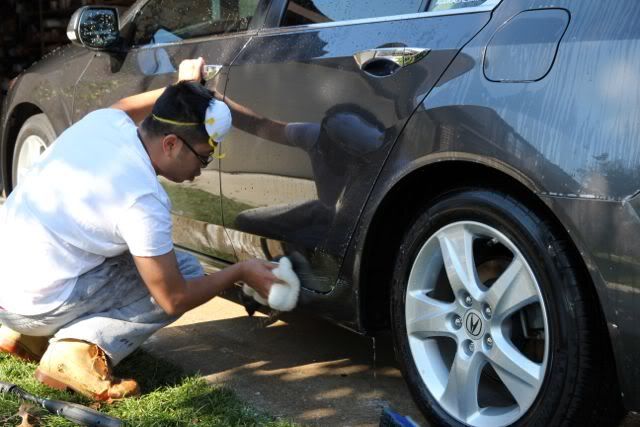
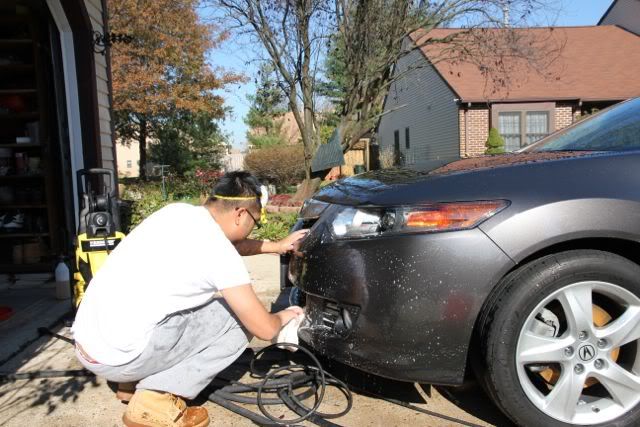
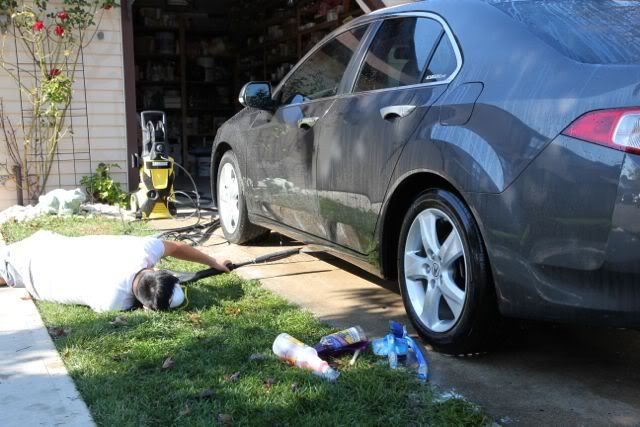
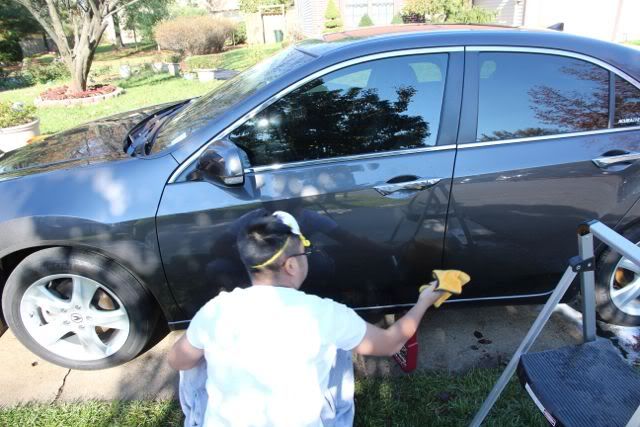
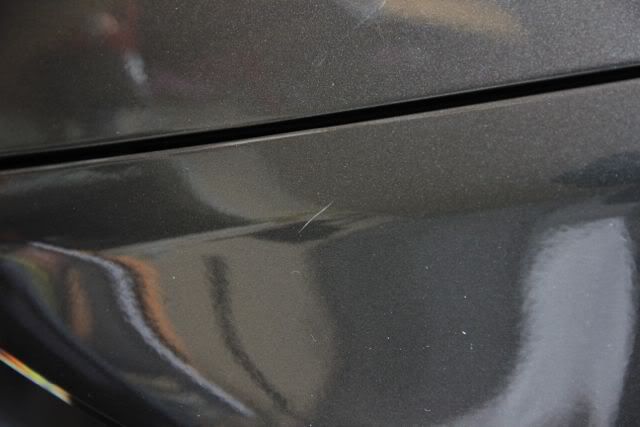
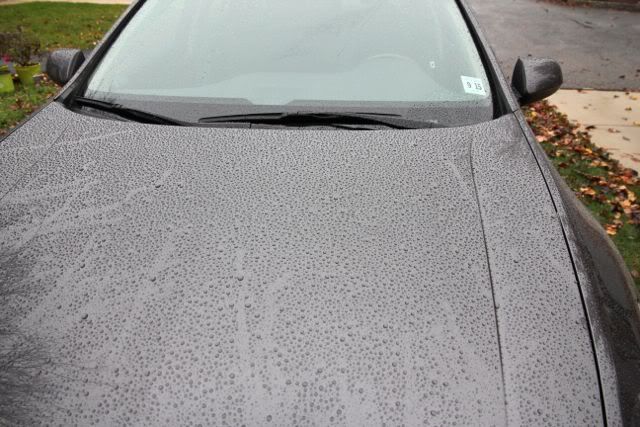
I OPC 3:1 the lower panels of the car because there was light layer of grime.
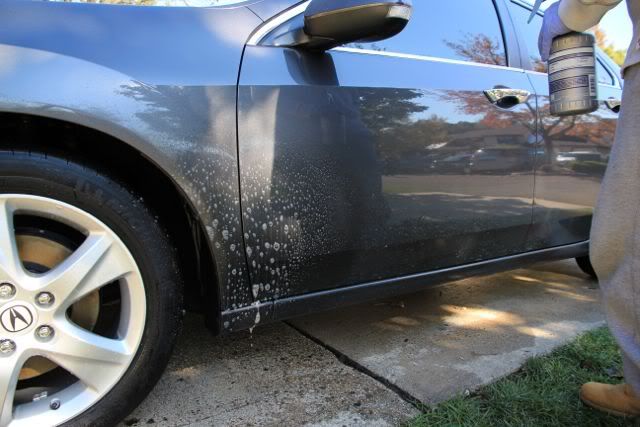
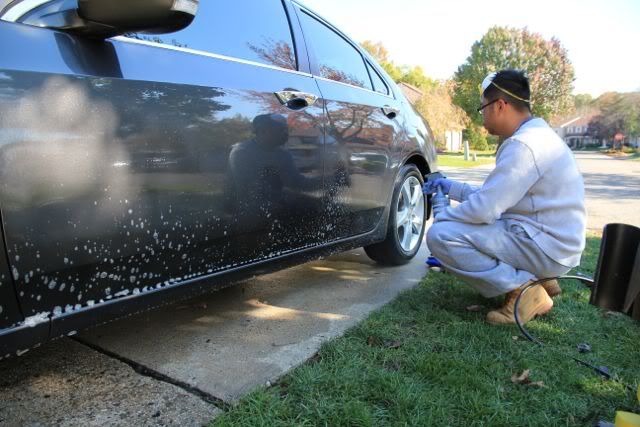
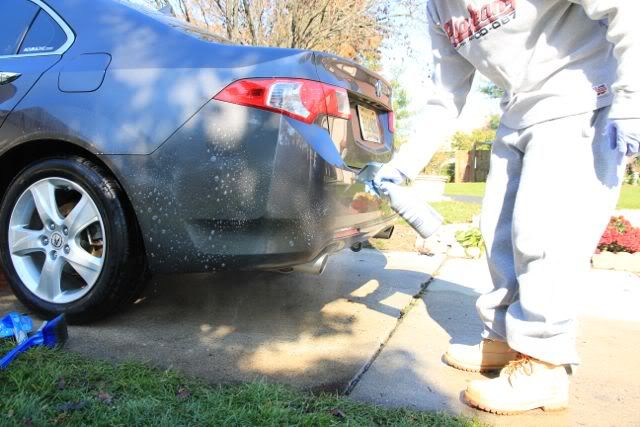
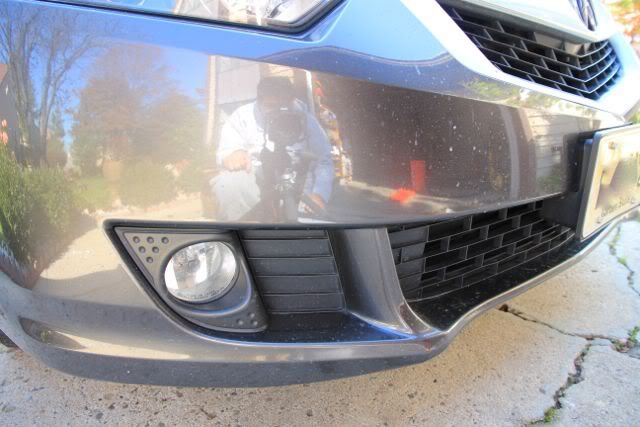
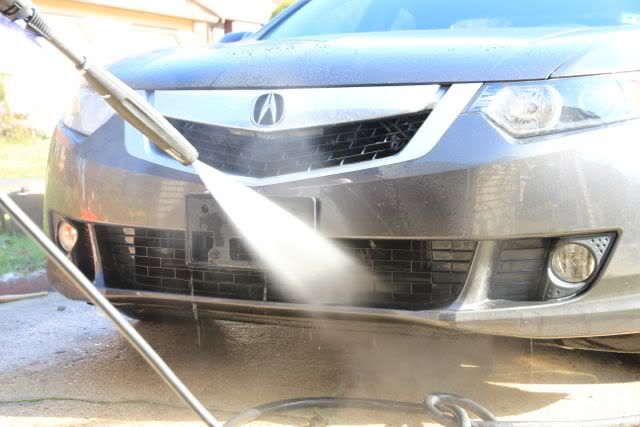
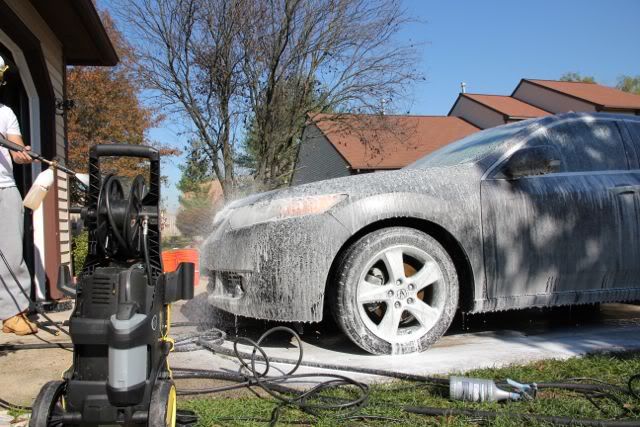
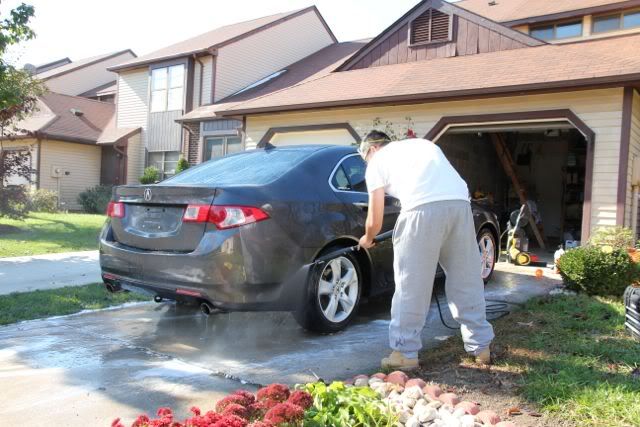
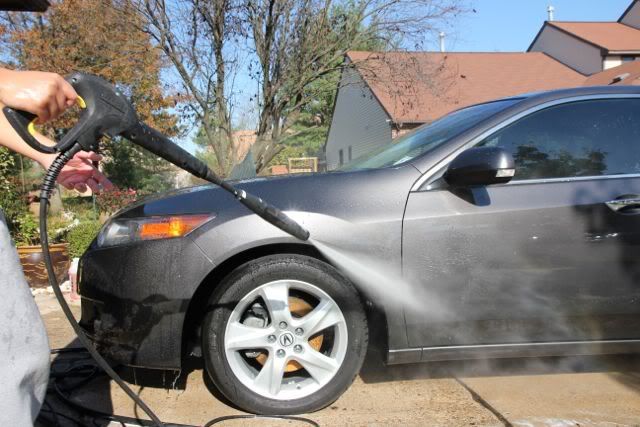
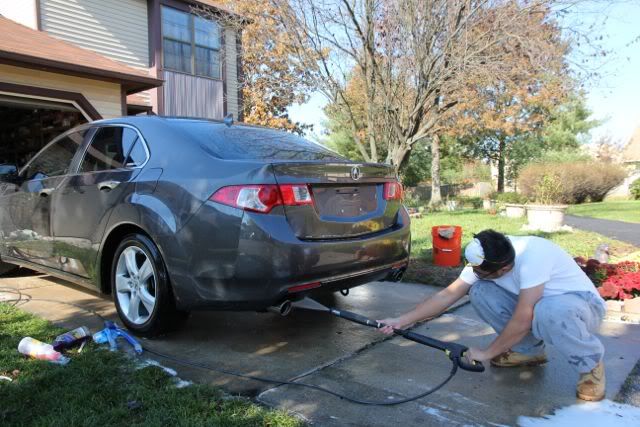
Then pressure wash off all the OPC


I finished my winter prep about a week ago but been busy and haven't had time to post write up about it. I spent about 15 hours detailing inside out and took about 3 days to finish. I did a Klasse twin with 2 coats of 845, thinking about washing my car and putting one more coat.
Exterior products
Pressure washer
Foam cannon
OPC 3:1 (lower panels)
Meg's hyper wash + OPC (foam cannon)
Duragloss car soap
Meg's wheel brighter
Meg's super degreaser
Various brushes
2 buckets with grit guard
Different grade clay bars
MF 16x16
Sheep mitt
Meg's MF mitt
Leaf blower
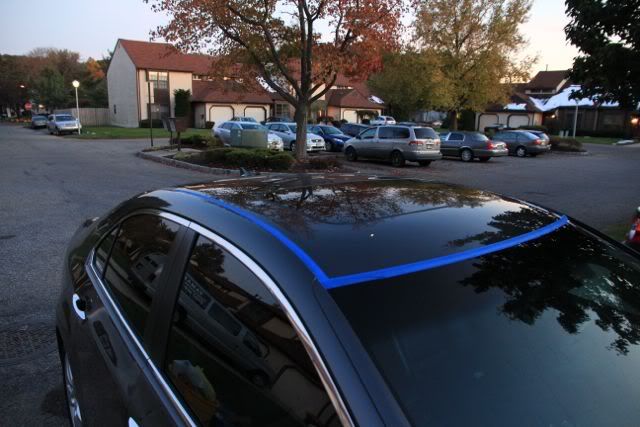
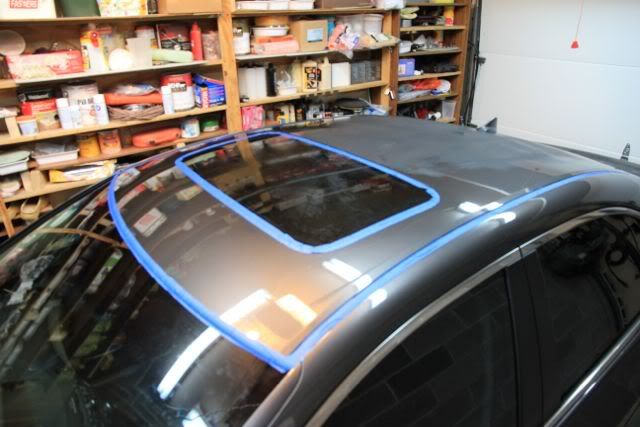
Blue masking tape
Griot's DA
5" and 3" various pads
Quick detailer
Compressed air
Klasse twin
Collinite 835
Meg's glass cleaner
Various applicators
Interior
Ridgid vacuum with different attachments
Various brushes
Sam's club MF
OPC 3:1
Aerospace 303 protectant
Meg's glass cleaner
Here is a step by step process in doing a winter prep. Everything was shot with T2i with 15-85mm on Manfrotto tripod. Now onto the pics.
Before exterior
Here is some of the stuff I used.
Cleaning the wheels first
Now cleaning the wheels well
The items used to clean wheels/tires/wells
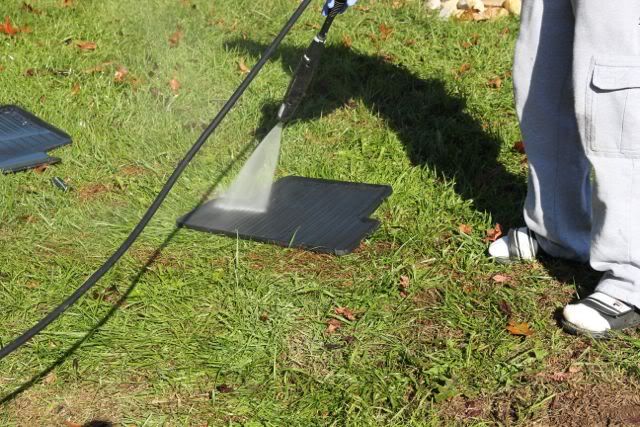
I OPC 3:1 the lower panels of the car because there was light layer of grime.
Then pressure wash off all the OPC
Last edited:


 rops:
rops: J/K
J/K