Dubbin1
New member
- May 28, 2009
- 3,845
- 0
I am posting this with the permission of the original poster, since he is no longer allowed to make posts on this forum. He (Dave a.k.a. Twistedframe) still wanted to contribute to the 1 Pad system conversation with this test. This was originally posted on the "other" detailing forum. Enjoy, and don't complain to me if you don't agree with it..lol
As some of you may know the 1 Pad Polishing system has raised some questions as to how well a pad will cut after just one use and cleaning cycle. There is a school of thought that says after just one use, and cleaning, a pad’s cutting ability is greatly decreased. This side thinks that the only fix for this is to use a new pad every time you polish and just throw away the old pad. Obviously this works, but it seems awfully wasteful and expensive.
That is where the other side of this debate comes in. Contrary to the proponents of the 1 pad system, many people believe that pads can be used and cleaned at least once, if not several times, before their cutting ability has dramatically decreased. People on this side believe it is overkill, a waste of money, not environmentally friendly, or just plain dumb to throw a pad away after one use.
To test this theory I have chosen to use LC Hydro Tech Cyan Pads. I chose these pads for two reasons. First I just plain like the way these pads work and want to use them as much as possible. They have great cut, but also have the ability to finish down phenomenally. Second I wanted to use these pads because they are more prone to deterioration thank other pads I have used. I’m not saying they don’t work well, but they definitely don’t hold up as well or as long as the Buff and Shine pads, or other LC flat pads. I figured that because of their quick deterioration they would best show the difference in cutting ability between used and new pads.
First the pads:
On the left we have a Cyan pad that has been used and cleaned once, and on the right a brand new Cyan pad right out of the bag. Not too much different here other than a little staining on the used pad. I do want to note though that the new pad is much more firm that the pad that has only been used once. I’m not saying that means anything, just an observation.
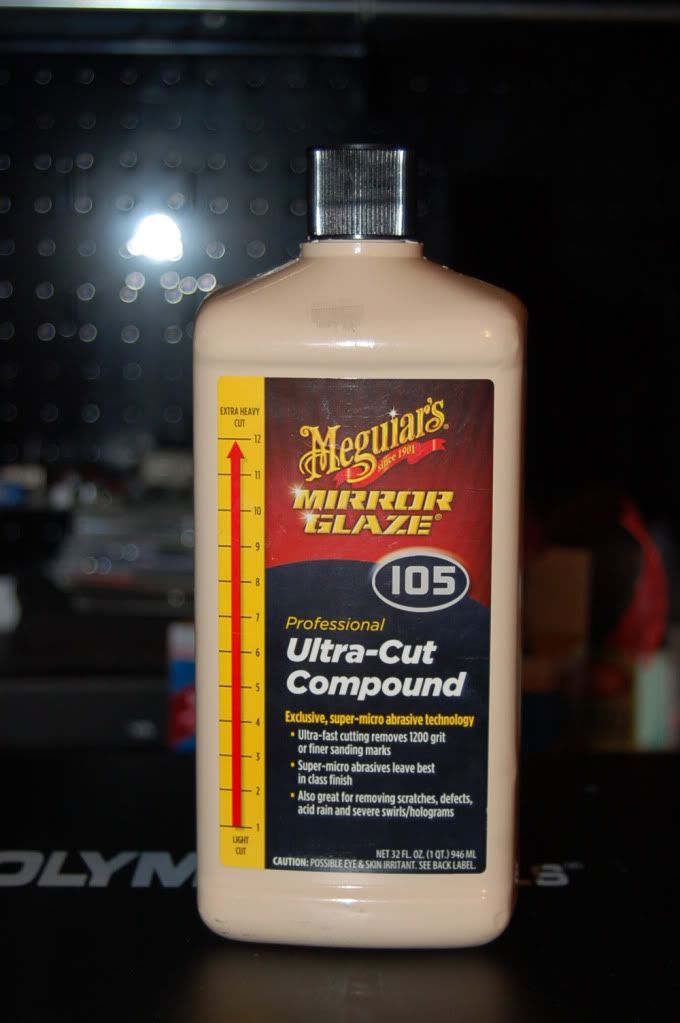
The pad was used on about half of a 1992 Toyota Camry about two weeks ago. It was used with M105 for correction.
To clean this pad I used Zep Citrus 10:1 with a soft toothbrush and my fingers.
The machine was the original PC.
 This image has been resized. Click this bar to view the full image. The original image is sized 1023x680.

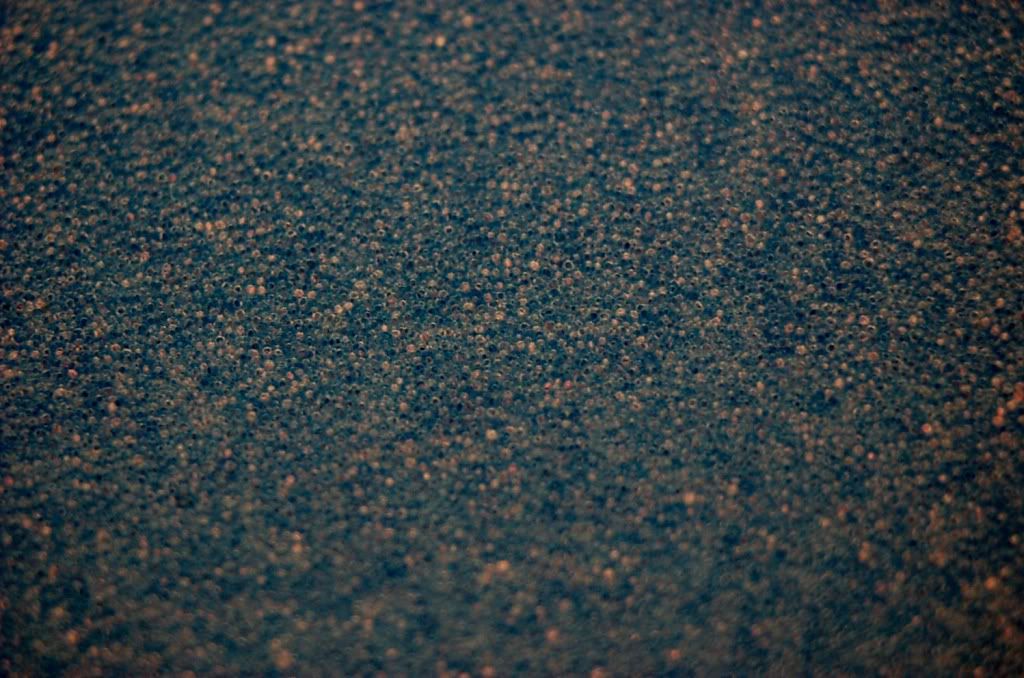
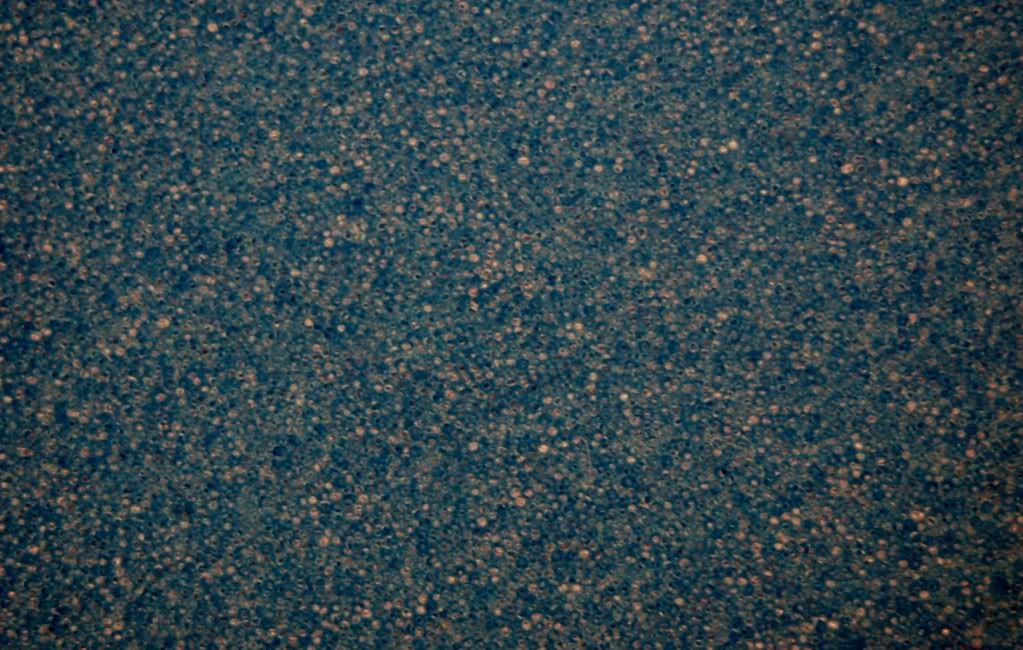
Here is a close up macro shot of the used pad. Before everyone goes nuts, yes it’s edited, but only to correct color because it was washed out originally.
This image has been resized. Click this bar to view the full image. The original image is sized 1024x678.
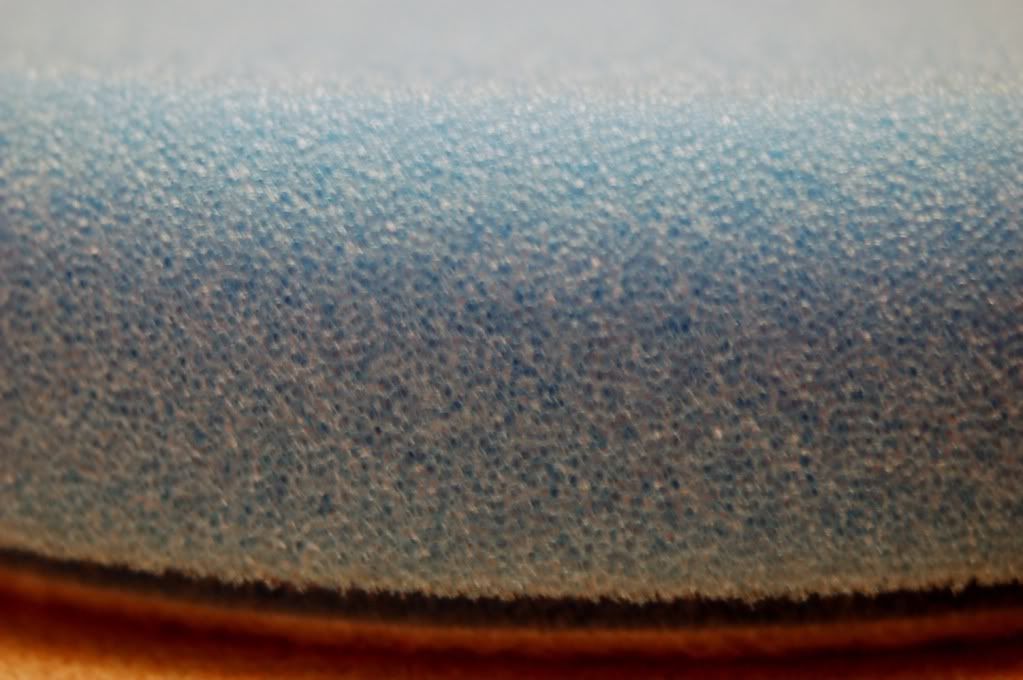
And here is the same close up macro shot of the new pad. Not too much difference in my eyes. To be honest I was expecting to see some difference in the cell structure/configuration on the used pad.
This image has been resized. Click this bar to view the full image. The original image is sized 1023x650.
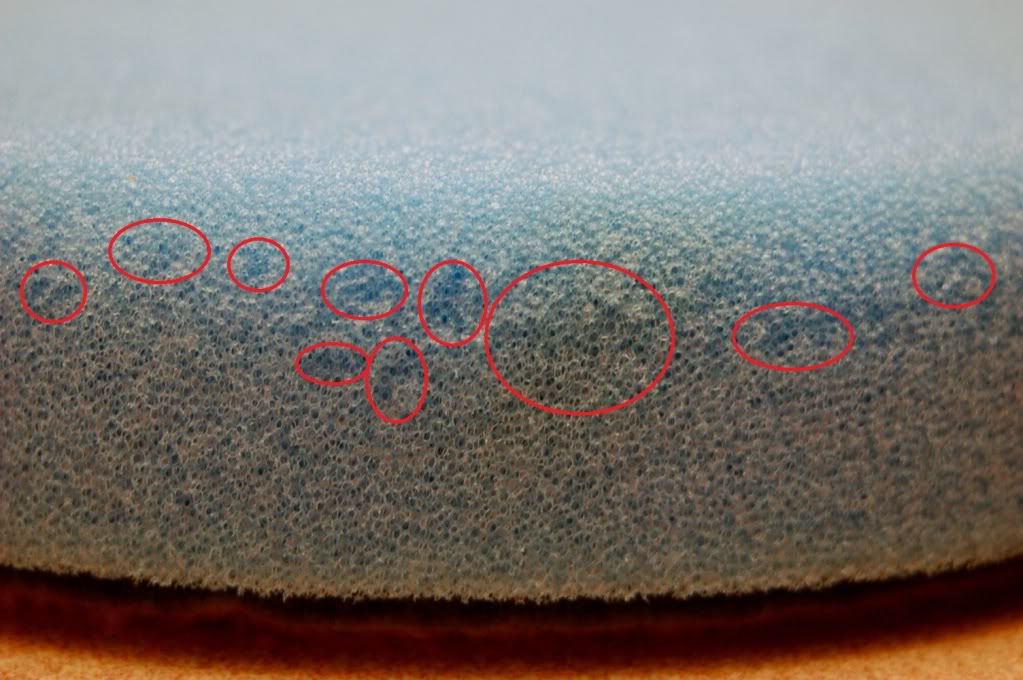
Here is a close up of the “shredding” that they Cyan pads are famous, or should I say infamous for.
This image has been resized. Click this bar to view the full image. The original image is sized 1023x680.
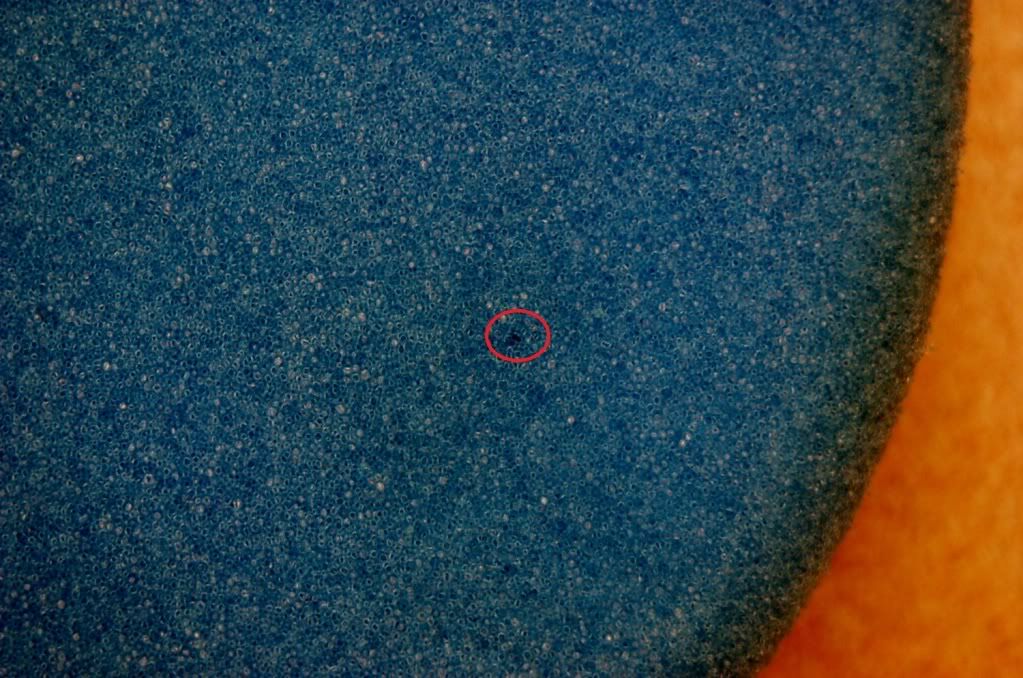
There wasn’t too much shredding on the face of the pad, but there was this one small hole.
This image has been resized. Click this bar to view the full image. The original image is sized 1023x678.
And here is a shot of the edge of the new pad just for comparison’s sake.
This image has been resized. Click this bar to view the full image. The original image is sized 1023x680.
And finally for the hardware here is what will be used for the correction.
The Car: 2009 Nisan Cube, Black. There weren’t many swirls or defects in my car so I took a plunge and put some marring in with some Costco towels and medium clay. It definitely did the job…lol. I also noticed I had some hard water stains so I probably could have done without all the swirls…but oh well.
The Test:
This test will be based on number of passes it takes to correct an area. Basically I will keep track of how many passes it takes each pad to achieve the same correction on a panel. One would assume that if the used pad does not have as much cutting ability that it will require more passes to achieve the same correction. For this test I will do my best to use the same pressure, amount of product, and arm speed with both pads to make it even. Again I said try since like everyone else I’m not perfect.
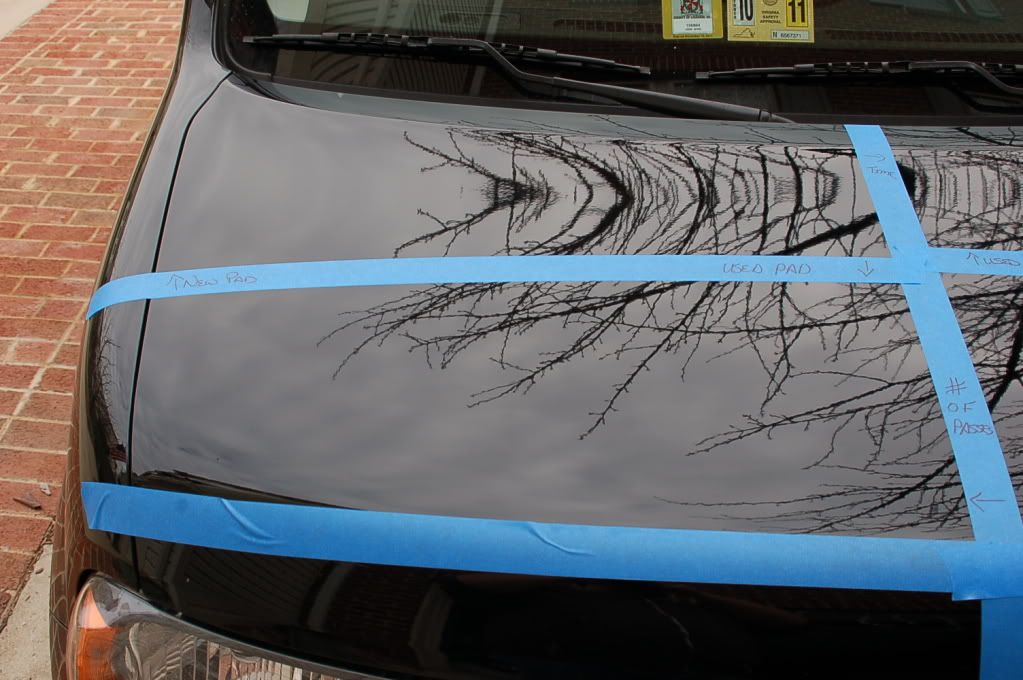
Here is how I set up the hood. Don’t mind the drivers side, that’s for something else I will be playing around it. Before you ask the reason for the tape on the front is to make both sections even. It may not look like it, but due to the curves in the hood both sections are almost 100% equal in size.
This image has been resized. Click this bar to view the full image. The original image is sized 1023x680.
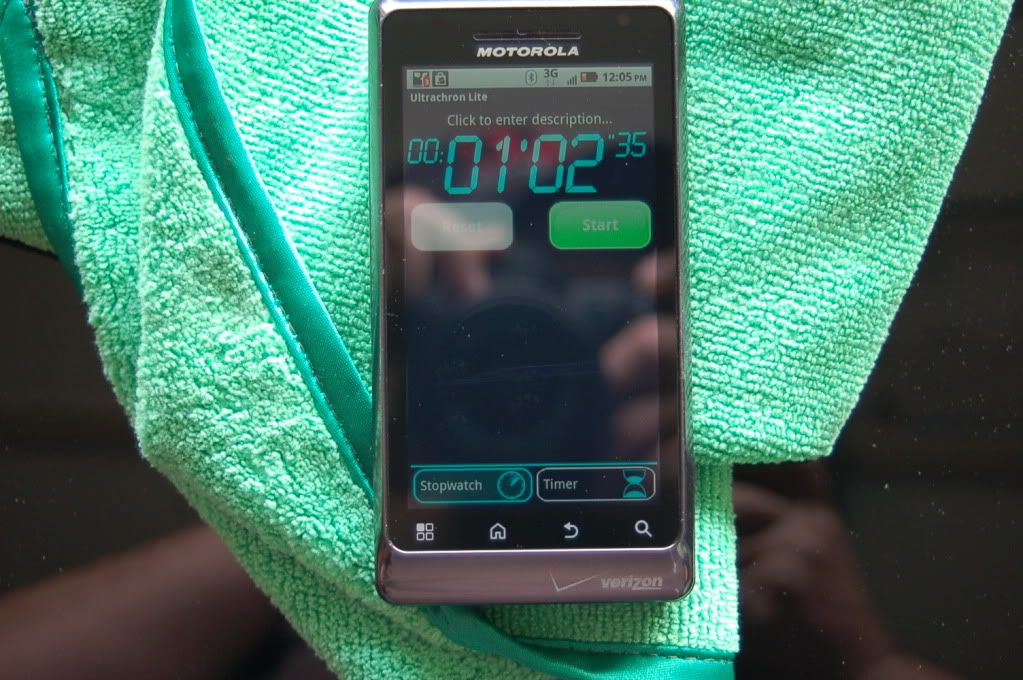
First I did a test run on the other side of the hood to see how long a pass would take me. In this size section I did three total “rounds” in one pass that took 1minute and 2 seconds. When I say three rounds I mean the full area way covered by the pad three times in one full pass. So when I say pass I mean a total of three rounds on that section. I came to three rounds because it was the minimum needed to ensure the polish had a chance to work, but short enough that I wasn’t going to get identical results between the old and new pad. I feel if I had done any more passes the results would look too similar. Also after I cleaned the hood I did two 50/50 (yes 50/50 of 91% IPA and distilled water) to make sure the surface was squeaky clean and free of fillers.
This image has been resized. Click this bar to view the full image. The original image is sized 1023x680.
The pics:
Here is a 50/50 after one pass with the old pad on the bottom and the new pad on the top. Obviously the middle of the picture was the tape line and is how the hood started off. Notice some deeper swirls still exist on the bottom where the old pad was used. The top at this point looked pretty good as far as swirls go.
This image has been resized. Click this bar to view the full image. The original image is sized 1023x680.
Here is a better look at the old pad on the bottom. Don’t mind the finger smudge, I was trying to get the camera to focus and touched to paint with my grubbing mitts.
This image has been resized. Click this bar to view the full image. The original image is sized 1023x680.
Here is one more pic that shows the new pad (on the left) a little better. Most of the light swirls and marring was taken care of, but there are some deeper RIDs and defects that still remain.
This image has been resized. Click this bar to view the full image. The original image is sized 1023x680.
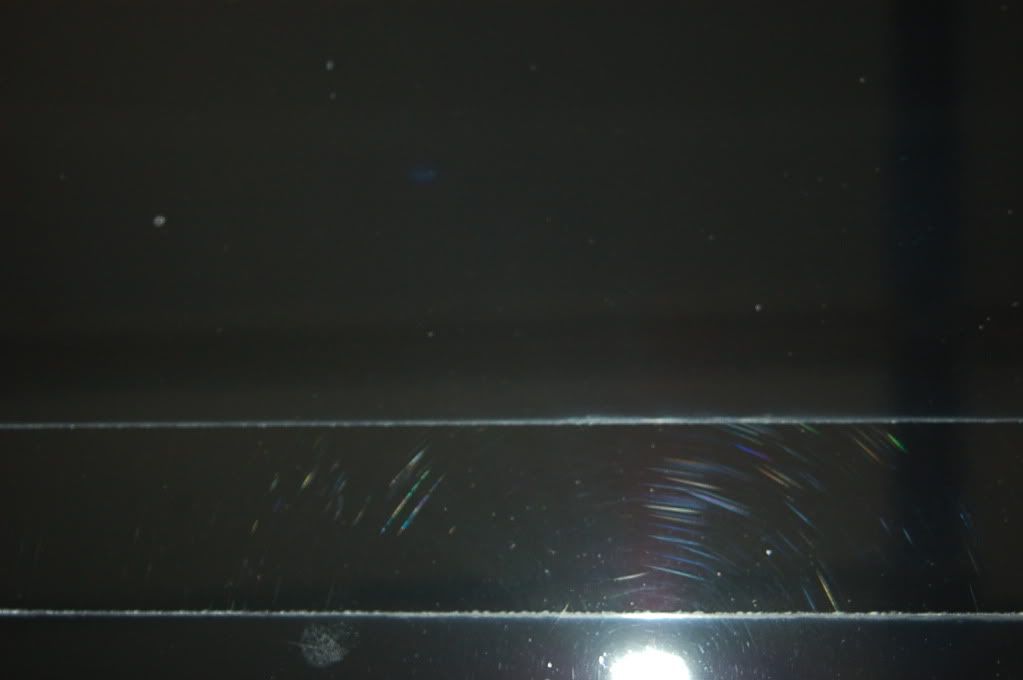
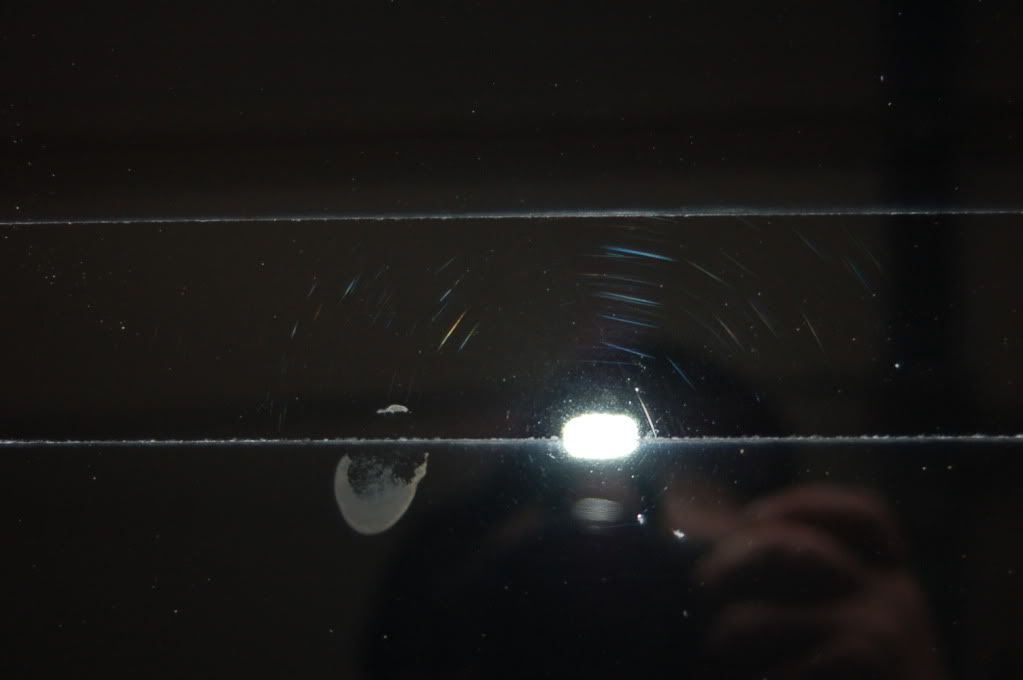
Here is a shot of the deeper defects left behind by the old pad. Most of the swirls are gone but these remained.
This image has been resized. Click this bar to view the full image. The original image is sized 1023x680.

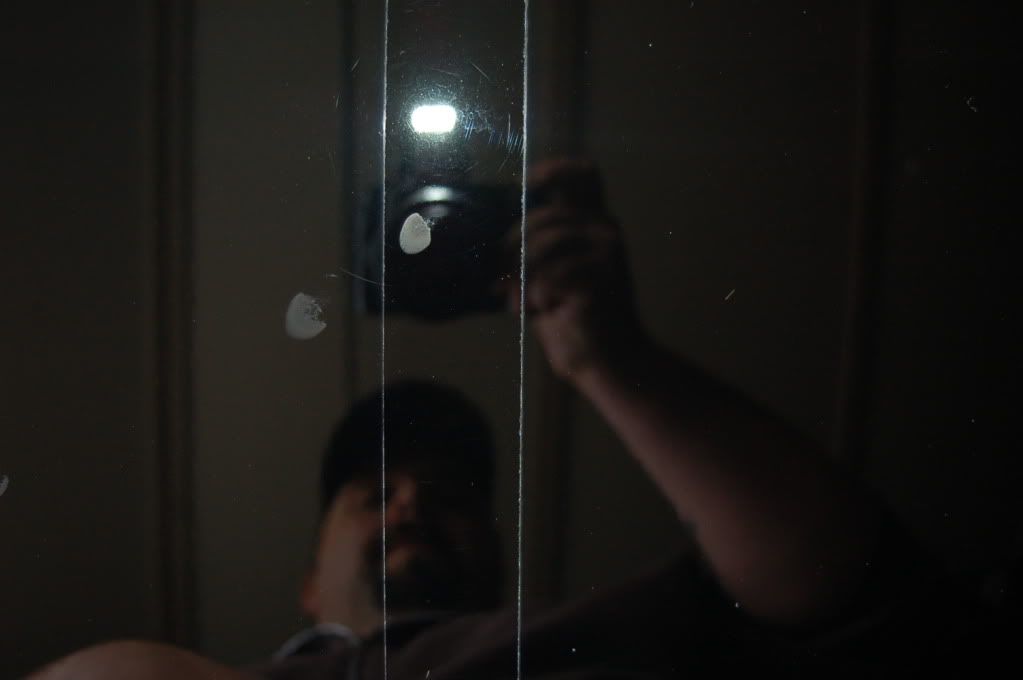
And here is the same look after the new pad. There are still some deeper defects, but not quite as many as the old pad left behind. As it stands now I am confident in saying the new pad cut slightly better than the used pad. However neither pad was able to remove all the defects in one pass.
This image has been resized. Click this bar to view the full image. The original image is sized 1023x680.

This is a 50/50 after two full passes with both pads. Notice the old pad has cleaned up all the swirls and marring with this pass.
As some of you may know the 1 Pad Polishing system has raised some questions as to how well a pad will cut after just one use and cleaning cycle. There is a school of thought that says after just one use, and cleaning, a pad’s cutting ability is greatly decreased. This side thinks that the only fix for this is to use a new pad every time you polish and just throw away the old pad. Obviously this works, but it seems awfully wasteful and expensive.
That is where the other side of this debate comes in. Contrary to the proponents of the 1 pad system, many people believe that pads can be used and cleaned at least once, if not several times, before their cutting ability has dramatically decreased. People on this side believe it is overkill, a waste of money, not environmentally friendly, or just plain dumb to throw a pad away after one use.
To test this theory I have chosen to use LC Hydro Tech Cyan Pads. I chose these pads for two reasons. First I just plain like the way these pads work and want to use them as much as possible. They have great cut, but also have the ability to finish down phenomenally. Second I wanted to use these pads because they are more prone to deterioration thank other pads I have used. I’m not saying they don’t work well, but they definitely don’t hold up as well or as long as the Buff and Shine pads, or other LC flat pads. I figured that because of their quick deterioration they would best show the difference in cutting ability between used and new pads.
First the pads:
On the left we have a Cyan pad that has been used and cleaned once, and on the right a brand new Cyan pad right out of the bag. Not too much different here other than a little staining on the used pad. I do want to note though that the new pad is much more firm that the pad that has only been used once. I’m not saying that means anything, just an observation.
The pad was used on about half of a 1992 Toyota Camry about two weeks ago. It was used with M105 for correction.
To clean this pad I used Zep Citrus 10:1 with a soft toothbrush and my fingers.
The machine was the original PC.
Here is a close up macro shot of the used pad. Before everyone goes nuts, yes it’s edited, but only to correct color because it was washed out originally.
And here is the same close up macro shot of the new pad. Not too much difference in my eyes. To be honest I was expecting to see some difference in the cell structure/configuration on the used pad.
Here is a close up of the “shredding” that they Cyan pads are famous, or should I say infamous for.
There wasn’t too much shredding on the face of the pad, but there was this one small hole.
And here is a shot of the edge of the new pad just for comparison’s sake.
And finally for the hardware here is what will be used for the correction.
The Car: 2009 Nisan Cube, Black. There weren’t many swirls or defects in my car so I took a plunge and put some marring in with some Costco towels and medium clay. It definitely did the job…lol. I also noticed I had some hard water stains so I probably could have done without all the swirls…but oh well.
The Test:
This test will be based on number of passes it takes to correct an area. Basically I will keep track of how many passes it takes each pad to achieve the same correction on a panel. One would assume that if the used pad does not have as much cutting ability that it will require more passes to achieve the same correction. For this test I will do my best to use the same pressure, amount of product, and arm speed with both pads to make it even. Again I said try since like everyone else I’m not perfect.
Here is how I set up the hood. Don’t mind the drivers side, that’s for something else I will be playing around it. Before you ask the reason for the tape on the front is to make both sections even. It may not look like it, but due to the curves in the hood both sections are almost 100% equal in size.
First I did a test run on the other side of the hood to see how long a pass would take me. In this size section I did three total “rounds” in one pass that took 1minute and 2 seconds. When I say three rounds I mean the full area way covered by the pad three times in one full pass. So when I say pass I mean a total of three rounds on that section. I came to three rounds because it was the minimum needed to ensure the polish had a chance to work, but short enough that I wasn’t going to get identical results between the old and new pad. I feel if I had done any more passes the results would look too similar. Also after I cleaned the hood I did two 50/50 (yes 50/50 of 91% IPA and distilled water) to make sure the surface was squeaky clean and free of fillers.
The pics:
Here is a 50/50 after one pass with the old pad on the bottom and the new pad on the top. Obviously the middle of the picture was the tape line and is how the hood started off. Notice some deeper swirls still exist on the bottom where the old pad was used. The top at this point looked pretty good as far as swirls go.
Here is a better look at the old pad on the bottom. Don’t mind the finger smudge, I was trying to get the camera to focus and touched to paint with my grubbing mitts.
Here is one more pic that shows the new pad (on the left) a little better. Most of the light swirls and marring was taken care of, but there are some deeper RIDs and defects that still remain.
Here is a shot of the deeper defects left behind by the old pad. Most of the swirls are gone but these remained.
And here is the same look after the new pad. There are still some deeper defects, but not quite as many as the old pad left behind. As it stands now I am confident in saying the new pad cut slightly better than the used pad. However neither pad was able to remove all the defects in one pass.
This is a 50/50 after two full passes with both pads. Notice the old pad has cleaned up all the swirls and marring with this pass.