Mike Phillips
Active member
- Dec 5, 2022
- 51,004
- 6
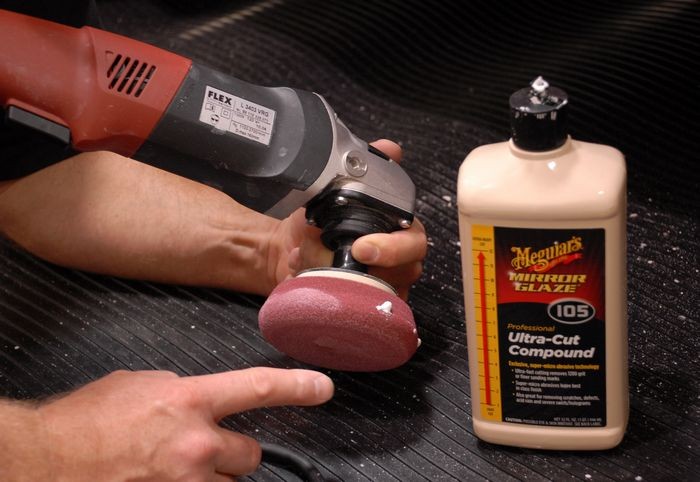
The 10 @ 10 technique for picking up a bead of product with a rotary buffer
The 10 @ 10 Technique for picking up a bead of product is a way you can grabbing your product on the fly with your rotary buffer in a way that pulls the product under and into the face of the buffing pad instead of splattering it all over the place.
Some people take their pad and simply spread their product out over the paint with the buffer off and then after spreading it out turn the buffer on and start buffing, this works but can also throw splatter all over the place.
The 10 @ 10 Technique not only works but has a cool factor to it that shows anyone watching that you know how to pick up a bead of product like a Pro.
First of all, the term bead in detailing talk beans a line or strip of product. Just want to make sure everyone understands that term.
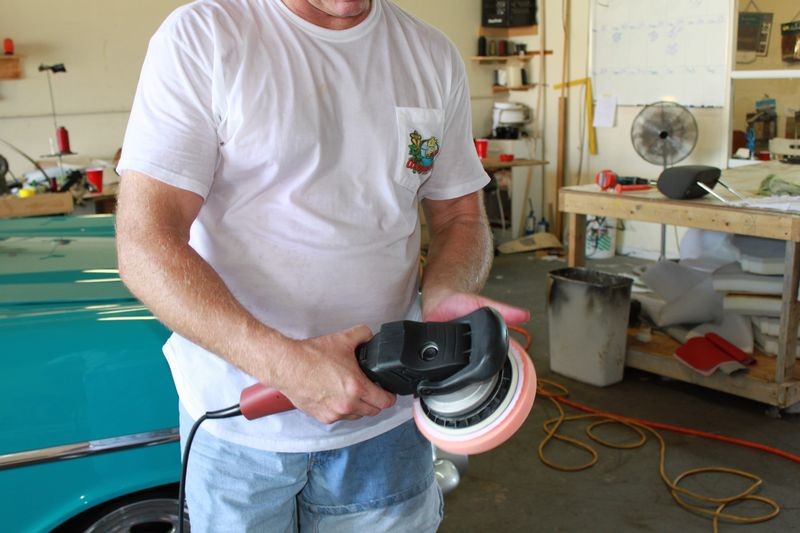
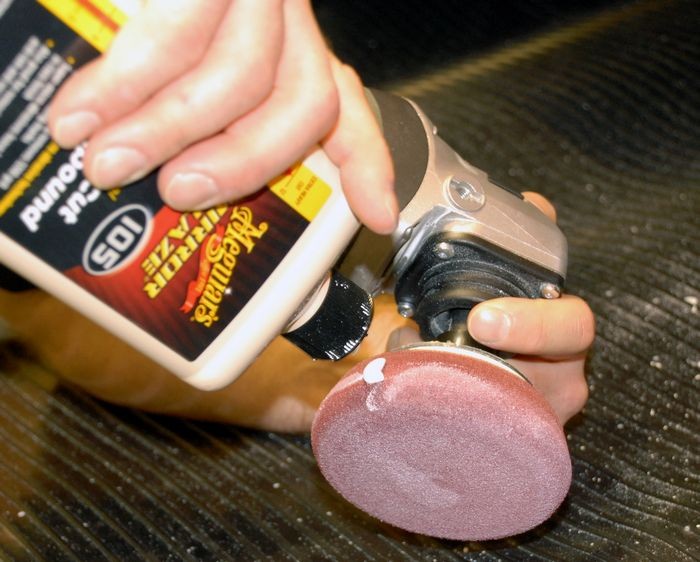
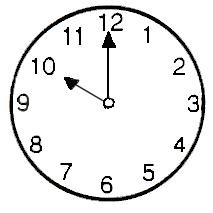
To pick up your bead of product using the 10 @ 10 Technique, while holding the rotary buffer in your hands, looking at the back of the buffing pad, pretend it's clock. The top is 12:00 O'clock and going clockwise you have the 1, 2, 3, etc. positions on the buffing pad that would correlate with a clock.
What you want to do is bring the rotary buffer up to speed and then lock the trigger into place so you don't have to hold it in the entire time you're buffing.
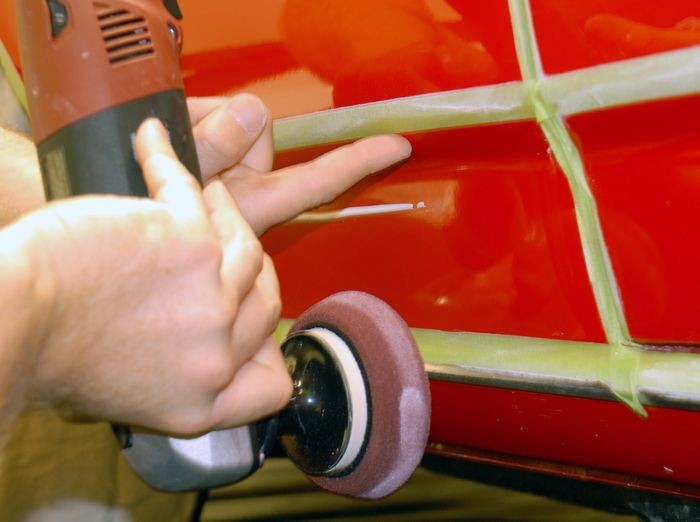
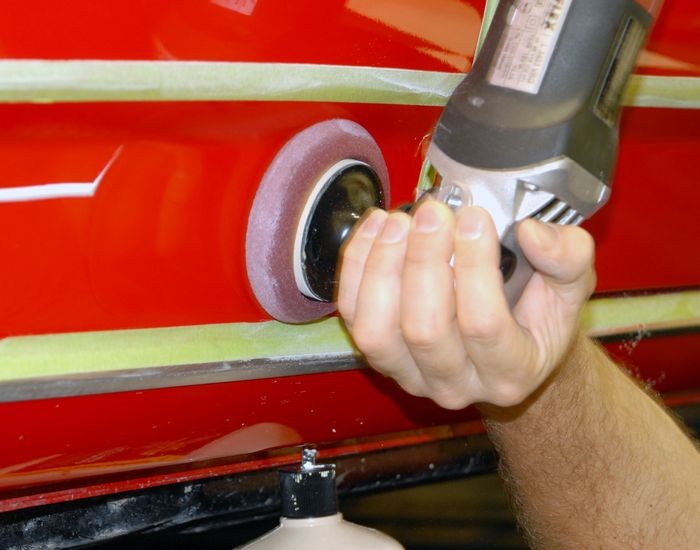
Next, place the buffing pad just in front of your bead of product at the 10 O'clock position.
The pad should be spinning but not in contact with the paint.
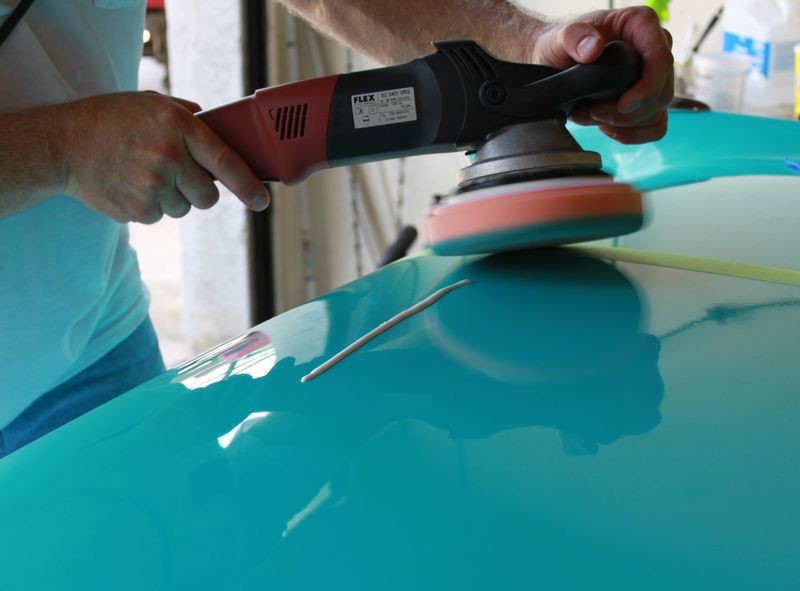
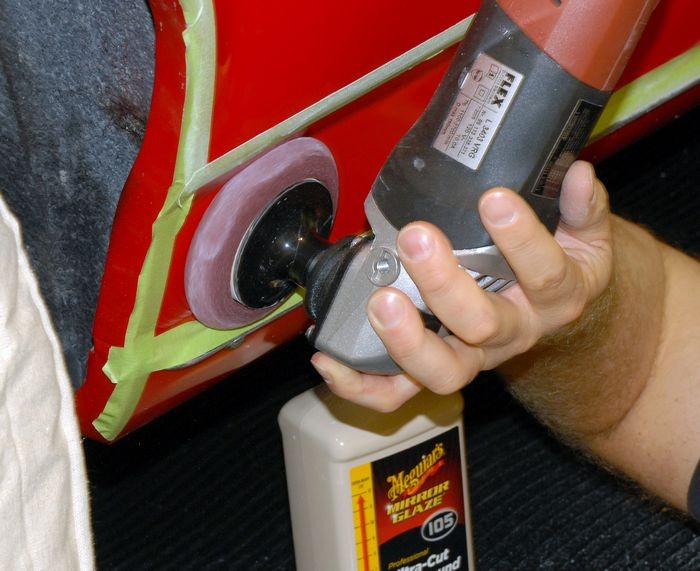
Lightly touch the buffing pad down so the 3 O'clock position is just making contact with the paint and the 10 O'clock position is raised off the paint about 10 degrees.
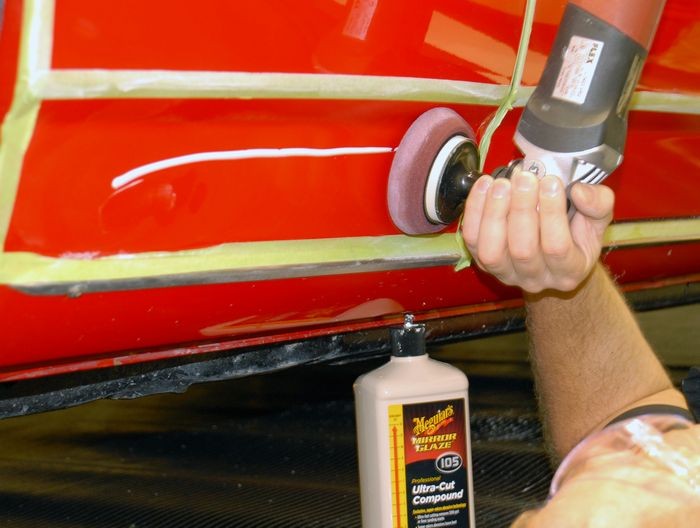
Now run the buffing pad over the bead of product from right to left drawing the bead in at the 10 O'clock position. (not the 9 O'clock or 11 O'clock posting but the 10 O'clock position).
Since the pad is rotating clockwise, the bead of product will be pulled into and under the pad instead of being thrown away from the pad as splatter.
As soon as you move the polisher past the last portion of the bead of product instantly move the raised portion of the buffing pad so that the entire pad is now flat against the paint and proceed to spread the product out over the area you're going to work.
After the product is spread out, then start working the product against the paint with slow overlapping passes.
I show this technique in this video,
Tips for using a Rotary Buffer and the Flex 3401 on vertical panels
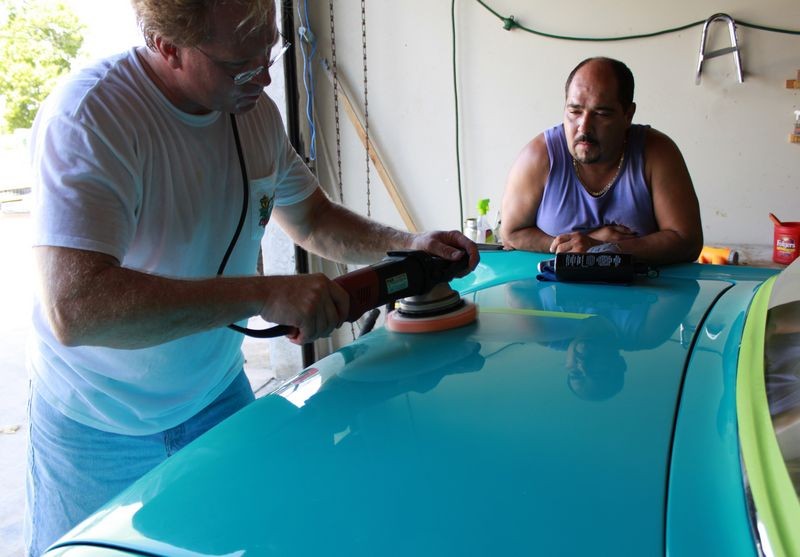
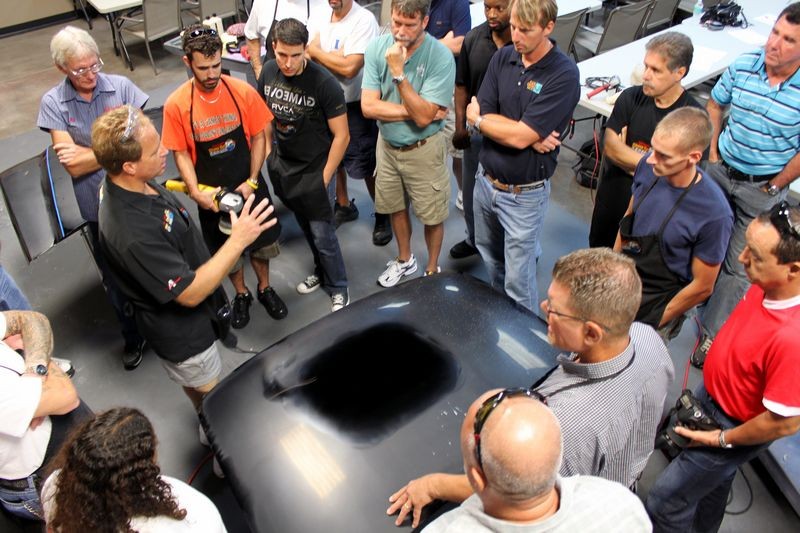
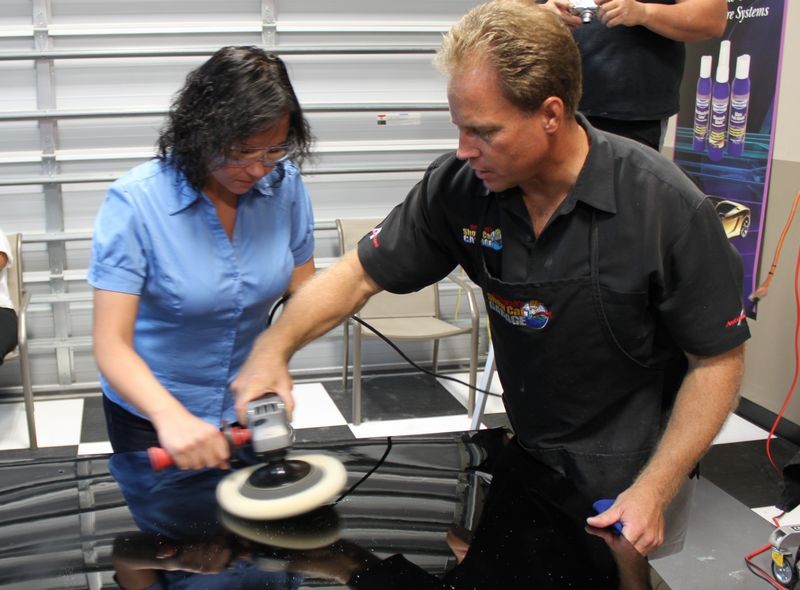
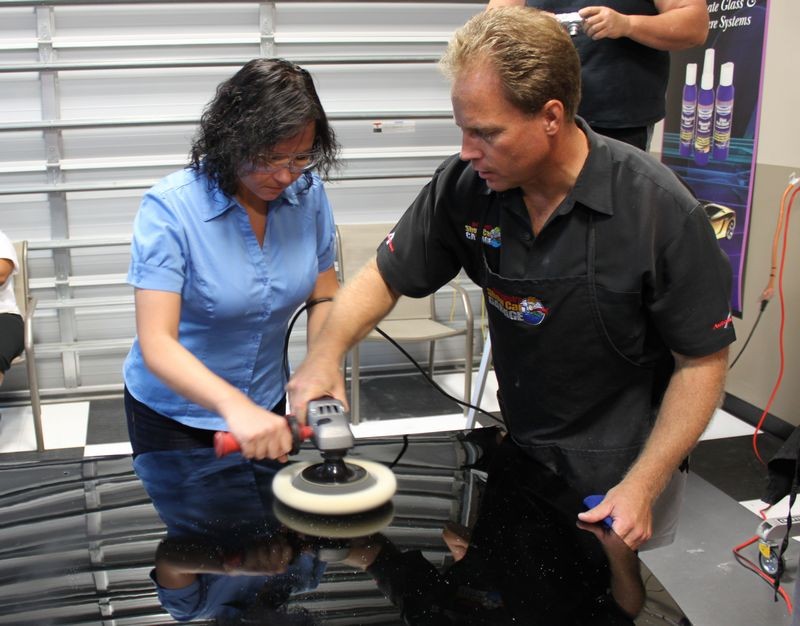
At our recent Advanced Detailing Class, I helped Tanya to learn how to pick up a bead of product using the rotary buffer. With a little practice you'll be picking up your bead like a Pro!
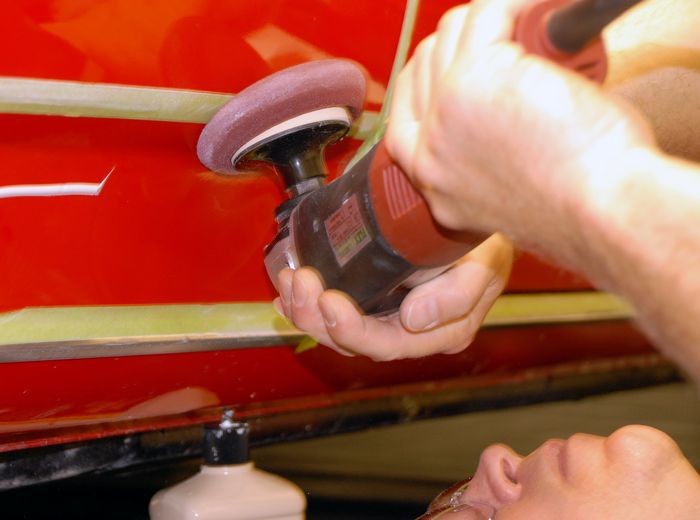
Tanya is ready to learn the way of the rotary buffer...

First things first and that's learning the 10 @ 10 Technique for picking up a bead of product...

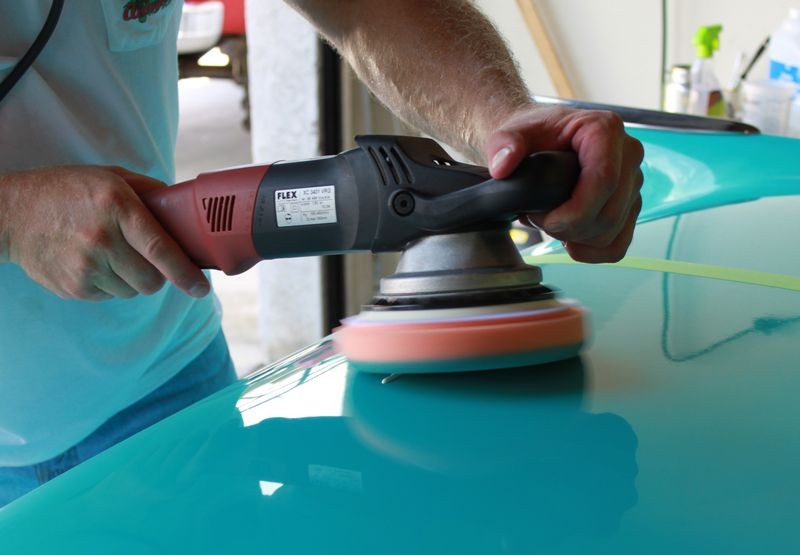
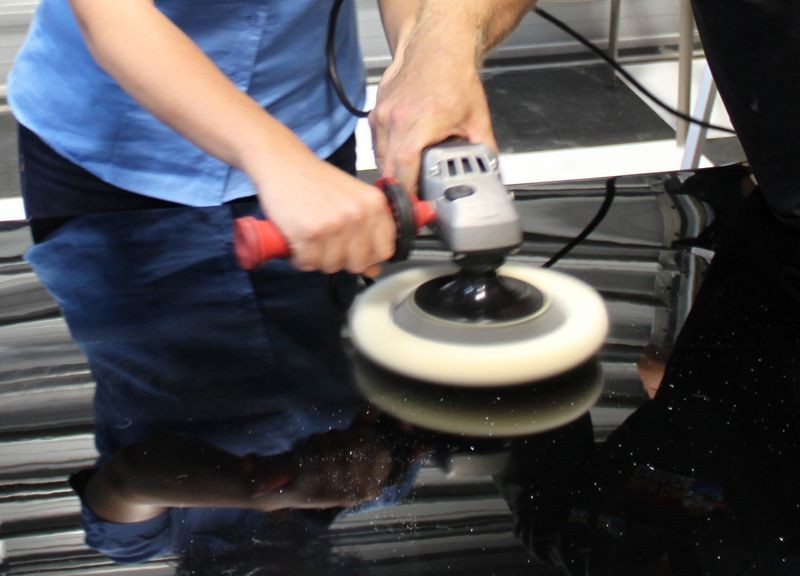
Tilt about 10 degrees and run the buffing pad over the bead at the 10 O'clock position with the 3 O'clock position of the pad just lightly against the paint...

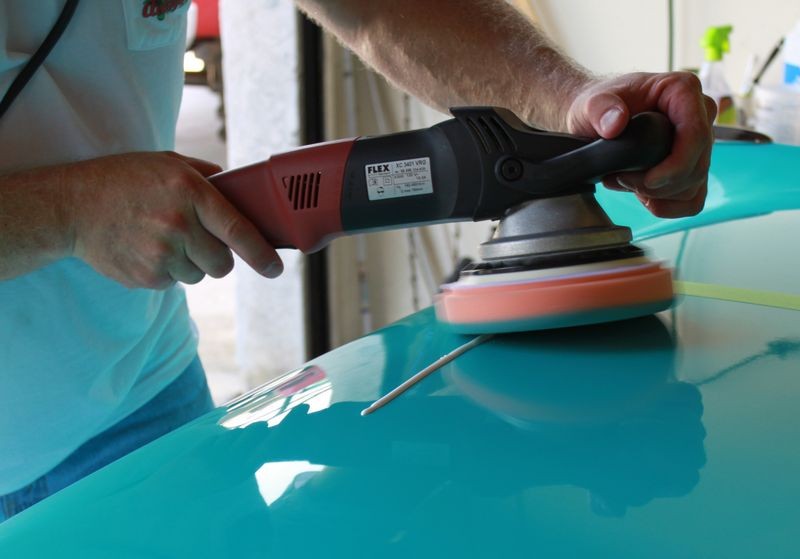
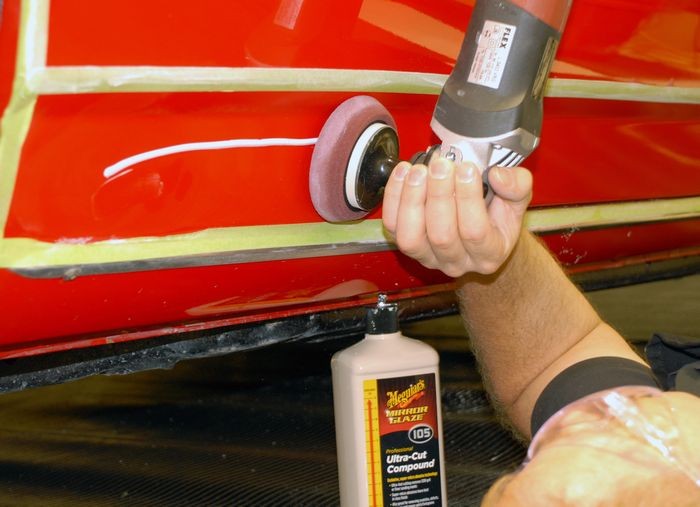
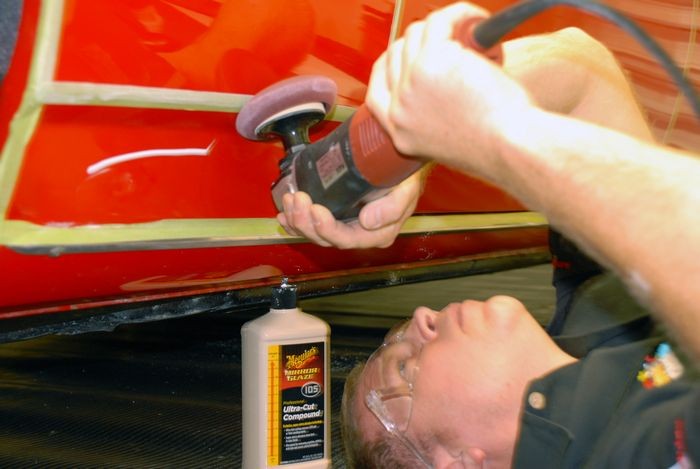
Continue moving the buffing pad over the bead of product at the 10 O'clock position on the buffing pad.

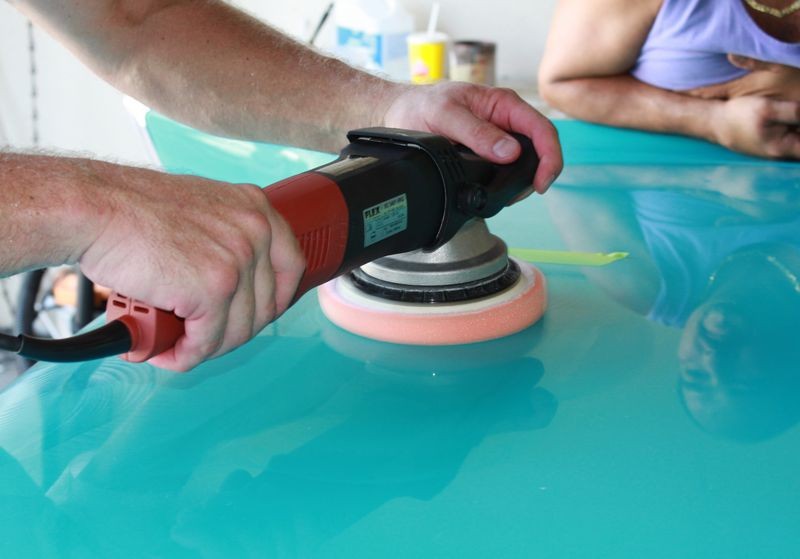
When you get to the end of the bead of product then lay the pad flat and then spread the product out over the area you're going to work.

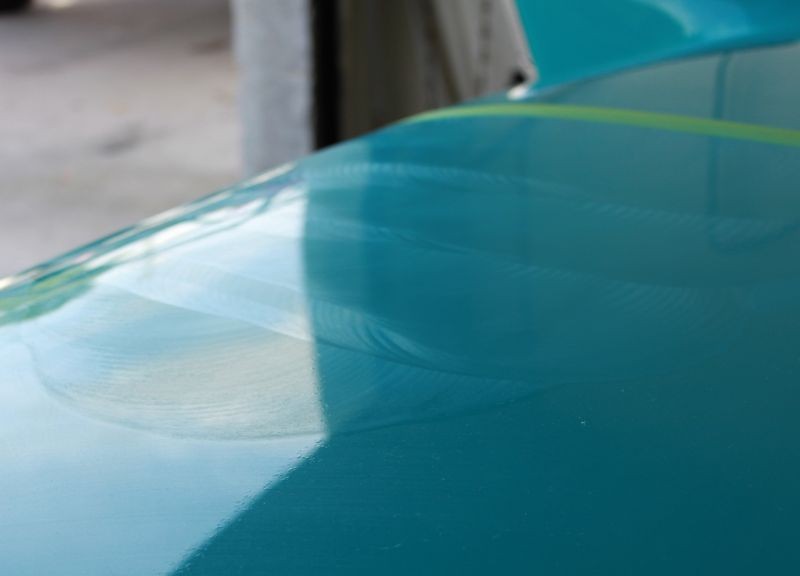
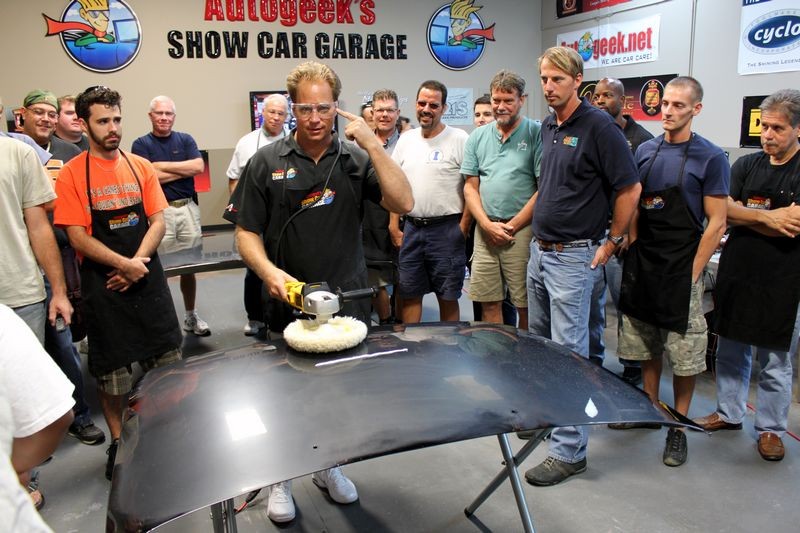
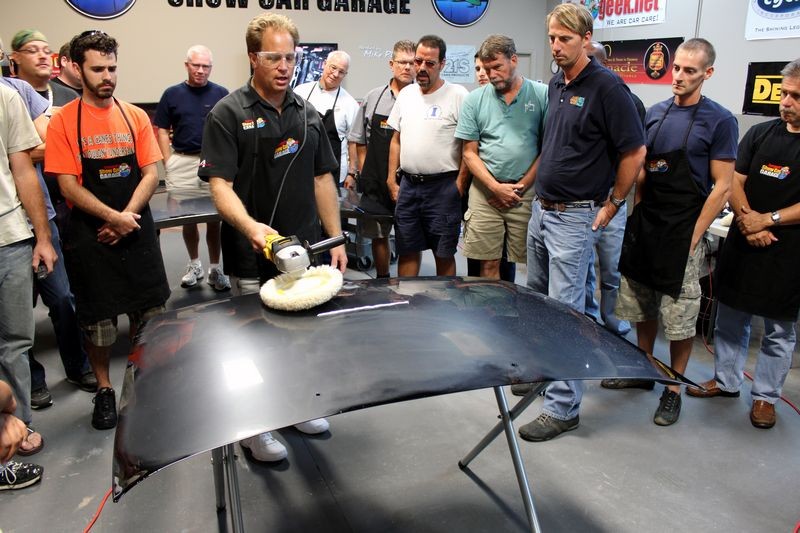
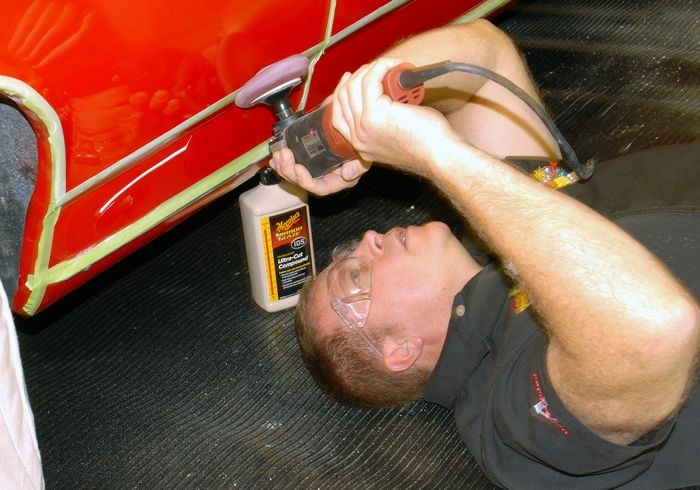
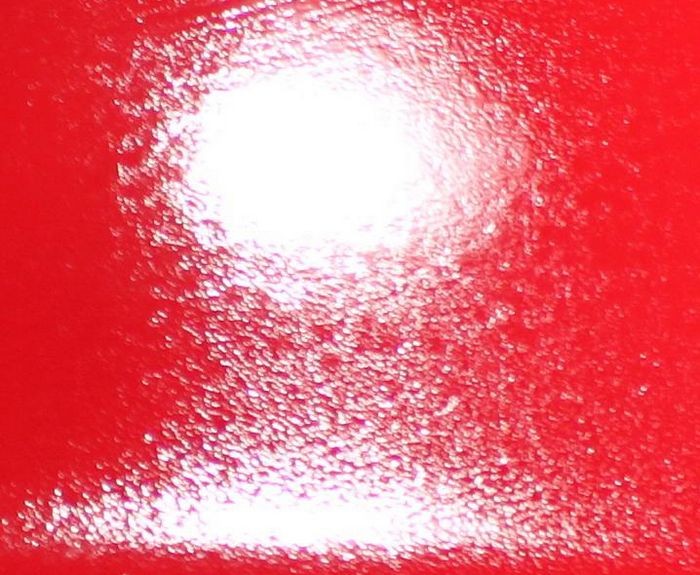
Here's a good picture that shows how Charles has spread his product out over an average size area to work at one time and now he's compound the paint.

Once you master the 10 @ 10 Technique and understand how the technique works, you can then start freestyling and picking your bead of product up anywhere on the buffing pad as long as you do it in such a way that the spinning pad is pulling the product into and under the pad and not throwing it as splatter.
For example, another common way to pick up your bead of product is at the 4 @ 10 Technique.
For this you would be moving the rotary buffer from left to right, with the pad just touching down at the 9 O'clock position and lifting the opposite side about 10 degrees and then running the bead in at the 4 O'clock position.
Since the pad is rotating clockwise, the bead of product will be pulled into and under the pad instead of being thrown away from the pad as splatter.
Remember to clean your pad often using either a Spur or a Pad Washer.
Using a Spur to clean a wool buffing pad to remove spent product and removed paint

Using the System 2000 Pad Washer to clean a wool buffing pad on a DeWALT Rotary Buffer

")
The 10 @ 10 Technique for picking up a bead of product is a way you can grabbing your product on the fly with your rotary buffer in a way that pulls the product under and into the face of the buffing pad instead of splattering it all over the place.
Some people take their pad and simply spread their product out over the paint with the buffer off and then after spreading it out turn the buffer on and start buffing, this works but can also throw splatter all over the place.
The 10 @ 10 Technique not only works but has a cool factor to it that shows anyone watching that you know how to pick up a bead of product like a Pro.
First of all, the term bead in detailing talk beans a line or strip of product. Just want to make sure everyone understands that term.
To pick up your bead of product using the 10 @ 10 Technique, while holding the rotary buffer in your hands, looking at the back of the buffing pad, pretend it's clock. The top is 12:00 O'clock and going clockwise you have the 1, 2, 3, etc. positions on the buffing pad that would correlate with a clock.
What you want to do is bring the rotary buffer up to speed and then lock the trigger into place so you don't have to hold it in the entire time you're buffing.
Next, place the buffing pad just in front of your bead of product at the 10 O'clock position.
The pad should be spinning but not in contact with the paint.
Lightly touch the buffing pad down so the 3 O'clock position is just making contact with the paint and the 10 O'clock position is raised off the paint about 10 degrees.
Now run the buffing pad over the bead of product from right to left drawing the bead in at the 10 O'clock position. (not the 9 O'clock or 11 O'clock posting but the 10 O'clock position).
Since the pad is rotating clockwise, the bead of product will be pulled into and under the pad instead of being thrown away from the pad as splatter.
As soon as you move the polisher past the last portion of the bead of product instantly move the raised portion of the buffing pad so that the entire pad is now flat against the paint and proceed to spread the product out over the area you're going to work.
After the product is spread out, then start working the product against the paint with slow overlapping passes.
I show this technique in this video,
Tips for using a Rotary Buffer and the Flex 3401 on vertical panels
At our recent Advanced Detailing Class, I helped Tanya to learn how to pick up a bead of product using the rotary buffer. With a little practice you'll be picking up your bead like a Pro!
Tanya is ready to learn the way of the rotary buffer...
First things first and that's learning the 10 @ 10 Technique for picking up a bead of product...
Tilt about 10 degrees and run the buffing pad over the bead at the 10 O'clock position with the 3 O'clock position of the pad just lightly against the paint...
Continue moving the buffing pad over the bead of product at the 10 O'clock position on the buffing pad.
When you get to the end of the bead of product then lay the pad flat and then spread the product out over the area you're going to work.
Here's a good picture that shows how Charles has spread his product out over an average size area to work at one time and now he's compound the paint.
Once you master the 10 @ 10 Technique and understand how the technique works, you can then start freestyling and picking your bead of product up anywhere on the buffing pad as long as you do it in such a way that the spinning pad is pulling the product into and under the pad and not throwing it as splatter.
For example, another common way to pick up your bead of product is at the 4 @ 10 Technique.
For this you would be moving the rotary buffer from left to right, with the pad just touching down at the 9 O'clock position and lifting the opposite side about 10 degrees and then running the bead in at the 4 O'clock position.
Since the pad is rotating clockwise, the bead of product will be pulled into and under the pad instead of being thrown away from the pad as splatter.
Remember to clean your pad often using either a Spur or a Pad Washer.
Using a Spur to clean a wool buffing pad to remove spent product and removed paint
Using the System 2000 Pad Washer to clean a wool buffing pad on a DeWALT Rotary Buffer