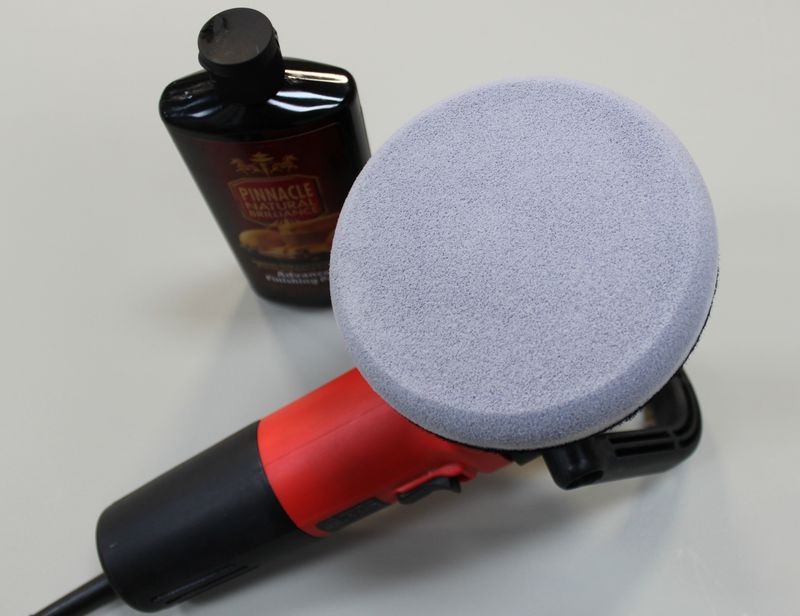
Well keep in mind the correction step is the most aggressive and destructive step to everything involved...
The paint
The pad
The product (it's being destroyed as you use it by design)
The tool
You're hands
Compound, or as I call it in my how-to book, The Major Correction Step, (which is what it is), is the hardest step, the longest step and also the most important step.
As far as using pea sized drop...
I tend to use at least dime sized drops as you need not only abrasives on the surface but a working film of lubrication to enable the pad to rotate and ocillate effectivley, so try using a little more product.
I cover this in my how-to book and in this article...
How to prime a foam pad when using a DA Polisher
Here are 3 ways to apply product to your pad.
1. Priming the pad then adding product to work with
Priming a clean, dry pad is considered the best approach for using a DA Polisher because it ensures that 100% of the working surface of the pad is wet with product and working at maximum efficiency when you turn the polisher on. I originally learned of this technique from my friend Kevin Brown.
Priming the pad also ensures that you don't have any dry portion of the pad working over the paint un-lubricated. This really isn't a risk because since you're just starting out you're going to be removing defects a lot more serious than would be caused by any portion of the pad that is dry and spinning against the paint.
Plus, after just a few passes, the product you apply to specific areas of the face of the pad will migrate over the entire face of the pad and it will do this rather quickly when you're on the higher speed settings.
Priming the Pad - For clean, dry pads
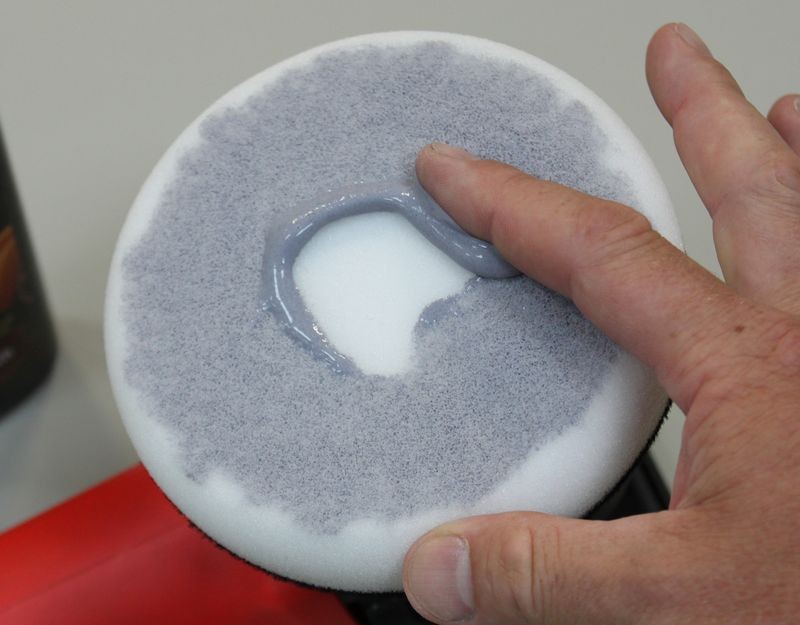
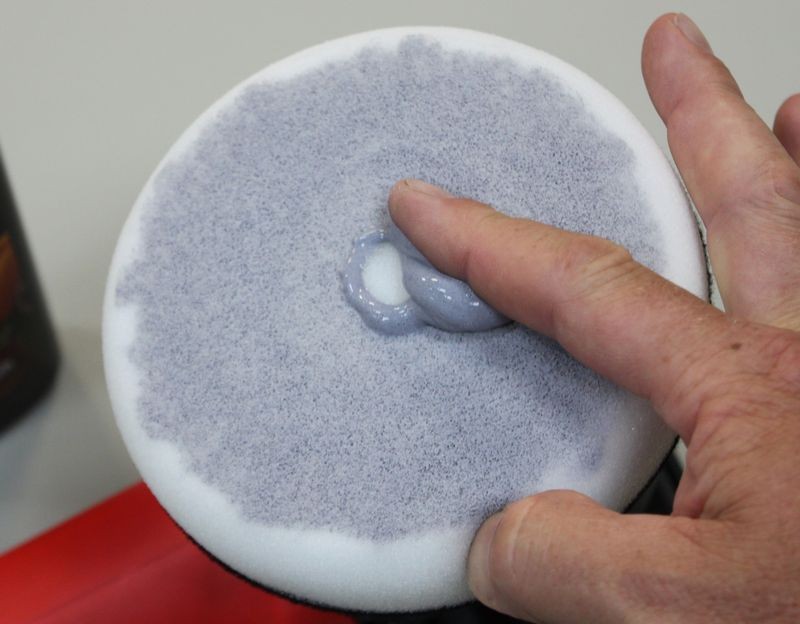
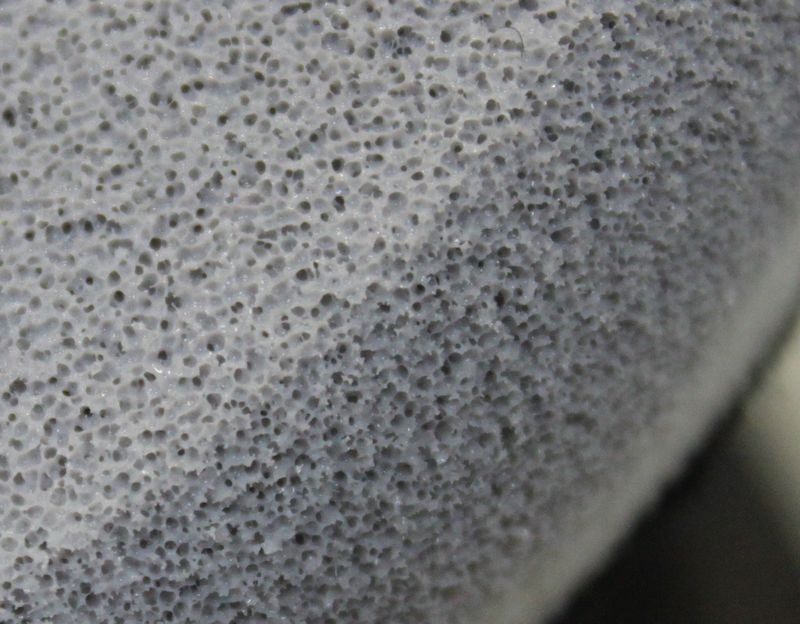
Start with a clean, dry pad and add some fresh product to be spread out to the face of the pad. Using your finger, spread the product out over the pad and then using your finger work it into the pores of the pad. Don't saturate the pad, just use enough product to make sure that 100% of the working face of the pad has product coverage.
Work the product around the face of the pad and into the pores
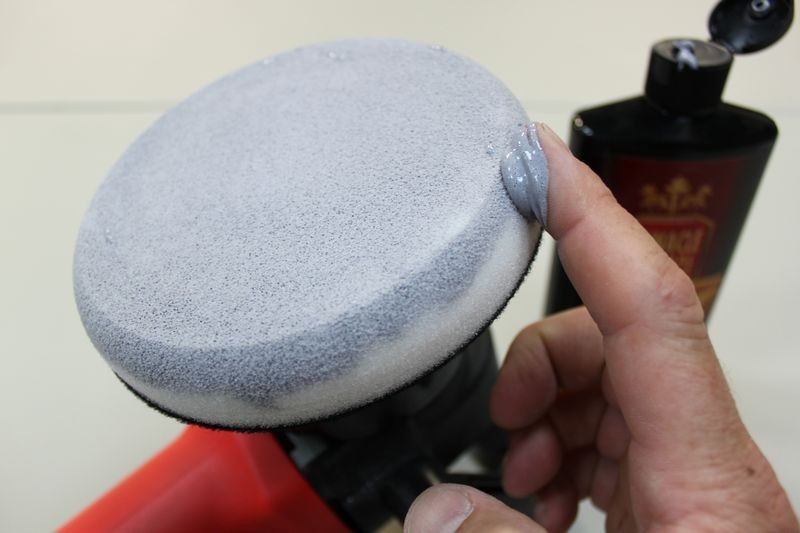
Any extra, take and apply to the outer edge until 100% of the working face of the pad is primed with product.
As an option you can also prime the outer edge. This helps if you're buffing around convex curves or around panels that the edge of your buffing pad may come into contact with, like spoilers, side mirror housings, curved panels etc.
Primed and ready to add "Working Product" to.
Adding "Working Product" to the primed pad
Some people will recommend 3 to 4 pea size drops of product as the proper amount of product to use and this can be correct for
concentrated products or working small sections and if you follow this advice make sure you are not
under-lubricating the surface being worked.
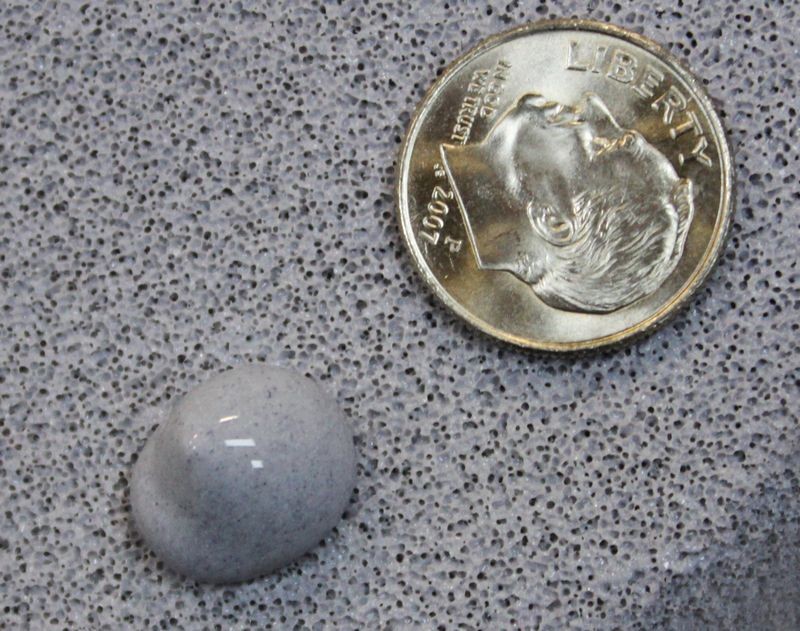
Pea size drops of product
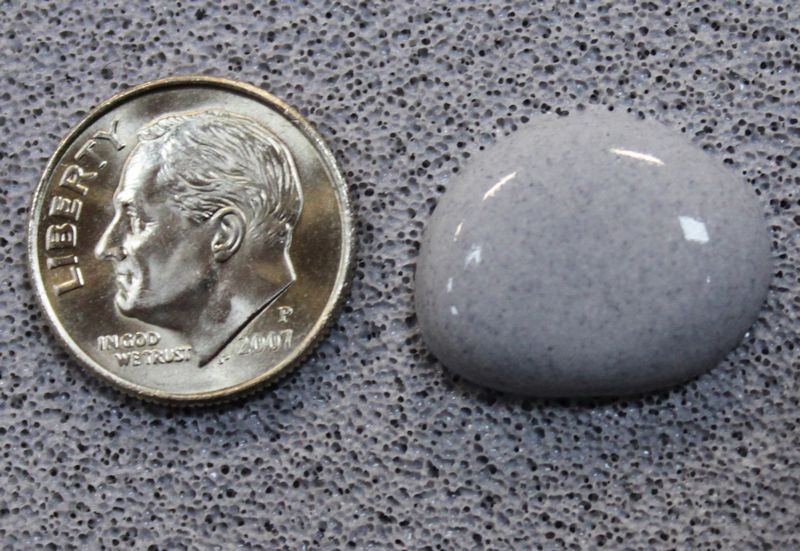
For some products and paint conditions, you may want more product on the surface working for you. Here's an example of dime size drops of product.
Dime size drops of product
:xyxthumbs:


