crash93ssei
New member
- Mar 26, 2008
- 304
- 0
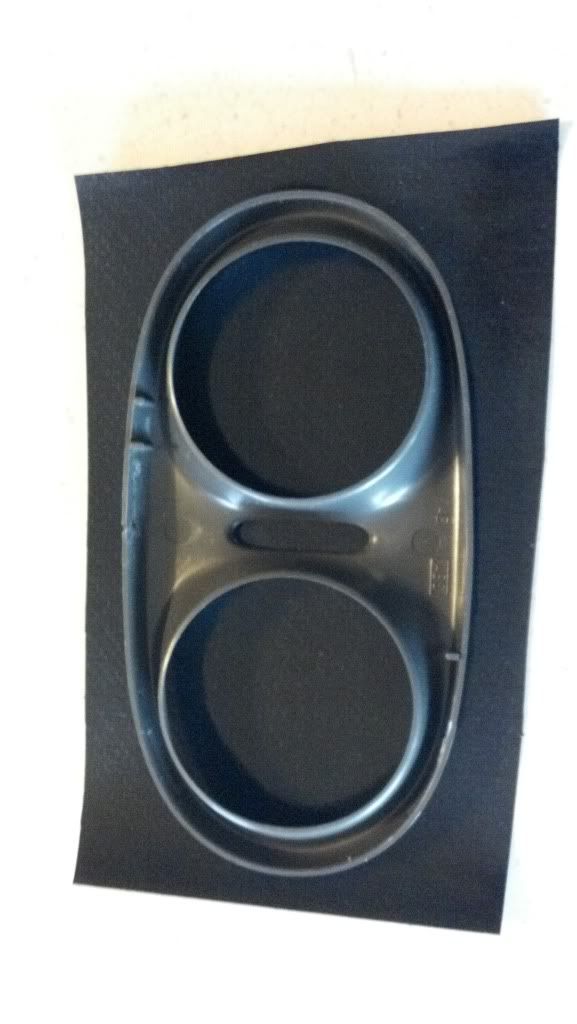
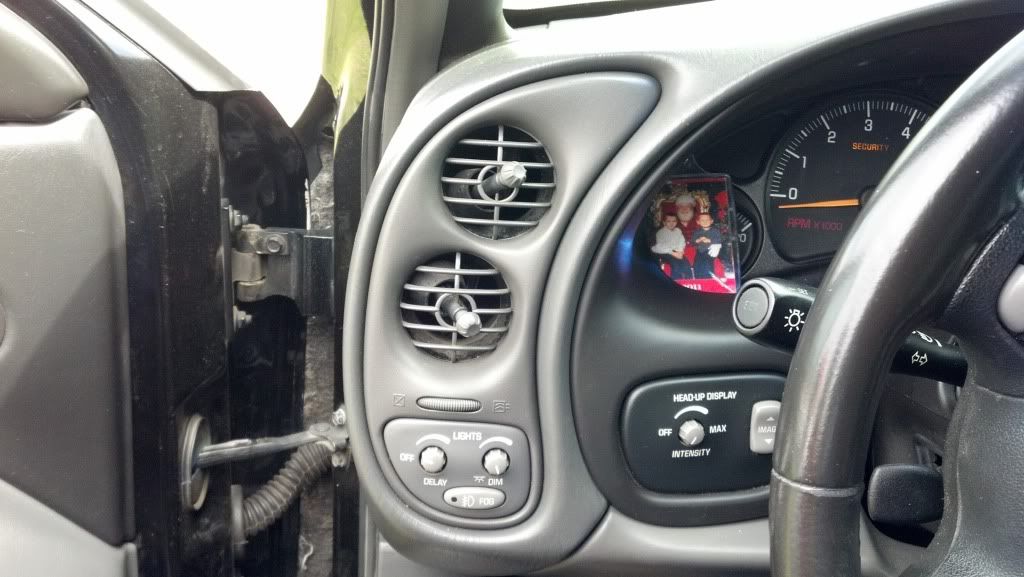
I have a 2003 Bonneville SSEi and it has the same boring dash as all the other 2000+ Bonnevilles except the 2004 and 2005 GXP. The GXP had a carbon fiber look to the dash vents which really sticks out and looks very sporty and just overall different and not so plain / boring, but are hard to come buy and I don't want to pay for them.
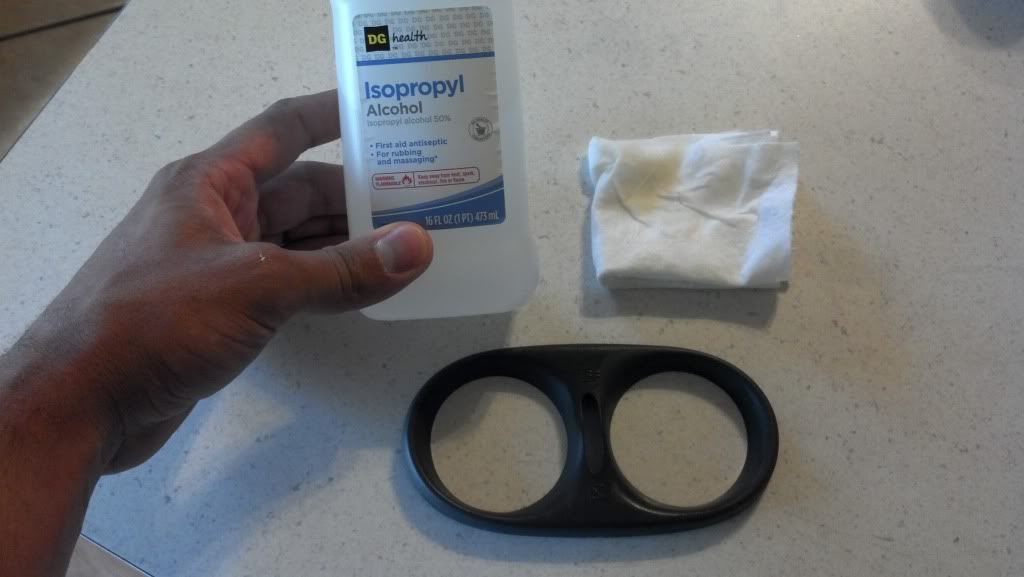
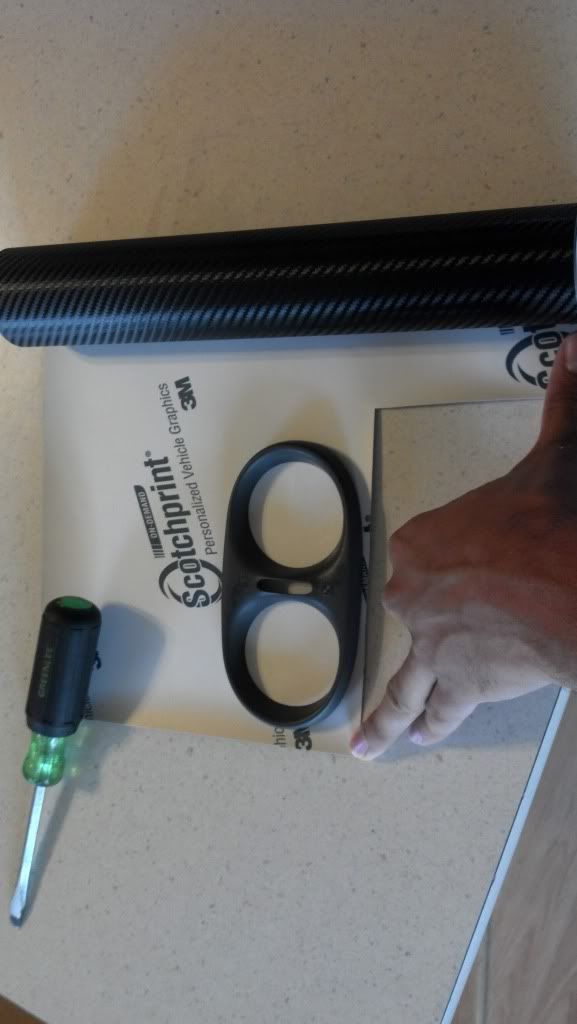
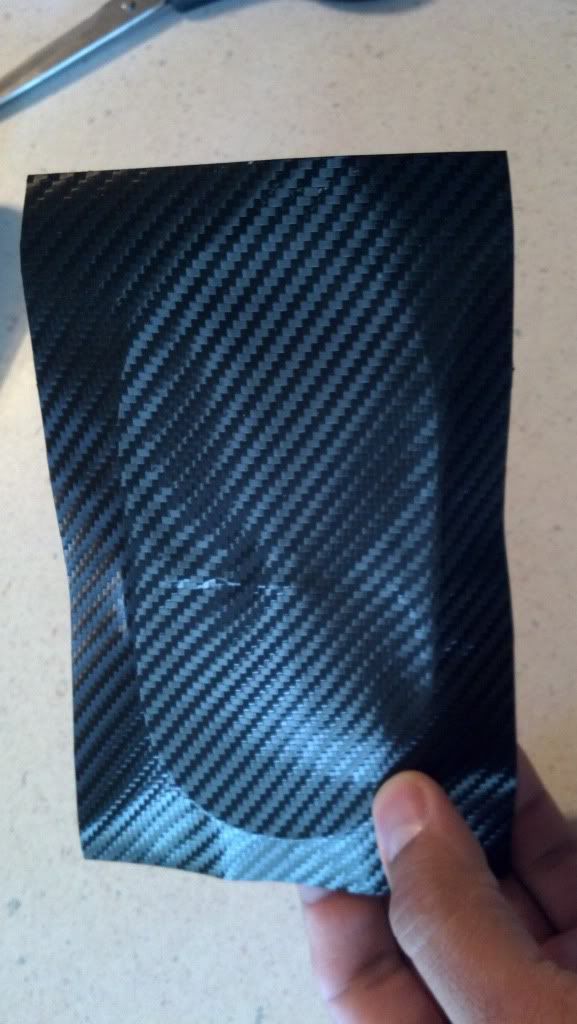
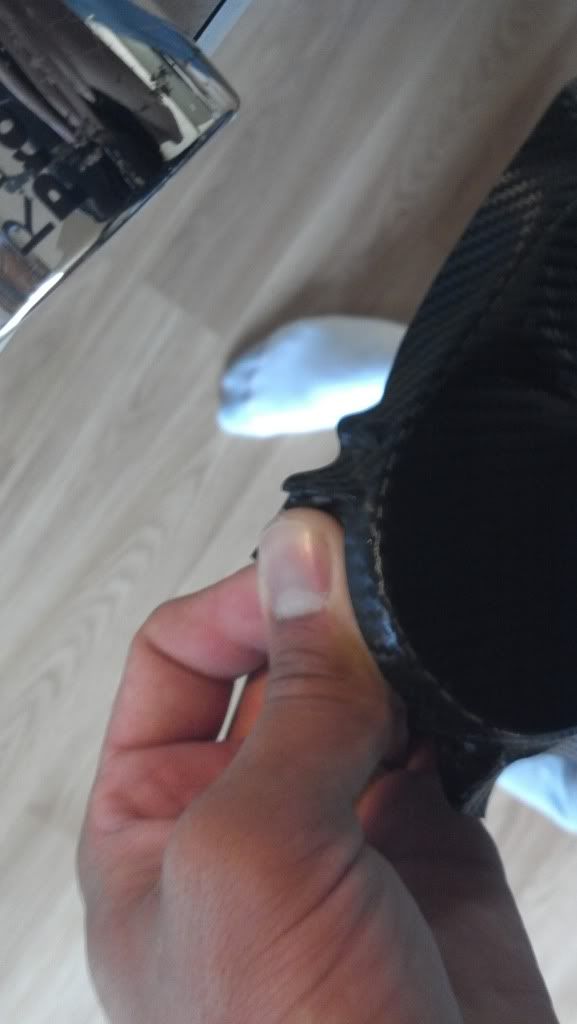
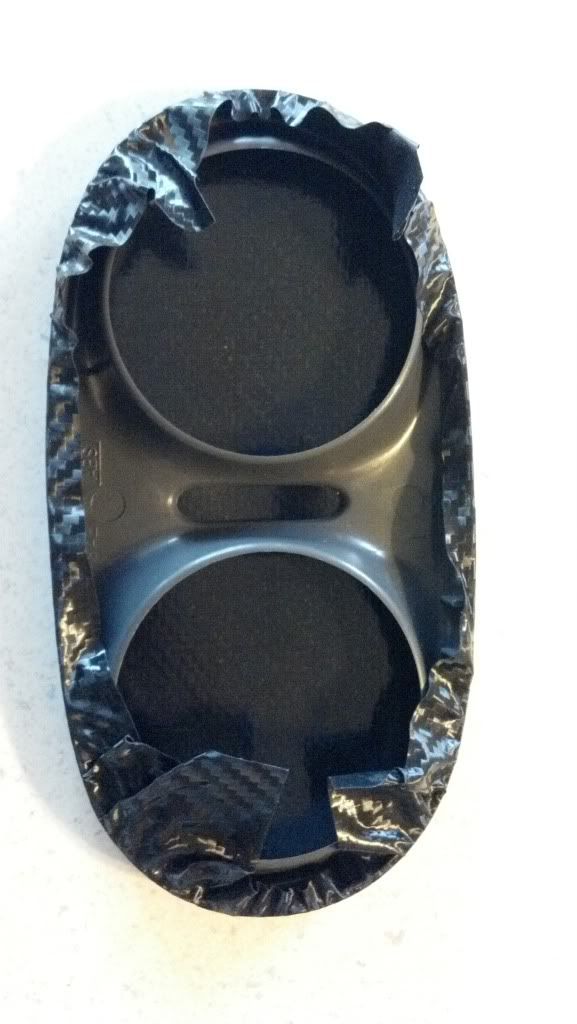
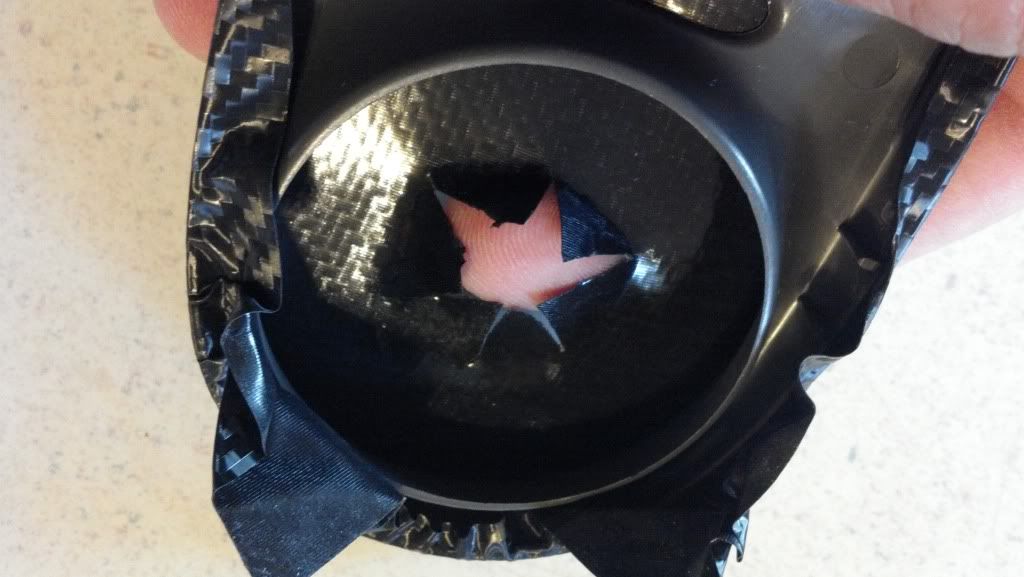
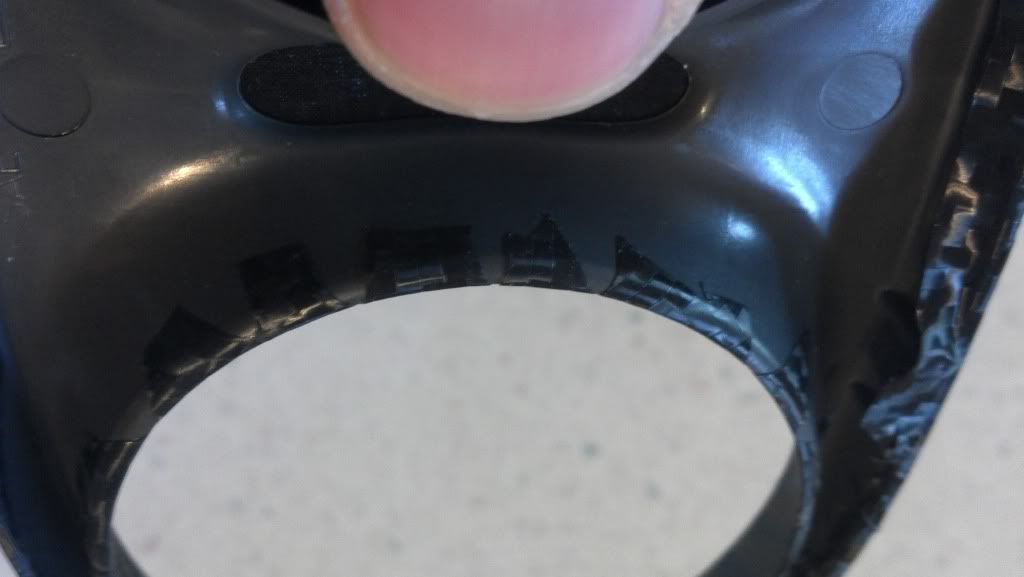
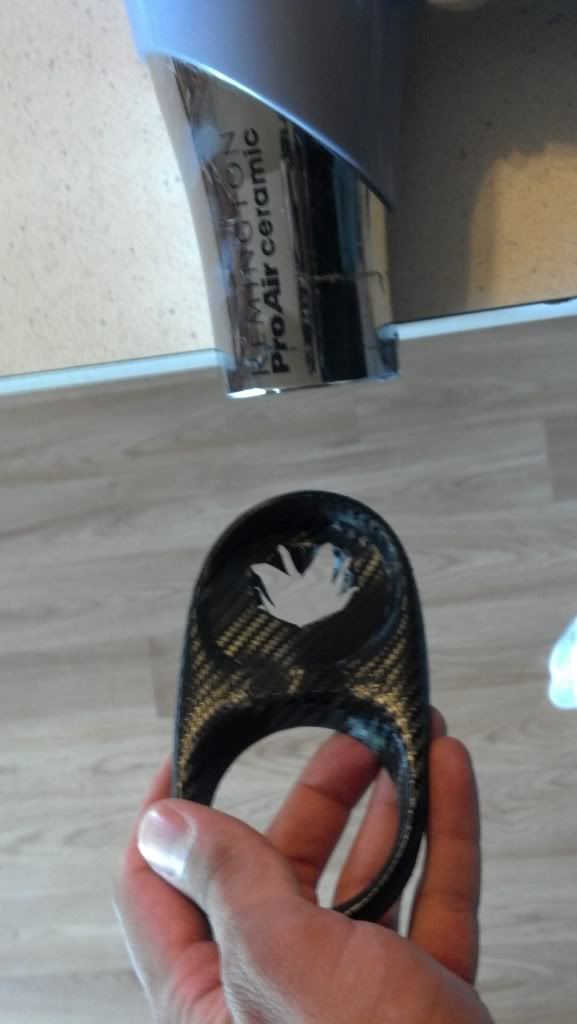
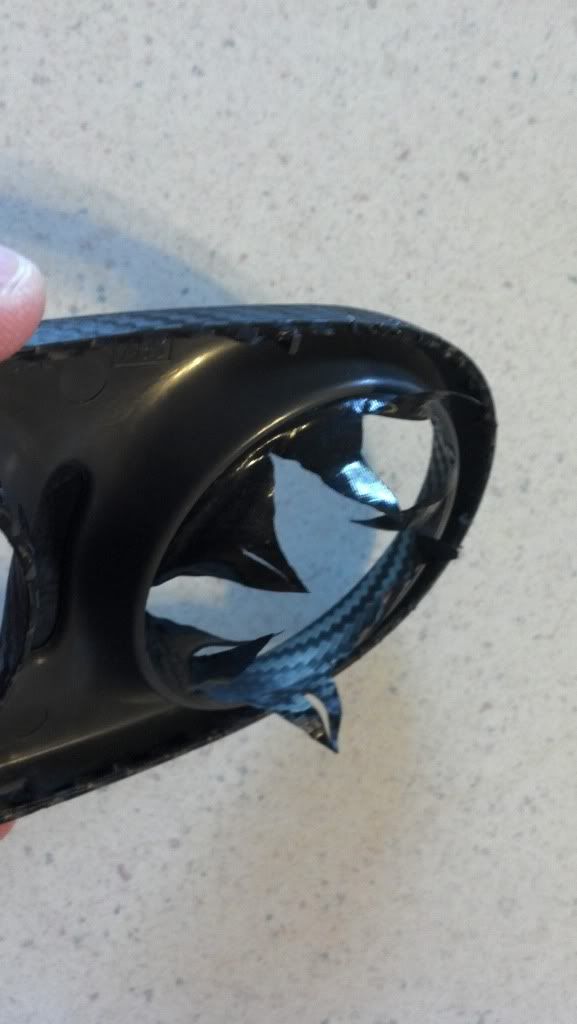
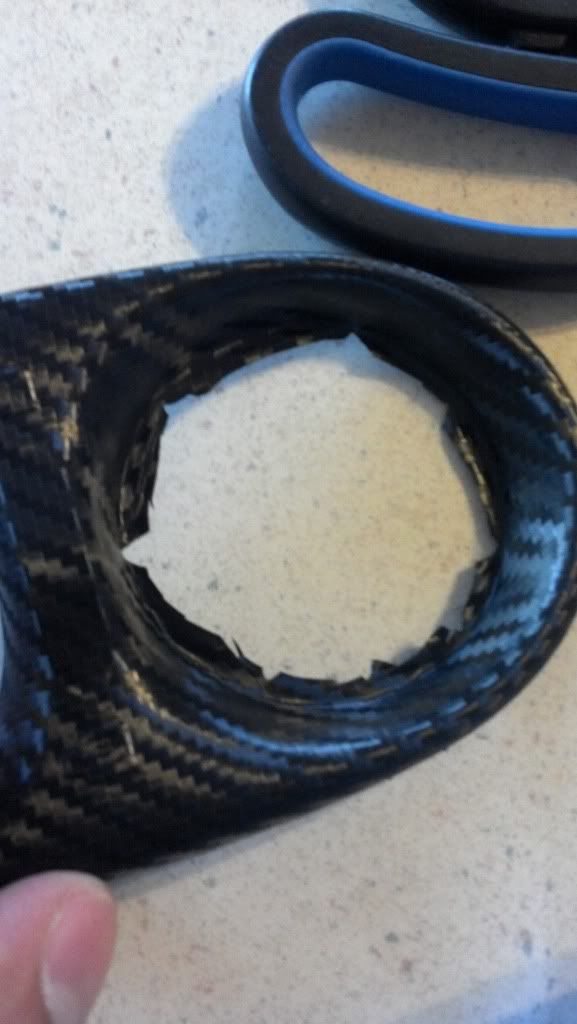
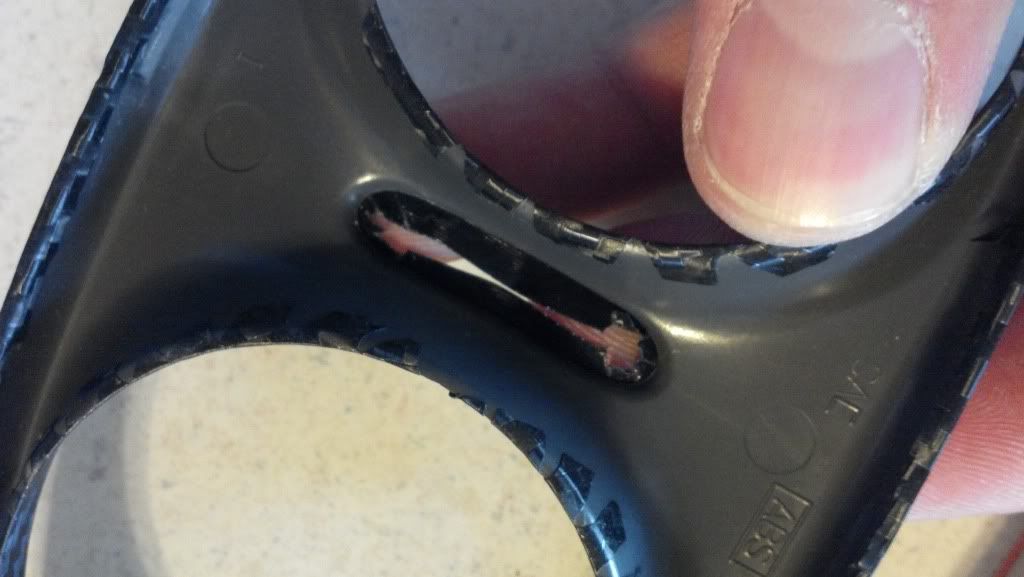
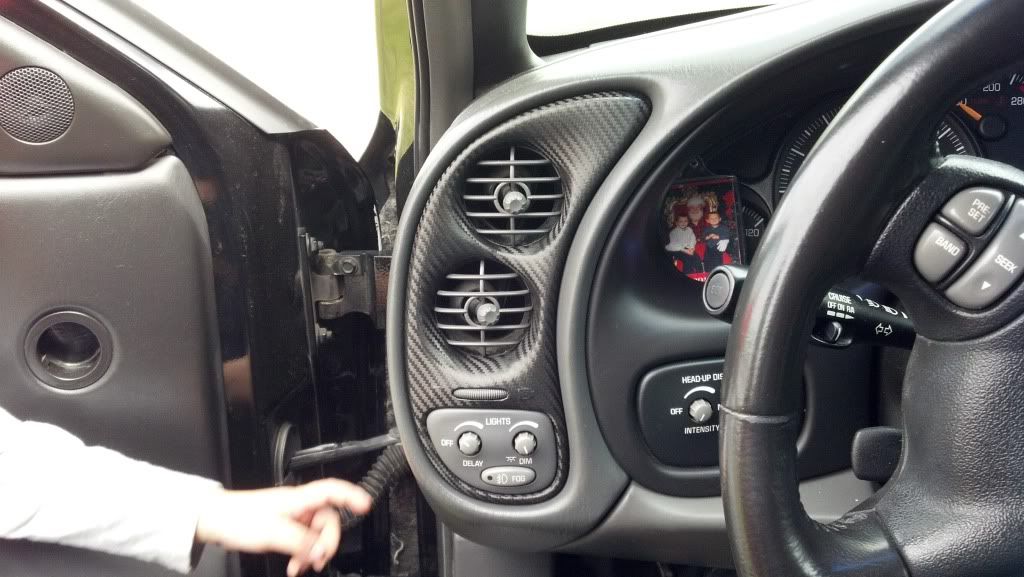
I ran across this thread from sullysdetailing http://www.autogeekonline.net/forum...3-amg-superior-auto-design-south-florida.html and ordered some 3M 1080 black carbon fiber vinyl to cover the vents in my car.
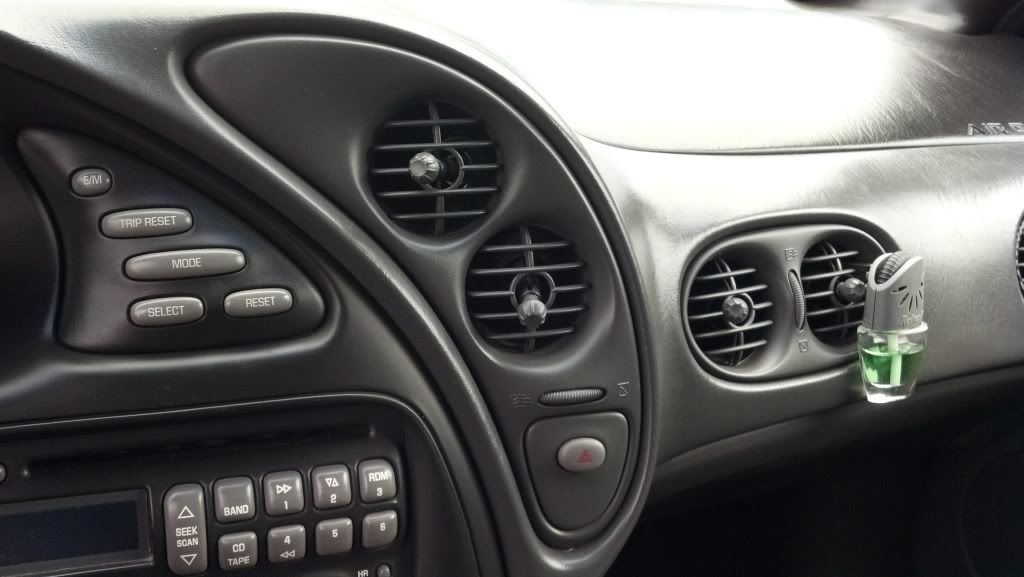
Before
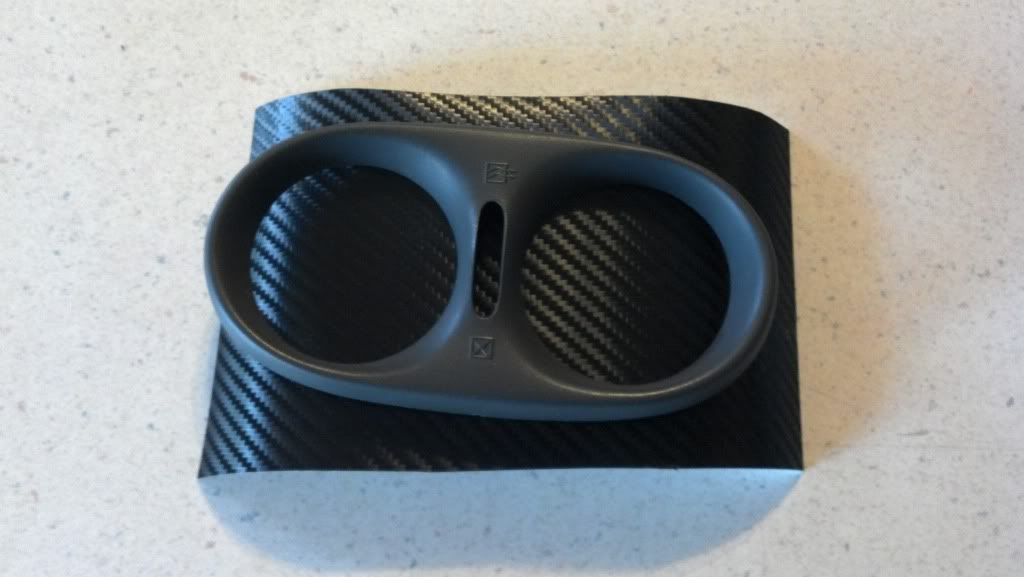
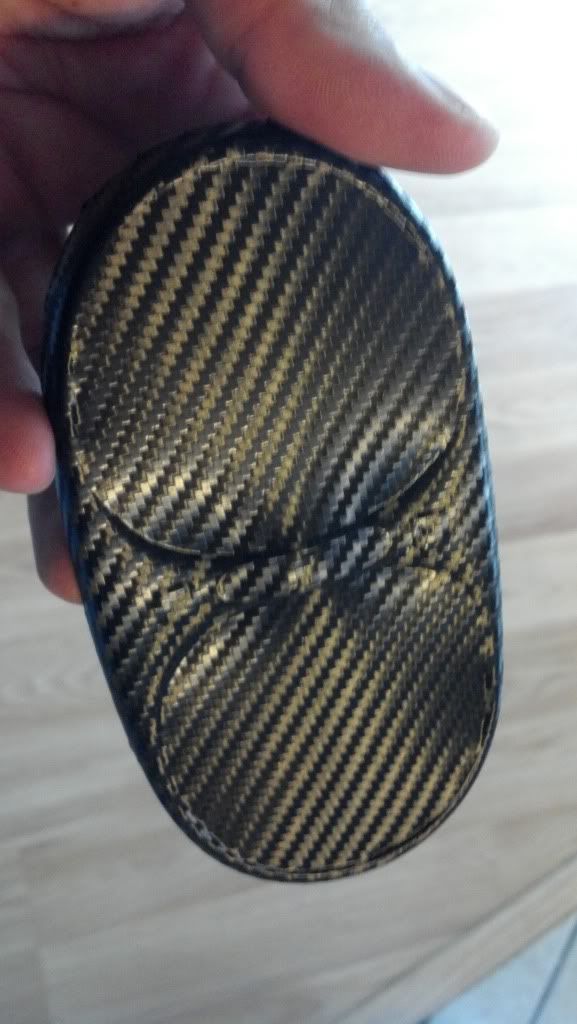
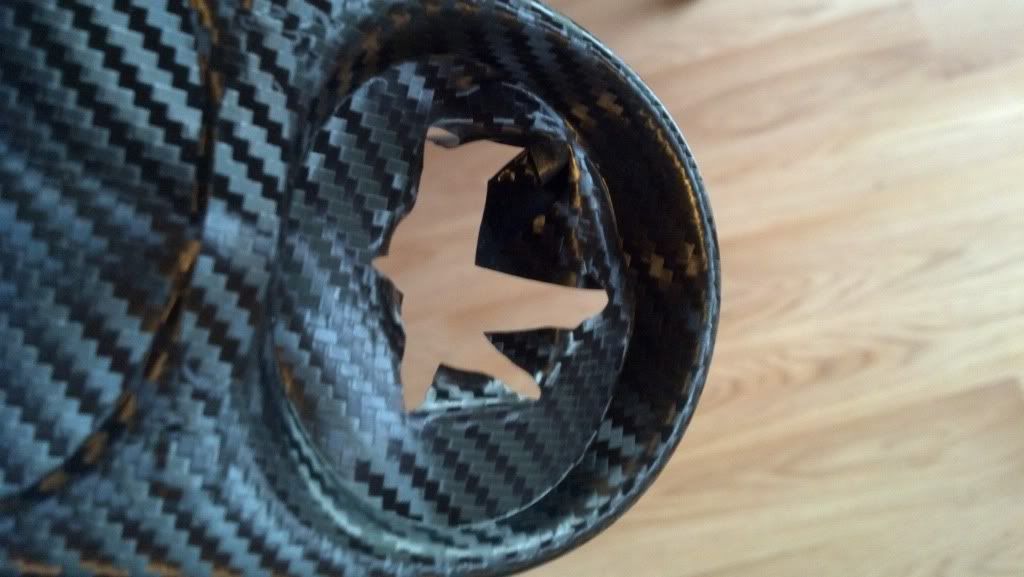
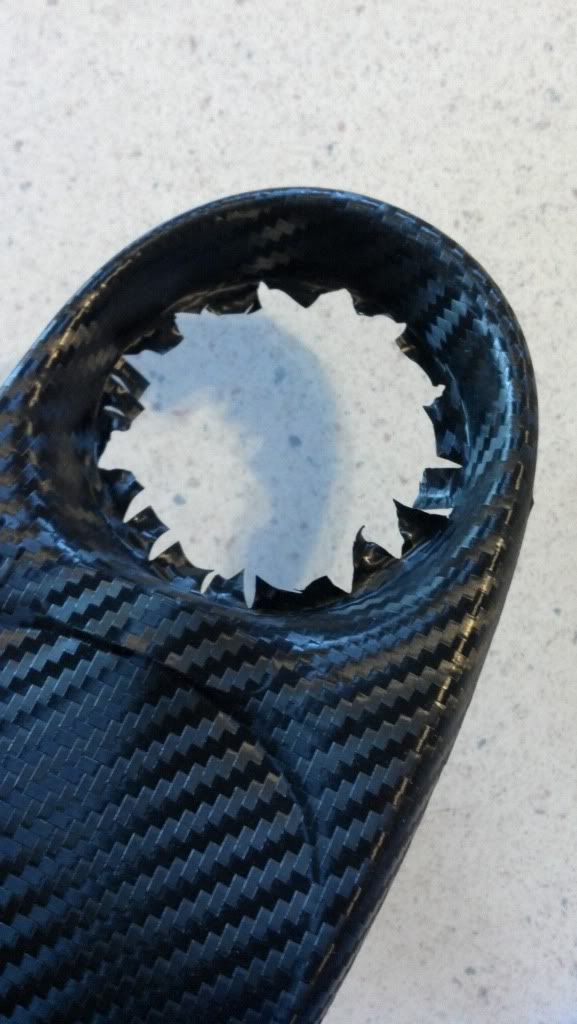
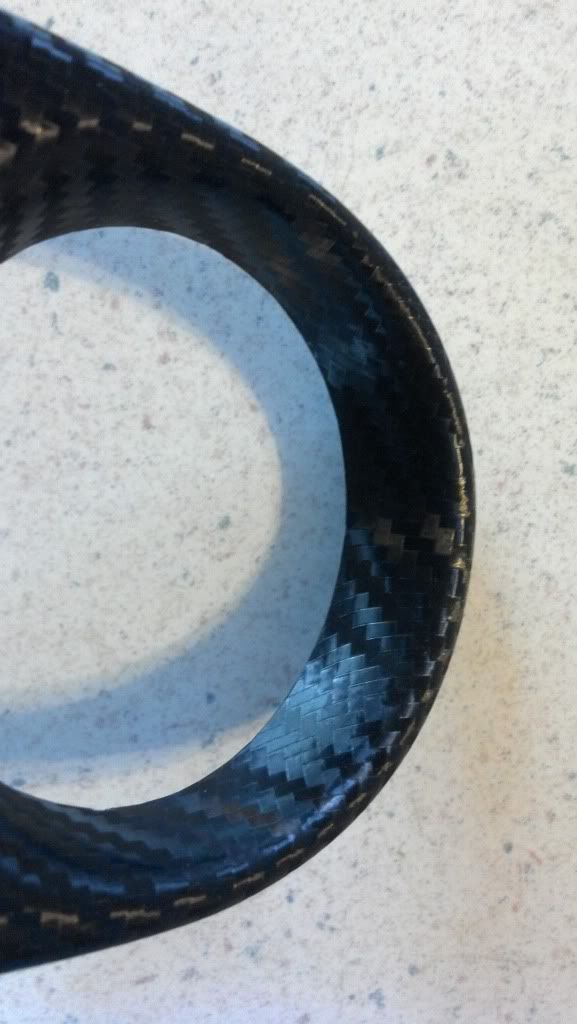
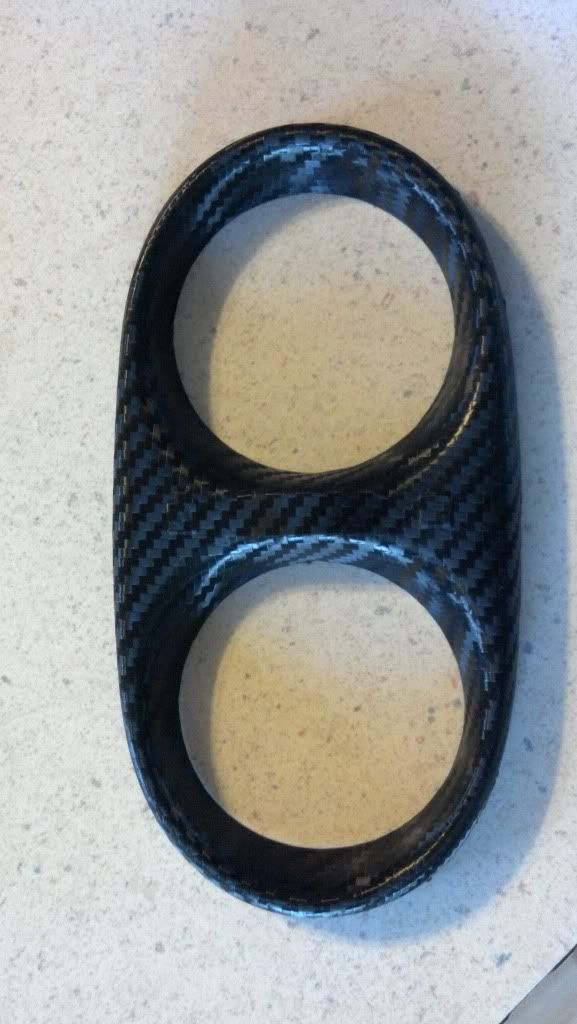
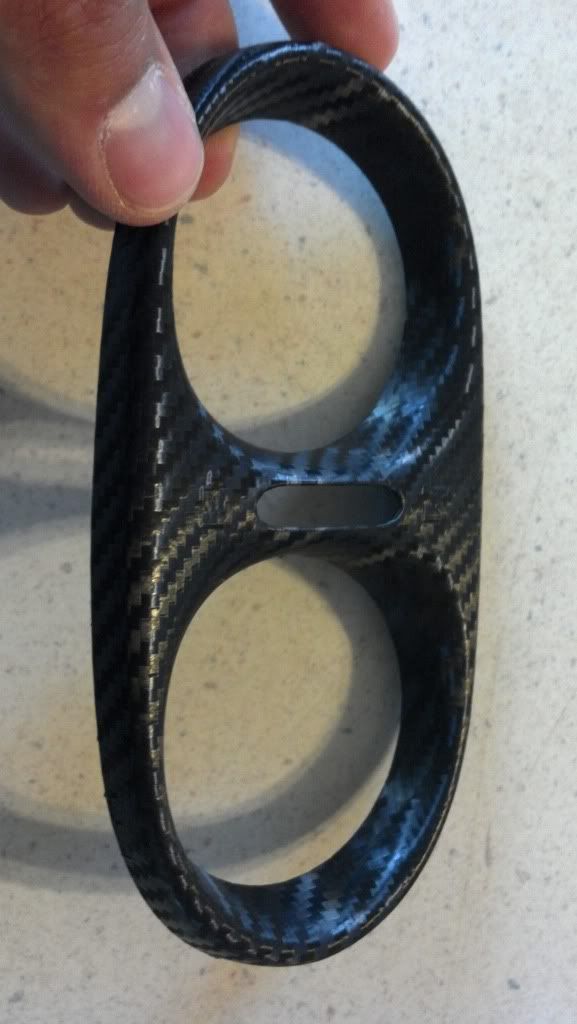
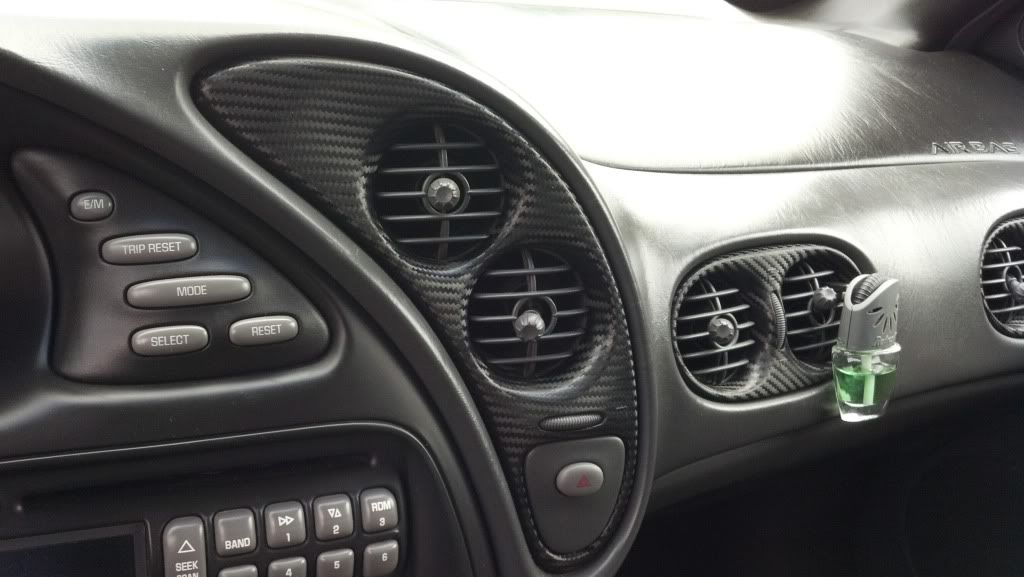
After

I ran across this thread from sullysdetailing http://www.autogeekonline.net/forum...3-amg-superior-auto-design-south-florida.html and ordered some 3M 1080 black carbon fiber vinyl to cover the vents in my car.
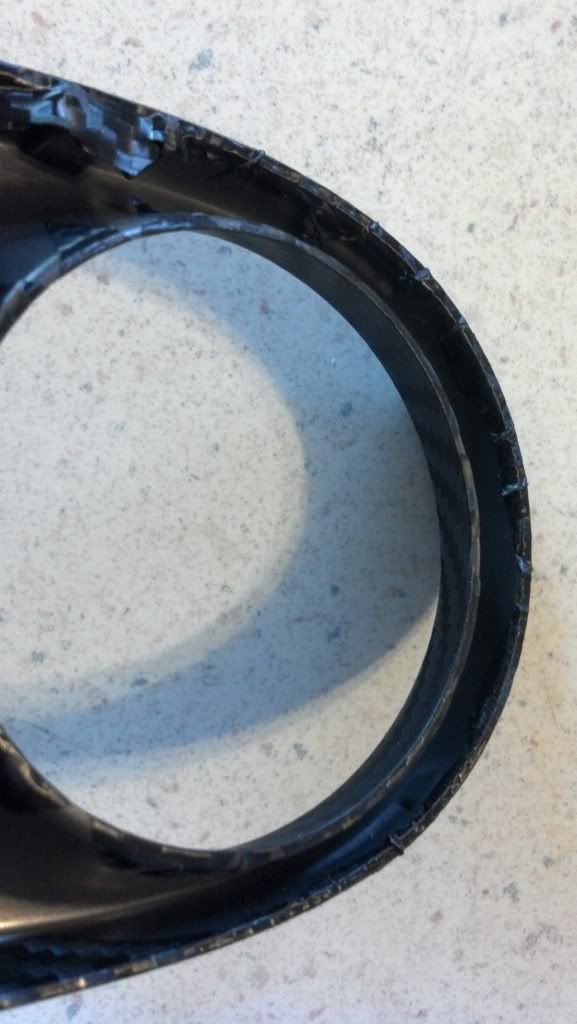
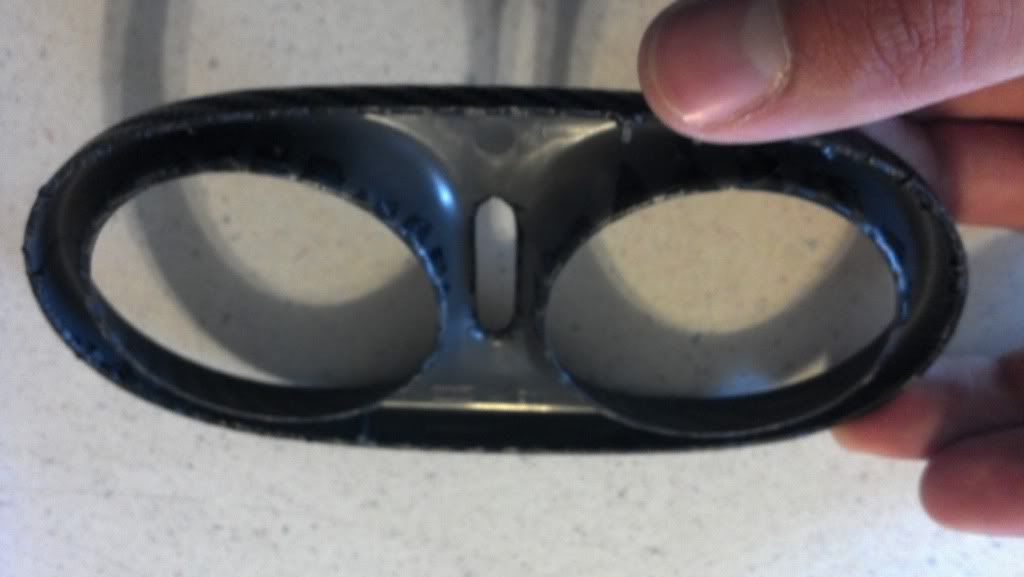
Before
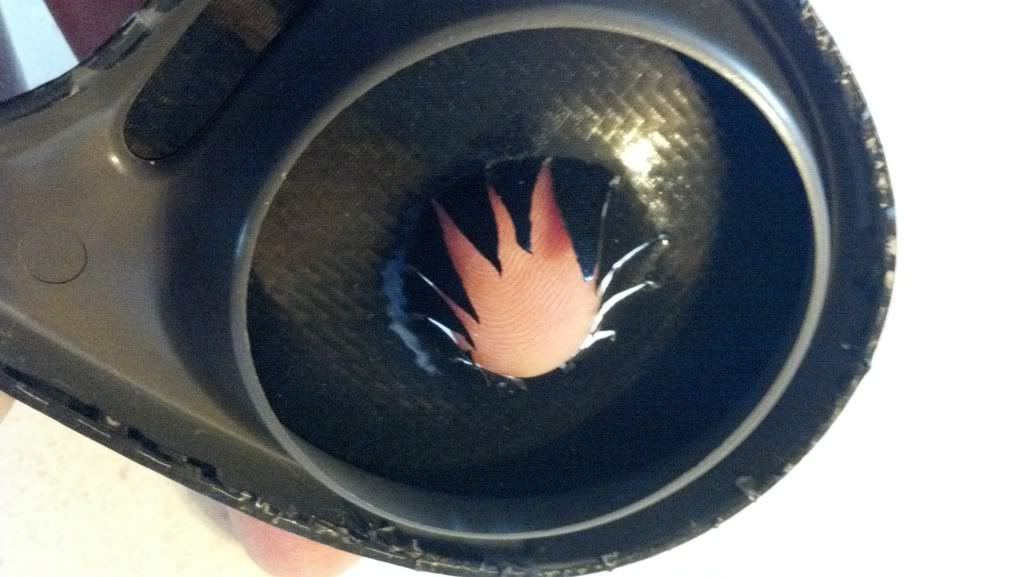
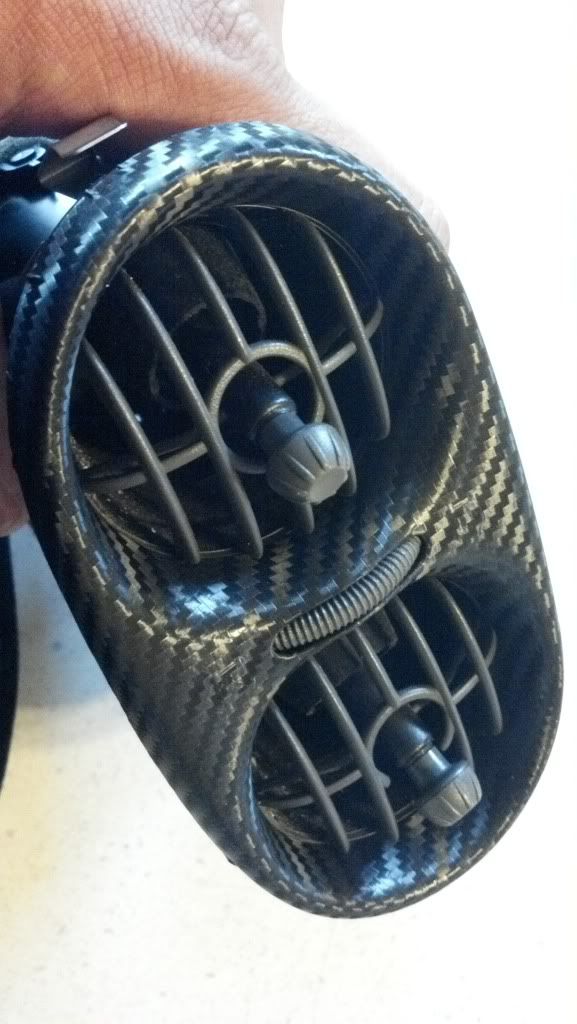
After
")
 rops:
rops: