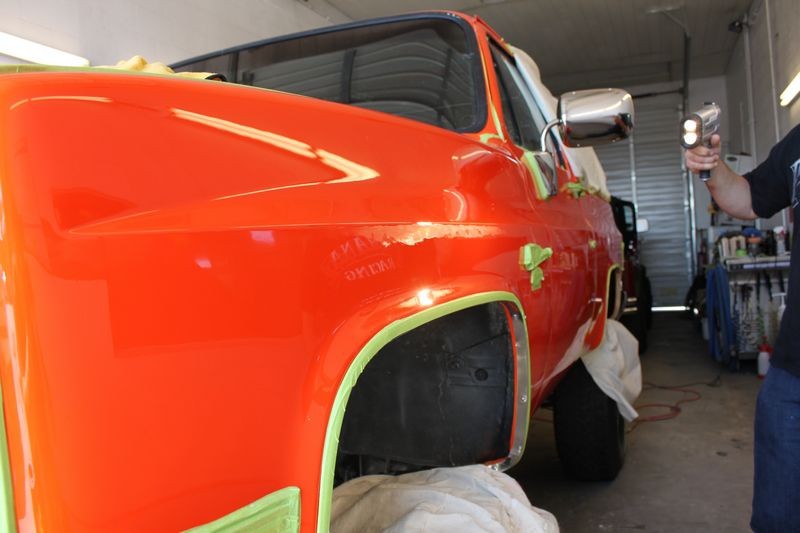
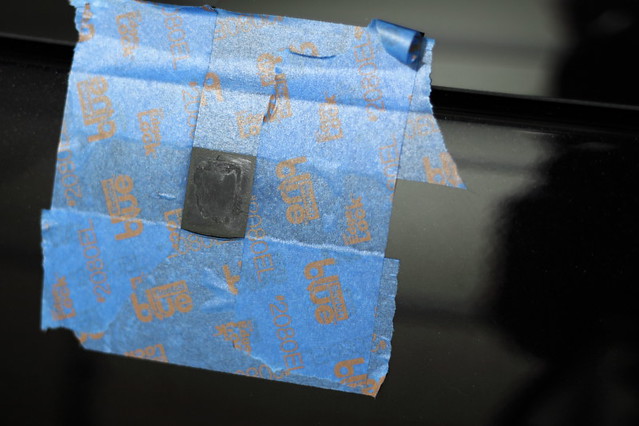
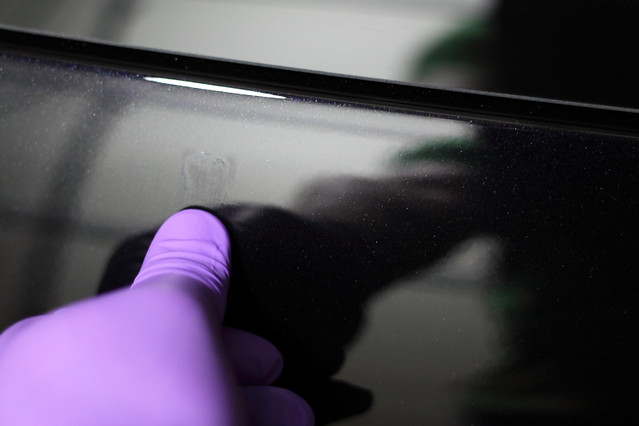
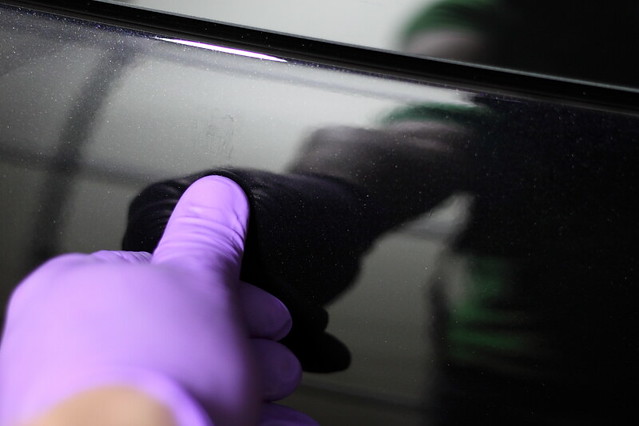
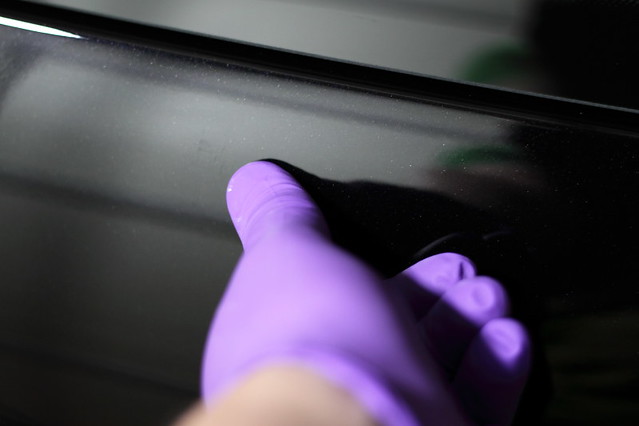
I am going to start the full detail of my wife's 335i next weekend. There are a couple rock chips that had touch up paint put on them and they are raised. I know the BMW touch up paint is lacquer, so I'd assume it will be pretty hard. One spot is very noticeably raised and will take some sanding.
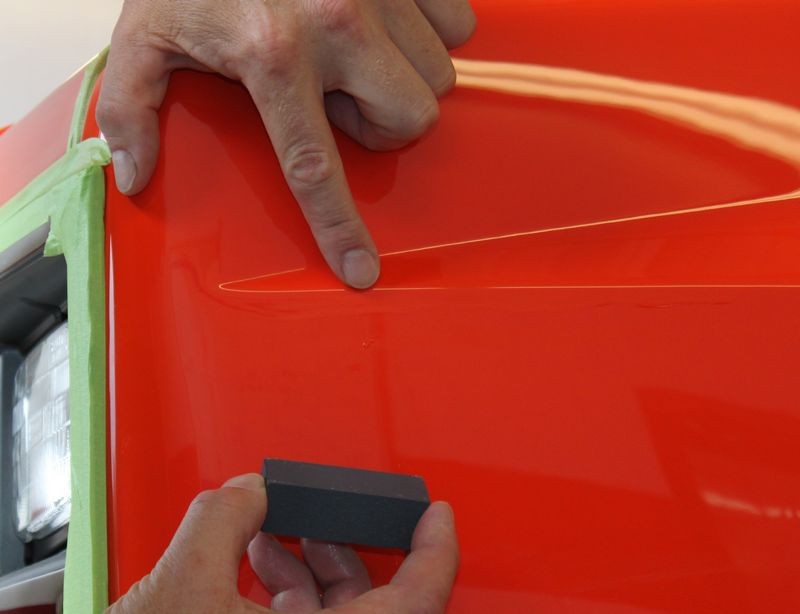
My plan is wet sanding with 1000, then 1500, then 2000 on the high spots. After sanding, I'm going to rotary buff with Finesse It II, then start the full polish & wax (Pinnacle ASR and AFP, WDGPS 3.0, ended with Pinnacle liquid Souveran).
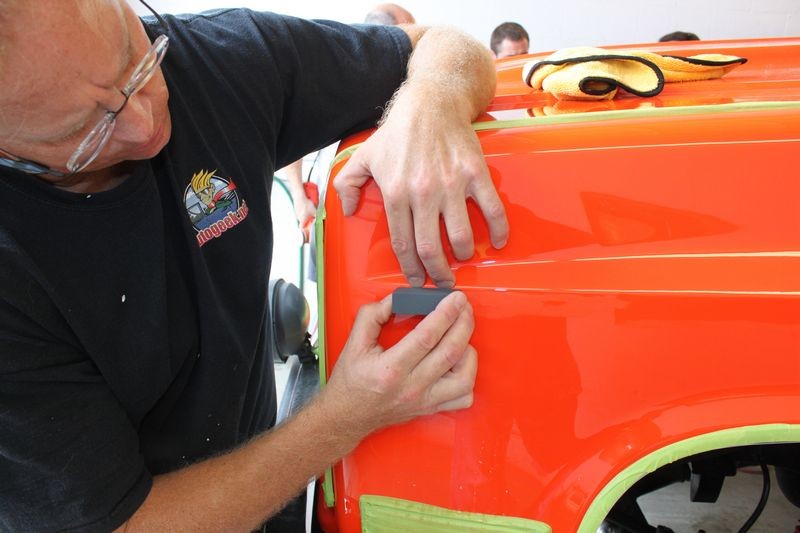
Any other ideas on getting those high spots down? I was considering making a very small block to keep the sanding of the surrounding area down. I'll also tape off the area to prevent over sanding the regular paint around it.
Thanks!
My plan is wet sanding with 1000, then 1500, then 2000 on the high spots. After sanding, I'm going to rotary buff with Finesse It II, then start the full polish & wax (Pinnacle ASR and AFP, WDGPS 3.0, ended with Pinnacle liquid Souveran).
Any other ideas on getting those high spots down? I was considering making a very small block to keep the sanding of the surrounding area down. I'll also tape off the area to prevent over sanding the regular paint around it.
Thanks!
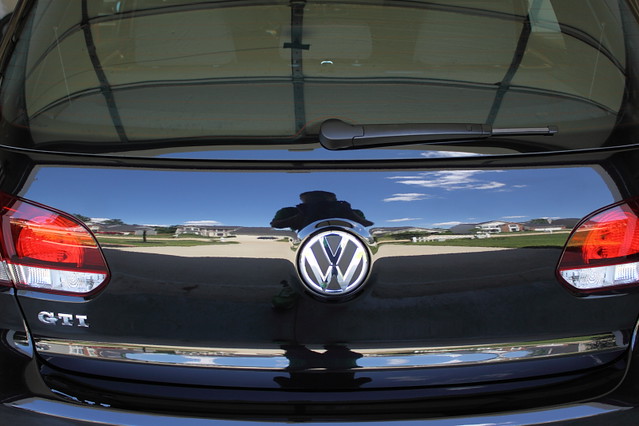
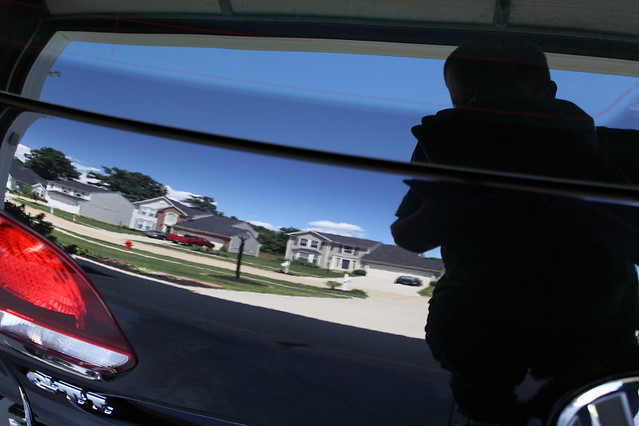
 ). Shows pretty much step by step what I did, with photos.
 rops:
rops: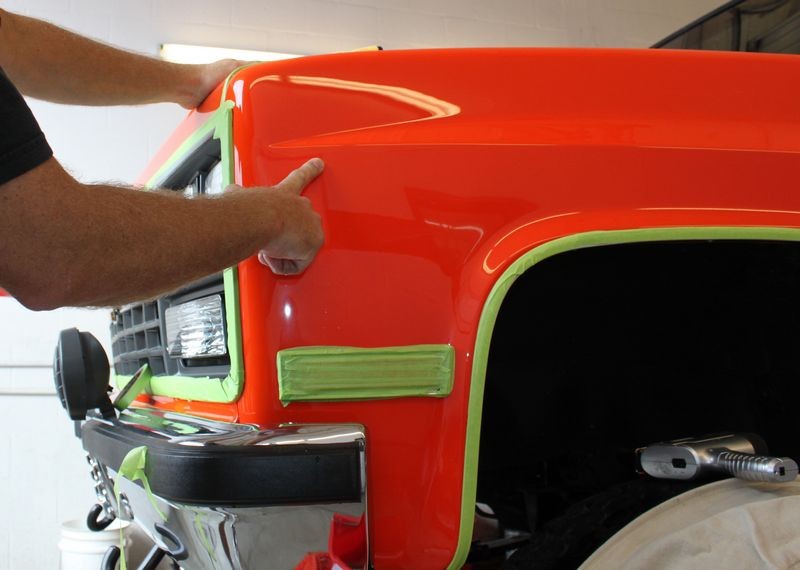


")