My question to any and all of you is, is clearcoat unnecessary on touch-up repair? I was provided with some clearcoat in the touch-up kit, but from reading other threads on the forum, including the links provided by Mike, people who have done touch-up repairs have bypassed clearcoating the repair. I guess it's not essential protection on such a tiny section of paint? Flash mentioned that he bypasses the clearcoat step.
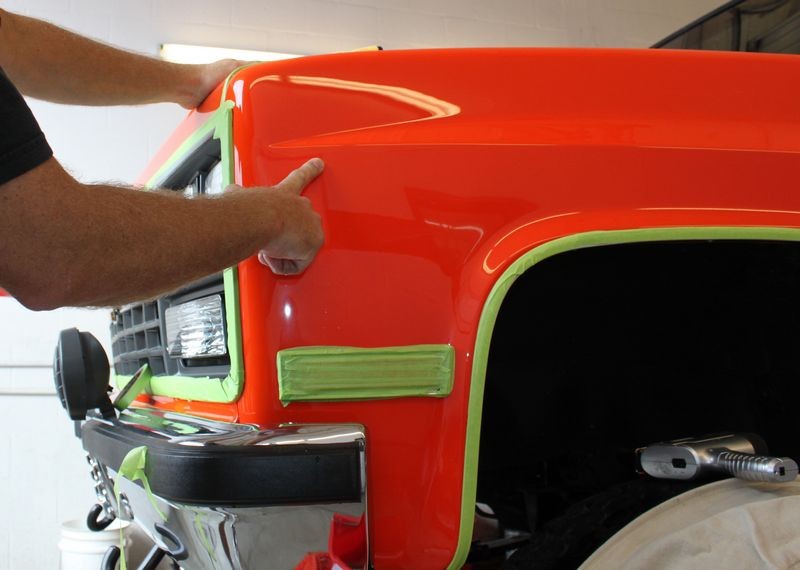
In order to minimize the risk of oversanding the OEM paint level and just knocking down the repaired area, I plan on taping off the surrounding area of the touch-up, exposing only 1/4" borders around the scratch. You think this is a good technique? Or should I make the exposed area larger?
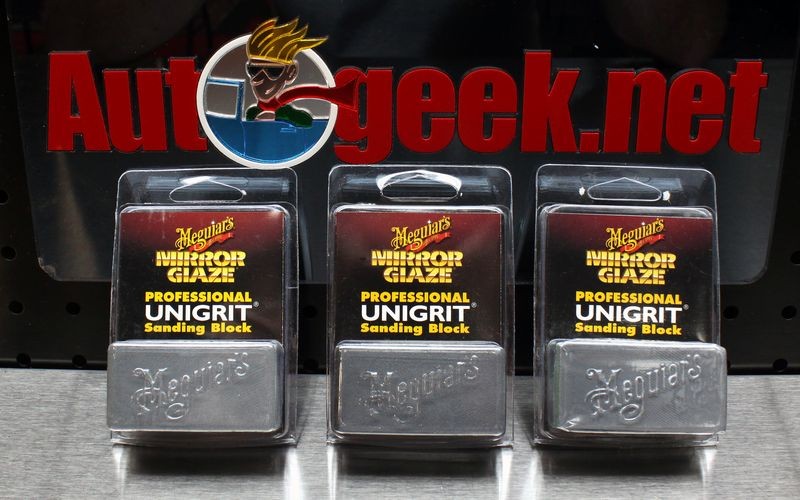
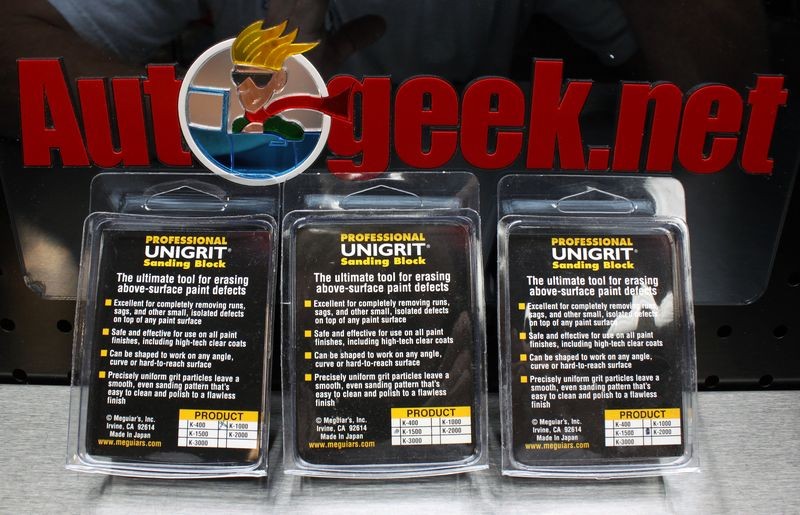
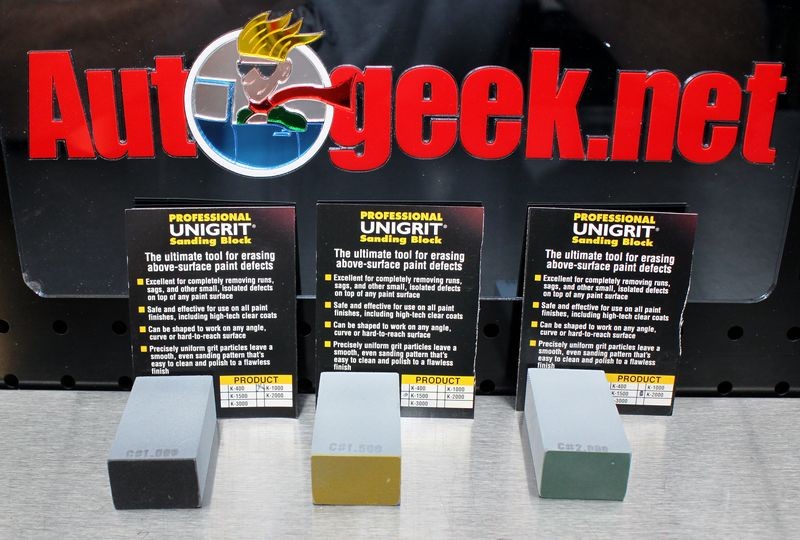
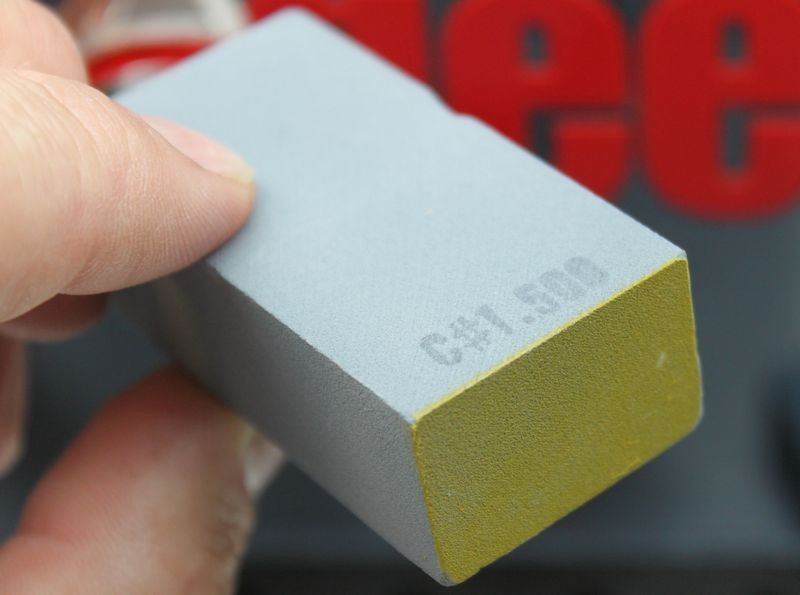
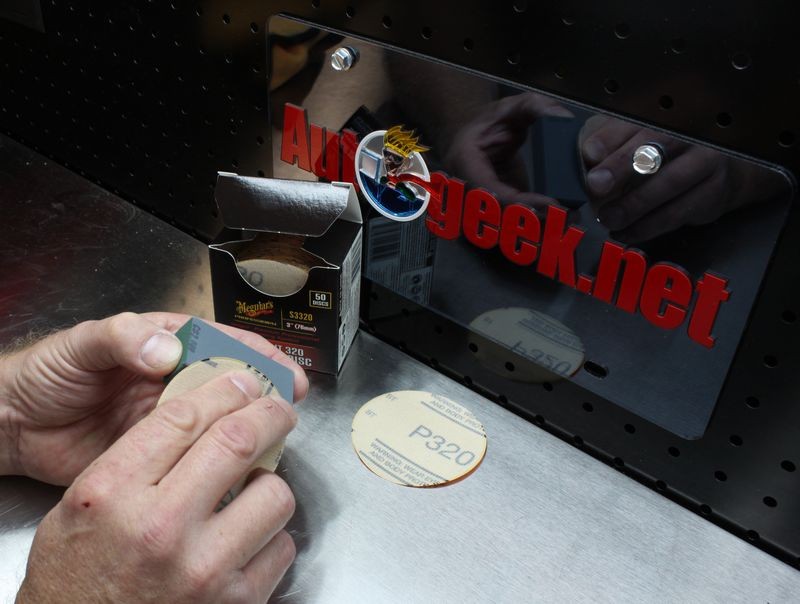
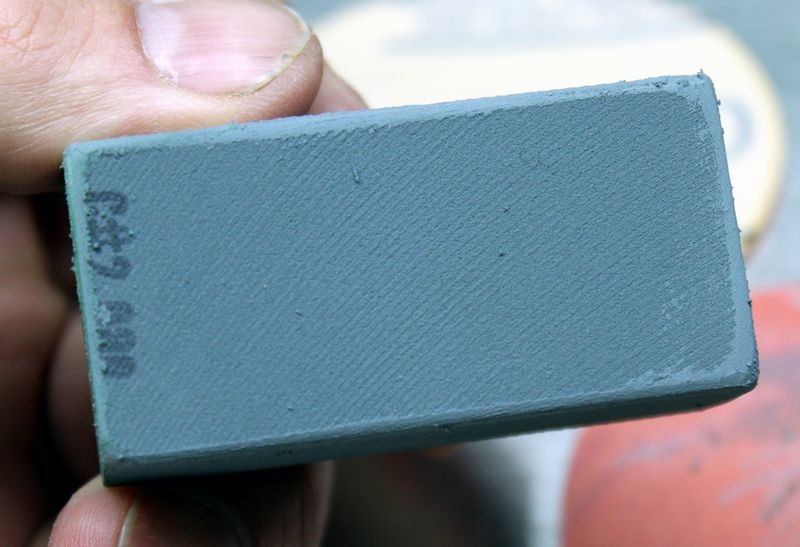
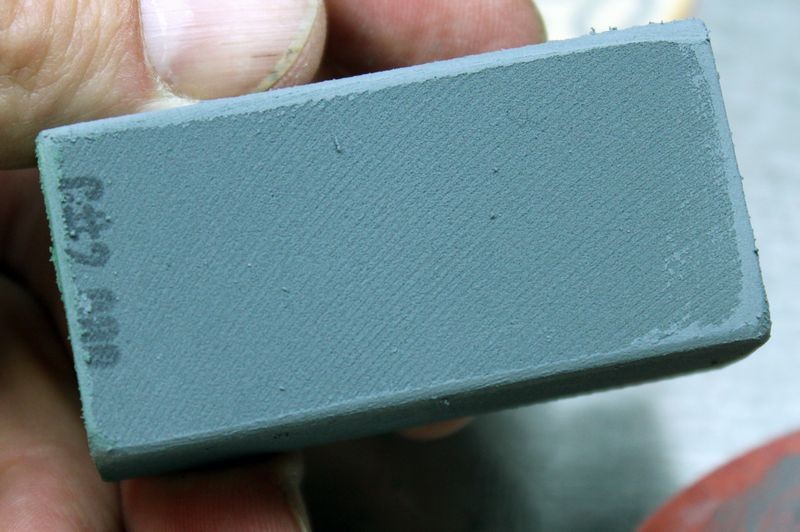
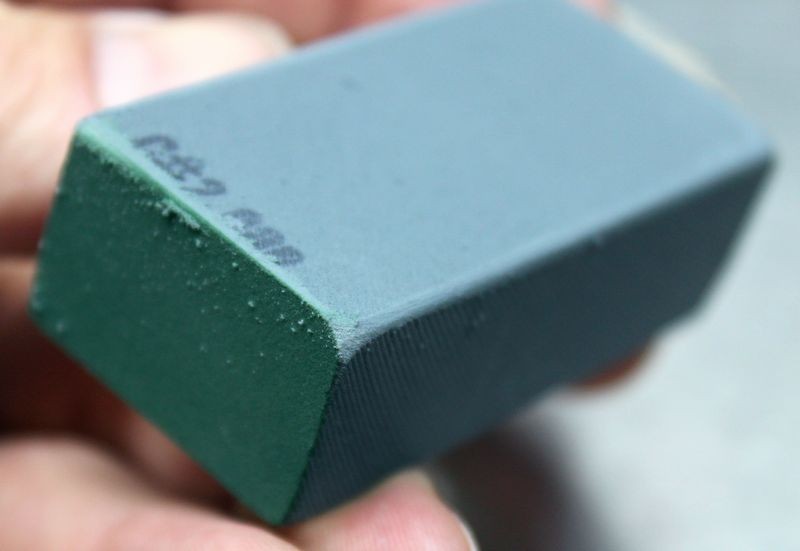
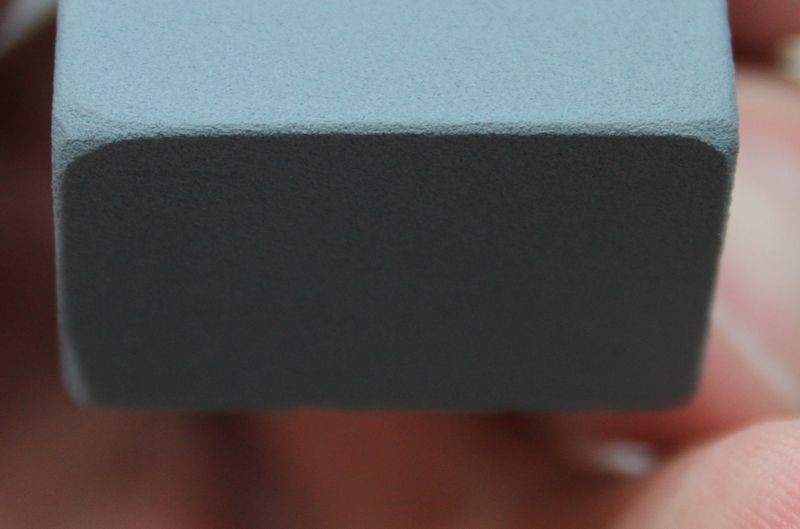
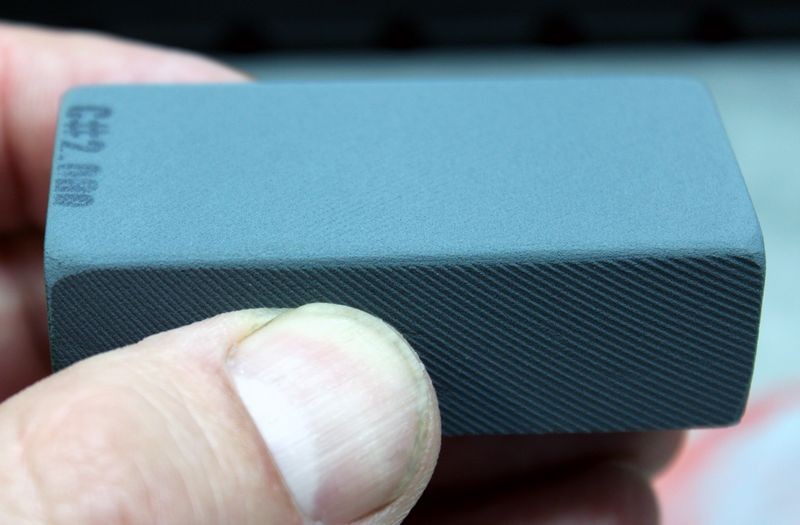
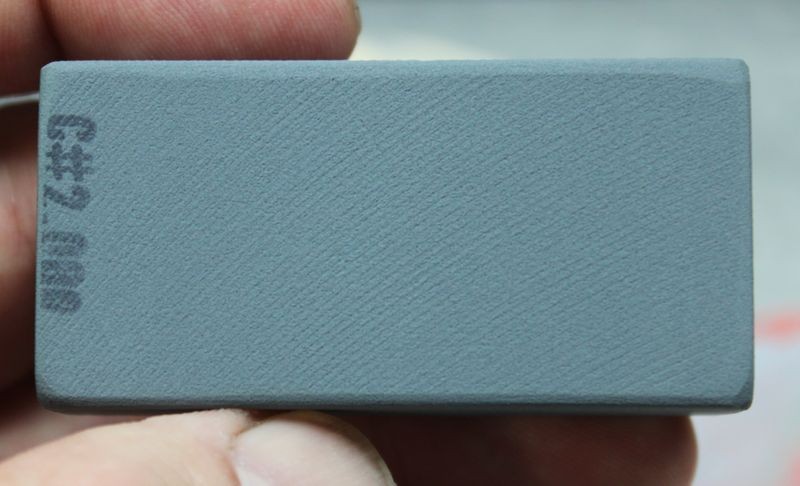
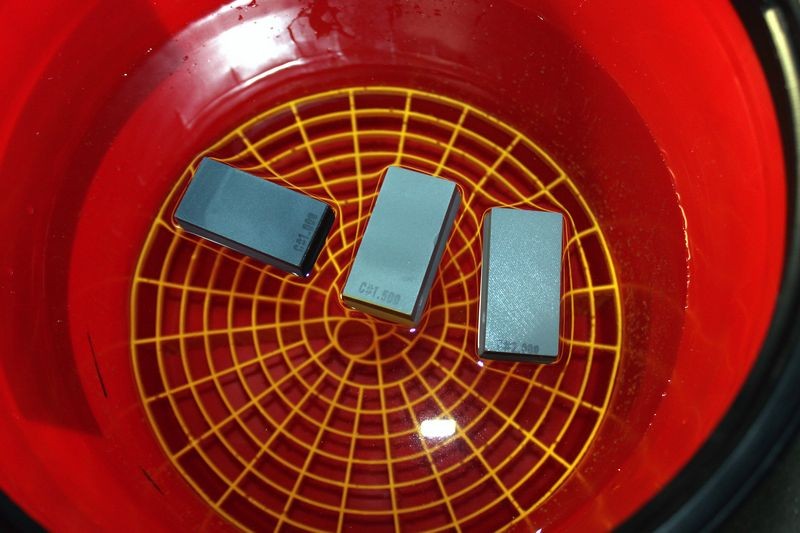
I have on hand, #1200, #2000 and #2500 sandpaper with a rubber 3M sanding block about 2" x 3" x 1/4" in size. Since I don't have a rotary, I plan on compounding with a PCXP, Meg's UC with a OPT MF Cutting Pad or Meg's 7207 Maroon Cutting Foam Pad. Then, OPT Hyper Polish, etc.
I will try to take pics of my process.
All of your past and future input is greatly appreciated.
Thanks,
Michael
Here's the deal Michael, you can make touch-up repair as simple as you want or as complicated as you like but at the end of the day more and more work doesn't always = better and better results and usually the opposite.
Most people want the results to look like nothing ever happened and while you can get close to that it does require patience and skill.
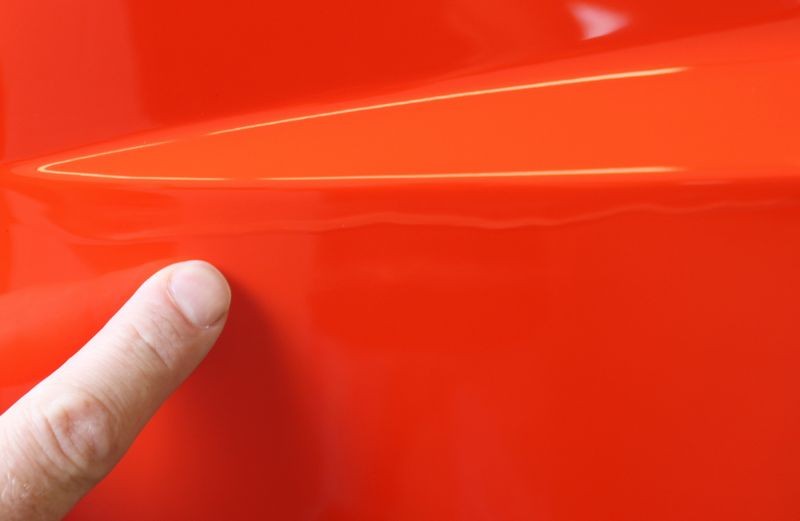
I don't think applying the clear over the base of a touch-up job will equal the same look as the paint surrounding it and it's hard enough to do a GREAT job just using the colored paint.
Taping around the touch-up paint for your initial sanding is a good idea because it will keep you from sanding too much factory clear. No matter how you do it though it's still a difficult project. That's why in all the years I've been helping people do these kinds of repairs I always type the above about making it as simple or complicated as you like.
Most people, their first time out, make it as complicated as they can in an effort to make the damage visibly disappear only to find out they can't do it.
This is always one of the key problems,
Mike Phillips said:
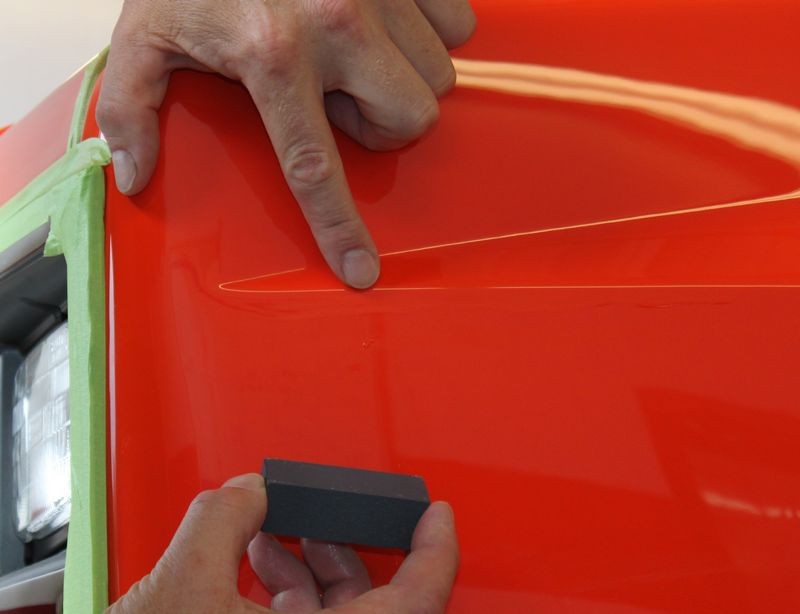
the sanding marks will come out of the touch-up paint quickly and easily, it's the surrounding factory baked-on clear coat that you'll need to be concerned with
Factory clear will always be harder than touch-up paint, that's why it's easy to get your sanding marks out of the touch up paint but difficult to get your sanding marks out of factory clear.
I'm not trying to be Debbie Downer, just trying to let you know that sometimes more and more work doesn't always mean better and better results.
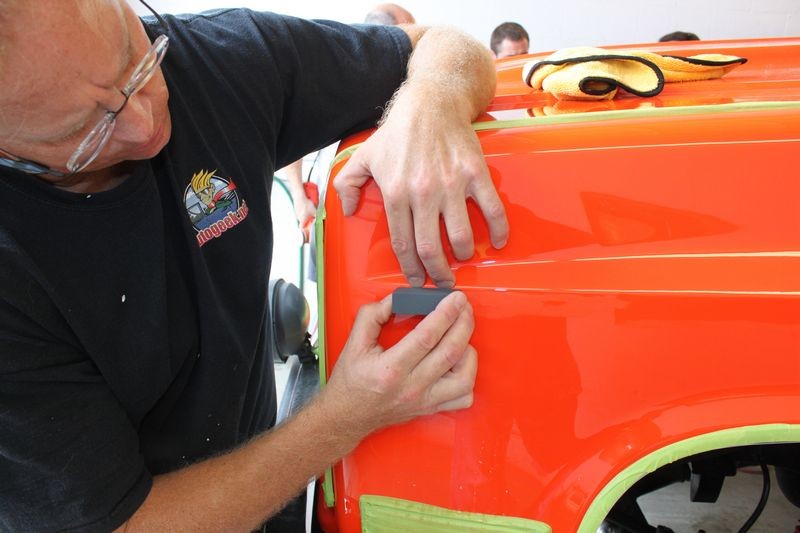
Apply just a little bit of touch-up paint to the defects and let it fully dry. Then try to only sand on just the touch-up paint about a WEEK later. Let the paint dry hard.
Then work the sanding marks out by hand because you can exert a lot of pressure with your fingers to remove paint, more than you can with a PC.
Go over to MeguiarsOnline.com and to a
search for these words as
I've written a lot on this topic when I used to run that forum.
Exert
Touch-up Paint
Rock Chip
Don't forget the hyphen when doing a "search" as it's important for the search engine to get the right links. Since I typed the copy I purposefully included the hyphen just for myself to find my own posts.
Here, I coded a number of my old posts with keywords to make them easier to find...
Rock chip repair
Paint chip repair
Planning to Wetsand Touch up Paint
New guy with an M3 that needs some help
oxidizing scratch repair
Here's something I posted in 2008...
You can make this process as complicated as you want, a more simple approach is to purchase a fine tipped paint brush from an artists supply store and only apply a very small amount of paint to start with.
")