Mike Phillips
Active member
- Dec 5, 2022
- 51,004
- 6
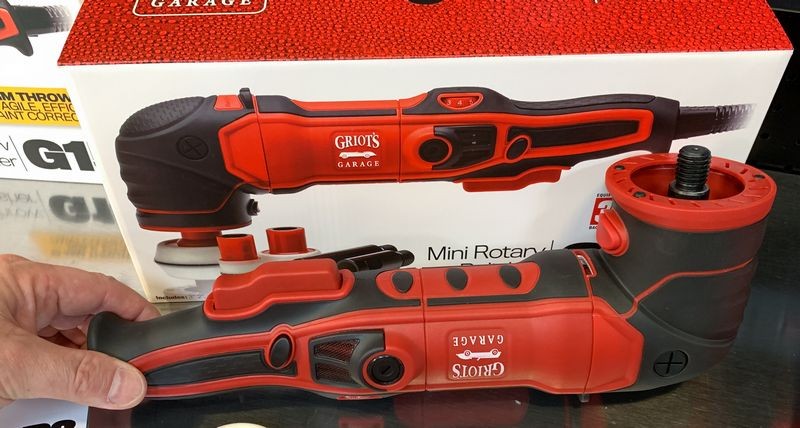
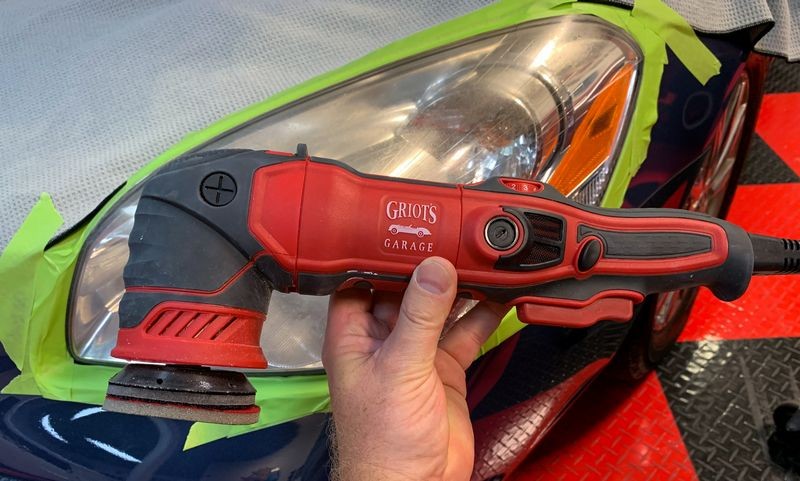
What's in the box? Griot's GR3 Mini Rotary Polisher!
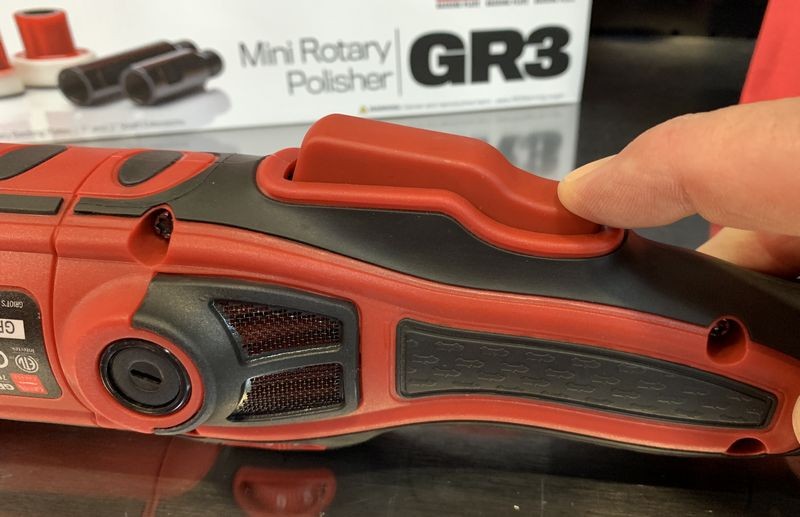
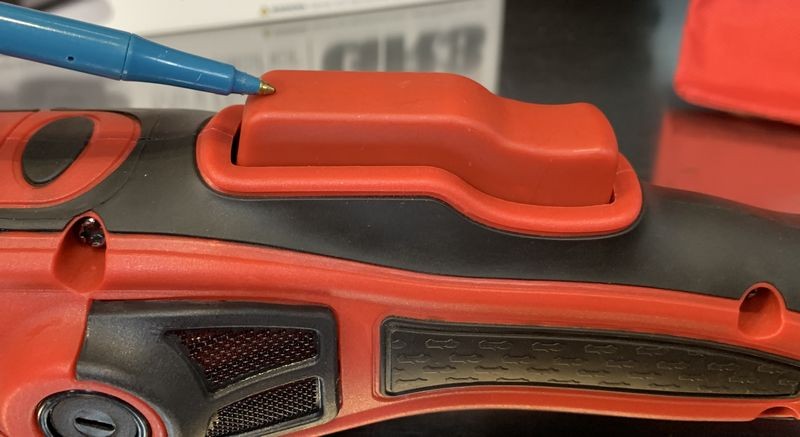
The Griot's Garage GR3 Mini Rotary Polisher
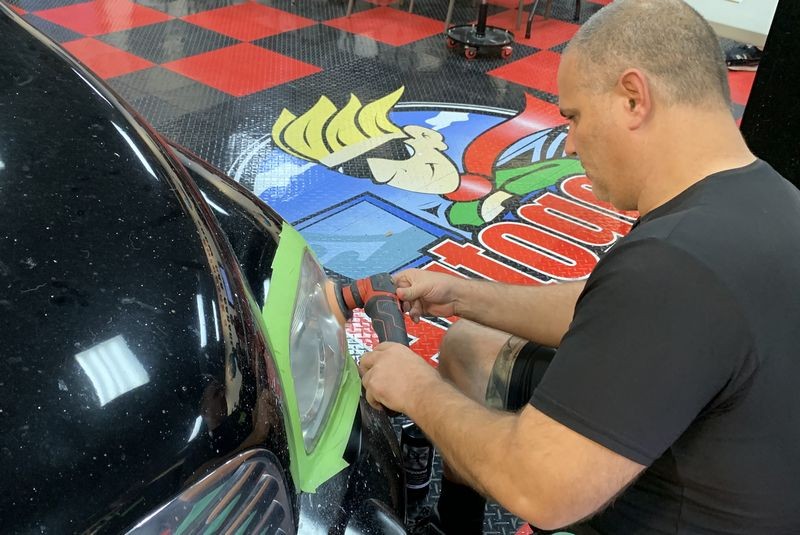
TOOL TIME! More fun in your garage!
Griot's Garage just introduced their brand new GR3 Mini Rotary Polisher. Below you'll find LOTS of PICTURES to show you everything that comes in the box PLUS a detailed overview of the tool itself.
I know before anyone purchases a tool, they want to gather as much information as they can to enable them to make the right decision and this is especially true when it comes to tools. So take a look at the pictures below with my commentary and if you have any questions - please post them to this thread and I promise to do my best to answer them.
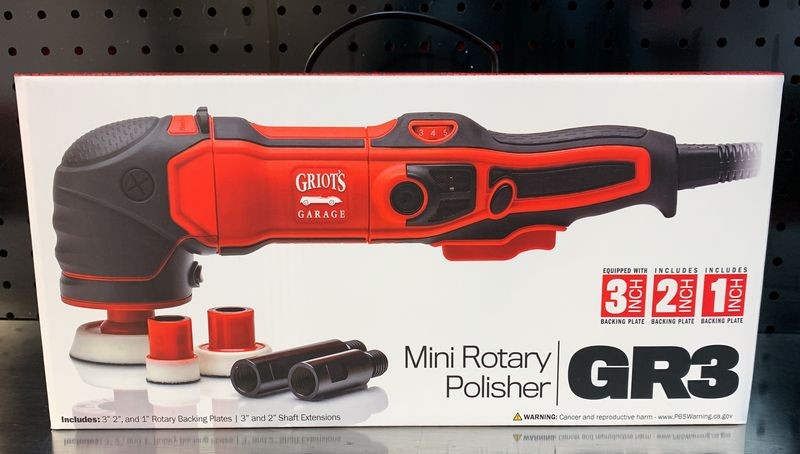
Like all Griot's Garage products, the packaging is not only descriptive and professionally laid out, in this case the box also serves as a storage case and a carry case.

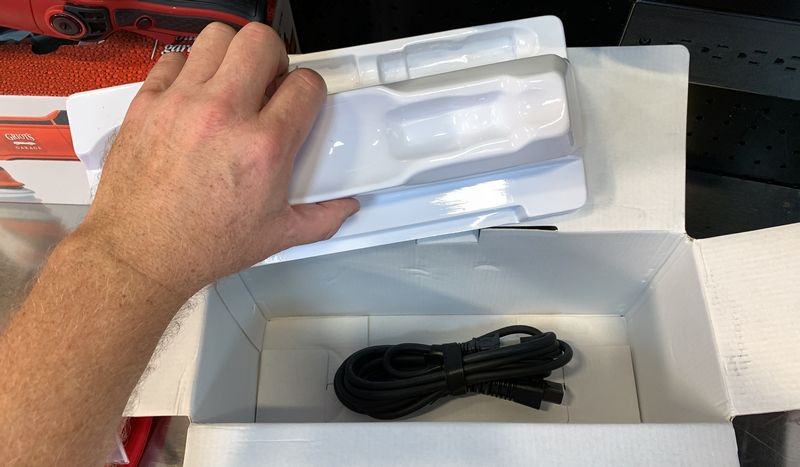
When you first open the box you'll find a chart that you can attach to your garage wall for quick reference for available pads and products.


Under the chart and the packaging tray, you'll find the polisher and the storage bag for all the included backing plates, tools, brushes, warranty card, owner's manual etc.

To the side of the polisher are to rotary extensions. Don't forget to remove these so they don't get lost or accidentally thrown away.

After removing the tool, under the tray you'll find the power cord.
Here's everything removed from the box except the wall chart.

Here's the owner's manual.

Here are a set of spare carbon brushes. (removed from their plastic storage bag)

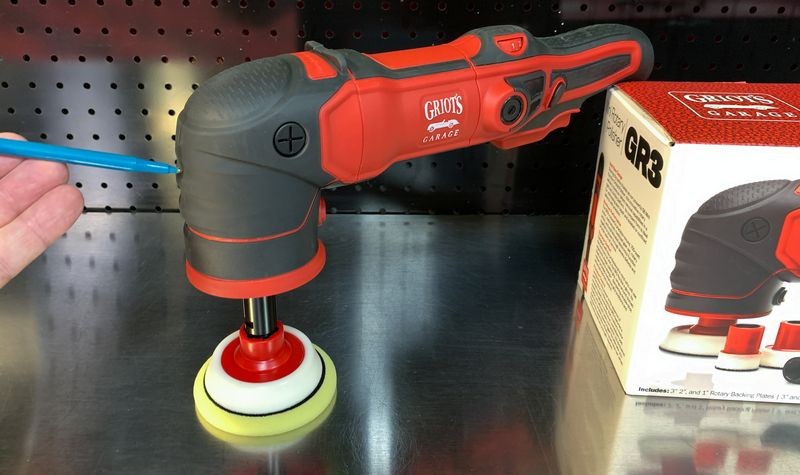
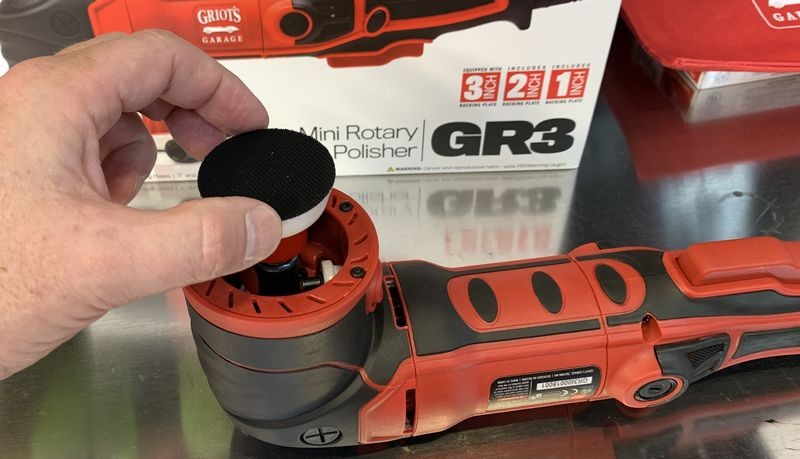
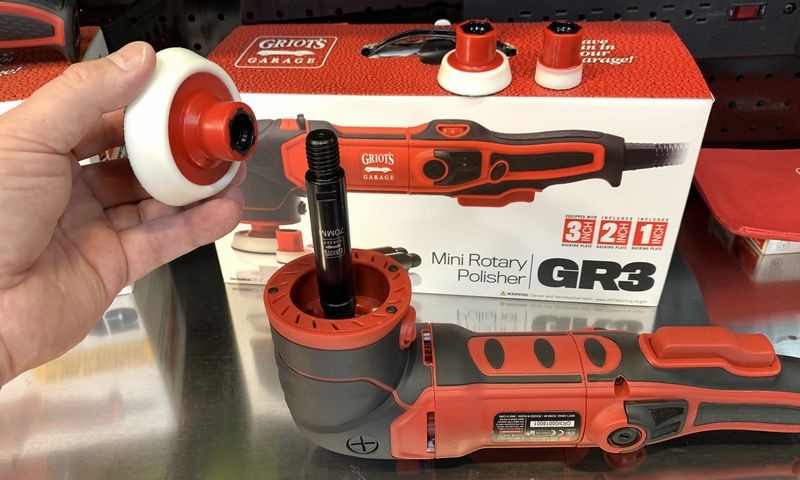
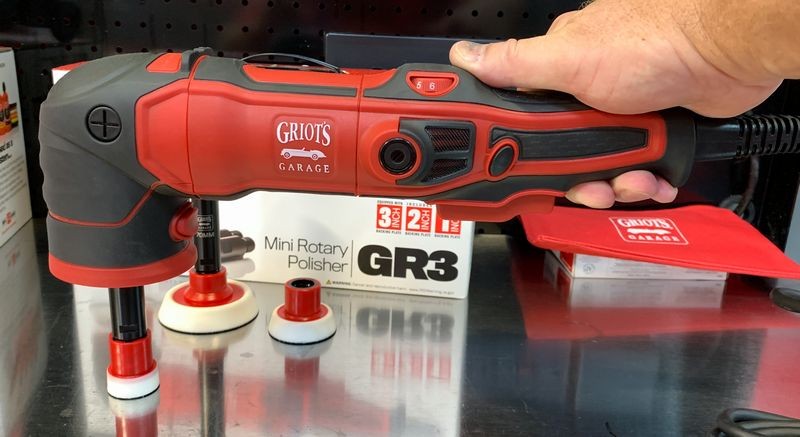
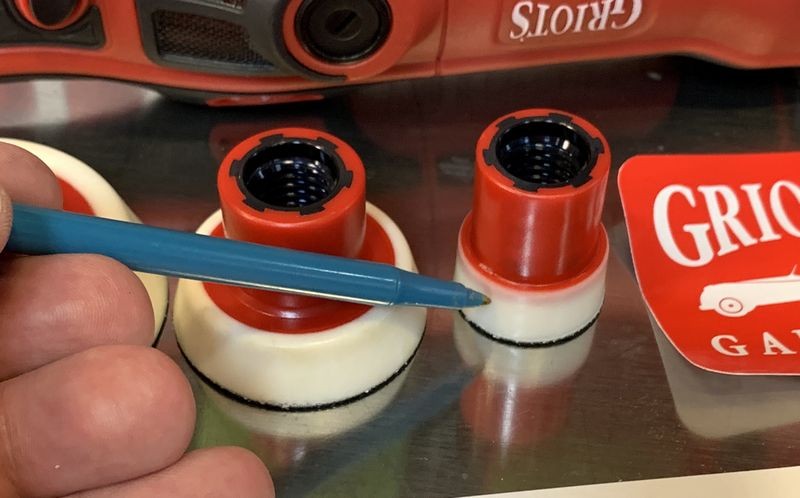
The GR3 comes with 3 backing plates - 3", 2" and a 1" size options.
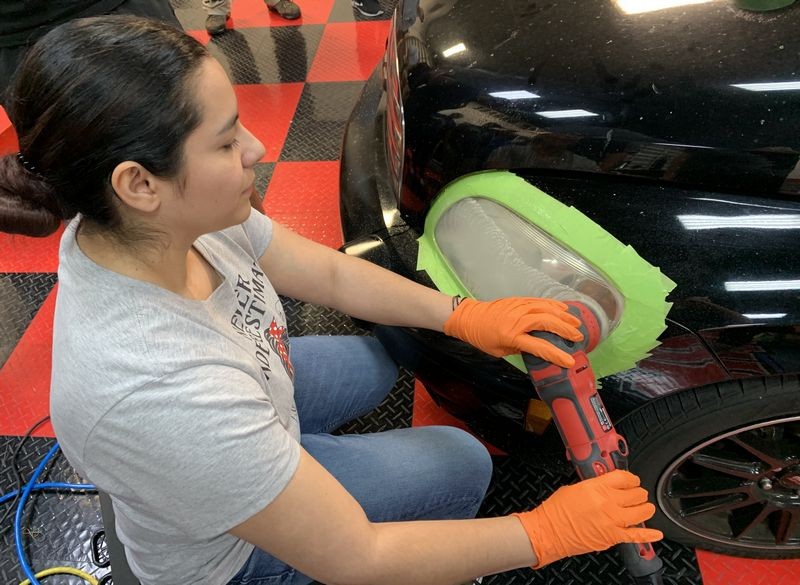
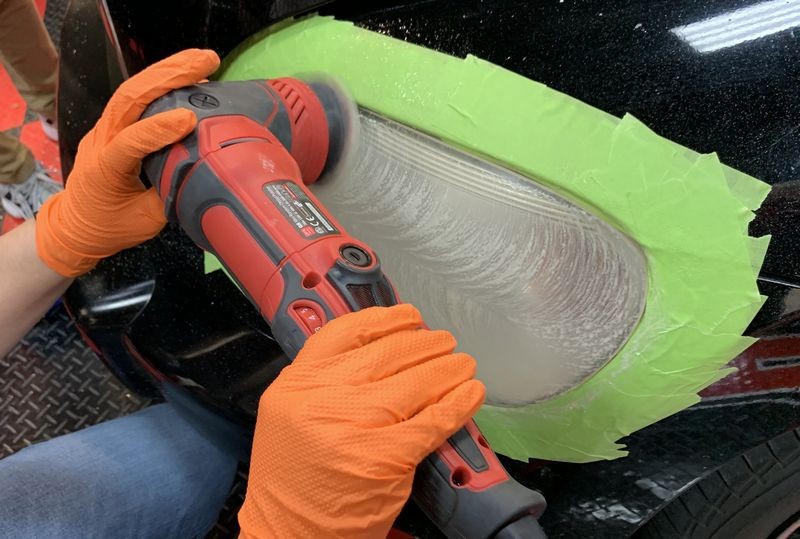
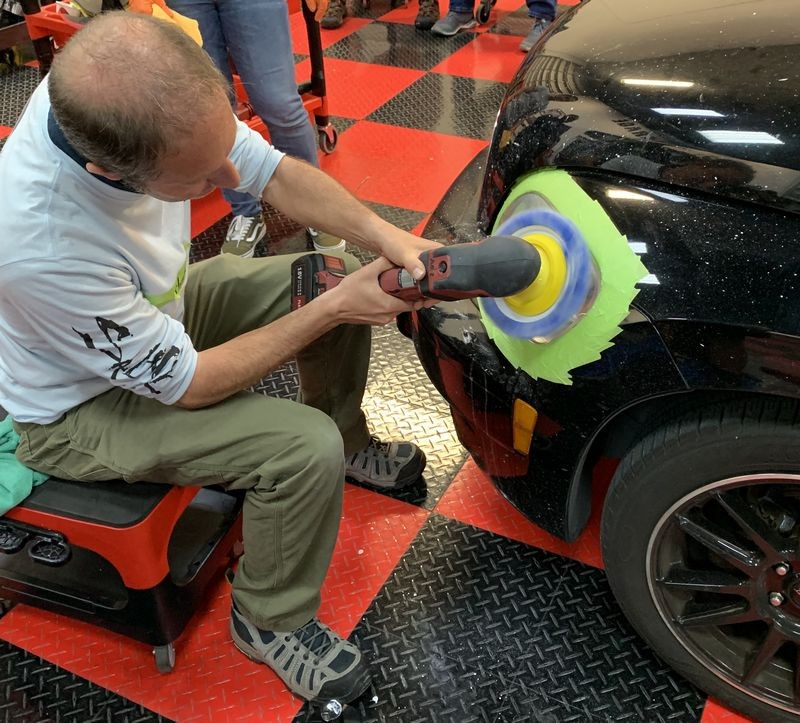
These small size backing plates actually come in real handy for doing intricate work on thin panels or in tight areas.
Here's the 3" backing plate.
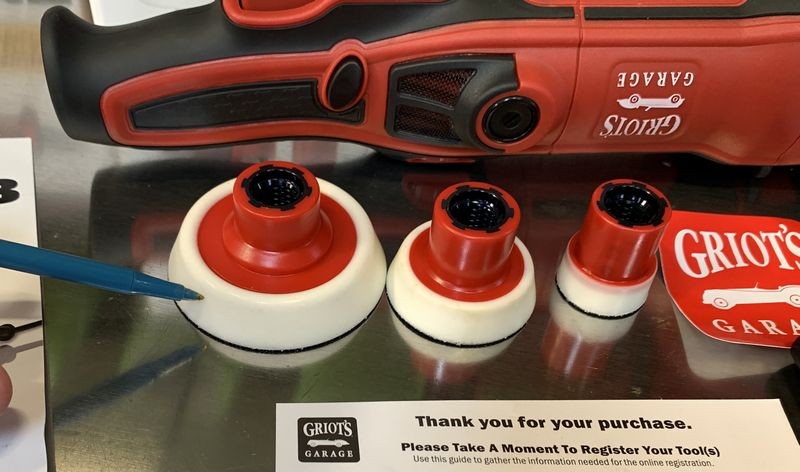
Here's the 2" backing plate.
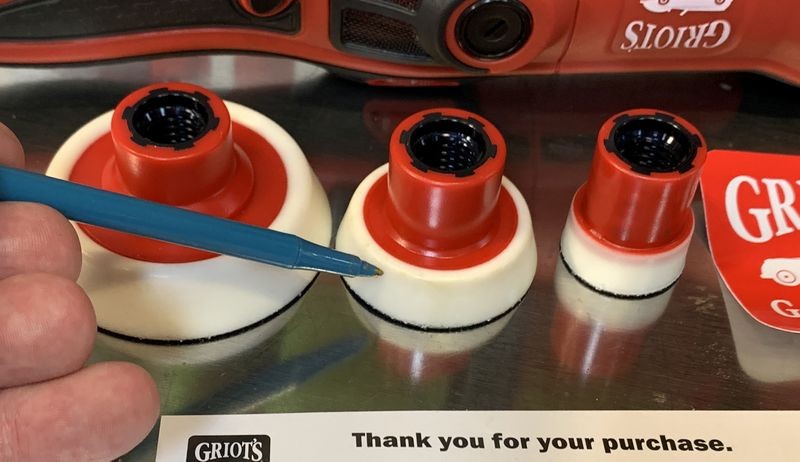
And the 1" backing plate.
Griot's always includes a Griot's "Fan Sticker". :xyxthumbs:

The registration card for you tool is included in the storage bag - don't stall out, fill it out and send it in.
Griot's has one of the best warranties for their tools in the car detailing industry.

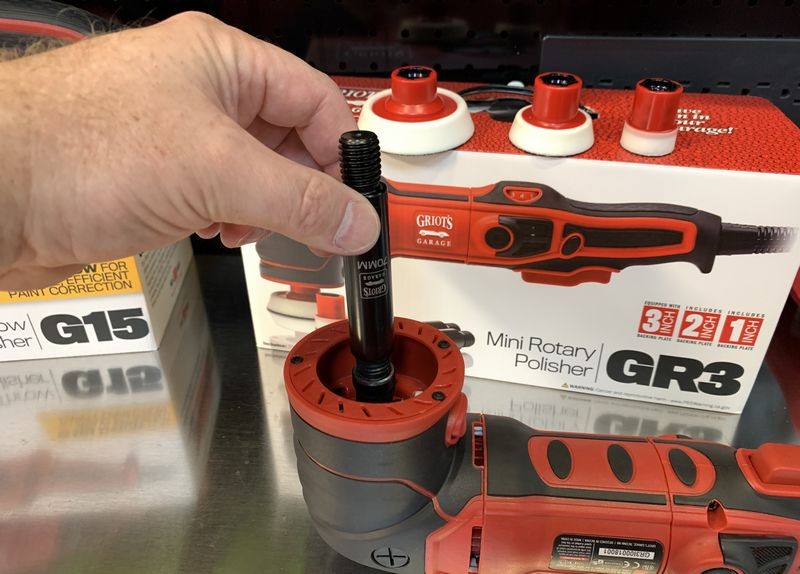
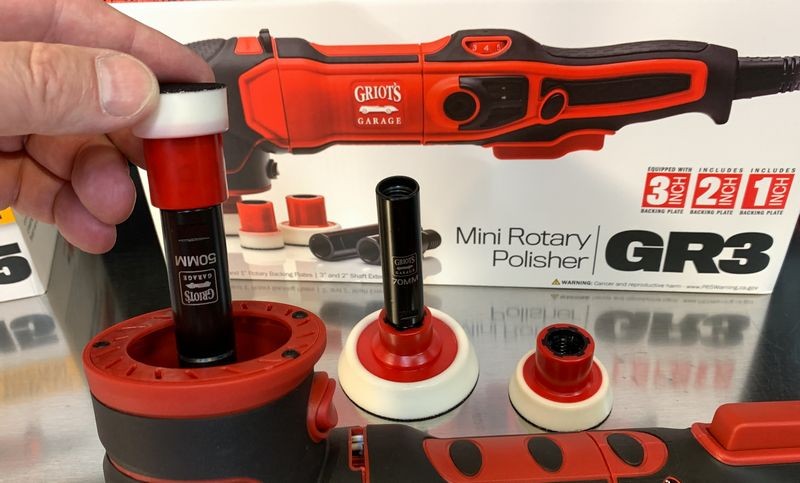
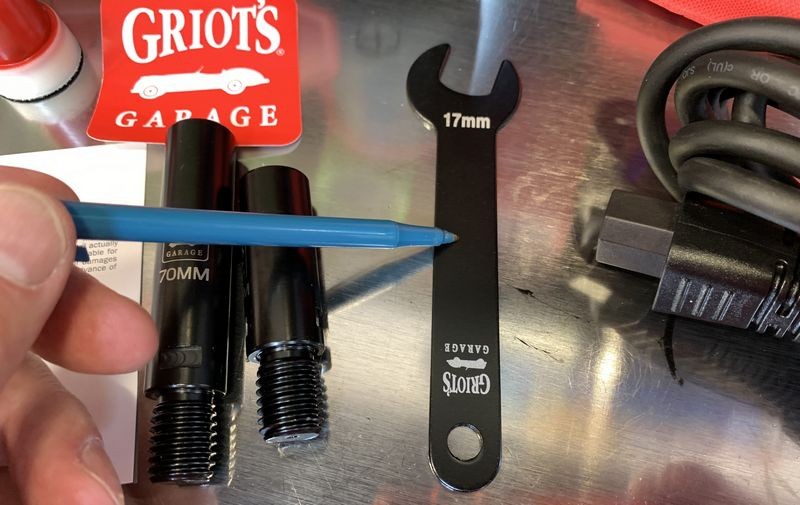
Rotary Polisher Extensions
Here's the 70mm extension, which is about 2.75 inches in length

Here's the 50mm extension which is about 2 inches in length.

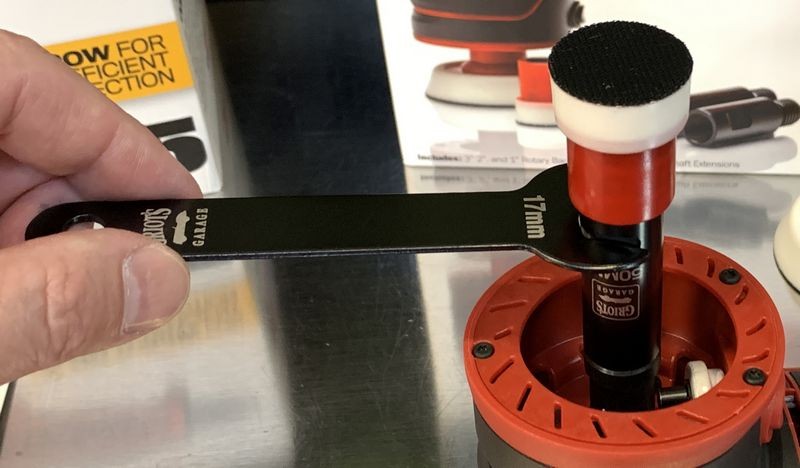
This is the Extension Wrench - you use this to tighten the extension snug onto the spindle.
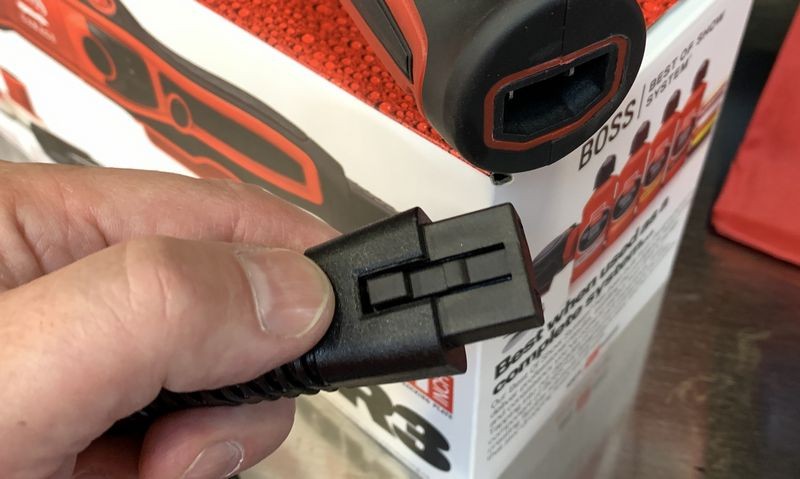
The GR3 comes with a quick-connect 18 gauge rubber power cord.

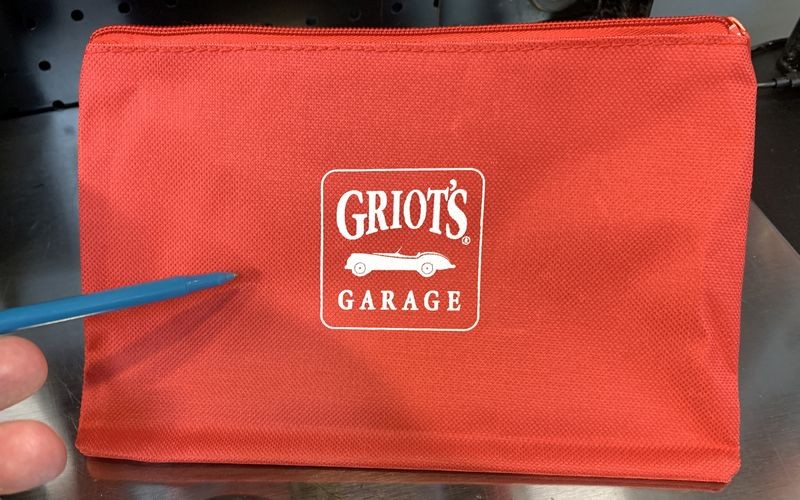
I hand zipper pouch to store all the tools, backing plates and other items so they don't get lost.
Storage box is also a carry case
And a nice feature about the box the tool comes in is the built-in carry handle. It's so much easier to carry a box with a handle than it is to actually hold and carry a box. If you're a professional detailer you'll likely remove the tool and all the accessories and then throw the box away. But if you're an enthusiast, aka a weekend warrior, chances are you'll want to keep the box to store the tools and accessories in when not in use.

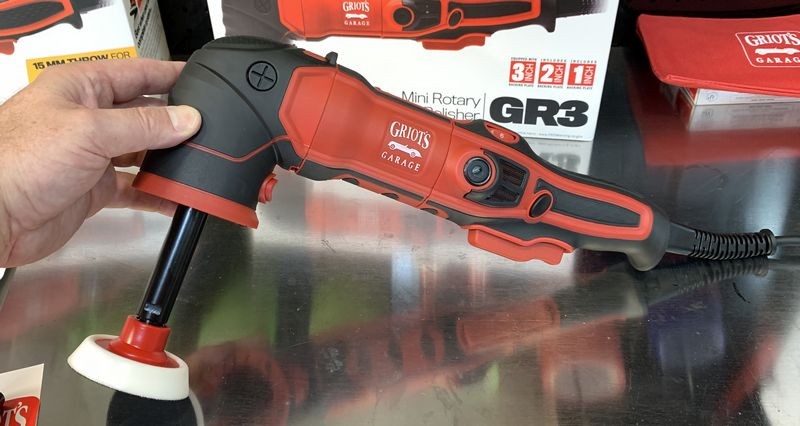
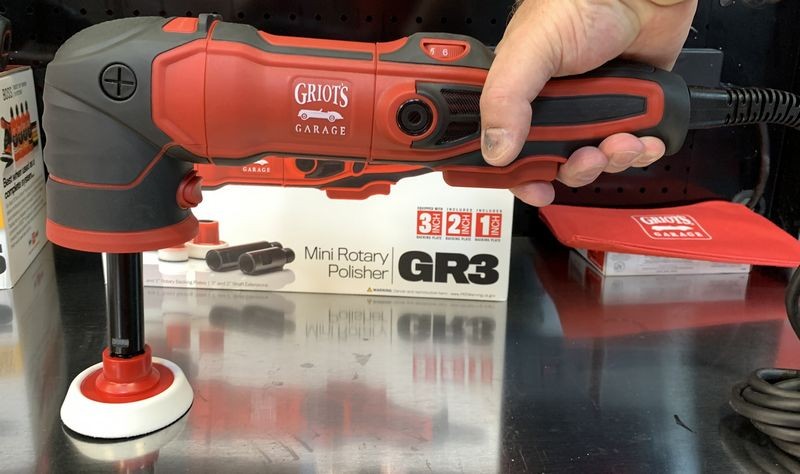
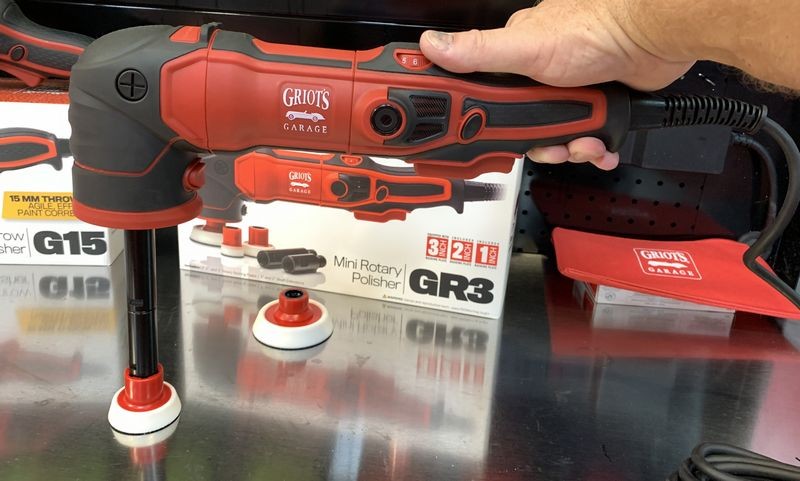
That's wraps up what's in the box, next we'll take a closer look at the tool itself.
On Autogeek.com
Griot’s Garage GR3 Mini Rotary Polisher
All Griot's Garage Products
")
The Griot's Garage GR3 Mini Rotary Polisher
TOOL TIME! More fun in your garage!
Griot's Garage just introduced their brand new GR3 Mini Rotary Polisher. Below you'll find LOTS of PICTURES to show you everything that comes in the box PLUS a detailed overview of the tool itself.
I know before anyone purchases a tool, they want to gather as much information as they can to enable them to make the right decision and this is especially true when it comes to tools. So take a look at the pictures below with my commentary and if you have any questions - please post them to this thread and I promise to do my best to answer them.
Like all Griot's Garage products, the packaging is not only descriptive and professionally laid out, in this case the box also serves as a storage case and a carry case.
When you first open the box you'll find a chart that you can attach to your garage wall for quick reference for available pads and products.
Under the chart and the packaging tray, you'll find the polisher and the storage bag for all the included backing plates, tools, brushes, warranty card, owner's manual etc.
To the side of the polisher are to rotary extensions. Don't forget to remove these so they don't get lost or accidentally thrown away.
After removing the tool, under the tray you'll find the power cord.
Here's everything removed from the box except the wall chart.
Here's the owner's manual.
Here are a set of spare carbon brushes. (removed from their plastic storage bag)
The GR3 comes with 3 backing plates - 3", 2" and a 1" size options.
These small size backing plates actually come in real handy for doing intricate work on thin panels or in tight areas.
Here's the 3" backing plate.
Here's the 2" backing plate.
And the 1" backing plate.
Griot's always includes a Griot's "Fan Sticker". :xyxthumbs:
The registration card for you tool is included in the storage bag - don't stall out, fill it out and send it in.
Griot's has one of the best warranties for their tools in the car detailing industry.
Rotary Polisher Extensions
Here's the 70mm extension, which is about 2.75 inches in length
Here's the 50mm extension which is about 2 inches in length.
This is the Extension Wrench - you use this to tighten the extension snug onto the spindle.
The GR3 comes with a quick-connect 18 gauge rubber power cord.
I hand zipper pouch to store all the tools, backing plates and other items so they don't get lost.
Storage box is also a carry case
And a nice feature about the box the tool comes in is the built-in carry handle. It's so much easier to carry a box with a handle than it is to actually hold and carry a box. If you're a professional detailer you'll likely remove the tool and all the accessories and then throw the box away. But if you're an enthusiast, aka a weekend warrior, chances are you'll want to keep the box to store the tools and accessories in when not in use.
That's wraps up what's in the box, next we'll take a closer look at the tool itself.
On Autogeek.com
Griot’s Garage GR3 Mini Rotary Polisher
All Griot's Garage Products