I do Mike, I've read it in its entirety, as well as having read most of your articles here at least once.
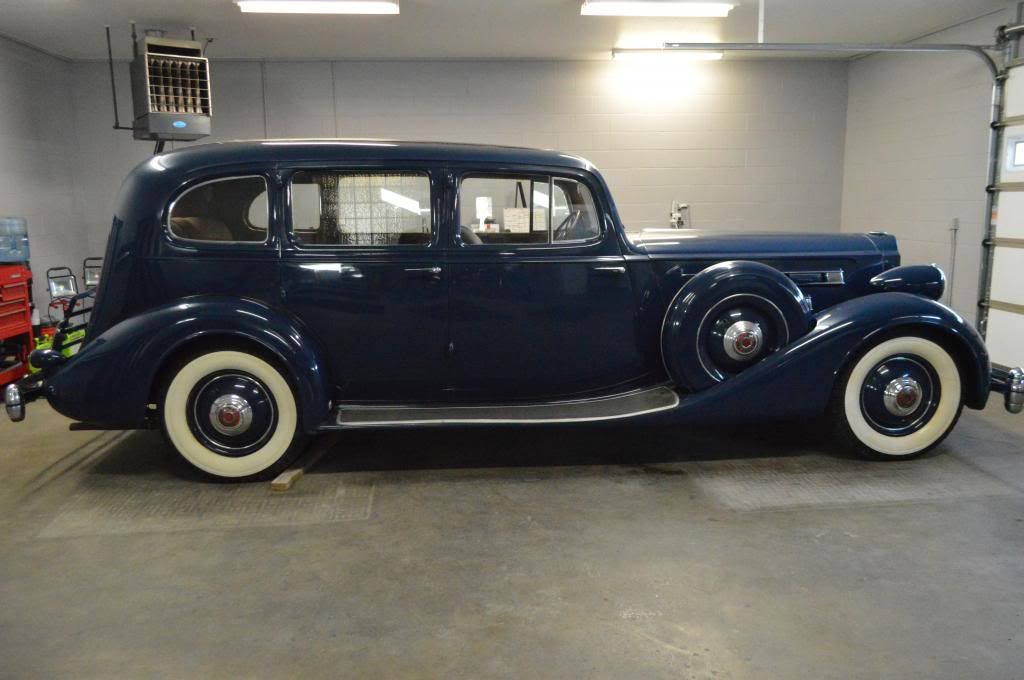
The paint looks great, even in the sun really, but if you put it under the flex light, WOW, it's really swirly.
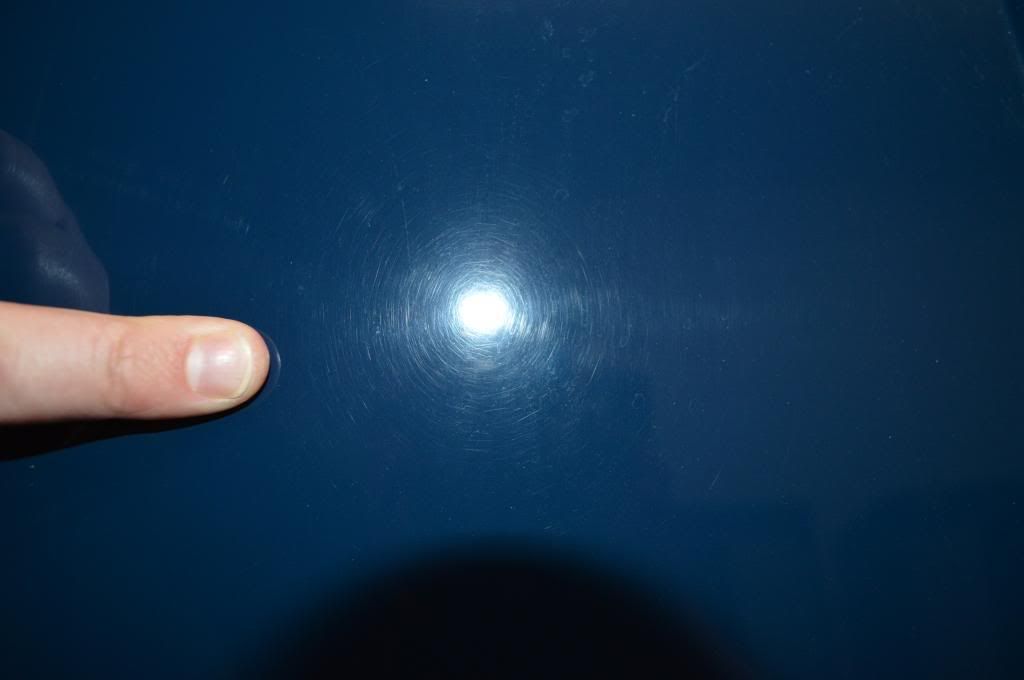
The side I polished really cleared up a lot, with the exception of those spots.
My guess is the owner will have to live with the spots. These types of faded spots tend to be deep into the layer of paint and so the only way to remove them is to cross your fingers and keep removing top paint in an effort to get past the faded portion to a fresh base.
And of course the problem with that you don't have a lot of paint to work with.
A few questions:
Can a cheaper paint gauge read single stage paint?
Yes. What you lose with with an inexpensive paint thickness gauge is accuracy. The Defelsko unit I use is a 3% gauge. That means the reading is within +/- 3% of the actual thickness.
From what I've read, the percentage +/- of the entry level paint thickness gauges is a lot higher. While this might not sound like a huge deal it is when the material you're measuring is already thin to start with. Make sense? It's always been a little tricky to explain this topic.
What does single stage paint look like in general when you've burned through?
First you'll see the underlying primer coat and thus the color of the primer. Next you'll see shiny steel at least on a 1970 Ford. (or Bondo)
Are repaints generally thicker than OEM paints?
Yes. But not always. Generally speaking I would trust a quality repaint to be thicker than a factory paint job. When you start talking about cheap paint jobs then you just don't know.
I've worked on cars that I swear the paint was applied using a broom. The brush marks in the paint told me it was thick! (and it was as I took it all off using paint stripper).
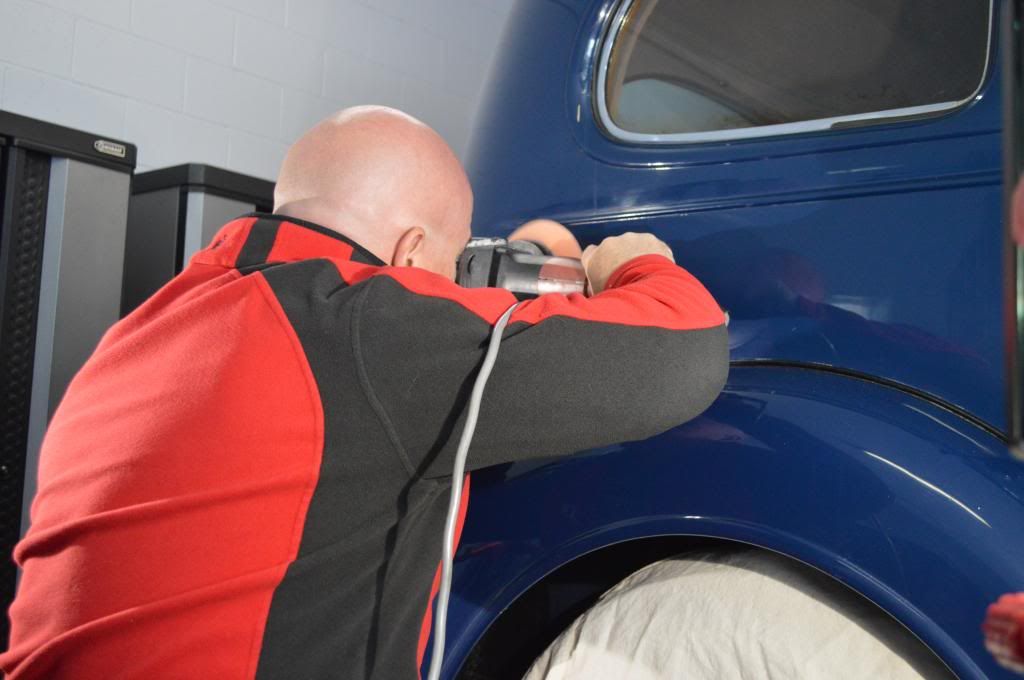
I know we preach the least aggressive method around here. I could have started with a black pad and 205 or even black and SF 4500. Hell, I could have tried a cleaner wax by hand (is there anything less aggressive than that?)
Those are all good safe approaches.
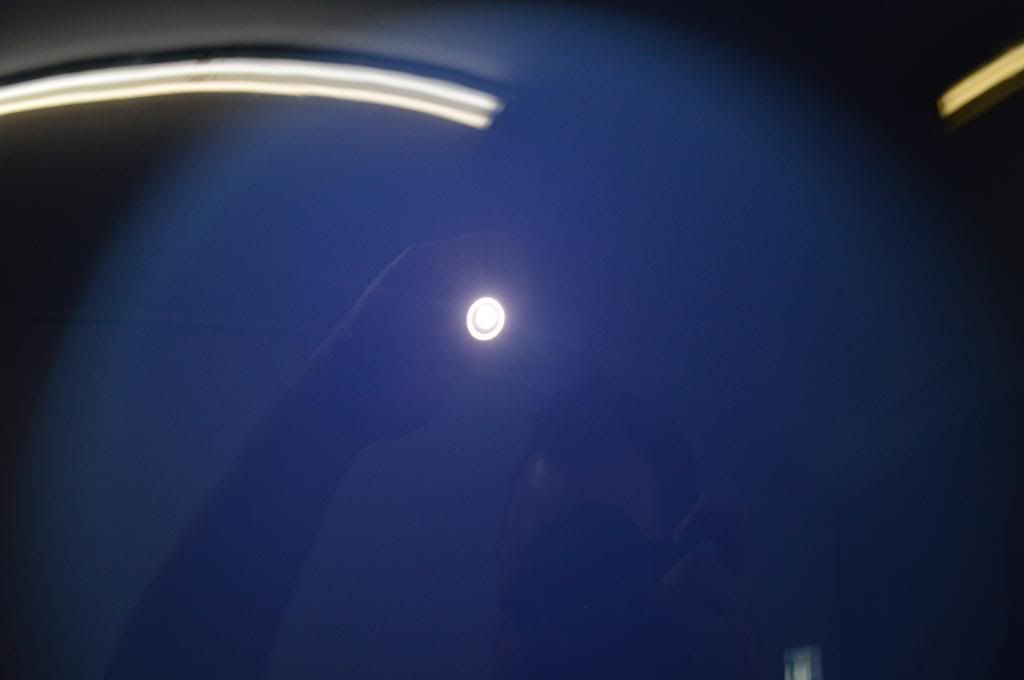
I'm not a painter, so I don't know if I've removed just enough paint to let something show through (those flex lights really "pierce" the paint if you know what I mean) or what.
Yeah... swirl finder lights. A few years back I coined the name,
Cruel Master
Seems fitting.
Here's the big picture. Whatever you do will be an improvement. My guess is the owner will be happy with a bright, shiny paint job. My other guess is he probably doesn't want to make the investment to repaint the truck if it can be avoided.
So use common sense and set your customer's expectations. Show him the picture of the white spots in the read paint on page 34 of my how-to book and explain that in order to remove them 100% would risk burning through the paint and that in your experienced opinion it's better to live with the natural patina, (the spots), then to live with burn through.
This discussion is what my two articles below are all about, that is matching your services to your customer and it's your job to evaluate the customer.
A few tips on starting a part-time detailing business
Match your services to your customer
Evaluate the customer first!
My 2 cents....
I'd love to have a shiny 1970 Ford to drive around in and I wouldn't care if it had a few blemishes gained over the years.
The key thing is
AFTER you restore the paint make sure you educate the customer on how to take care of your hard work. I'd recommend using a one-step cleaner/wax a few times a year because that single stage paint is going to oxidize.
A one-step cleaner/wax is easy to apply and remove and will maintain your hard work.
I'd also recommend you have the owner purchase a Porter Cable 7424XP and a few pads and teach him how to use it to apply the cleaner/wax or hire you to do it and put him on a
maintenance plane where 2-3 times a year you wash and wax the truck.
Either of the above options will preserve the paint.
")