lawrenceSA
New member
- Feb 7, 2012
- 1,713
- 0
So this car belongs to a fellow VW Club member and has a fair bit of modifications done
If anyone is interested:
OEM Audi S3 K04 turbo
OEM Audi S3 Intercooler with metal end tanks
OEM Audi S3 boost hoses
OEM Audi S3 injectors
OEM Audi RS4 fuel return valve
EVOMS intake
Autotech High Pressure Fuel Pump
Flowtech 76mm stainless steel downpipe
XYZ height and damper adjustable coilovers
H&R R32 front anti roll bar
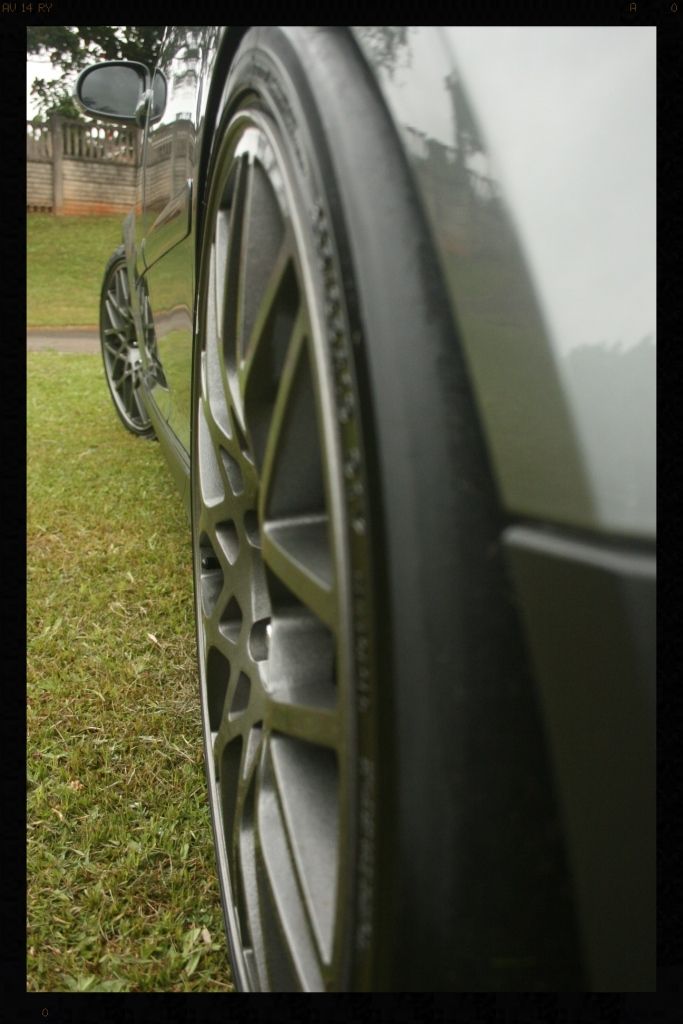
19" replica Rotiform wheels
Stage 1 street clutch
Revo Stage 3 software
Revo catch can and PCV fix
OEM Revision H dump valve
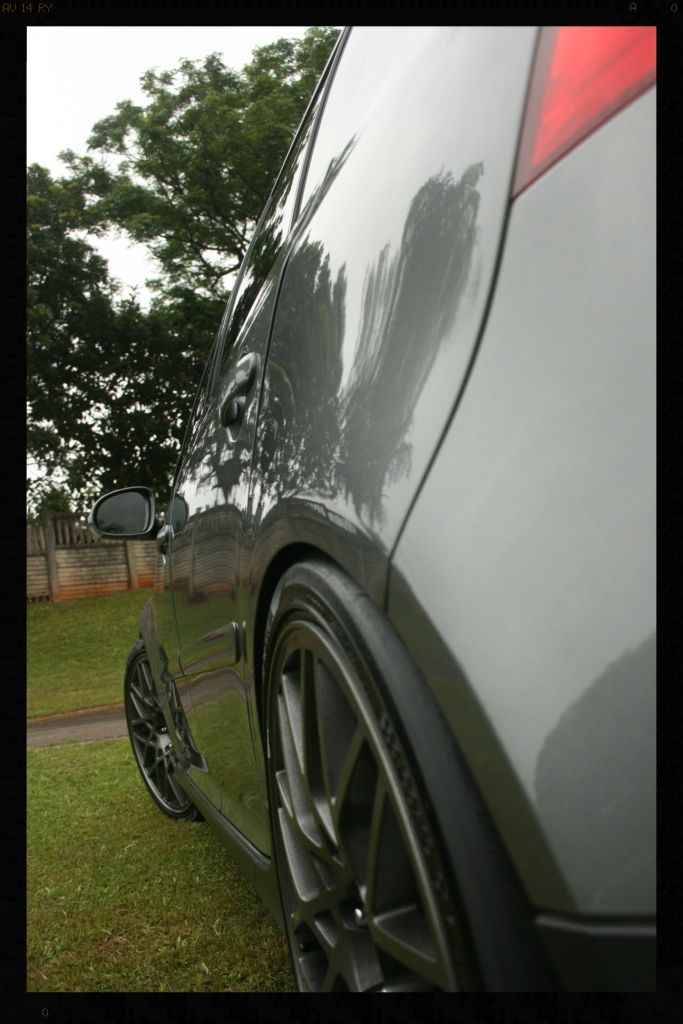
Currently making 300whp / 400nm and is his every day drive. Unfortunately the paint has not been looked after and he is in the process of selling it and therefore asked if I could give it a bit of love to improve the looks for the sale.
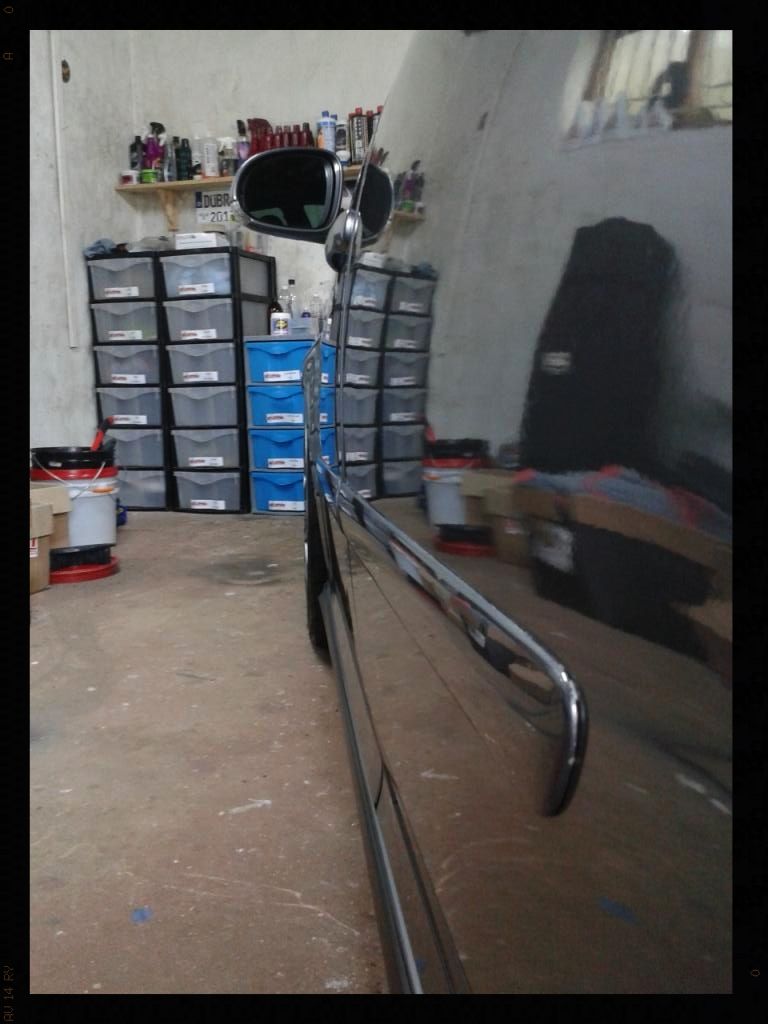
Friday 19:00 to 22:00
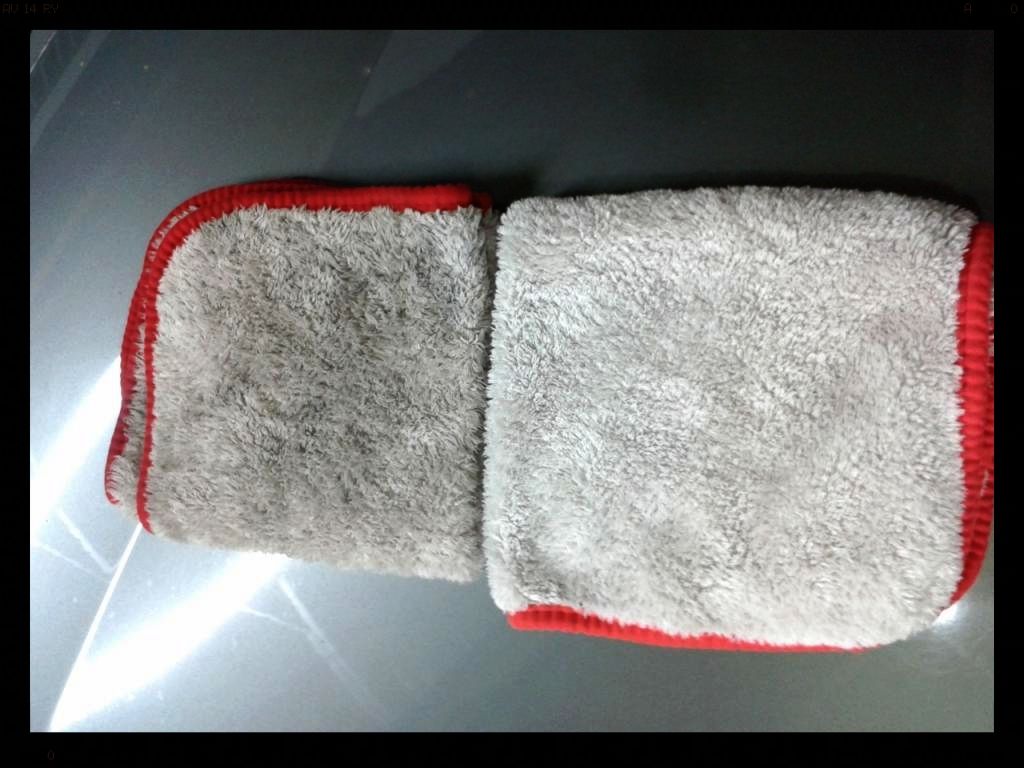
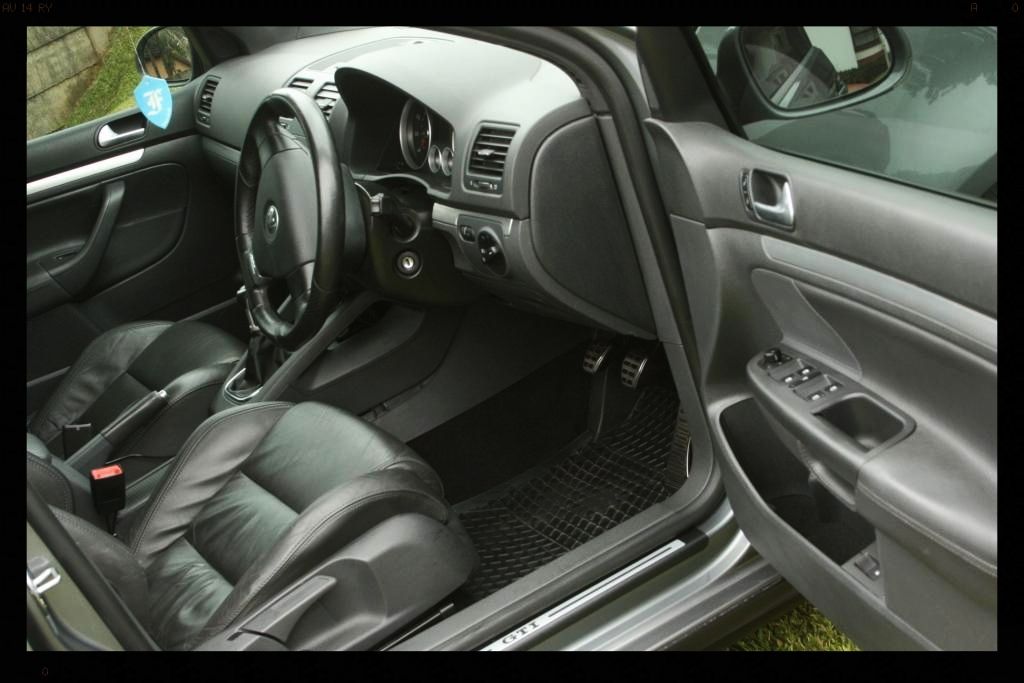
The dash and all interior plastics were wiped clean and various brushes used to clean dirt out the small crevices. The interior was vacuumed and the rubber mats washed and dried. The pedals were cleaned and the leather was first thoroughly cleaned and then conditioned. Cyclo CM30 APC diluted at 20:1 was used for the cleaning and Cyclo Leathertone used for the conditioning. All rubbers were then cleaned using Shield Rubber cleaner and dressed using Smartwax Smartdressing.
Here you can see the amount of dirt that came off the driver's seat
Completed
Saturday 05:00 to 20:00
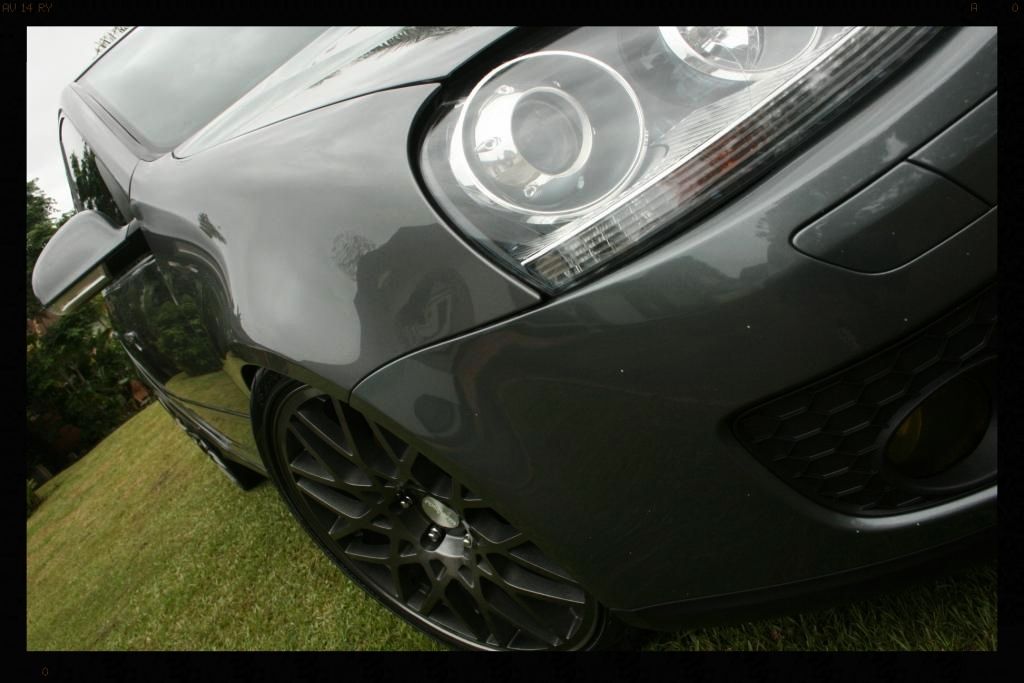
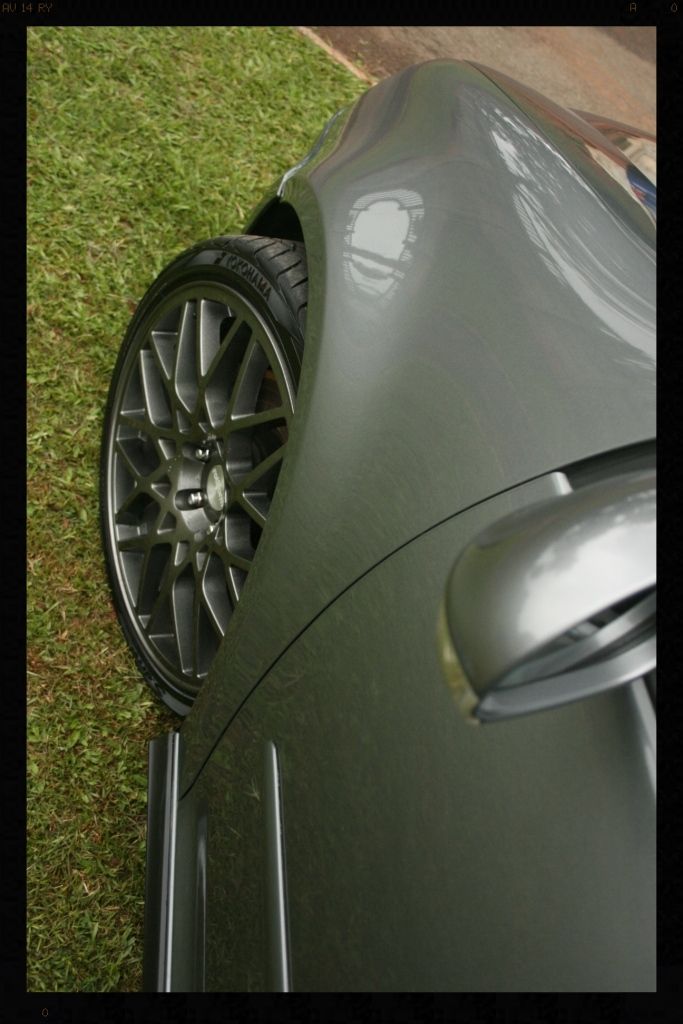
I snapped a few quick pictures and then got to work cleaning up the wheel arches, the tires, wheels and brake calipers. Once the wheels were clean I removed all the tar and iron deposits. Products used: - Meguiars All Wheel and Tire Cleaner, Sonax FE wheel cleaner, Cyclo CM30 APC diluted at 5:1.
These stickers would later be removed

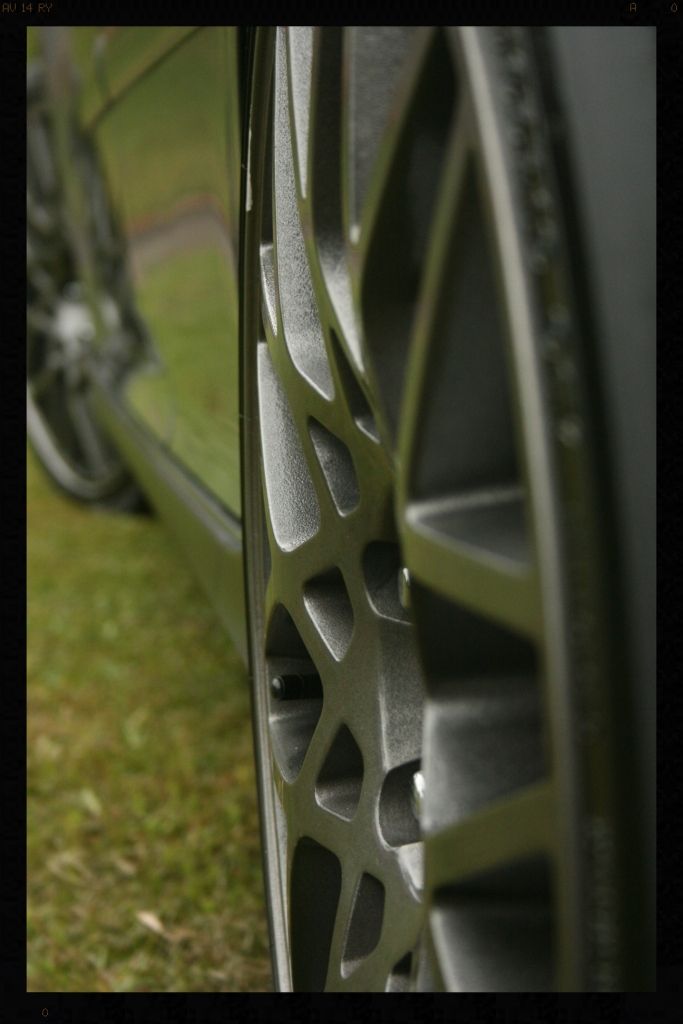
Notice how faded the lower honeycomb section is
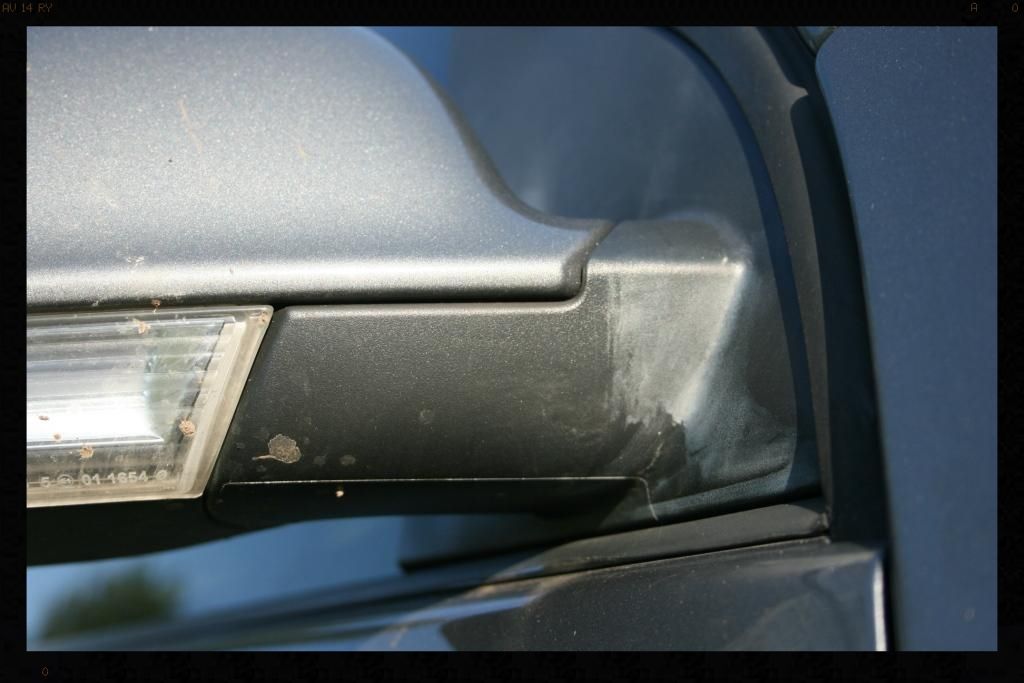
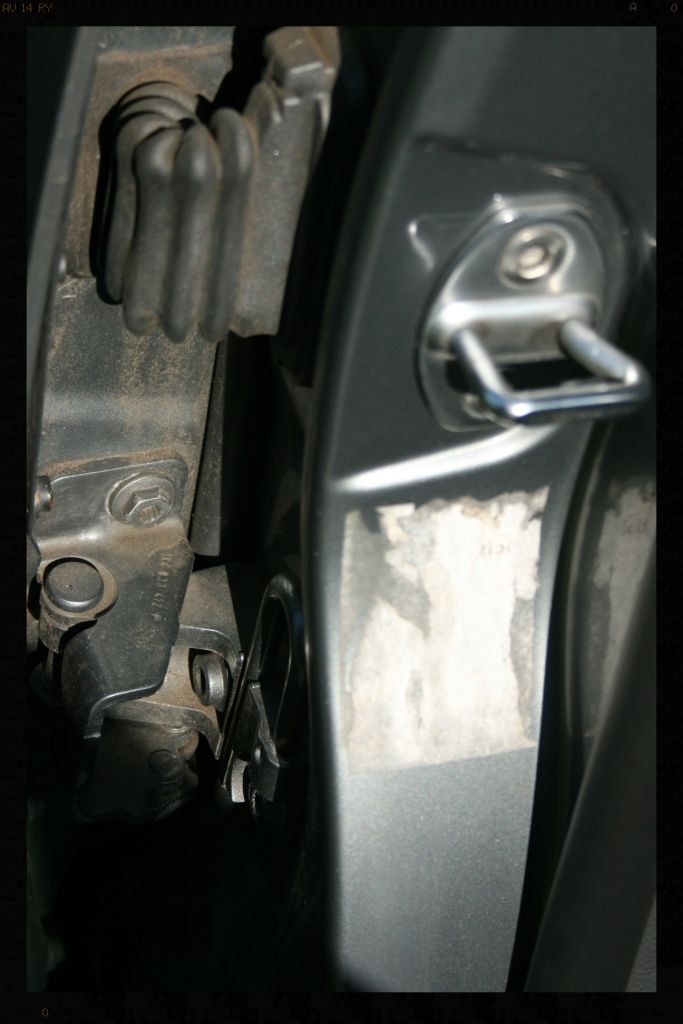
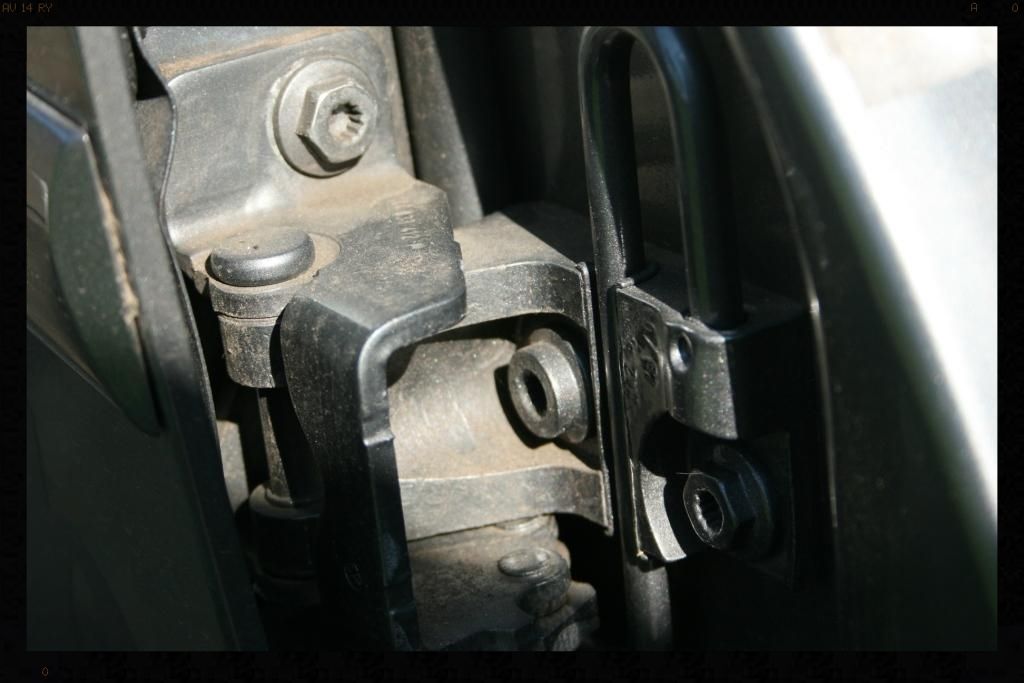
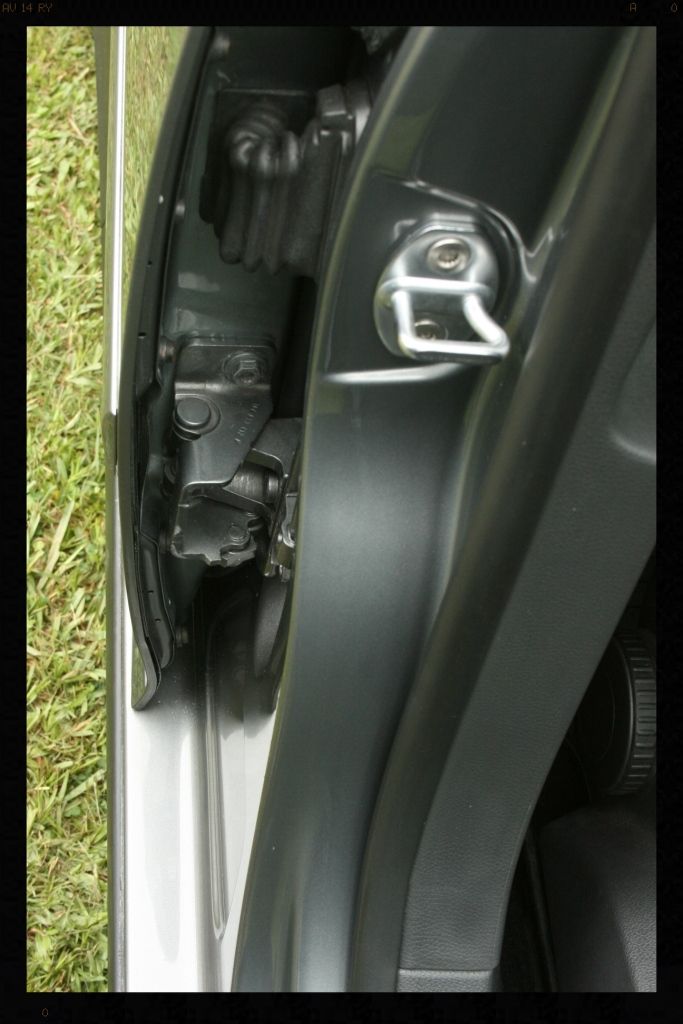
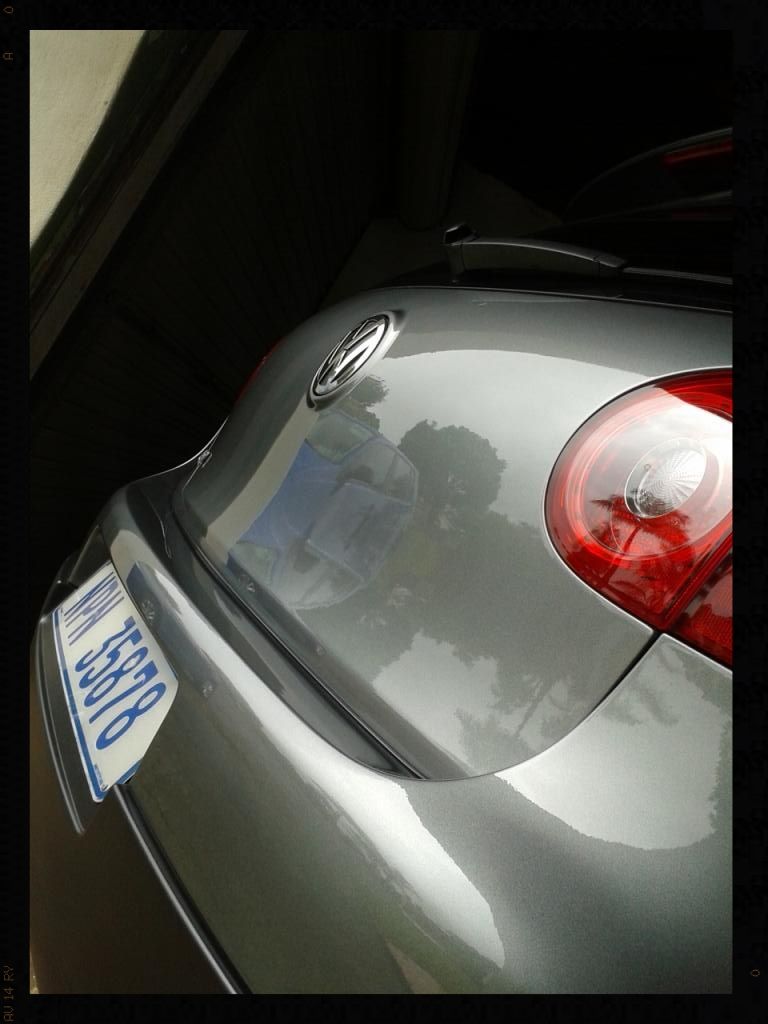
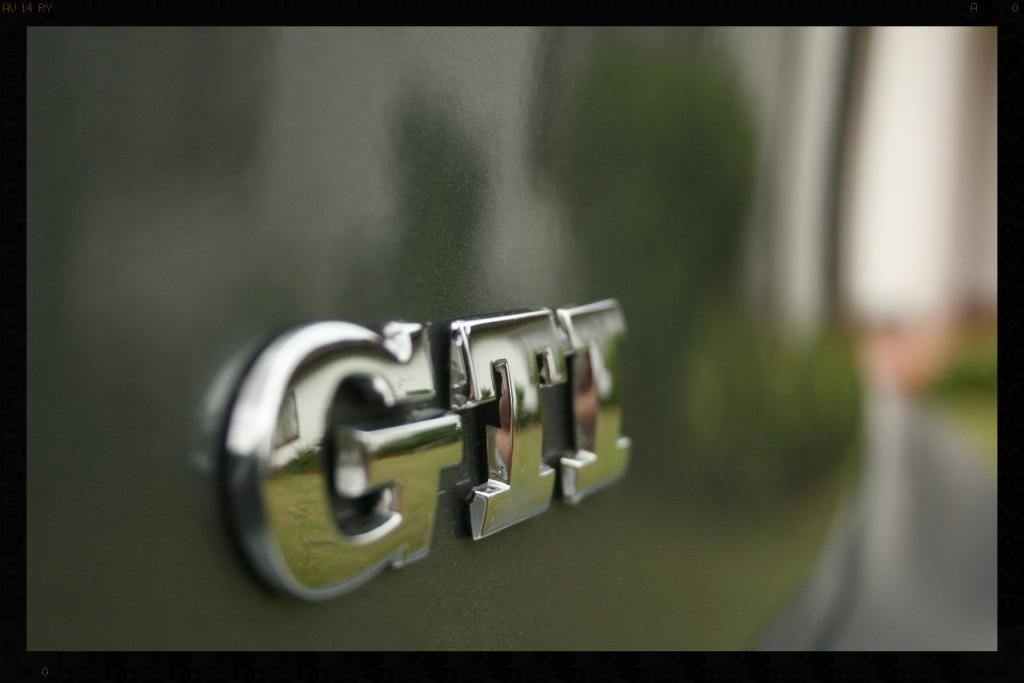
With the wheels clean I then began cleaning in and around all the badges, and the door and boot shuts
Before
After
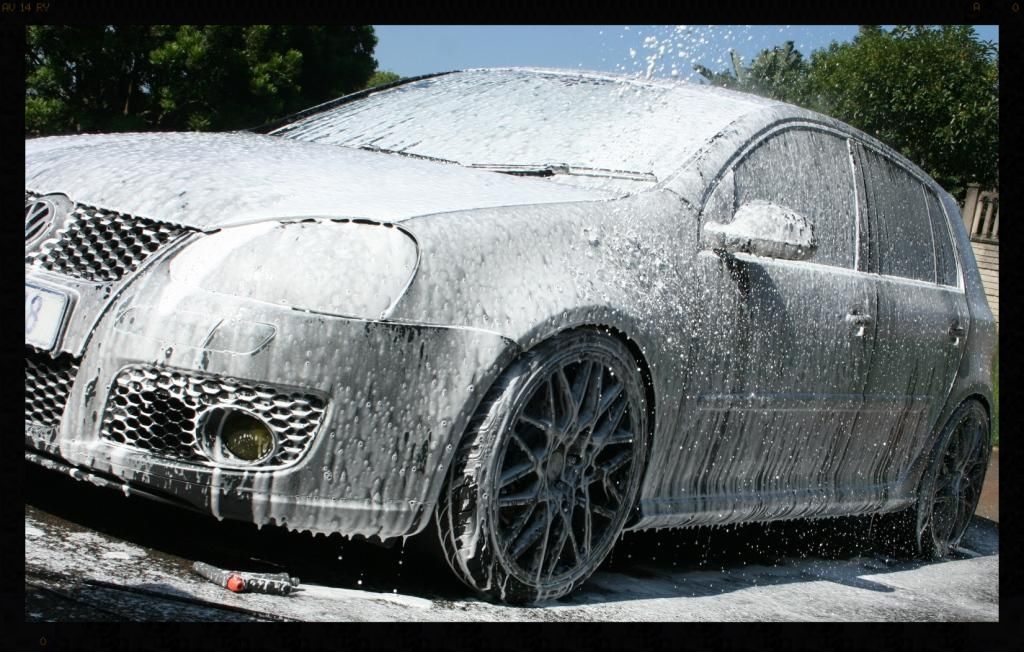
I then began the process of removing as much of the surface dirt as possible before making contact with the paint. This included an initial rinse with the hosepipe, followed by a HP rinse. I then pre-foamed the car twice (using a mix of Cyclo CM30 APC, Cyclo Polymer Car wash and white vinegar) before a final HP rinse.
This was followed with a complete 2BM wash and the car was then pulled into the garage and dried in preparation for decontamination, which was a 3 step process using Autofinesse Oblitarate for the tar deposits, Autofinesse Iron Out for the removal of any ferrous compounds and Clay Magic Blue clay for the remainder of the contamination. The stickers were also removed at this point and any remaining glue residue removed with Goo-gone.
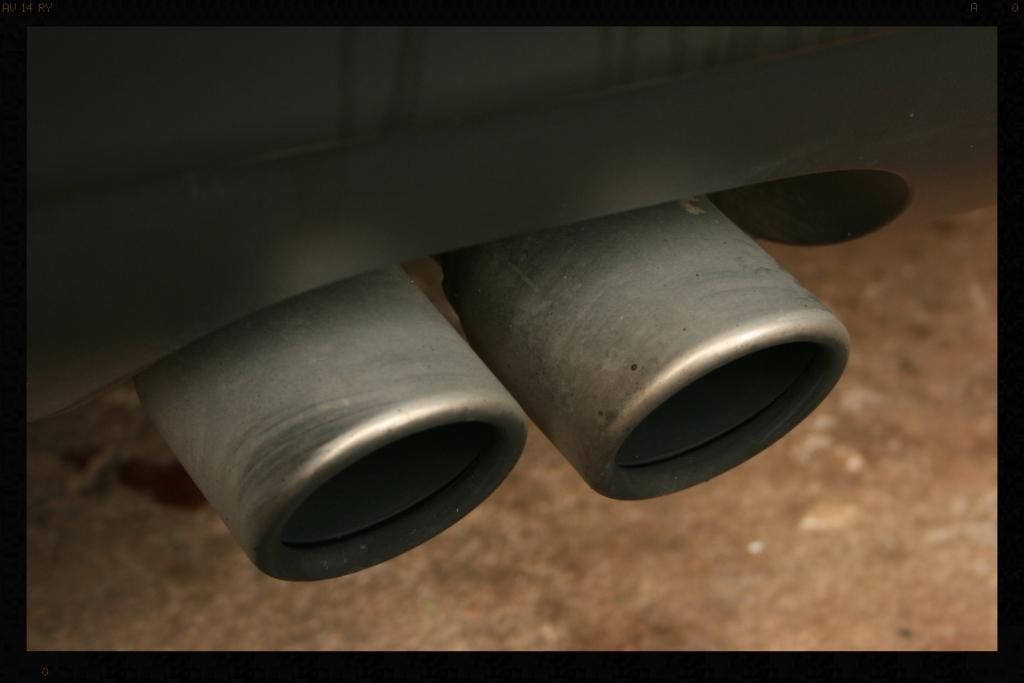
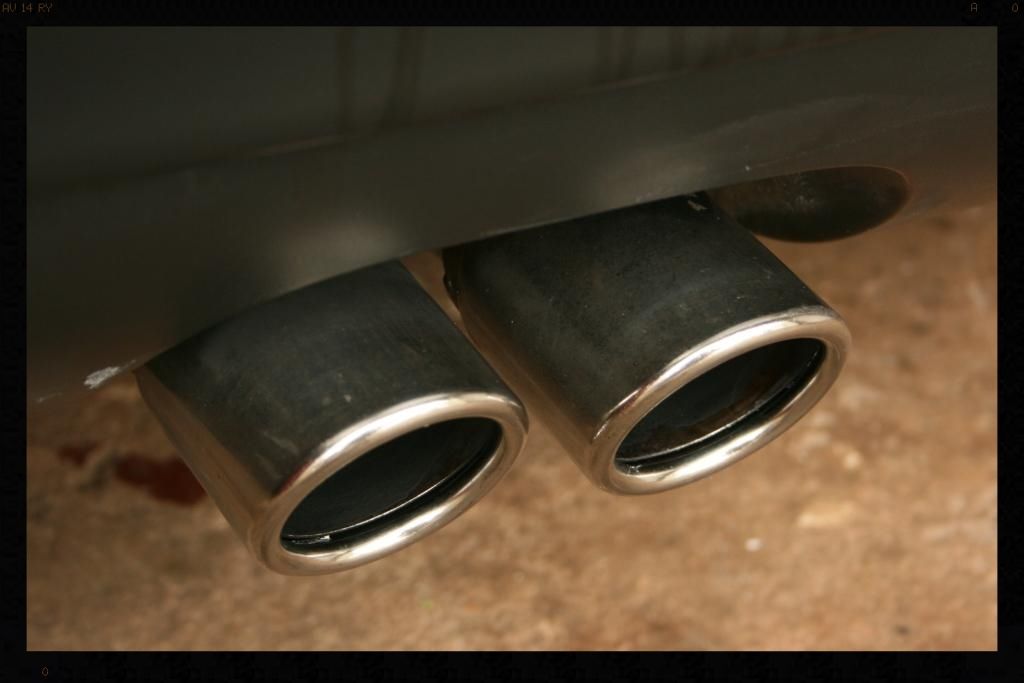
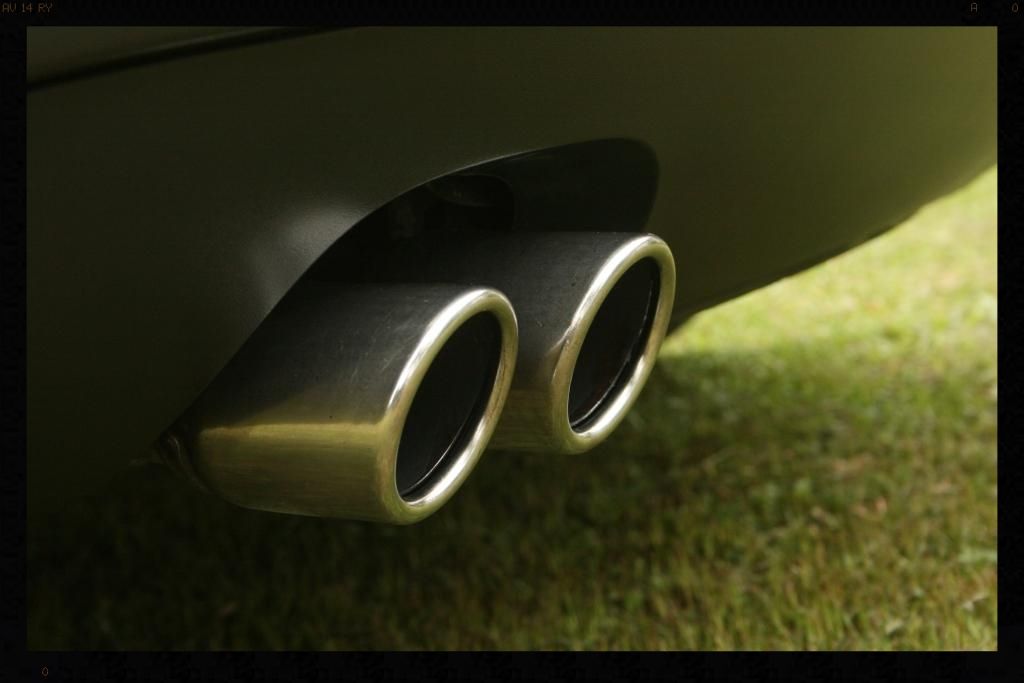
I then gave the exhaust tips a quick polish using Mothers Aluminium Polish.
Before
During
After
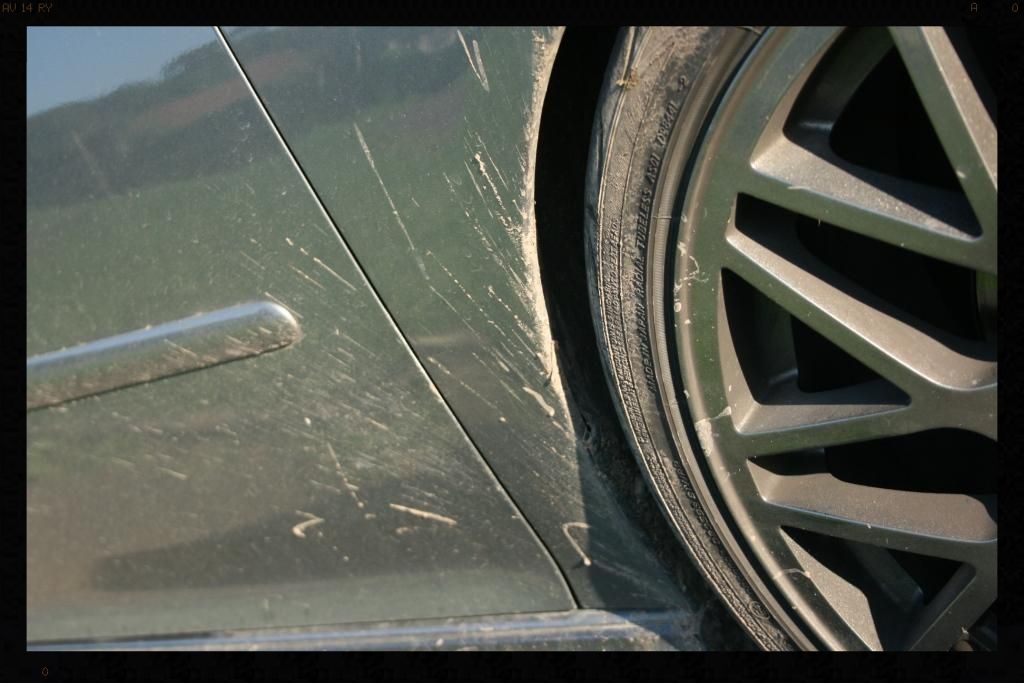
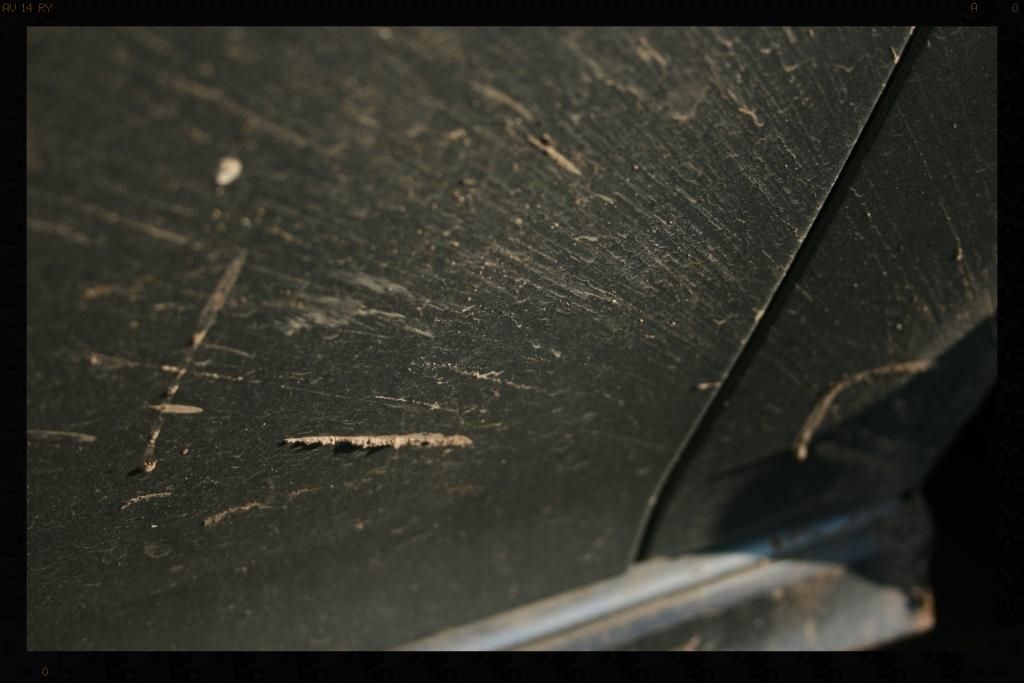
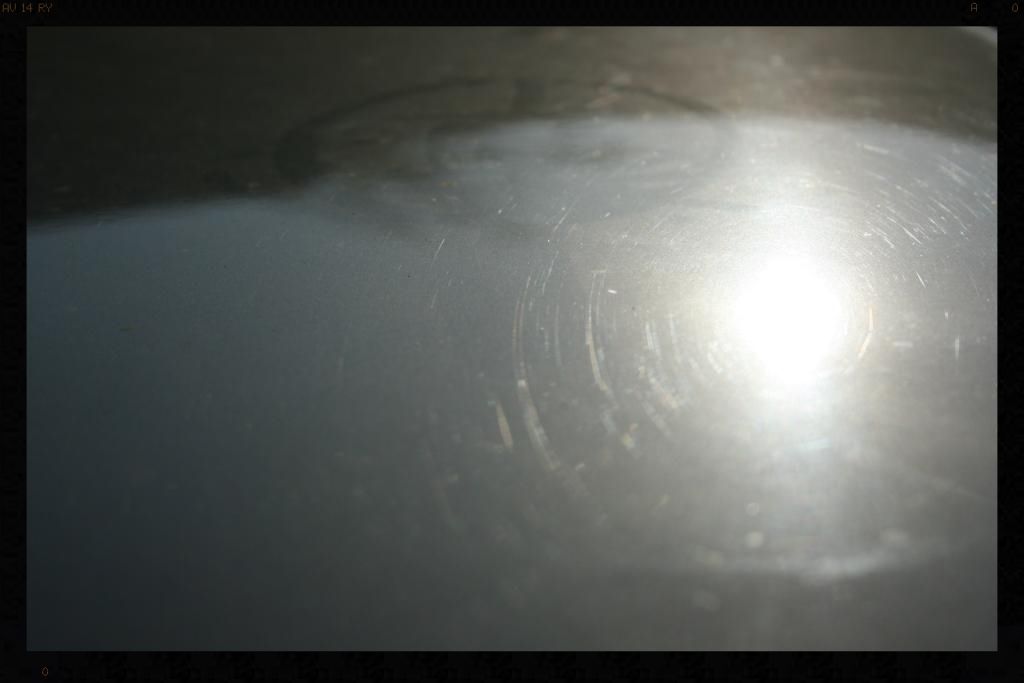
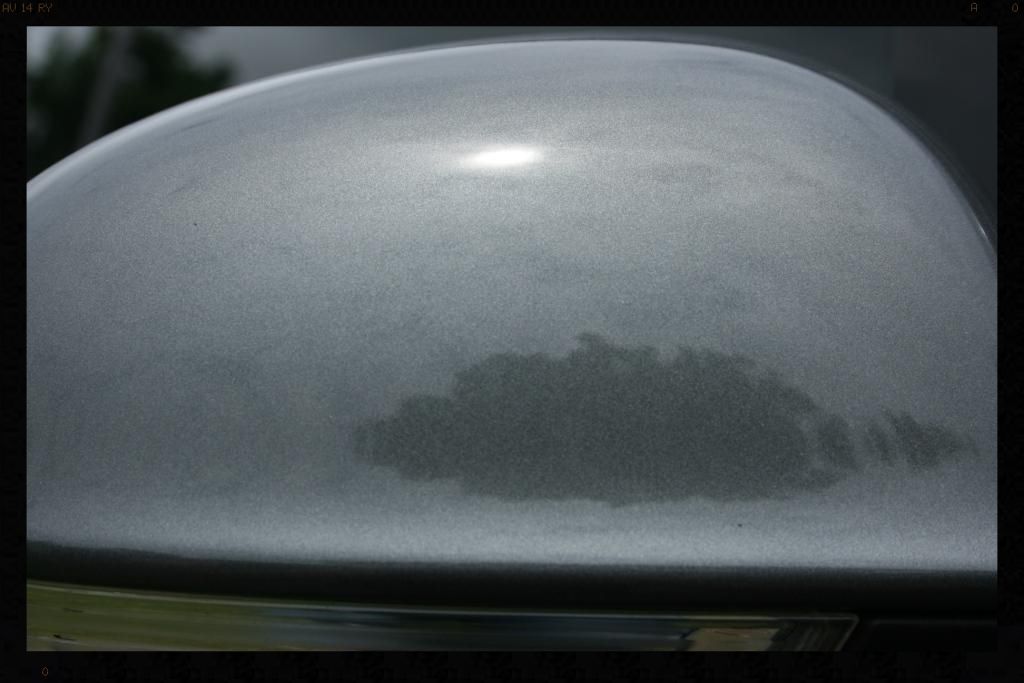
This vehicle had seen a visit to the panel beater and thus there were effectively 2 different paints to deal with. The original OEM paint with a lot of damage in it, such as RIDS, water spots, and even clear coat failure which seemed dry and in terrible condition, and the newer (harder than OEM) paint with a lot less damage in it.
With the brief being a 1-step correction, various test spots were carried out before I settled on Menzerna PF2500 / LC Orange CCS Pad
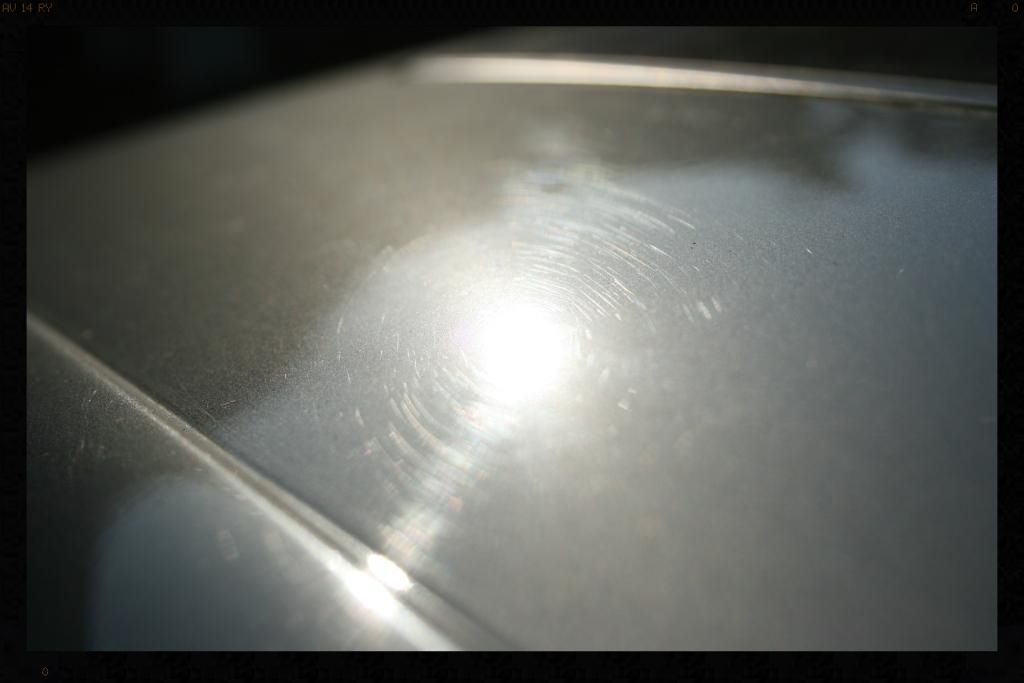
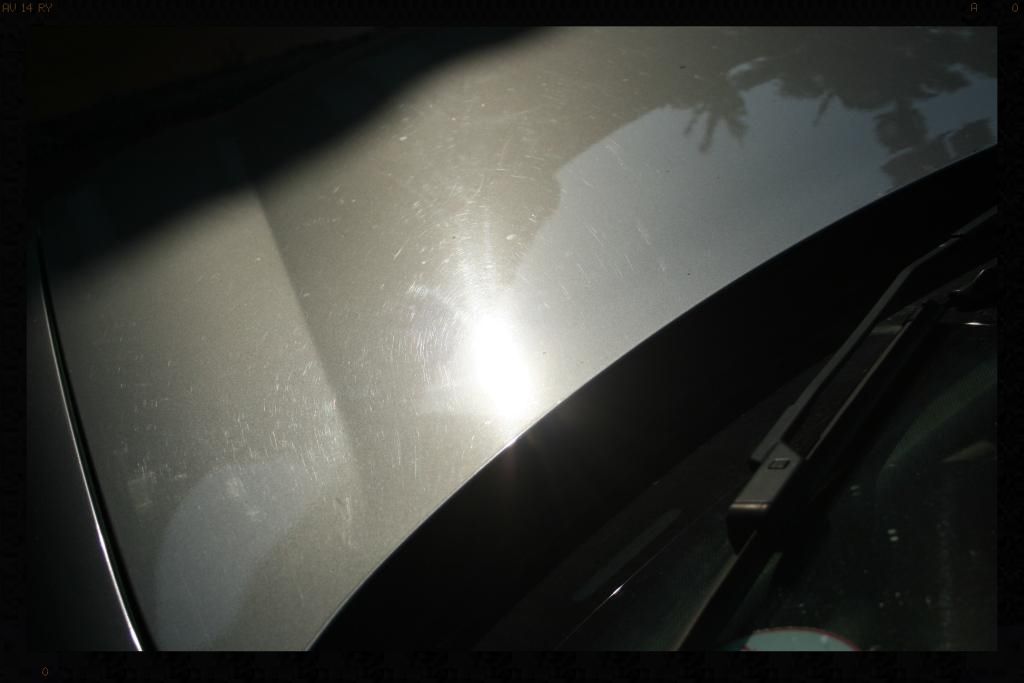
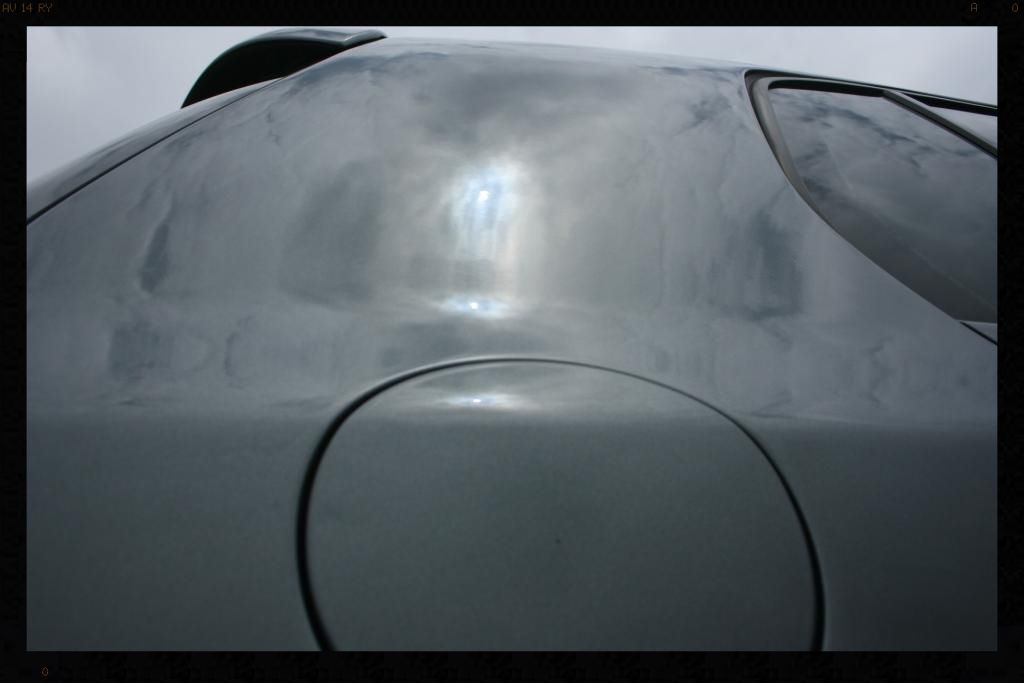
The roof (the original OEM paint) revealed some clear coat failure with the base coat pulling through on the the polishing pad. This section was not polished any further but was given 2 coats of Chemical Guys Wet Mirror Finish instead.
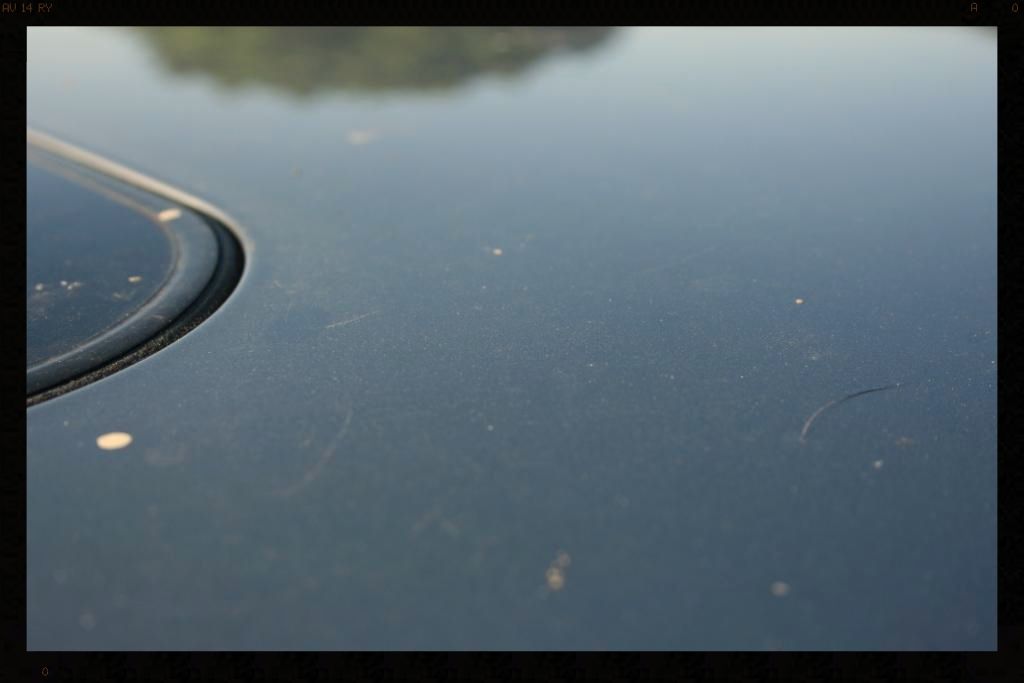
An example of the water spots on the roof
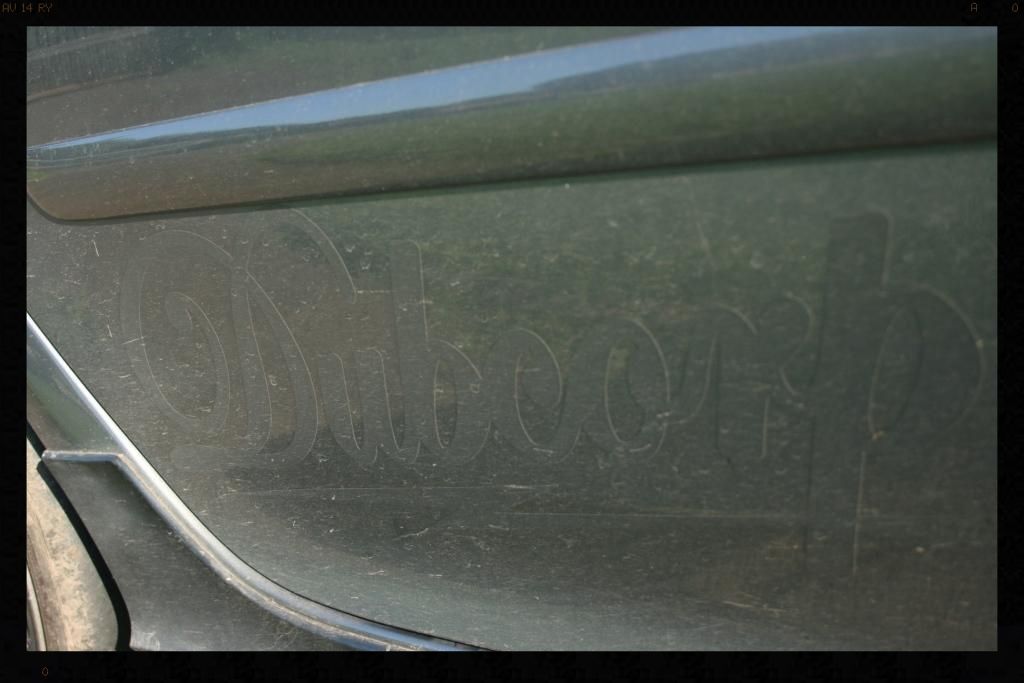
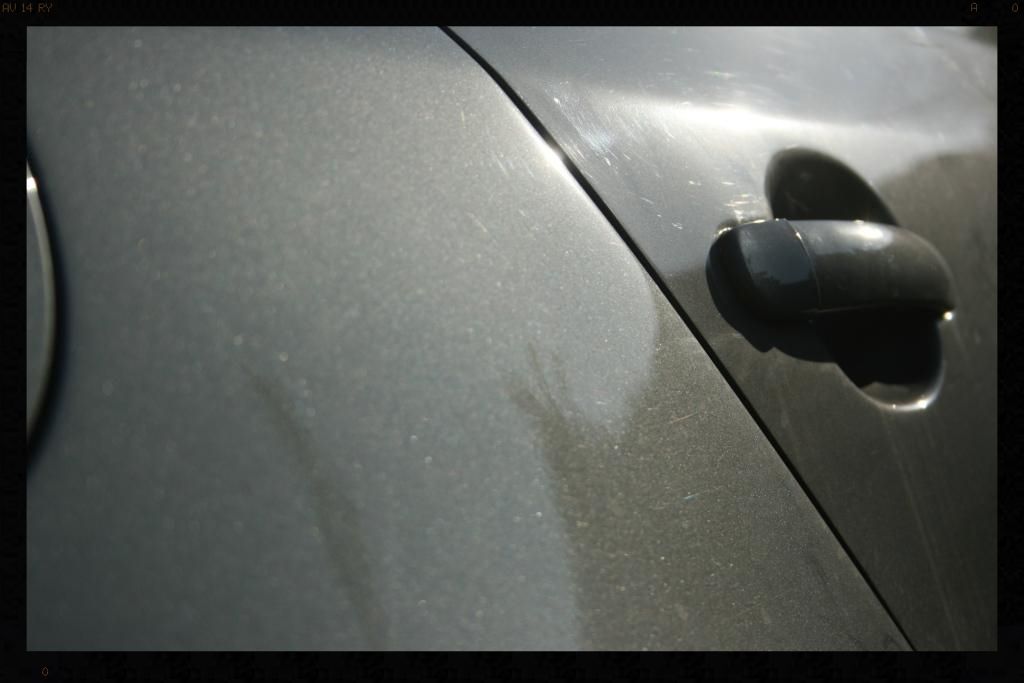
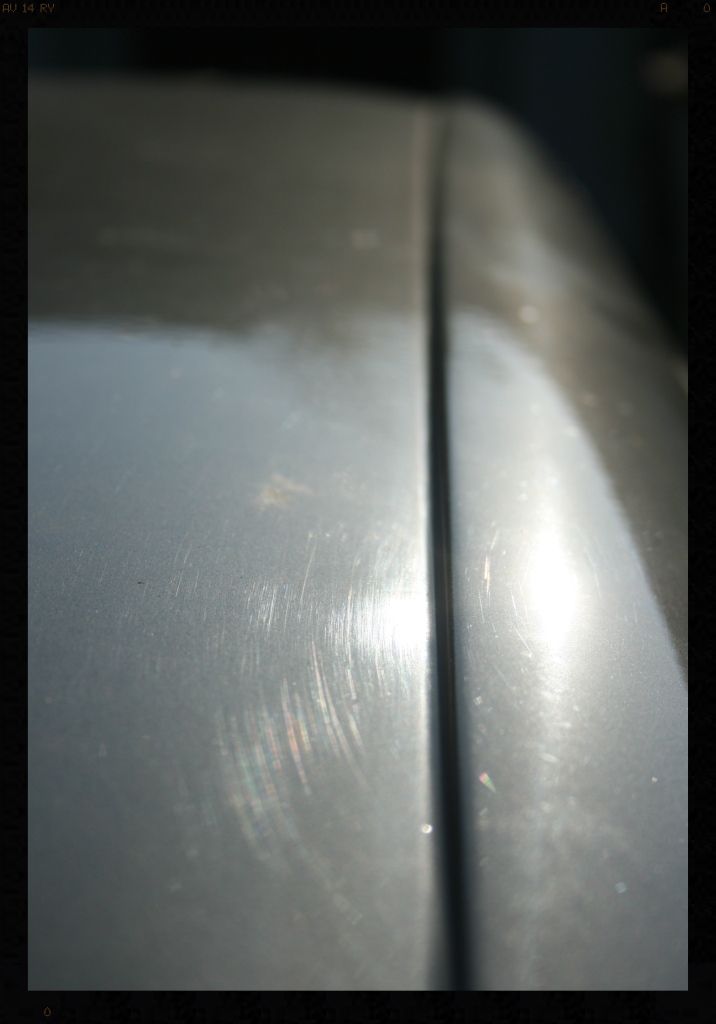
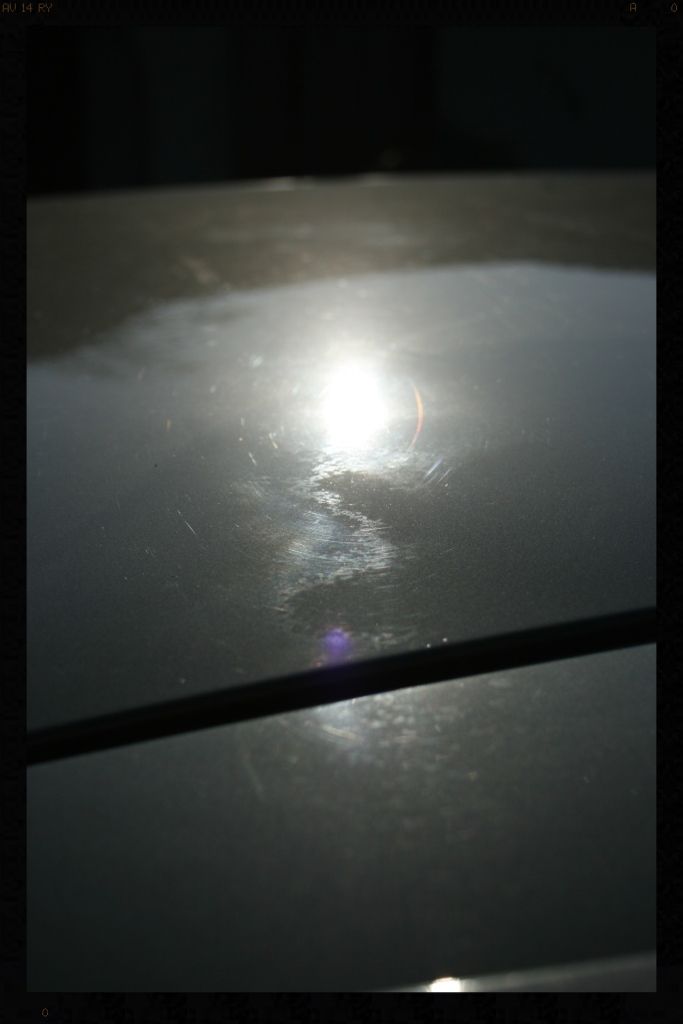
And then some form of stain on the bonnet which never budged
Before calling it a night I applied Chemical Guys Bare Bones to all the plastic trim, including the honeycomb grills and allowed it to soak in overnight. The tires were also dressed using Turtle Wax Extreme Tire Dressing, which again was allowed to penetrate overnight.
Sunday 06:00 to 15:00
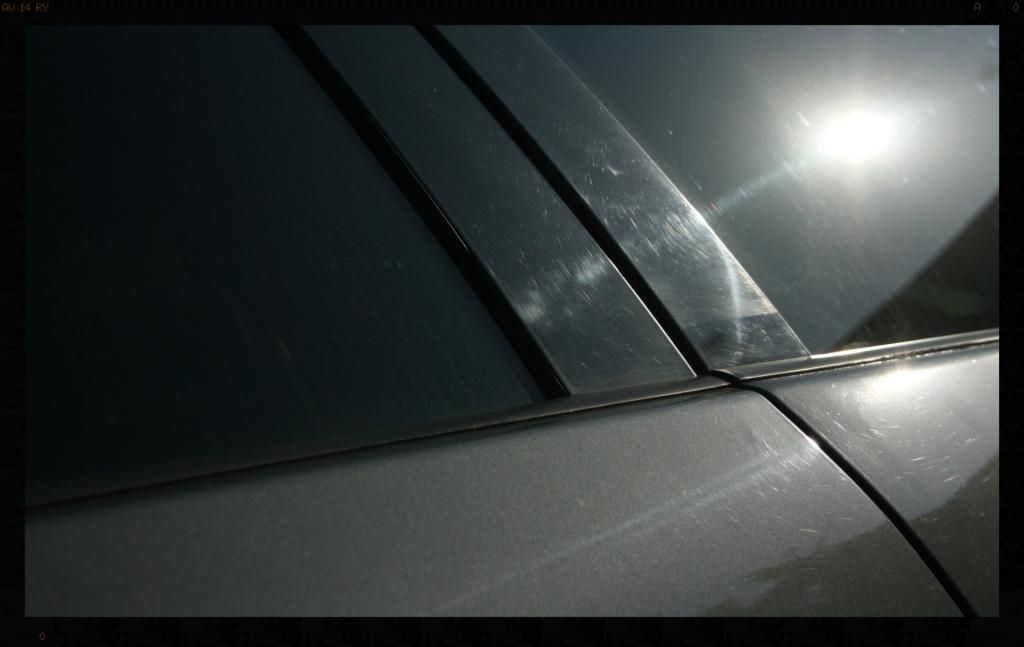
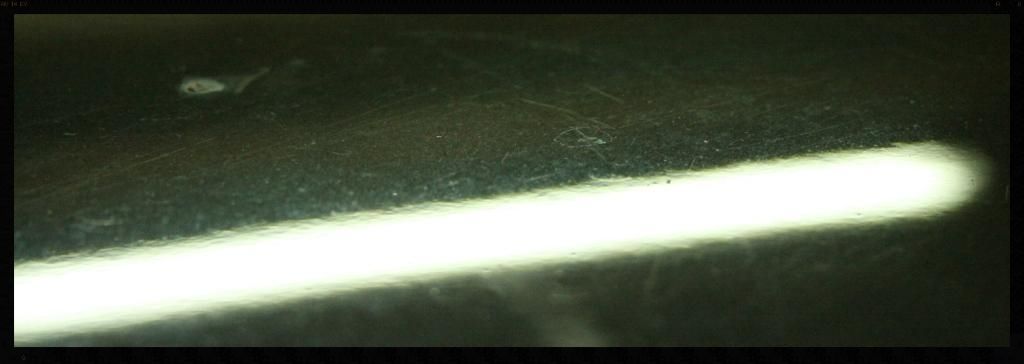
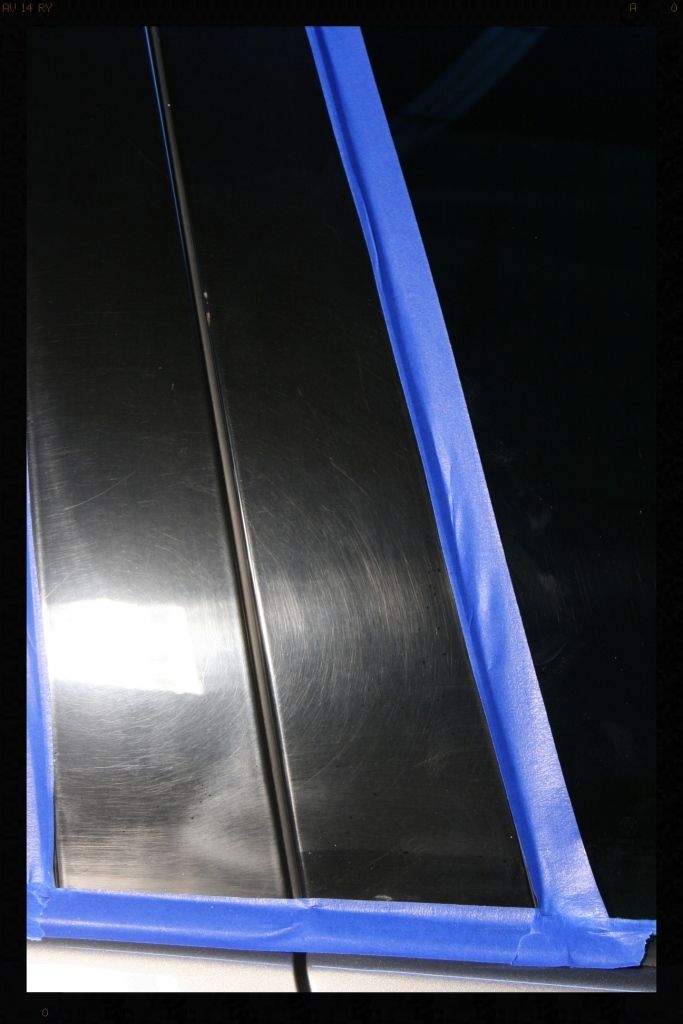
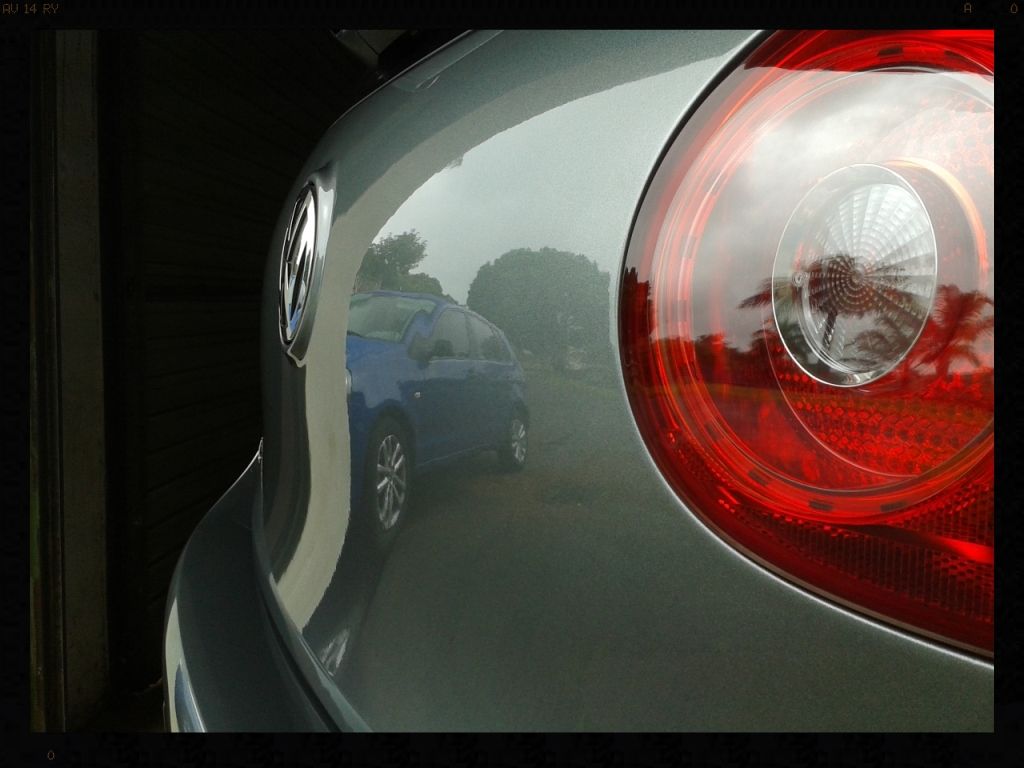
I completed correcting the paintwork, and then sorted out the tail lights (Menzerna PF2500/White LC pad followed by Menzerna SF4000/LC Black pad). The same product combo was then used on the B-Pillars.
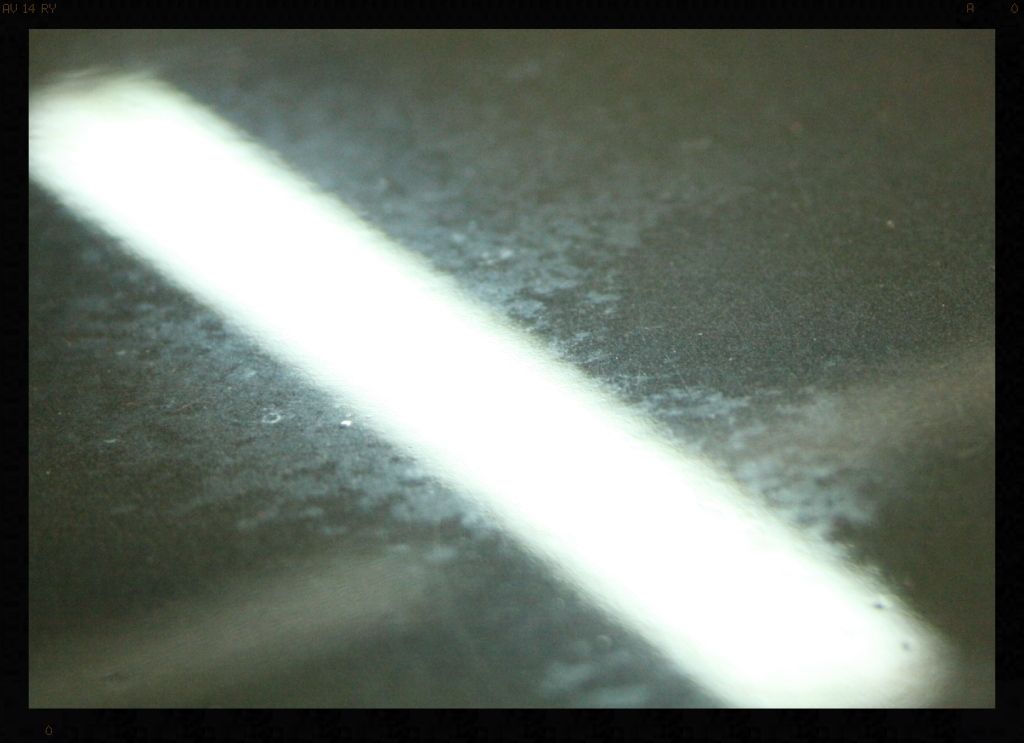
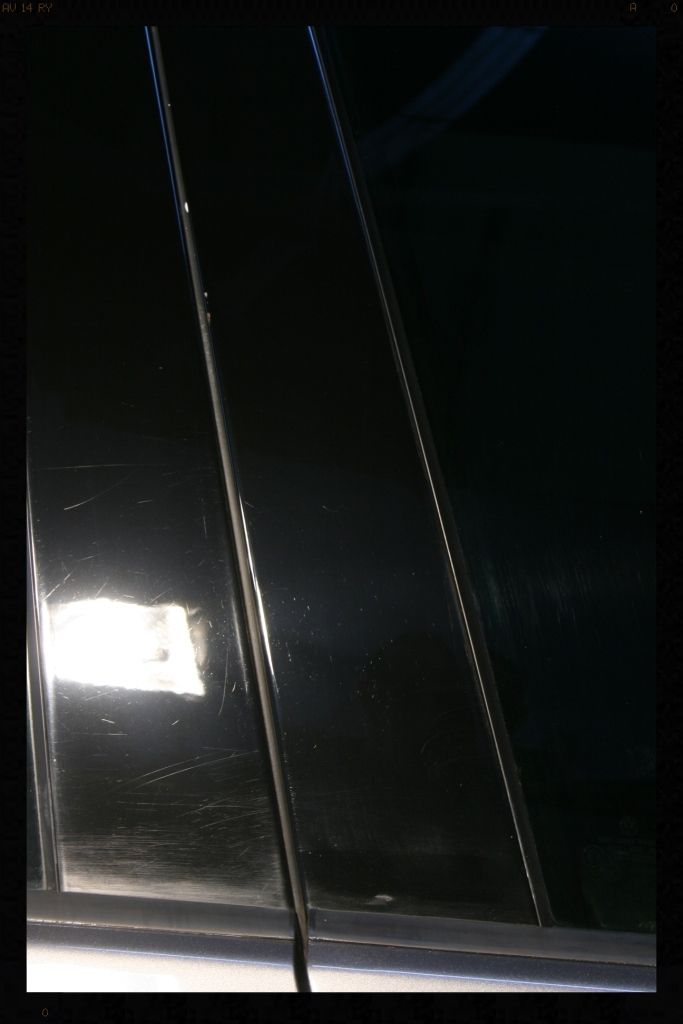
Before
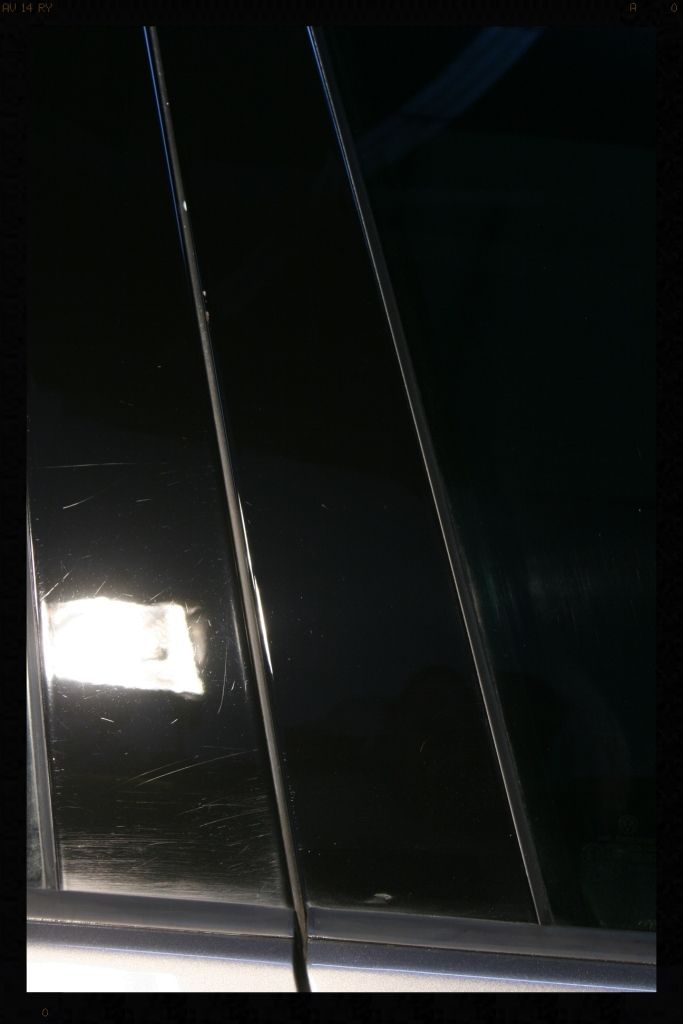
After PF2500 (pay attention to the RHS pillar - note most of the swirls are gone)
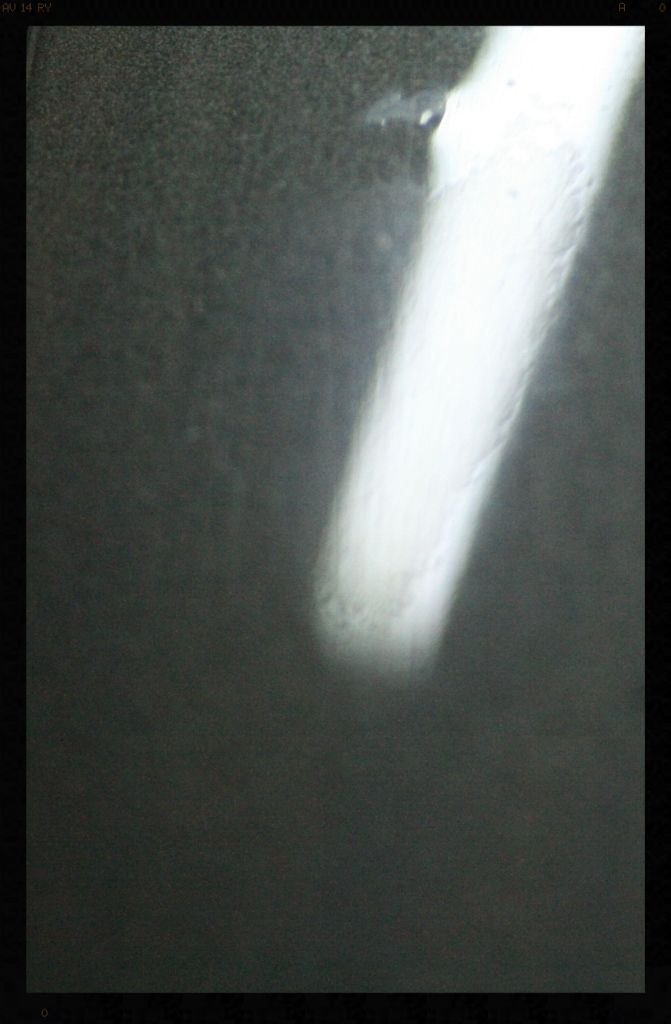
After refining polish (note how much more glossy the pillar is now after removing the micro-marring caused by the PF2500 on the soft B-Pillar)
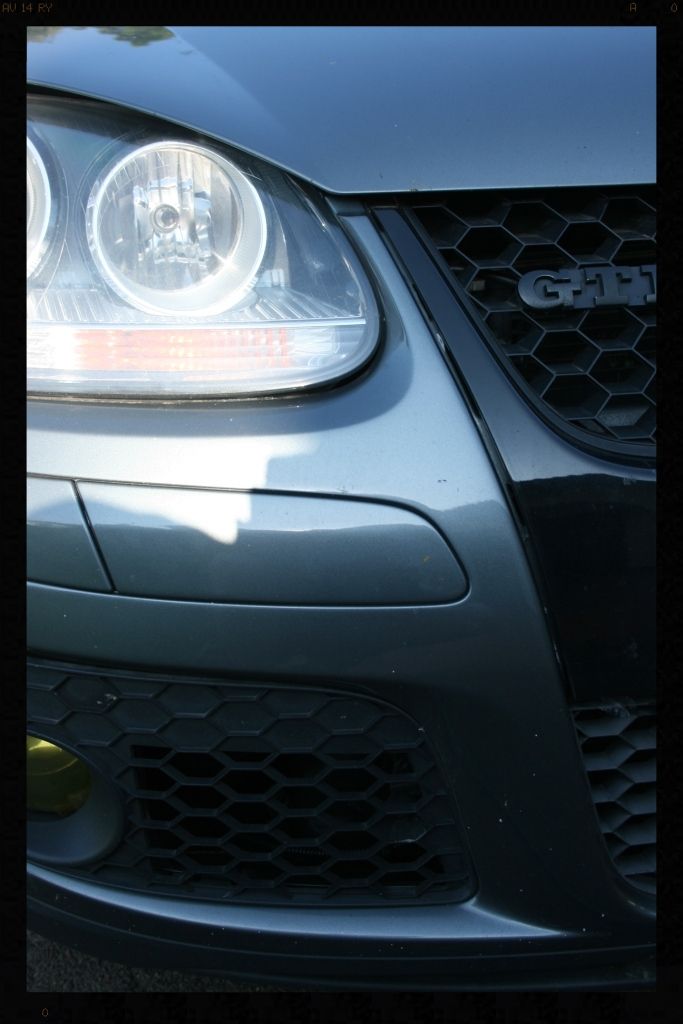
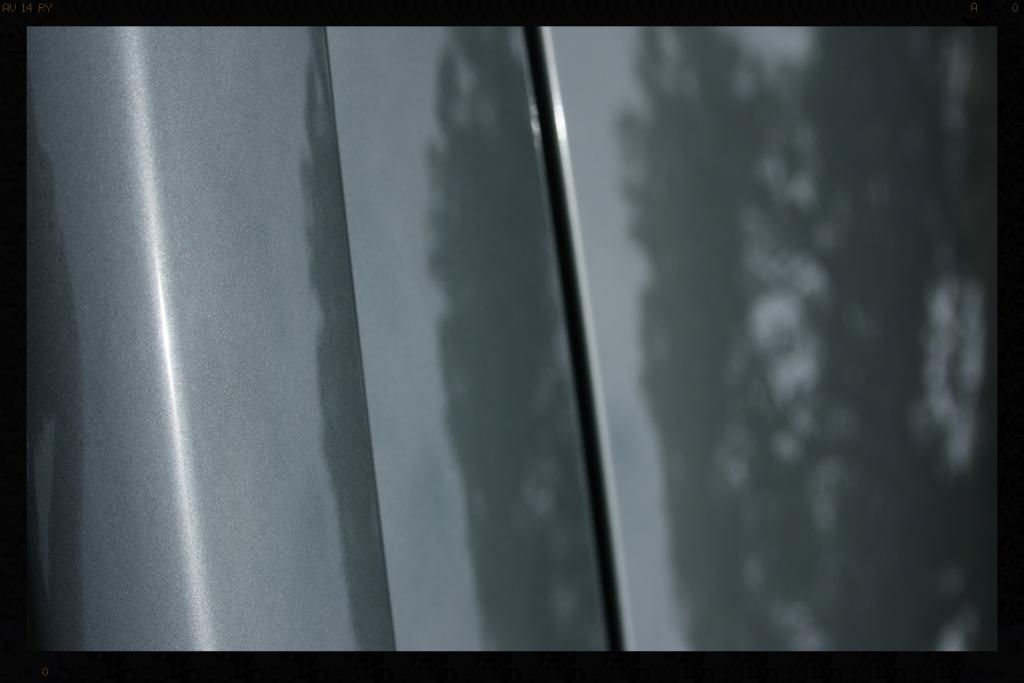
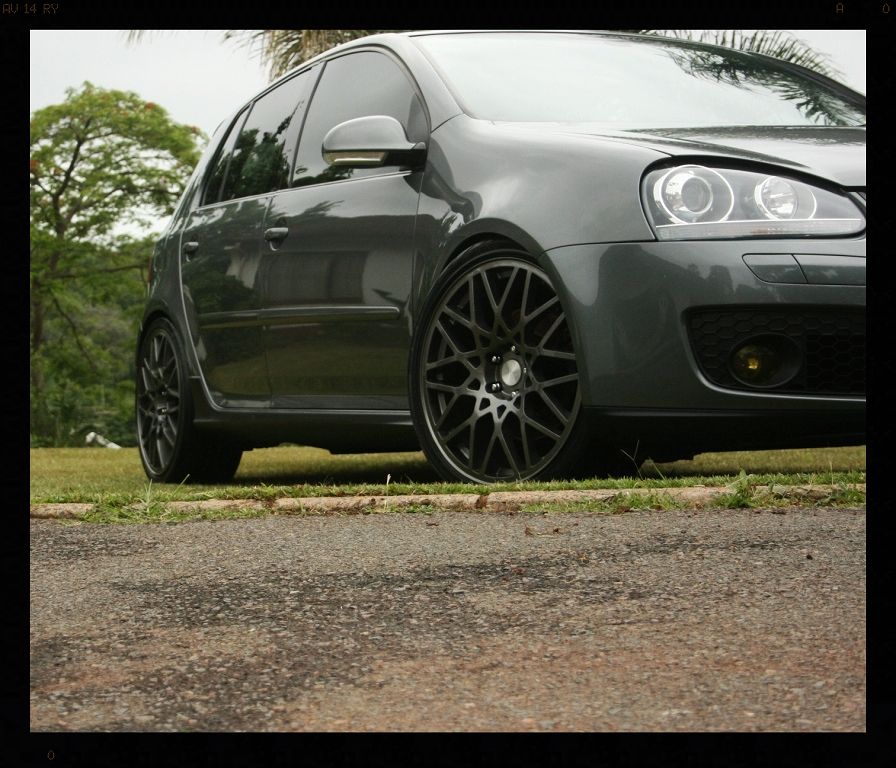
Once the paint had been corrected I laid down 2 coats of Meguiars NXT on the paintwork as well as the headlights and taillights and cleaned all the glass surfaces using Autoglym Fast Glass. All plastic trim was wiped down to ensure an even finish from the Bare Bones.
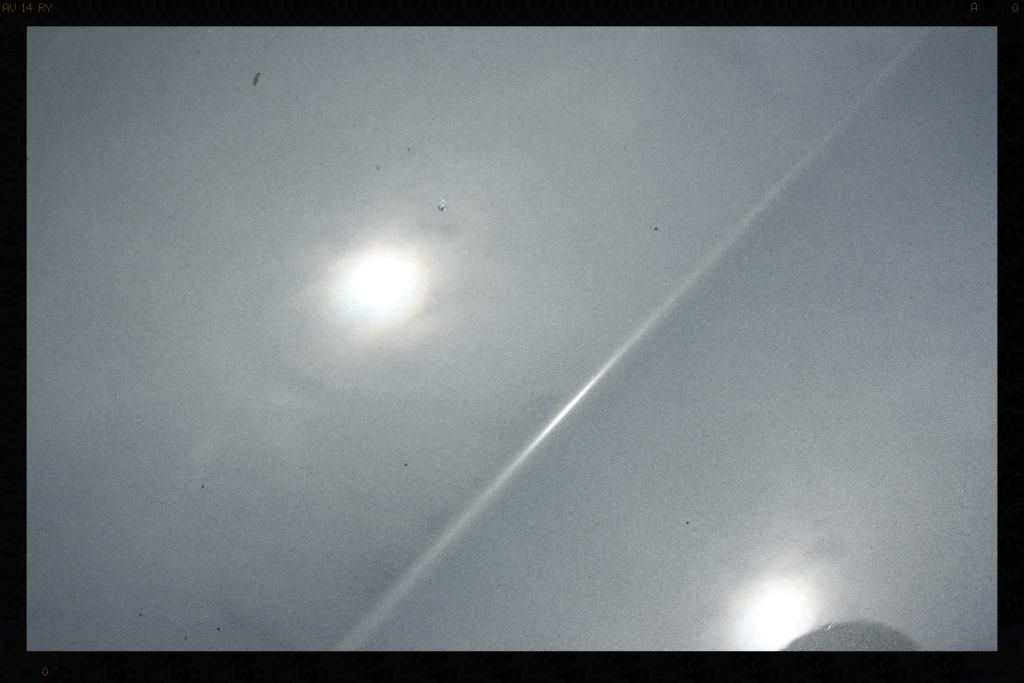
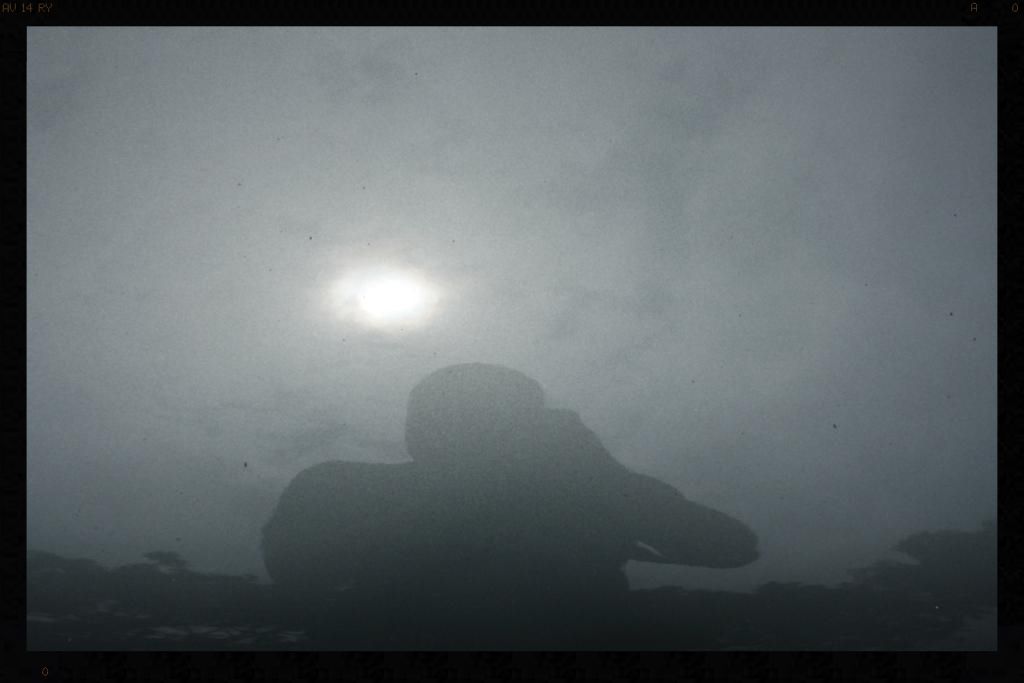
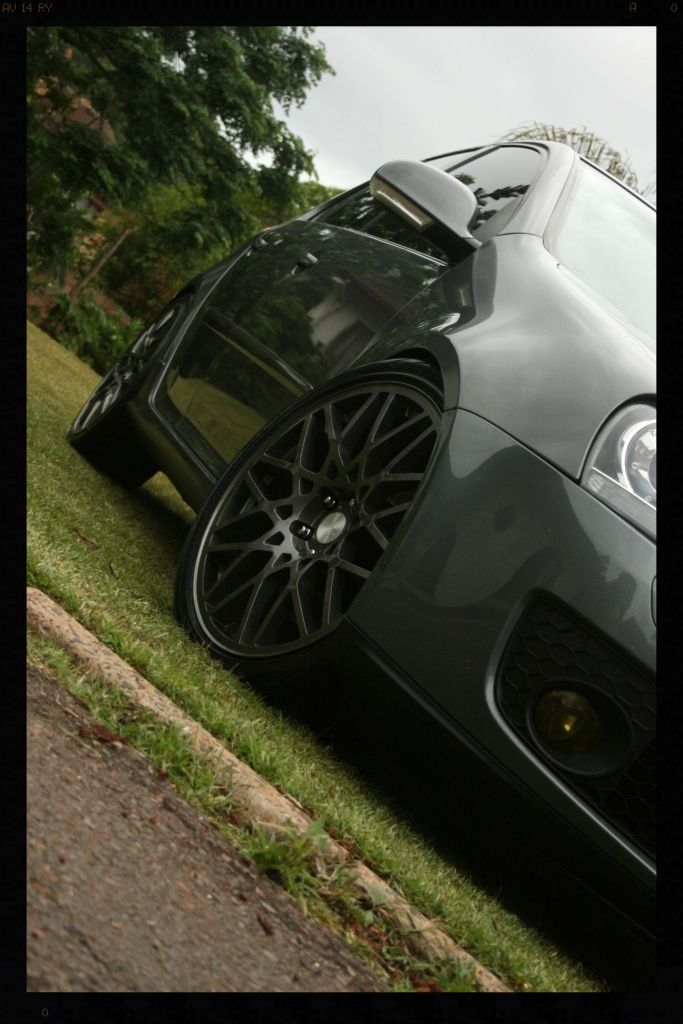
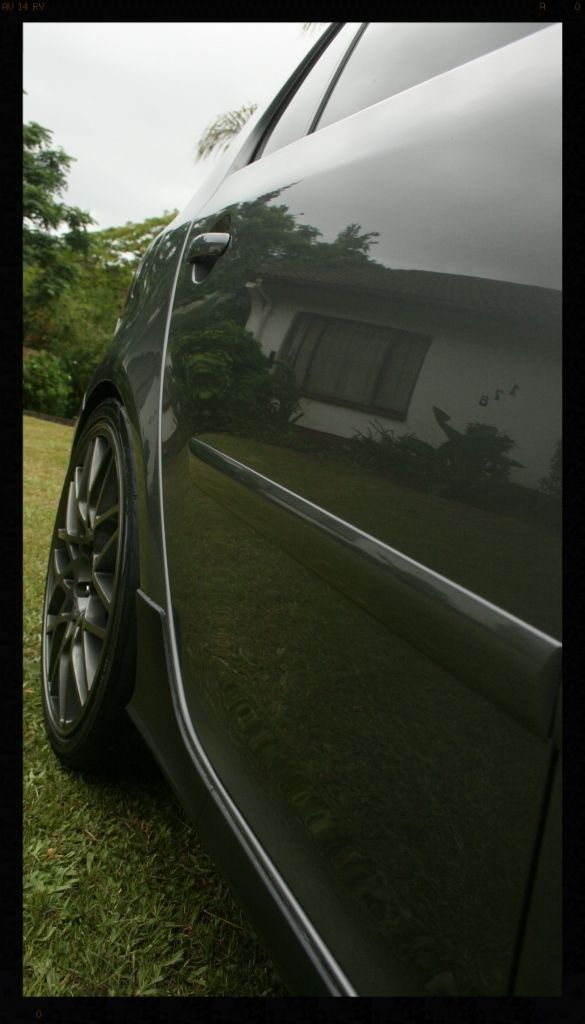
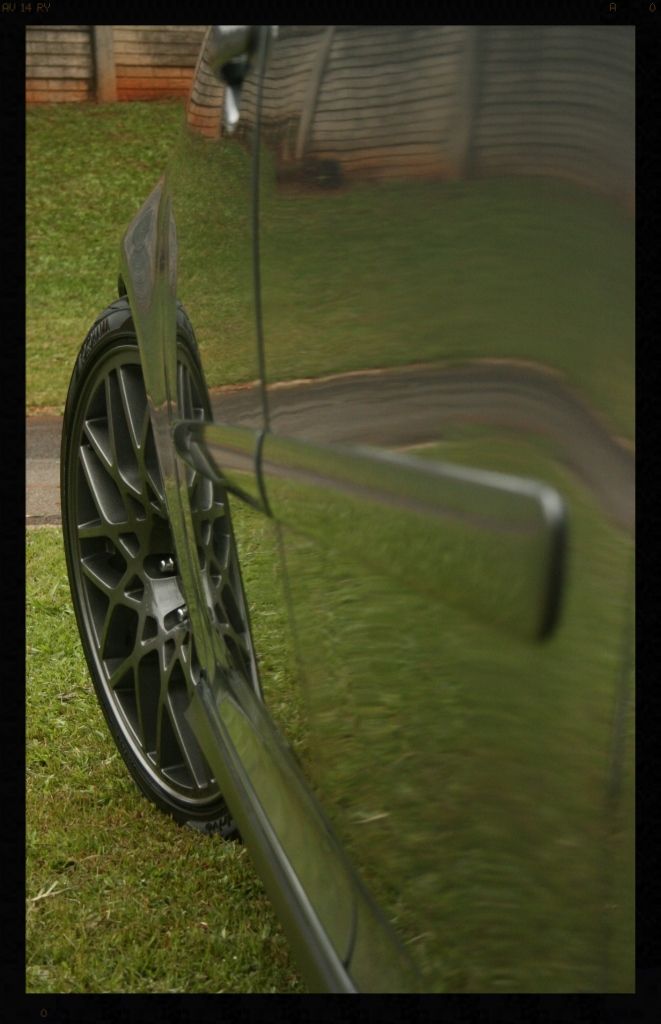
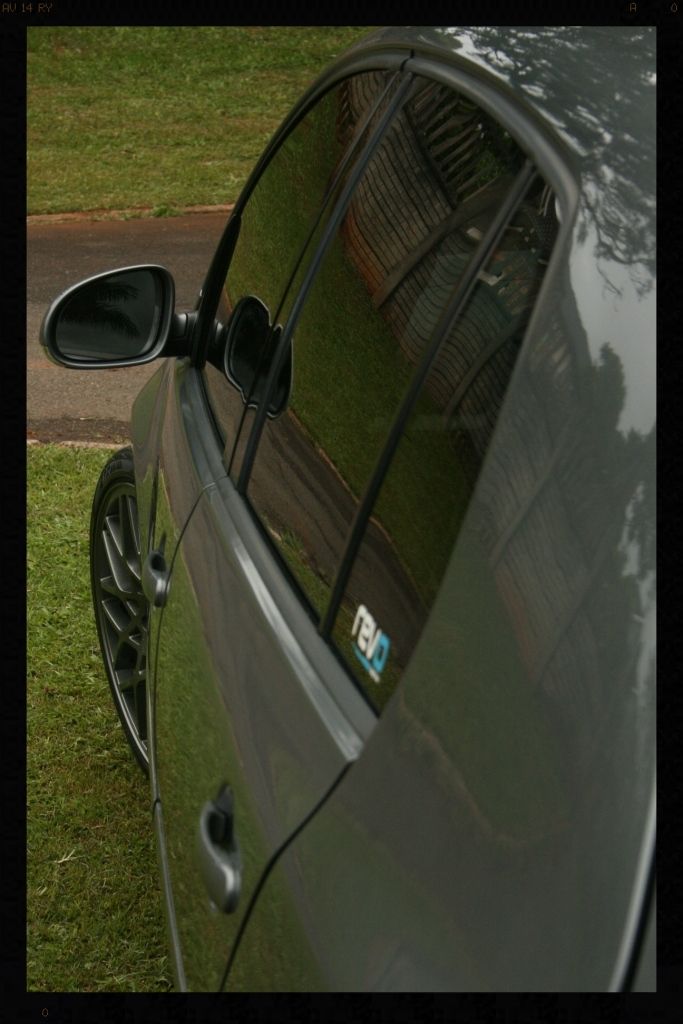
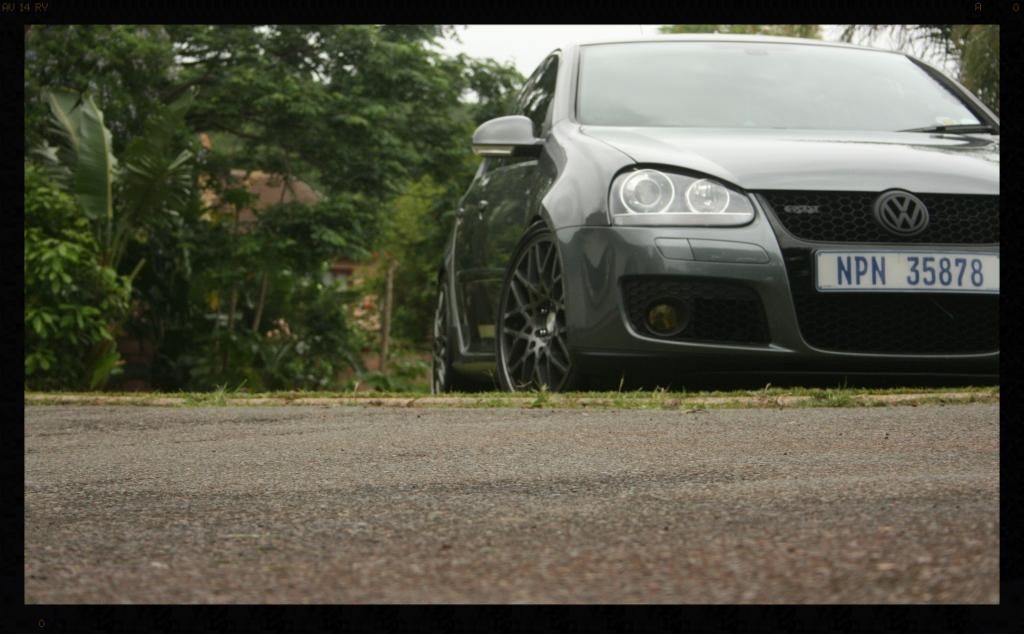
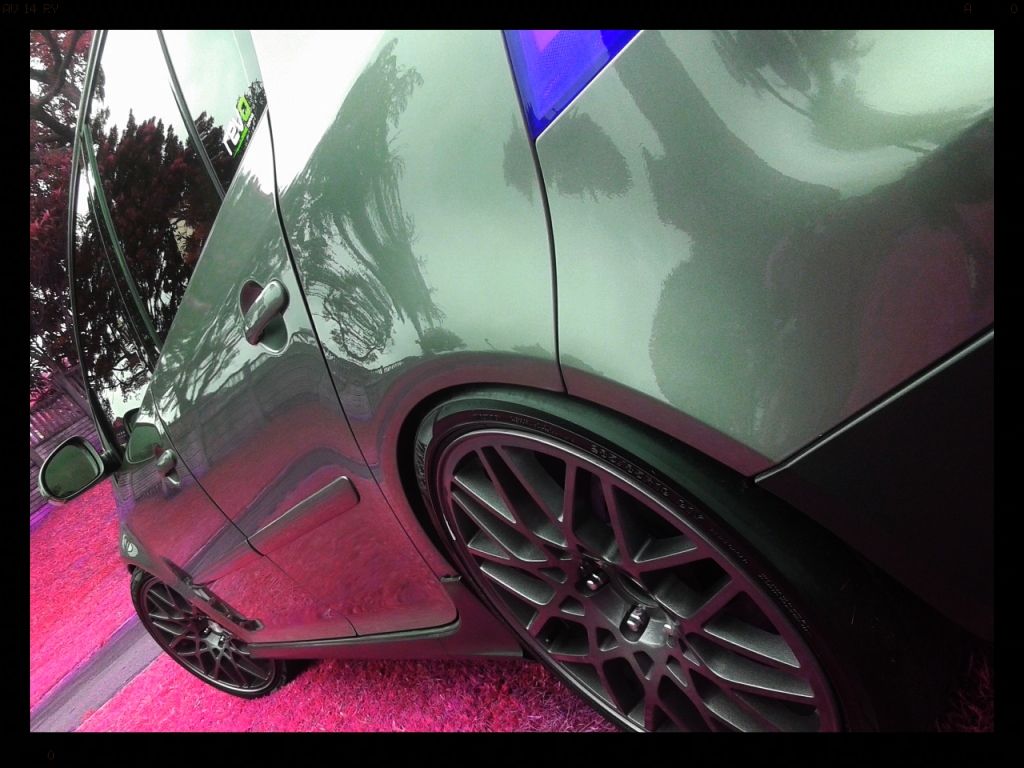
As per usual the weather was not playing its part and so this is the closest I could come to sun shots

If anyone is interested:
OEM Audi S3 K04 turbo
OEM Audi S3 Intercooler with metal end tanks
OEM Audi S3 boost hoses
OEM Audi S3 injectors
OEM Audi RS4 fuel return valve
EVOMS intake
Autotech High Pressure Fuel Pump
Flowtech 76mm stainless steel downpipe
XYZ height and damper adjustable coilovers
H&R R32 front anti roll bar
19" replica Rotiform wheels
Stage 1 street clutch
Revo Stage 3 software
Revo catch can and PCV fix
OEM Revision H dump valve
Currently making 300whp / 400nm and is his every day drive. Unfortunately the paint has not been looked after and he is in the process of selling it and therefore asked if I could give it a bit of love to improve the looks for the sale.
Friday 19:00 to 22:00
The dash and all interior plastics were wiped clean and various brushes used to clean dirt out the small crevices. The interior was vacuumed and the rubber mats washed and dried. The pedals were cleaned and the leather was first thoroughly cleaned and then conditioned. Cyclo CM30 APC diluted at 20:1 was used for the cleaning and Cyclo Leathertone used for the conditioning. All rubbers were then cleaned using Shield Rubber cleaner and dressed using Smartwax Smartdressing.
Here you can see the amount of dirt that came off the driver's seat
Completed
Saturday 05:00 to 20:00
I snapped a few quick pictures and then got to work cleaning up the wheel arches, the tires, wheels and brake calipers. Once the wheels were clean I removed all the tar and iron deposits. Products used: - Meguiars All Wheel and Tire Cleaner, Sonax FE wheel cleaner, Cyclo CM30 APC diluted at 5:1.
These stickers would later be removed
Notice how faded the lower honeycomb section is
With the wheels clean I then began cleaning in and around all the badges, and the door and boot shuts
Before
After
I then began the process of removing as much of the surface dirt as possible before making contact with the paint. This included an initial rinse with the hosepipe, followed by a HP rinse. I then pre-foamed the car twice (using a mix of Cyclo CM30 APC, Cyclo Polymer Car wash and white vinegar) before a final HP rinse.
This was followed with a complete 2BM wash and the car was then pulled into the garage and dried in preparation for decontamination, which was a 3 step process using Autofinesse Oblitarate for the tar deposits, Autofinesse Iron Out for the removal of any ferrous compounds and Clay Magic Blue clay for the remainder of the contamination. The stickers were also removed at this point and any remaining glue residue removed with Goo-gone.
I then gave the exhaust tips a quick polish using Mothers Aluminium Polish.
Before
During
After
This vehicle had seen a visit to the panel beater and thus there were effectively 2 different paints to deal with. The original OEM paint with a lot of damage in it, such as RIDS, water spots, and even clear coat failure which seemed dry and in terrible condition, and the newer (harder than OEM) paint with a lot less damage in it.
With the brief being a 1-step correction, various test spots were carried out before I settled on Menzerna PF2500 / LC Orange CCS Pad
The roof (the original OEM paint) revealed some clear coat failure with the base coat pulling through on the the polishing pad. This section was not polished any further but was given 2 coats of Chemical Guys Wet Mirror Finish instead.
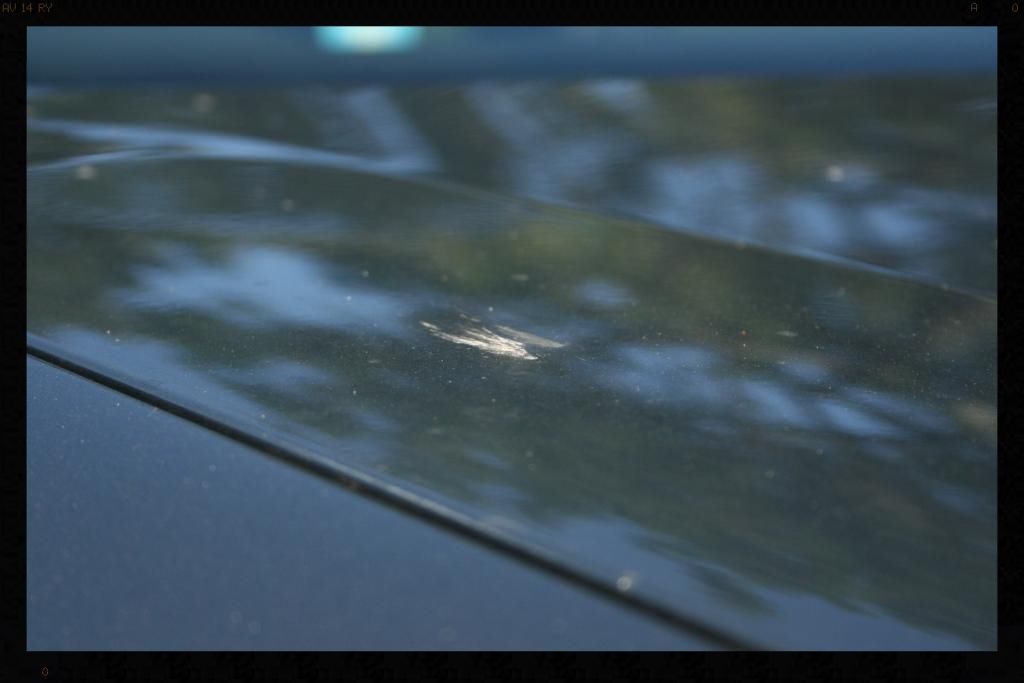
An example of the water spots on the roof
And then some form of stain on the bonnet which never budged
Before calling it a night I applied Chemical Guys Bare Bones to all the plastic trim, including the honeycomb grills and allowed it to soak in overnight. The tires were also dressed using Turtle Wax Extreme Tire Dressing, which again was allowed to penetrate overnight.
Sunday 06:00 to 15:00
I completed correcting the paintwork, and then sorted out the tail lights (Menzerna PF2500/White LC pad followed by Menzerna SF4000/LC Black pad). The same product combo was then used on the B-Pillars.
Before
After PF2500 (pay attention to the RHS pillar - note most of the swirls are gone)
After refining polish (note how much more glossy the pillar is now after removing the micro-marring caused by the PF2500 on the soft B-Pillar)
Once the paint had been corrected I laid down 2 coats of Meguiars NXT on the paintwork as well as the headlights and taillights and cleaned all the glass surfaces using Autoglym Fast Glass. All plastic trim was wiped down to ensure an even finish from the Bare Bones.
As per usual the weather was not playing its part and so this is the closest I could come to sun shots

")