lawrenceSA
New member
- Feb 7, 2012
- 1,713
- 0
The owner booked this detail with me in December and the car was driven down to me from Richards Bay on Friday evening.
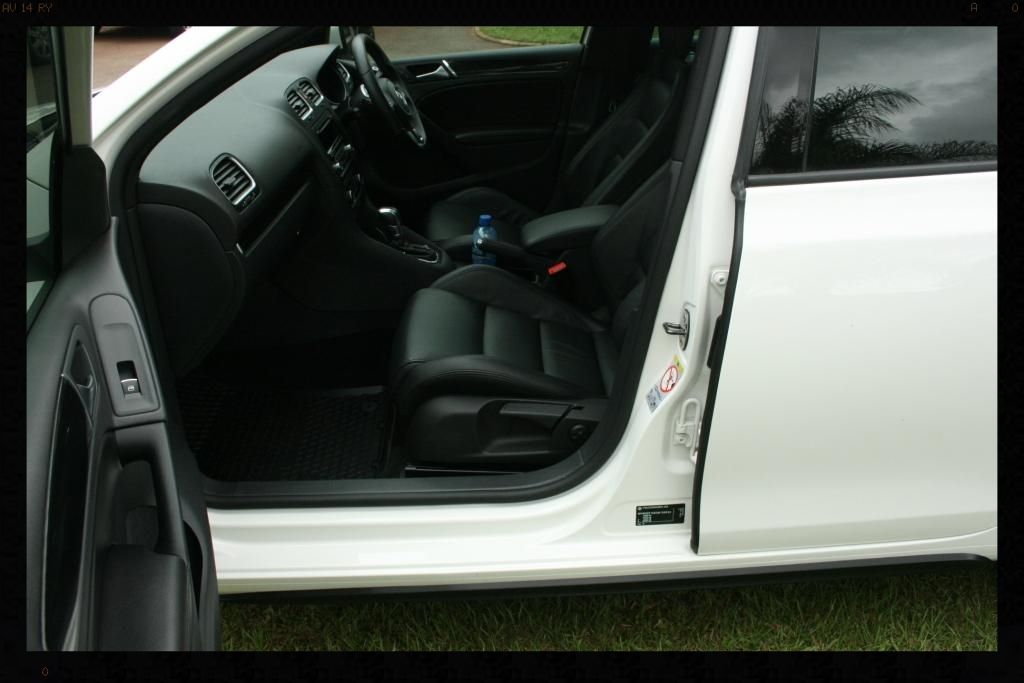
I got stuck straight in on the interior.
Removed rubber mats - Cleaned with Cyclo APC 5:1
Vacuum mats/carpets
Blow out entire interior with compressed air
Cleaned leather with Cyclo APC 20:1 and soft brush followed by damp MF followed by compressed air to dry
Conditioned with GlossWorx Leather Conditioner (first time I have used and like it so far :thumbup: )
Wiped down dash/plastics with damp MF and dressed with Smartwax SmartDressing
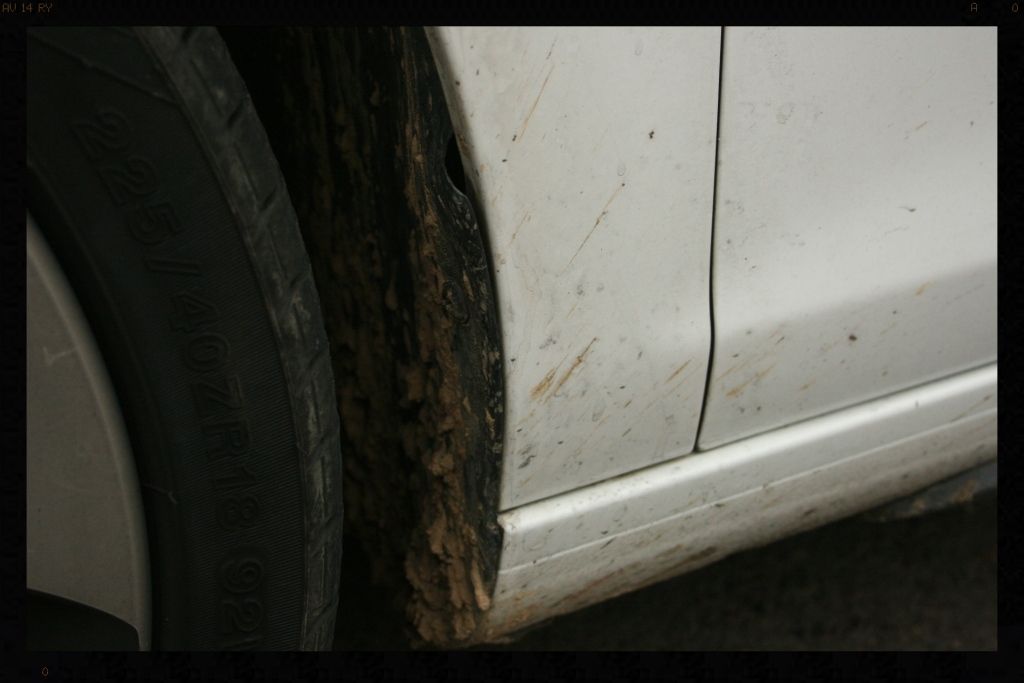
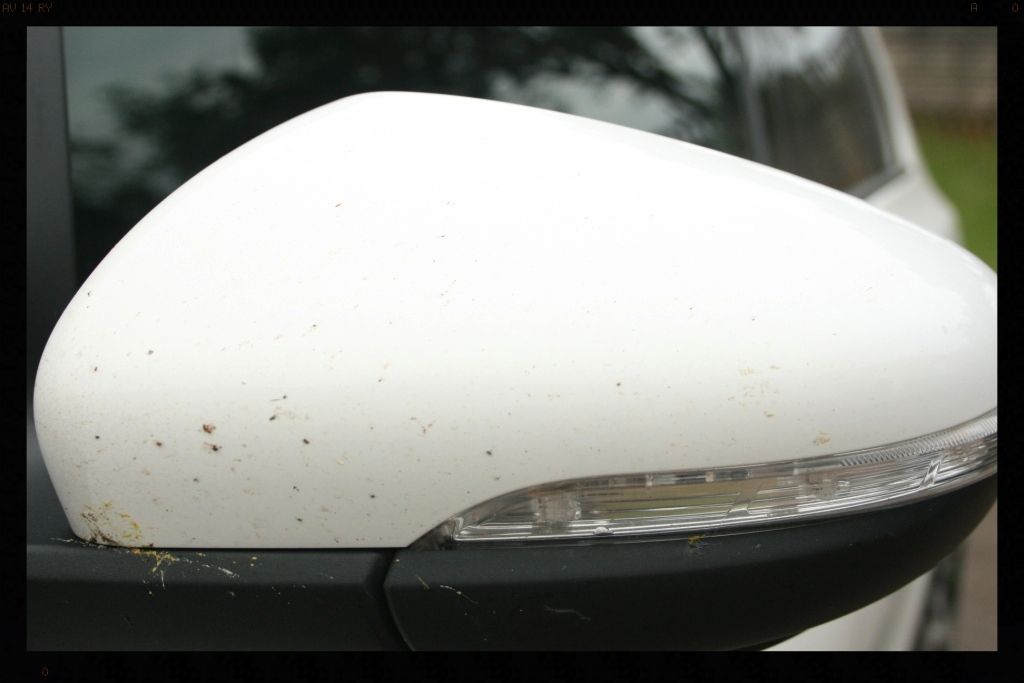
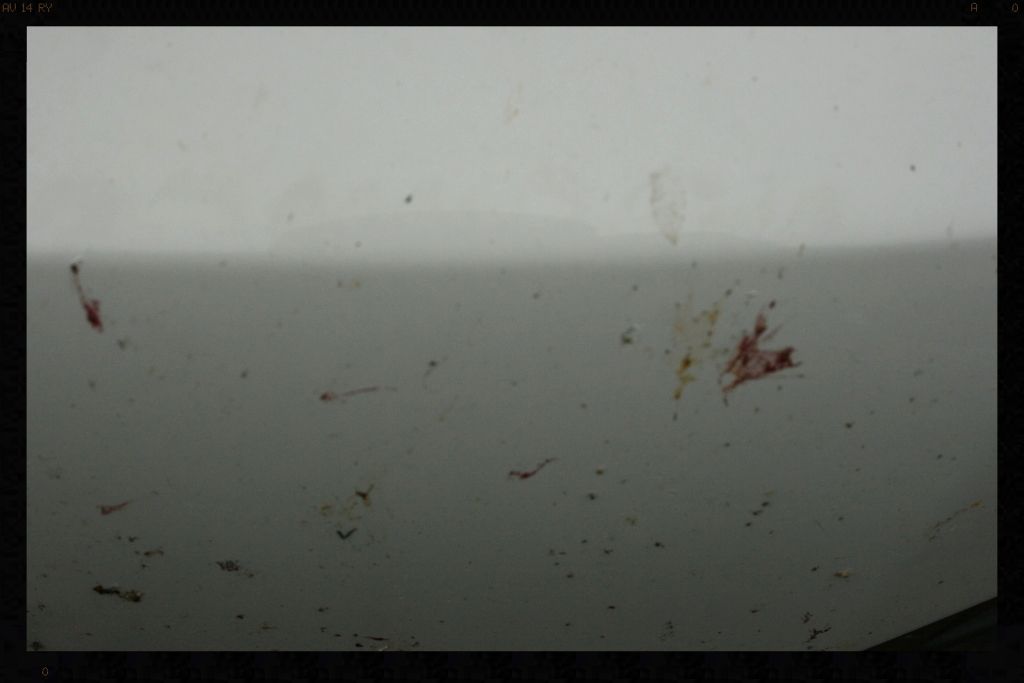
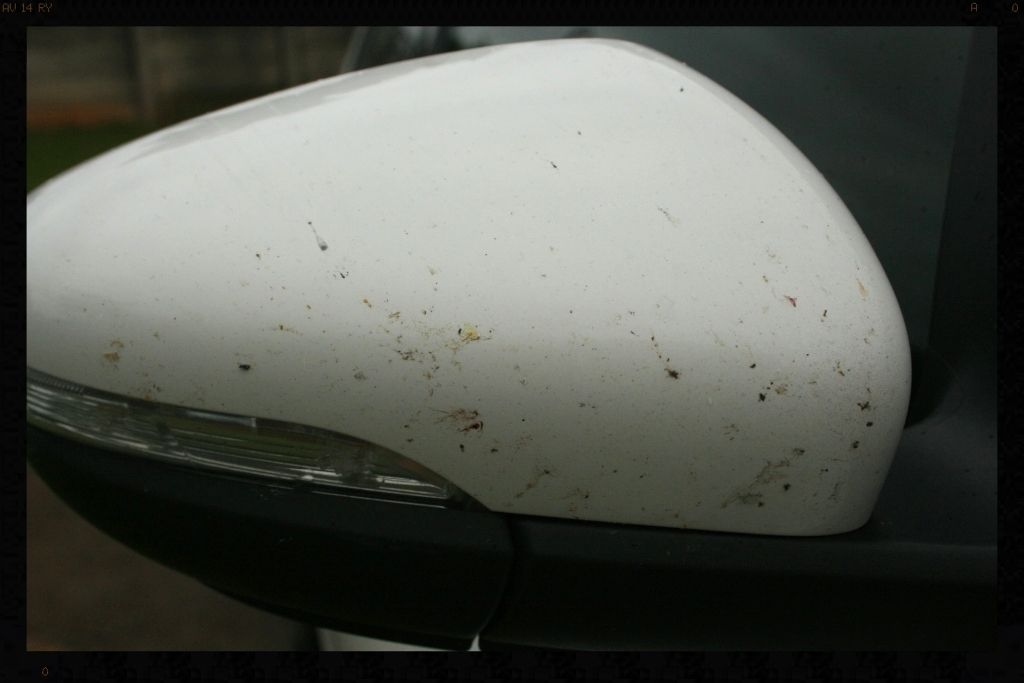
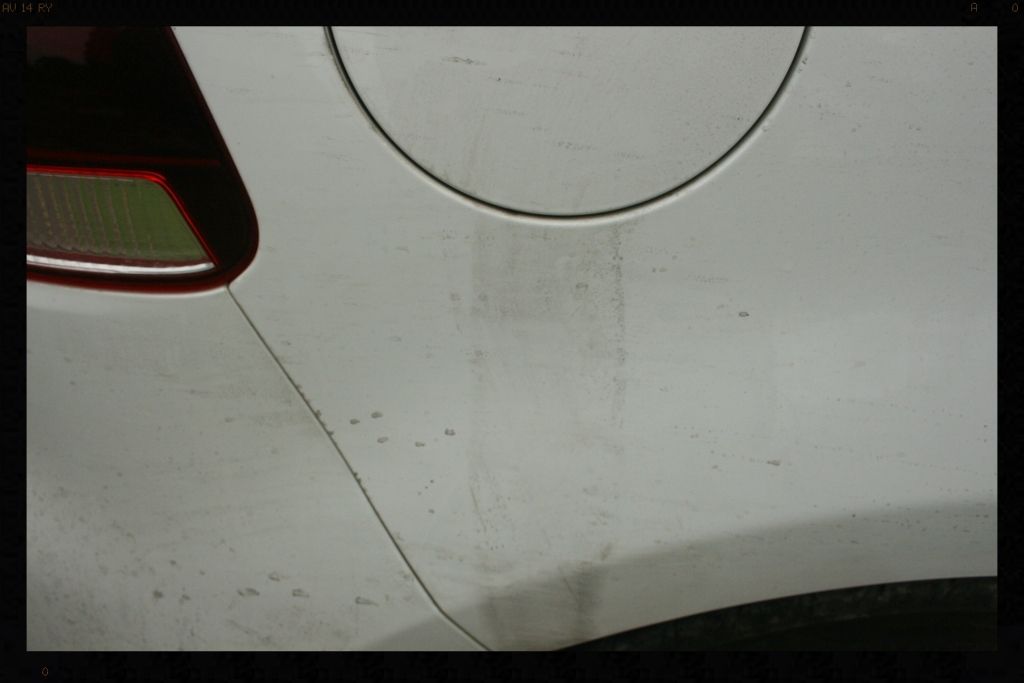
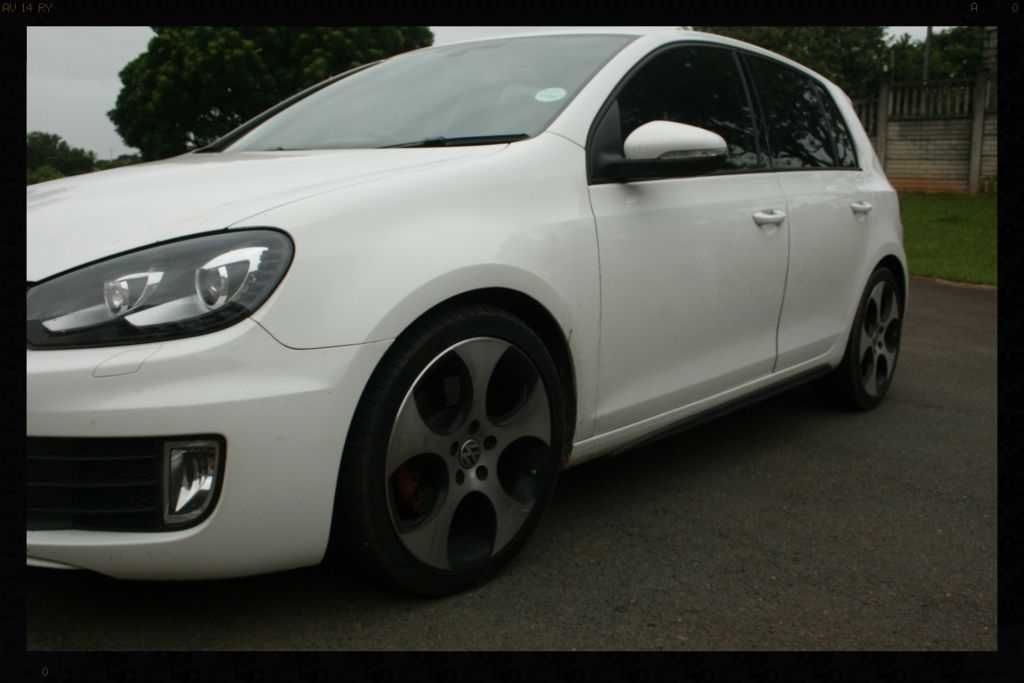
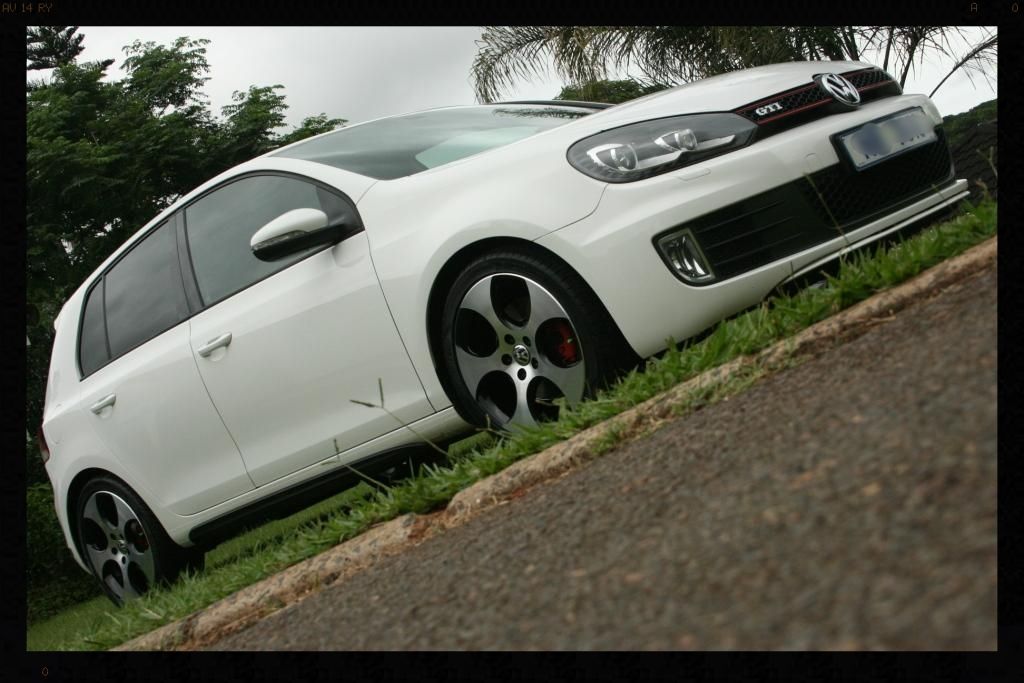
Saturday morning I got started at 06:00 with a few shots of the condition of the exterior

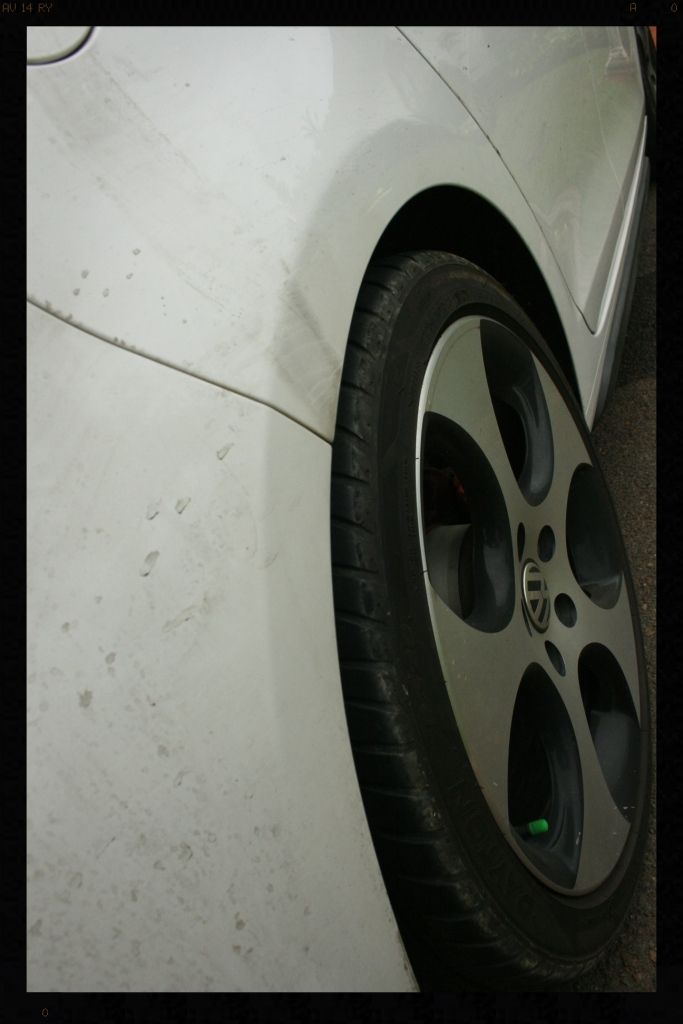
So as always, wheels/tires and arches first.
Arches: - HP Rinse / Cyclo APC 5:1 + Mothers Fender Well brush / HP Rinse
Tires: - Meguiars All Wheel And Tire Cleaner + Mothers Tire Brush
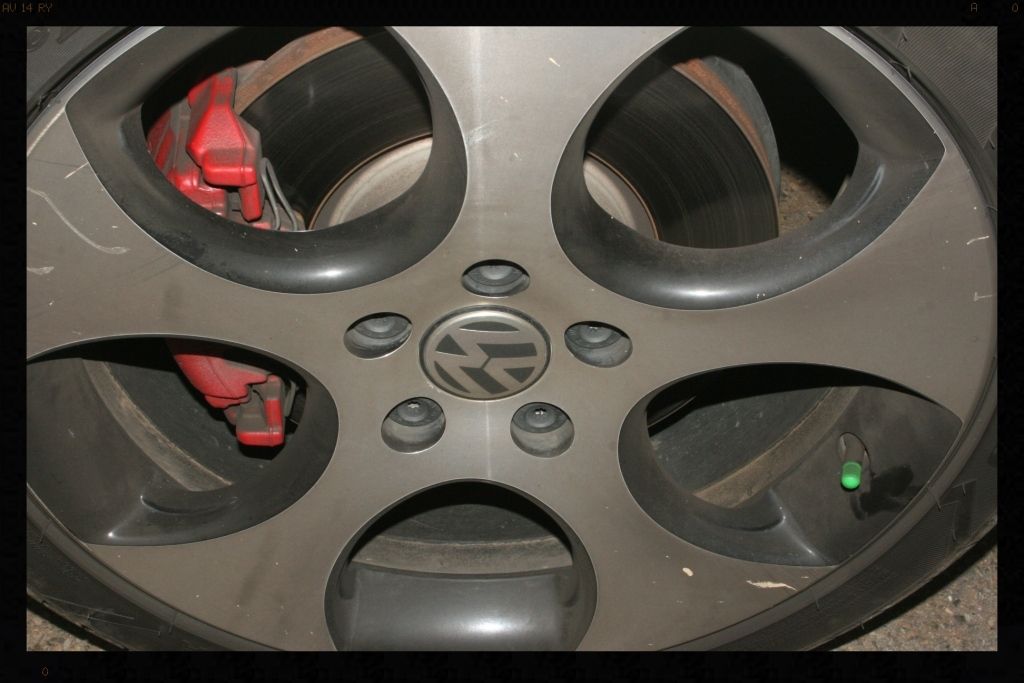
Wheels: - AF Imperial + Daytona Jnr / HP Rinse / AF Iron Out + Daytona Jnr / Cyclo APC 5:1 / HP Rinse / AF Oblitarate / Cyclo APC 5:1 / HP Rinse / Autoglym Fine Grade Clay + ONR
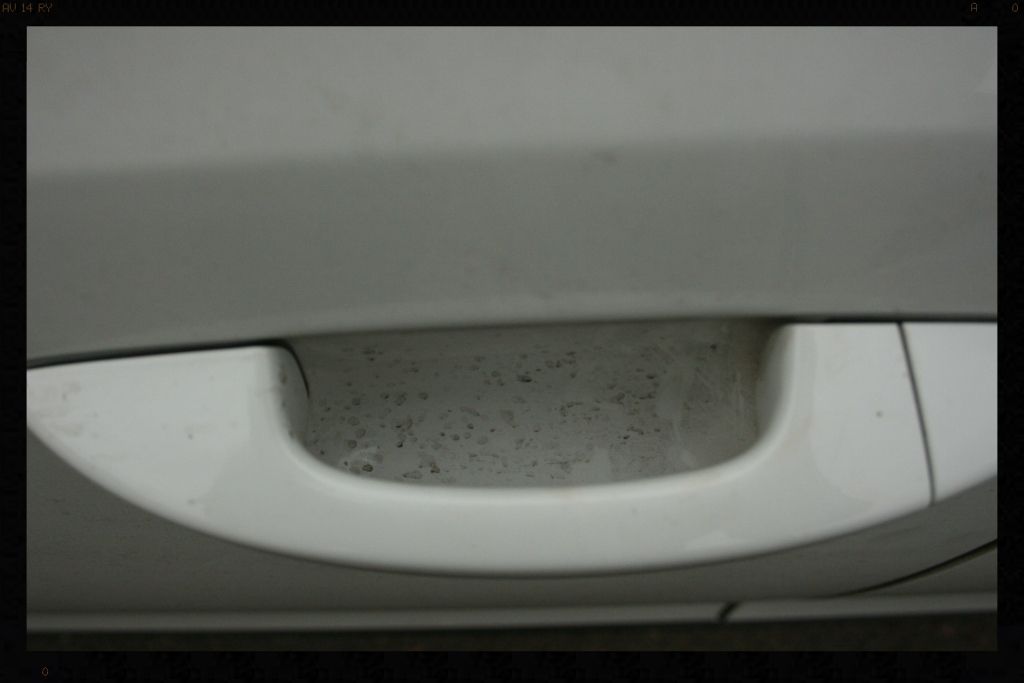
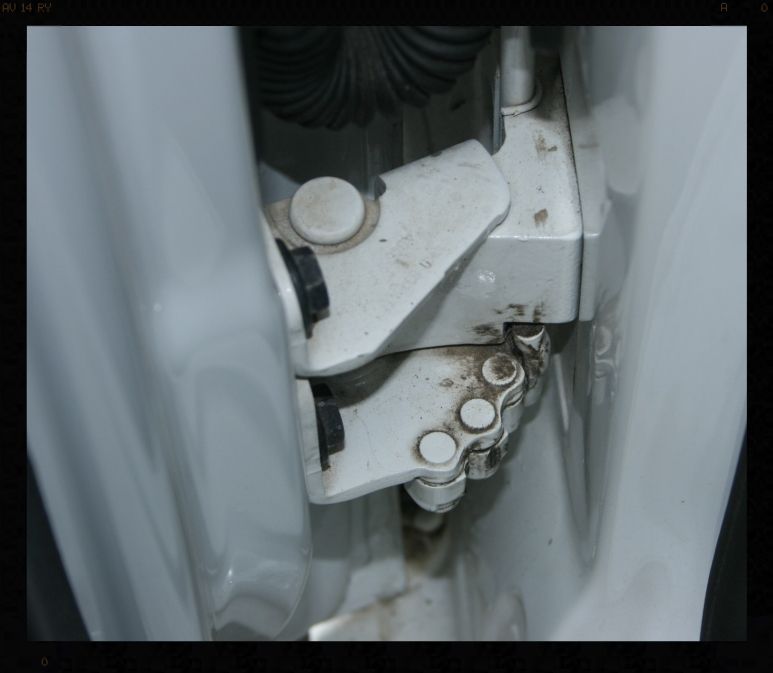
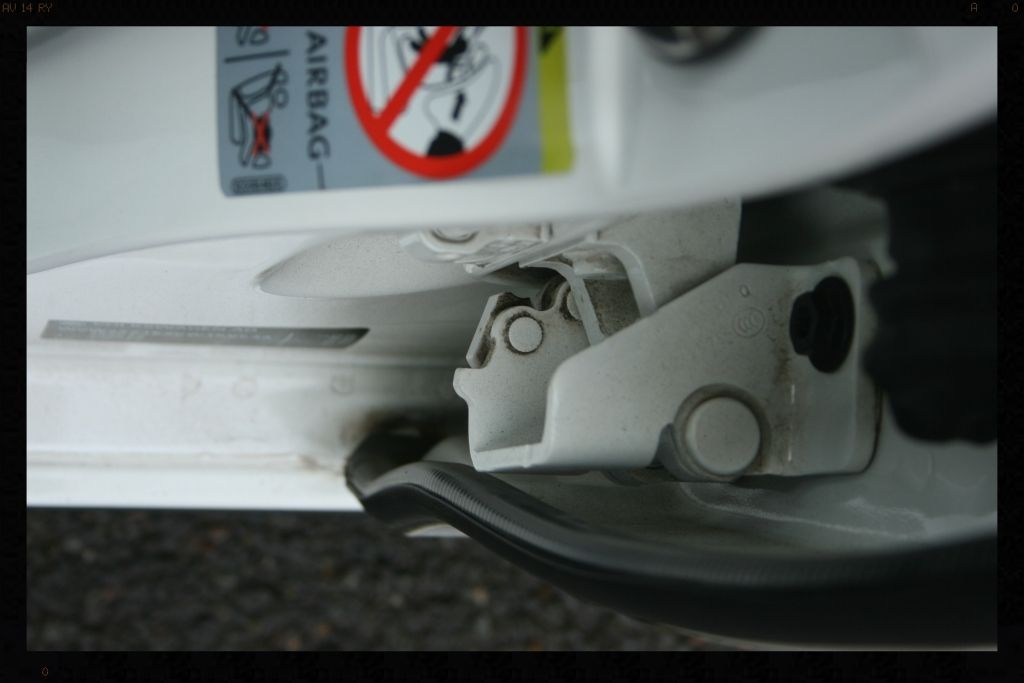
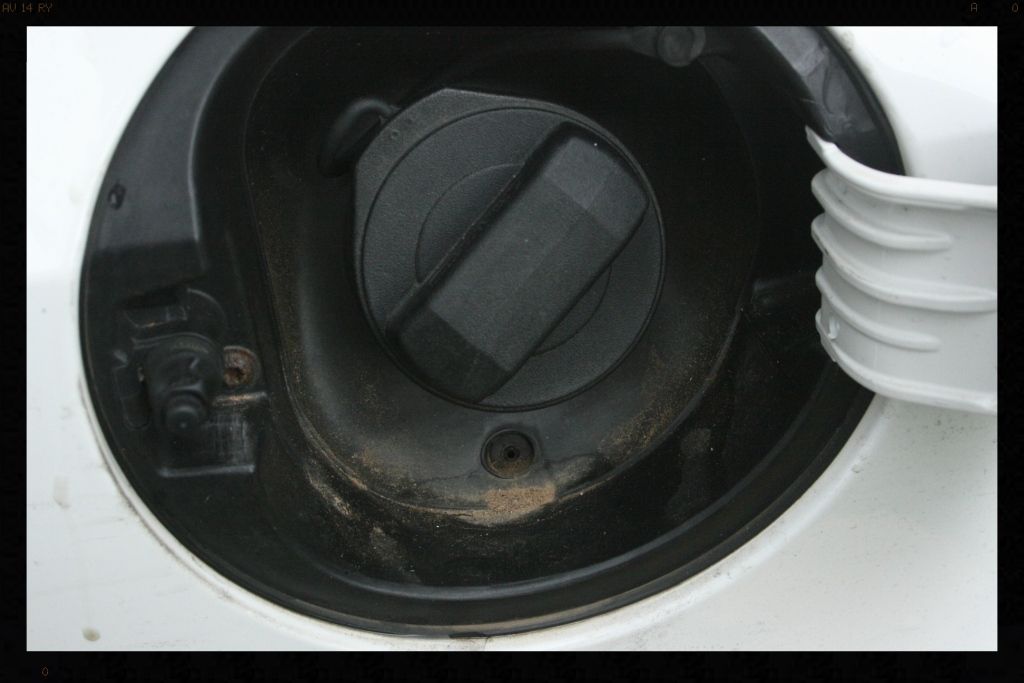
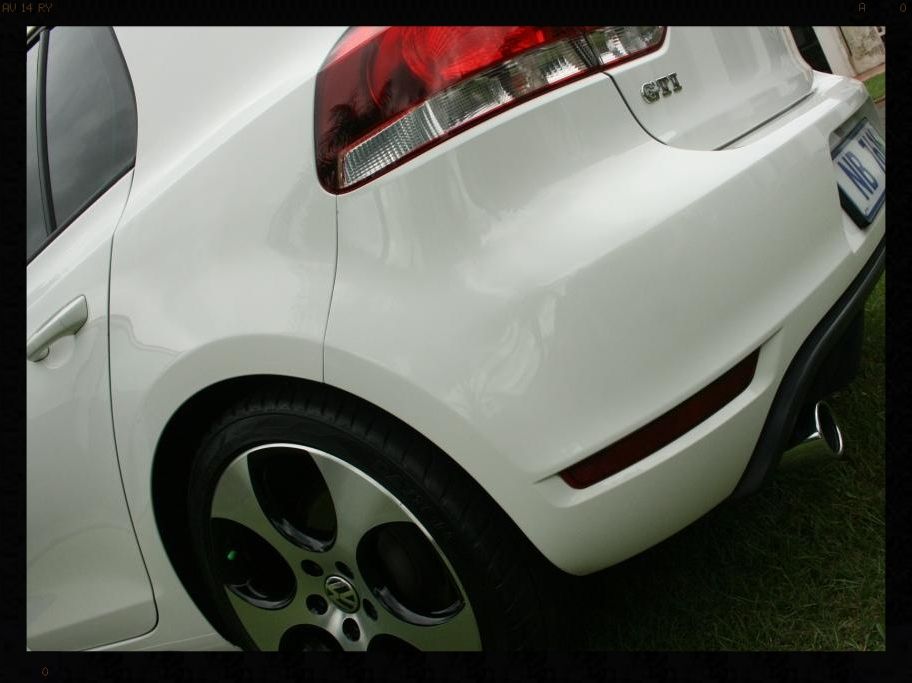
I then moved onto cleaning up the boot and door shut, inside the petrol flap, in and around the emblems and badges using Cyclo APC 5:1 with a foaming trigger head to extend dwell time and then working the areas with various brushes, ending with a HP rinse.
The Engine Bay was then blown out with compressed air and wiped clean using various brushes and MF towels + Cyclo APC 5:1 and dressed using Chemical Guys Bare Bones
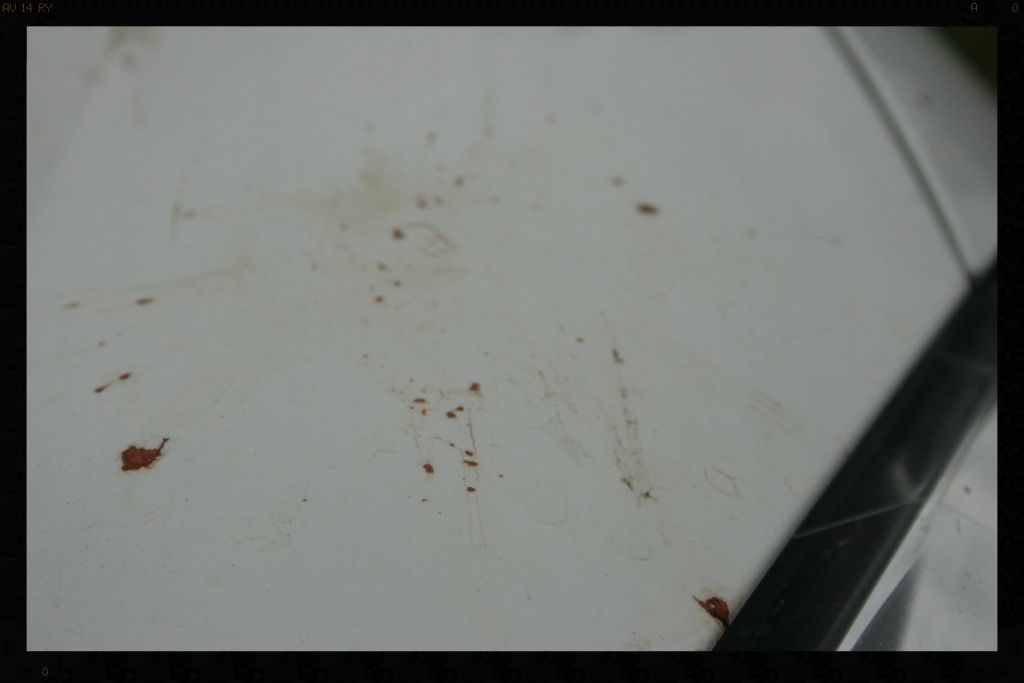
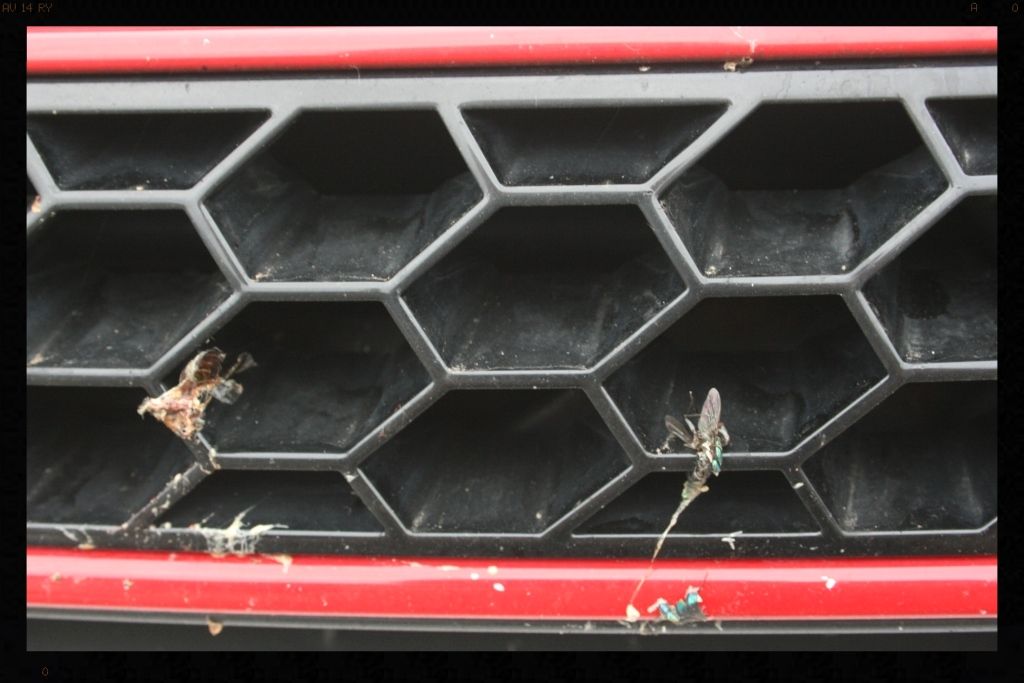
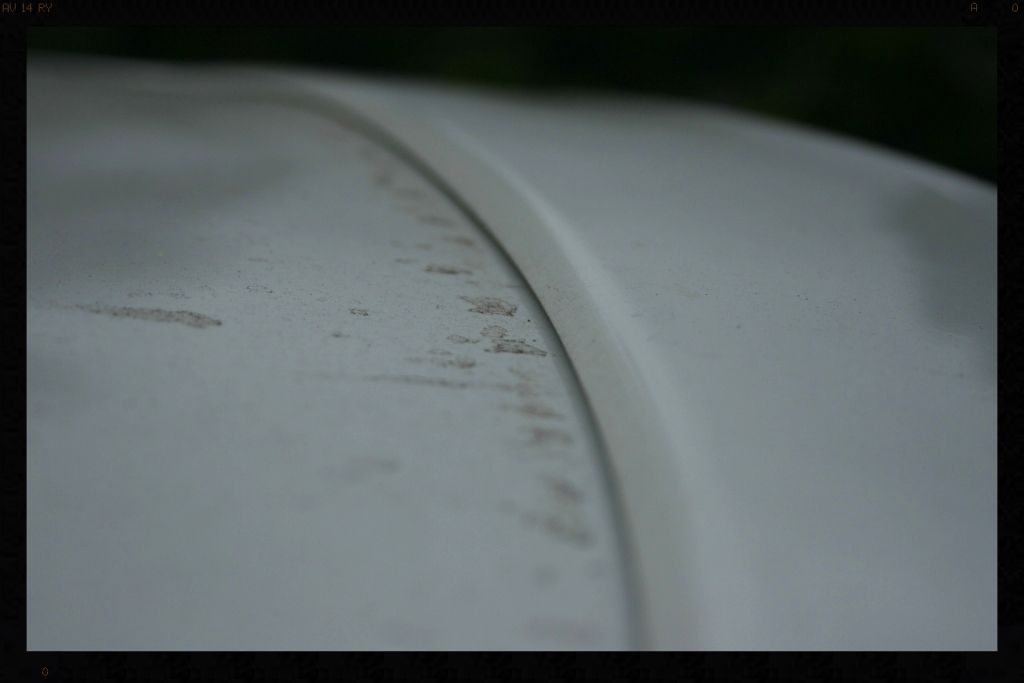
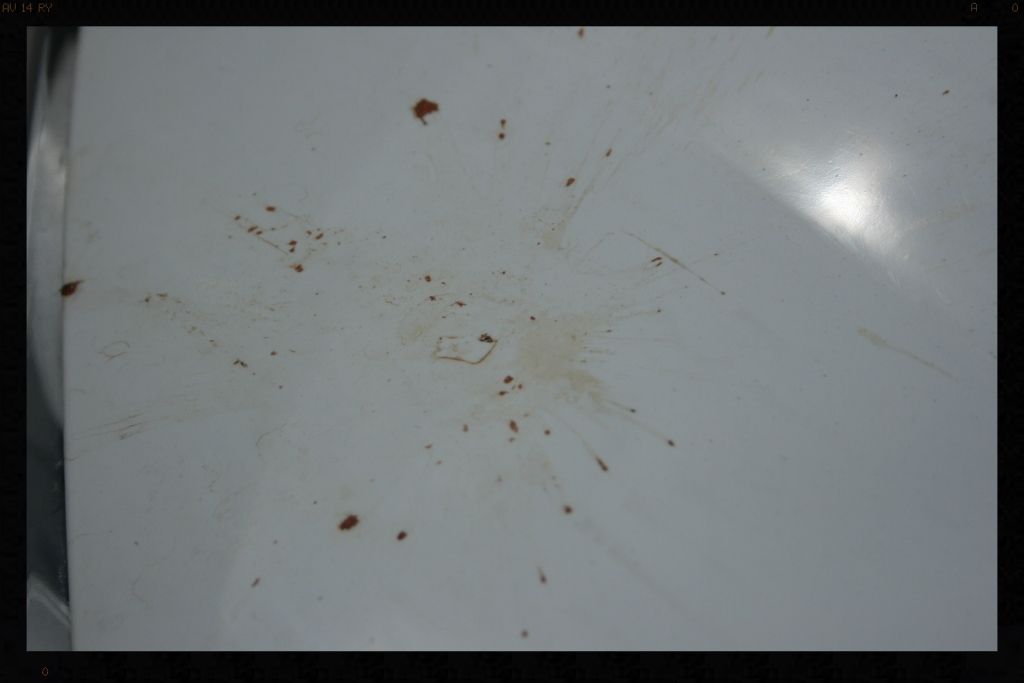
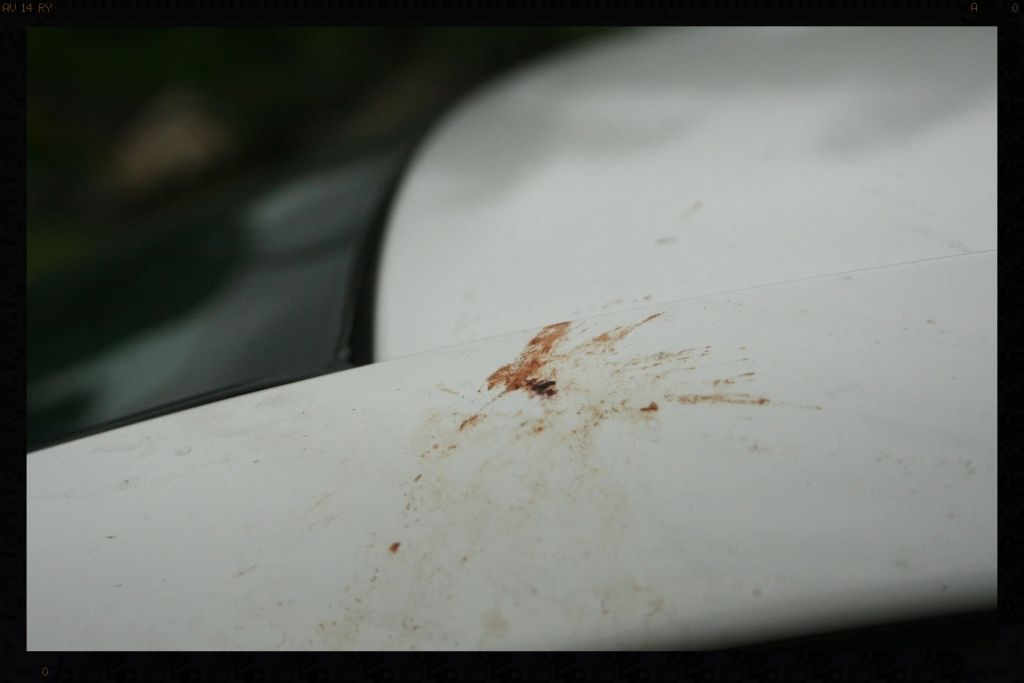
Cyclo APC 3:1 was then sprayed on all the areas with bugs and whatever those 'splatters' were on the bonnet and roof and left to dwell. I then used a mix of Chemical Guys Maxi Suds II and Cyclo APC as a pre-soak to soften things up a bit. The car was then HP rinsed and foamed/rinsed again.
I then washed using lambswool wash mitts and 2BM with periodic re-foaming and I then rinsed the car, sheet dried it - well I tried anyway (it doesn't work so great on paint with such a surface tension due to the contamination that was on there :roll: - and then dried using a couple of WW Drying Towels.
I then decontaminated the paint (including the boot shut, door shuts etc) and glass.
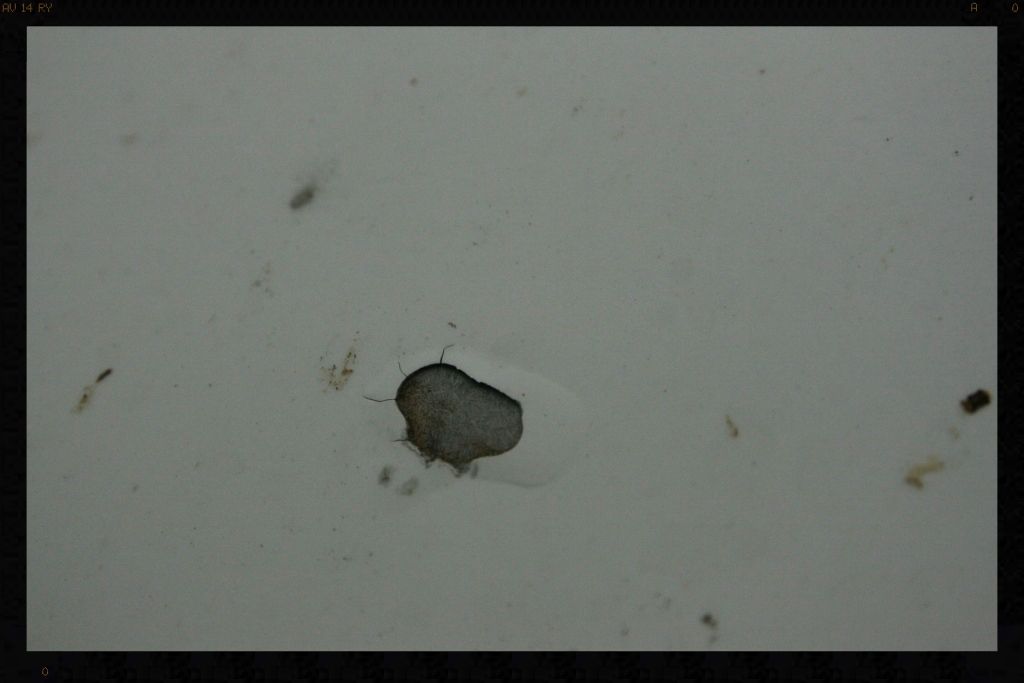
Tar: AF Oblitarate (At this point I also used a plastic razor to remove the sticker you will see in the pic below. Once removed, the residual glue was removed using AF Oblitarate)
Iron: AF Iron Out
Remainder: Autoglym Fine Grade Clay + ONR
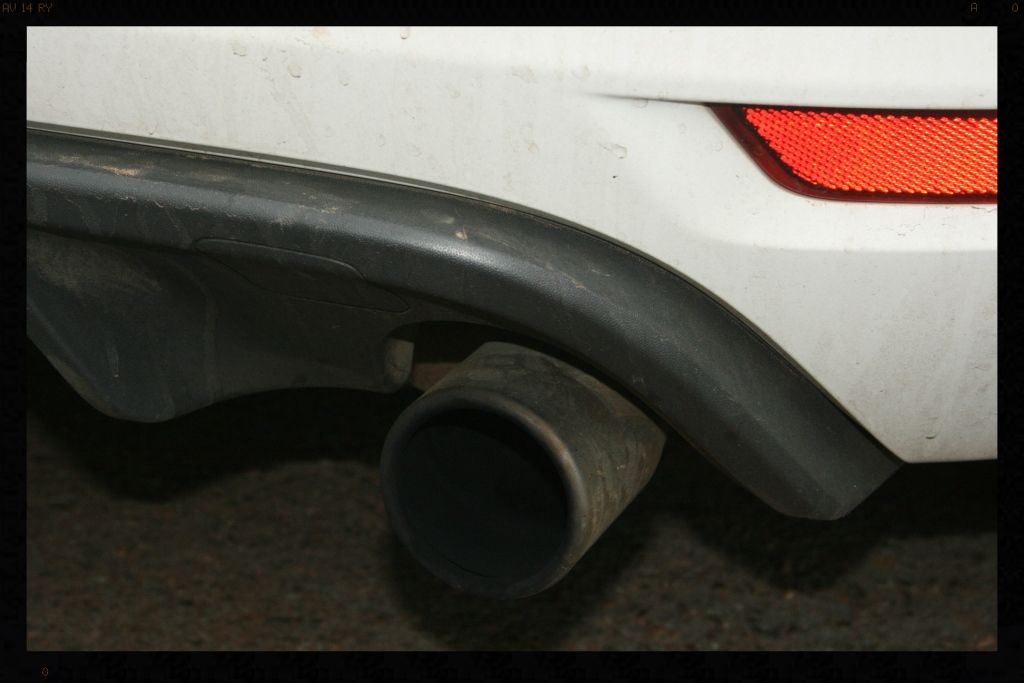
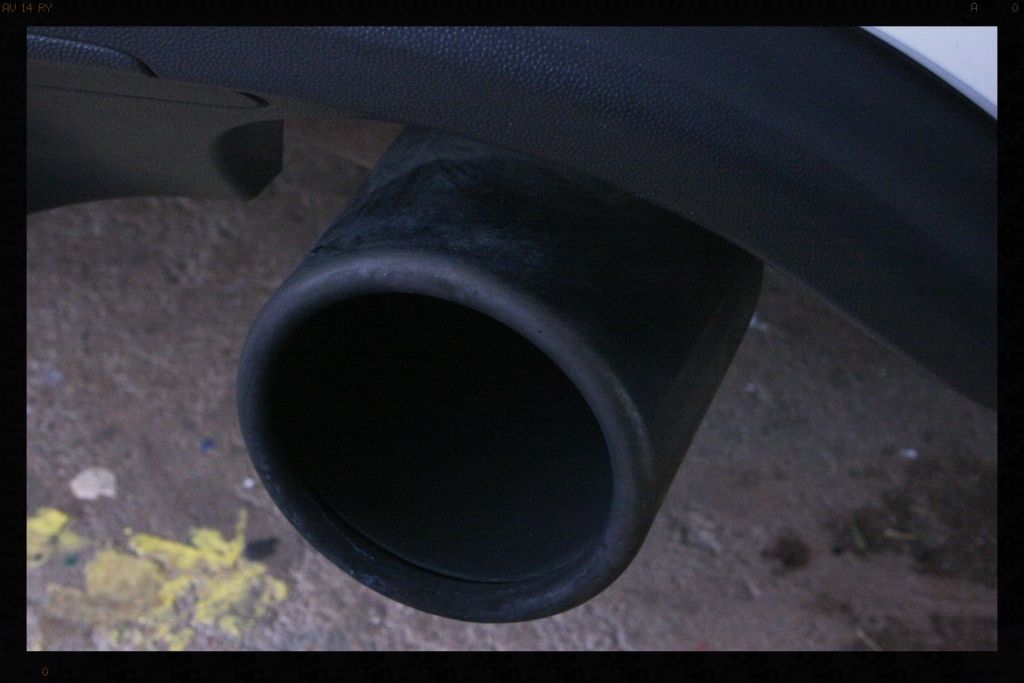
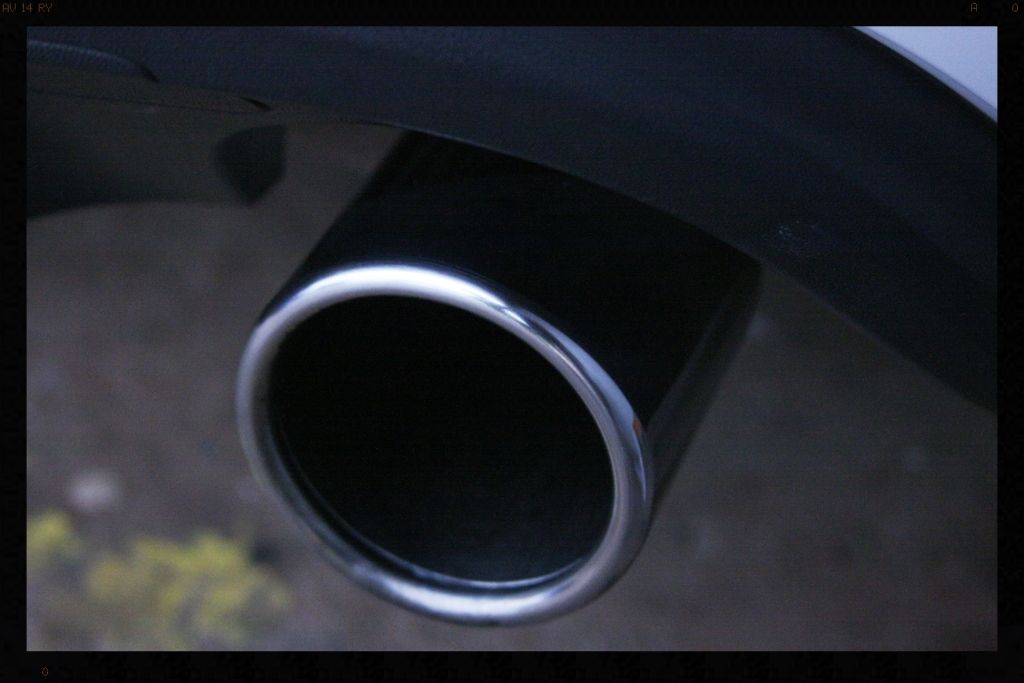
The exhaust tip was polished using Mothers Mag and Aluminium Polish
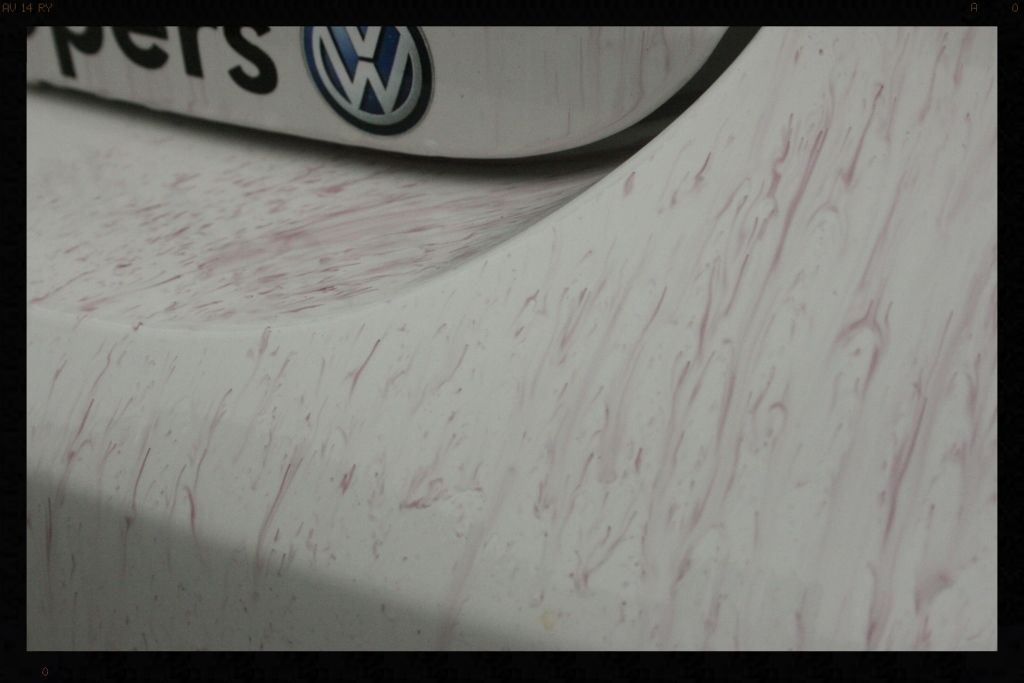
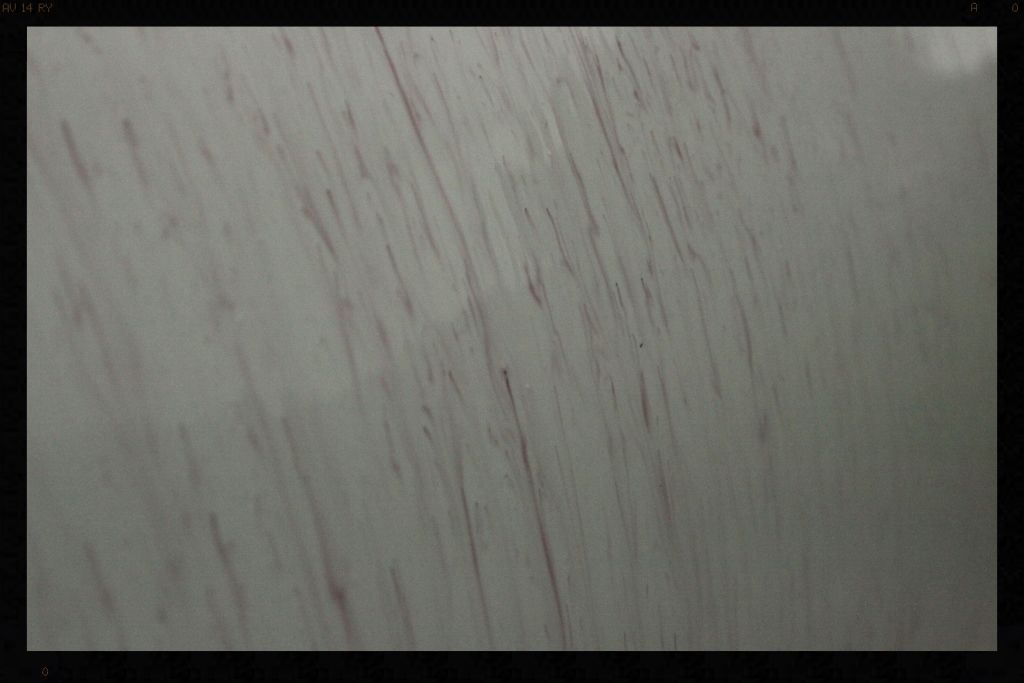
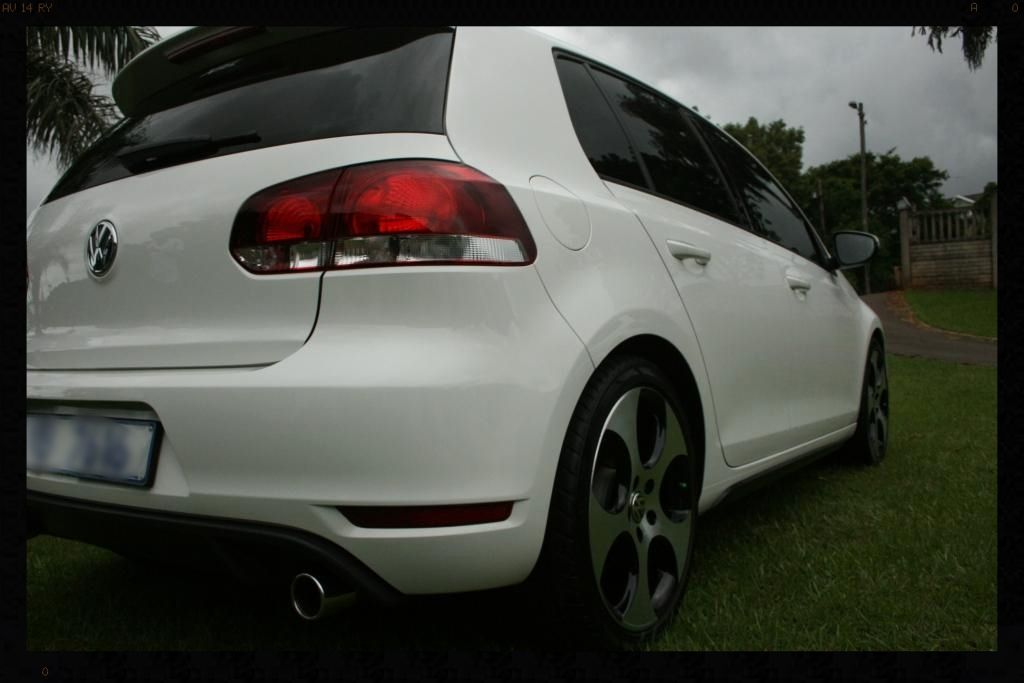
During claying I had identified a few areas that has been re-painted, including the bonnet and front bumper and the paint reacted very differently to the remaining OEM Paint.
Here is a pic of the bonnet. Besides the swirls, notice the orange peel and general finish of the paint.
I landed up using a combination of Menzerna FG400 /Megs MF pad/Orange CCS pad to work the damage out the paint. I was working small sections (15" x 12") with a really slow arm speed and the going was slow and steady.
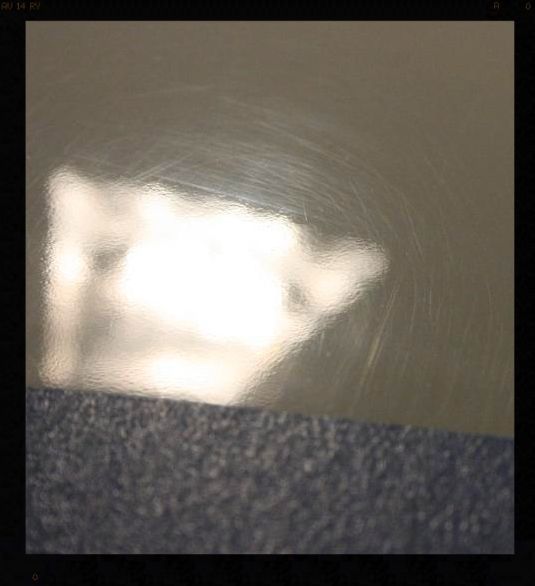
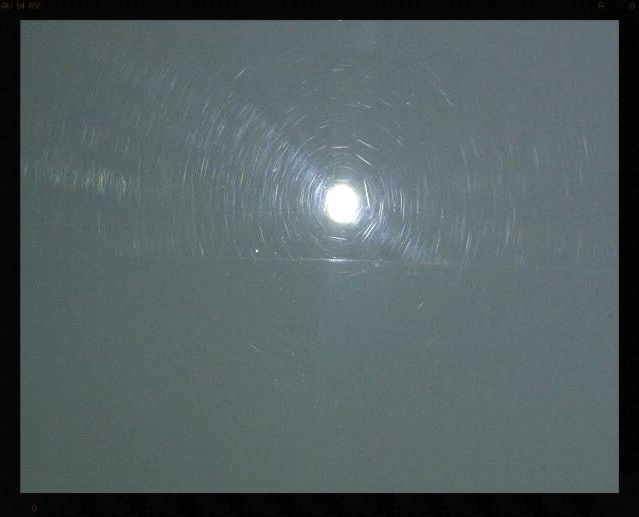
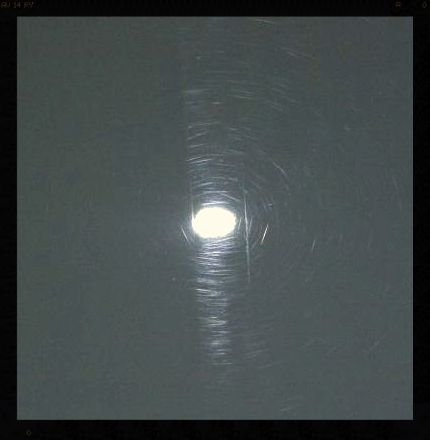
I struggled a bit with 50/50 shots. The sun was nowhere, and without it I have found that a dark room with a single source of light shows them up well.... but my basic camera/lens set up struggles in low light and I was using my cell phone flashlight as the light source. Managed 2 okay'ish ones though.
There was also a really nasty chip on the bonnet and so I laid in 2 coats of Candy White paint to at least cover the bare metal and make the chip a little less visible from a distance.
Correction continued well into the night and by 22:00 that night I had had enough
My neighbors were kindly awoken by the sounds of my compressor and the DA at 06:30 on Sunday morning - they must love me :lol: ).
After priming my pad, I primed myself with a Cappucino (actually it was 2 ok ) and spent a few more hours correcting the paint.
I then sorted the following out:
Tail lights/A-pillars: Menzerna PF2500 + LC Orange / Menzerna SF4000 + LC Black.
Plastic trim: Shield Heavy Duty Vinyl and Rubber cleaner / Smartwax SmartDressing.
Door rubbers: Shield Heavy Duty Vinyl and Rubber cleaner Smartwax SmartDressing.
Glass : Autglym Fast Glass / Menzerna Powerlock (front windscreen C-thru used instead)
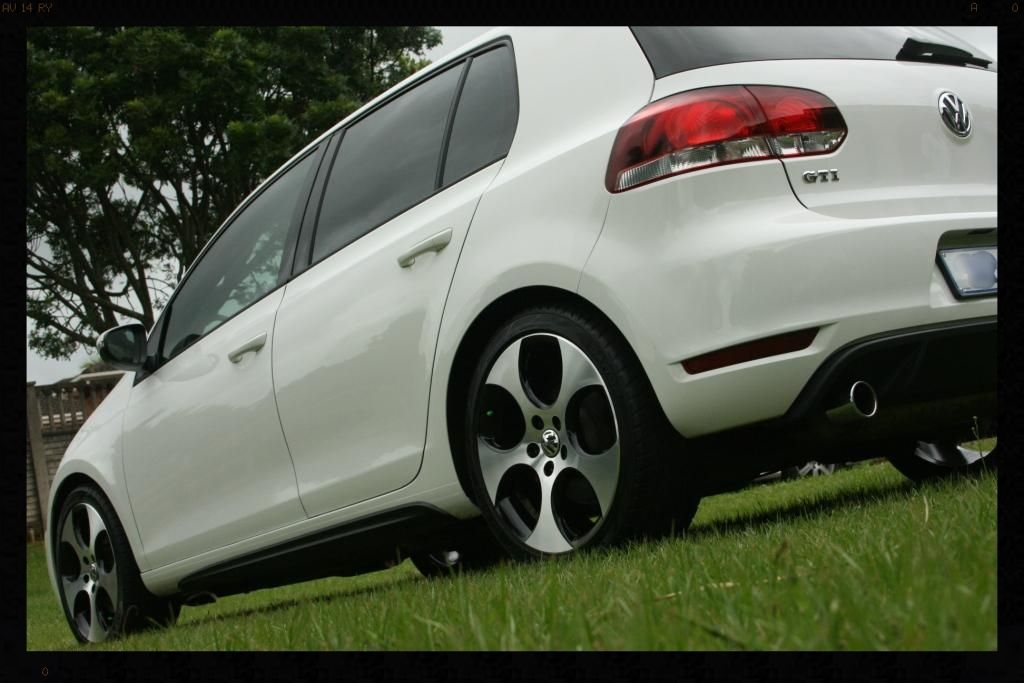
Wheels: Polished Meguiars Cleaner Wax + Mothers Power Ball Mini / Menzerna Powerlock
Lastly I laid down a coat of Menzerna Powerlock.
As you can see the weather was really terrible and with only a few minutes to capture the 'after' and my low-light-struggling camera, I landed up with these
Total time : 31 hours
Thanks for looking and as always and comment or questions are welcome.
I got stuck straight in on the interior.
Removed rubber mats - Cleaned with Cyclo APC 5:1
Vacuum mats/carpets
Blow out entire interior with compressed air
Cleaned leather with Cyclo APC 20:1 and soft brush followed by damp MF followed by compressed air to dry
Conditioned with GlossWorx Leather Conditioner (first time I have used and like it so far :thumbup: )
Wiped down dash/plastics with damp MF and dressed with Smartwax SmartDressing
Saturday morning I got started at 06:00 with a few shots of the condition of the exterior
So as always, wheels/tires and arches first.
Arches: - HP Rinse / Cyclo APC 5:1 + Mothers Fender Well brush / HP Rinse
Tires: - Meguiars All Wheel And Tire Cleaner + Mothers Tire Brush
Wheels: - AF Imperial + Daytona Jnr / HP Rinse / AF Iron Out + Daytona Jnr / Cyclo APC 5:1 / HP Rinse / AF Oblitarate / Cyclo APC 5:1 / HP Rinse / Autoglym Fine Grade Clay + ONR
I then moved onto cleaning up the boot and door shut, inside the petrol flap, in and around the emblems and badges using Cyclo APC 5:1 with a foaming trigger head to extend dwell time and then working the areas with various brushes, ending with a HP rinse.
The Engine Bay was then blown out with compressed air and wiped clean using various brushes and MF towels + Cyclo APC 5:1 and dressed using Chemical Guys Bare Bones
Cyclo APC 3:1 was then sprayed on all the areas with bugs and whatever those 'splatters' were on the bonnet and roof and left to dwell. I then used a mix of Chemical Guys Maxi Suds II and Cyclo APC as a pre-soak to soften things up a bit. The car was then HP rinsed and foamed/rinsed again.
I then washed using lambswool wash mitts and 2BM with periodic re-foaming and I then rinsed the car, sheet dried it - well I tried anyway (it doesn't work so great on paint with such a surface tension due to the contamination that was on there :roll: - and then dried using a couple of WW Drying Towels.
I then decontaminated the paint (including the boot shut, door shuts etc) and glass.
Tar: AF Oblitarate (At this point I also used a plastic razor to remove the sticker you will see in the pic below. Once removed, the residual glue was removed using AF Oblitarate)
Iron: AF Iron Out
Remainder: Autoglym Fine Grade Clay + ONR
The exhaust tip was polished using Mothers Mag and Aluminium Polish
During claying I had identified a few areas that has been re-painted, including the bonnet and front bumper and the paint reacted very differently to the remaining OEM Paint.
Here is a pic of the bonnet. Besides the swirls, notice the orange peel and general finish of the paint.
I landed up using a combination of Menzerna FG400 /Megs MF pad/Orange CCS pad to work the damage out the paint. I was working small sections (15" x 12") with a really slow arm speed and the going was slow and steady.
I struggled a bit with 50/50 shots. The sun was nowhere, and without it I have found that a dark room with a single source of light shows them up well.... but my basic camera/lens set up struggles in low light and I was using my cell phone flashlight as the light source. Managed 2 okay'ish ones though.
There was also a really nasty chip on the bonnet and so I laid in 2 coats of Candy White paint to at least cover the bare metal and make the chip a little less visible from a distance.
Correction continued well into the night and by 22:00 that night I had had enough
My neighbors were kindly awoken by the sounds of my compressor and the DA at 06:30 on Sunday morning - they must love me :lol: ).
After priming my pad, I primed myself with a Cappucino (actually it was 2 ok
) and spent a few more hours correcting the paint.I then sorted the following out:
Tail lights/A-pillars: Menzerna PF2500 + LC Orange / Menzerna SF4000 + LC Black.
Plastic trim: Shield Heavy Duty Vinyl and Rubber cleaner / Smartwax SmartDressing.
Door rubbers: Shield Heavy Duty Vinyl and Rubber cleaner Smartwax SmartDressing.
Glass : Autglym Fast Glass / Menzerna Powerlock (front windscreen C-thru used instead)
Wheels: Polished Meguiars Cleaner Wax + Mothers Power Ball Mini / Menzerna Powerlock
Lastly I laid down a coat of Menzerna Powerlock.
As you can see the weather was really terrible and with only a few minutes to capture the 'after' and my low-light-struggling camera, I landed up with these
Total time : 31 hours
Thanks for looking and as always and comment or questions are welcome.
")