Mike Phillips
Active member
- Dec 5, 2022
- 51,004
- 7
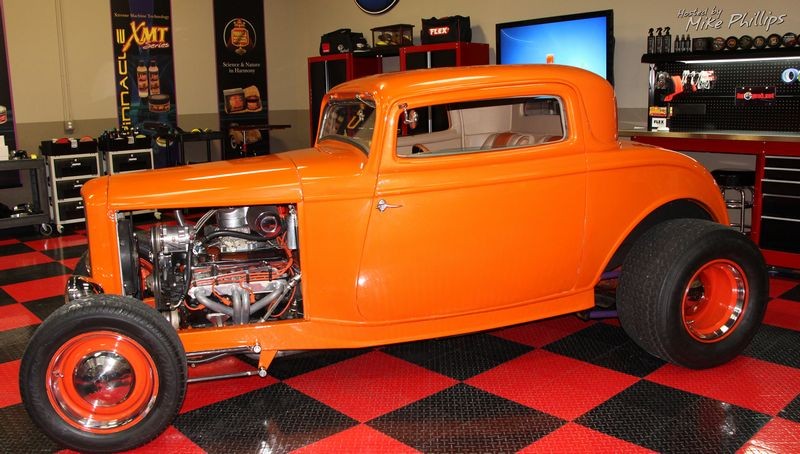
Little Deuce Coupe - Hotrod Detailing
This is my buddy Doug's 1932 Ford 3-window coupe in the same vein of the Beach Boy's Song Little Deuce Coupe.
Each time I've seen this car it's been at the Tuesday night Stuart Car Show that Autogeek sponsors and it's usually around 5:30pm or later so the sun is low in the sky.
I thought the paint was in pretty good condition so asked Doug if I could use his car for a special project and Doug said "yes".
Looks pretty good in these shots...


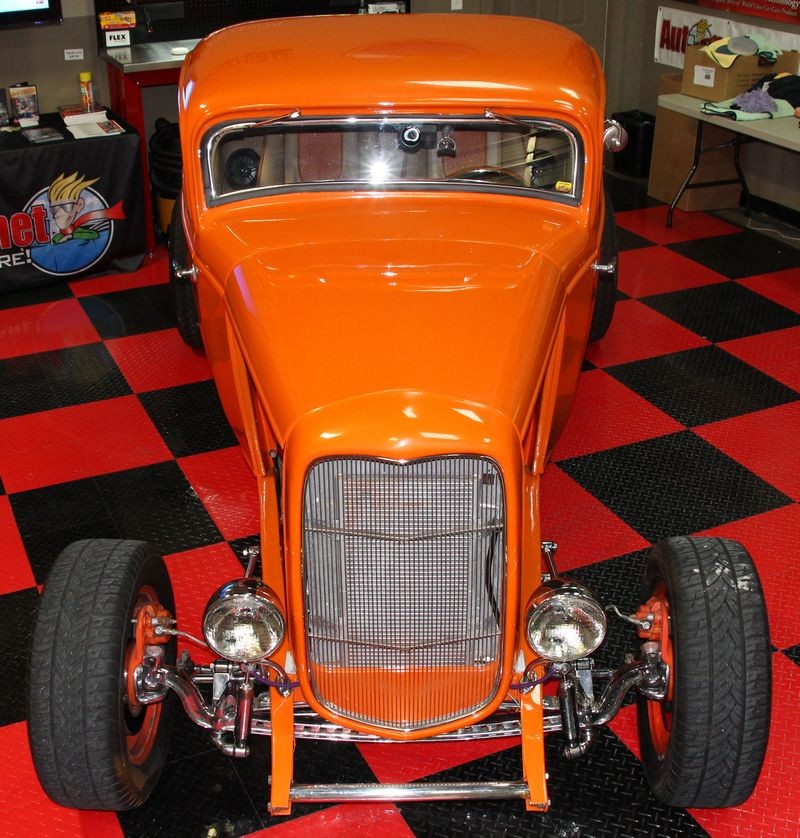
Florescent Lights
Now let's inspect the paint using the overhead florescent lights
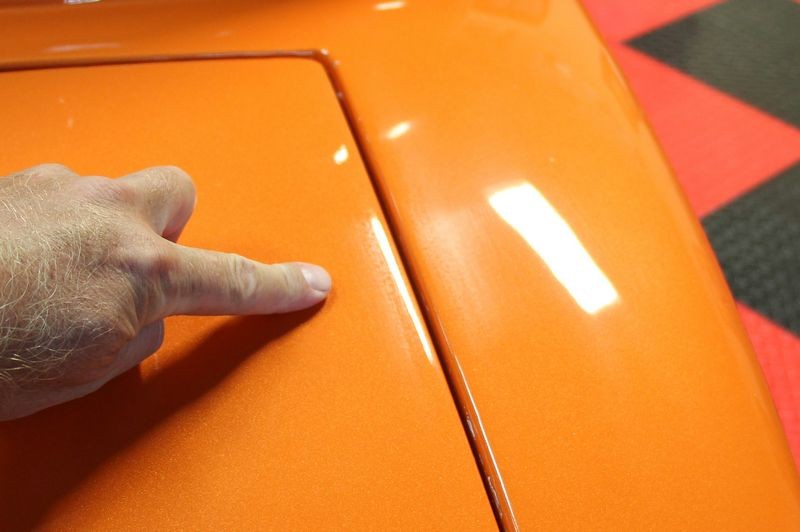
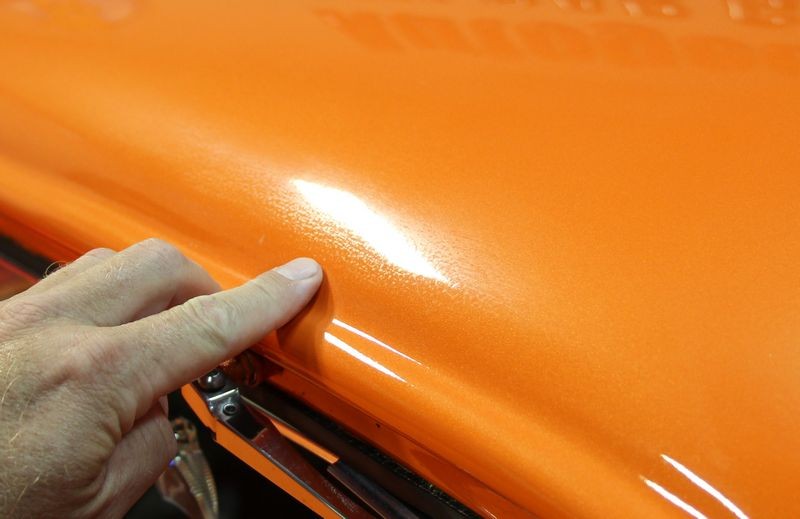
Sanding Marks Not Removed
After moving the 1932 Ford into the garage that's when all the paint defects starting showing up under florescent lights. In these pictures I'm going to point out all the sanding marks that were not completely buffed out during the wet sanding process.
These were hard to see at the car show but stand out like a sore thumb under florescent lights....


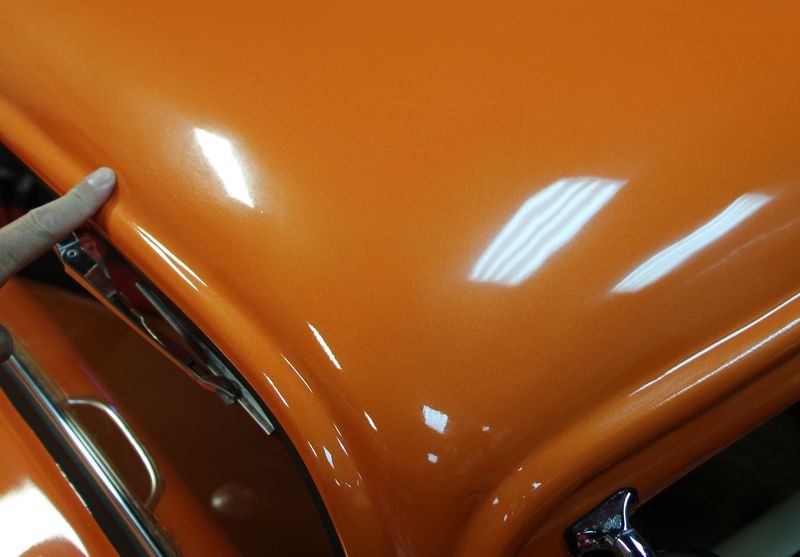
Scoured Paint
These look like wool pad scratches from the buffing step, the paint literally looks scoured....


")
This is my buddy Doug's 1932 Ford 3-window coupe in the same vein of the Beach Boy's Song Little Deuce Coupe.
Each time I've seen this car it's been at the Tuesday night Stuart Car Show that Autogeek sponsors and it's usually around 5:30pm or later so the sun is low in the sky.
I thought the paint was in pretty good condition so asked Doug if I could use his car for a special project and Doug said "yes".
Looks pretty good in these shots...
Florescent Lights
Now let's inspect the paint using the overhead florescent lights
Sanding Marks Not Removed
After moving the 1932 Ford into the garage that's when all the paint defects starting showing up under florescent lights. In these pictures I'm going to point out all the sanding marks that were not completely buffed out during the wet sanding process.
These were hard to see at the car show but stand out like a sore thumb under florescent lights....
Scoured Paint
These look like wool pad scratches from the buffing step, the paint literally looks scoured....
 rops:
rops: