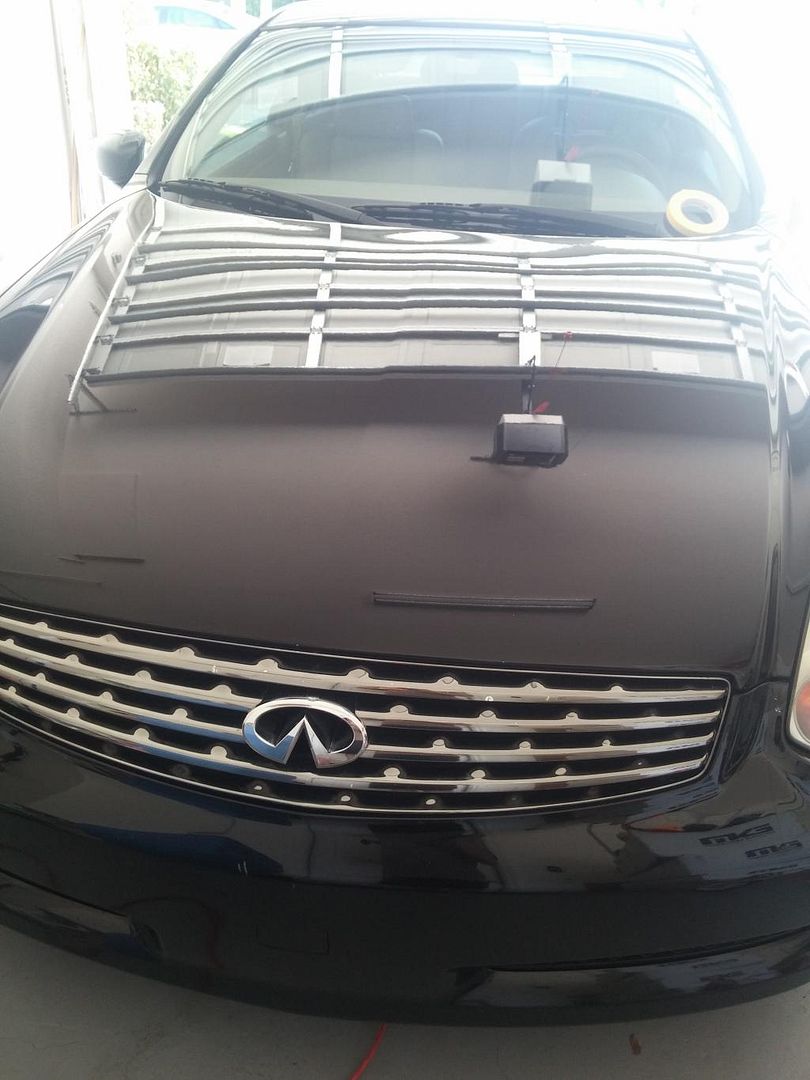
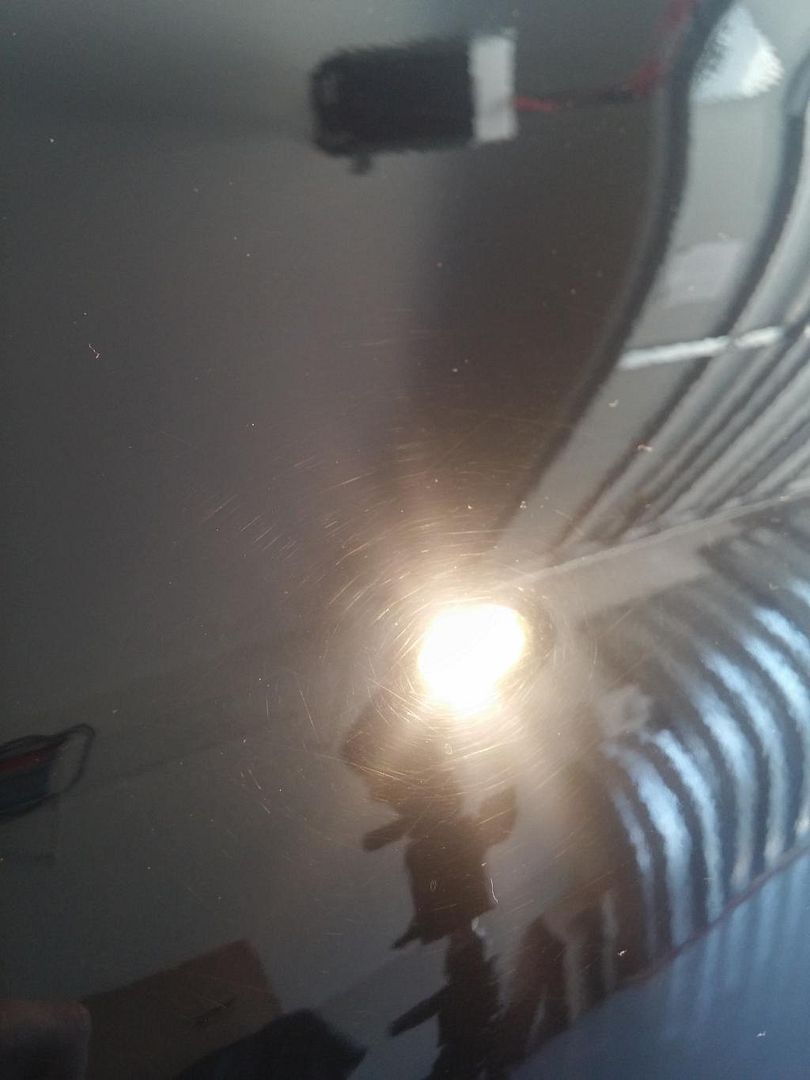
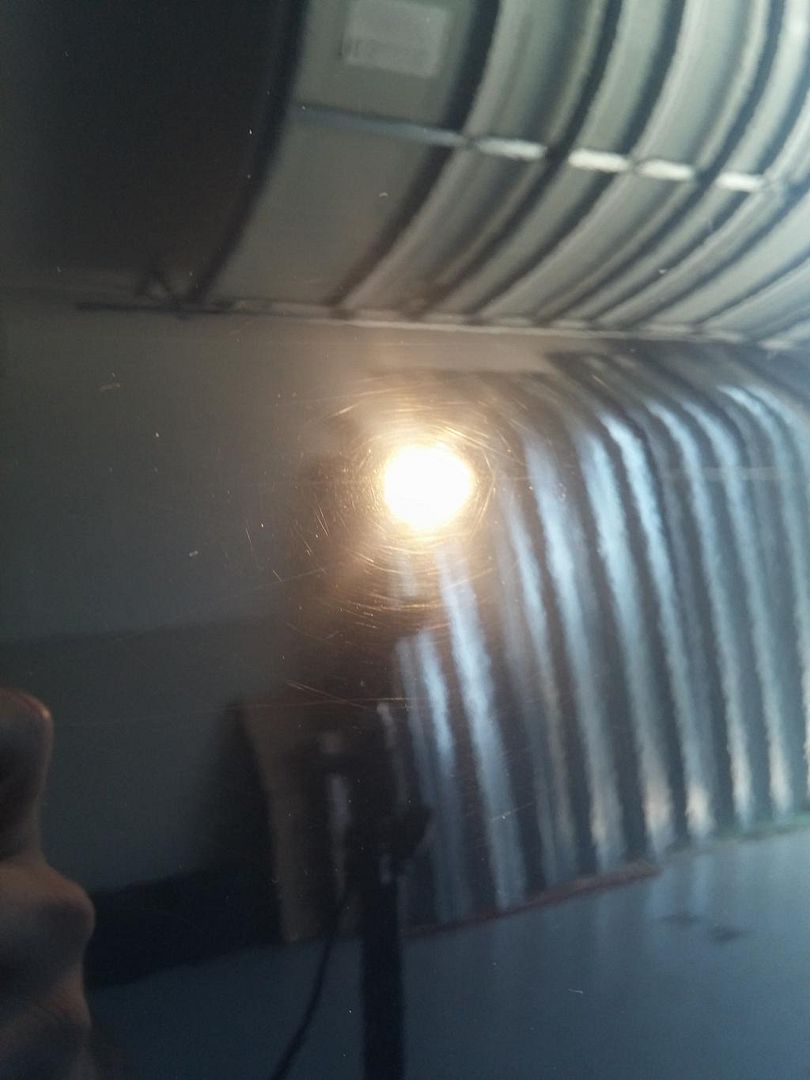
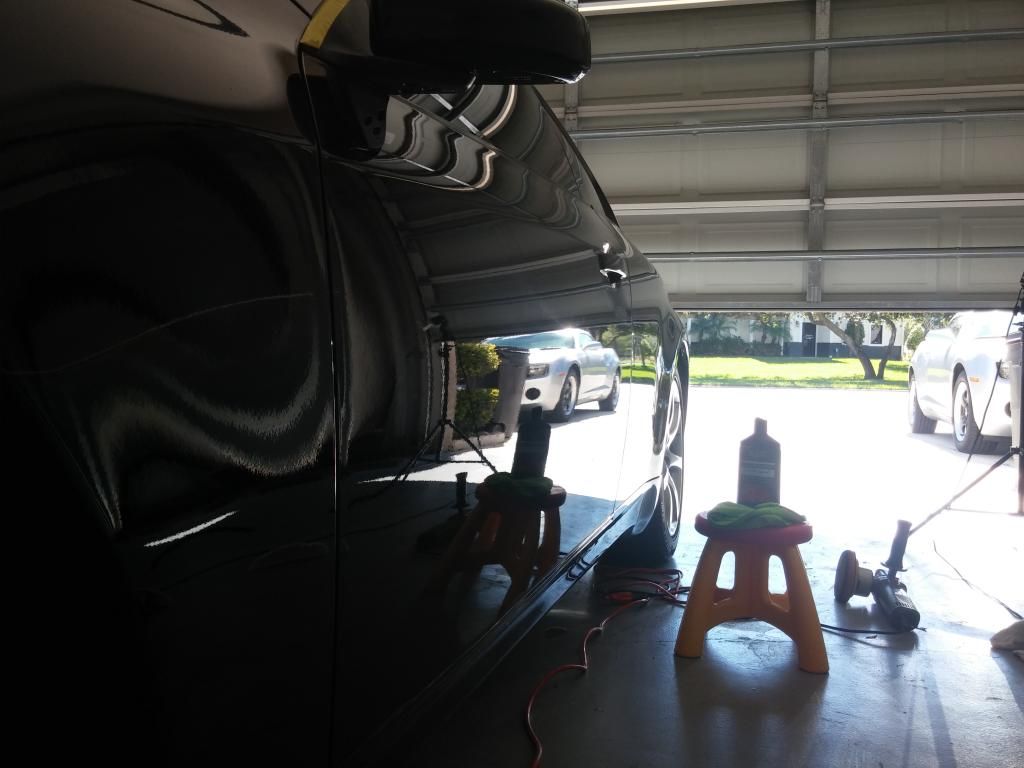
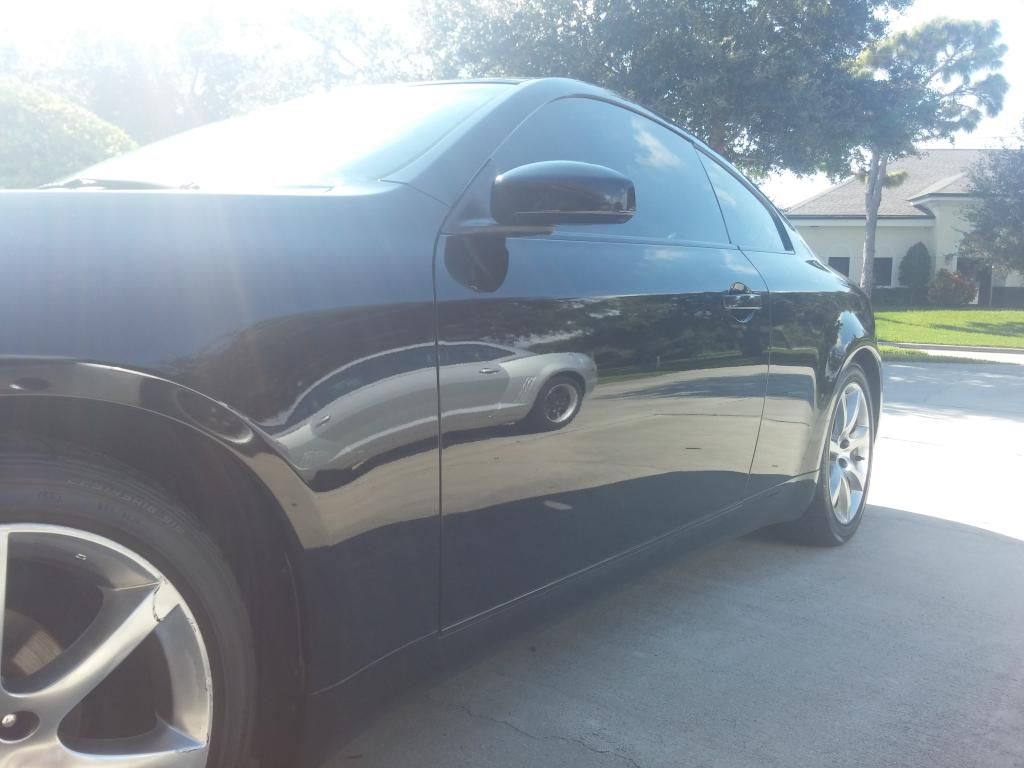
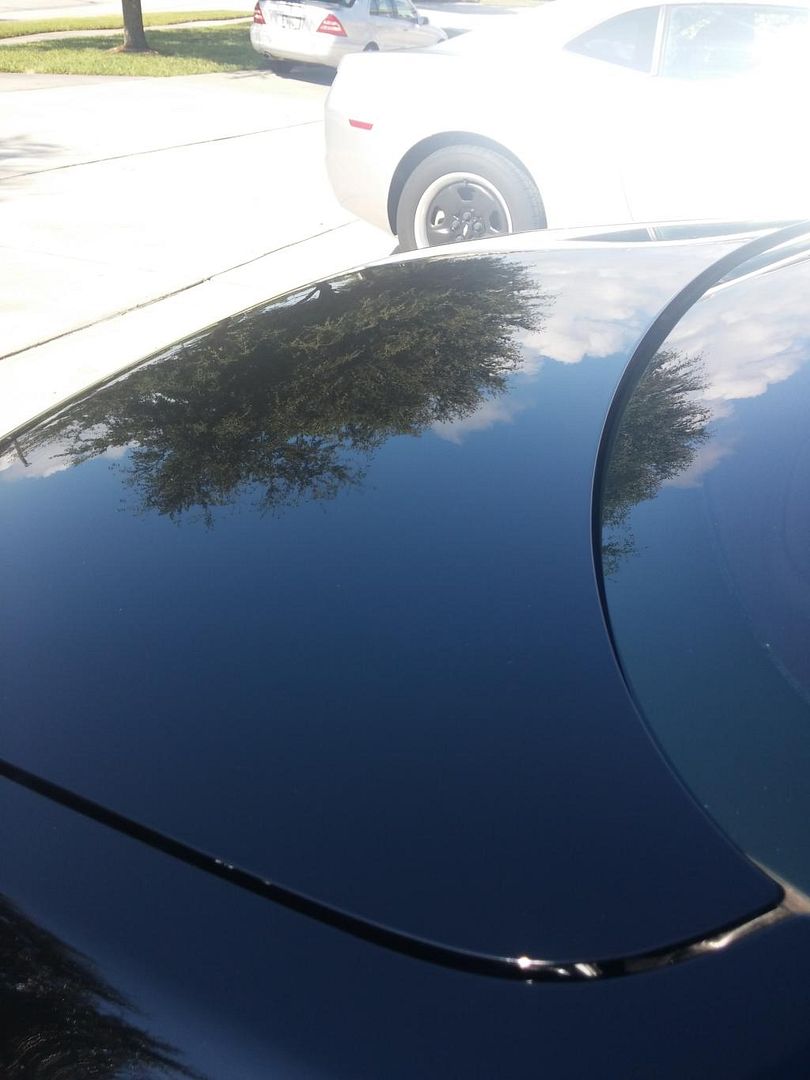
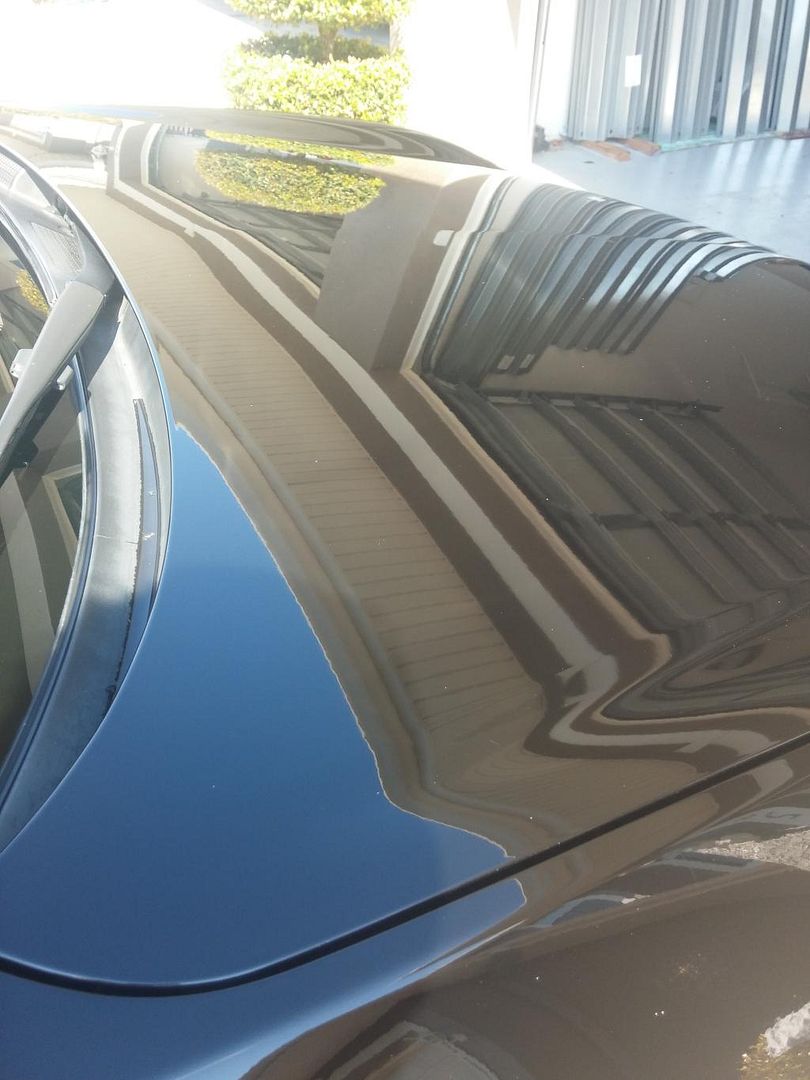
Coworker used 150 grit on his hood...

Have you used this technique in the past?


I have never seen it done effectively


Post some Before & After's and the specifics of your technique


I saw a thread where someone did a spot repair on their fender and it turned out great. I forgot what the thread title was called though. Wish I could find it. I just remember it being a beige colored sedan.
 
I'd take paint readings before going too aggressive on it. Most the G's I've measured have been in the 85-95 micron range.
 
I saw a thread where someone did a spot repair on their fender and it turned out great. I forgot what the thread title was called though. Wish I could find it. I just remember it being a beige colored sedan.


Please keep looking
 
I talked to a guy one day at work who wanted to take some of the sandpaper he was using home to wet sand his car. He was using 50 grit at the time. I tried to talk sense into him but he swore it is what the pros use. Never did find out how it went if he did use it.
 
In post #55 the OP says it looks good from 3 to 4 feet.

That would not be OK for me


I think his issue was the dots from when he spilled brake fluid, not his process. Anything will look better than what I'm working with. Of course his method will never look 100% but it looks better than it did when he started.
 
I think his issue was the dots from when he spilled brake fluid, not his process. Anything will look better than what I'm working with. Of course his method will never look 100% but it looks better than it did when he started.

I though he also mentioned that you could see a lone between the areas that were OEM and rattle can clear coat
 
A quick 1200 grit wet against the directions of the scratches, followed w/2000 or so. Just enough to haze the surface. A rotary in the right hands will then clear a vast majority of the damage. Another tip: knock down roughly half of the factory orange peel and buff/polish the trouble spots. It is far cheaper than repainting for now. More pix please.
 
Hey guys, with the weather and our work schedules it's probably gonna be another 2 weeks before I get to touch it:\ I'll update when I do.
 
Not sure if this was ever resolved, but I picked up a scrap Honda door a few weeks ago, and gave it approximately 4 "light" swipes with 100 grit sand paper. No pads, just really light pressure, and then tried to see what I could do with the mess. Testing purposes only.

I can't remember how many times I damp sanded (2000/3000, and one 1500) and cut that section. Eventually I burned through the clear - obviously.

If you like, I can go do it again, and report back to you. I'll have to email pics, as I can't figure out the pic posting to save my life. I'll probably have them on Megs fb page regardless, because I used 105, and UC on my tests.

As mentioned before, 2000 grit helped knock them down. I was able drastically reduce them, and in some cases completely remove them, but as I stated, the clear coat was severely compromised, and ended up failing. If I were to do it again, I would feel confident using 1500 to reduce the scratches, then 3000, or just going straight to the pc with microfiber and 105.

Just let me know, and I can do it again for you.

If your having problems posting pics it may be because the file size is too big. I had problems posting pics until I figured that out.
 
If your having problems posting pics it may be because the file size is too big. I had problems posting pics until I figured that out.

It's frustrating. I was able to with photobucket. There's a couple I have of my gf's truck in the beading thread.

I downloaded a resizing app last night, so I'll have to experiment with it to see if I can make it work.
 
To asnwer teh reclearing question ill post a coupple of the repair I did to a harley fender. in short yest you can fill in and buff the clear.there are some ticks to doing a small spot but if you dont layer the clear on thick you should be ok. I use Duplicolor universal clear. On this particular job I also used Universal black.

I tried to upload the pics but only 2 came out,, so you can see the work here

https://www.facebook.com/ScottAtten...6384590863811/226384010863869/?type=1&theater

one more try for here if it doesnt work your looking at broken links! LOLOL

10313547_226383980863872_7056097305667006402_n.jpg


1512450_226384027530534_898581216022809038_n.jpg

10675578_226384067530530_6711681954927793380_n.jpg


10805686_226384070863863_2950655430000921198_n.jpg


1525572_226384077530529_8730500529471760004_n.jpg


10615445_226384144197189_5696616327284630959_n.jpg


It can be done. I had deeper issues but I wanted to show that the new black paint sat for 24 hrs, then was wet sanded w/ 1500 and 2400, then coated with clear, another 12 hrs cure with heat lamp, then compounded. and you see the final. (an you dont have flames to contend with either! Lucky you!)

You got it, and they look great!

Many thanks for the info. I was thinking of re clear coating that door too. I might just have a go at it.
 
Hey guys, OP here. Sorry I haven't updated this thread until now. I'm sure you were all sitting by your computers waiting and all...:

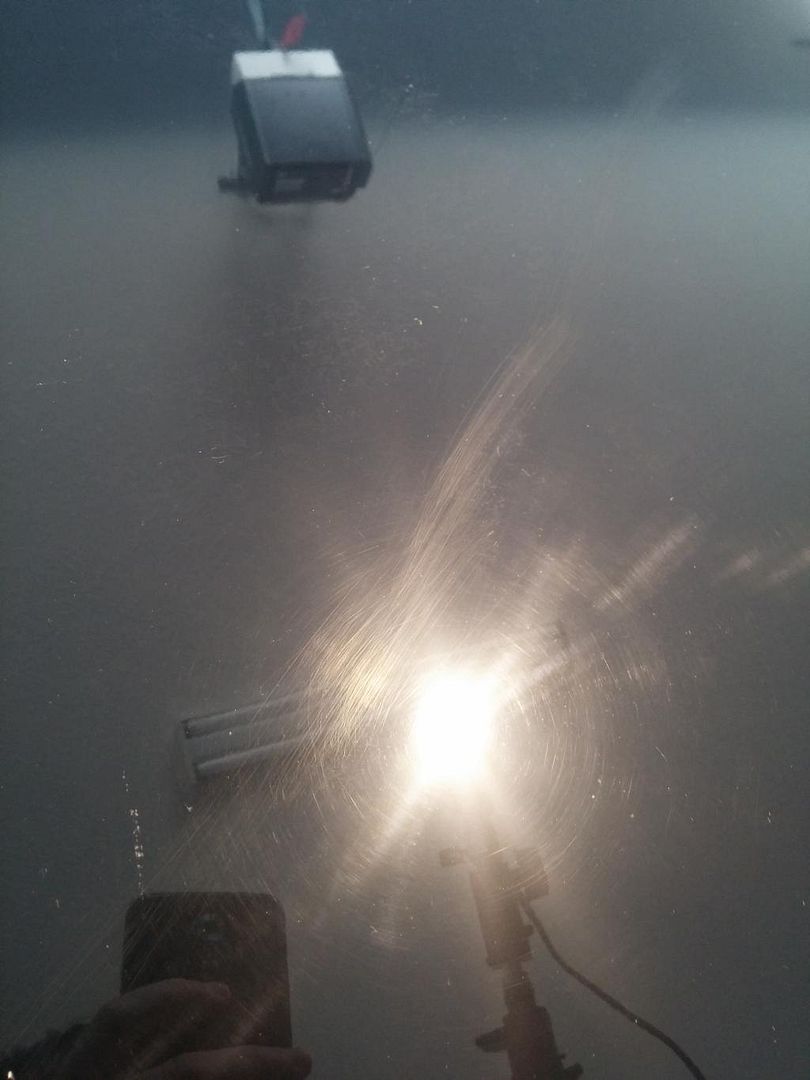
Hood before:


Hood after:


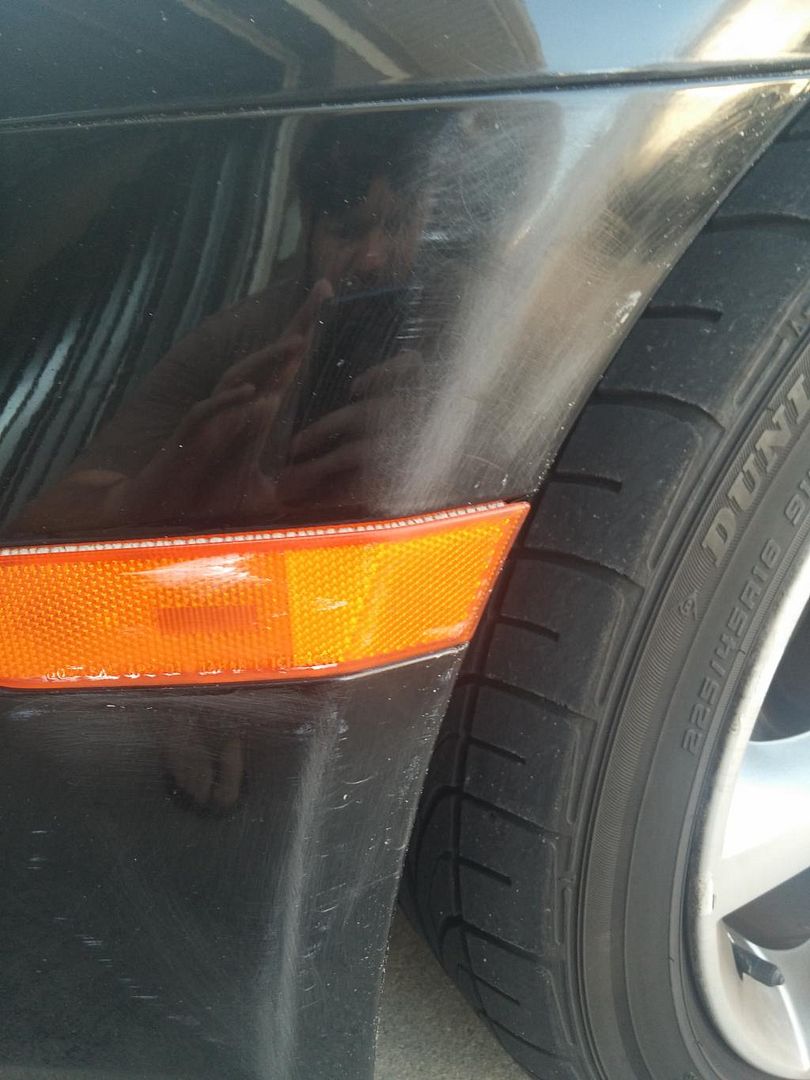
Front bumper before:


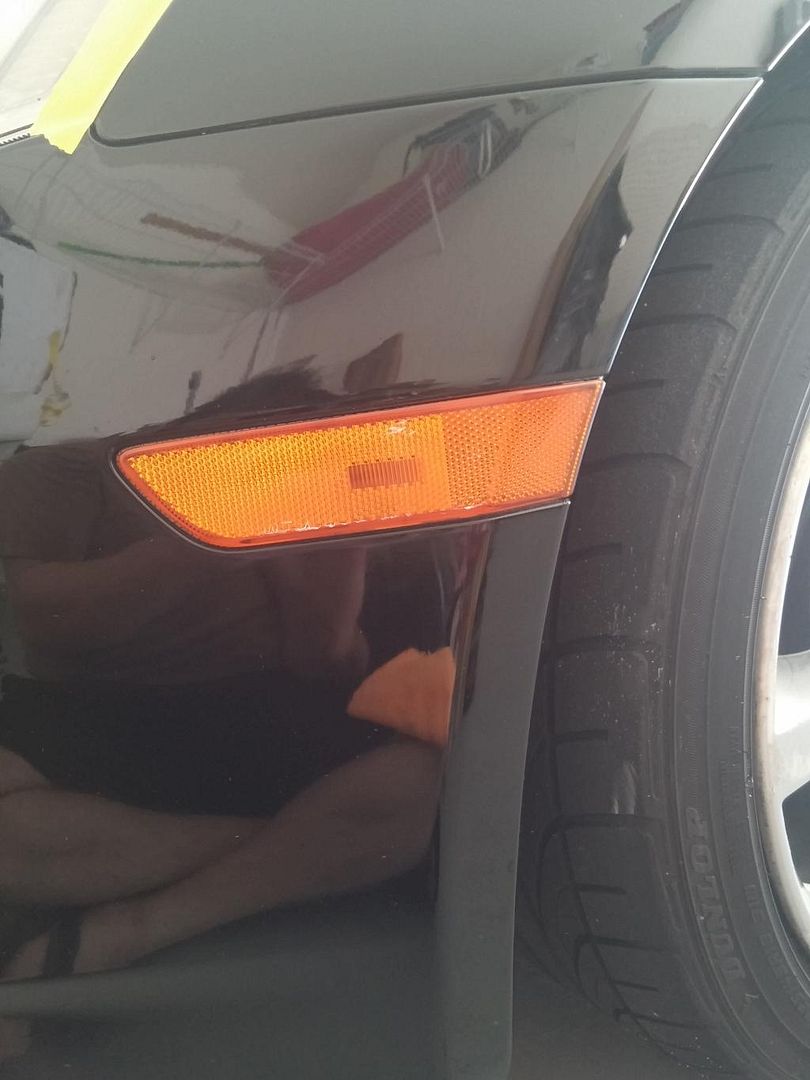
After:


Apparently he used 80 grit sandpaper to remove some scratches. I used 400 then 1000 then 2000 then Meg's UC/LC Orange, Meg's 205/LC White.

Some before shots:


After shots:


Back
Top