CaveRacing
New member
- Jan 7, 2015
- 198
- 0
*We deleted the original thread titled "Back from the Dead - 1999 Honda Civic EX" due to the location of the photo links. My photos needed to be moved, so I've started over with a new thread. I apologize for losing the responses that were posted so far.*
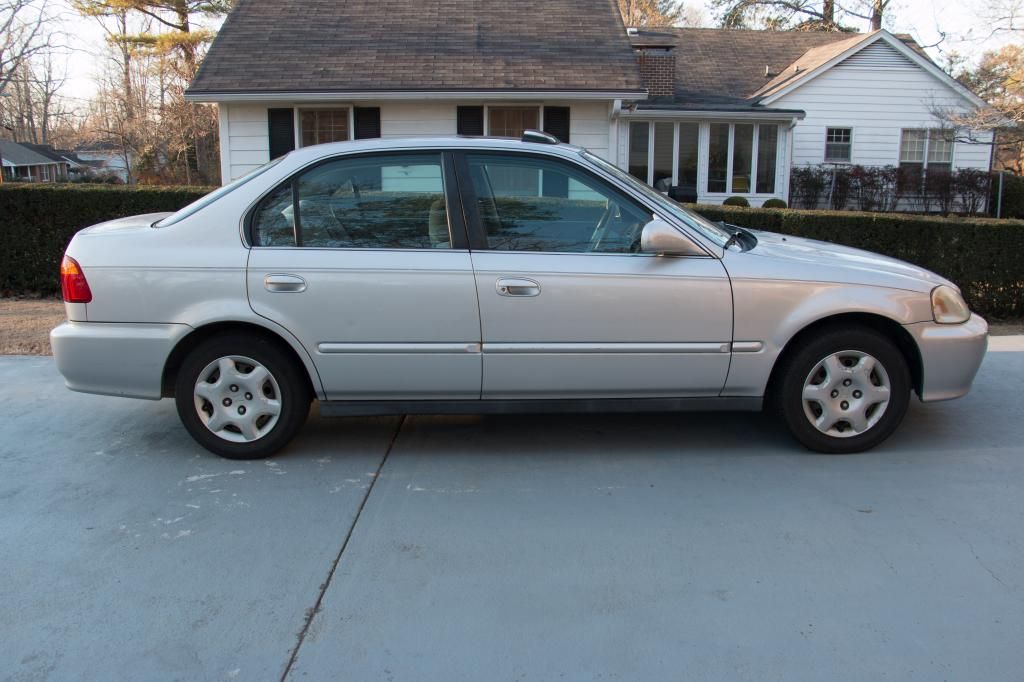
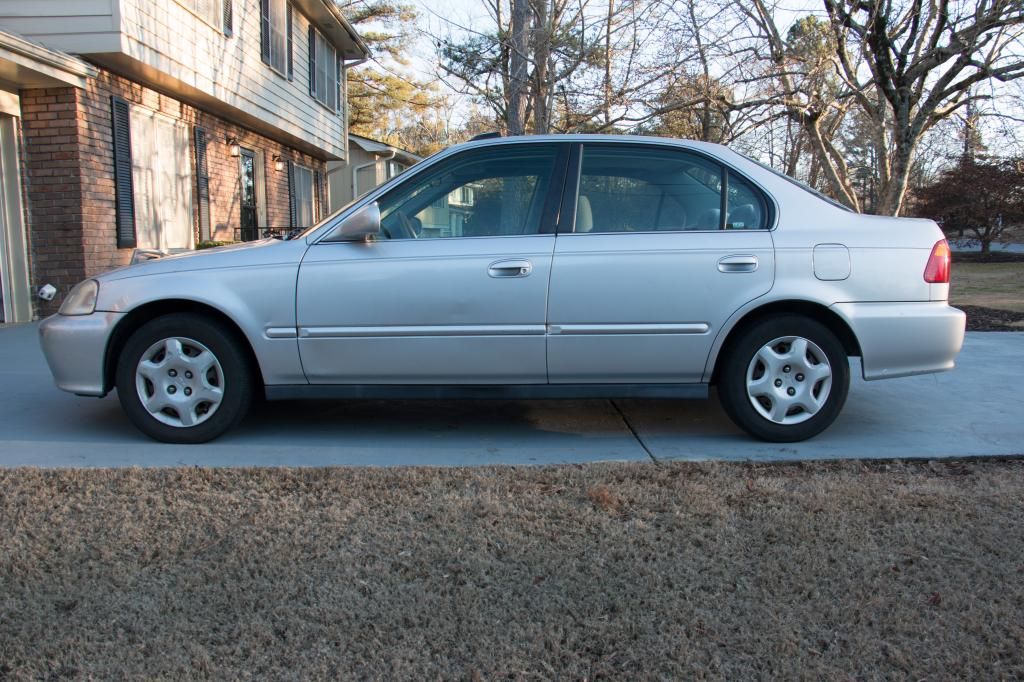
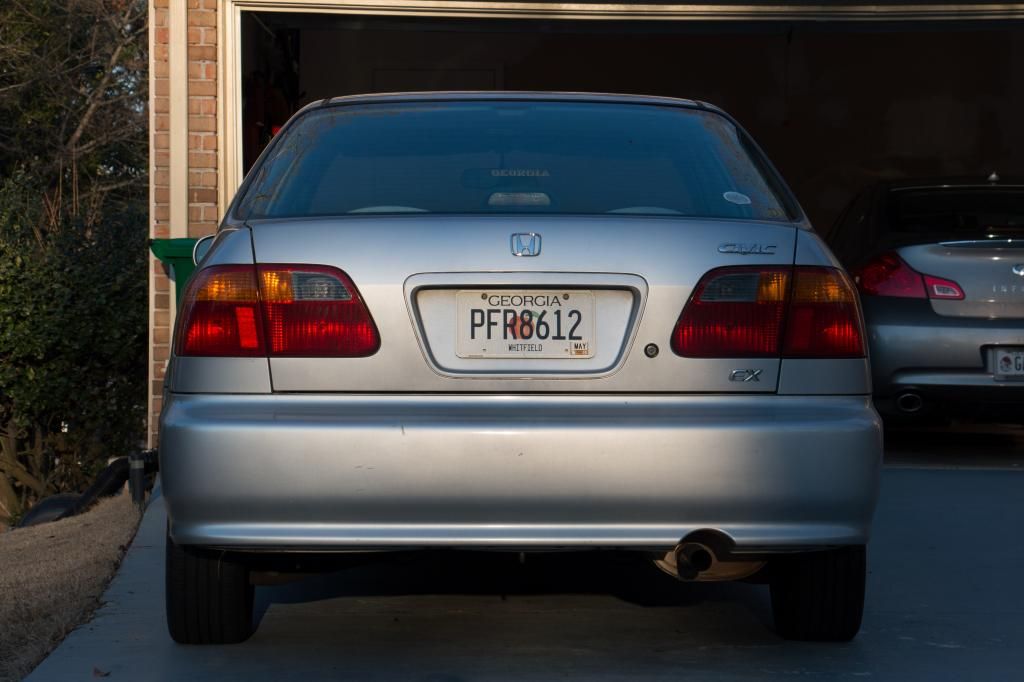
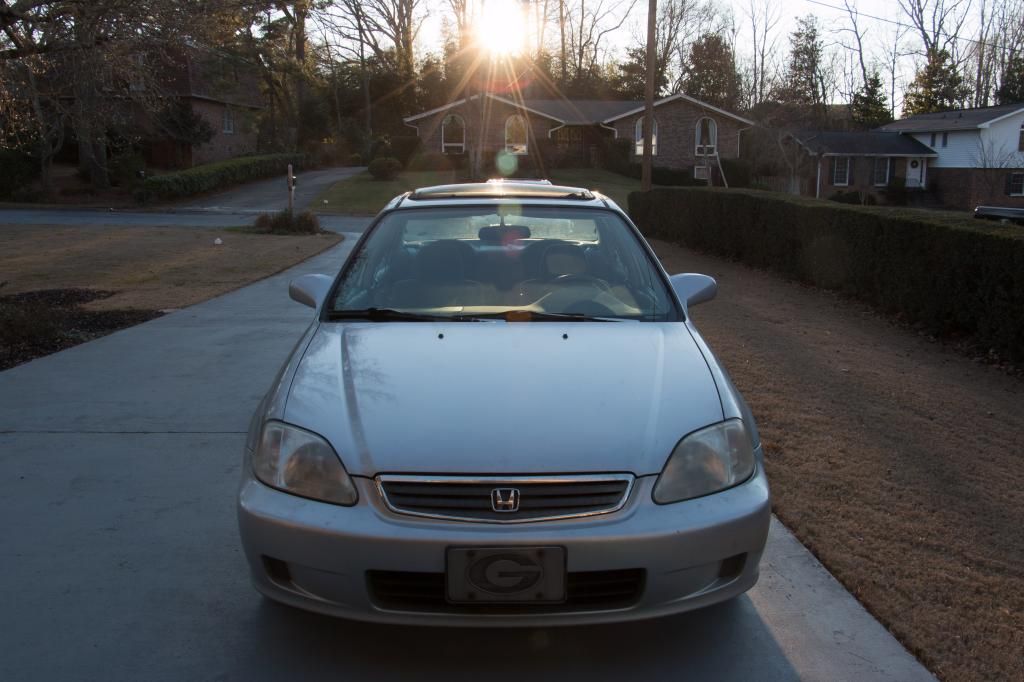
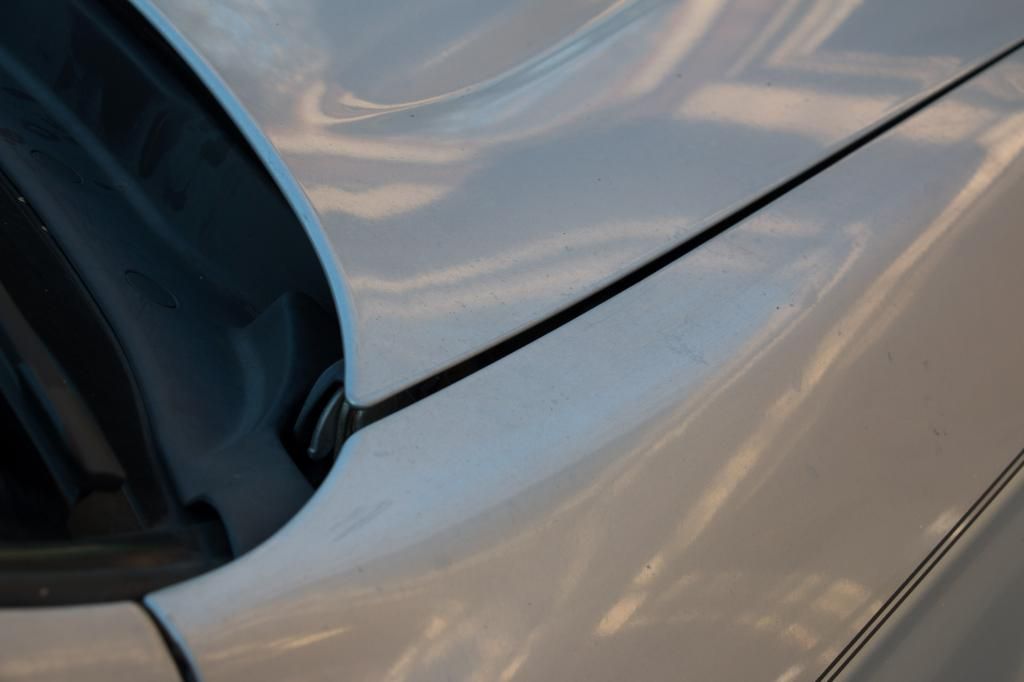
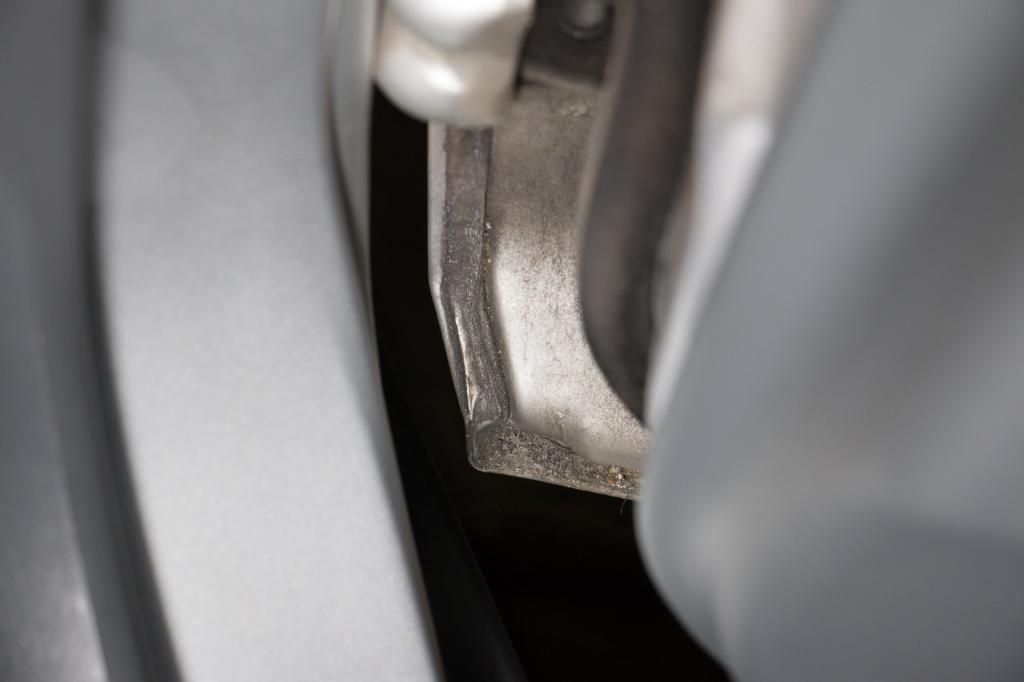
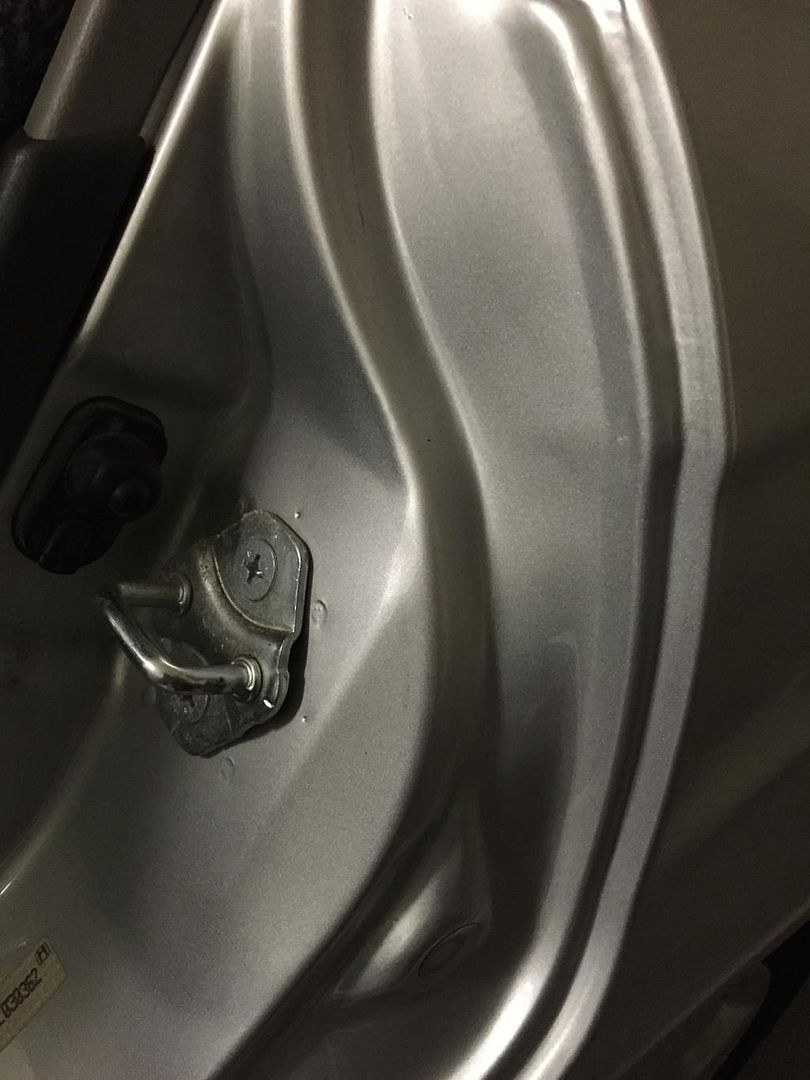
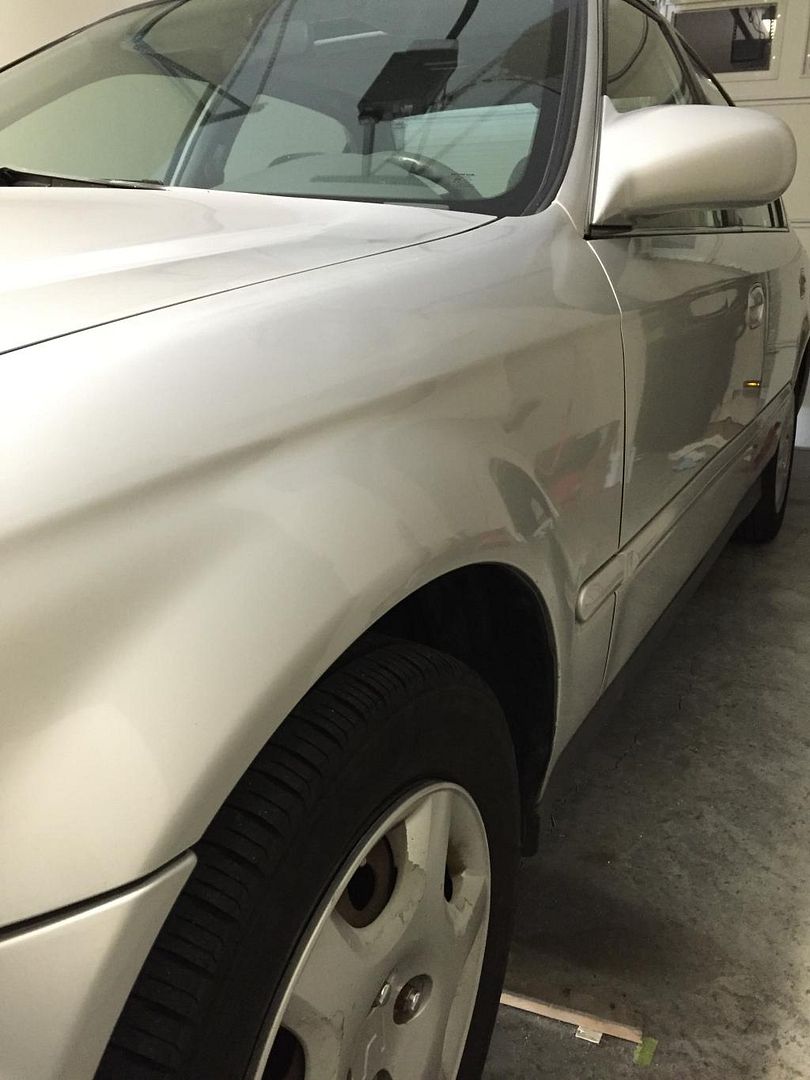
My buddy was given this car, a 1999 Honda Civic EX, by his cousin. She was the original owner and it currently has 206,000 miles. Aside from a toasted gearbox (the reason the car was dead when my buddy got it) and a few regular maintenance items that needed attention, the cosmetics left much to be desired.
I’ve been friends with this family, and more specifically, my buddy, for over 25 years. As you can imagine, I am eager to lend a hand on this car. Secretly, I’m very excited about it! Ok, so it isn’t really a secret. They all know how enthusiastic I am to get started on this car. The satisfaction that I expect from completing the various tasks in order to bring this car back to life is huge!! I know that the car has never been garaged and the number of car washes that it has seen in the last 15 years can likely be counted on one hand. I know… horrible.
I have always been interested in the type of car care we all share in this forum, but this car encouraged me to read, read, and read some more. I’ve learned an enormous amount of information over the last couple of weeks. Thank you to everyone on this forum for sharing their knowledge, tips, advice, and encouragement.
This will be a thread/journal that tracks and shares the progress of this vehicle as I tackle the many projects of neglect, in no particular order at this time:
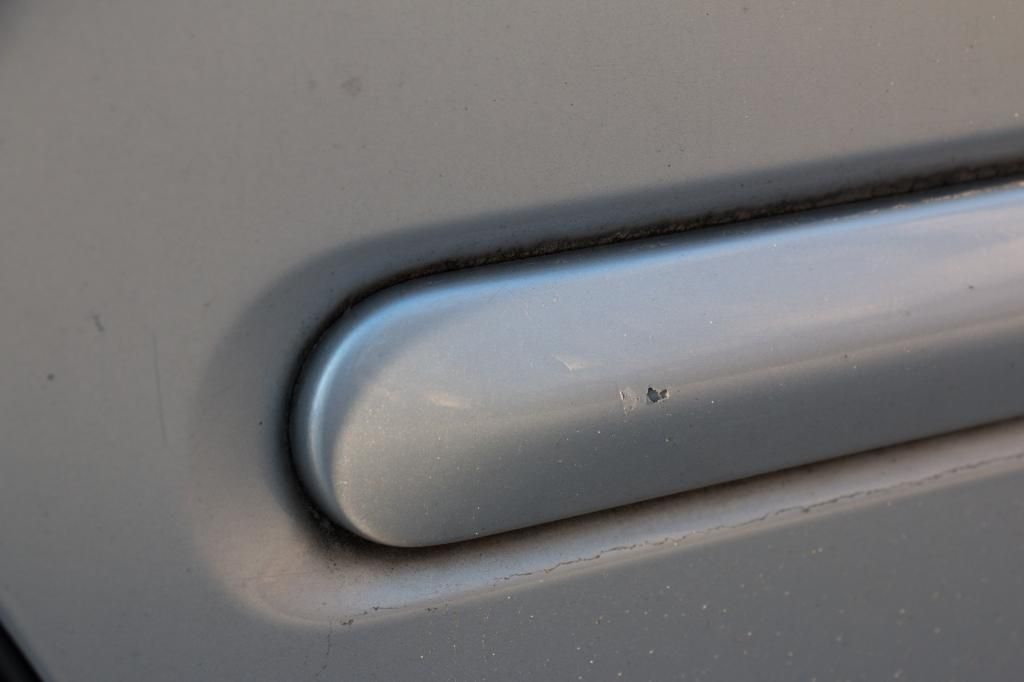
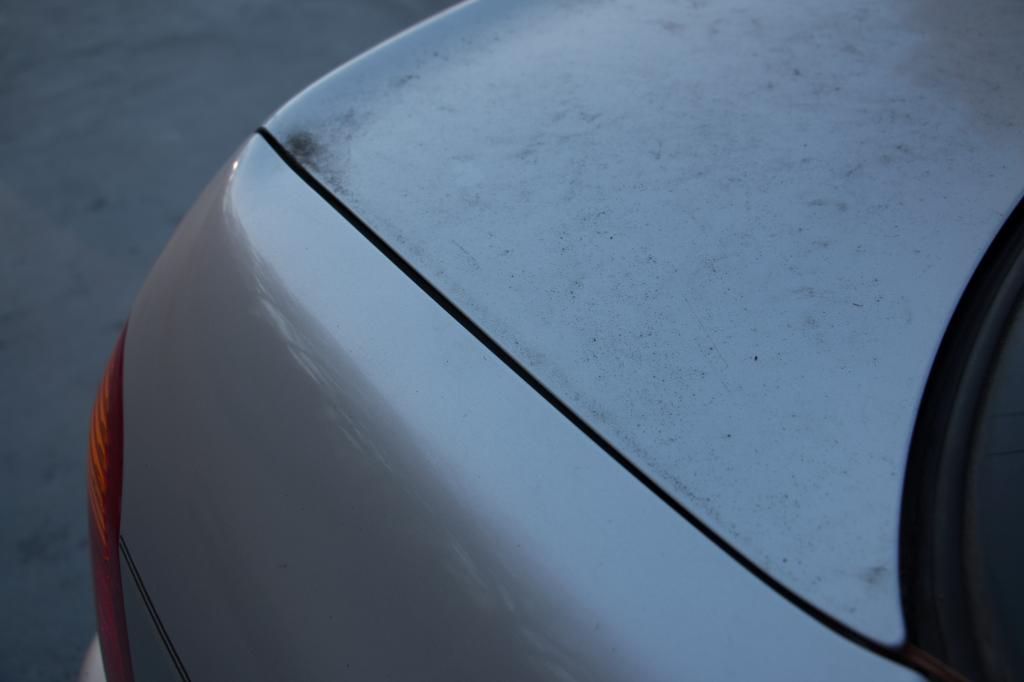
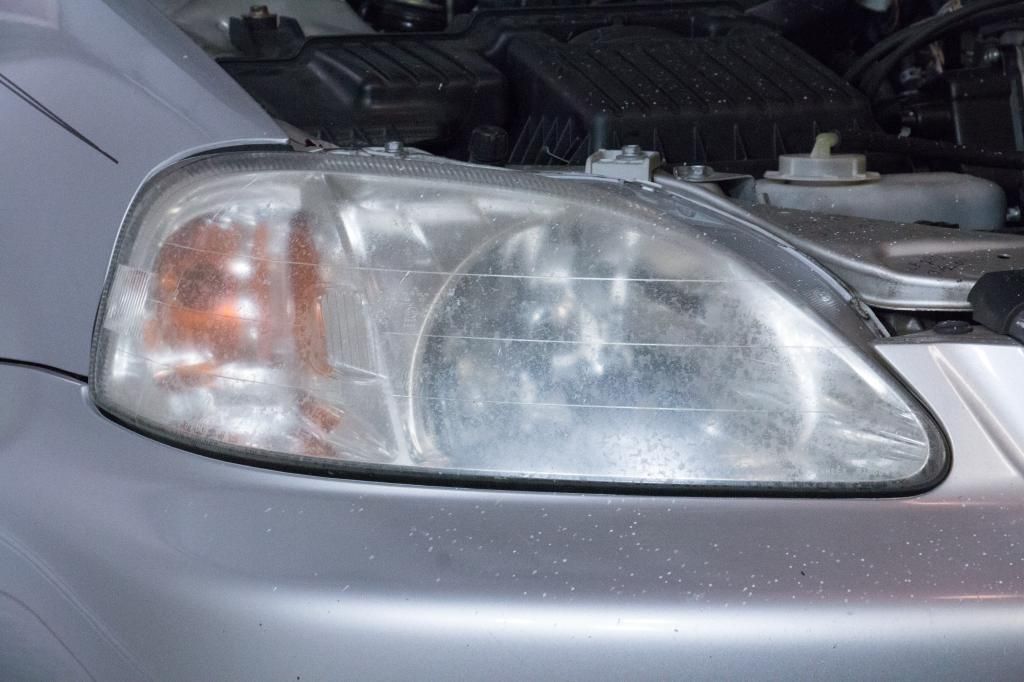
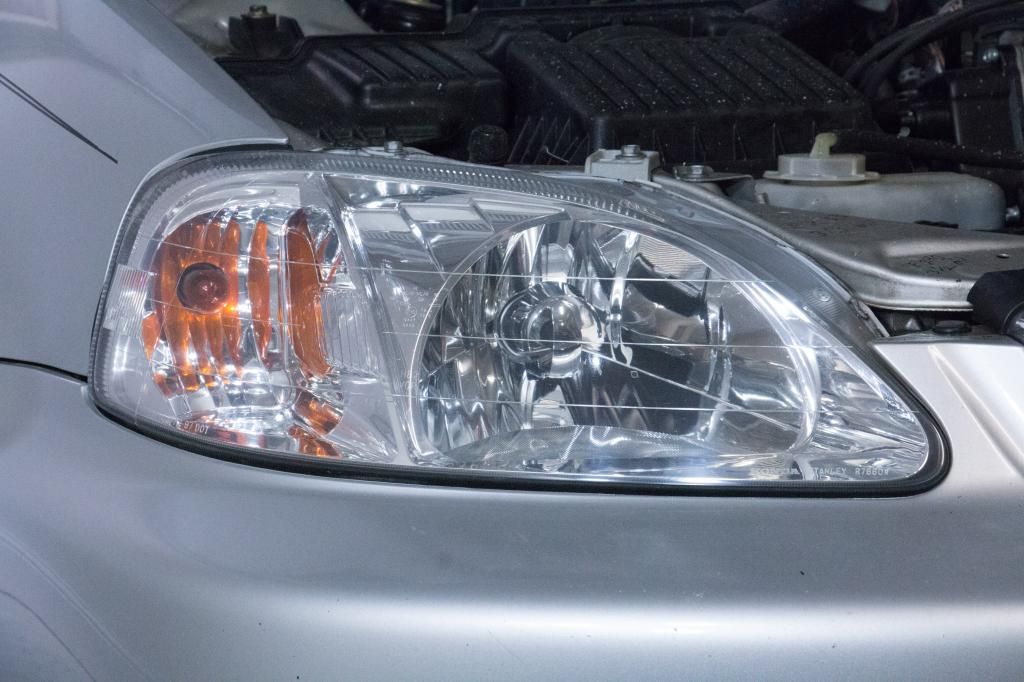
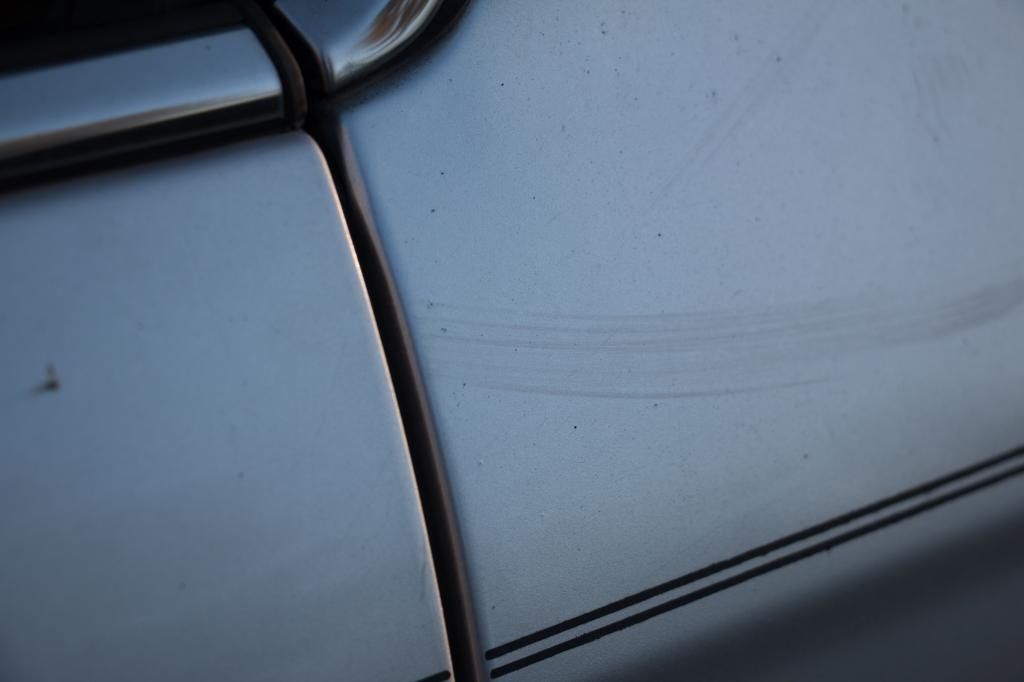
Here you can see the little cracks in the clearcoat.
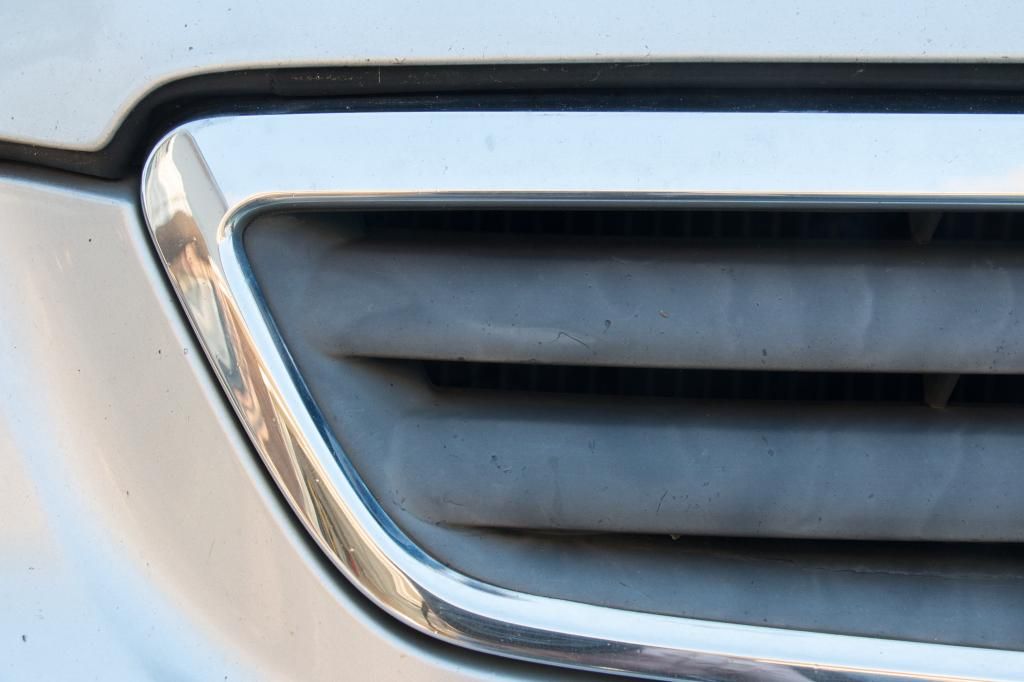
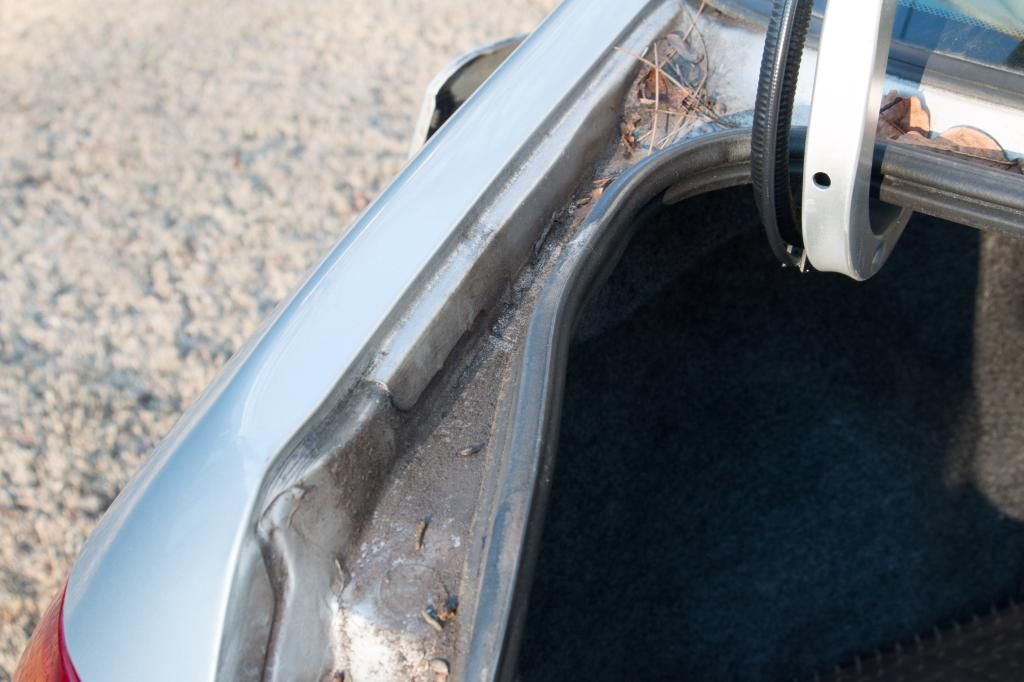
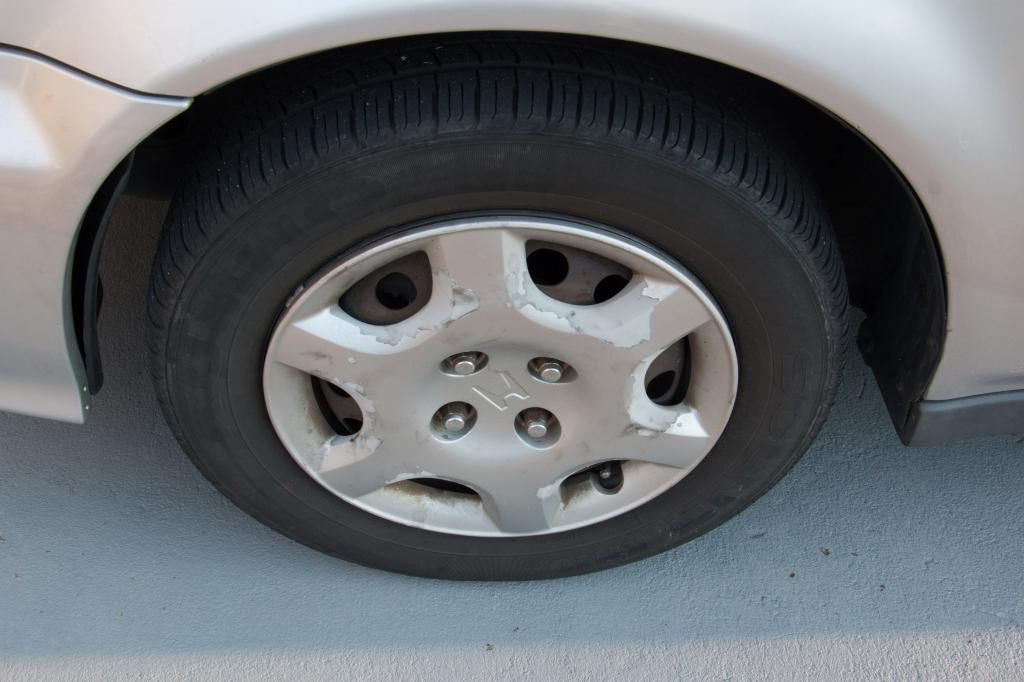
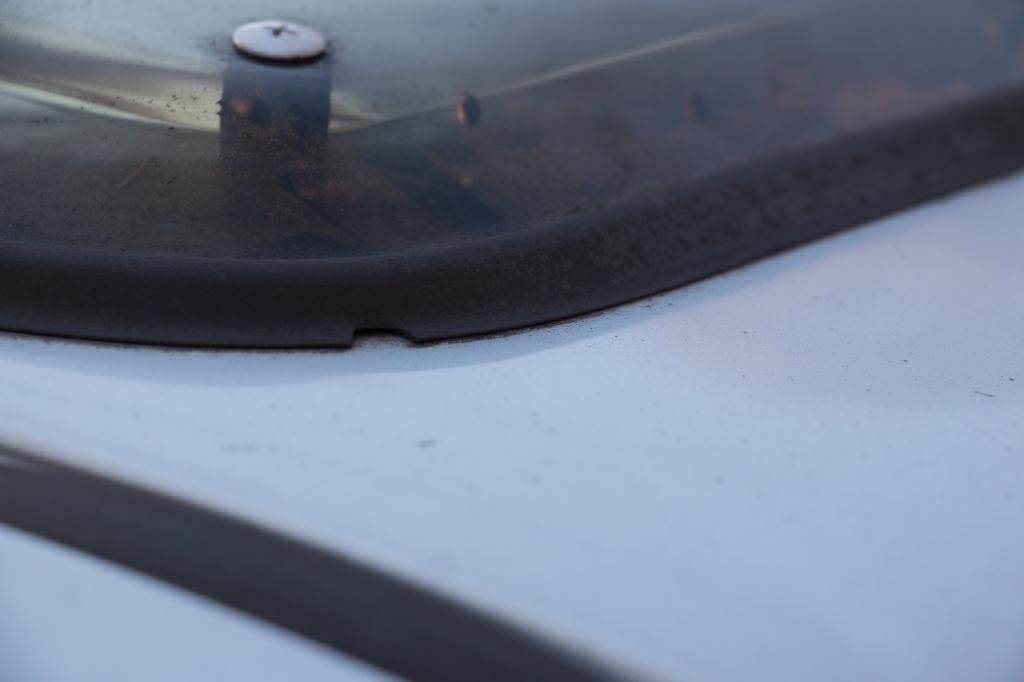
The plastic trim is in dire need of restoration.
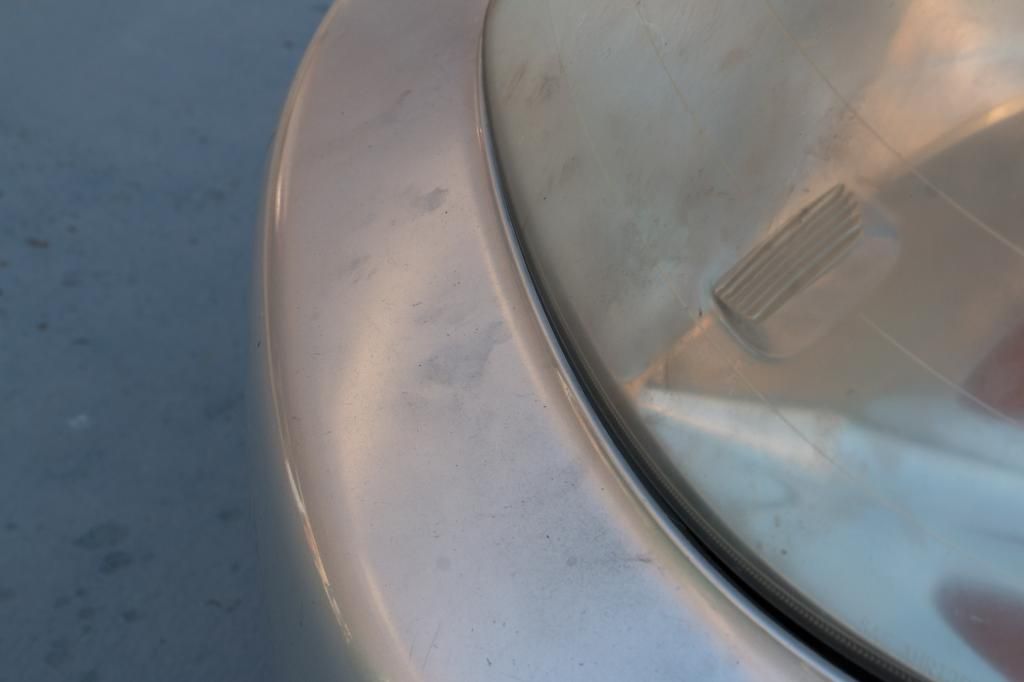
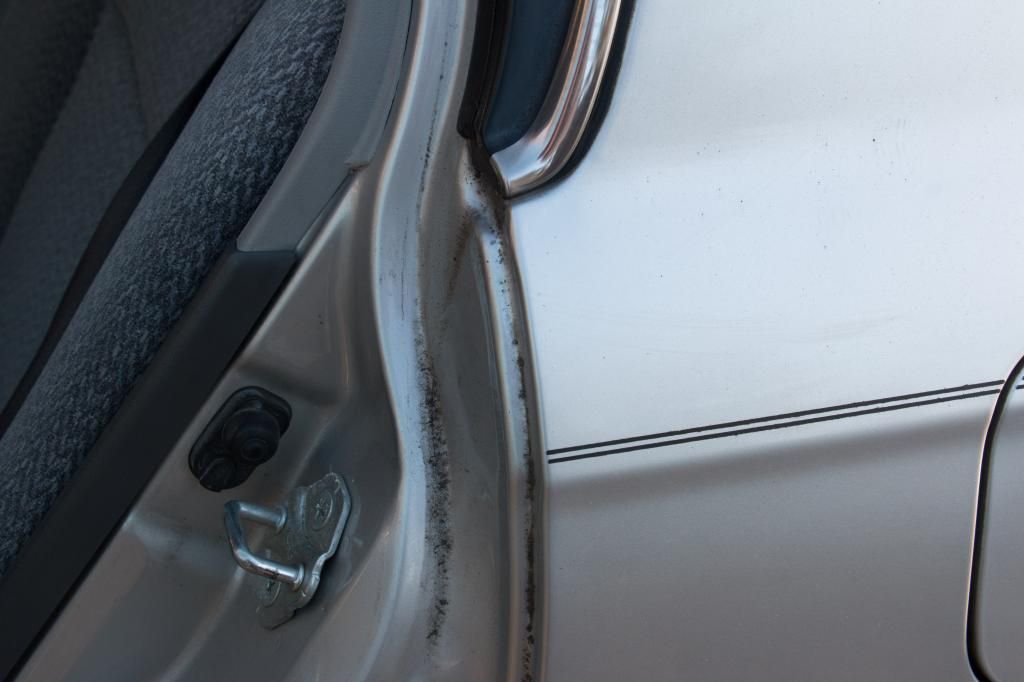
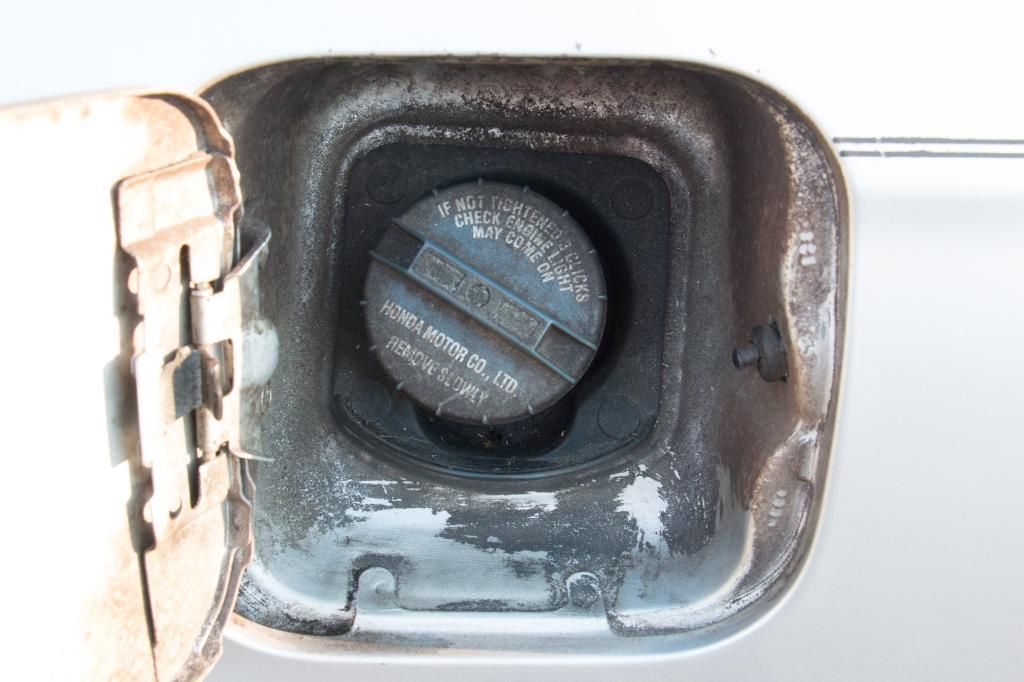
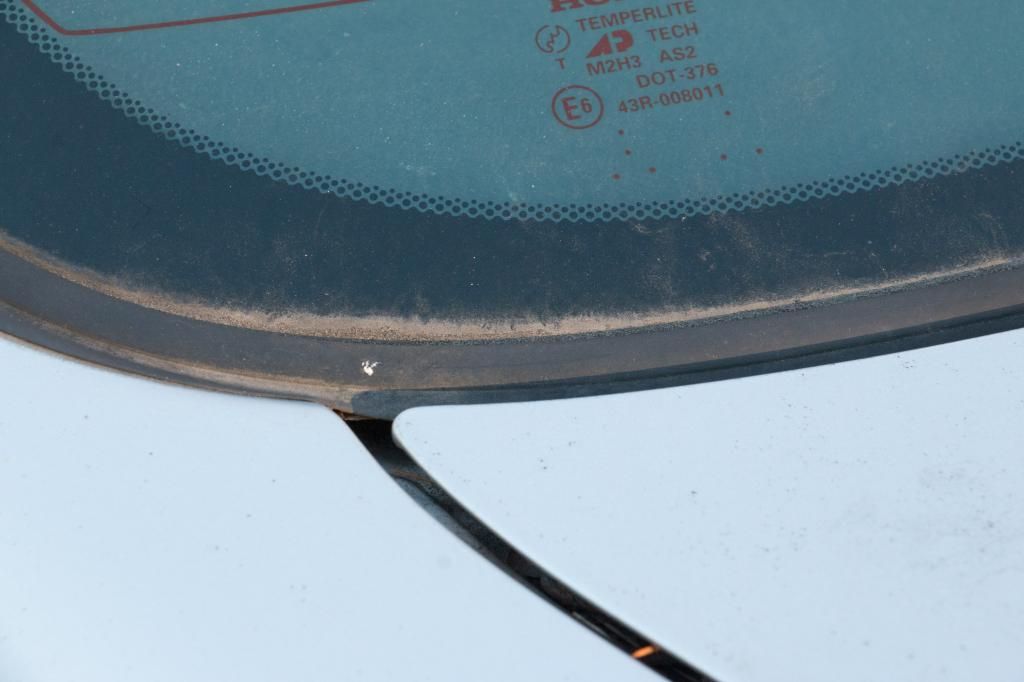
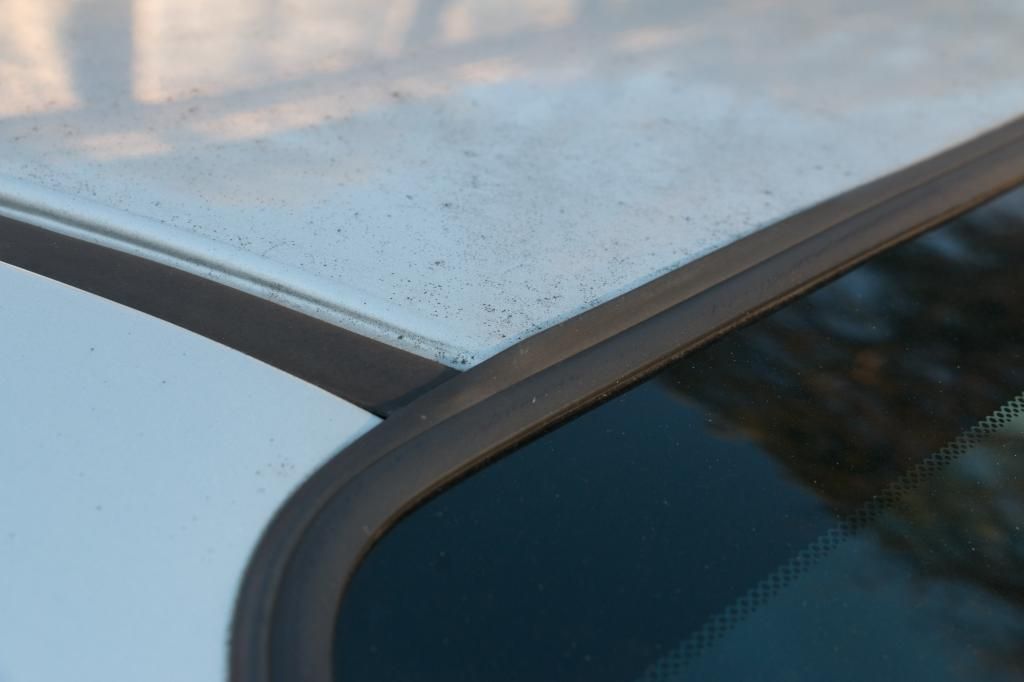
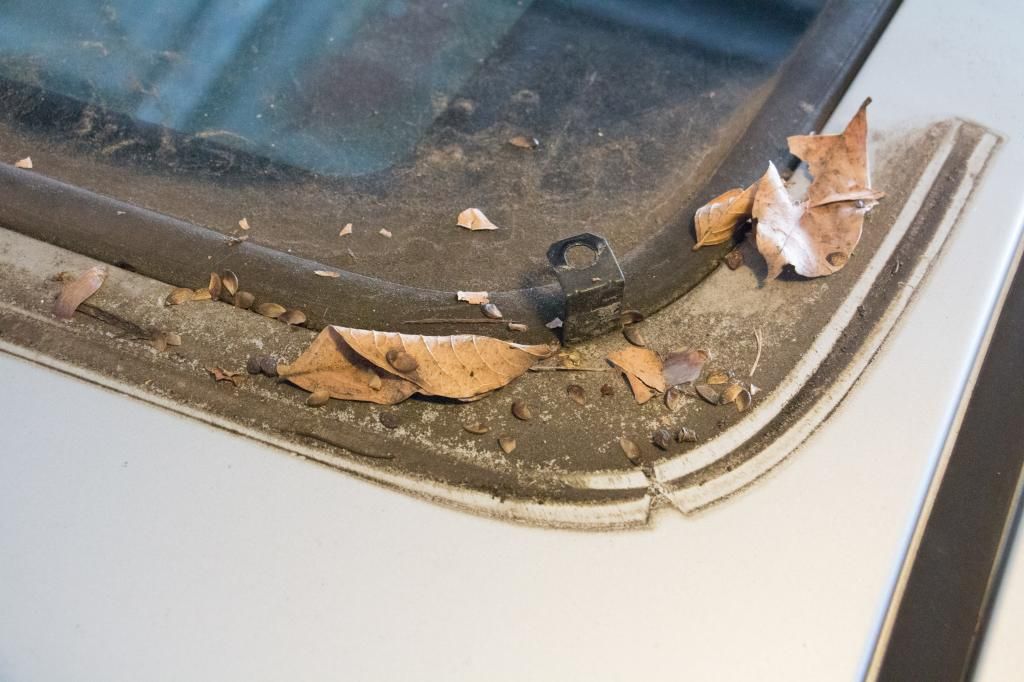
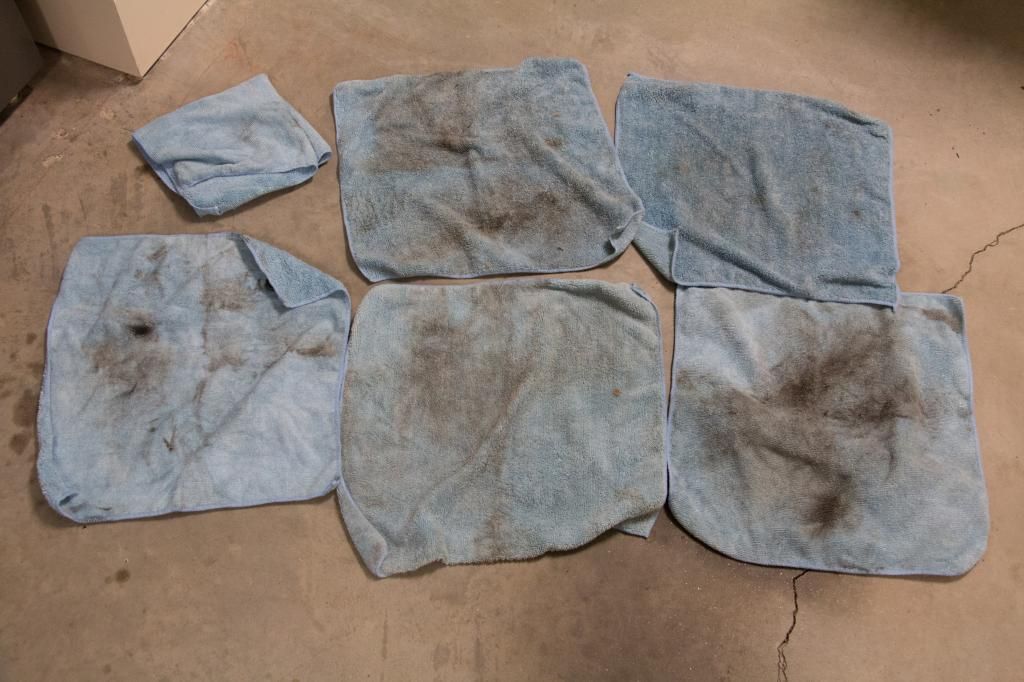
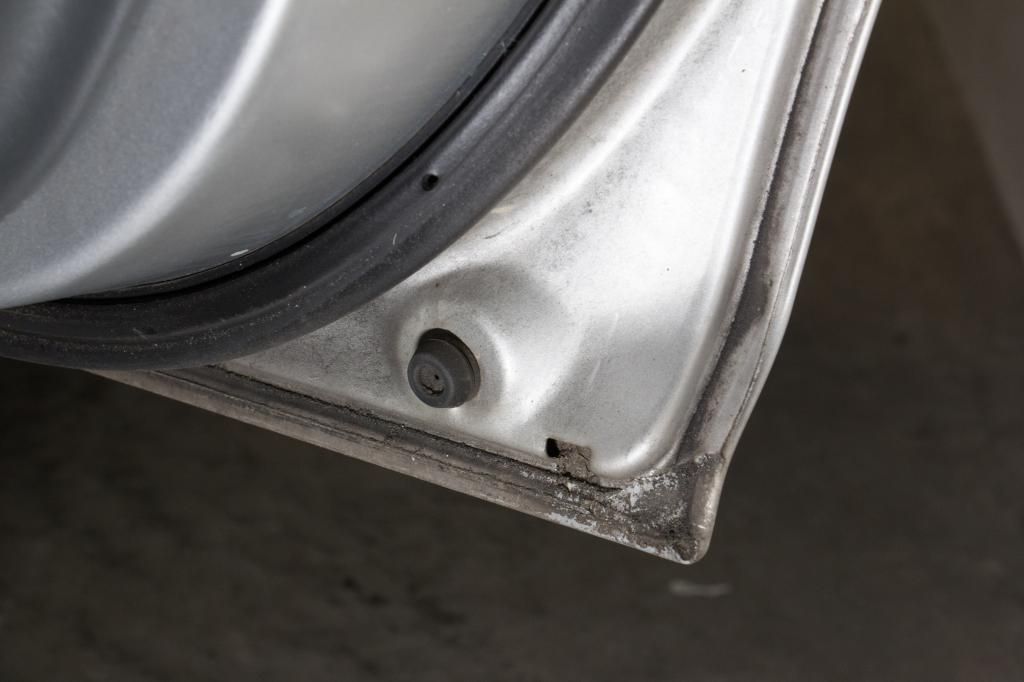
Disgusting!


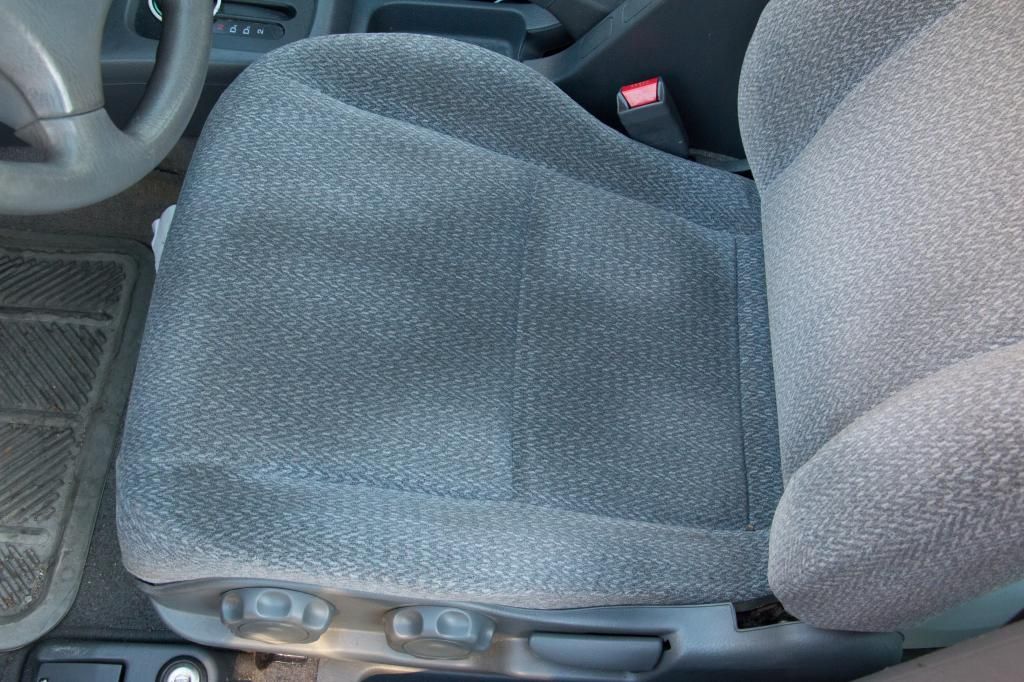
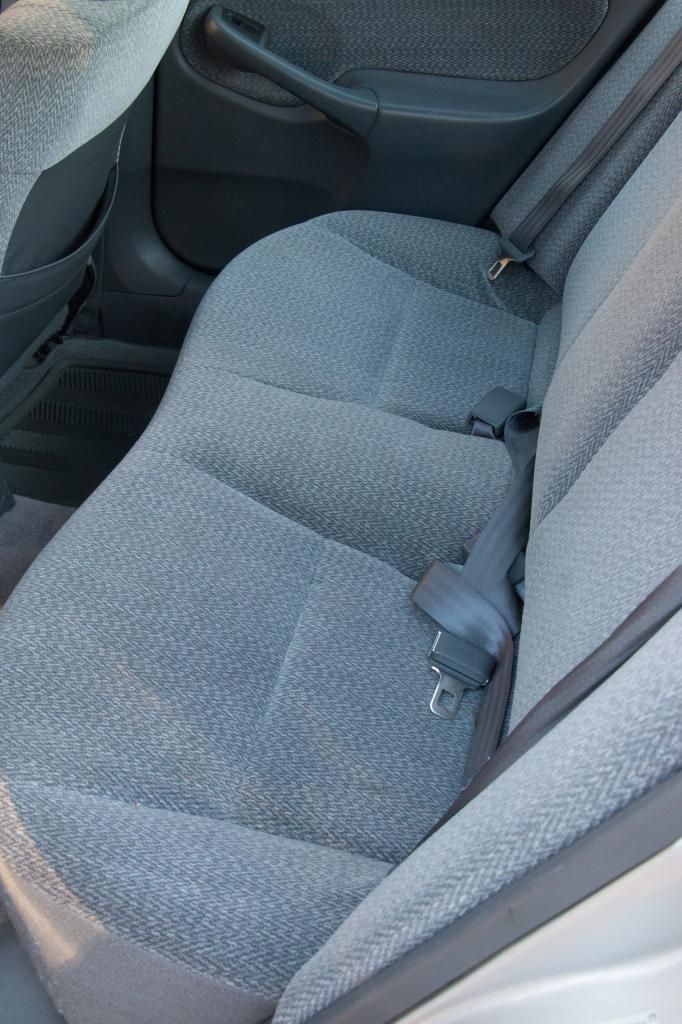
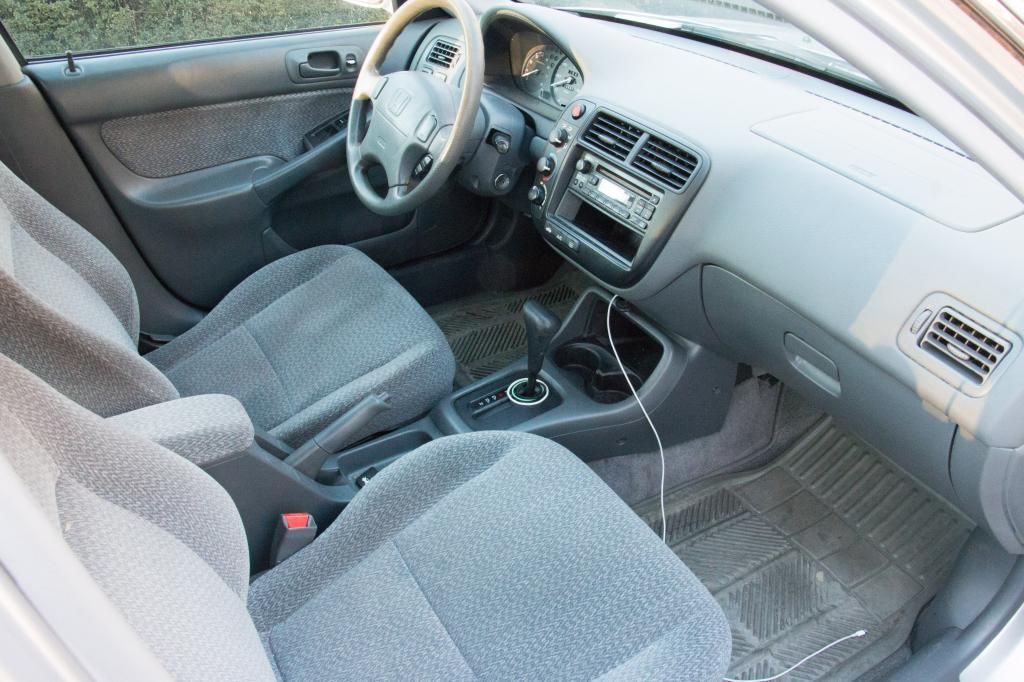
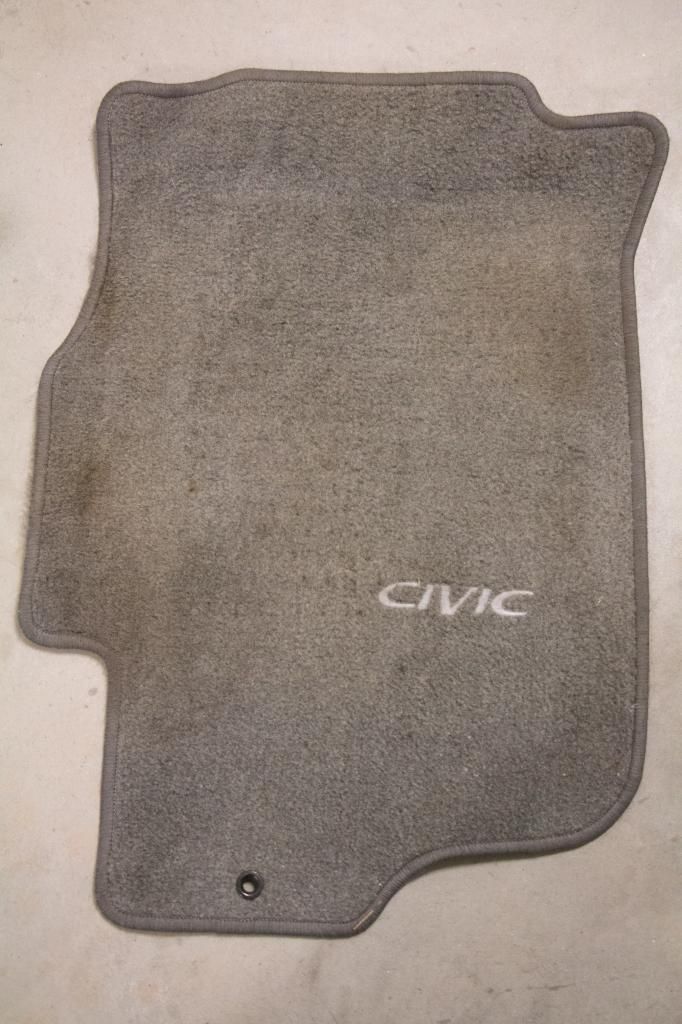
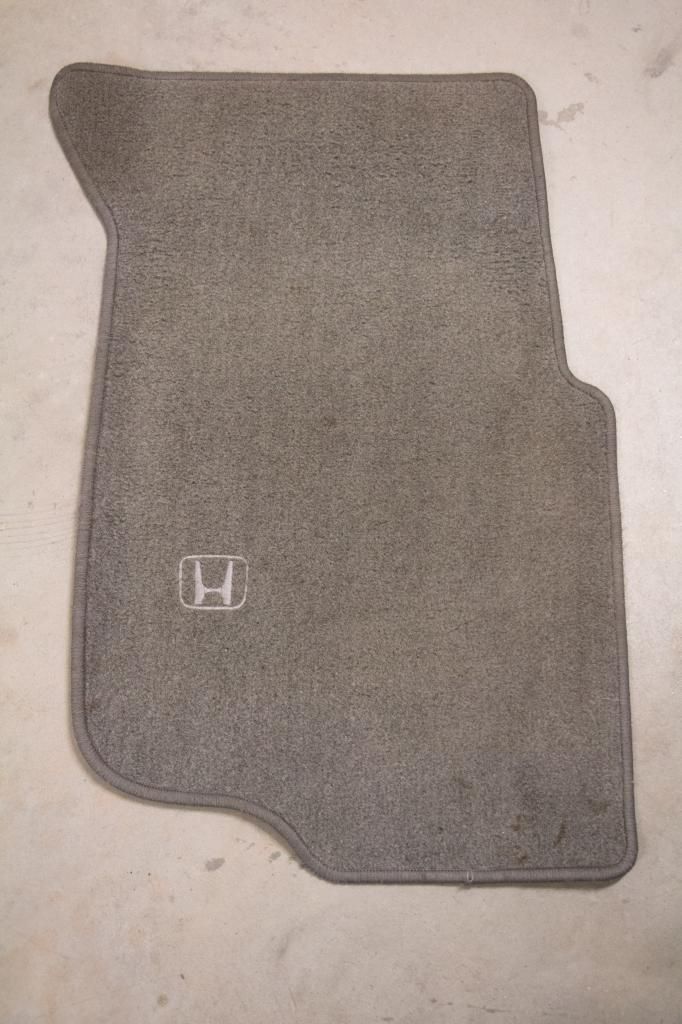
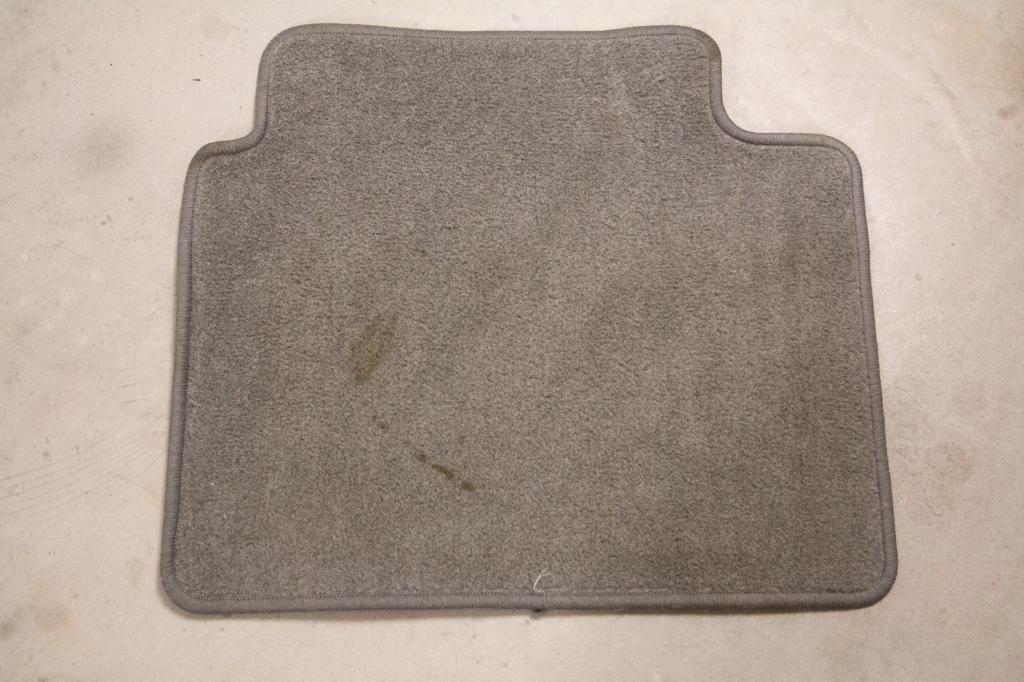
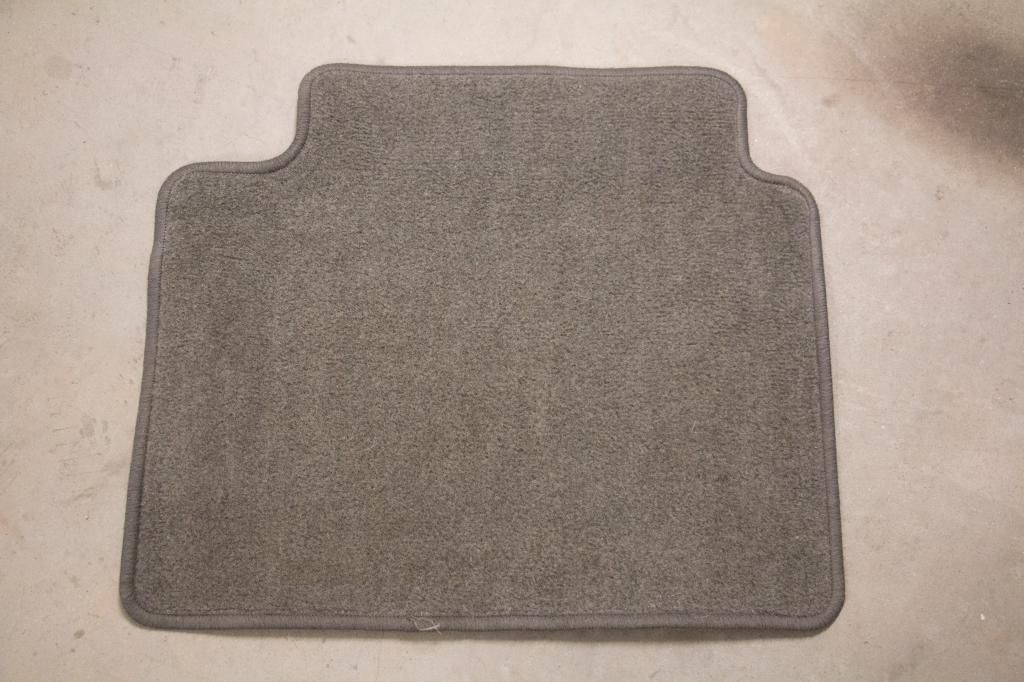
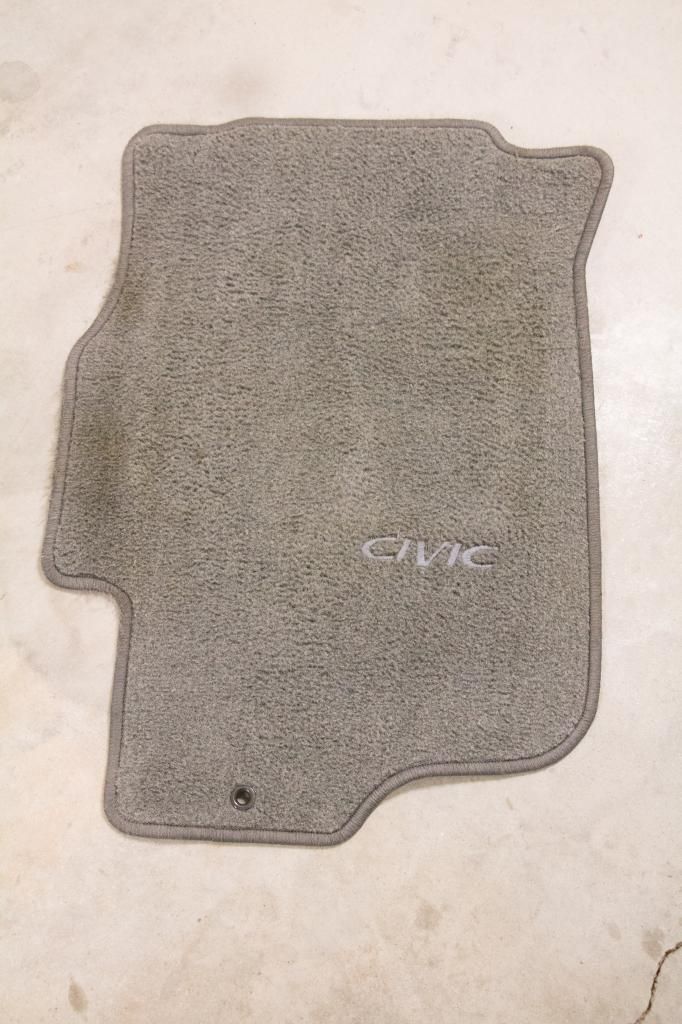
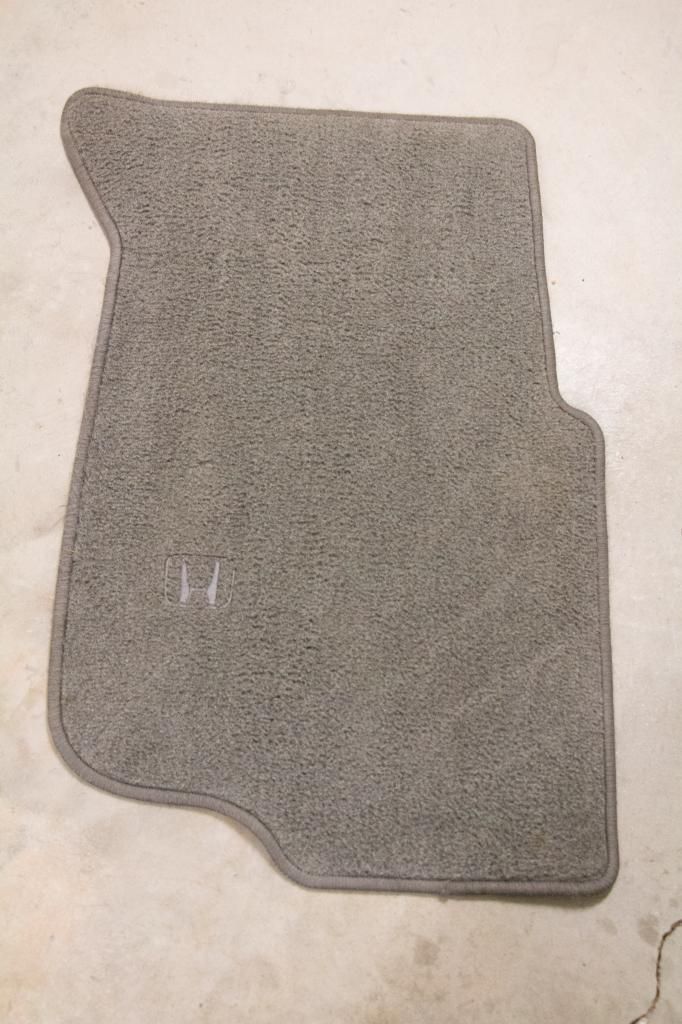
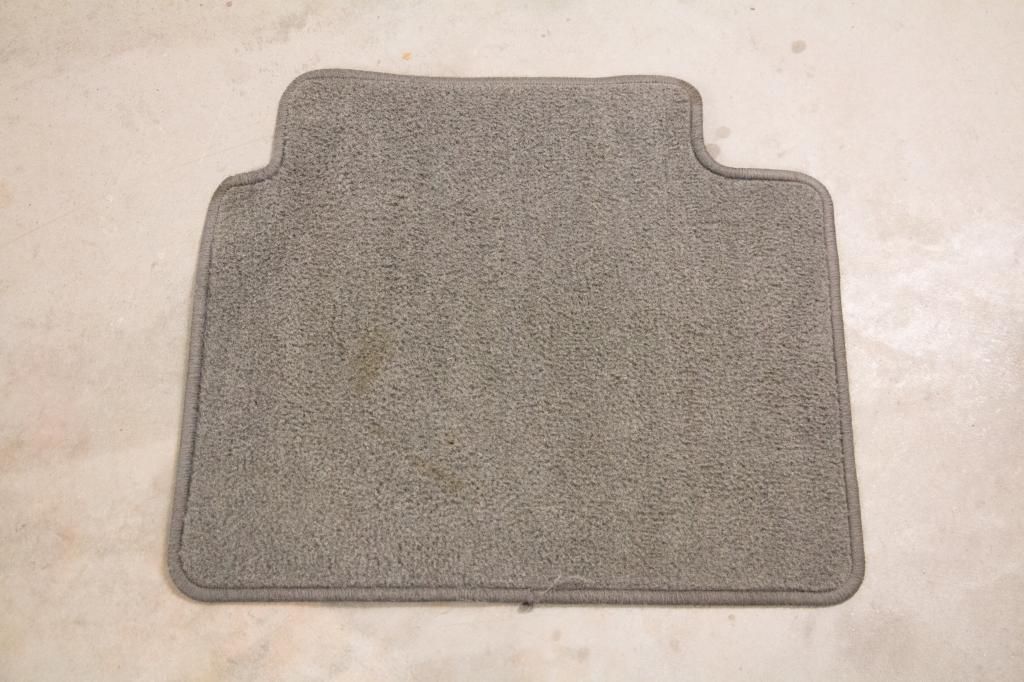
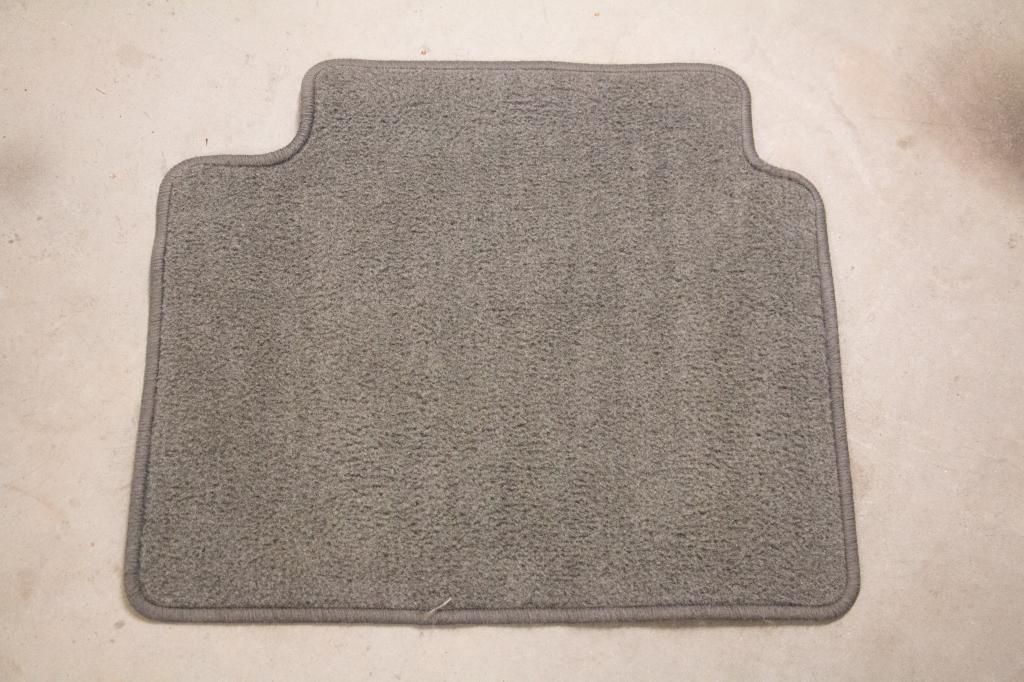
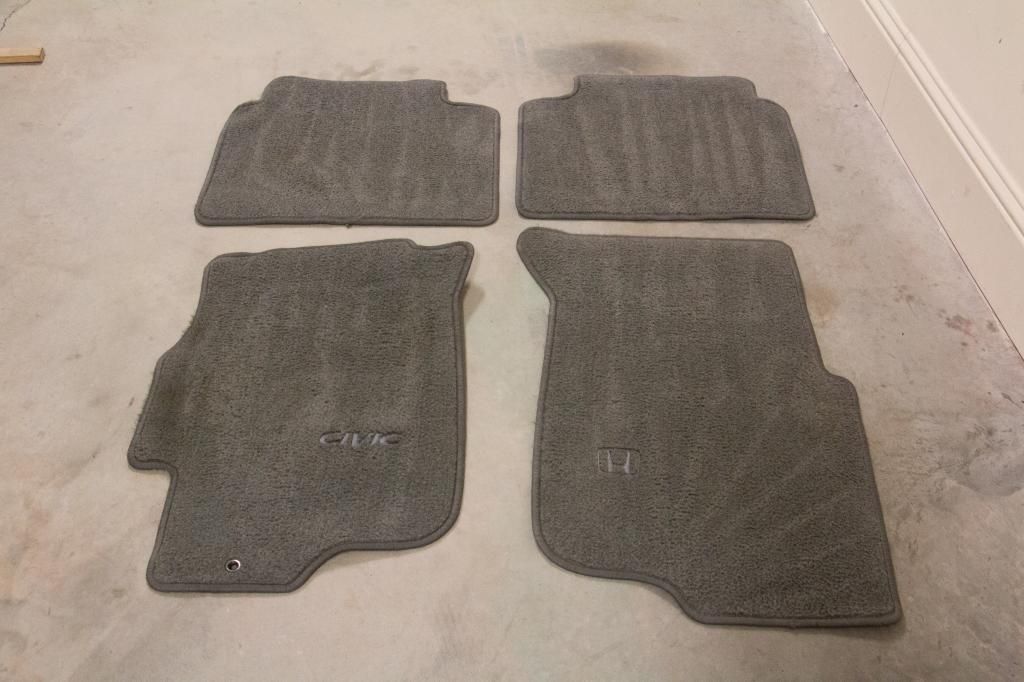
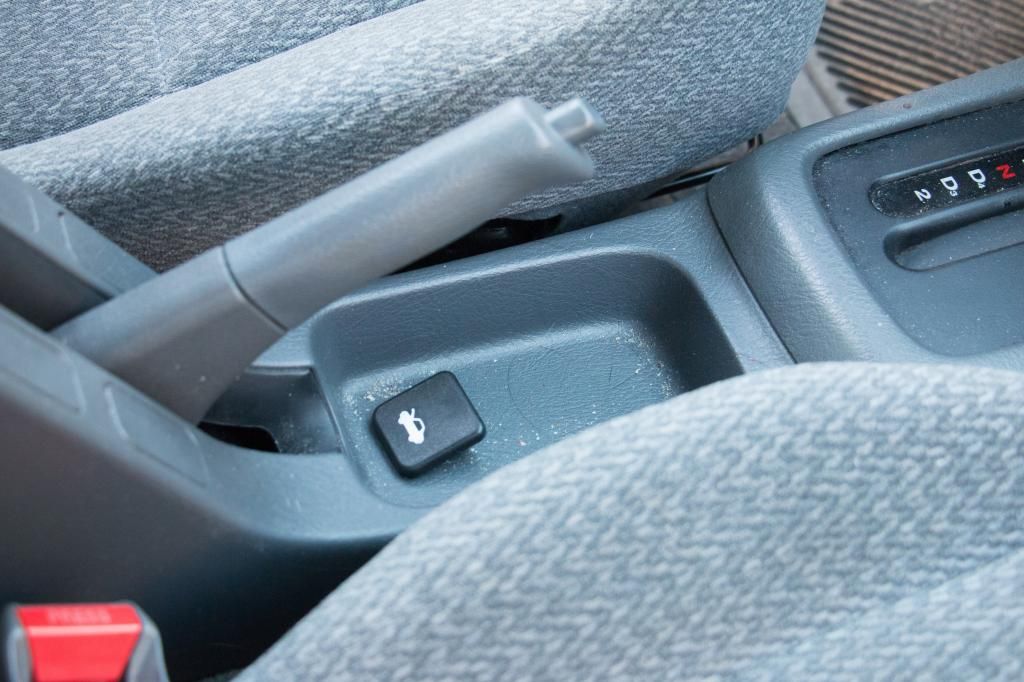
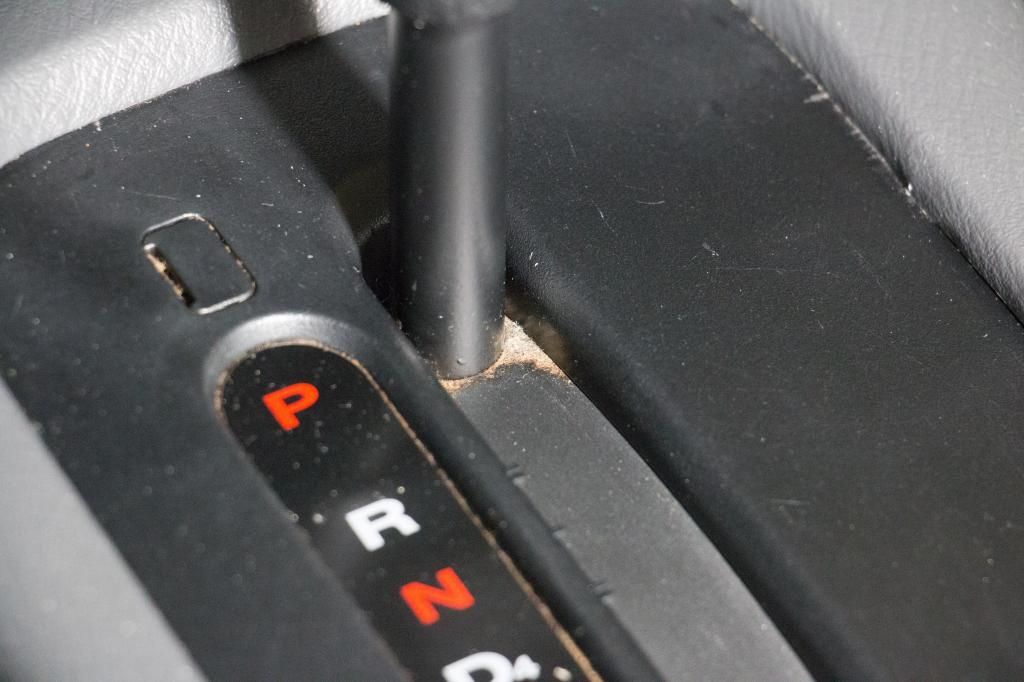
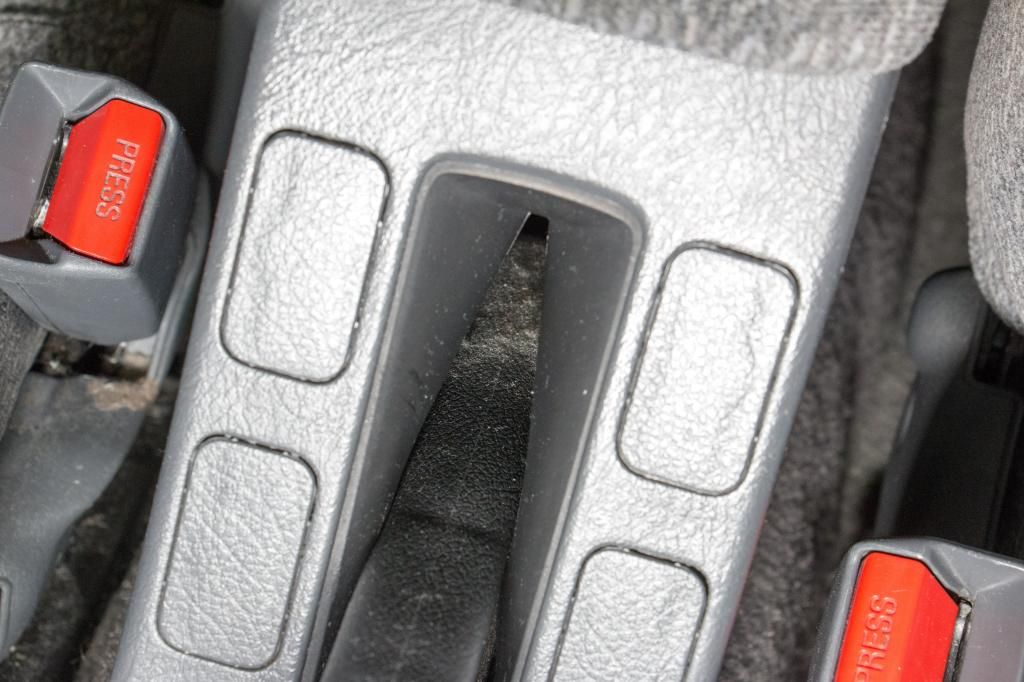
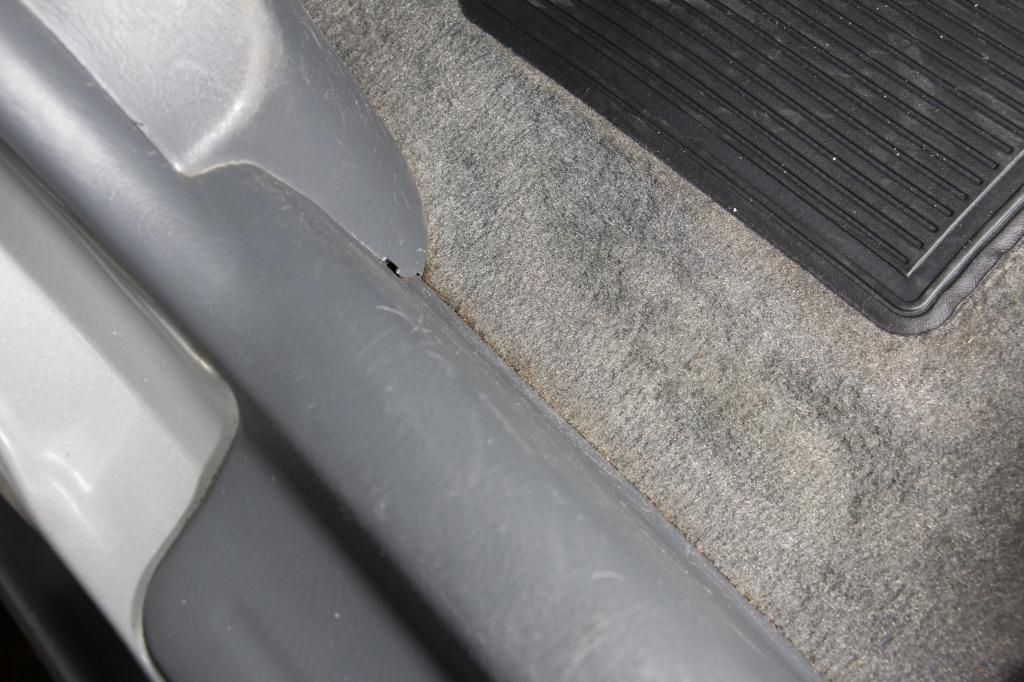
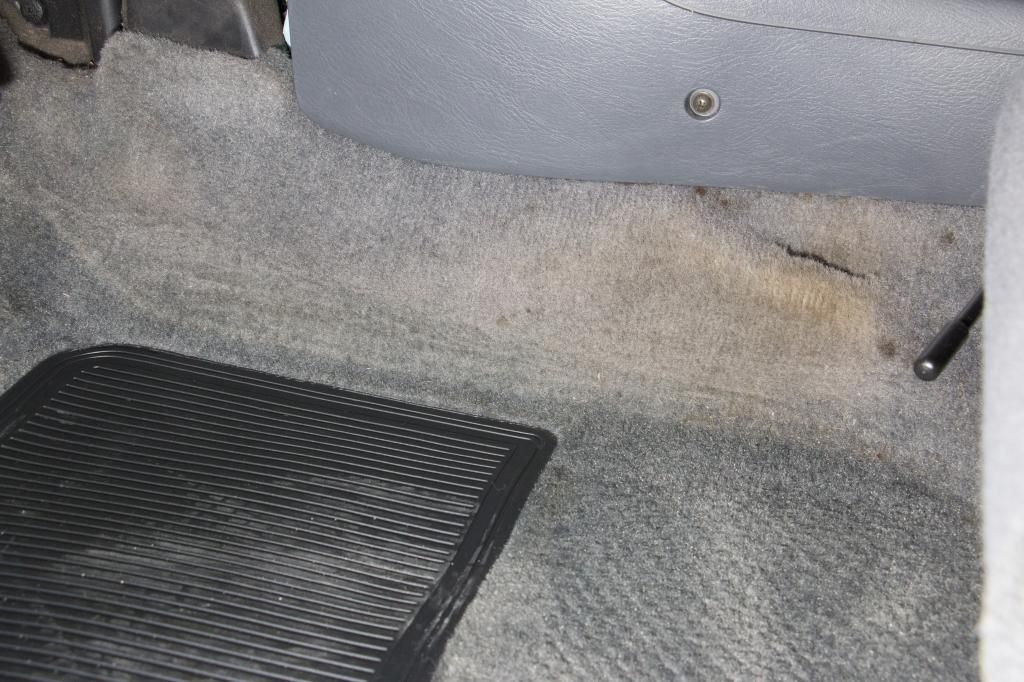
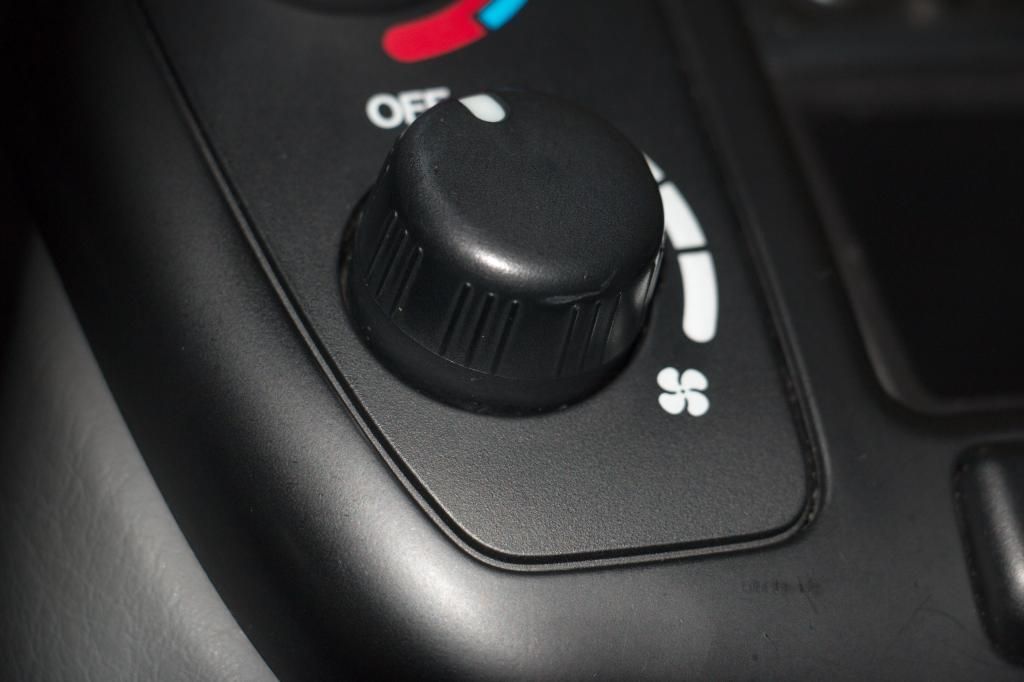
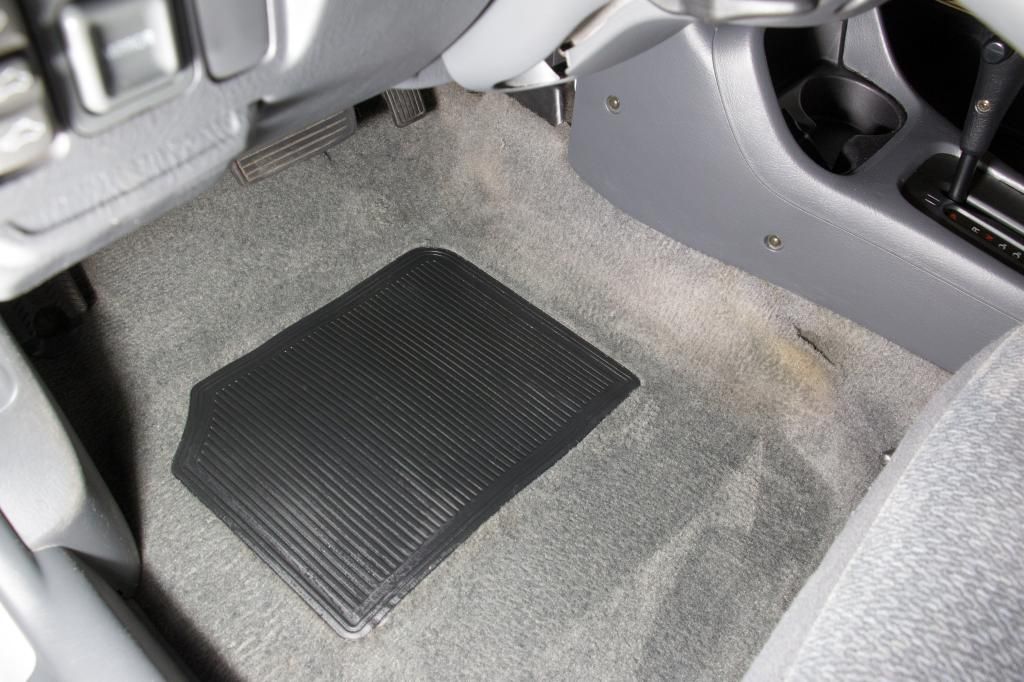
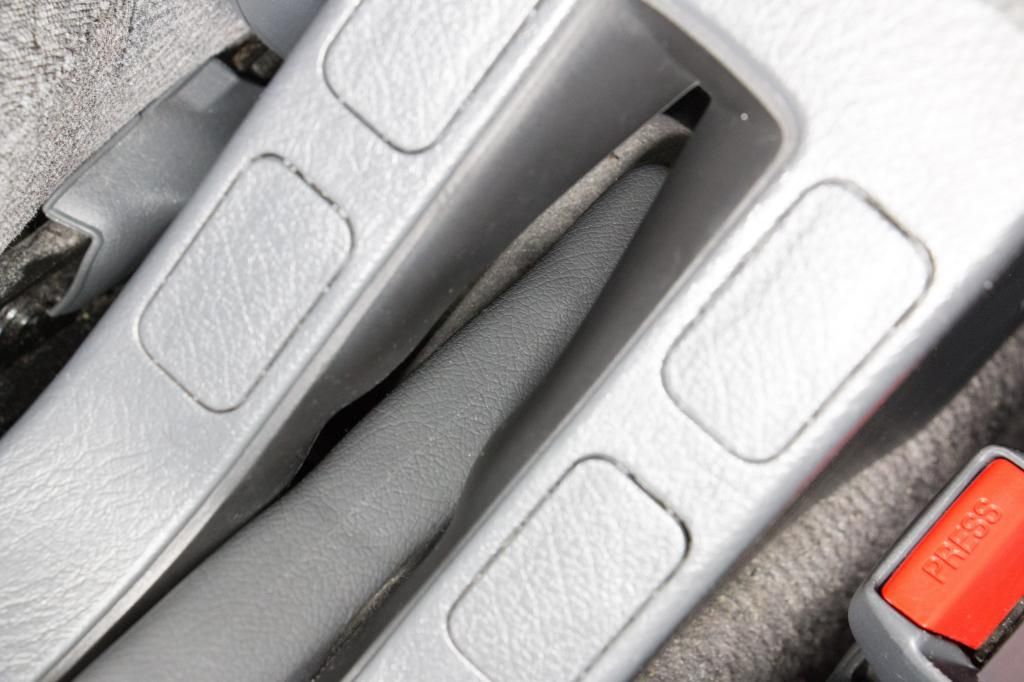
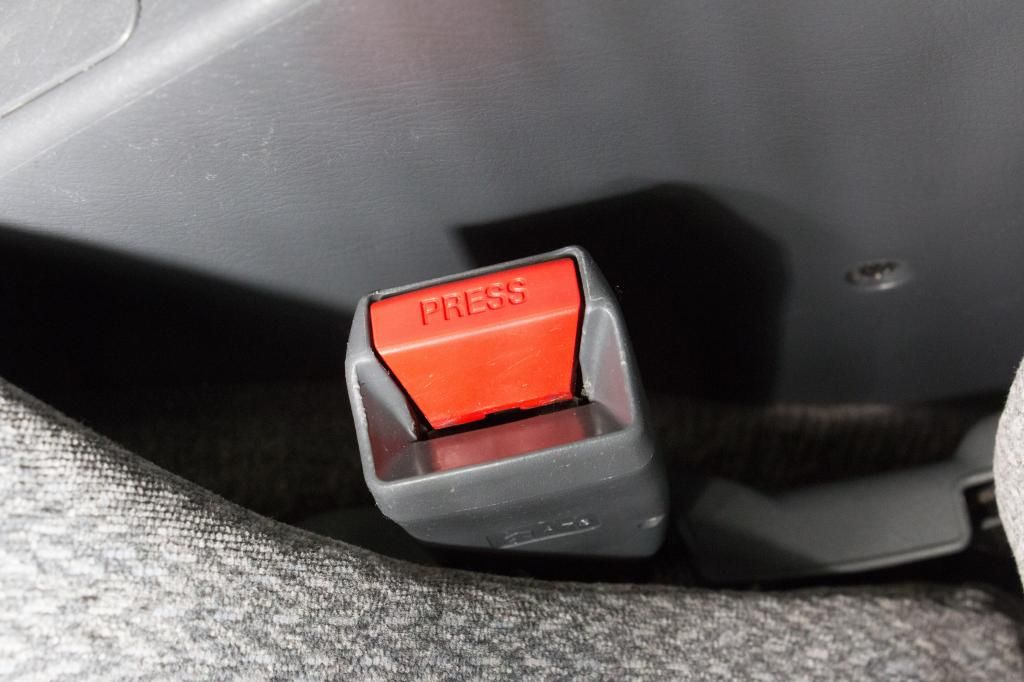
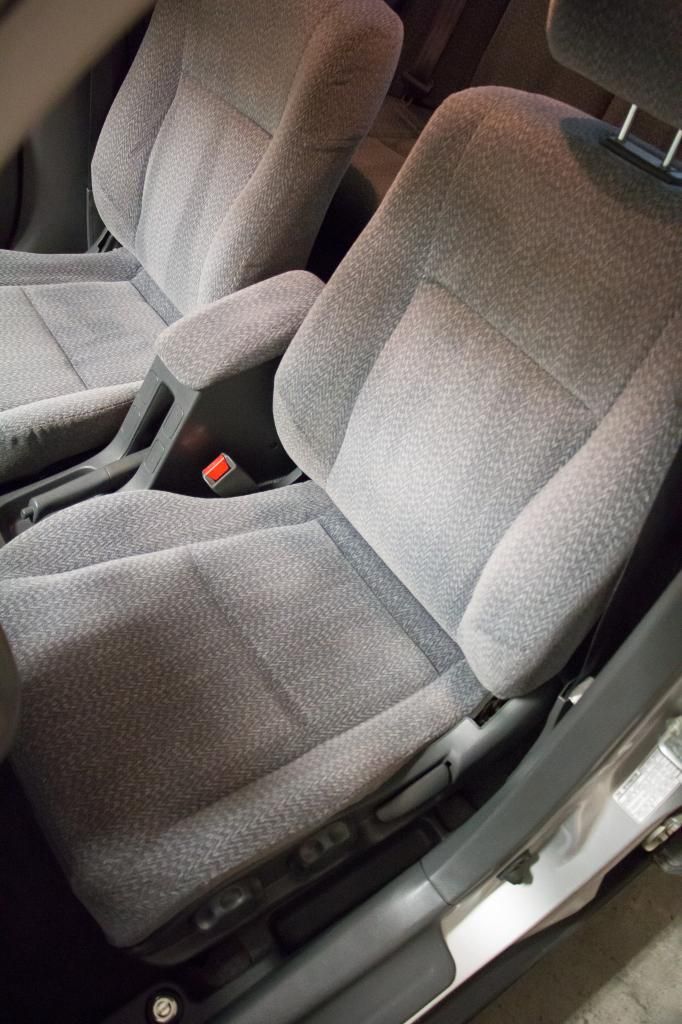
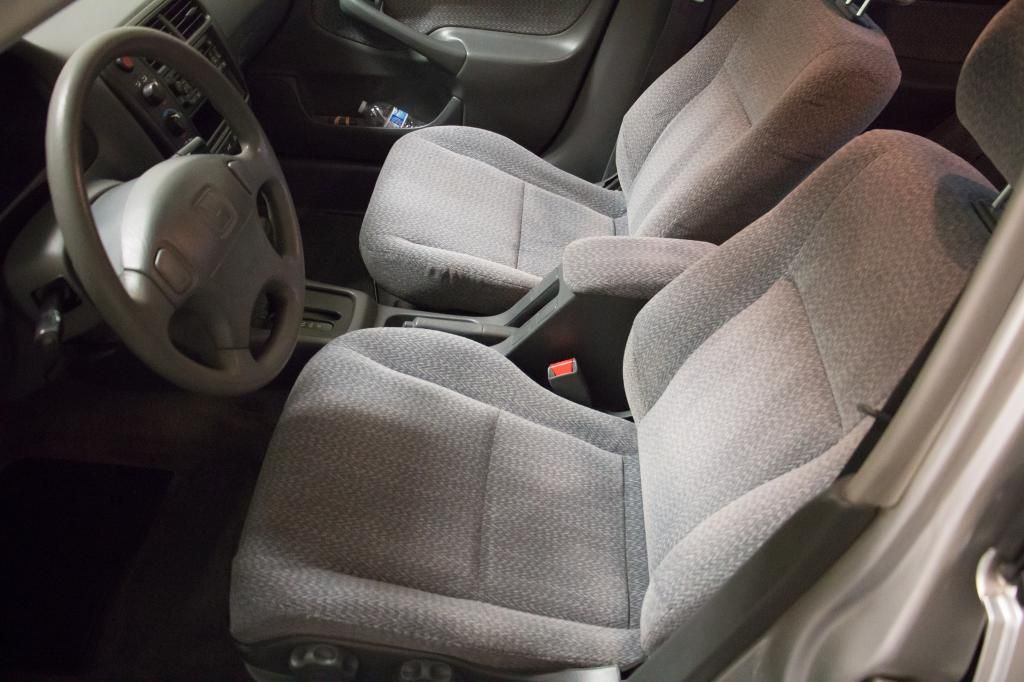
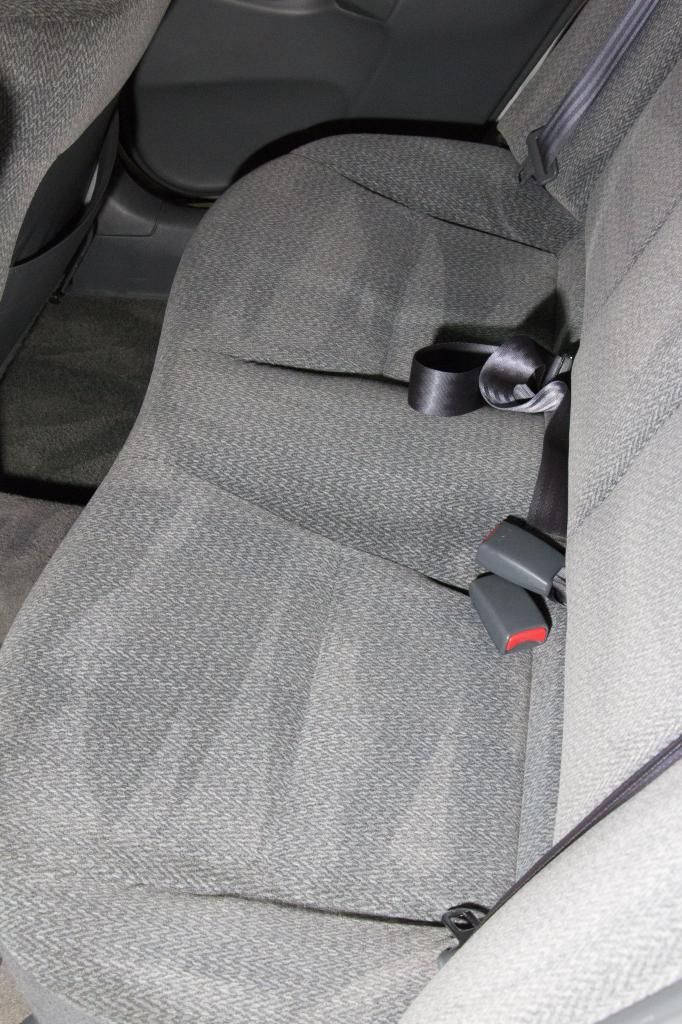
For a 15 year old car, the interior isn't really that bad!
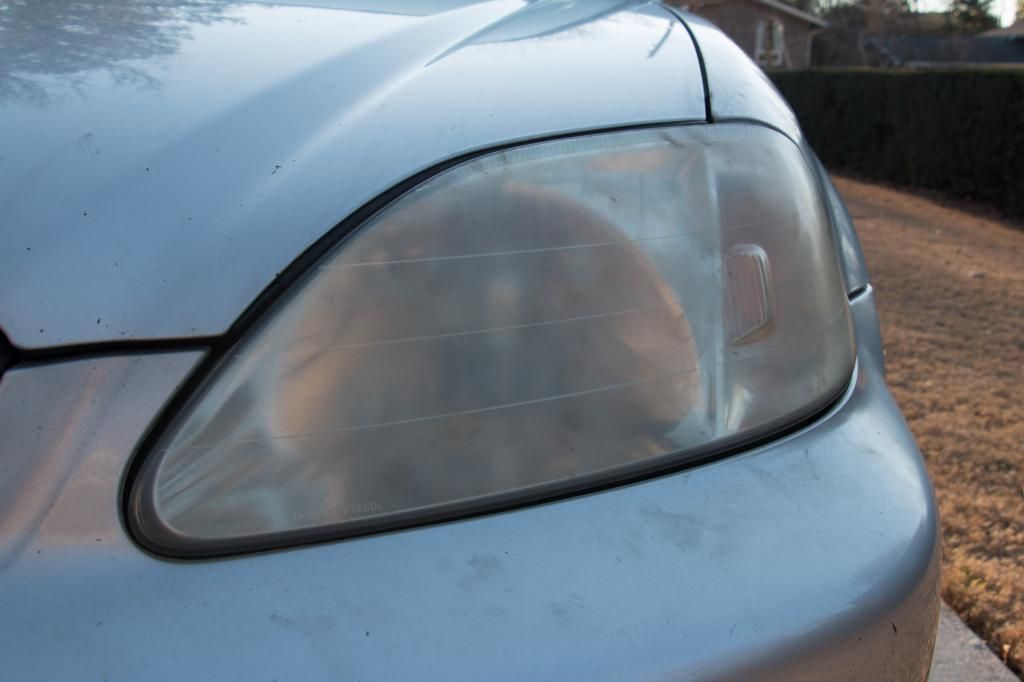
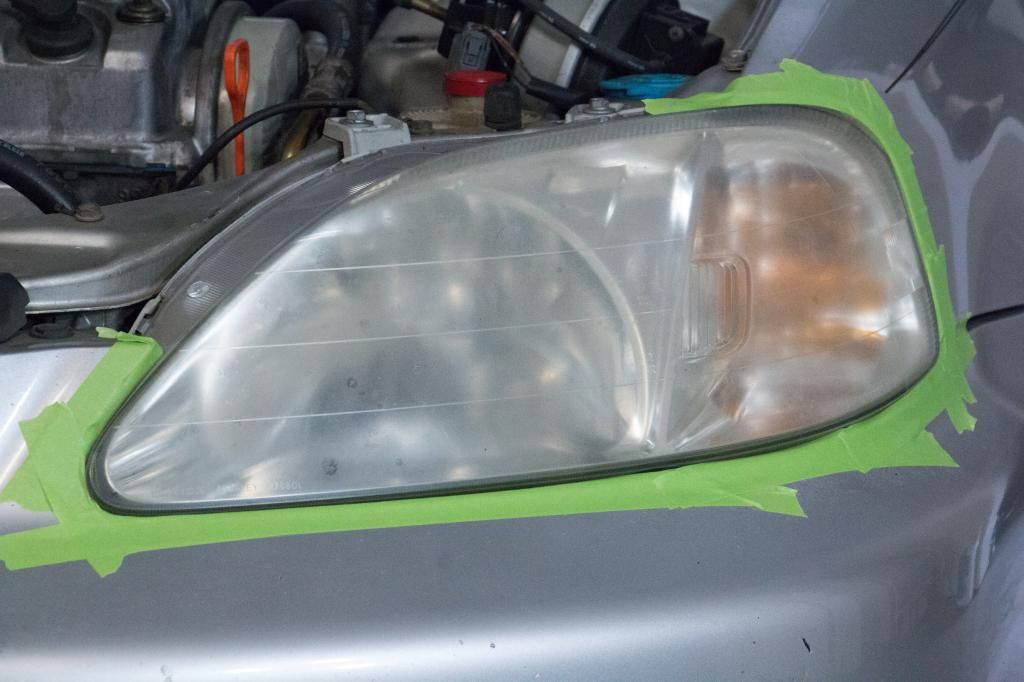
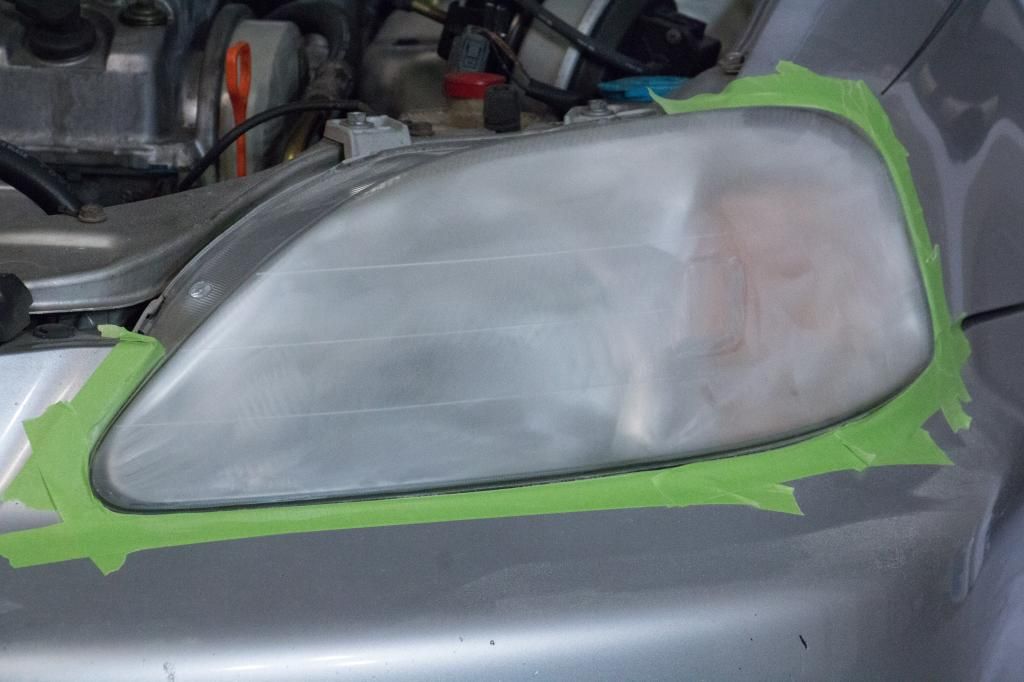
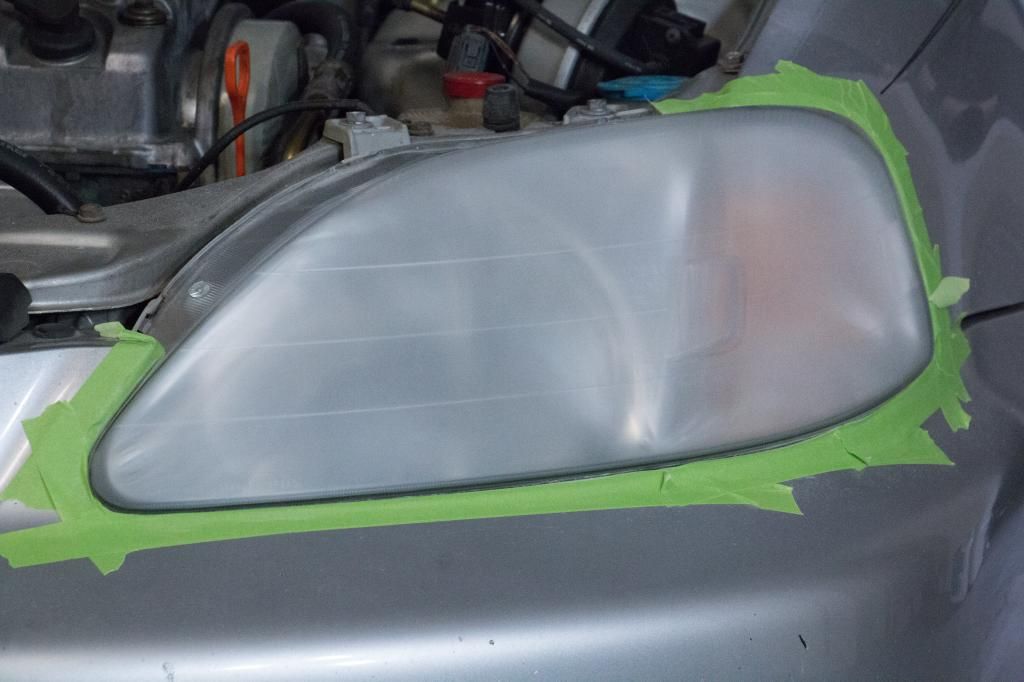
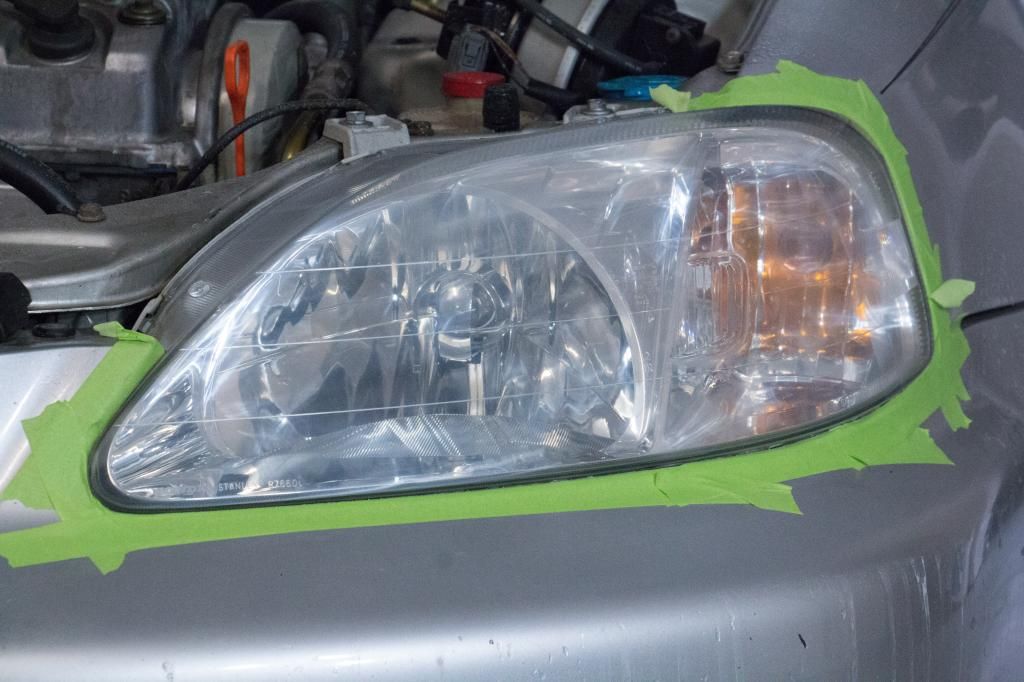
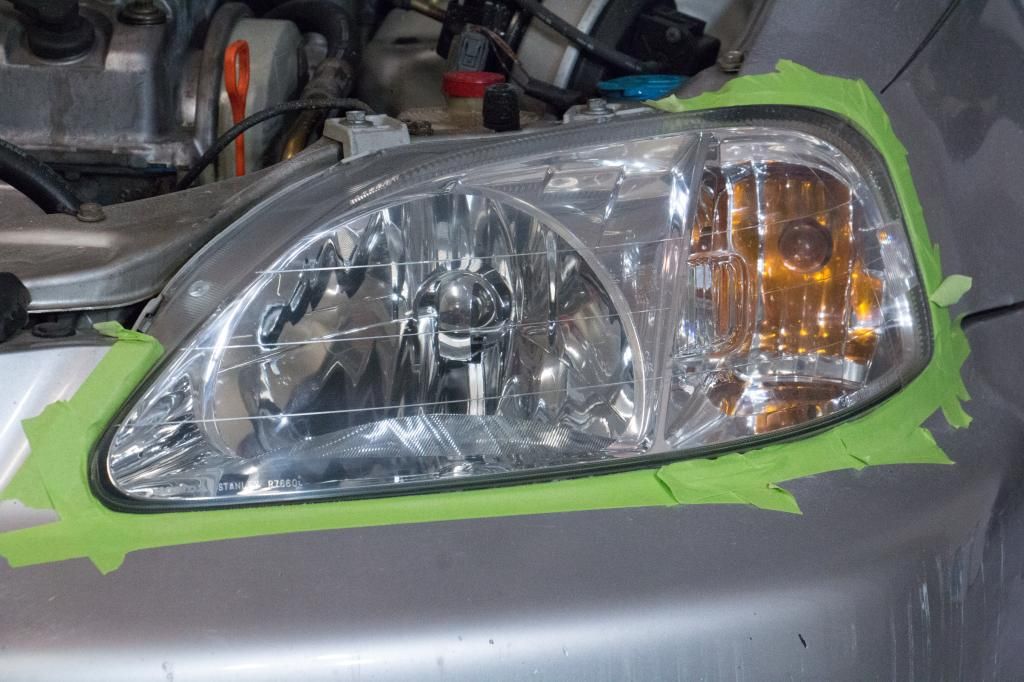
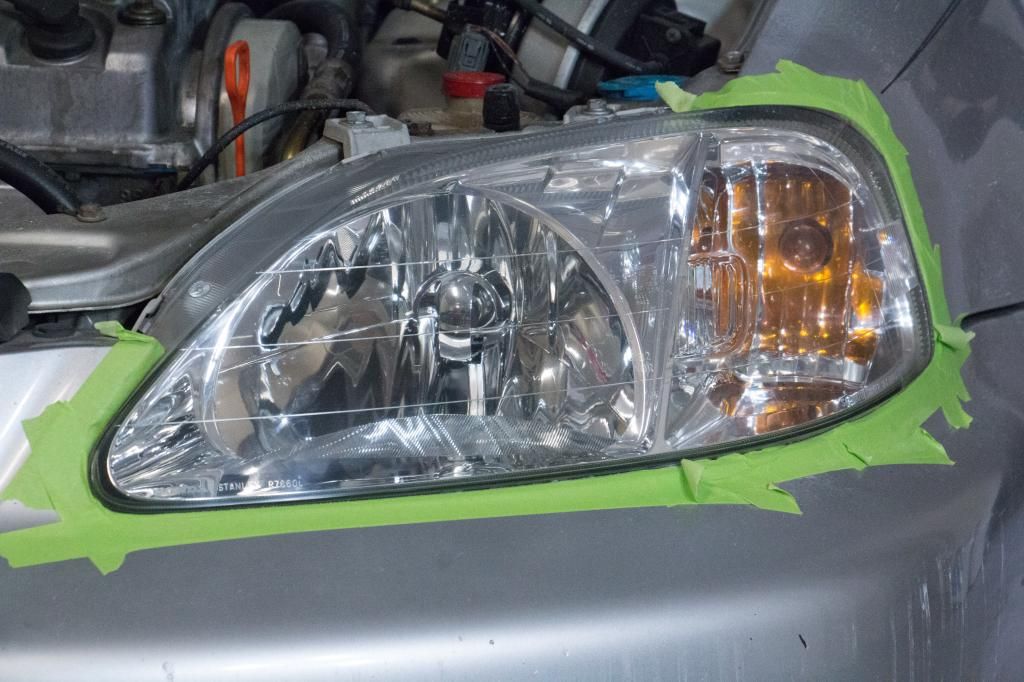
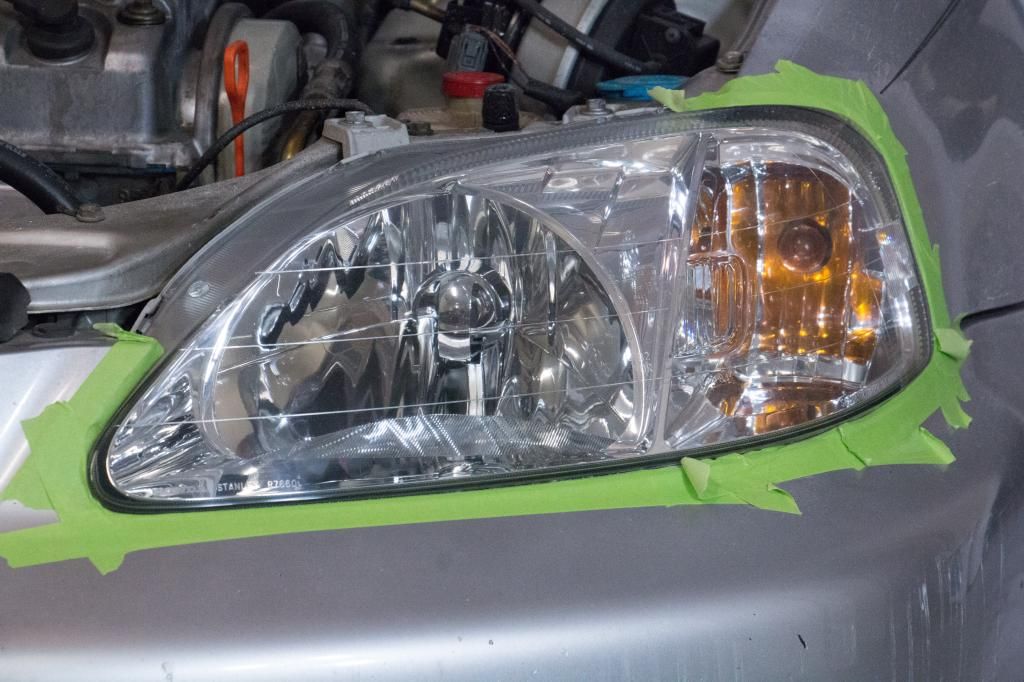
See below for the completion of the first item – Project Headlight Restoration!
My buddy was given this car, a 1999 Honda Civic EX, by his cousin. She was the original owner and it currently has 206,000 miles. Aside from a toasted gearbox (the reason the car was dead when my buddy got it) and a few regular maintenance items that needed attention, the cosmetics left much to be desired.
I’ve been friends with this family, and more specifically, my buddy, for over 25 years. As you can imagine, I am eager to lend a hand on this car. Secretly, I’m very excited about it! Ok, so it isn’t really a secret. They all know how enthusiastic I am to get started on this car. The satisfaction that I expect from completing the various tasks in order to bring this car back to life is huge!! I know that the car has never been garaged and the number of car washes that it has seen in the last 15 years can likely be counted on one hand. I know… horrible.
I have always been interested in the type of car care we all share in this forum, but this car encouraged me to read, read, and read some more. I’ve learned an enormous amount of information over the last couple of weeks. Thank you to everyone on this forum for sharing their knowledge, tips, advice, and encouragement.
This will be a thread/journal that tracks and shares the progress of this vehicle as I tackle the many projects of neglect, in no particular order at this time:
- Headlight restoration
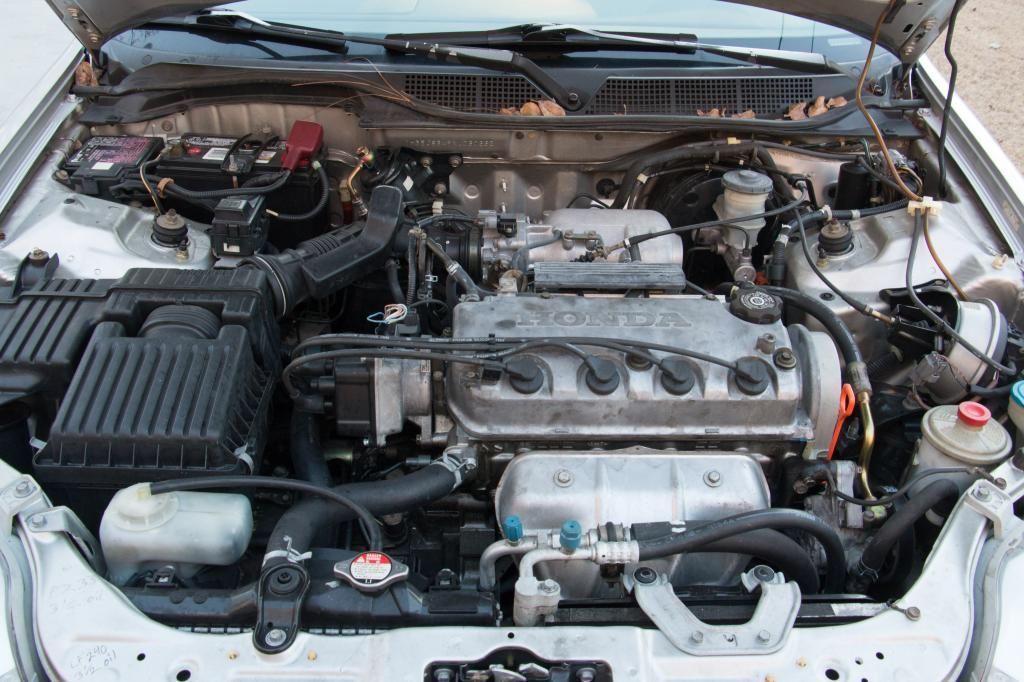
- Engine compartment cleaning and detail
- Exterior cleaning and correction, including OPT Ferrex, Pinnacle XMT #3, XMT 360, plastic trim restoration, and much more
- Interior cleaning and detail
- Wheel cover estoration
- MORE TO COME, I’m sure…
Here you can see the little cracks in the clearcoat.
The plastic trim is in dire need of restoration.
Disgusting!
For a 15 year old car, the interior isn't really that bad!
See below for the completion of the first item – Project Headlight Restoration!


")