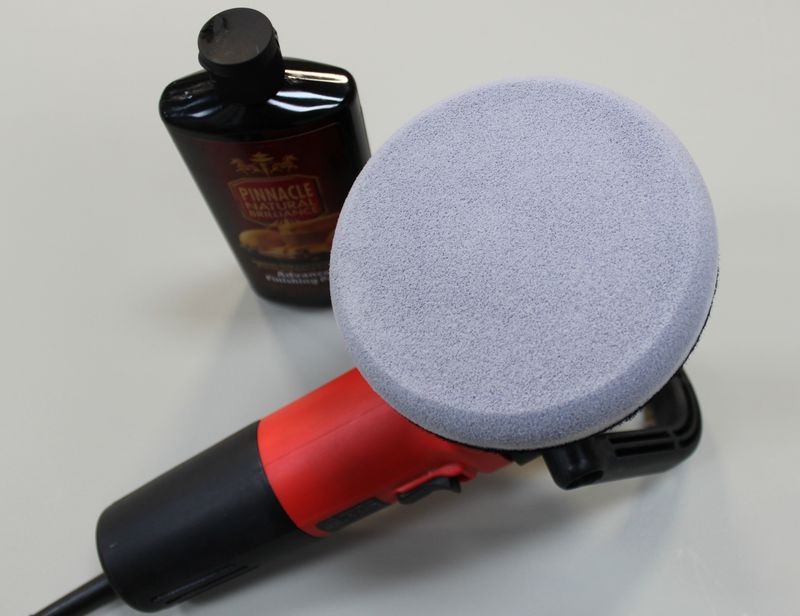
Thanks Mike, we have a 69 442 that should be painted in the next week or two and this Meguiars 305 will be perfect to break in my brand new Flex XC 3401.
Be sure to use a soft foam finishing pad. Prime the pad too before use, like I show here,
How to prime a foam pad when using a DA Polisher
Here are 3 ways to apply product to your pad.
1. Priming the pad then adding product to work with
Priming a clean, dry pad is considered the best approach for using a DA Polisher because it ensures that 100% of the working surface of the pad is wet with product and working at maximum efficiency when you turn the polisher on. I originally learned of this technique from my friend Kevin Brown.
Priming the pad also ensures that you don't have any dry portion of the pad working over the paint un-lubricated. This really isn't a risk because since you're just starting out you're going to be removing defects a lot more serious than would be caused by any portion of the pad that is dry and spinning against the paint.
Plus, after just a few passes, the product you apply to specific areas of the face of the pad will migrate over the entire face of the pad and it will do this rather quickly when you're on the higher speed settings.
Priming the Pad - For clean, dry pads
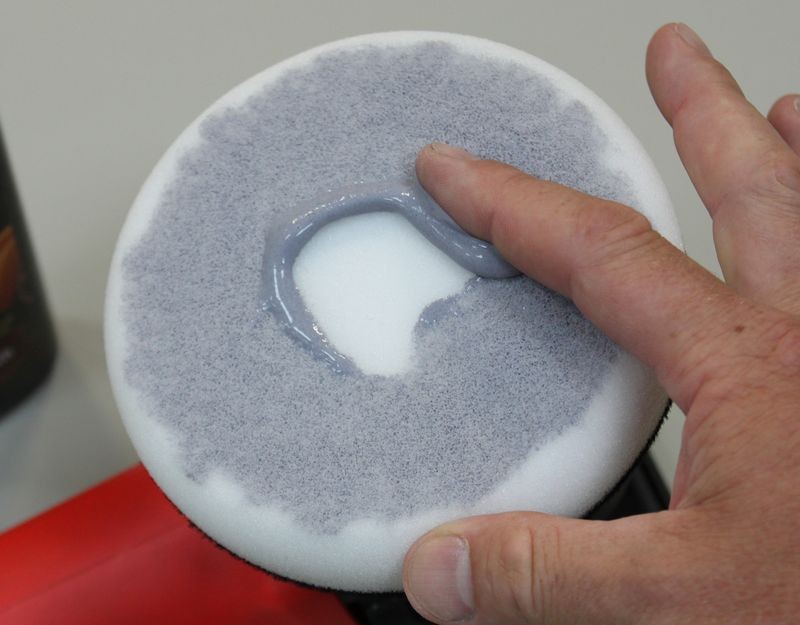
Start with a clean, dry pad and add some fresh product to be spread out to the face of the pad. Using your finger, spread the product out over the pad and then using your finger work it into the pores of the pad. Don't saturate the pad, just use enough product to make sure that 100% of the working face of the pad has product coverage.
Work the product around the face of the pad and into the pores
Any extra, take and apply to the outer edge until 100% of the working face of the pad is primed with product.
As an option you can also prime the outer edge. This helps if you're buffing around convex curves or around panels that the edge of your buffing pad may come into contact with, like spoilers, side mirror housings, curved panels etc.
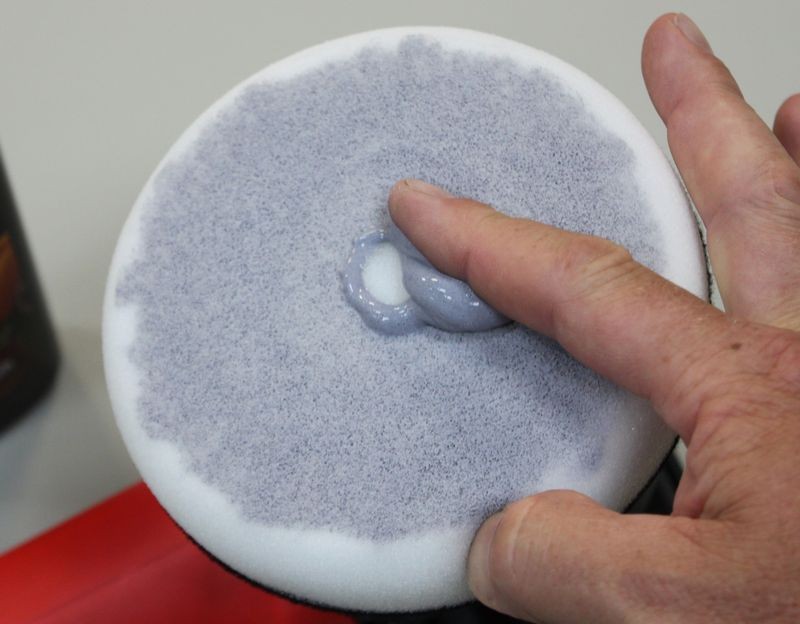
Primed and ready to add "Working Product" to.
Adding "Working Product" to the primed pad
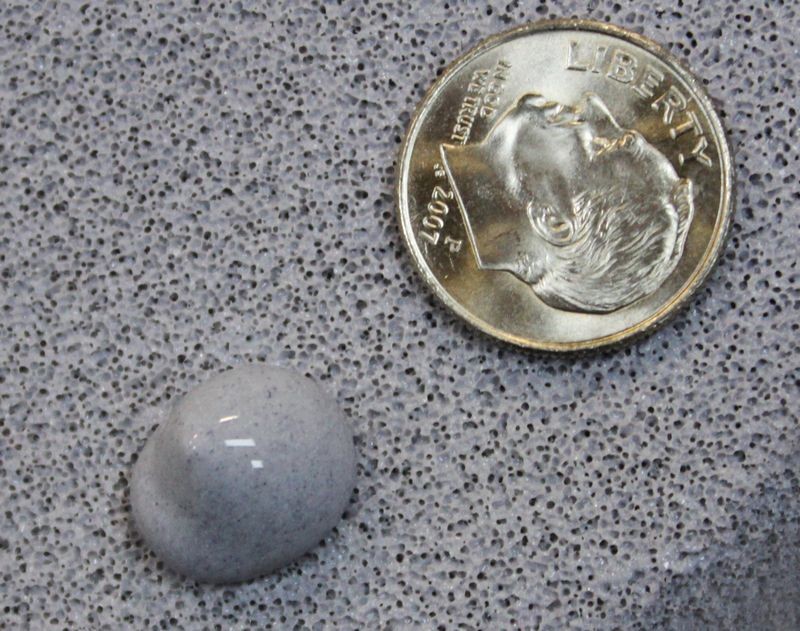
Some people will recommend 3 to 4 pea size drops of product as the proper amount of product to use and this can be correct for
concentrated products or working small sections and if you follow this advice make sure you are not
under-lubricating the surface being worked.
Pea size drops of product
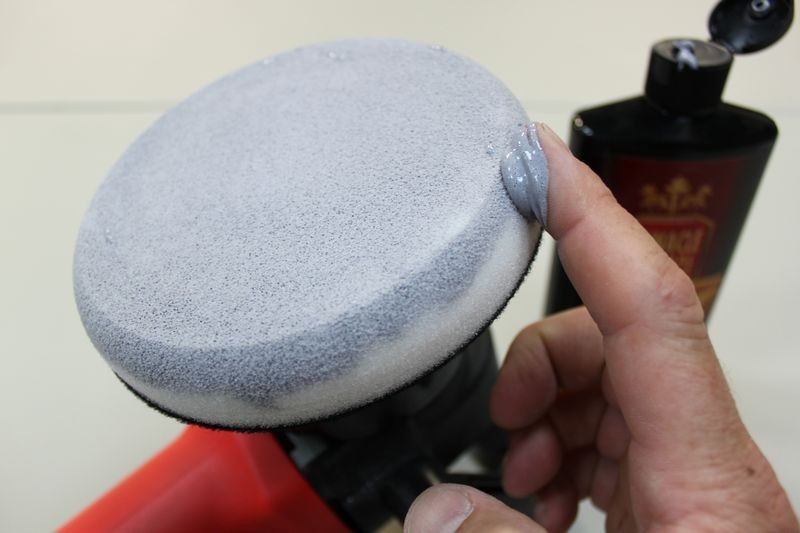
For some products and paint conditions, you may want more product on the surface working for you. Here's an example of dime size drops of product.
Dime size drops of product
How much product to use after priming
Ample
You want an AMPLE amount of product when first starting out because you pad is dry and some of the product is going to seep into the pad leaving less on the surface to LUBRICATE and ABRADE the paint
Cut down on the amount of product AFTER pad is broken-in...
After your pad is broken in with product, clean your pad after each section pass and when you apply fresh product you can cut down on the amount of product you actually apply to the face of your pad.
Too Little Product
Under-using product reduces lubricity and will make it more difficult for your pad to rotate efficiently.
Too Much Product
Using too much product will
hyper-lubricate or over-lubricate the pad and will interfere with the abrasives ability to abrade the paint.
Keep in mind that you want enough product on the surface so you have,
- Abrasives working for you.
- A lubricating film between the paint and the pad.
Often times if you don't have enough product to work with you'll end up buffing to a dry buff. When you lose lubrication,
friction increase and this can lead to micro-marring or hazing.
2. Applying a Circle Pattern of Product
Benefits to a Circle Pattern
As you work around the car you'll find that
your product will migrate to the center on it's own. This can lead to
pad saturation starting at the center of the pad where most of the heat is generated.
This can cause problems because wet foam will hold in heat better than dry foam and over time this can accelerate de-lamination between the hook & loop material and either the foam of the pad or the backing material on the backing plate.
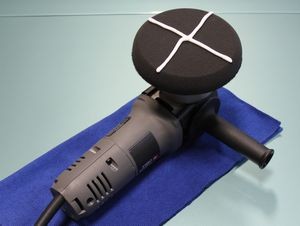
Knowing this... I don't help the problem by using an X pattern as using an X-pattern means putting product onto the middle of the face of the pad.
If you're placing pea or dime sized amounts of product to the face of your pad then it's also a good idea to avoid placing the product directly in the center of the pad.
Circle Pattern on a clean dry pad and then worked for a Section Pass
After working the circle of product over a section, you can see it spread the product out over the entire face of the pad without having to spread it with your finger. The pad is now equally primed with residual product.
Cut down on product after your first section pass
At this point you could clean your pad or add fresh product and when you add fresh product you can adjust how much product you apply.
In this example I used half a circle of product since 100% of the face of the pad is now primed from the previously applied and worked product.
3. Applying an X-Pattern of Product
Applying your product to the face of your buffing pad using an X-pattern is a fast and simple way way to get product out of the bottle and onto the pad in a measured way that's easy to teach others and a method that's easy to duplicate over and over again.
X-Pattern on a clean dry pad and then worked for a Section Pass
Cut down on product after your first section pass
After making a thorough Section Pass. The pad is now equally primed with residual product. At this point you could clean your pad or add fresh product and when you add fresh product you can adjust how much product you apply. In this example I used half an X-Pattern, or a single strip of product since the pad is already primed.
Wet Buffing Technique
Maintain a wet film on the surface
The key is to have enough product on the surface as you're working a section to have a
wet film of product that you can see on the surface
behind the polisher as you move the polisher over the paint.
:dblthumb2: