Audios S6
Active member
- Oct 12, 2011
- 1,634
- 0
I was one of the individuals who received the new Wolfgang products as part of the recent giveaway. In return, I agreed to provide a review of the products. With that in mind, I will try to keep my review as objective as possible.
Copy from AG
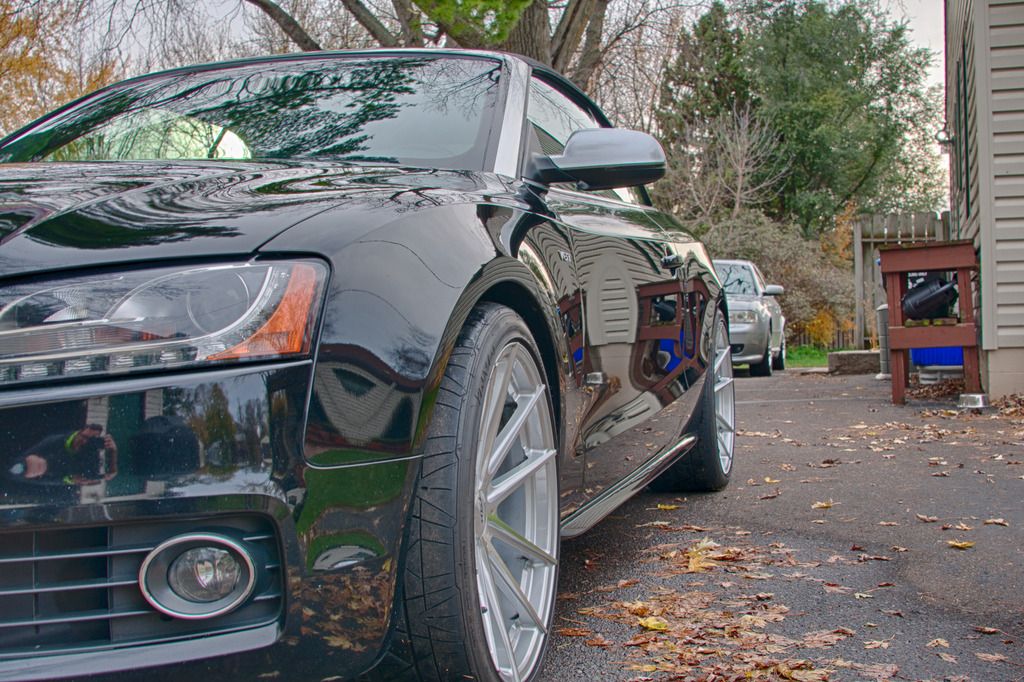
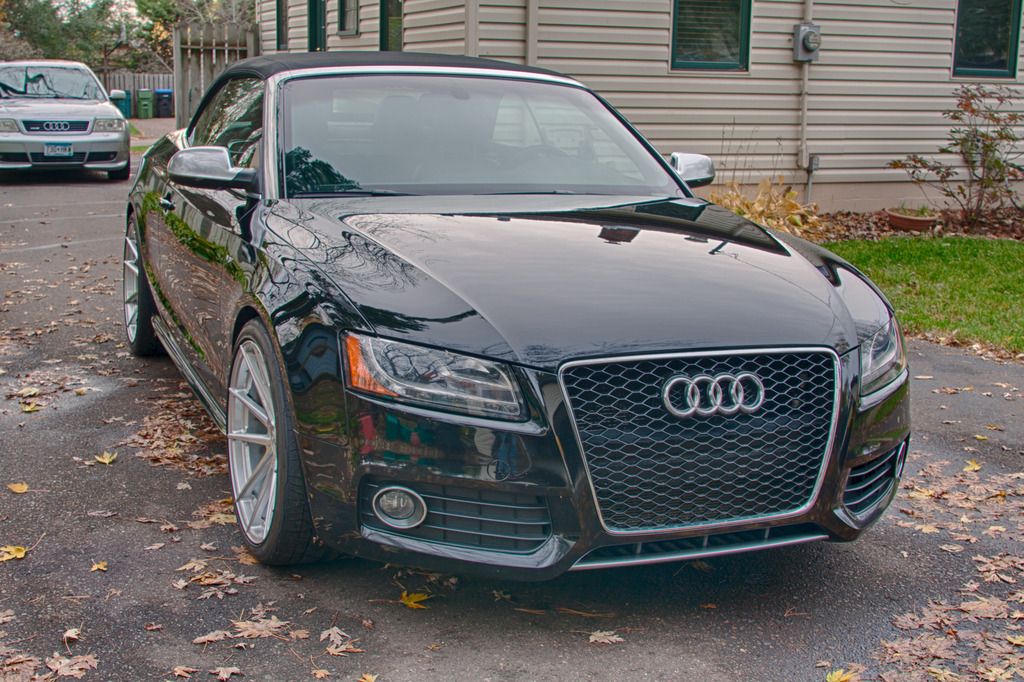
Wolfgang Uber Ceramic Coating blankets your vehicle in a glossy shell of ceramic protection that complements all colors. Black will appear infinitely deep; red will dazzle with bright reflections; white and silver will appear as if molten glass was poured over the finish, giving the appearance that an extra layer or two of clear coat was applied. Regardless of the color of your vehicle, Uber Ceramic Coating will make it shine better than it ever has. Relentless water beading and a self-cleaning effect will keep your car shining bright in between washes.
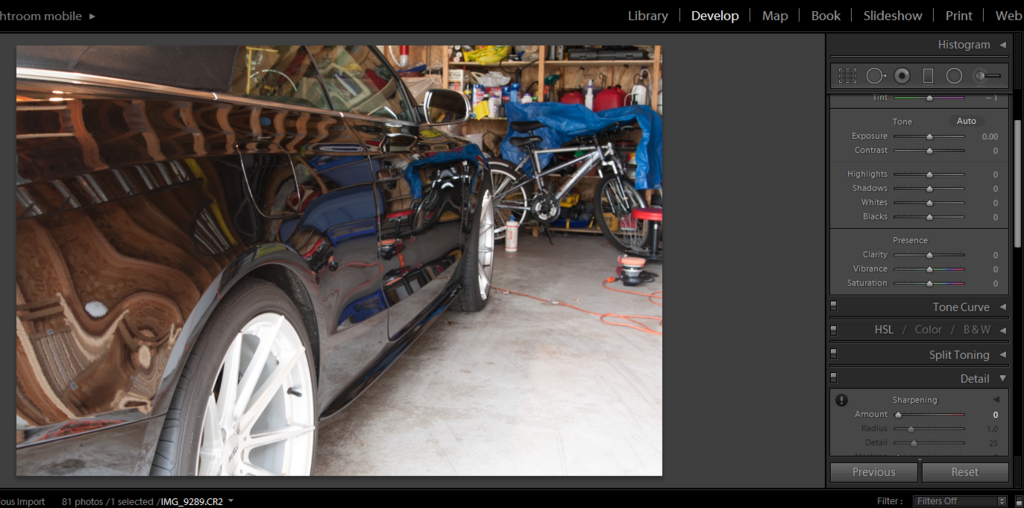
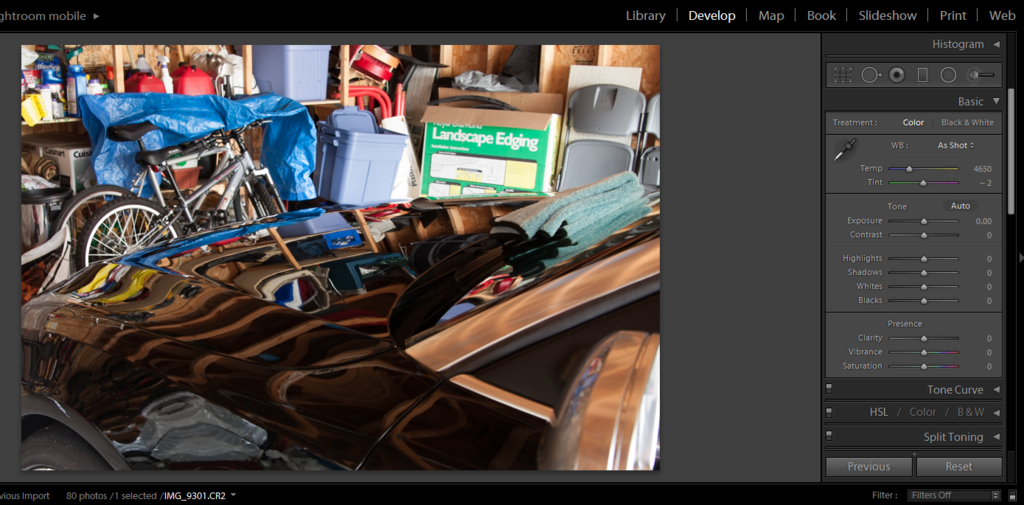
This all sounds great. Will black look infinitely deep? Let's see...just to note, I find these photos to look faked, so I'm taking it a step further and posting a screen shot in my raw editor, clearing showing absolutely no edits to these couple photos, this is exactly what the camera saw. Is it what I saw? No, I can see better than this 8 year old camera and honestly, the car looks better in person than in the photos and that's what I try to capture when I edit my raws.
For starters, be sure to have a pliers handy for this application. The plug on the syringe is very tight and I could not remove it with my fingers. I used the enclosed LC coating applicator sponge for the application. I deviated from the instruction card and followed Mike's recommendation of 3 lines on the sponge to prime it. I did find that it still wanted to roll a couple times when I got moving too fast. I also found that 3 lines is a lot of coating, enough to do an entire trunk and rear bumper. So, when applying the 3 lines, use about half of what you think you'll need, this stuff goes a long way (I used 3 ml on this Audi S5 convertible, paint only). I applied the coating until the applicator was no longer spreading evenly, then waited 2 minutes (due to low temps) and evened out any high spots. I waited another 2 minutes (enough time to apply to the next panel), then wiped the previous panel with an suede MF to knockdown any remaining high spots. On the first panels the suede was not enough as there was so much product that I just kept pushing it around, so I used an edgeless to get those spots. After that, a suede worked fine as there was much less product to knockdown.
Applying
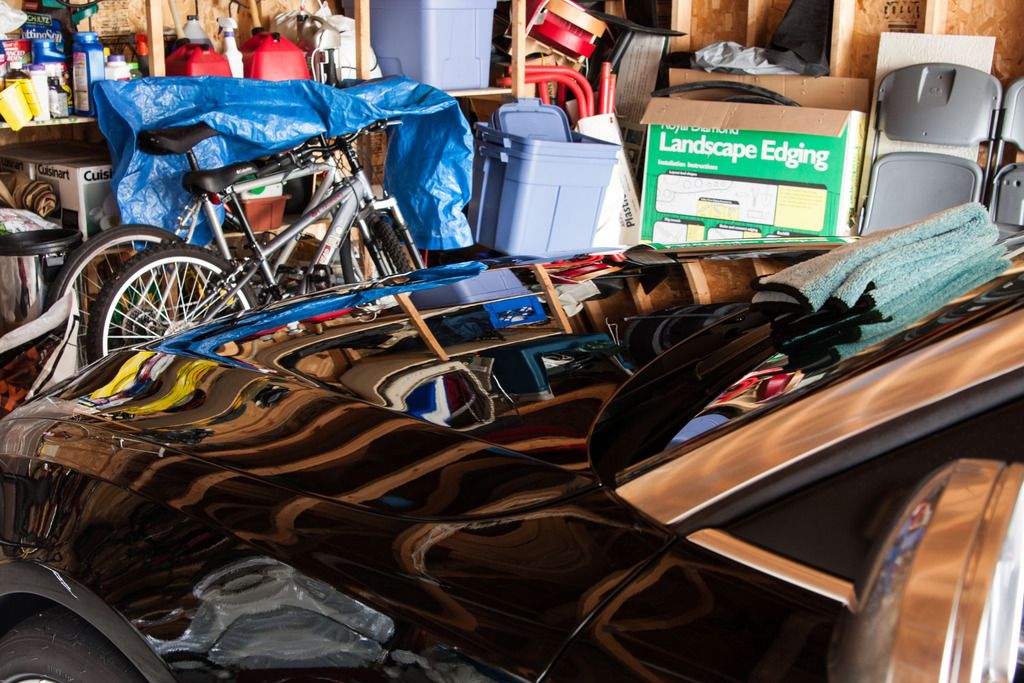
Hello huge high spot from 3 lines of product on applicator
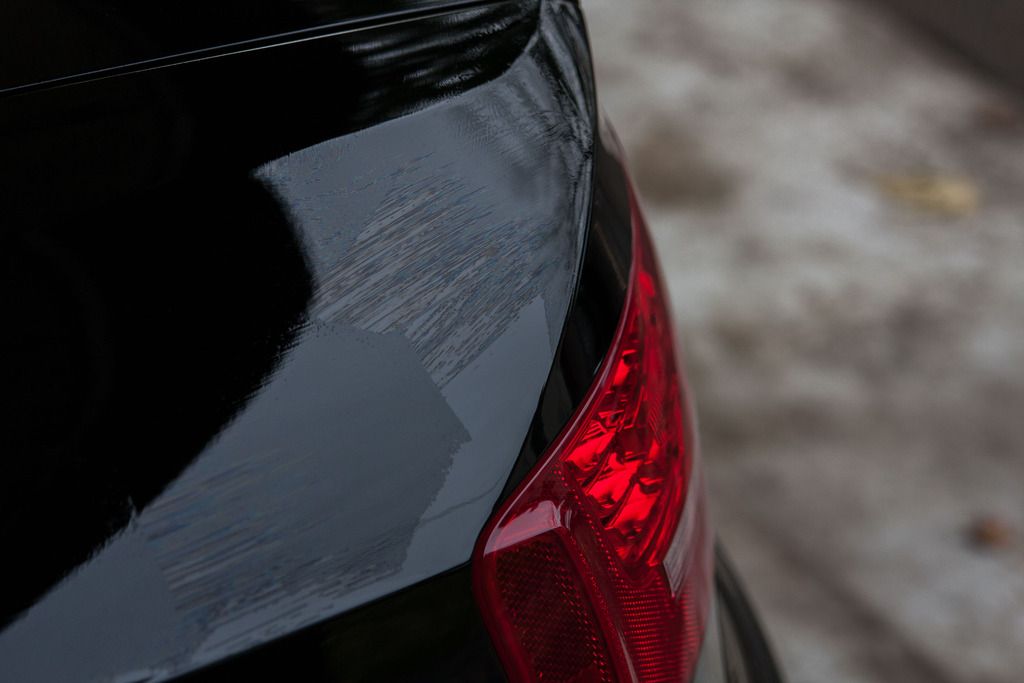
The application did go very well and the product spread nicely once I figured out the right amount to use. I did end up the a couple high spots where I started due to the amount on the applicator, Once I was able to see them in the sun, 30 minutes had passed and the coating was too far cured to wipe these off. I'll be stopping back in a week to address these. I will also be switching to just 2 lines to prime the applicator and see if that works any better.
I will be seeing this car in the spring to follow up on durability. All in all, Uber Ceramic coating is a great option for folks with some coating experience. I might encourage first time users to go with the blackfire and PBL offerings as they are a little easier to use. Uber has a bit more of a learning curve (no different than other non-spray coatings), but once you get going, it's quite easy. Gloss and depth are outstanding.
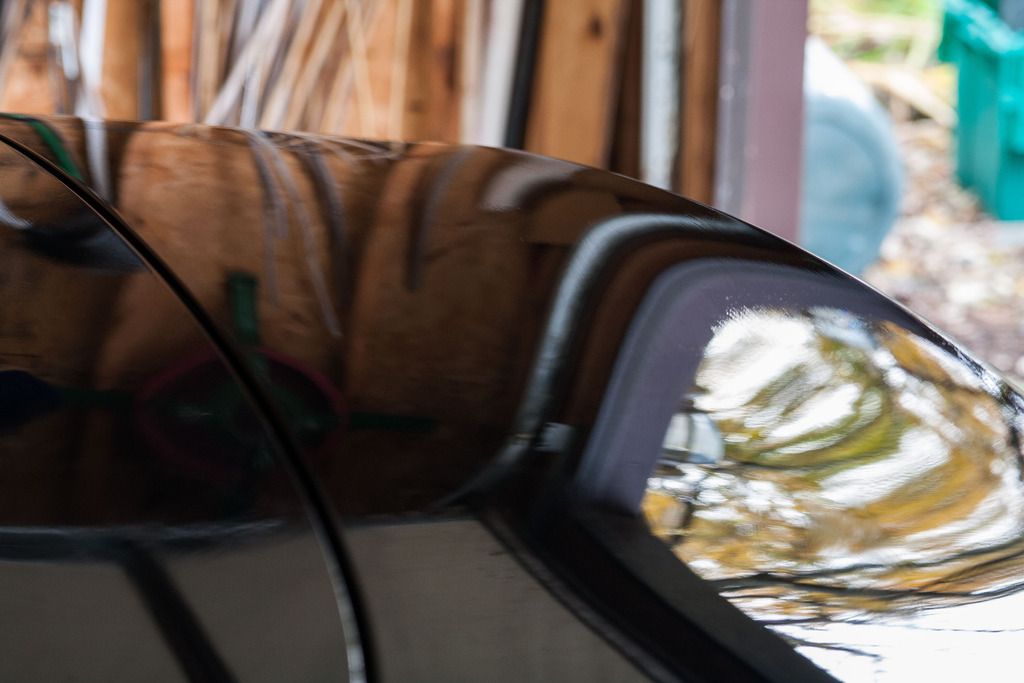
Now for some gloss boss photos
Copy from AG
Wolfgang Uber Ceramic Coating blankets your vehicle in a glossy shell of ceramic protection that complements all colors. Black will appear infinitely deep; red will dazzle with bright reflections; white and silver will appear as if molten glass was poured over the finish, giving the appearance that an extra layer or two of clear coat was applied. Regardless of the color of your vehicle, Uber Ceramic Coating will make it shine better than it ever has. Relentless water beading and a self-cleaning effect will keep your car shining bright in between washes.
This all sounds great. Will black look infinitely deep? Let's see...just to note, I find these photos to look faked, so I'm taking it a step further and posting a screen shot in my raw editor, clearing showing absolutely no edits to these couple photos, this is exactly what the camera saw. Is it what I saw? No, I can see better than this 8 year old camera and honestly, the car looks better in person than in the photos and that's what I try to capture when I edit my raws.


For starters, be sure to have a pliers handy for this application. The plug on the syringe is very tight and I could not remove it with my fingers. I used the enclosed LC coating applicator sponge for the application. I deviated from the instruction card and followed Mike's recommendation of 3 lines on the sponge to prime it. I did find that it still wanted to roll a couple times when I got moving too fast. I also found that 3 lines is a lot of coating, enough to do an entire trunk and rear bumper. So, when applying the 3 lines, use about half of what you think you'll need, this stuff goes a long way (I used 3 ml on this Audi S5 convertible, paint only). I applied the coating until the applicator was no longer spreading evenly, then waited 2 minutes (due to low temps) and evened out any high spots. I waited another 2 minutes (enough time to apply to the next panel), then wiped the previous panel with an suede MF to knockdown any remaining high spots. On the first panels the suede was not enough as there was so much product that I just kept pushing it around, so I used an edgeless to get those spots. After that, a suede worked fine as there was much less product to knockdown.
Applying

Hello huge high spot from 3 lines of product on applicator

The application did go very well and the product spread nicely once I figured out the right amount to use. I did end up the a couple high spots where I started due to the amount on the applicator, Once I was able to see them in the sun, 30 minutes had passed and the coating was too far cured to wipe these off. I'll be stopping back in a week to address these. I will also be switching to just 2 lines to prime the applicator and see if that works any better.
I will be seeing this car in the spring to follow up on durability. All in all, Uber Ceramic coating is a great option for folks with some coating experience. I might encourage first time users to go with the blackfire and PBL offerings as they are a little easier to use. Uber has a bit more of a learning curve (no different than other non-spray coatings), but once you get going, it's quite easy. Gloss and depth are outstanding.
Now for some gloss boss photos


") :xyxthumbs:
:xyxthumbs: rops:
rops:

