emmjay
Member
- Feb 2, 2015
- 848
- 0
Hello all,
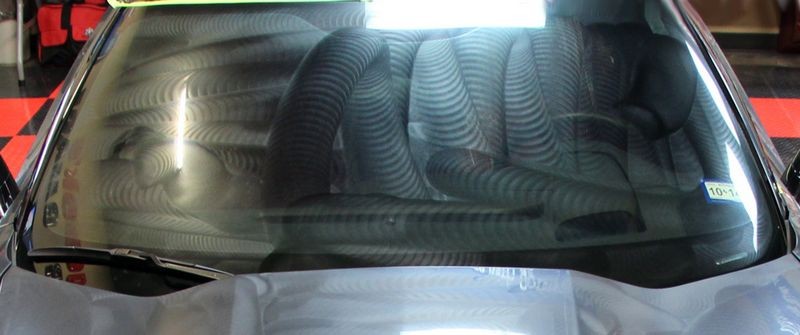
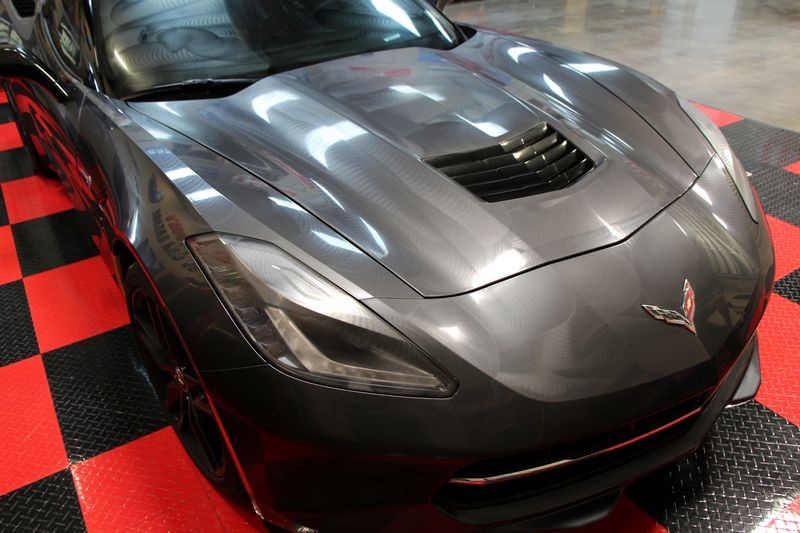
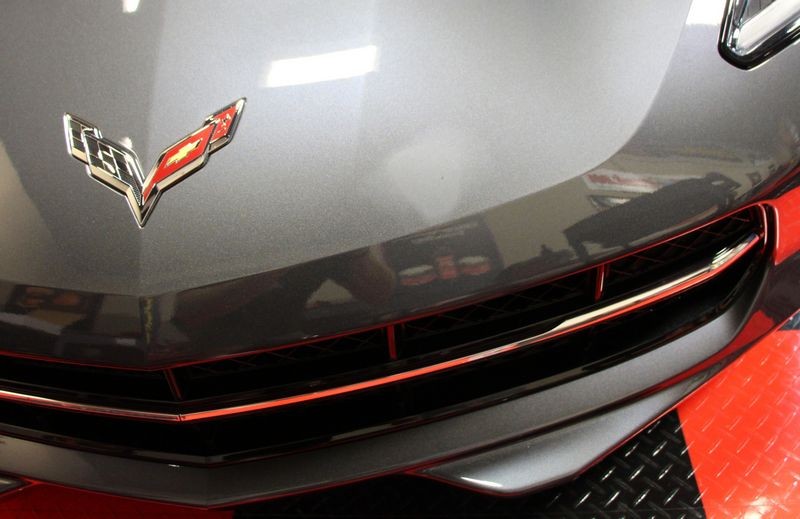
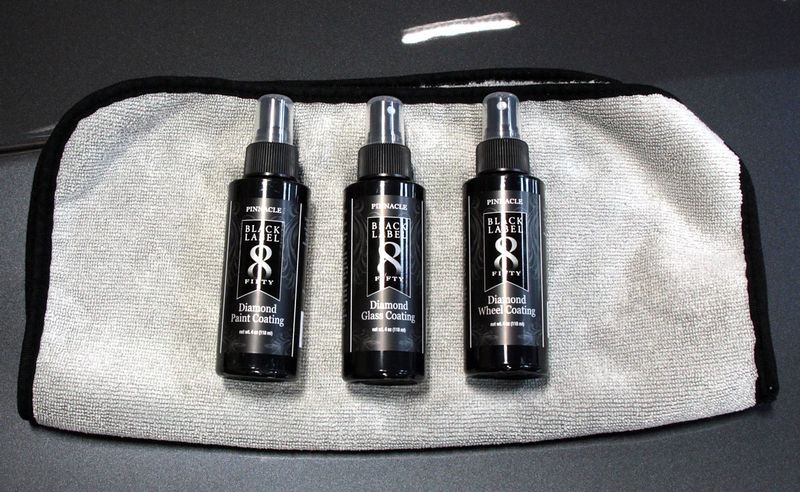
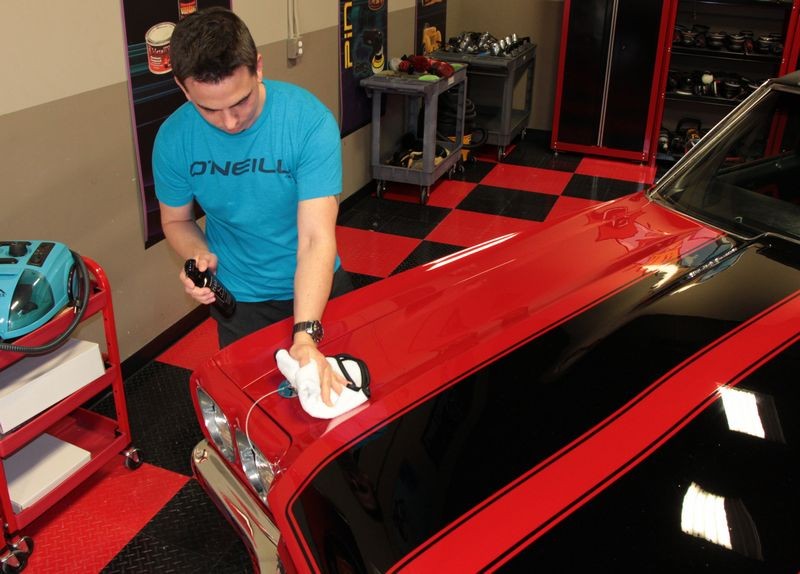
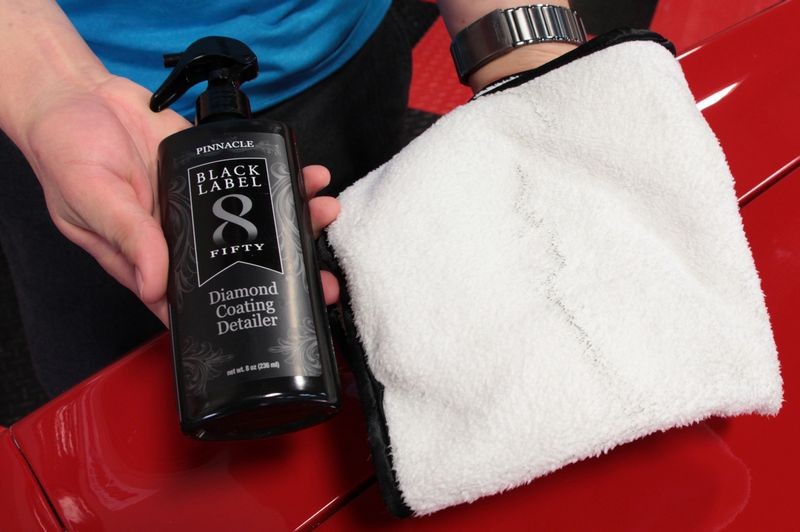
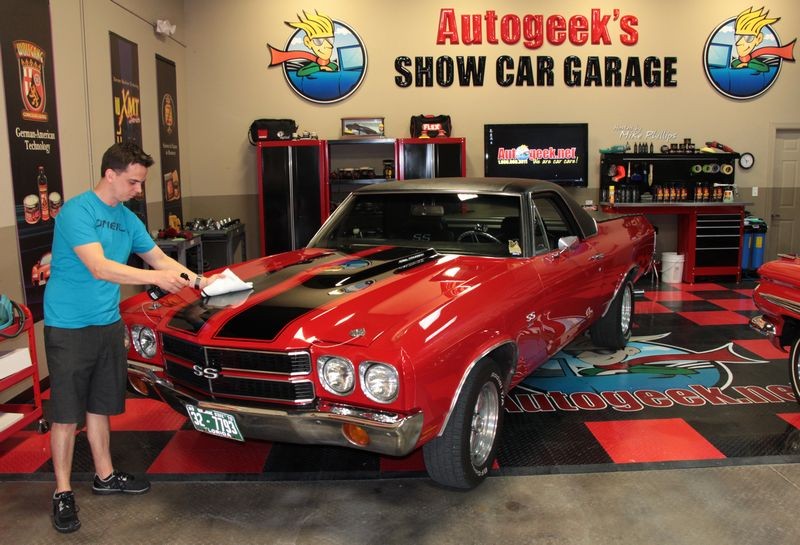
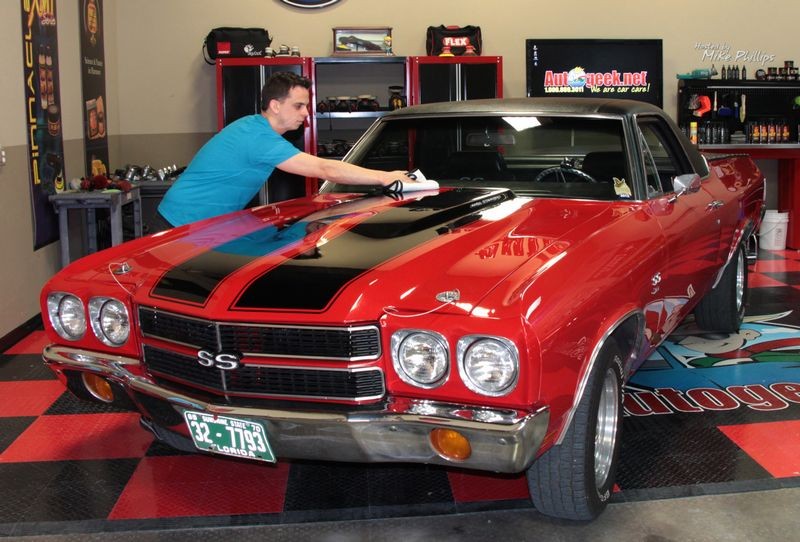
With my package on the way to Dubai, I would like a few tips on applying the PBL diamond paint coating. This is the first time I will be applying any type of coating to my car.
1. I will be applying this is a NON-sealed garage. There is wind and dust around, but the car is the shade (semi sealed garage).
2. I will use m205 on a black finishing hybrid pad followed by PBL surface cleansing polish also on black hybrid pad.
3. There is a high chance of dust landing on the paint as I work around the car.
QUESTIONs:- 1. Can I apply the coating in sections / panels? When I polish - I typically polish a panel or 2 max - clean it, IPA it and wax it. Then I contniue the polishing the paint and go around the car. This way there is no chance of dust to settle which will require an unnecessary swirl inducing wipe....
This does however mean that I go over a panel that was just waxed - near the edges with a polish again. I then wax the panel just worked on and go back on the previous panel edges for good measure. Example a door. I finish one door, wax it. Work on the other door and when done, I wax the second door, while going over the edges of the first door with wax. Takes a maximum of 2 seconds more.
2. Is it okay that my garage is not sealed completely....most coating videos ive seen require a clean room sort of environment.
3. How quick do you buff off in a semi warm environment?
Thank you!
")