Hello Guys/Girls,
I am new to AG and paint correction, and wanted to seek some advice.
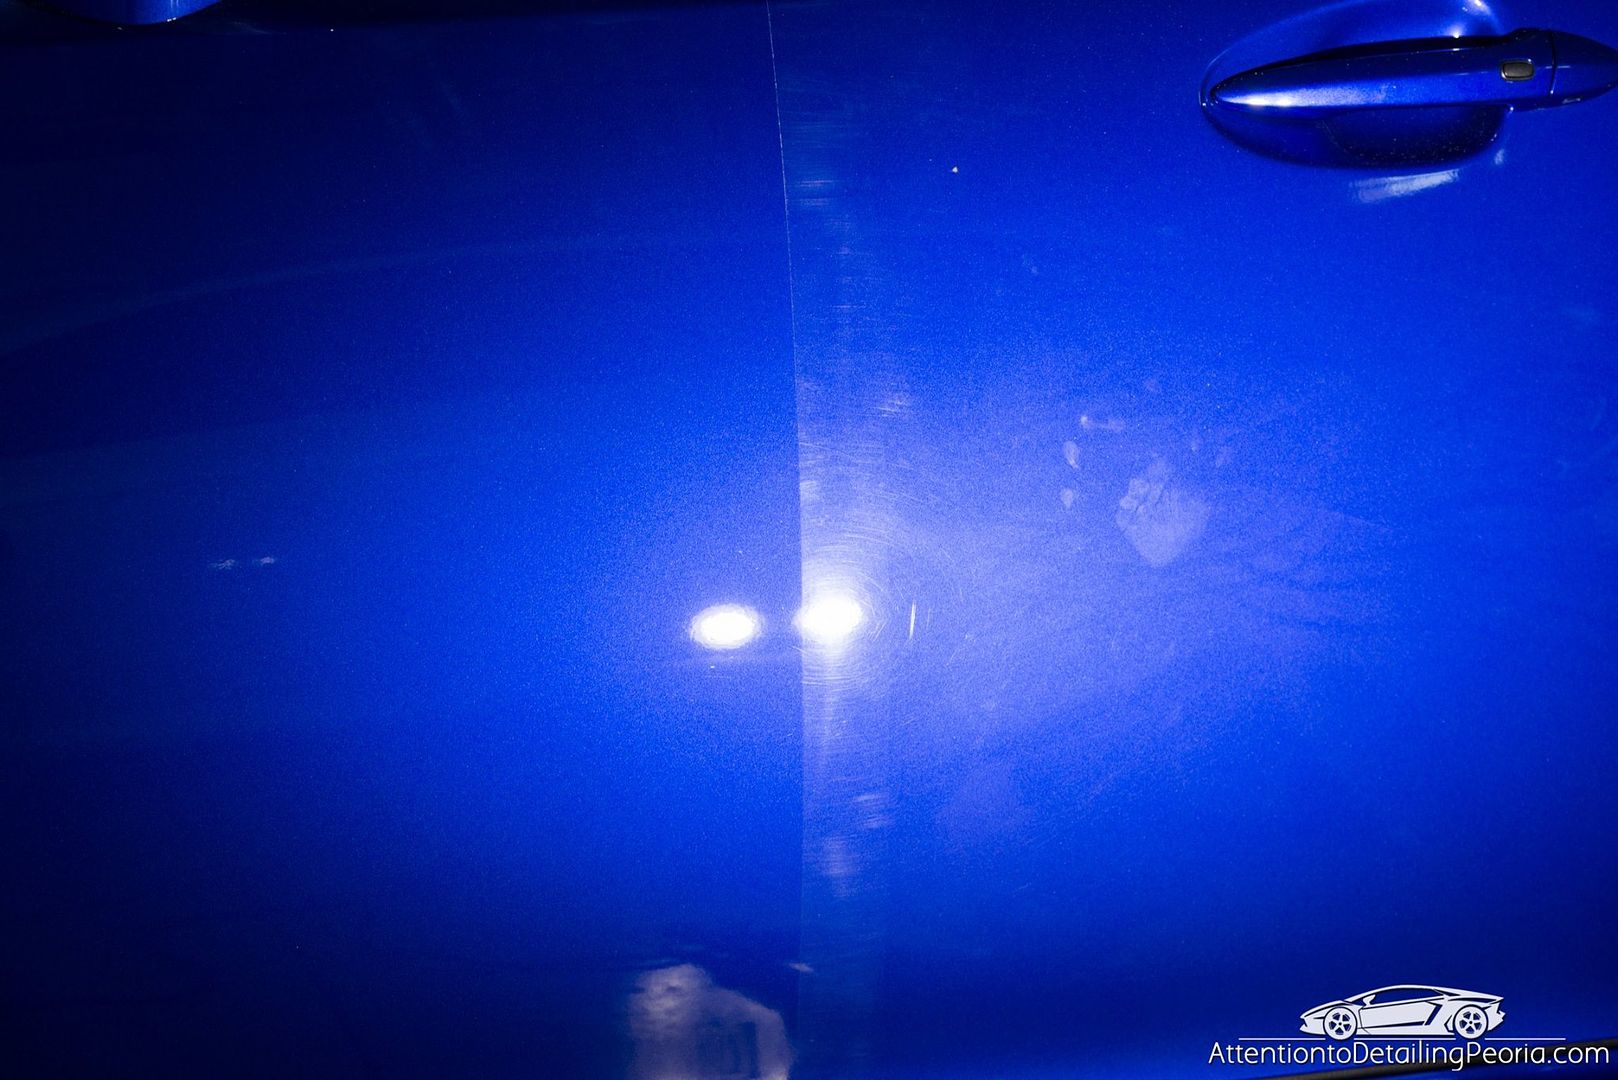
Ordered my first orbital and pretty stoked on the results. Had the opportunity to test a spot using m105 and m205 using orange and white pad, the results were spectacular. I was always a car washer, sealant, then carnauba paste wax guy, but as soon as I made one pass on the above using the PC, I was blown away, literally! Sealant and wax always amazed me, however I wanted more and 105/205 brought back the clarity, smoothness, and metalic speckles on my paint back to original.
Now the plan is tackling the car into sections, it is a used car and very well maintained, there are love marks (swirl marks) that arent too deep. The thing that bugs me is the water marks on the roof, I havent tried removing them as the test spot was the corner of the trunk, however what would be the best approach at this?
I was successul with the results I wanted using m105 and m205 one pass, am I going to aggressive on the first try? Should I step down to a scratch or swirl remover product to see if the defects will go away? Luckily I have AG forum, youtube friends across the world, instagram local detailers, and Mike complete guide.
Another recommendation I received was to try menzerna products as they have been proven to be easy to use so I ordered a set of compound 400, 2500, and 3500 to test another spot.
My goal here is to do a proper paint correction, removing swirls/scratches (some being deeper), water marks left on the roof. And then coating it with the pinnacle surface coating. And lastly properly maintaining with a proper dual bucket wash, etc... The only problem that I am worried about is that I live in the city of Los Angeles, we have lots of airports, rails, marine, and horrible environment conditions that even correcting the paint and properly maintaining it will be a nightmare due to these conditions. The car is a daily driver.
I plan to tackle quite a few of the work if not everything this weekend.
Any help or advice is greatly appreciated.
I am new to AG and paint correction, and wanted to seek some advice.
Ordered my first orbital and pretty stoked on the results. Had the opportunity to test a spot using m105 and m205 using orange and white pad, the results were spectacular. I was always a car washer, sealant, then carnauba paste wax guy, but as soon as I made one pass on the above using the PC, I was blown away, literally! Sealant and wax always amazed me, however I wanted more and 105/205 brought back the clarity, smoothness, and metalic speckles on my paint back to original.
Now the plan is tackling the car into sections, it is a used car and very well maintained, there are love marks (swirl marks) that arent too deep. The thing that bugs me is the water marks on the roof, I havent tried removing them as the test spot was the corner of the trunk, however what would be the best approach at this?
I was successul with the results I wanted using m105 and m205 one pass, am I going to aggressive on the first try? Should I step down to a scratch or swirl remover product to see if the defects will go away? Luckily I have AG forum, youtube friends across the world, instagram local detailers, and Mike complete guide.
Another recommendation I received was to try menzerna products as they have been proven to be easy to use so I ordered a set of compound 400, 2500, and 3500 to test another spot.
My goal here is to do a proper paint correction, removing swirls/scratches (some being deeper), water marks left on the roof. And then coating it with the pinnacle surface coating. And lastly properly maintaining with a proper dual bucket wash, etc... The only problem that I am worried about is that I live in the city of Los Angeles, we have lots of airports, rails, marine, and horrible environment conditions that even correcting the paint and properly maintaining it will be a nightmare due to these conditions. The car is a daily driver.
I plan to tackle quite a few of the work if not everything this weekend.
Any help or advice is greatly appreciated.
")


 rops:
rops: