The Guz
Well-known member
- Jun 17, 2013
- 8,798
- 79
This is my dad's new car. It replaced his 2002 Camaro Z28 that was stolen a few months ago. The Impala was a former Enterprise rental car. It was purchased through Enterprise car sales. It has 30K miles on it. The interior is in very good shape. The exterior has minor scratches and chips from it's abuse as a former rental car. The color is champagne silver metallic.
I was doing small things during the free time I had during the 4th of July Weekend and hit hard for 3 days during the week with day 2 being a majority of the work.
The goal of this task was not a show car finish but a finish worthy of a daily driver.
Products and tools used. Clickable links provided for ease of use.
Wash/Decon:
Meguiar's Microfiber Wash Mitt
Grit Guard
Grit Guard Washboard
Optimum Car Wash
Griot's Garage Fast Surface Prep Mitt
CarPro IronX
Adam's Foam Gun
Paint Correction:
Rupes UHS Polishing Compound
Rupes UHS 6" pads
Rupes UHS 4" pads
Rupes Nano UHS 1.5" pads
Rupes Diamond Ultra Fine Gel
Rupes 6" White Finishing Foam Pad
Rupes 4" White Finishing Foam Pad
Paint Prep/Protection:
Optimum Gloss Coat
Optimum Paint Prep
Optimum Opti-Seal
Wheels:
Griot's Garage Heavy Duty Wheel Cleaner
Clay Magic clay bar
Ameridepth Polish by hand on the face only
CarPro Eraser
CarPro DLUX
Wheel Woolies
Boar's Hair Wheel Brush
Lug Nut Brush
Tires:
Meguiar's D108 Super Degreaser at 4:1
Detailer's Pro Tire & Rubber Rejuvenator
Detailer's Pro Tire Coating
Tuf Shine Tire Brush
Metro Blaster SideKick
Glass:
Clay Magic Clay Bar
Optimum Paint Prep
Optimum Opti-Glass Coating
Optimum Opti-Glass Clean & Protect
Trim:
Meguiar's D103 APC+ (Discontinued)
Mothers Detailing Brush
IPA
Soultion Finish
Optimum Gloss Coat
Headlights:
Rupes Keramik
Rupes Nano 1.5" yellow pads
Optimum Paint Prep
Optimum Opti-Lens
Tailights:
Rupes UHS 4" pads
Optimum Opti-Lens
Chrome Trim:
Meguiar's Fine Cut Metal Polish
Optimum Paint Prep
Optimum Opti-Seal
Tools:
Rupes LHR15 Mark II
Rupes LHR75e (Mini)
Rupes Nano Long Neck
Interior:
Adams Leather Brush
Meguiar's Quik Interior Detailer
Meguiar's D181 Leather Cleaner
Meguiar's Leather Sealer Treatment
Meguiar's D120 Glass Cleaner
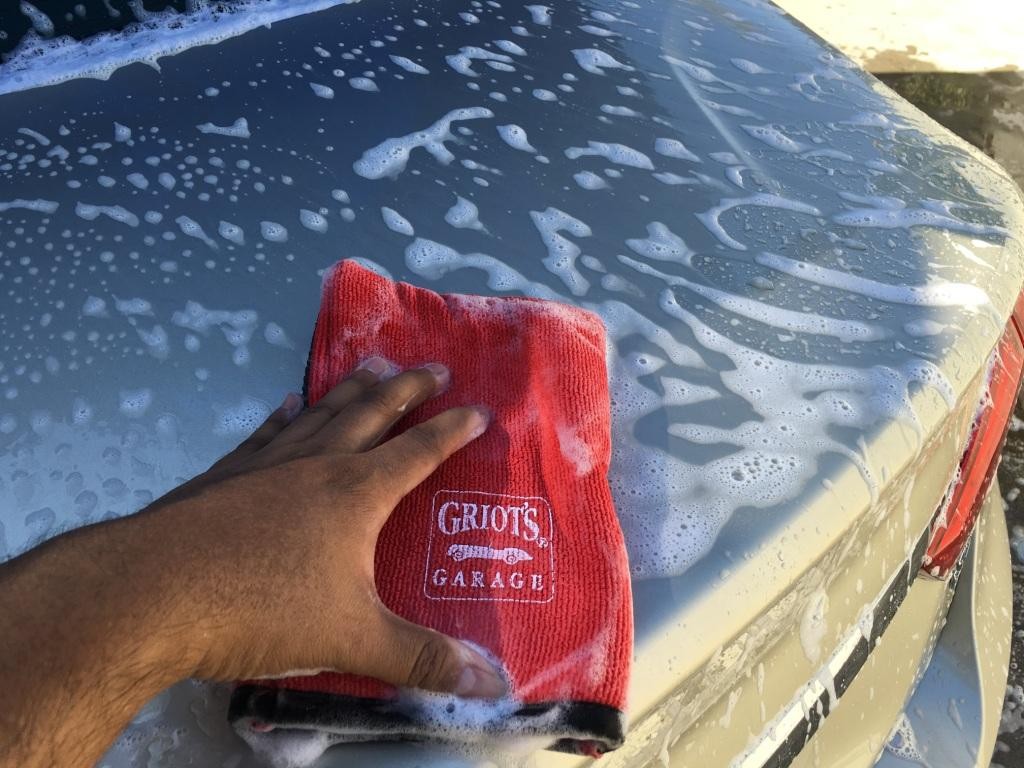
First thing that was done was washing the wheels. The next thing was to wash the car. This was done using the Mike Phillips Aggressive Wash Method.
Ironx was sprayed onto the paint. It started doing it's thing after a couple minutes
This was followed up with a rinse and wash with a foam gun and wash mitt. Once that was complete the paint was foamed again section by section and clayed with the Griot's mitt. I had gone back to clay as I was not impressed with the nanoskin fine grade sponge due to it not removing surface contaminants compared to clay. This Griot's clay mitt did a great job removing the surface contaminants. I checked one area that was completed with the clay mitt with a clay bar and it did not pick up any additional contaminants. I was satisfied with the Griot's clay mitt. This car has never been clayed since it was a rental car and thus I went with the more aggressive red mitt. The surface was very rough.
Mike's aggressive wash method is a time saver.
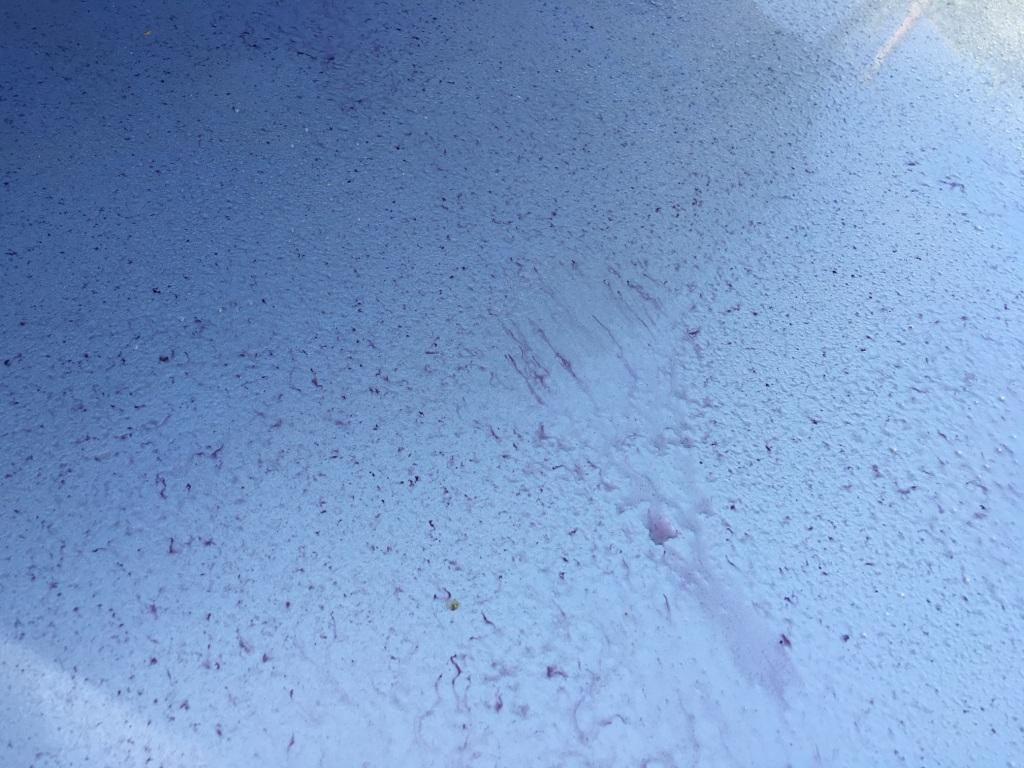
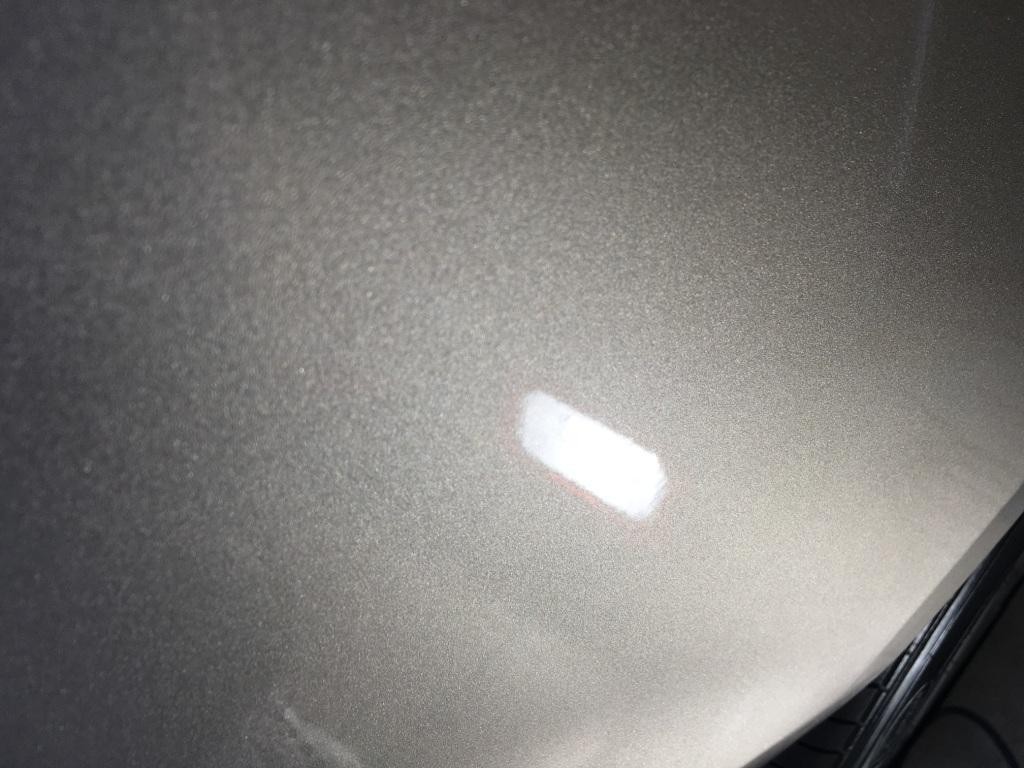
After this was completed I was able to get an idea of the paint defects. This was on the hood. The hood, roof and trunk showed the most defects compared to the doors.

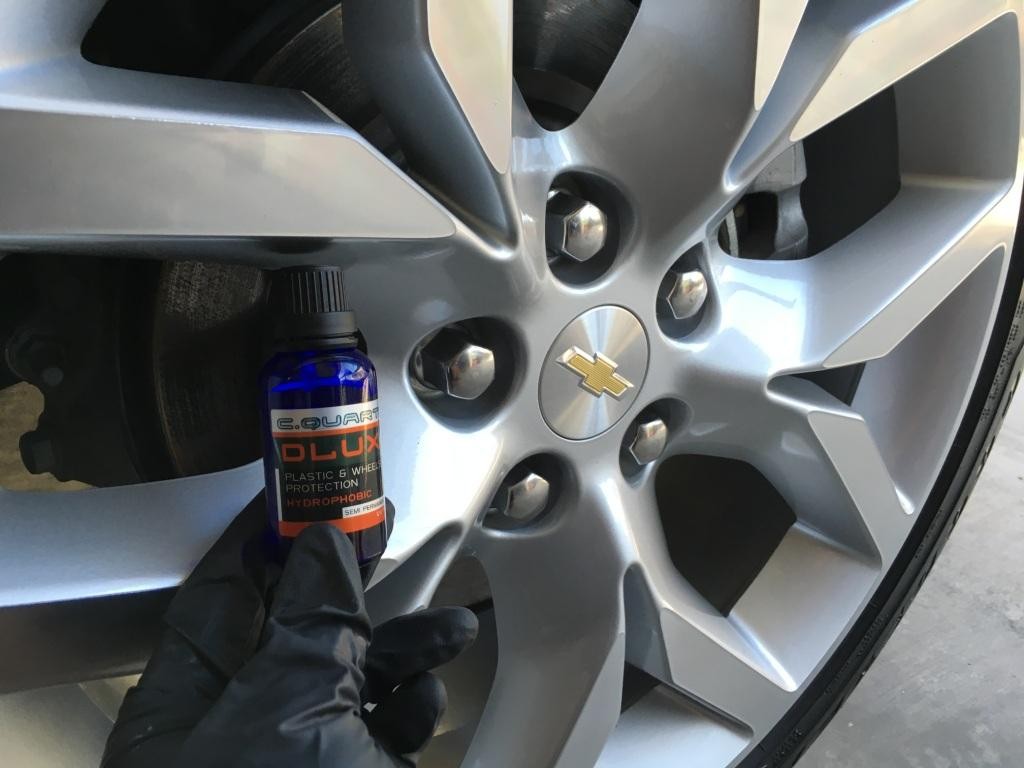
I pulled the car into the garage. This was a wheels off detail. So I worked on the wheels and tires first. The wheels were not to dirty considering I had washed them initially prior to washing the car. I coated the wheels with CarPro DLUX and the tires with 2 coats of DP Tire Coating. Just an idea of how the wheels and tires came out.
In full sun

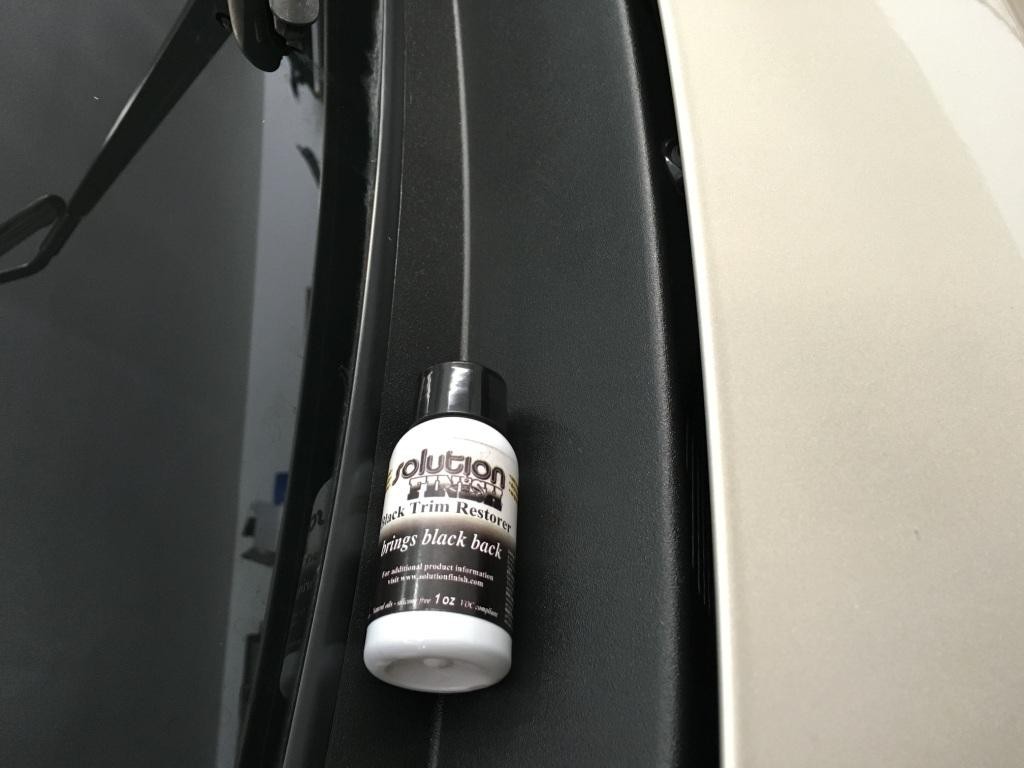
I ended up restoring the trim on some spare time over the 4th of July prior to going to see some family. It was cleaned with APC, prepped with an IPA wipe and restored with Solution Finish. I ended up doing the same thing to the trim on the lower rear bumper and on the mirrors. I coated over both areas with Gloss Coat. The photos are further down below.
I also coated the remaining glass with Optimum Opti-Glass Coating during the 4th of July. The windshield was done 2 weeks prior as that was my test spot. The remaining glass was clayed and protected.
Before

After. Much needed considering the car is only 1 year old

I began the paint correction part. I broke out the nano to correct the pillars using the 1.5" UHS pads and Rupes UHS polishing compound. The speed was set to 3.5.
Before

After. Not bad for the nano. There was some RIDS left in the paint.

Prior to me working on the paint, I did a test spot. I used the Rupes UHS combo on the LHR15 mark II one one side and I had received an order of the Griot's Boss pads. I used Meguiar's D300 on the Boss microfiber pads. Side by side the Rupes UHS removed more defects with less passes. I would have had to go over the areas with D300 and the boss microfiber pads another few passes. It was a bit hot here (about 80 degrees) and I had virtually no dust with the Rupes UHS. I did get some with D300. I opted to go with the Rupes UHS for this one as I wanted to not deal with to much dust and a one step was accomplishing what I was looking for.
There was some deep RIDS that remained. I was not planning to chase them down. In the end it is a daily driver and not a show car. Overall I would say the paint is 95-98% defect free.
Here is the passenger side door.
Before

After
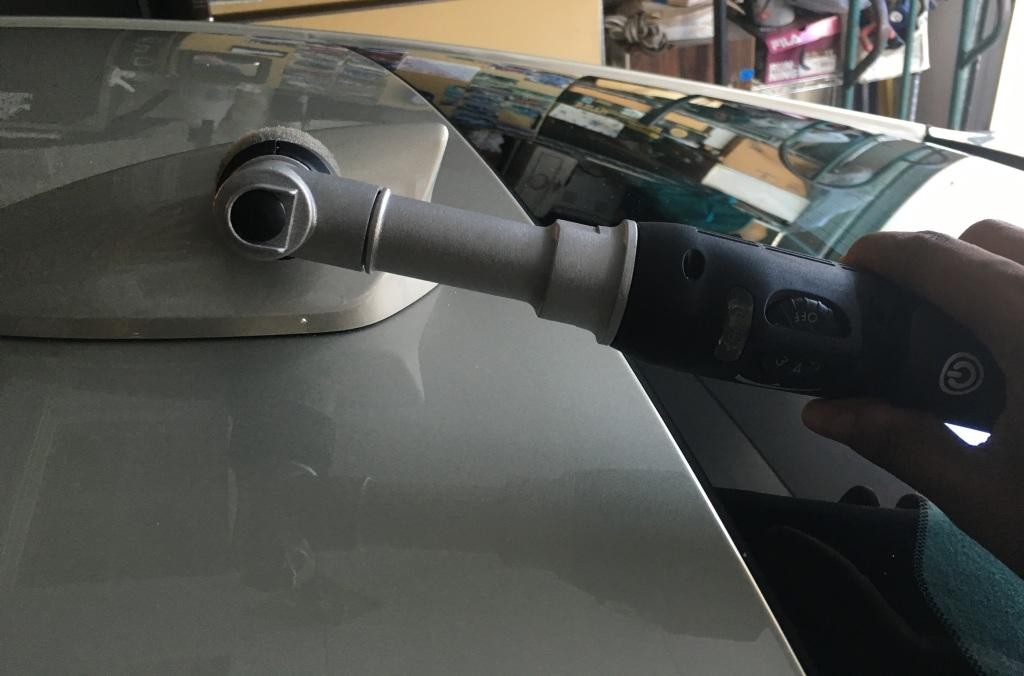
A various shot of the nano on the shark fin antenna
Once I was done polishing the paint, I followed up with a couple of wipedowns using Optimum Paint Prep. One that was done I moved to applying 2 coats of Optimum Gloss Coat. I waited 1 hour between coats. I let that sit for aonther hour and applied 1 coat of Optimum Opti-Seal. This was recommended by Yvan Lacroix as it protects Gloss Coat from abrasion. chemical and water spots during the cure time of a week. After a couple weeks, Gloss Coat will shed opti-seal.
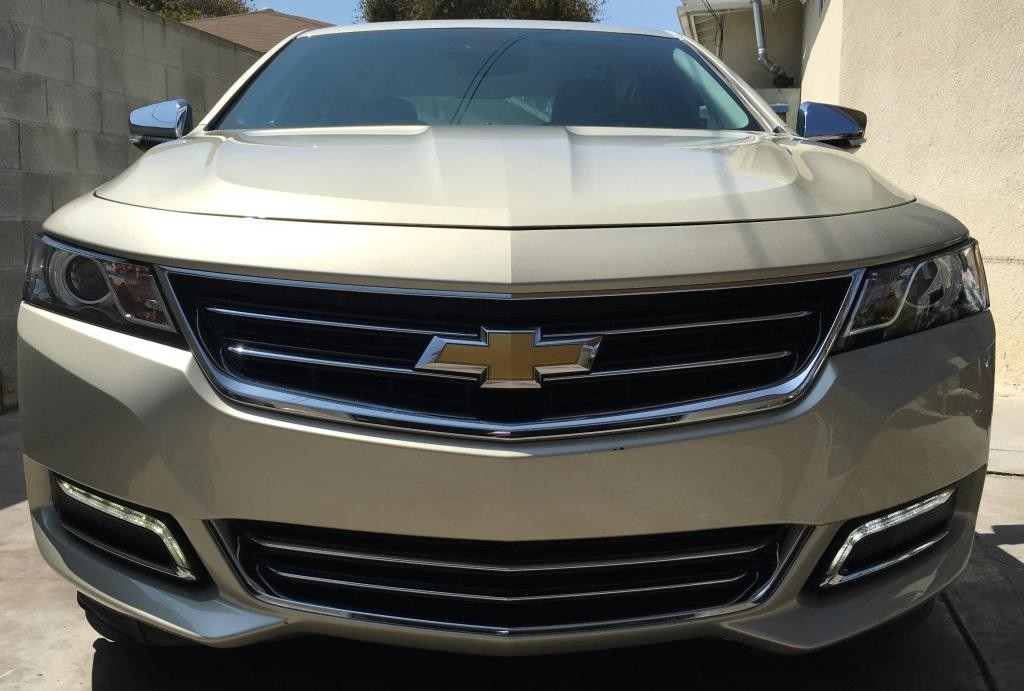
Here are the final results

In the garage looking glossy

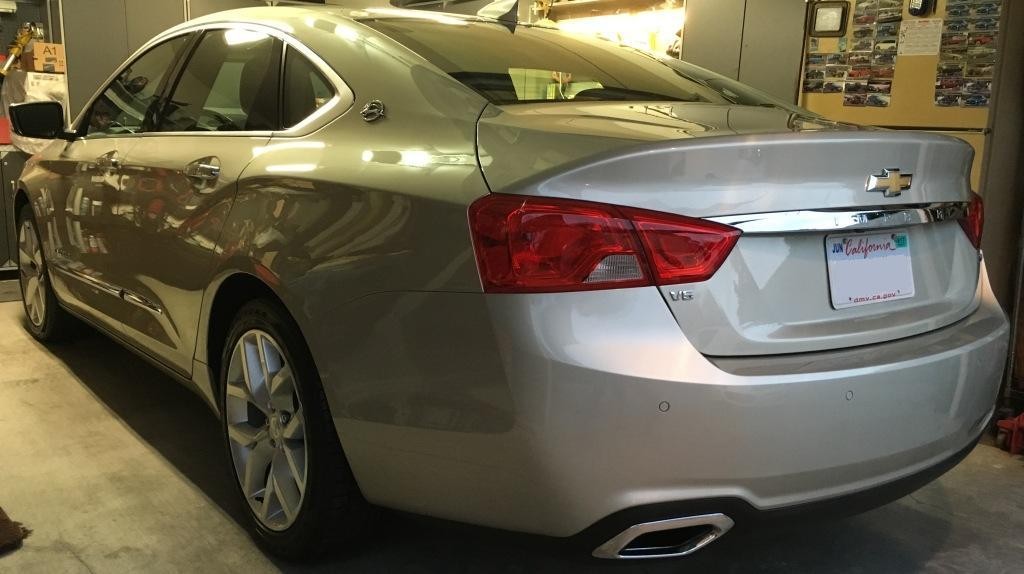
Pulled outside to check out the paint. Paint defects are gone other than some deep RIDS.


Excuse the mess. I was also packing up old clothing to donate to charity.


The chrome had some water spotting that was removed. The shine was restored and protected with Gloss Coat as well
The tips were also cleaned, polished and protected with Gloss Coat. The trim pieces that were restored with Solution Finish were topped with Gloss Coat to add some additional protection.


I had cleaned up the interior a couple weeks prior to working on the paint. So it received a minor wipedown with Meguiar's Quik Interior Detailer. The seats were cleaned with Meguiar's D18! Leather Cleaner and sealed with the sealer from the Gold Class Leather Sealer Treatment kit. It was also vacuumed.
 +
+
Comments and questions are welcomed. Thanks for looking.
-Mike
I was doing small things during the free time I had during the 4th of July Weekend and hit hard for 3 days during the week with day 2 being a majority of the work.
The goal of this task was not a show car finish but a finish worthy of a daily driver.
Products and tools used. Clickable links provided for ease of use.
Wash/Decon:
Meguiar's Microfiber Wash Mitt
Grit Guard
Grit Guard Washboard
Optimum Car Wash
Griot's Garage Fast Surface Prep Mitt
CarPro IronX
Adam's Foam Gun
Paint Correction:
Rupes UHS Polishing Compound
Rupes UHS 6" pads
Rupes UHS 4" pads
Rupes Nano UHS 1.5" pads
Rupes Diamond Ultra Fine Gel
Rupes 6" White Finishing Foam Pad
Rupes 4" White Finishing Foam Pad
Paint Prep/Protection:
Optimum Gloss Coat
Optimum Paint Prep
Optimum Opti-Seal
Wheels:
Griot's Garage Heavy Duty Wheel Cleaner
Clay Magic clay bar
Ameridepth Polish by hand on the face only
CarPro Eraser
CarPro DLUX
Wheel Woolies
Boar's Hair Wheel Brush
Lug Nut Brush
Tires:
Meguiar's D108 Super Degreaser at 4:1
Detailer's Pro Tire & Rubber Rejuvenator
Detailer's Pro Tire Coating
Tuf Shine Tire Brush
Metro Blaster SideKick
Glass:
Clay Magic Clay Bar
Optimum Paint Prep
Optimum Opti-Glass Coating
Optimum Opti-Glass Clean & Protect
Trim:
Meguiar's D103 APC+ (Discontinued)
Mothers Detailing Brush
IPA
Soultion Finish
Optimum Gloss Coat
Headlights:
Rupes Keramik
Rupes Nano 1.5" yellow pads
Optimum Paint Prep
Optimum Opti-Lens
Tailights:
Rupes UHS 4" pads
Optimum Opti-Lens
Chrome Trim:
Meguiar's Fine Cut Metal Polish
Optimum Paint Prep
Optimum Opti-Seal
Tools:
Rupes LHR15 Mark II
Rupes LHR75e (Mini)
Rupes Nano Long Neck
Interior:
Adams Leather Brush
Meguiar's Quik Interior Detailer
Meguiar's D181 Leather Cleaner
Meguiar's Leather Sealer Treatment
Meguiar's D120 Glass Cleaner
First thing that was done was washing the wheels. The next thing was to wash the car. This was done using the Mike Phillips Aggressive Wash Method.
Ironx was sprayed onto the paint. It started doing it's thing after a couple minutes
This was followed up with a rinse and wash with a foam gun and wash mitt. Once that was complete the paint was foamed again section by section and clayed with the Griot's mitt. I had gone back to clay as I was not impressed with the nanoskin fine grade sponge due to it not removing surface contaminants compared to clay. This Griot's clay mitt did a great job removing the surface contaminants. I checked one area that was completed with the clay mitt with a clay bar and it did not pick up any additional contaminants. I was satisfied with the Griot's clay mitt. This car has never been clayed since it was a rental car and thus I went with the more aggressive red mitt. The surface was very rough.
Mike's aggressive wash method is a time saver.
After this was completed I was able to get an idea of the paint defects. This was on the hood. The hood, roof and trunk showed the most defects compared to the doors.
I pulled the car into the garage. This was a wheels off detail. So I worked on the wheels and tires first. The wheels were not to dirty considering I had washed them initially prior to washing the car. I coated the wheels with CarPro DLUX and the tires with 2 coats of DP Tire Coating. Just an idea of how the wheels and tires came out.
In full sun
I ended up restoring the trim on some spare time over the 4th of July prior to going to see some family. It was cleaned with APC, prepped with an IPA wipe and restored with Solution Finish. I ended up doing the same thing to the trim on the lower rear bumper and on the mirrors. I coated over both areas with Gloss Coat. The photos are further down below.
I also coated the remaining glass with Optimum Opti-Glass Coating during the 4th of July. The windshield was done 2 weeks prior as that was my test spot. The remaining glass was clayed and protected.
Before
After. Much needed considering the car is only 1 year old
I began the paint correction part. I broke out the nano to correct the pillars using the 1.5" UHS pads and Rupes UHS polishing compound. The speed was set to 3.5.
Before
After. Not bad for the nano. There was some RIDS left in the paint.
Prior to me working on the paint, I did a test spot. I used the Rupes UHS combo on the LHR15 mark II one one side and I had received an order of the Griot's Boss pads. I used Meguiar's D300 on the Boss microfiber pads. Side by side the Rupes UHS removed more defects with less passes. I would have had to go over the areas with D300 and the boss microfiber pads another few passes. It was a bit hot here (about 80 degrees) and I had virtually no dust with the Rupes UHS. I did get some with D300. I opted to go with the Rupes UHS for this one as I wanted to not deal with to much dust and a one step was accomplishing what I was looking for.
There was some deep RIDS that remained. I was not planning to chase them down. In the end it is a daily driver and not a show car. Overall I would say the paint is 95-98% defect free.
Here is the passenger side door.
Before
After
A various shot of the nano on the shark fin antenna
Once I was done polishing the paint, I followed up with a couple of wipedowns using Optimum Paint Prep. One that was done I moved to applying 2 coats of Optimum Gloss Coat. I waited 1 hour between coats. I let that sit for aonther hour and applied 1 coat of Optimum Opti-Seal. This was recommended by Yvan Lacroix as it protects Gloss Coat from abrasion. chemical and water spots during the cure time of a week. After a couple weeks, Gloss Coat will shed opti-seal.
Here are the final results
In the garage looking glossy
Pulled outside to check out the paint. Paint defects are gone other than some deep RIDS.
Excuse the mess. I was also packing up old clothing to donate to charity.
The chrome had some water spotting that was removed. The shine was restored and protected with Gloss Coat as well
The tips were also cleaned, polished and protected with Gloss Coat. The trim pieces that were restored with Solution Finish were topped with Gloss Coat to add some additional protection.
I had cleaned up the interior a couple weeks prior to working on the paint. So it received a minor wipedown with Meguiar's Quik Interior Detailer. The seats were cleaned with Meguiar's D18! Leather Cleaner and sealed with the sealer from the Gold Class Leather Sealer Treatment kit. It was also vacuumed.
Comments and questions are welcomed. Thanks for looking.
-Mike
")