Air compressed Nano tools won't fail
Do you mind telling us what you have for a nano polisher and what your evaluation of it is.
Follow along with the video below to see how to install our site as a web app on your home screen.
Note: This feature may not be available in some browsers.
Air compressed Nano tools won't fail


")
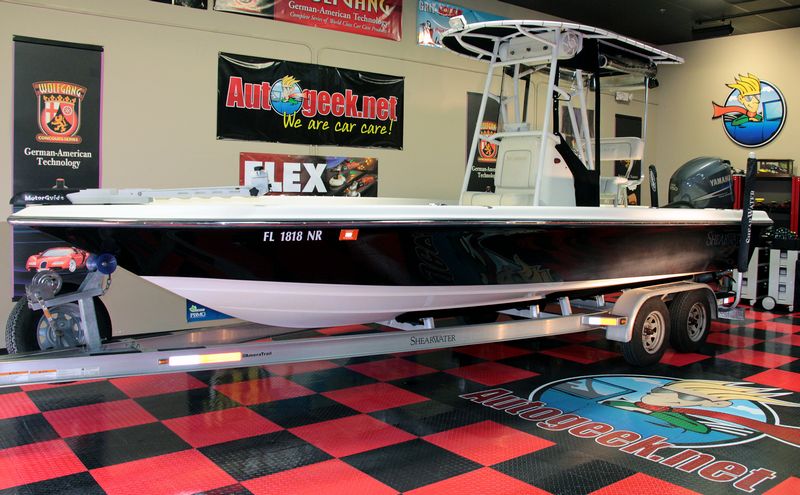

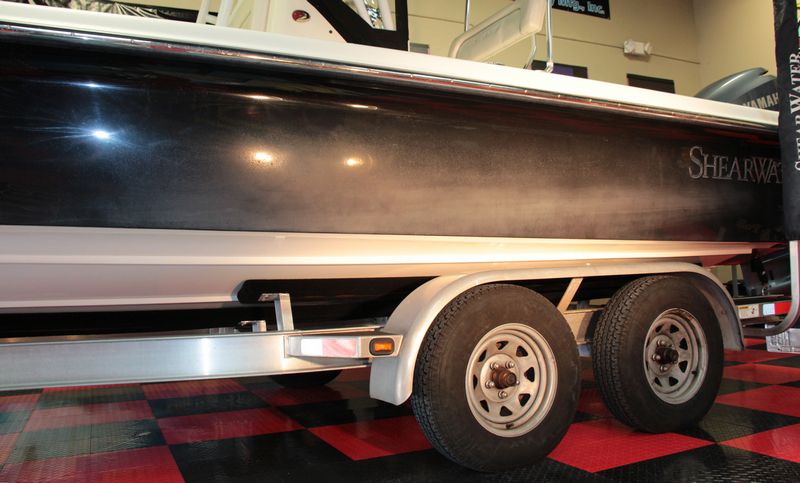

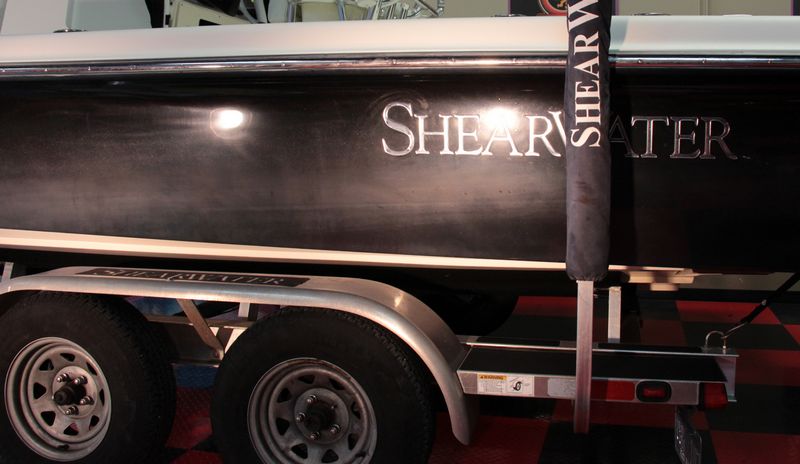
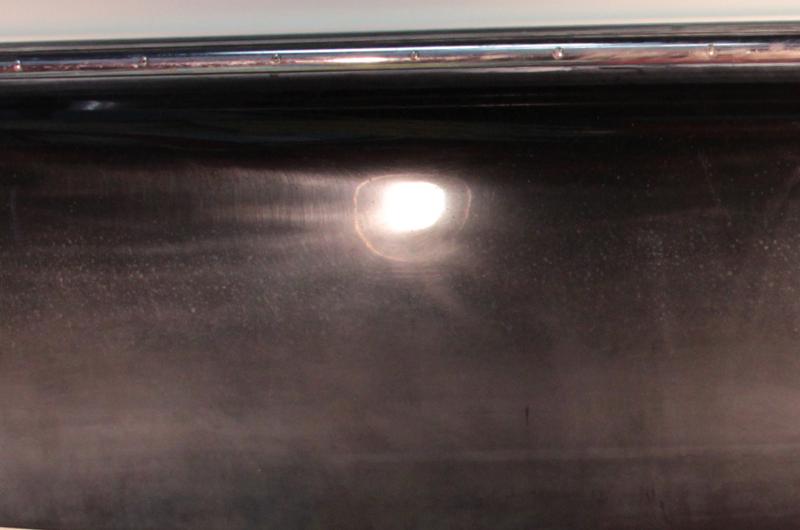

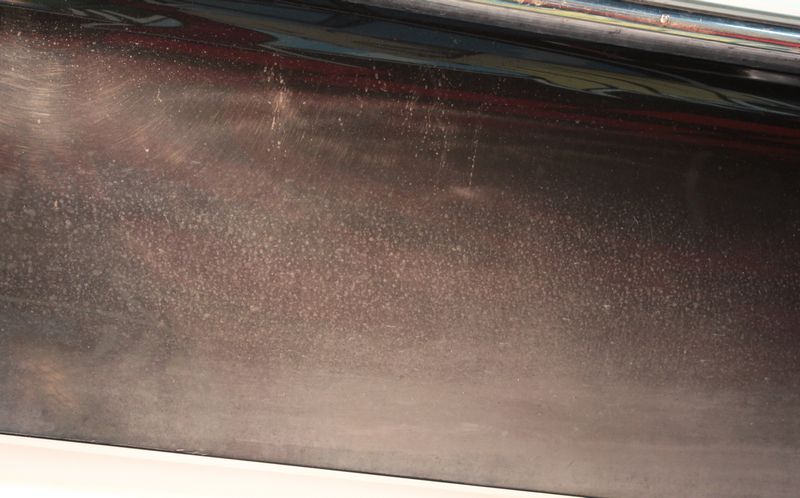
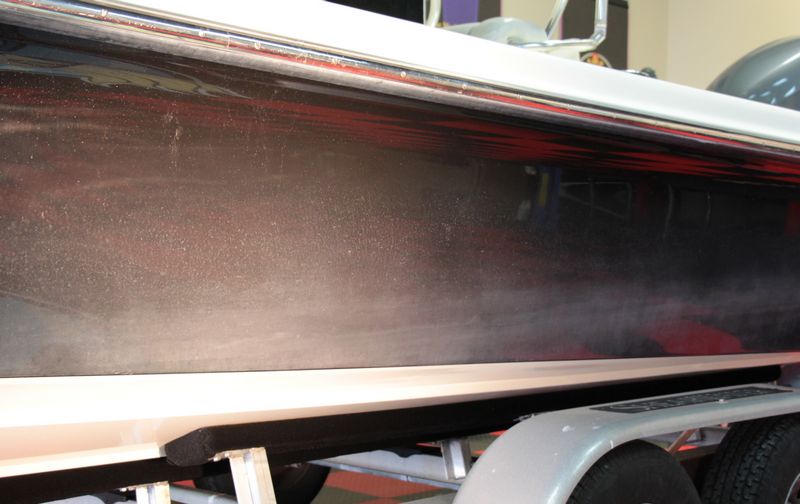


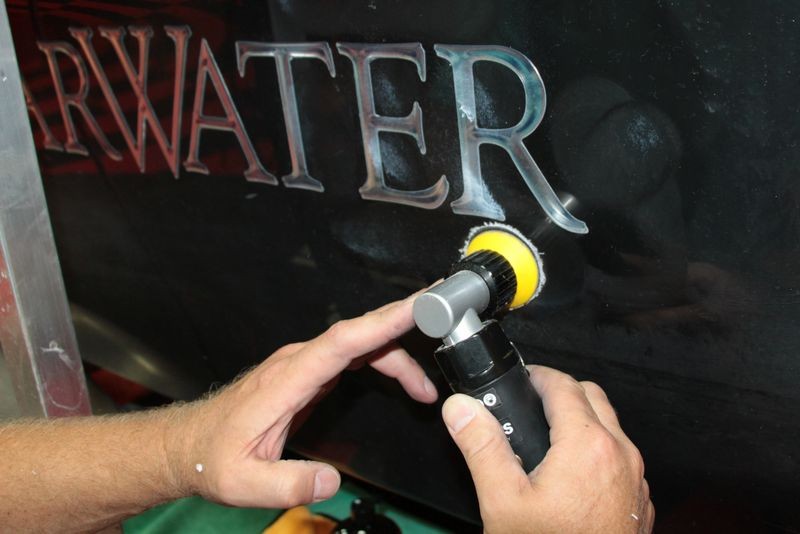


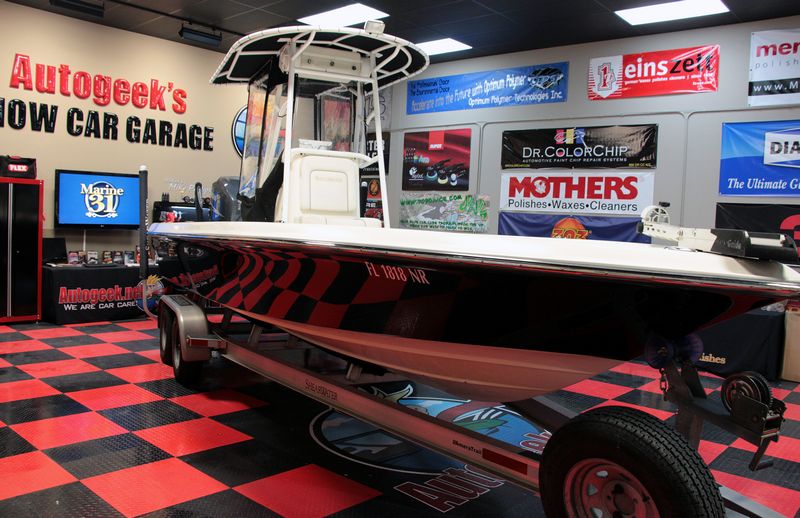
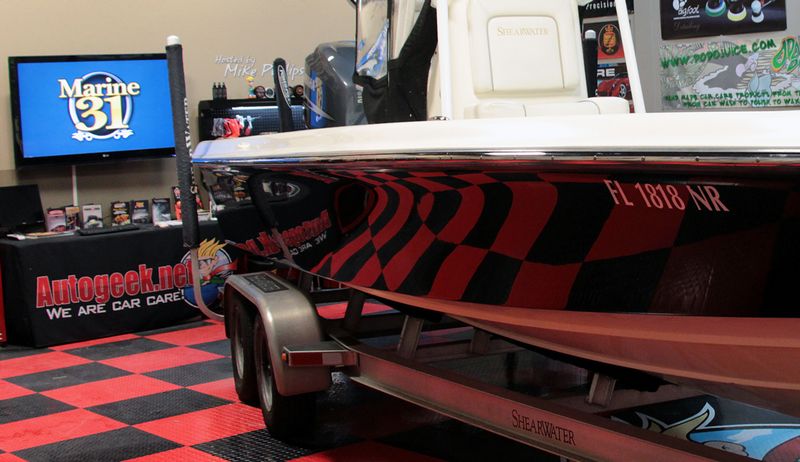


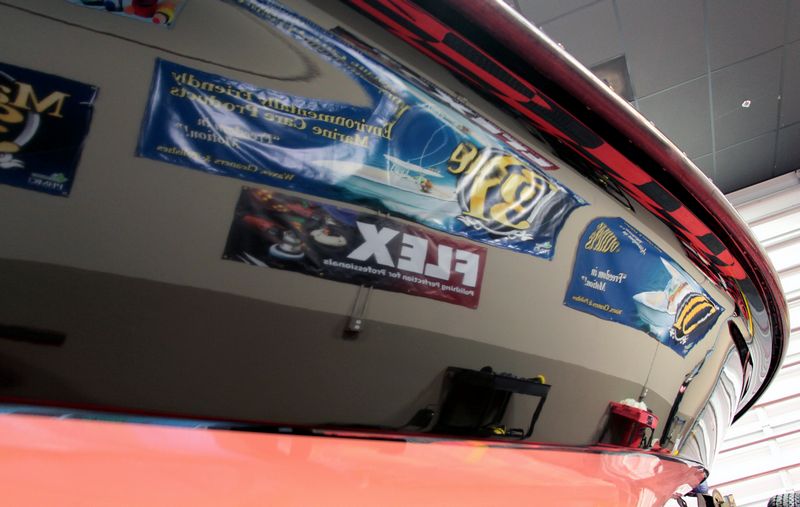
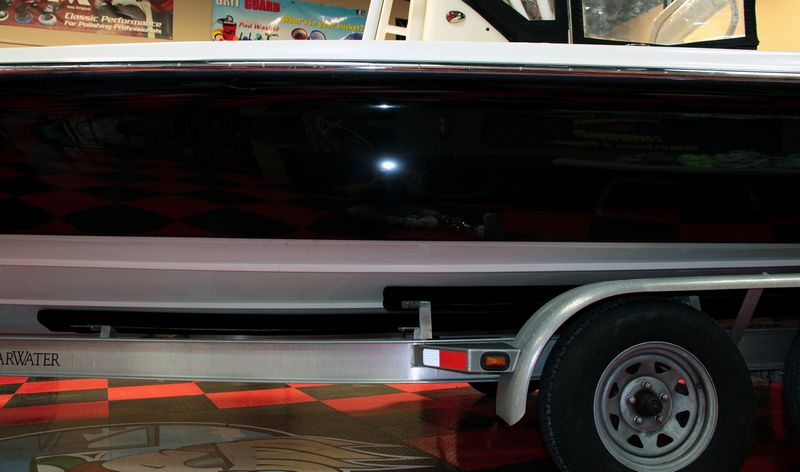
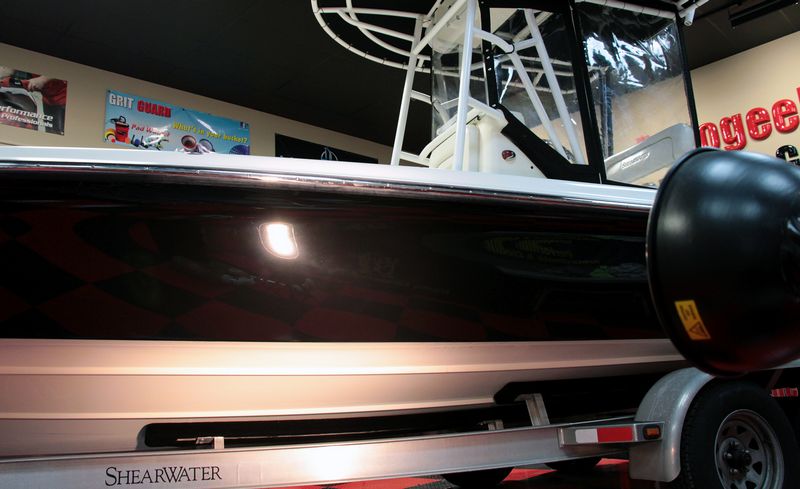
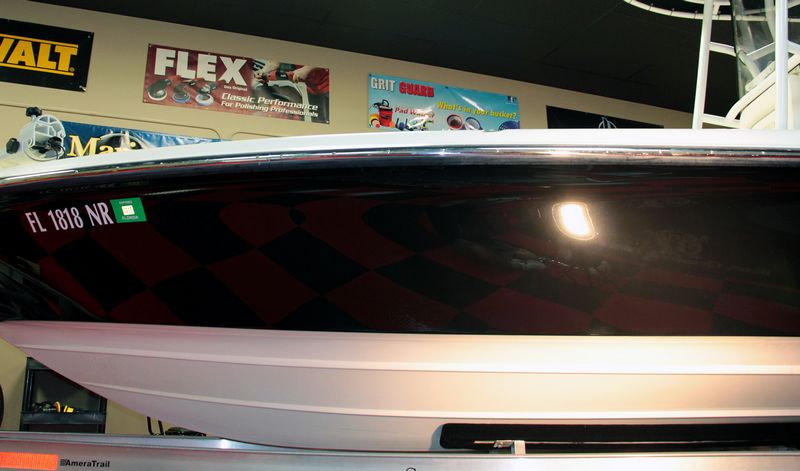
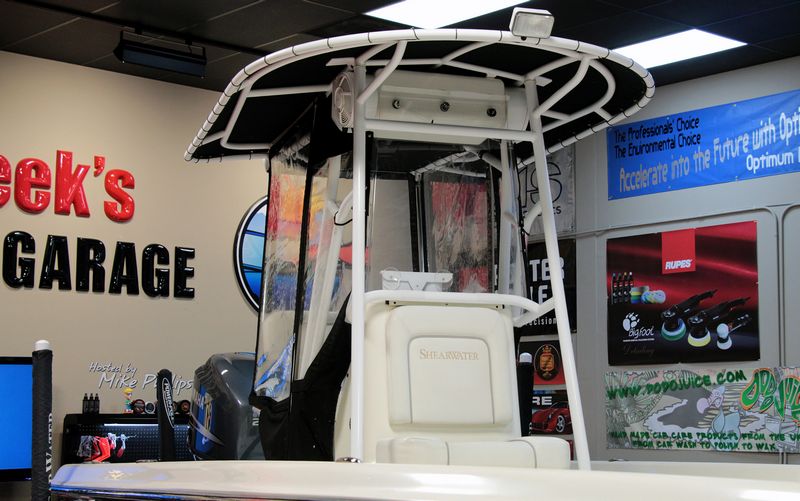
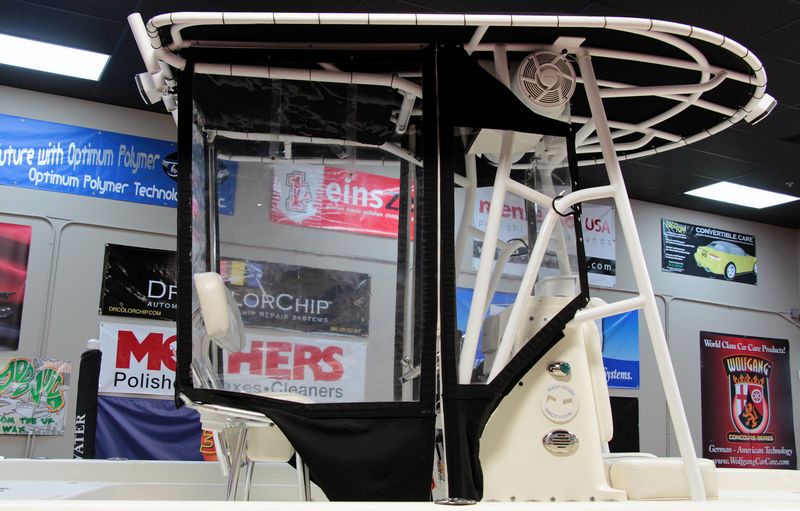
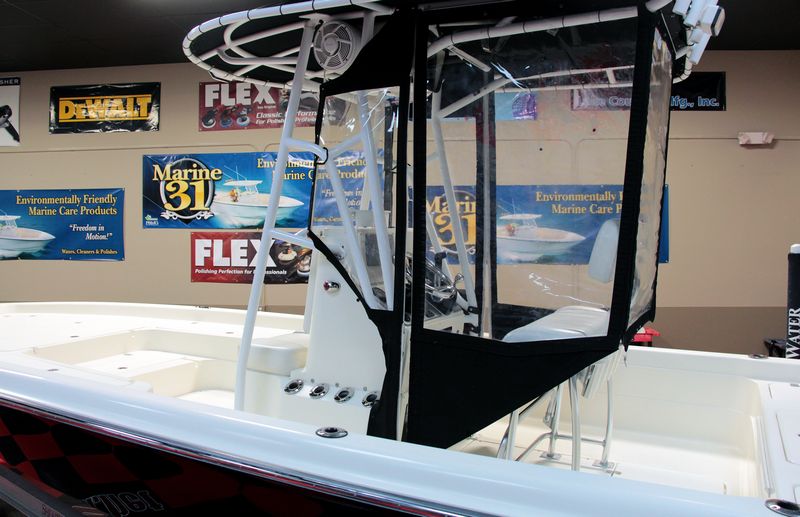
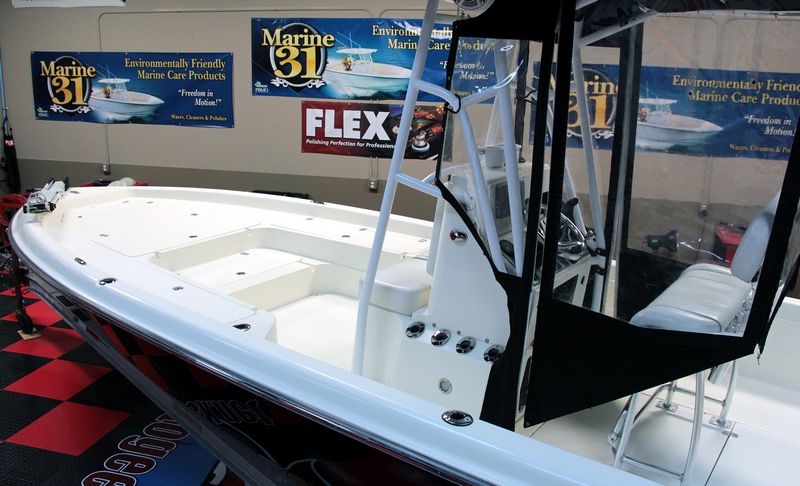
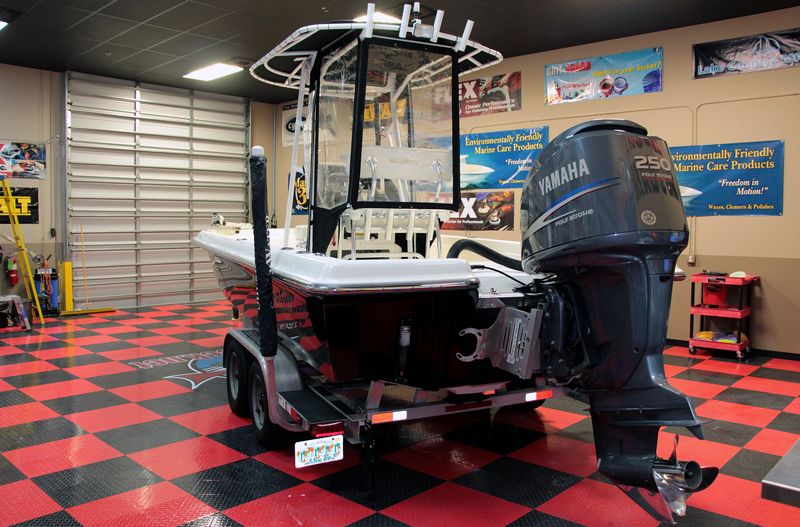
Justin I think you will love the PE8, wish I had seen you were buying one I would happly lent you mine to try. I did almost my whole bass boat with the PE8 and 3-4" pads.
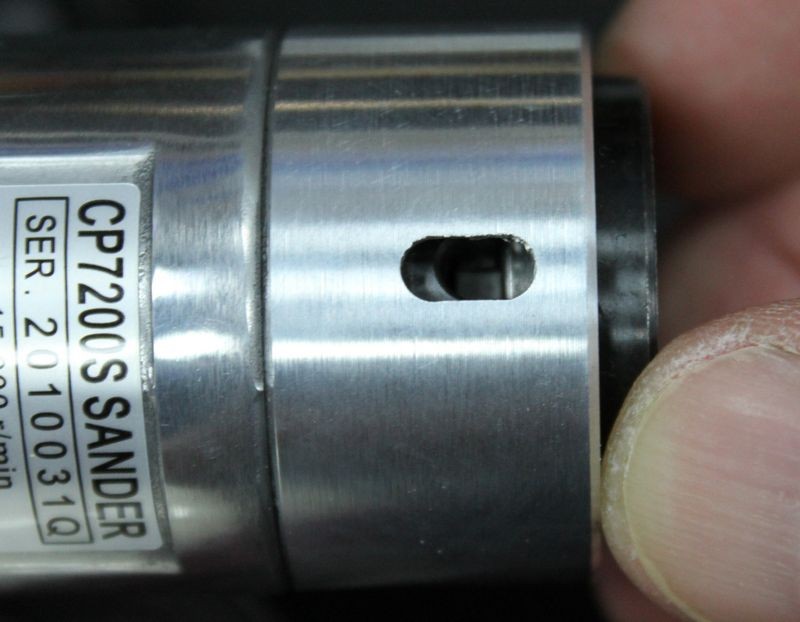
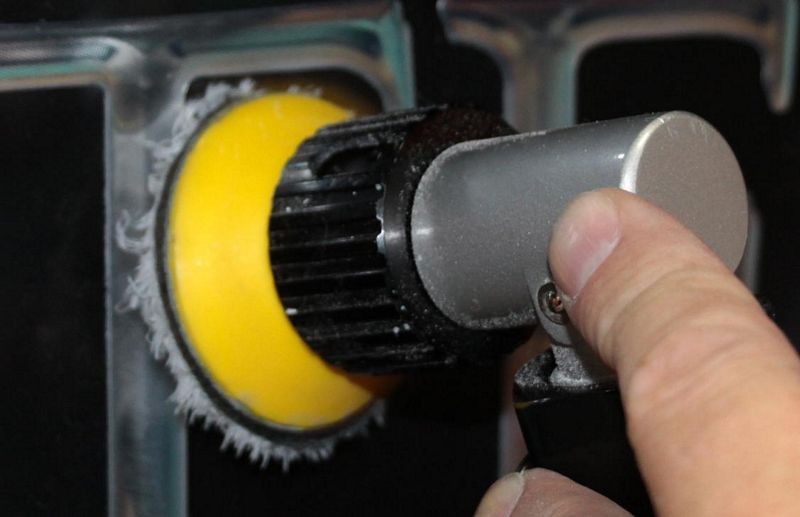
I have the short neck and mine also does this cutting out
Sent from my SM-G955F using Tapatalk
Thanks mwoywod and Mike.
Your info is very helpful.
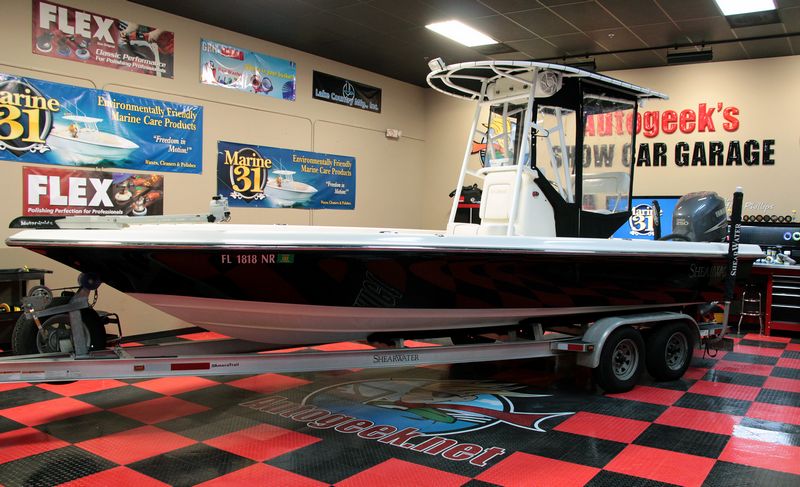
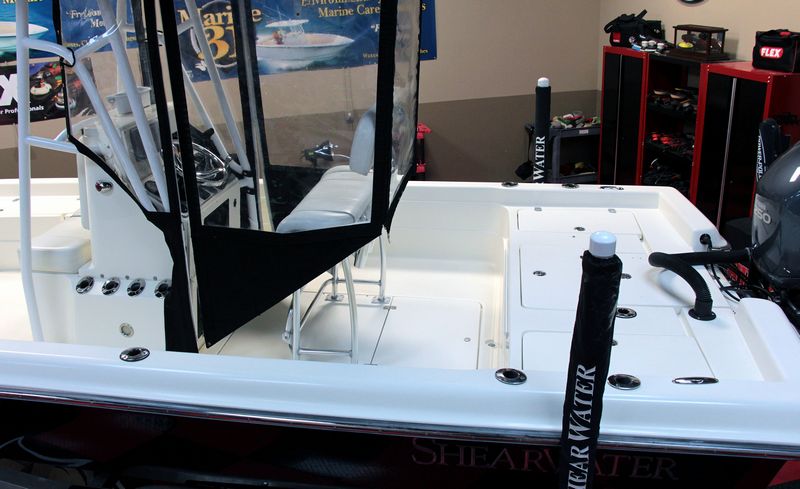
Nice write up Mike! I remember the Shearwater article.
Sending my Ibrid out tomorrow morning.
Mike, thanks for sharing! I hadn't read those two articles before today.
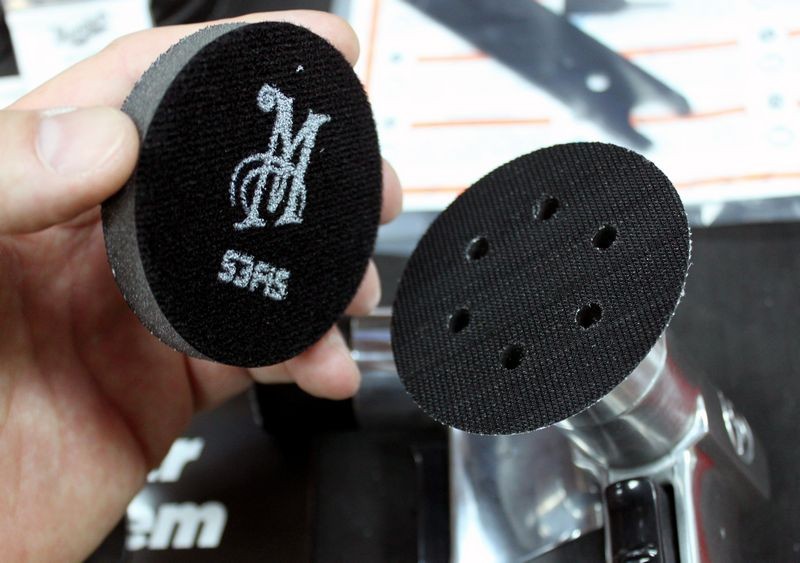
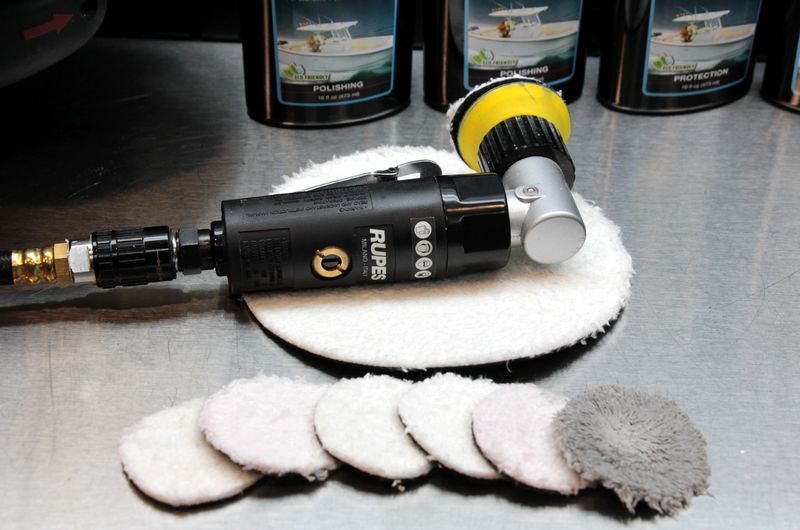
How did you go about cutting those those 6" xtra-cut discs down to 2" disc? Scissors? Box cutter? I'm impressed, they came out pretty symmetrical.
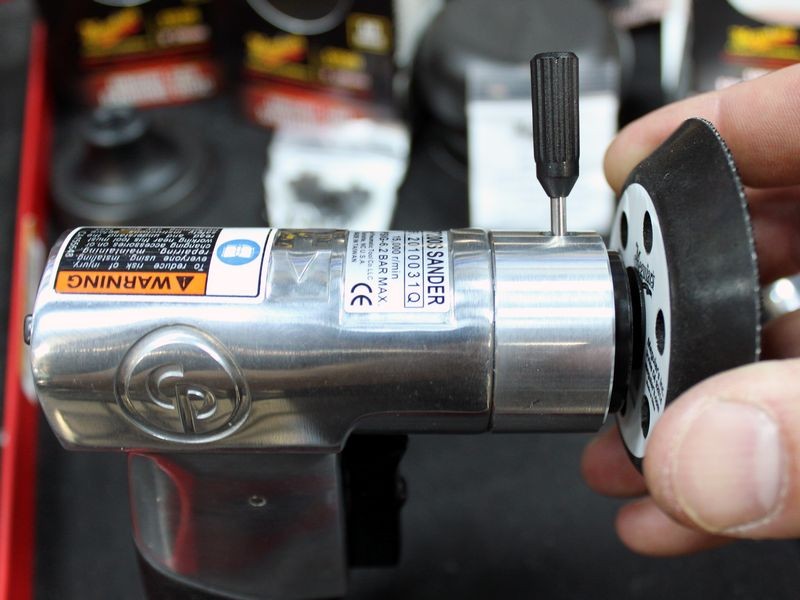
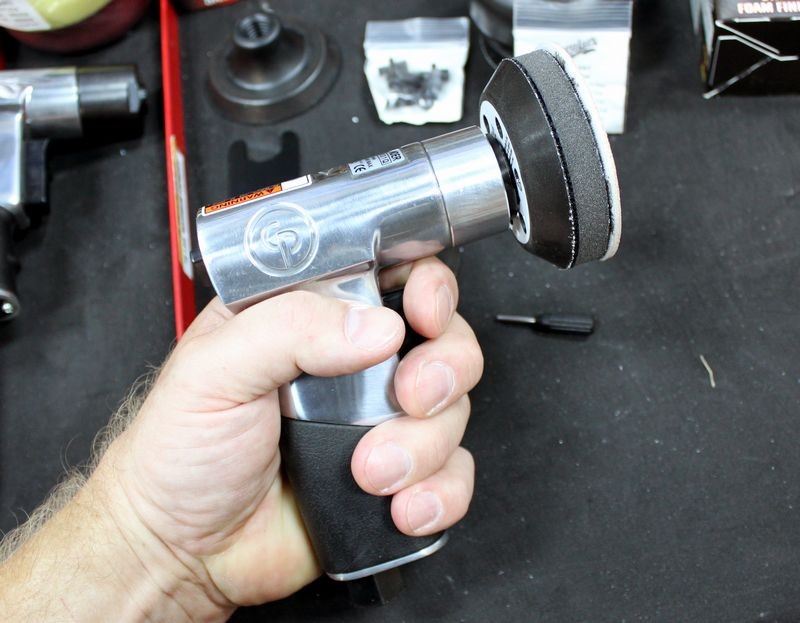
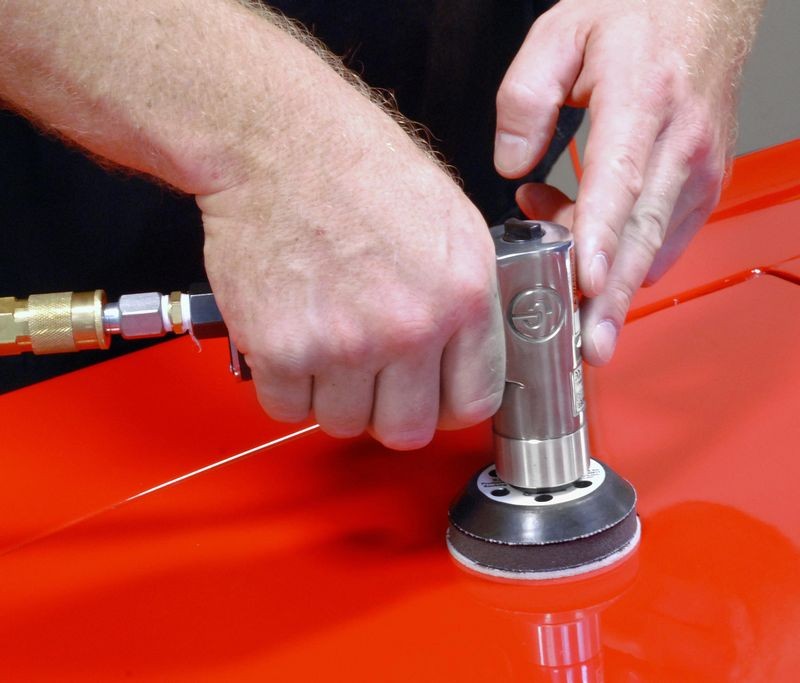
By the way, I've been meaning to ask you why AG doesn't carry a pistol grip 3" pneumatic sander/polisher specifically for headlight restoration?
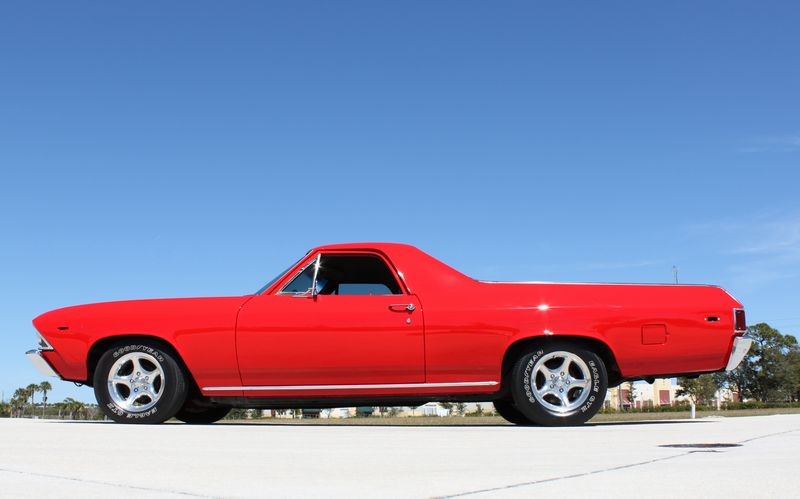
No problem Mike. Like I said I definitely didn't want this to come off as a bash Rupes post. Just wanted to share some frustrating experiences with a tool. When my Ibrid is working I absolutely love it and have stated that over the past months. Thankfully a forum member JSFMX35 overnighted his so I can finish up some intricate polishing on a custom 1963 VW bug before getting it coated.
Your post did not come across as "RUPES bashing" at all. You have EVERY RIGHT to be frustrated as you spent good money on tool, and you have realistic expectations of product durability. We will make this right. I truly am sorry to hear about your experience, as a customer who has been frustrated by similar circumstances (in a completely different industry).
 glad I didn't pay the full rrp the machine is not all it is cracked up I still end up using the rotary and extension bar all the time