Gav'sPurpleZ
New member
- Feb 27, 2012
- 281
- 0
original paint ?
Just wondering why it was so hard.
Afters look amazing
Just wondering why it was so hard.
Afters look amazing
Follow along with the video below to see how to install our site as a web app on your home screen.
Note: This feature may not be available in some browsers.
original paint ?
Just wondering why it was so hard.
Afters look amazing
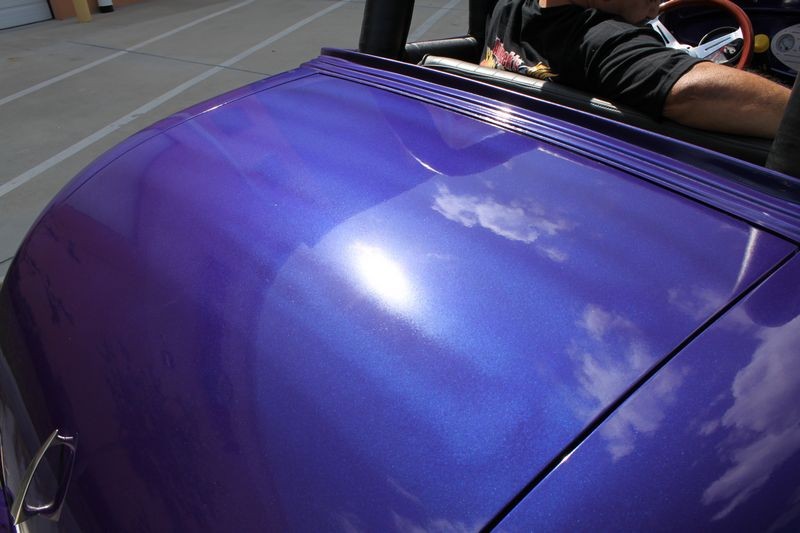
That's it!!!
Tiger stripes...!
Just saw this a minute ago!
How to restore a Barn Find - 1969 Ford Thunderbird - #7 Rub Out + FLEX = 3D products
The GT350 had a series of tiger stripes front to back and vice versa on the roof.
Tom
The car is a base coat/clear coat.
Not sure if term "tiger stripes" is applicable to base/clear paint system.
More like buffer trails???
Tom


")
Hi Mike, fast forward 8yrs.. Do you think the trunk on that 32’ Highboy could be done without sanding, given todays abrasive technology/compounds and DA polishers?
Particularly something like the G21 or Rupes MKll 21..
If you had to do it without sanding, what pad/compound combination would you arm yourself with in order to get the job done or at the very least give yourself the best shot with a 21mm polisher?

