Underpowered BOSS 21 compared to GG6? Help!

Matador

New member
Joined
Aug 30, 2015
Messages
216
Reaction score
0
Hi Guys,

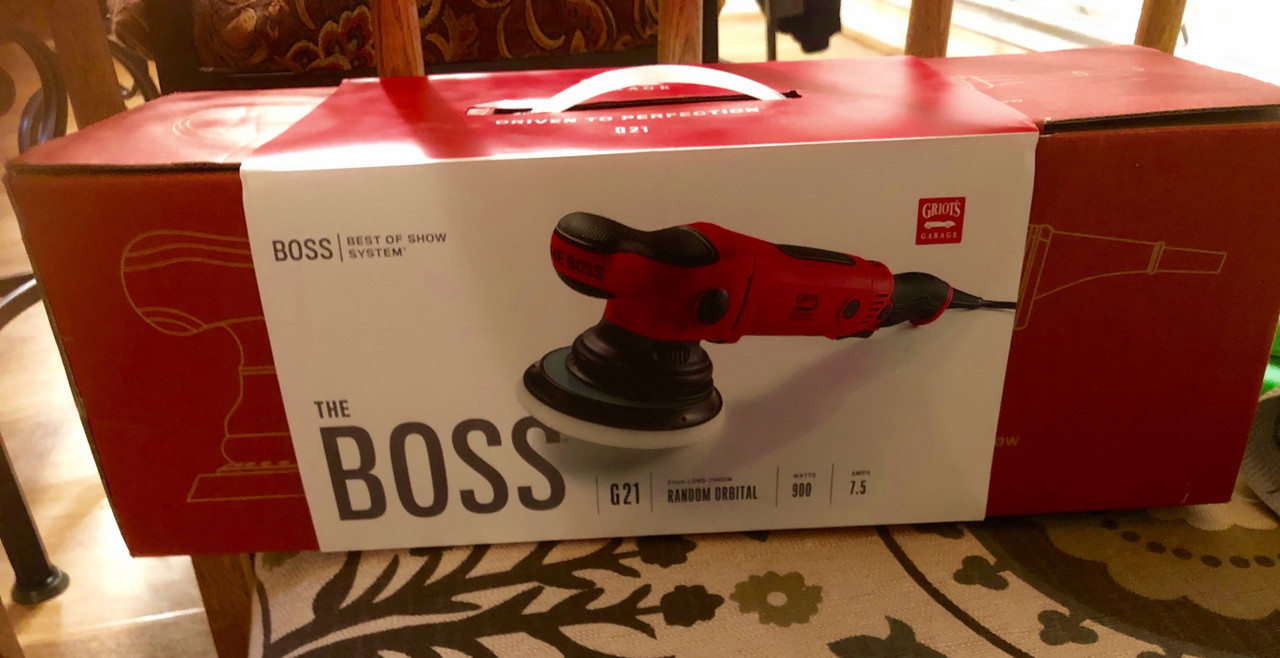
So I tackled compounding my Audi on Wednesday. I was using my GG6 and my BOSS 21 (OG one purchased when it first came out).

After tackling the car with it, I was noticing I was getting just as much correcting with less passes with my old but reliable GG6!

I stopped using it once I had my BOSS 21 when I bought it a couple years ago...so I kind of put it to a side. I was using it for smaller areas on the side and my GG3 for the rear and front bumpers.

Here's a post with more detail on the project I started. Compounding and Polishing 2010 AUdi S4 - Phantom Black (SUPER HARD paint) Progress thread

However, I started this thread because I am severely disappointed with my BOSS 21. I've used it on friends cars which all have been pretty soft paint, so I was shocked when I decided to dust off the old GG6 and compare on some panels.

The GG6 actually worked FASTER, and cut quicker than the BOSS 21 with less passes.

I don't know what that means...is mine defective? I mean I paid a ton of money when it first came out and never noticed how potentially underpowered it is until I really put it to the test on my rock hard Audi paint/compounding.

I paid more than double than my GG6 cost, and now...find my GG6 actually works BETTER?? Feel real deflated...and don't know what to do....

Any thoughts?

Pics:

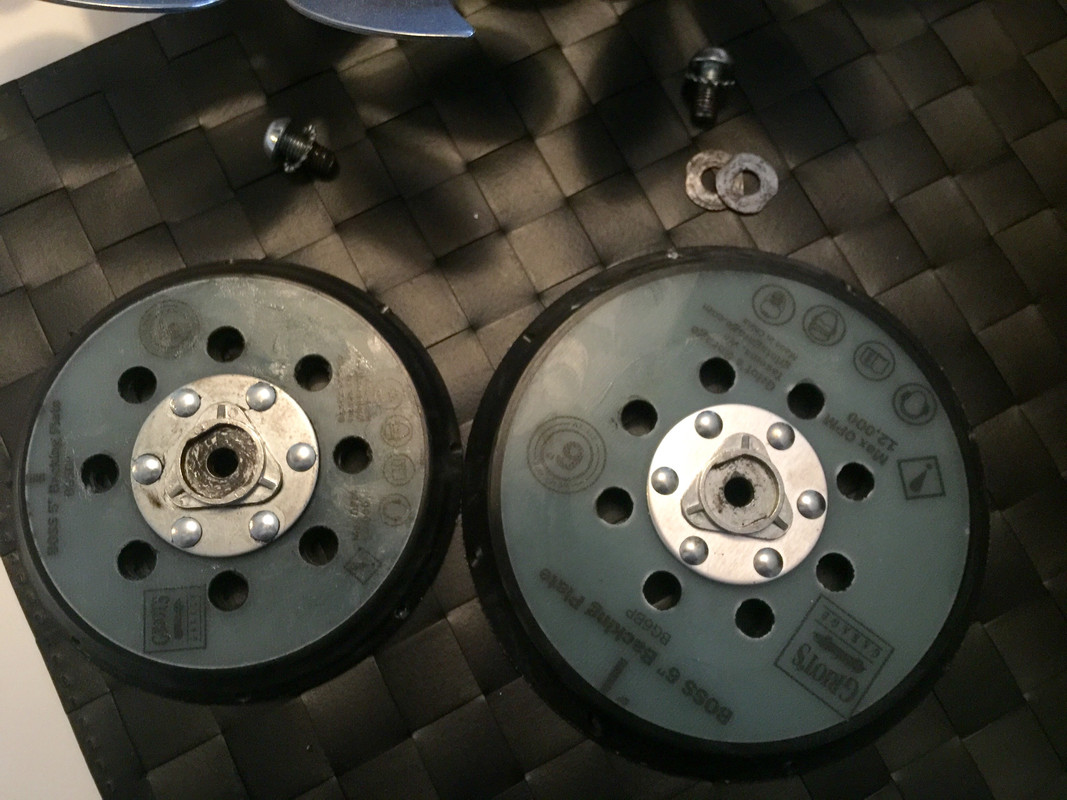
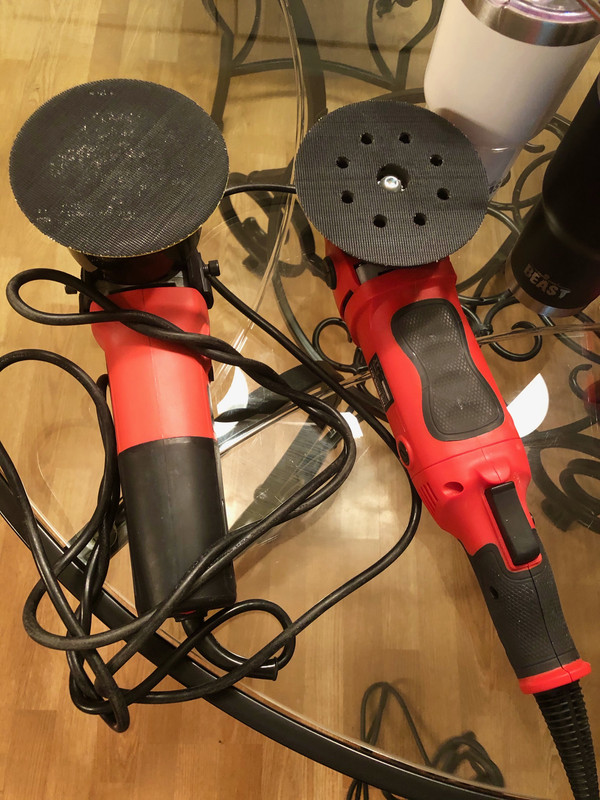
Old reliable vs. my BOSS 21:

IMG-6981.jpg


IMG-6974.jpg
 
From what i’ve read longer throws (21vs8mm) can stall out easier. The correct more area but if your not maintaining pad rotation (pad head rotating in Circle). Mike suggest to mark the backing plate (Iused white out) to have a visual indication that the pad is spinning as well as orbiting.

Your pad will always maintain random orbit and look like it’s working but you will loose “cut” if it is bot spinning as well


https://www.autogeekonline.net/foru...backing-plate-make-easy-see-pad-rotation.html


Sent from my iPhone using Tapatalk
 
From what i’ve read longer throws (21vs8mm) can stall out easier. The correct more area but if your not maintaining pad rotation (pad head rotating in Circle). Mike suggest to mark the backing plate (Iused white out) to have a visual indication that the pad is spinning as well as orbiting.

Your pad will always maintain random orbit and look like it’s working but you will loose “cut” if it is bot spinning as well


Video: Mark your backing plate to make it easy to see pad rotation


Sent from my iPhone using Tapatalk

In regards to pad stall on long stroke polishers vs short stroke polishers, this is an article by Mike which probably describes what you are experiencing;


The ghosting footprint and the actual footprint - Long Stroke Free Spinning Orbital Polishers

Yea. I think that's actually it....

In my case I think it's the backing plate that failed.

I say this because I actually finished the job on the car by switching to my bigger and maybe used once 6 inch backing plate.

I put that on, and the BOSS started working like magic again. And I actually did notice the pad didn't look to be moving correctely when putting on a 'newer' backing plate.

I decided to take pics of both backing plates to see if there's some damage or 'wear' I can see.

If you look below, you can see what looks like the metal on teh backing plate of the 5 inch, starting to wear and I think is the issue here. I am going to call Griots this week to see what they think or can do here.

Cause they did release the new version of my machine, which makes me wonder if this was one of the big reasons why...

left is 5inch backing plate and right is 6 inch backing plate. I use the 'two washers' supplied by Griots to give space so the 'shroud' doesn't rub (per Griots instructions):

IMG-6995.jpg


This is the 5inch backing plate. You can see the metal looking to 'wear':
IMG-6993.jpg


As comparison, same angle of the almost unused 6inch plate that I maybe used once before I used it yesterday:

IMG-6994.jpg


Can you see the difference? I am not exactly sure why...but I think the backing plate failiure is contributing to the lack of rotation somehow and cutting power.

The thing about it that is most concerning...I maybe used the BOSS 21 with my 5 inch plate on 5-6 jobs TOPS.

And for it to already fail in this manner after all of that is worrisome.....not to mention how much dough it cost me when it first came out.
 
To the OP, didn't the 21 come with a 6" and not a 5" backing plate?
 
You used both washers at the same time? Only one washer is needed to prevent contact with shroud. If you do both you may get it to the point where the plate is not secure and spins in there, could be why your metal looks slightly worn.
 
Correct I did two because one didn't clear teh shroud. Only with two did it not rub on the shroud anymore.
 
You used both washers at the same time? Only one washer is needed to prevent contact with shroud. If you do both you may get it to the point where the plate is not secure and spins in there, could be why your metal looks slightly worn.

I would agree - that looks like the hardware wasn't fully secure, allowing the plate to move around (if only minutely) on the machine. I don't think this would be the sole culprit of what you're experiencing through.

From reading your other post, I do have to wonder if there isn't some element of technique at play as well. You mentioned you had the backing plate fail on your GG3 from doing bumper work. In all my time reading here, I don't think I've seen one report of a backing plate failure on that machine.

Just to have the whole picture, how many of what pads are you using, and at what speed are you running the machine? How much downward pressure? My understanding on the long throws is that (unlike a short throw machine like the GG6 you finished with) you use less pressure and let the pad travel do the work. Shorter throw machines or forced rotation you put more weight into (within reason). If you were putting 2 washers in to keep the backing plate from hitting the shroud, I'm wondering if you're not letting the machine work as designed.
 
Maybe use some JB Weld between the two washers to make them one so they aren’t slipping. Of course, JB Weld off the machine and let dry fully before replacing on the buffer.
 
I would agree - that looks like the hardware wasn't fully secure, allowing the plate to move around (if only minutely) on the machine. I don't think this would be the sole culprit of what you're experiencing through.

From reading your other post, I do have to wonder if there isn't some element of technique at play as well. You mentioned you had the backing plate fail on your GG3 from doing bumper work. In all my time reading here, I don't think I've seen one report of a backing plate failure on that machine.

Just to have the whole picture, how many of what pads are you using, and at what speed are you running the machine? How much downward pressure? My understanding on the long throws is that (unlike a short throw machine like the GG6 you finished with) you use less pressure and let the pad travel do the work. Shorter throw machines or forced rotation you put more weight into (within reason). If you were putting 2 washers in to keep the backing plate from hitting the shroud, I'm wondering if you're not letting the machine work as designed.

I think you may be spot on with the hardware not being secure.

I think the washers put stress on the backing plate, and as a result has caused this issue.


I don't think the problem lies with the user error component. I had like 4 MF pads, but kept switching them out and blowing them with compressed air. I wasn't putting much pressure, more so weight of the machine, and it just wasn't cutting as well as the GG6. That's when I knew something was wrong. Speed was like 2.5-3.

Once I put the 6 inch plate (day 2, polishing day), and was polishing with the 'new' plate and pads, it was finally working how it should!

I will reach out to Griots and see what they have to say or if there was a defective batch of backing plates or something.

Thanks for the input so far!

Edit: And here's a thread where they're talking about what happened to my plate a couple years back. I am sure this is something Griot's have heard from other users already. https://www.autogeekonline.net/foru...ers-how-many-do-you-use.html?highlight=washer


Maybe use some JB Weld between the two washers to make them one so they aren’t slipping. Of course, JB Weld off the machine and let dry fully before replacing on the buffer.
Interesting suggestion...but I'll see what GG has to say first. Thanks for the input!
 
In regards to pad stall on long stroke polishers vs short stroke polishers, this is an article by Mike which probably describes what you are experiencing;


The ghosting footprint and the actual footprint - Long Stroke Free Spinning Orbital Polishers

I apologize--but I forgot to respond back to this! Thanks for the link. Makes it a bit easier to understand what is going on and why the 'pad stall' from the sounds of it.


Anyway--an update: I spoke with Griots customers service, who may I add is the best! I let the woman know a bit about my situation, and what her thoughts were on what could be going on--she said it's either the brushes or the backing plate. After I letting her know the machine was working better/like it should using the 6 inch, she agreed to sending me a new 5 inch backing plate!

No pics needed, no 'send the failing plate in for inspection' or anything like that.... one word for tehir customers service--AWESOME!

She also mentioned for her personal machine (she has the 21 older model BOSS), she suggested I look into taking off the shroud completely because thats what she does to avoid rubbing or using washers. She said you just peel it back and slips off. I had no idea!

This is something I may try when using the machine next...but decided to whip out the 21 BOSS and see what she was talking about. It really does pull off pretty easily!

Posting this up for anyone that may be interested in trying this out in the future who may have the same issue as I had. This for sure would fix the 'rubbing against the shroud' issue so may not need spacer at all!

And after doing some more reading on this, I saw some people suggested cutting it that 'lip' with a razor blade too. But this is one way to just take it out of the mix completely without having to permanently do anything to your machine! Food for thought...


Edit: Is there any maintenance I need to do with the metal parts shown below?


11-A69-DDA-63-F9-4992-AA53-22-BB9-BFD0717.jpg
 
Update:

So received my replacement BOSS 5 inch plate tonight. Thanks again to Griots and their awesome customers service.

Some accompanying pics below.

Here is a pic of the new 5 inch plate:

IMG-7041.jpg


In comparison, here's the old 5 inch plate:

IMG-7040.jpg


And here's the older version side by side with the 'new' plate:

IMG-7039.jpg


Anyone notice any differences? It looks like the material in the middle that mates to the machine is different, right? I am assuming this must be some type of 'update' compared to the older version?


I also was given a new 'screw' but strangely enough, the old key that I use didn't work because it's a difference size. Luckily I had the right Allen key for it here. I tried to screw it in with the old washer and the screw wouldn't go in all the way!

That has me stumped. Is that a screw for a newer machine or something? Is that why it isn't working? It's longer than the original screw.

IMG-7042.jpg


And here's a pic showing the two screws from the top (and how they're two different Allen sizes). Black is the new screw.

IMG-7043.jpg


Last question. Do I need to have a washer in the back now that I will probably try this machine without the 'dust' cover? Or am I OK just running it without any washers at all (on the back side)?
 
Thanks. Will def be running it without the washer/spacer.
 
Update:

So received my replacement BOSS 5 inch plate tonight. Thanks again to Griots and their awesome customers service.

Some accompanying pics below.

Here is a pic of the new 5 inch plate:

IMG-7041.jpg


In comparison, here's the old 5 inch plate:

IMG-7040.jpg


And here's the older version side by side with the 'new' plate:

IMG-7039.jpg


Anyone notice any differences? It looks like the material in the middle that mates to the machine is different, right? I am assuming this must be some type of 'update' compared to the older version?


I also was given a new 'screw' but strangely enough, the old key that I use didn't work because it's a difference size. Luckily I had the right Allen key for it here. I tried to screw it in with the old washer and the screw wouldn't go in all the way!

That has me stumped. Is that a screw for a newer machine or something? Is that why it isn't working? It's longer than the original screw.

IMG-7042.jpg


And here's a pic showing the two screws from the top (and how they're two different Allen sizes). Black is the new screw.

IMG-7043.jpg


Last question. Do I need to have a washer in the back now that I will probably try this machine without the 'dust' cover? Or am I OK just running it without any washers at all (on the back side)?

Can we get a pic of the new plate on w/o dust cover?


Sent from my iPhone using Tapatalk
 
Will do! Don't have access to the machine until probably the weekend. Will have a pic when I have a chance to snap one.
 
Back
Top