Wildtrak Seat Trim Replacement
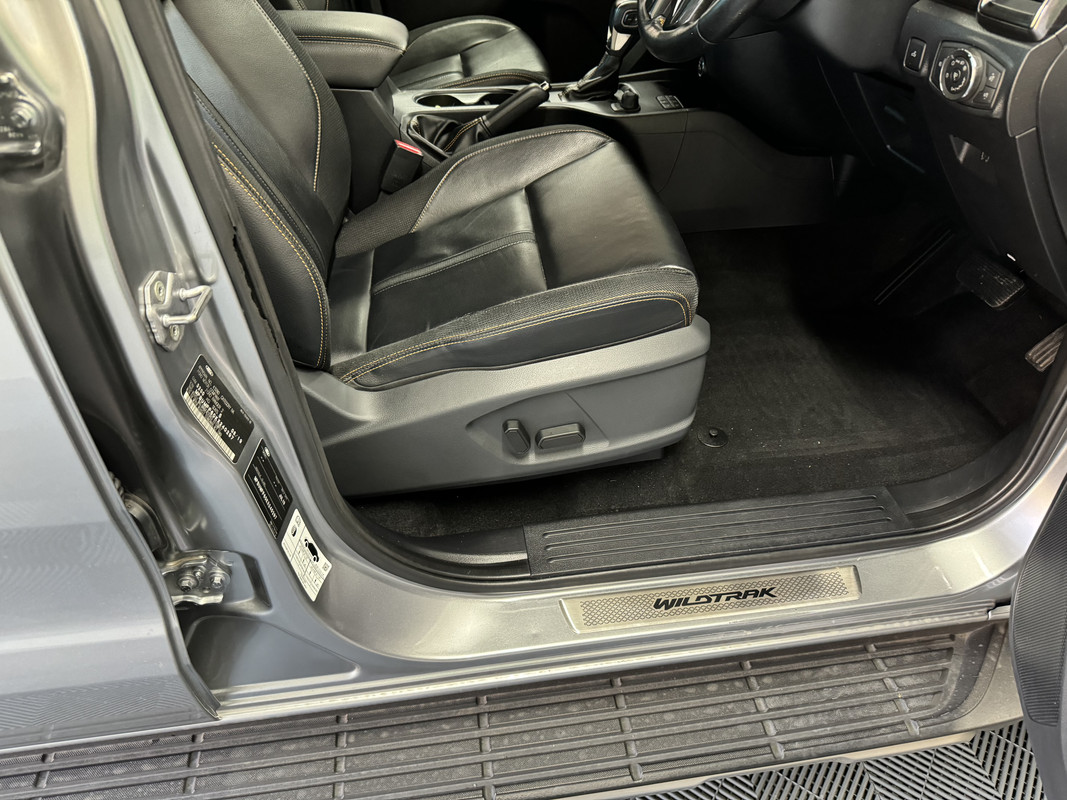
Some time ago, the drivers side seat base trim valance on the Wildtrak broke. From memory, the XLT that this car replaced also did the same, so I’m pretty sure this is a common failure part.


From what I can tell, the way the trim is shaped and attached to the seat has it subjected to substantial pressure as the driver enters and exits the vehicle. Repeated cycles of compression and release sees the plastic fatiguing over time, which then leads to it cracking.
Could I have made a warranty claim on this failure? Perhaps, but unlikely. Apart from the fact that its just outside of warranty now, Ford would likely claim it as wear and tear, which is fair enough. As such, I decided to order the part from Bayford and do the job myself.
There are a few different versions of this part, all dependent on trim and model spec, and of course driver or passenger orientation. For example, the same part in my Ranger would not have cut-outs for power seat adjustment but would have a mechanical backrest lever. There are also two versions for the 8-way powered Wildtrak, with or without seat heating. This particular Wildtrak is not equipped with seat heaters. At this point, I would list the part number and provide the link, but more on that in later.
First, I removed the two electric seat adjustment levers with my fancy skin wedge tool. There is also a singular Phillips head screw on the rear of the seat. The trim is then "massaged" from the locator tabs.

Next, remove the two screws holding the switch module to the trim, you then need to release it from the tabs.


For the new trim, refit the switch module, then wrangle the trim into place to align and then snap into the three locator tabs, replace the rear screw. The adjuster levers then snap back into place. But........................
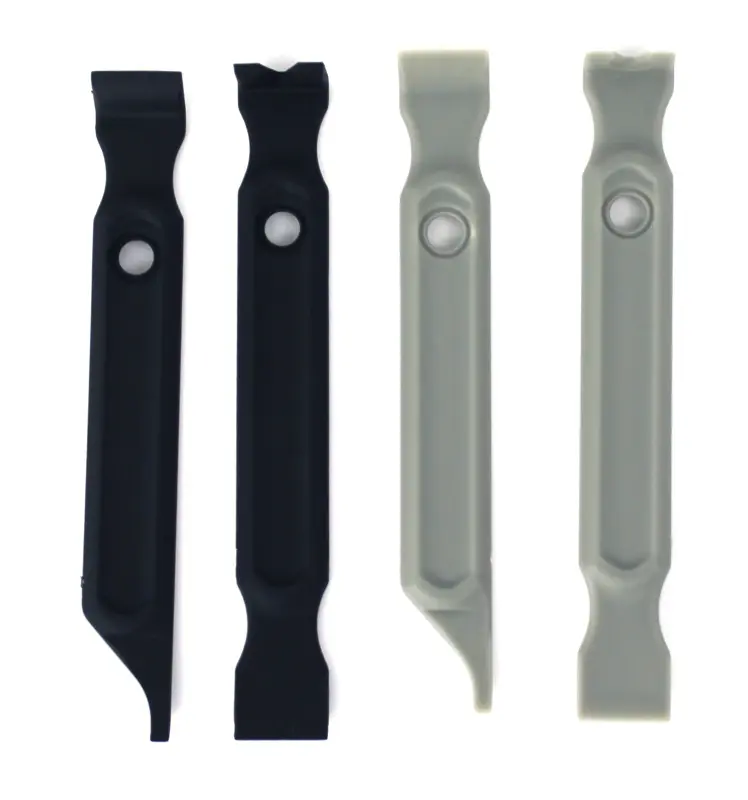
Despite being a professional online shopper, for some reason I bought the wrong part. I think the new one is for an XLT and not the Wildtrak with its black rather than grey plastics. I've tried searching the part number for the old piece, but I can only find the grey version.
Does it matter? To me it does, to my father, not at all. I might try and track down the correct part, but I guess its not critical concern. I'm just chuffed I managed to do this myself.
Whilst I had the car, I also gave it the monthly wash. This was my second use of the XL version of the Detail Factory tyre brush.

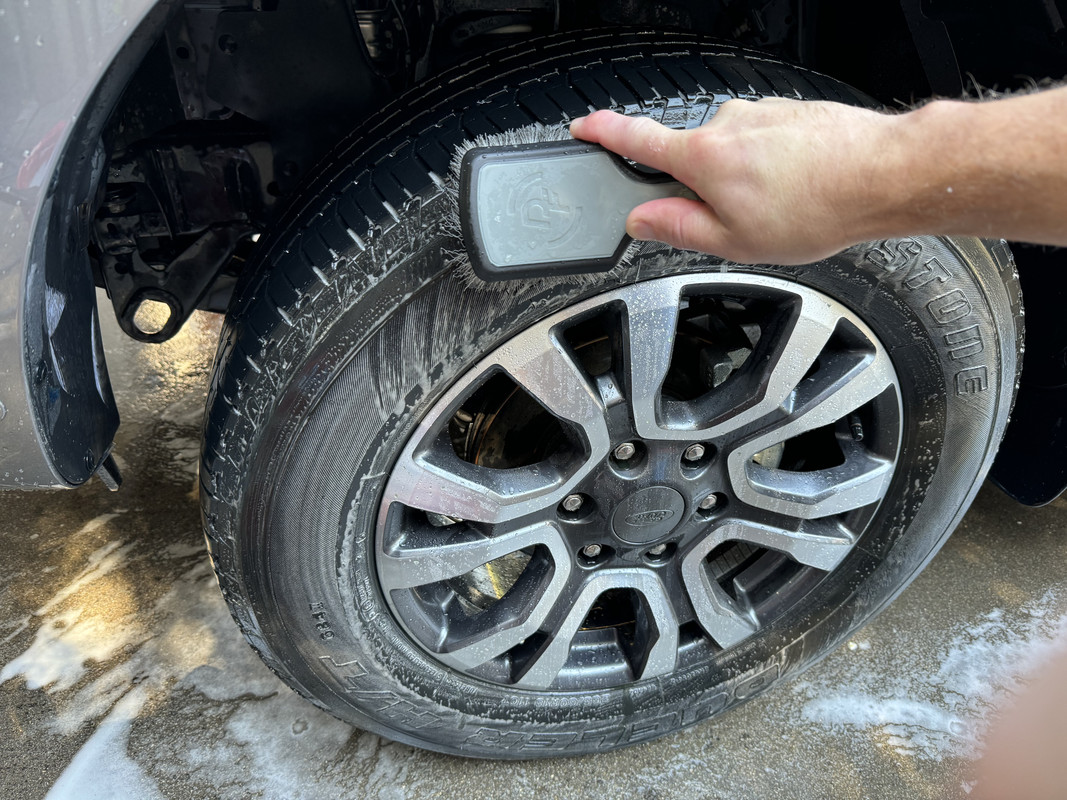
While the XL version doesn't have the same joyous flex to the bristles when compared to the original, it's still a very nice user experience and makes short work of these large tyres.
The pre-wash on this car was Bilt Hamber Touchless, used neat in the foam cannon. My earliest attempts using this soap were unsuccessful due to the flow of my Kranzle KHD-10 diluting it too much. So, I use it straight/un-diluted in the foam cannon canister.
Following the pre-wash, which removed all of the bugs and general road grime, I decided to use Koch Chemie Nano-Magic Shampoo, basically a fancy wash-n-wax. Normally, a soap like this would not have enough cleaning ability to deal with this car, but because of what Touchless can do, I decided to give it a try.
Nano-Magic was not designed for foam cannons, it really doesn't foam, but I did anyway to at least get it onto the paint like I normally would. It's also strangely lacking in lubrication compared to a pure soap.

The car was then dried with the excellent Meguiar's Hybrid Ceramic Detailer, tyres dressed with 1:1 Perl, the interior wiped down with Griot's Interior Cleaner, leather given a once over with ONR.
I also got the XR6 out for a drive, taking the loooong way to the Big-Green-Shed. This gave me a chance to really lean on those new brakes, which now gives me confidence to drive the car hard. That same low speed smoothness that I was impressed with initially translates to performance driving as well. I did get them to fad a little bit in the end, but they don't start shuddering after two heavy applications like the stock setup would. The Project MU pads do produce more dust than the OE Ford pads, but not terrible like Brembo pads do. I'd still love to put Brembo's on this car, but overall, I'm happy with how the changes have translated.


