Matt S.
New member
- Jan 24, 2007
- 1,909
- 0
Did this car for a local forum member, and WOW it was terrible. I really didn't think I would be able to do much with it, but it came out really nice.
This was my first time using Meguiars 105 - it has a bit of a learning curve to it, but once I got that down, I almost felt like I was cheating. It broke down almost instantly, removed most defects in 1 quick pass, and finished up super nice, especially for such a strong compound. What also surprised me was how effective this compound was with the Flex, as it is designed for rotary + wool only.
Process was as follows:
-Wash with P21S
-Clay with Wolfgang Elastic Poly Clay (went straight in the garbage afterwards!)
-Poorboy's Spray & Rinse on wheels and tires
-Poorboy's Bold 'N Bright on tires
-Meguiar's M105 Compound - Flex XC3401 w/yellow 6.5" LC cutting pads
-Meguiar's M80 Speed Glaze - Flex XC3401 w/green 6.5" LC polishing/finishing pads
-Duragloss 105 Total Performance Polish - Flex XC3401 w/blue 6.5" LC finishing pad
The car is a 1993, and the driver's side was repainted at one point. Initially, the driver's side looked better since it was newer and less oxidized/swirled, but after the job was done, the 16 year old paint on the passenger side looked better IMO.
After using M105, I switched to a green pad on used M80 Speed Glaze. 1 pass of each was used, but I did 2 passes on the roof since it was pretty bad.
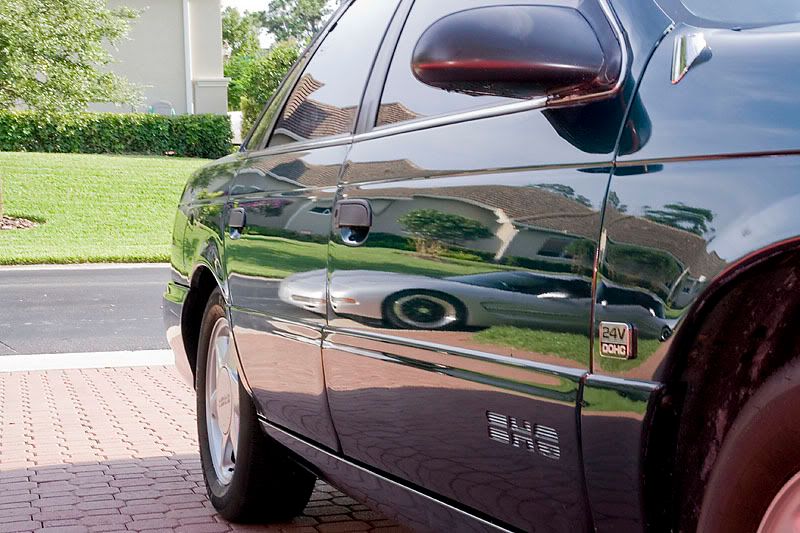
Overall, I got 95% of the swirls out (a few remained on the roof), but I was very satisfied in how the car came out, as was the owner.
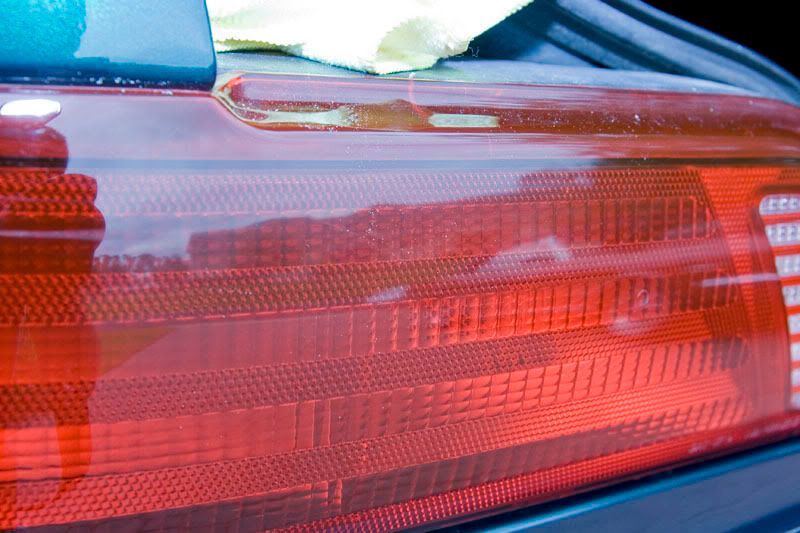
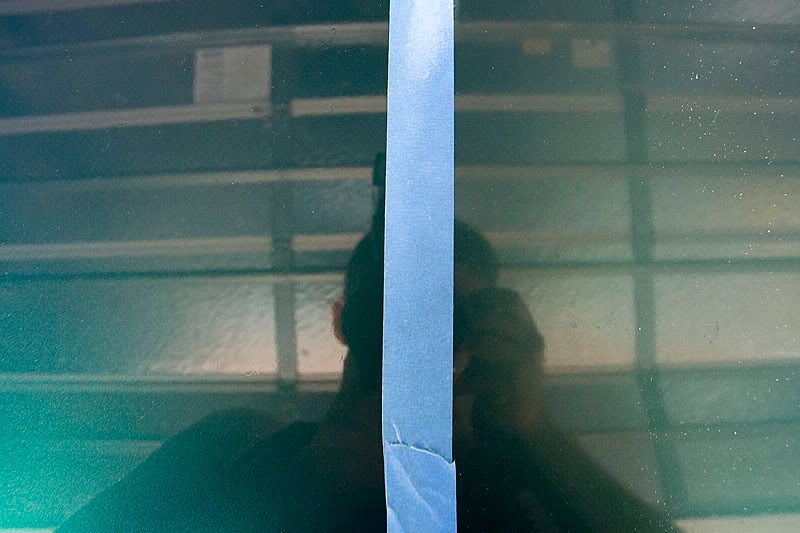
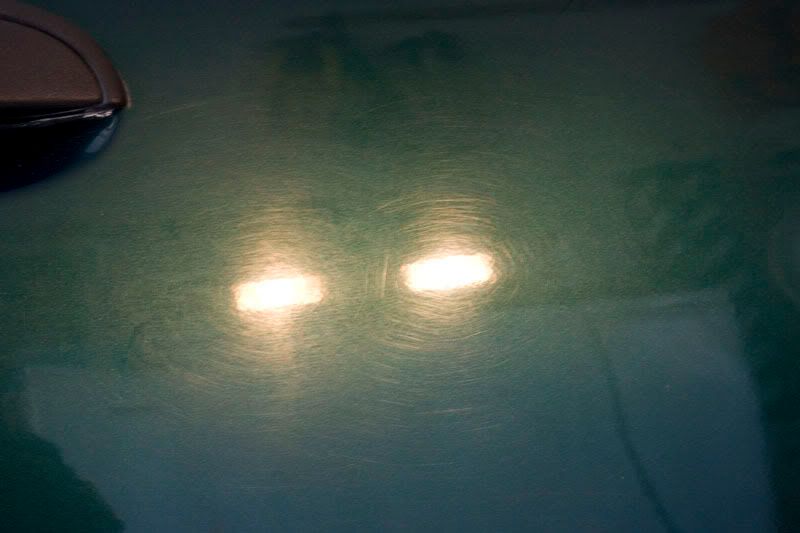
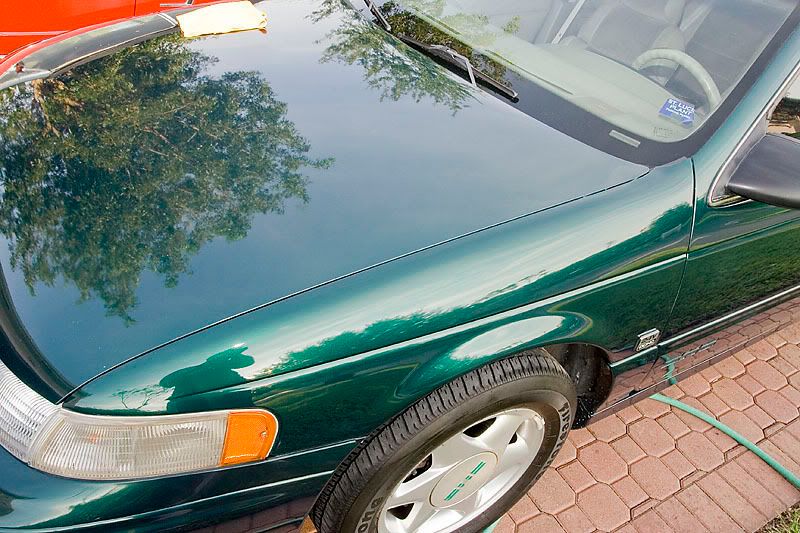
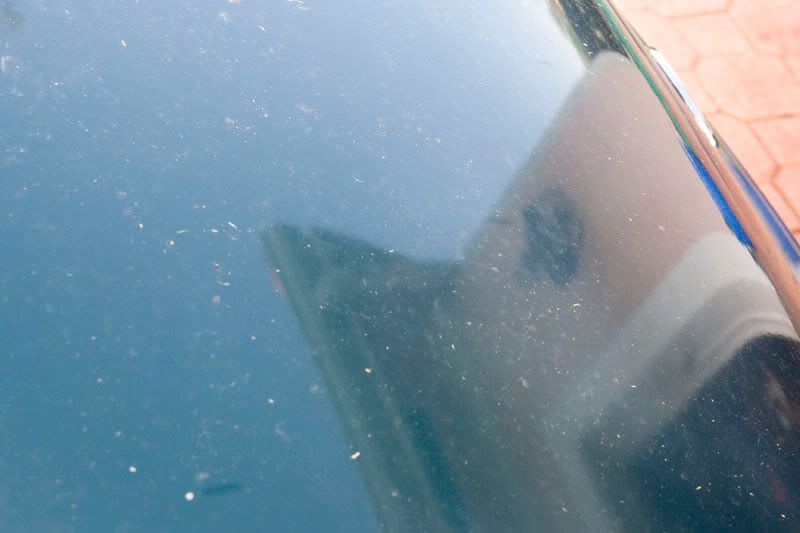
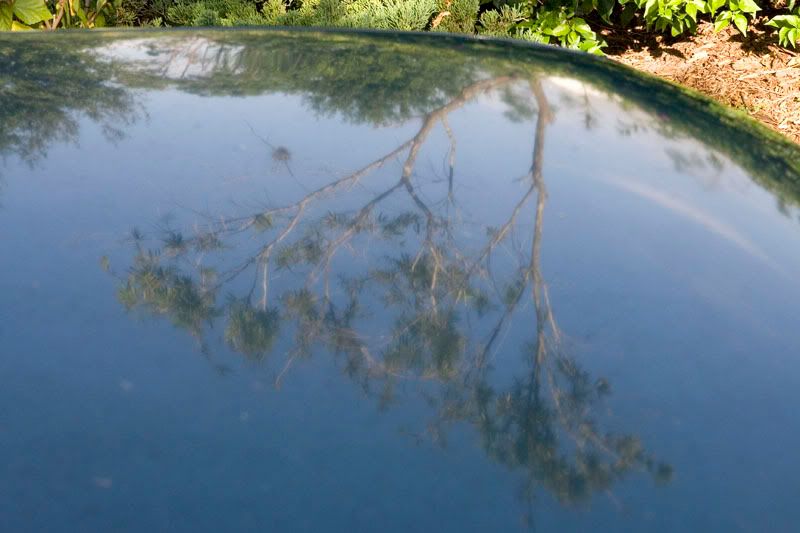
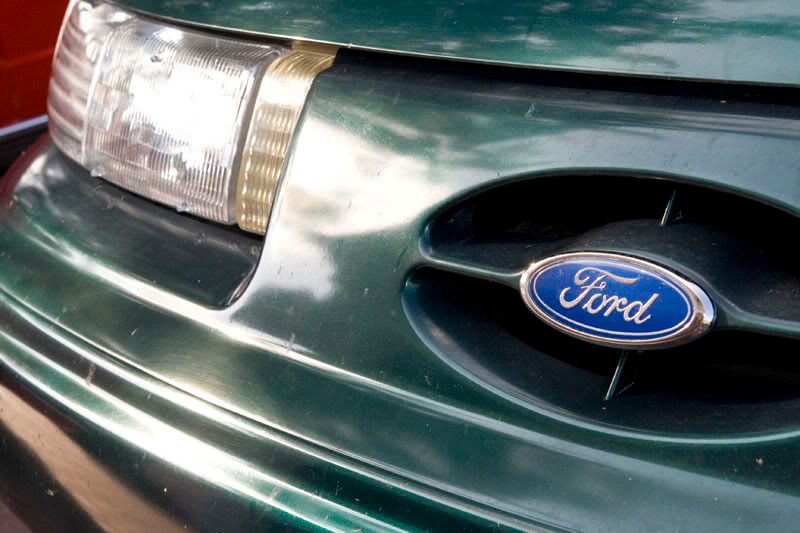
Here is what the car looked like when I received it:

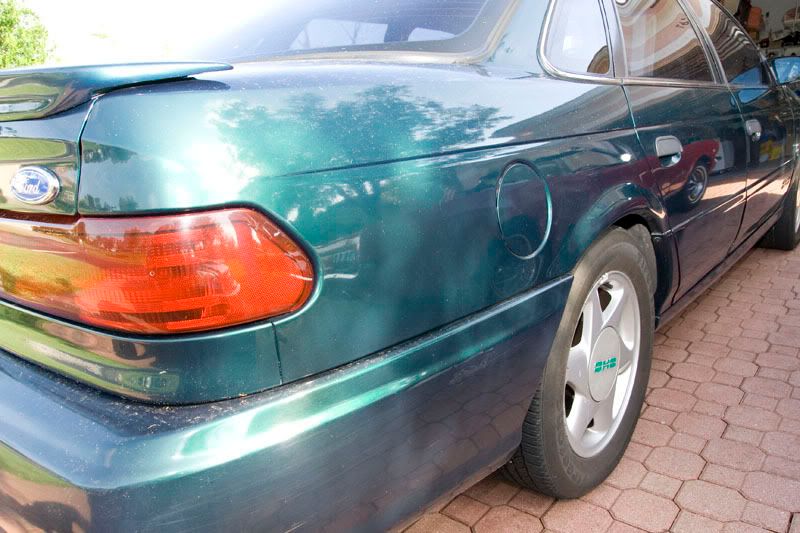

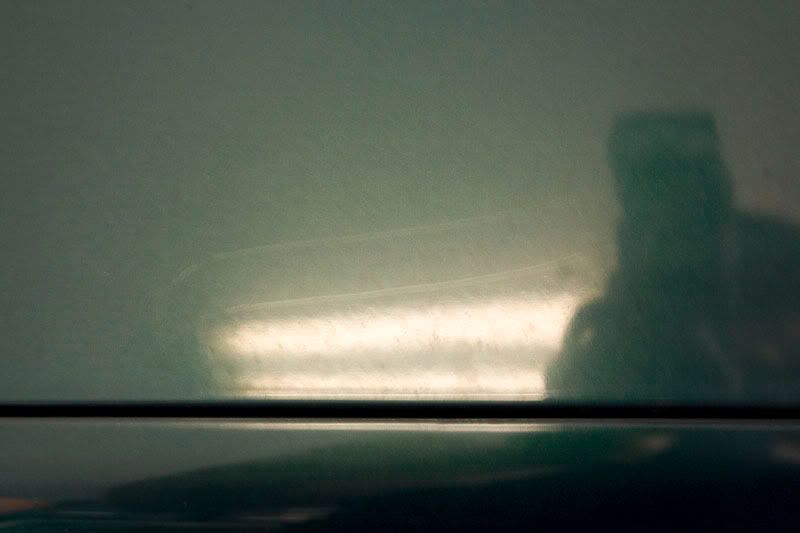
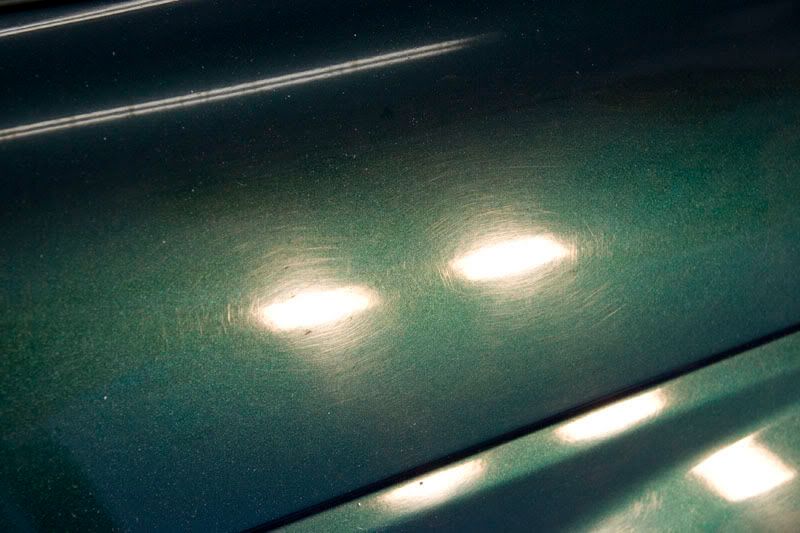
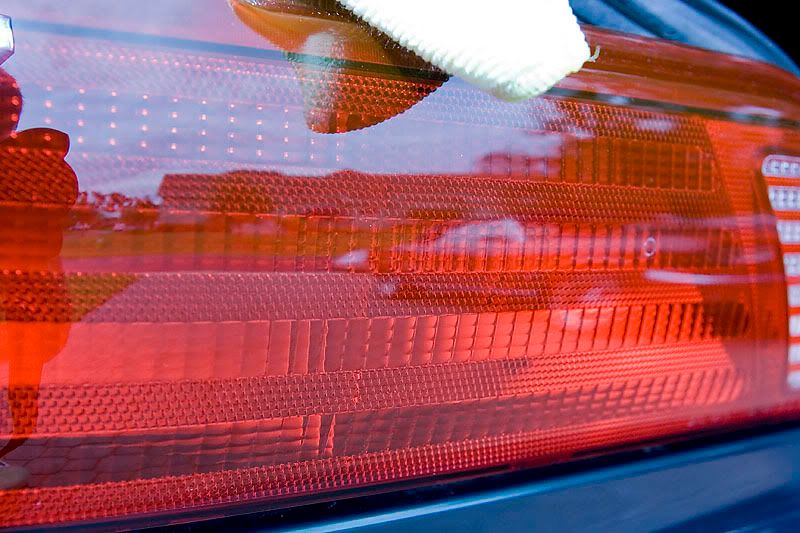
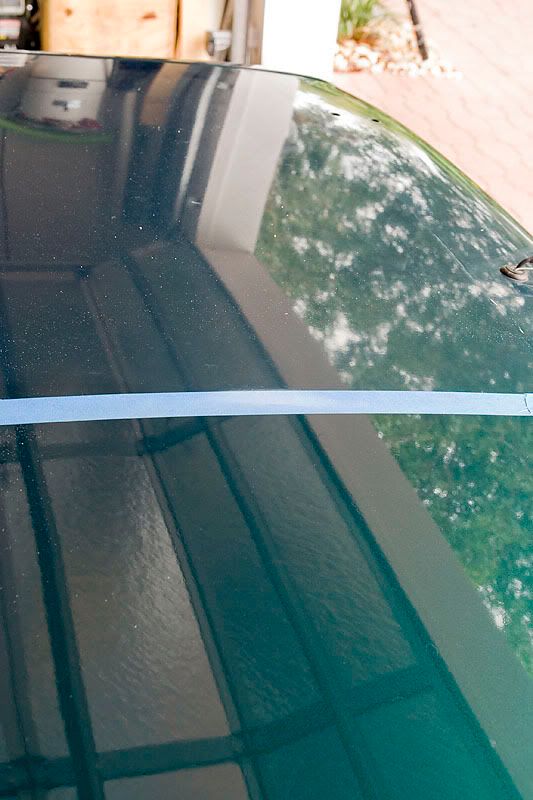
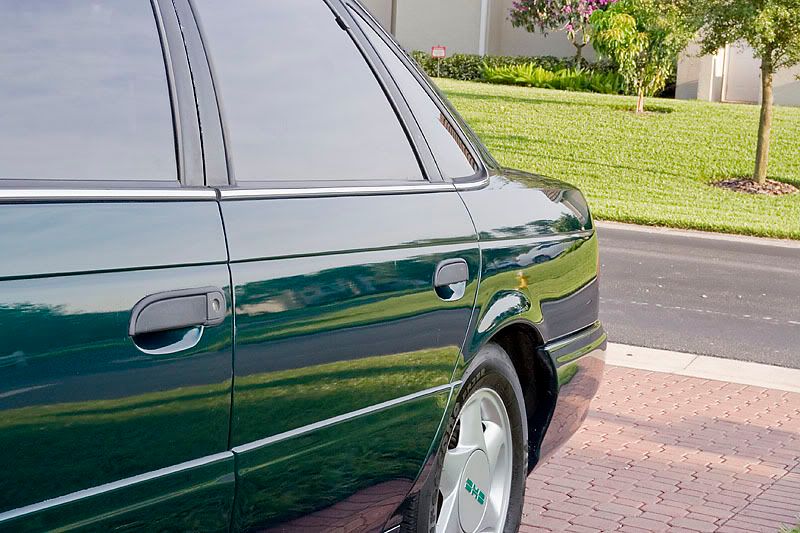
This was a test pass on the driver's side door:
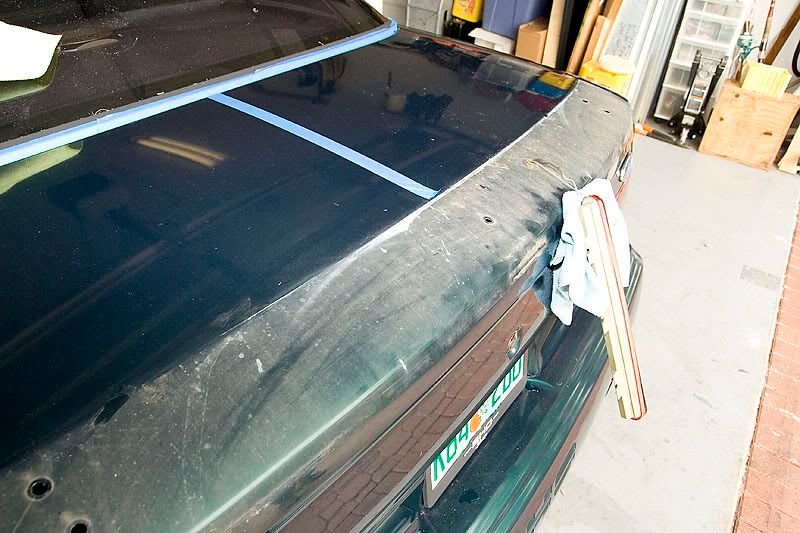
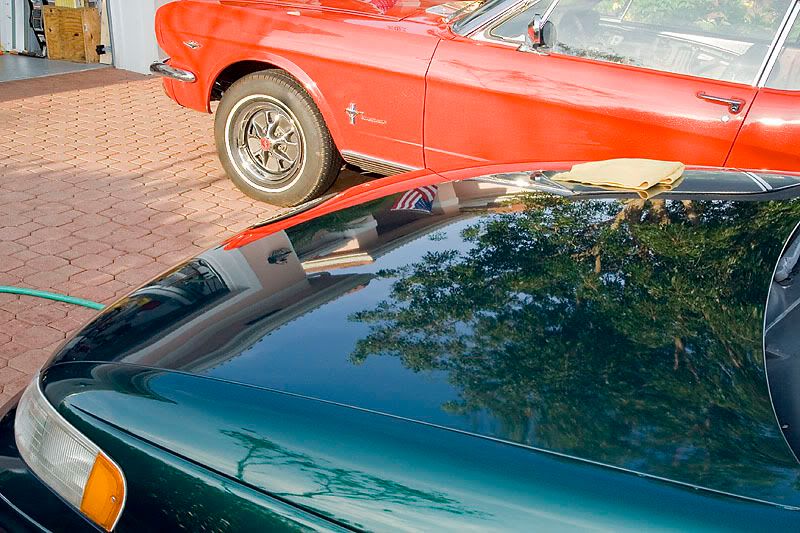
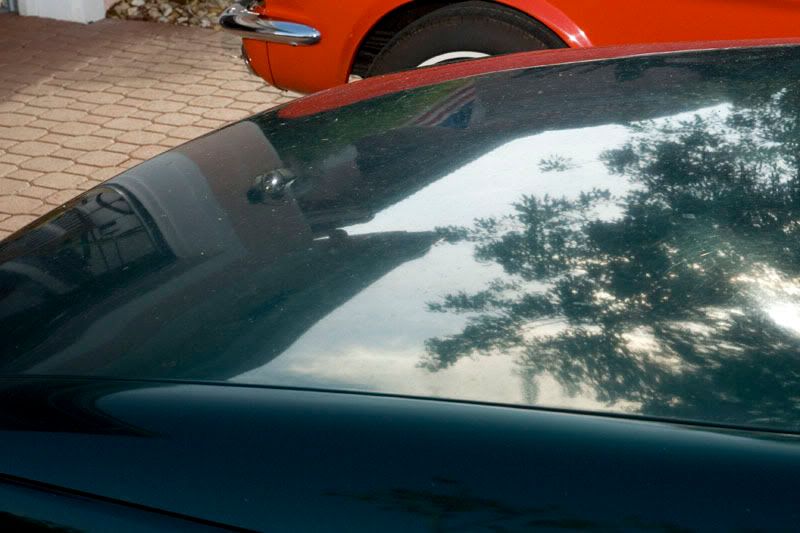
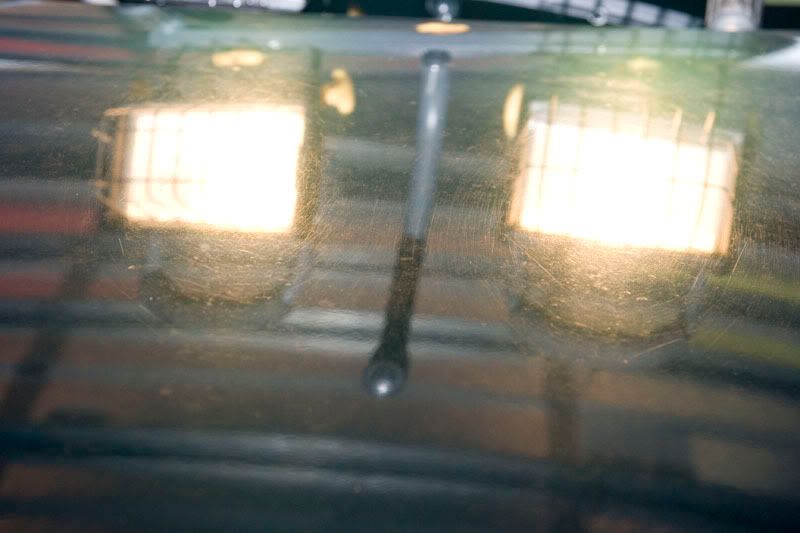
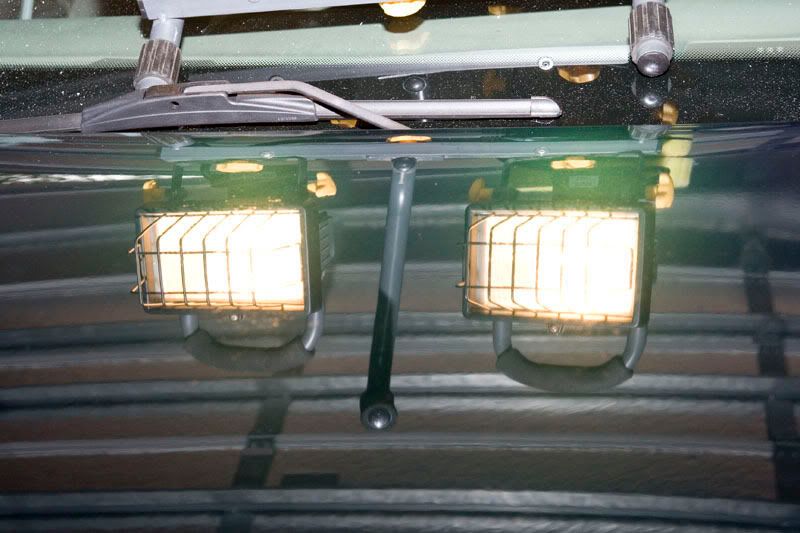
I then rested my halogens on the cowl/windshield, and got to work on the hood.
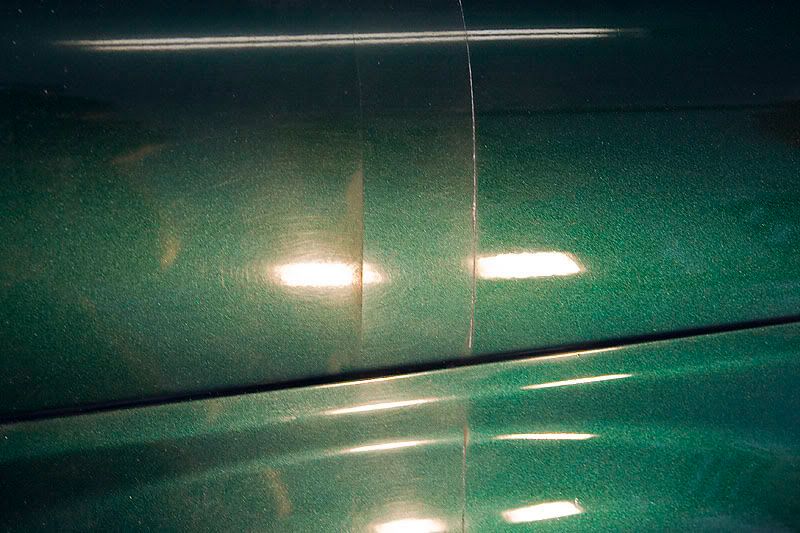
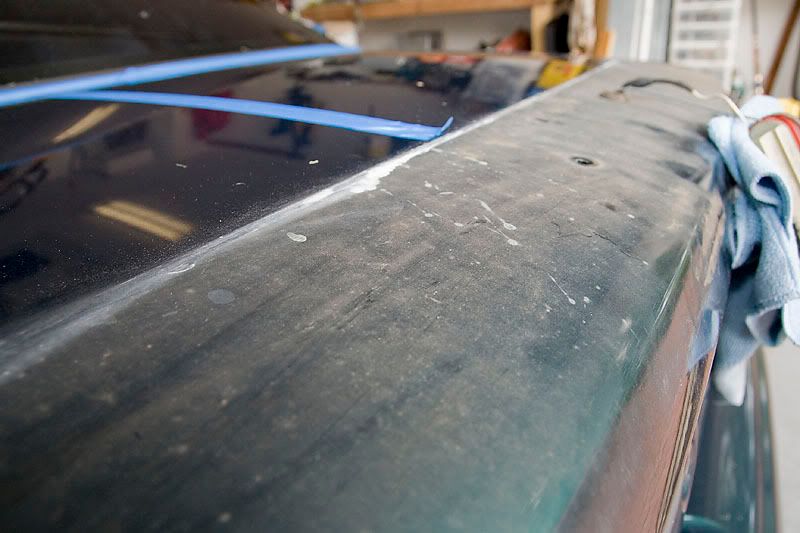
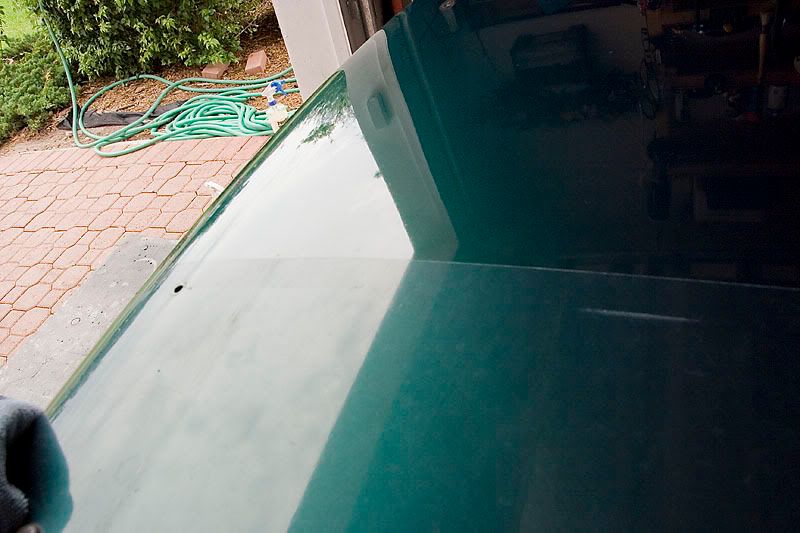
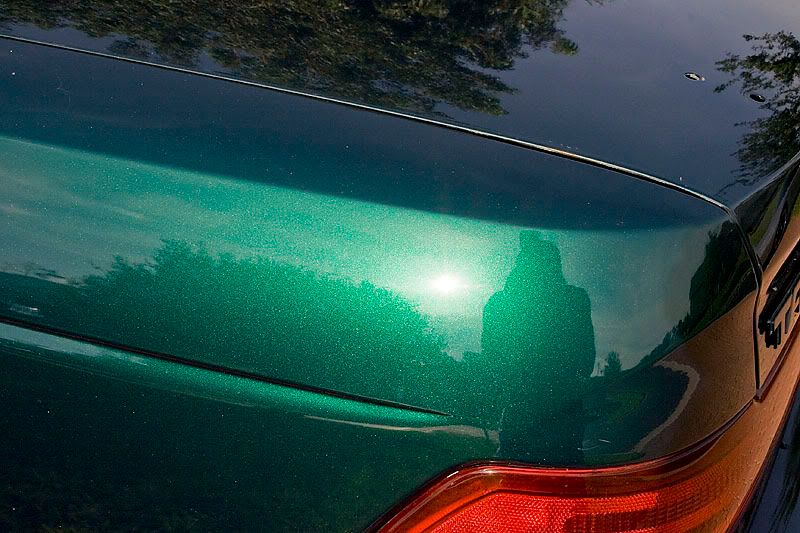
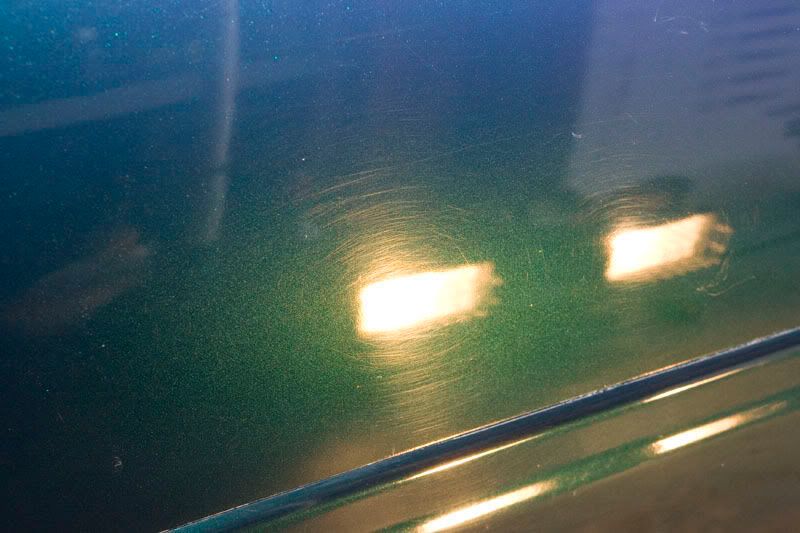
BEFORE:
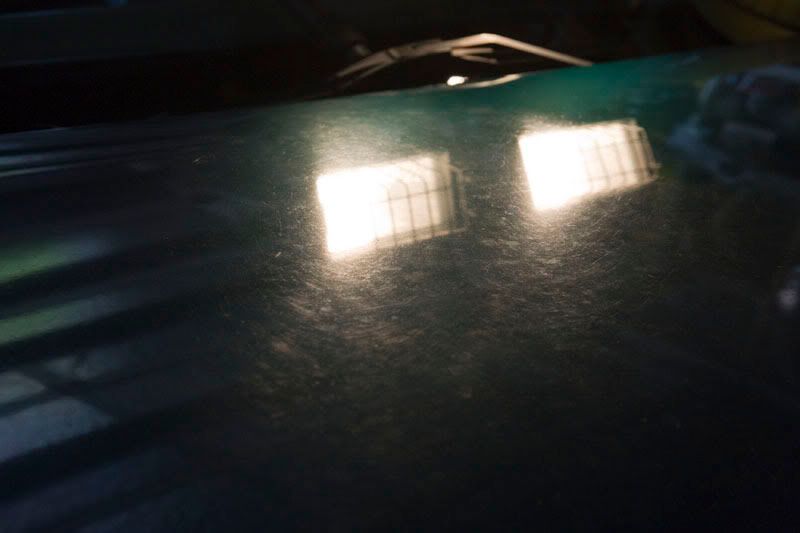
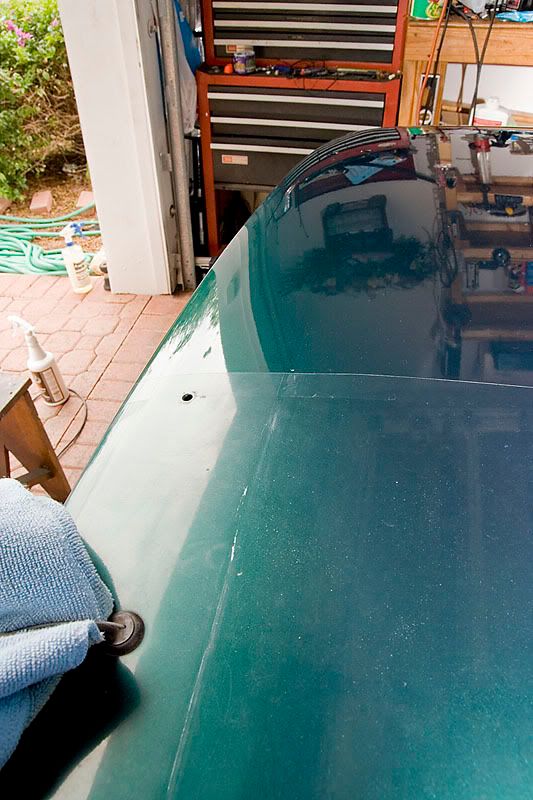
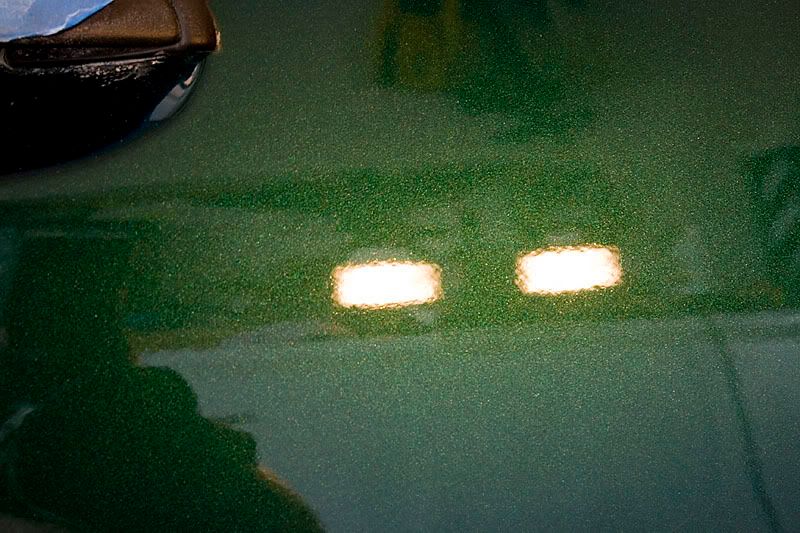
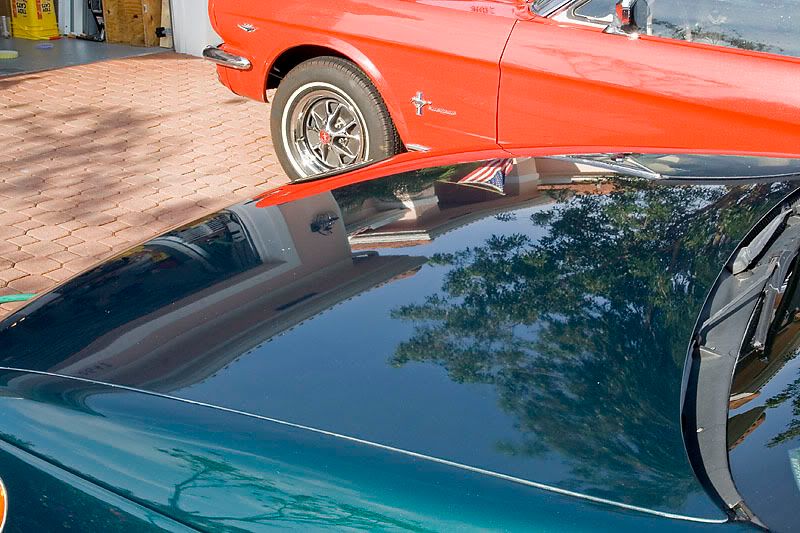
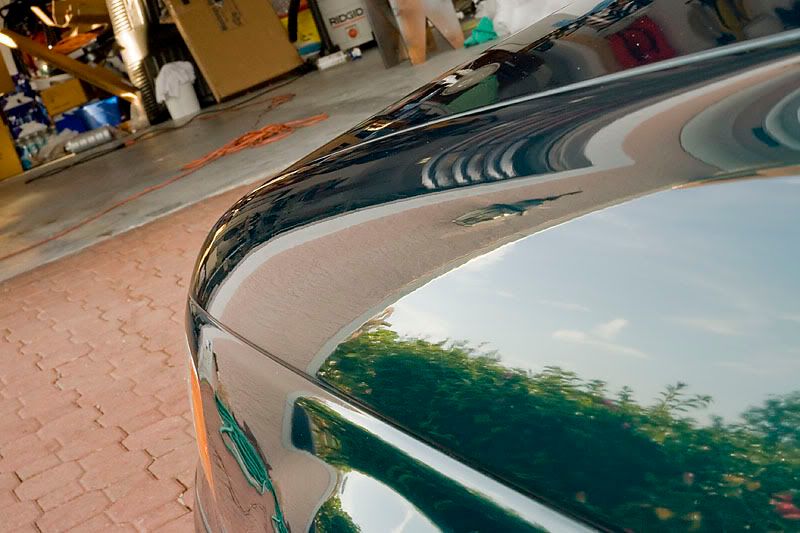
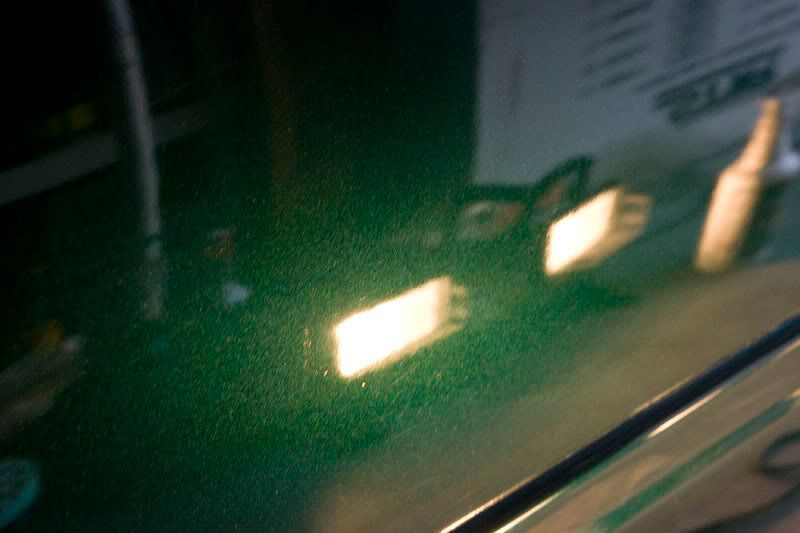
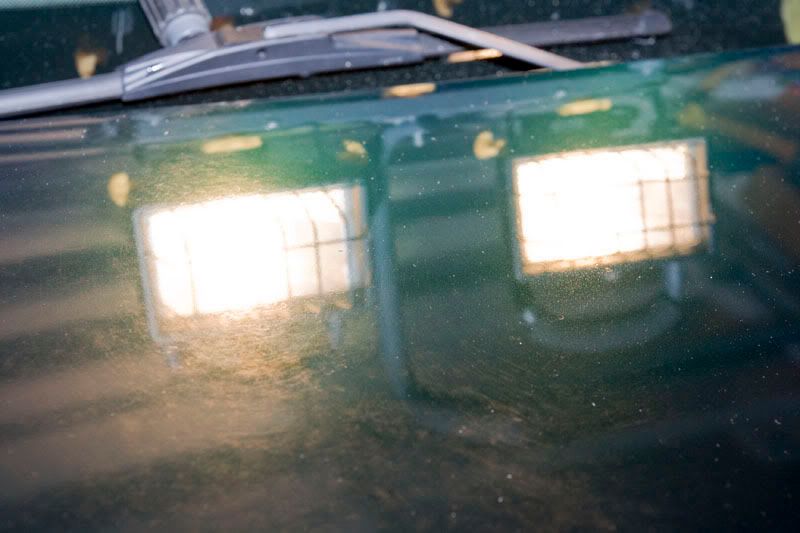
50/50:
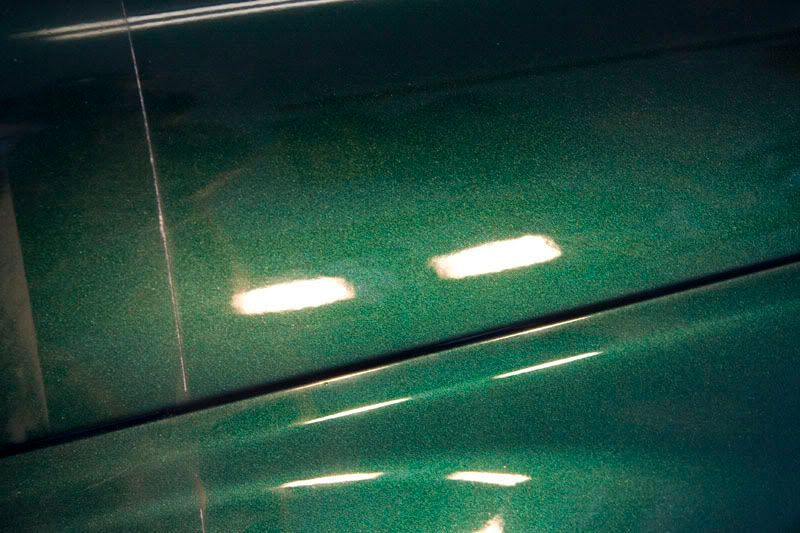
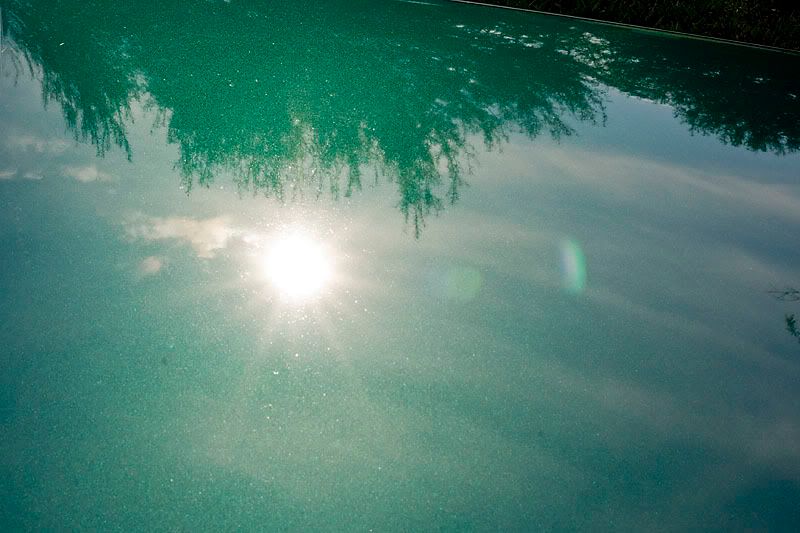
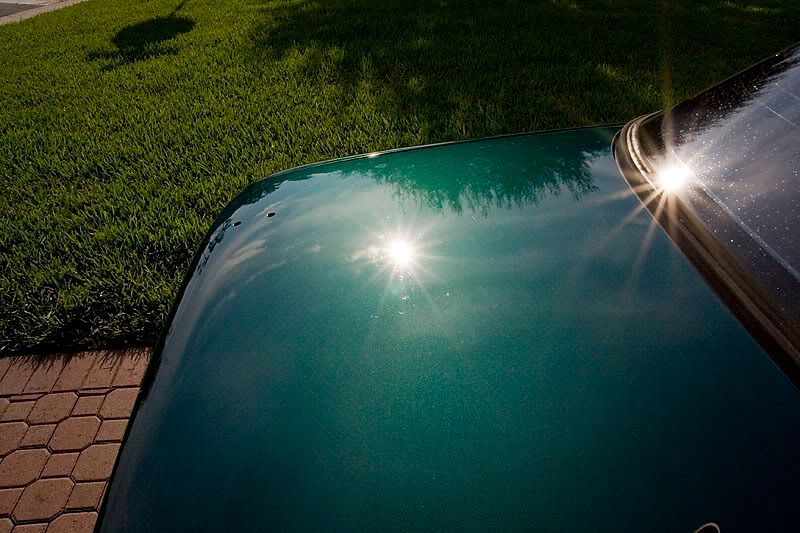
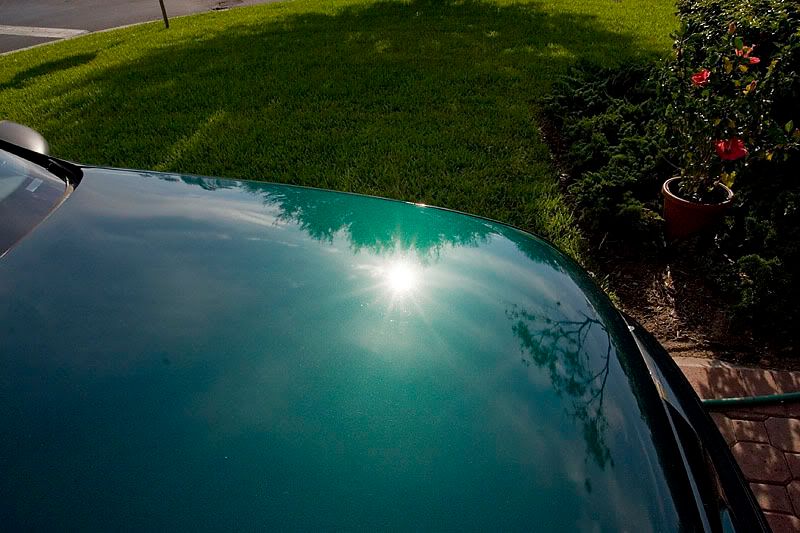
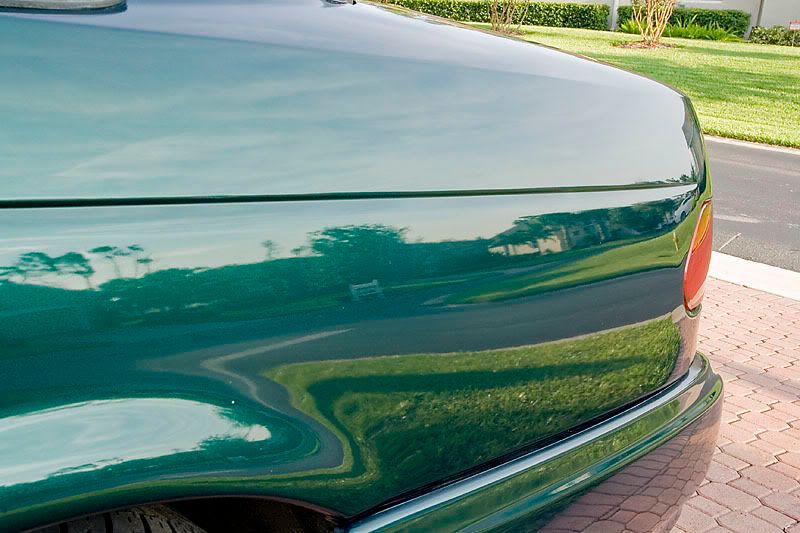
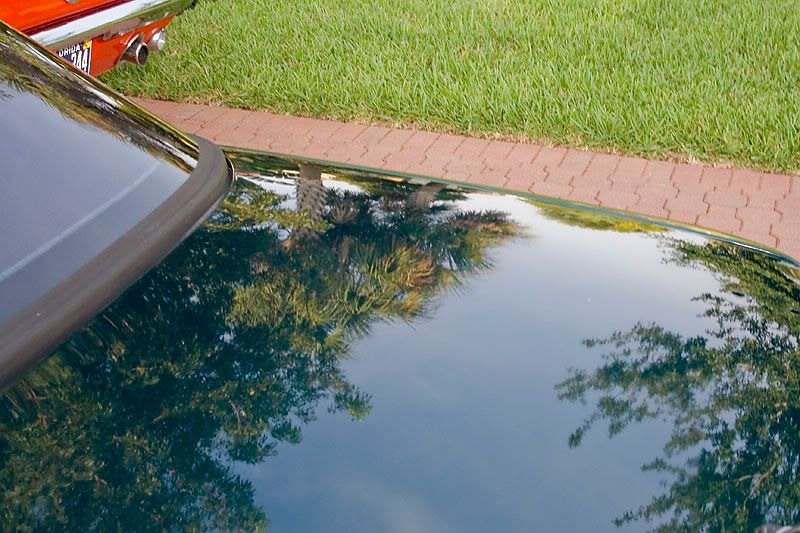
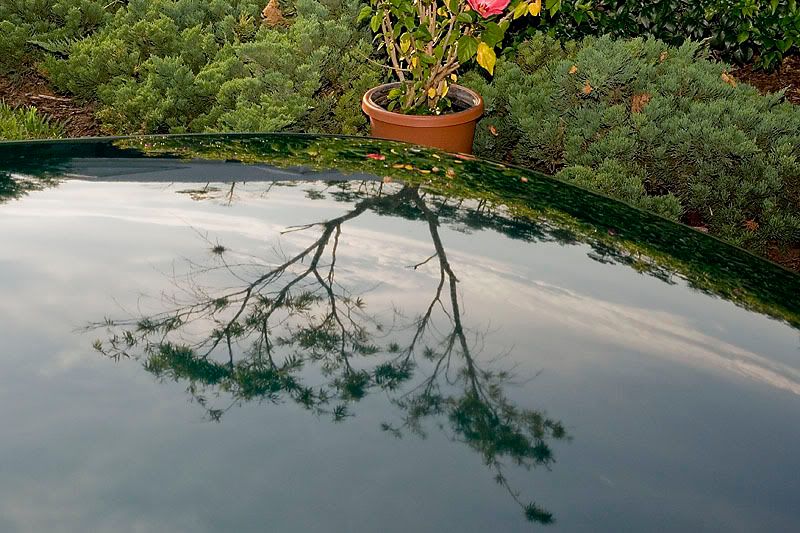
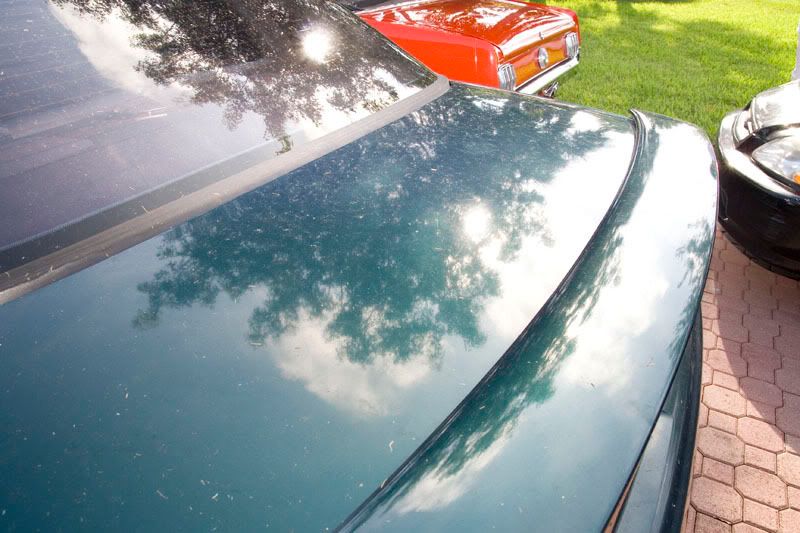
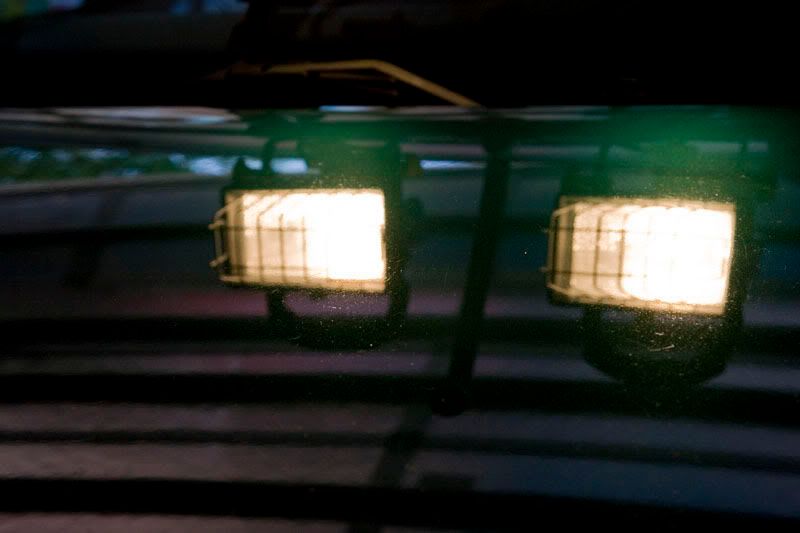
After:
This was my first time using Meguiars 105 - it has a bit of a learning curve to it, but once I got that down, I almost felt like I was cheating. It broke down almost instantly, removed most defects in 1 quick pass, and finished up super nice, especially for such a strong compound. What also surprised me was how effective this compound was with the Flex, as it is designed for rotary + wool only.
Process was as follows:
-Wash with P21S
-Clay with Wolfgang Elastic Poly Clay (went straight in the garbage afterwards!)
-Poorboy's Spray & Rinse on wheels and tires
-Poorboy's Bold 'N Bright on tires
-Meguiar's M105 Compound - Flex XC3401 w/yellow 6.5" LC cutting pads
-Meguiar's M80 Speed Glaze - Flex XC3401 w/green 6.5" LC polishing/finishing pads
-Duragloss 105 Total Performance Polish - Flex XC3401 w/blue 6.5" LC finishing pad
The car is a 1993, and the driver's side was repainted at one point. Initially, the driver's side looked better since it was newer and less oxidized/swirled, but after the job was done, the 16 year old paint on the passenger side looked better IMO.
After using M105, I switched to a green pad on used M80 Speed Glaze. 1 pass of each was used, but I did 2 passes on the roof since it was pretty bad.
Overall, I got 95% of the swirls out (a few remained on the roof), but I was very satisfied in how the car came out, as was the owner.
Here is what the car looked like when I received it:
This was a test pass on the driver's side door:
I then rested my halogens on the cowl/windshield, and got to work on the hood.
BEFORE:
50/50:
After: