RaskyR1
New member
- Apr 14, 2008
- 3,733
- 0
This car belongs to the same owner of the ’68 Vette I did back a few months back. The owner originally only wanted to have it buffed out like I did on his ’68. After looking over the car with him a little more I talked him into doing full wet sand too. IMO the texture of the paint looked very poor and badly needed to be smoothed out. The orange peel had a very tight texture that distorted and blurred out what little reflection the paint had.
A little info on this car:
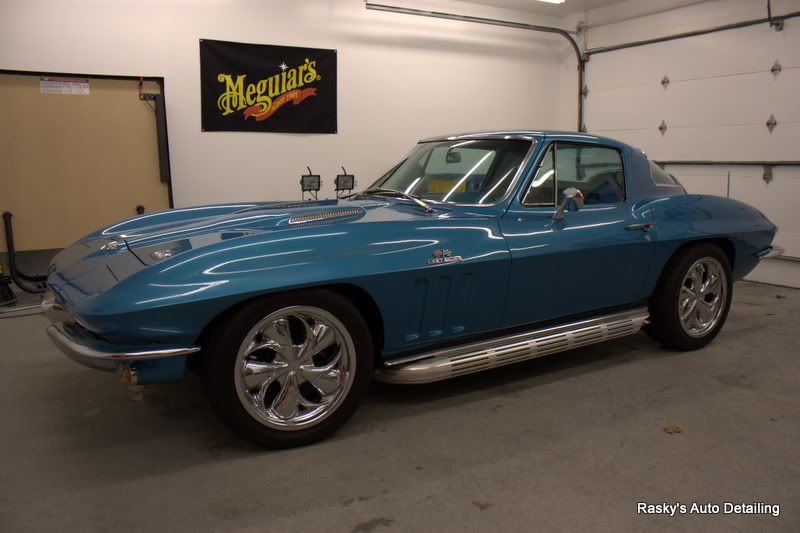
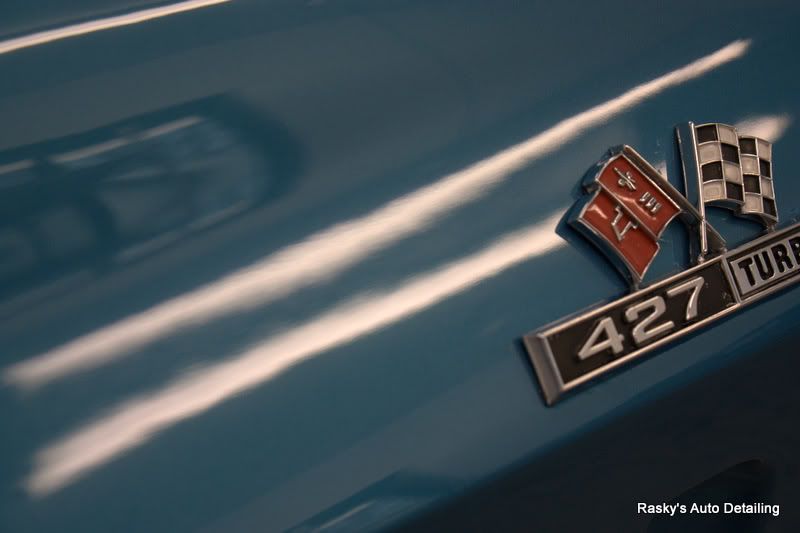
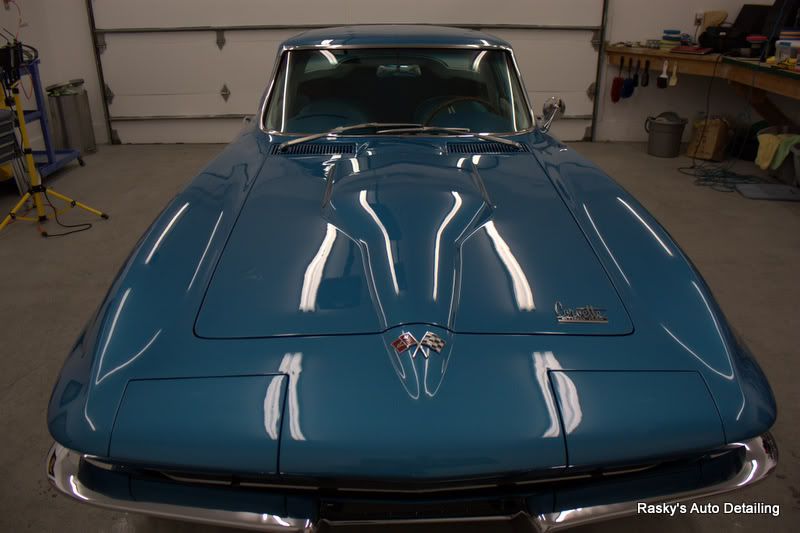
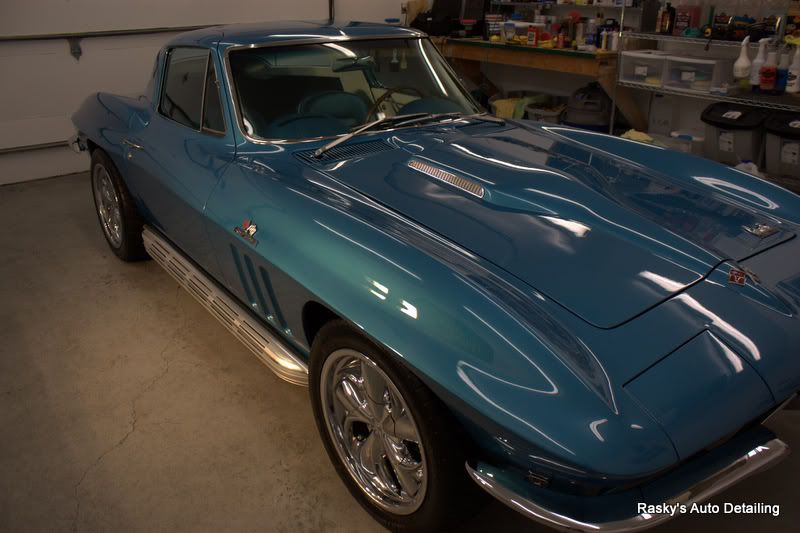
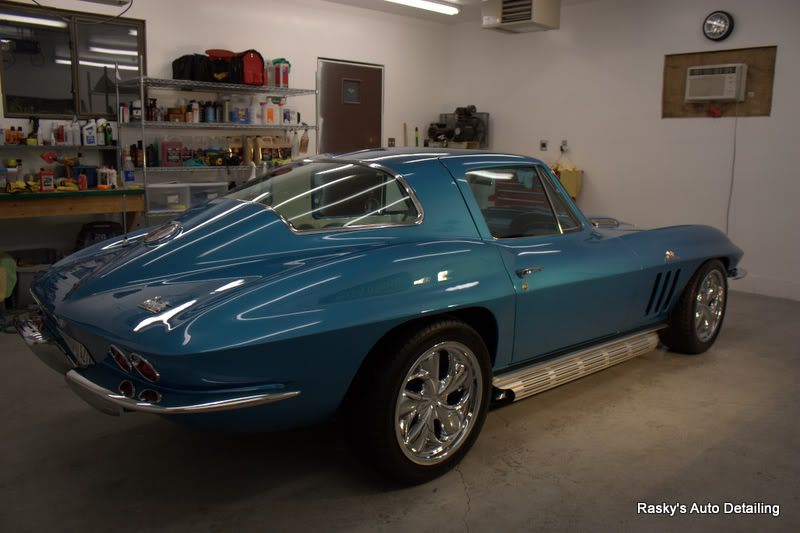
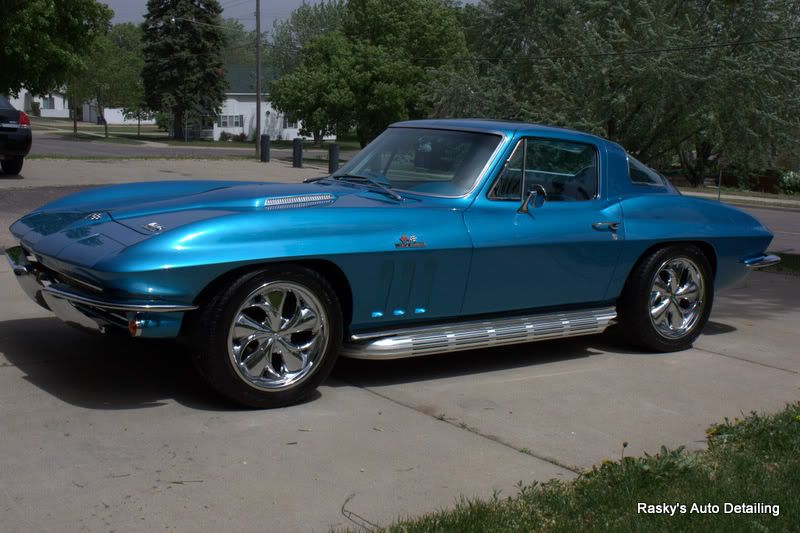
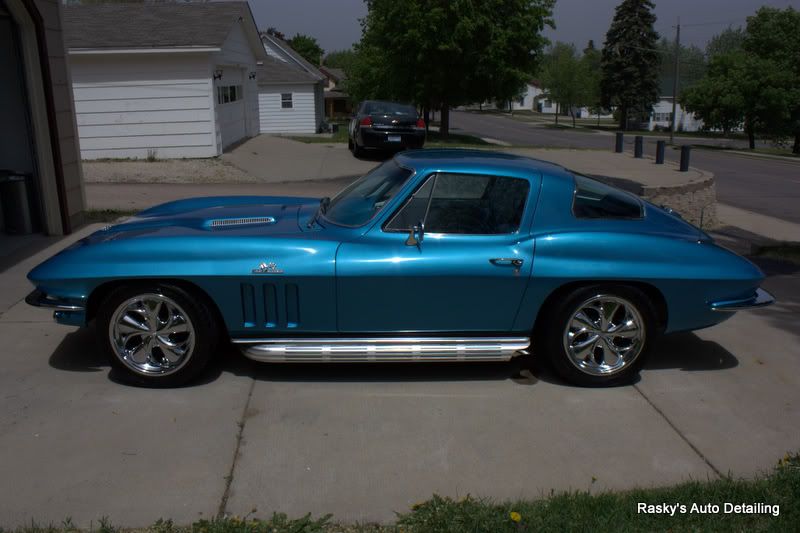
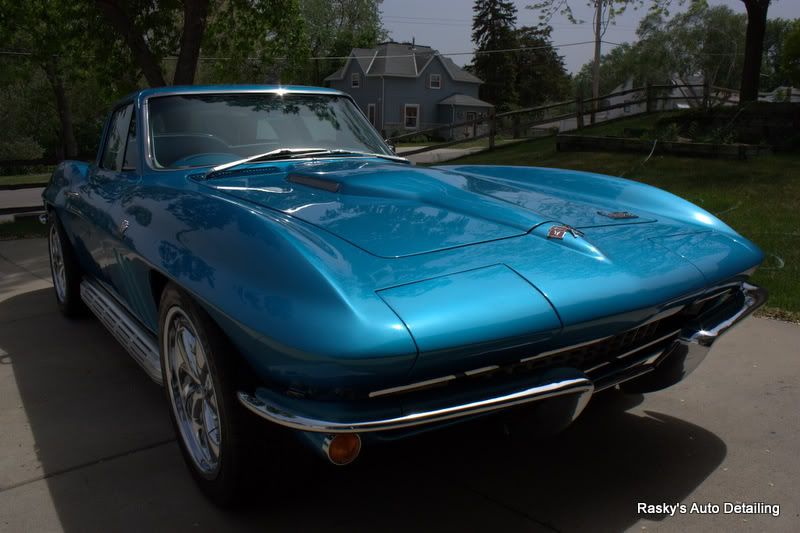
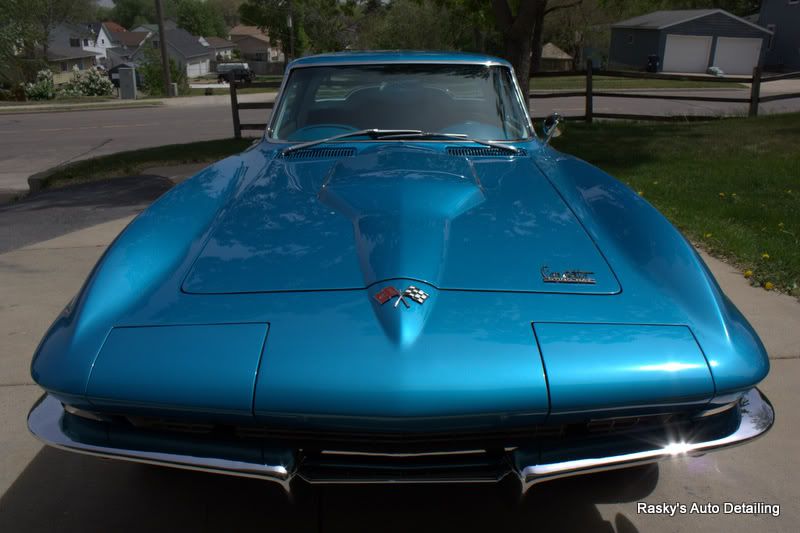
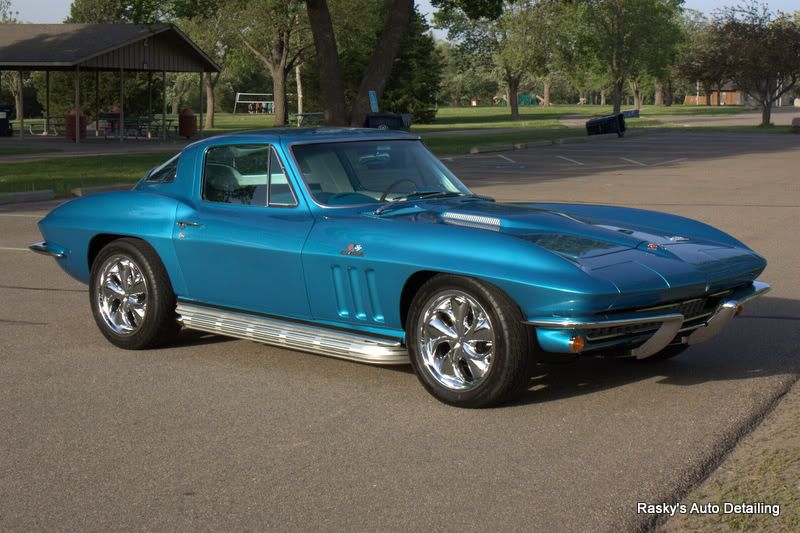
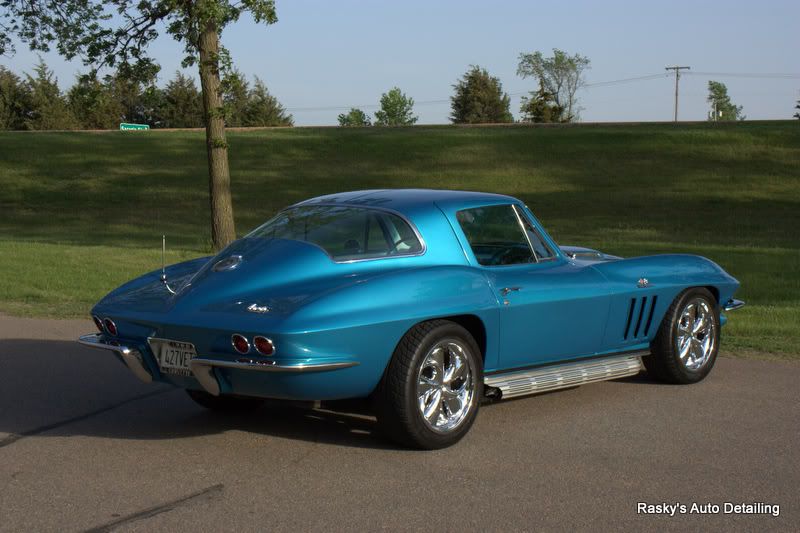
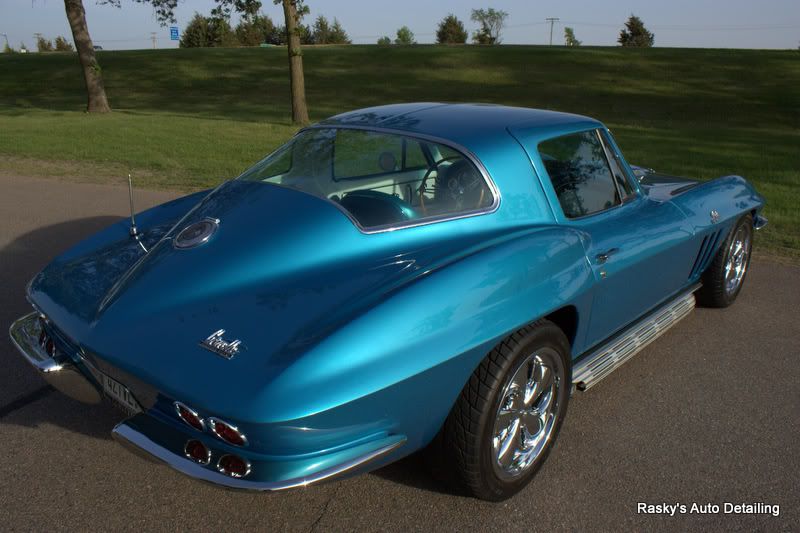
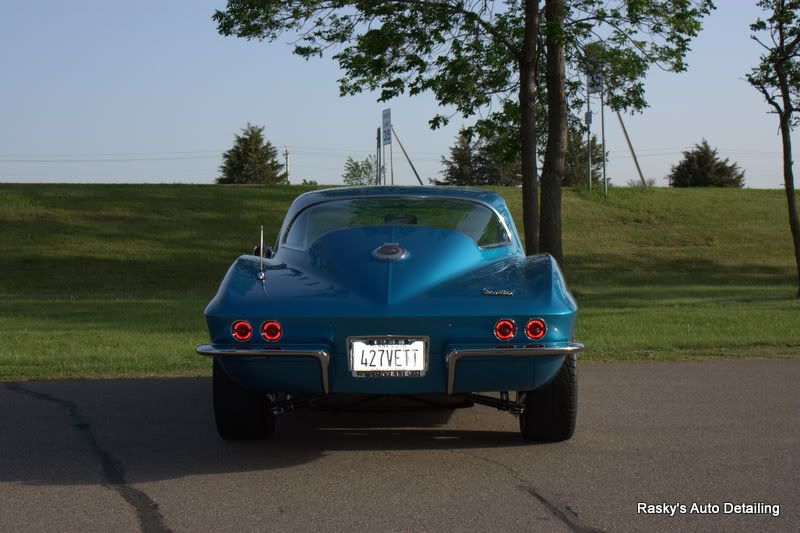
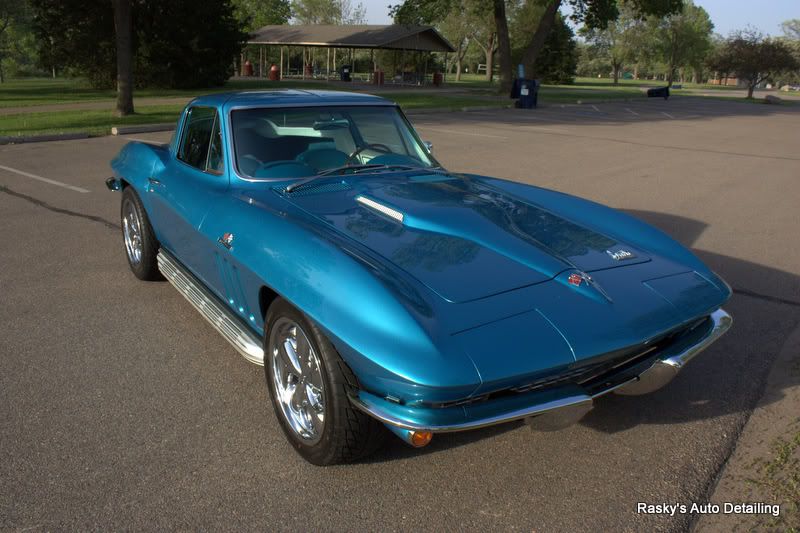
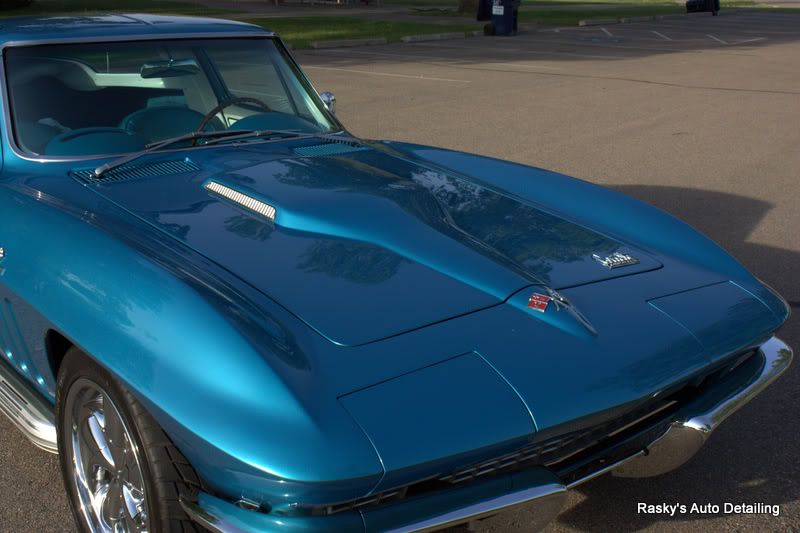
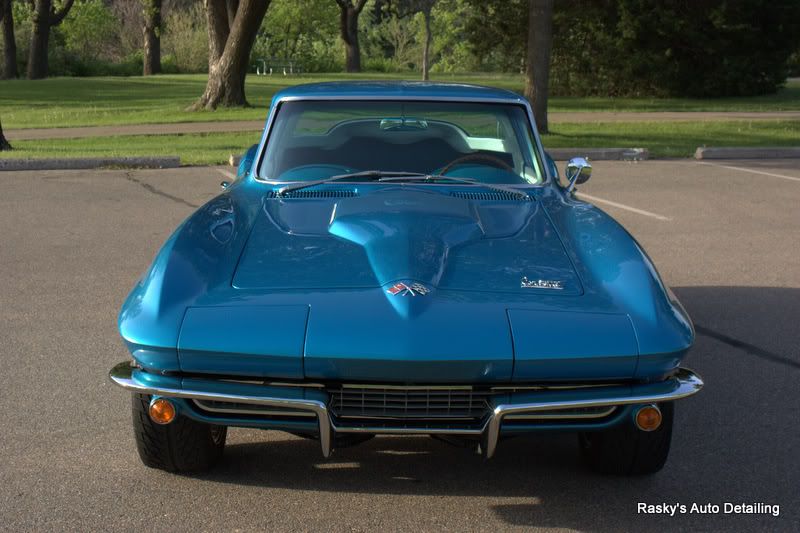
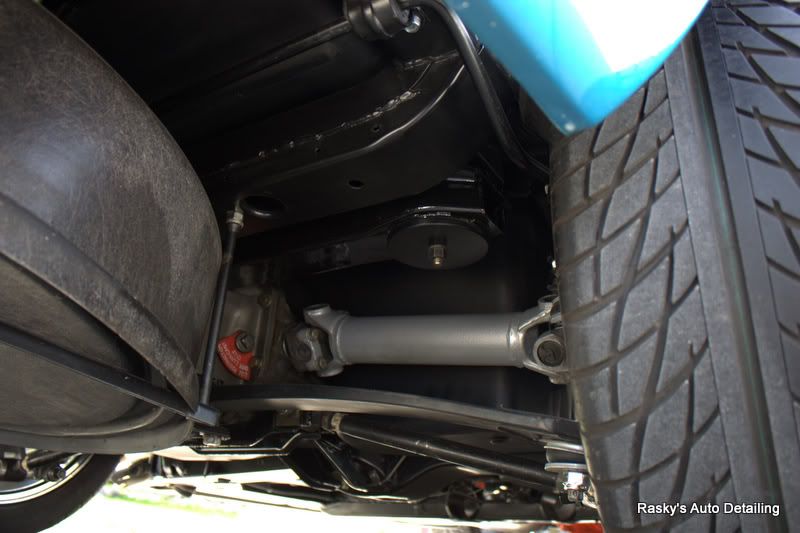
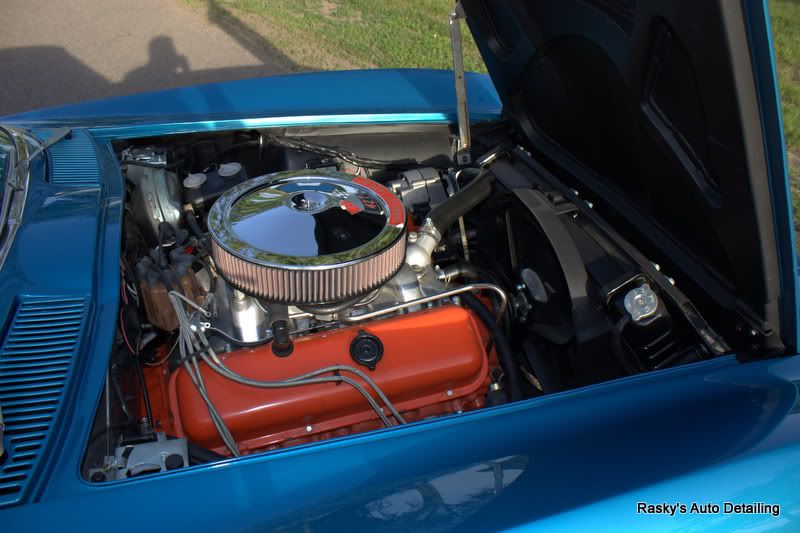
This is a numbers matching 1966 Corvette 427/425hp. It has 58,XXX original miles on the car and underwent a frame off restoration about 3.5 years ago. Pretty much every nut and bolt was replaced, and the car has not seen rain since. There is approximately 1500 miles on the rebuilt motor, and I believe the owner said it was putting down around 575 hp.
Yes he does have the stock wheels too!
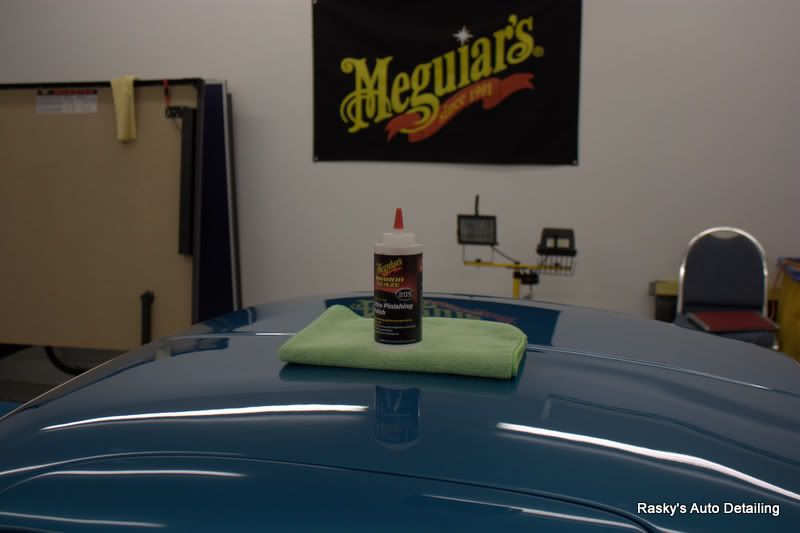
My process for wet sanding and correction was as follows:
Wash - Optimum No rinse
Clay - Meguiar’s Mild Clay/Last Touch
Wet sanding - Initial cutting was done with Meguiar’s 2000 grit sand paper, followed by 3000 grit.
Step 1 - Meguiar’s M105 via rotary and a Solo heavy cut wool pad.
Step 2 - Meguiar’s M105 via rotary and orange Classic LC foam pad.
Step 3 - Finishing was done with Meguiar’s M205 via rotary and a Meguiar’s W9207 foam finishing pad. (M205 finished off VERY well on this car and I saw no improvements by following it with PO85RD or UF)
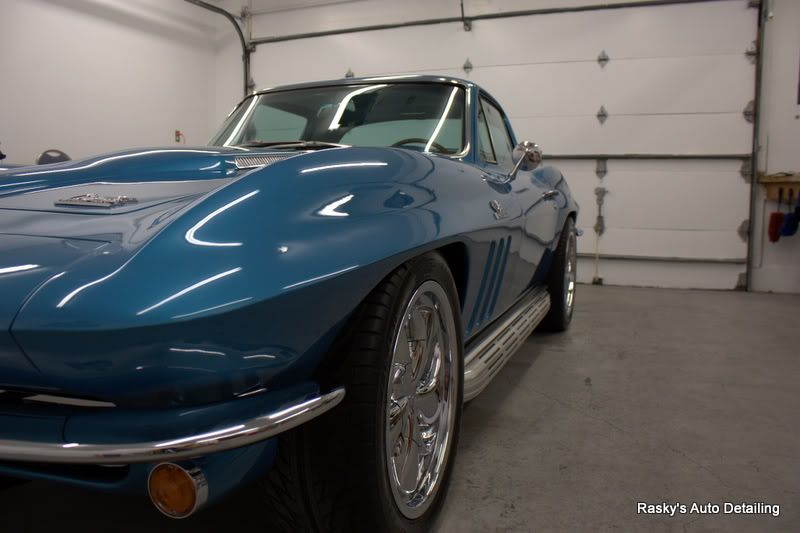
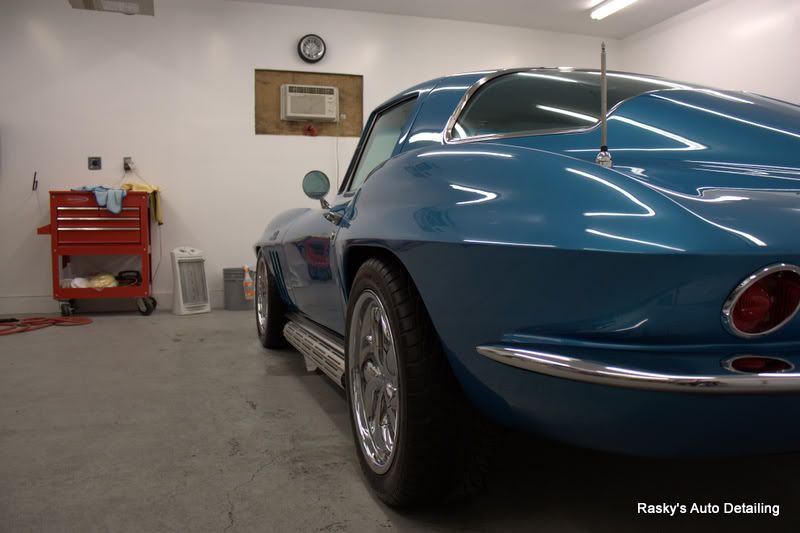
LSP - Wolfgang DGPS 3.0
Wheels and chrome – KAIO
Glass – Meguiar’s D120
Tires – ARO / Hyper Dressing 3:1
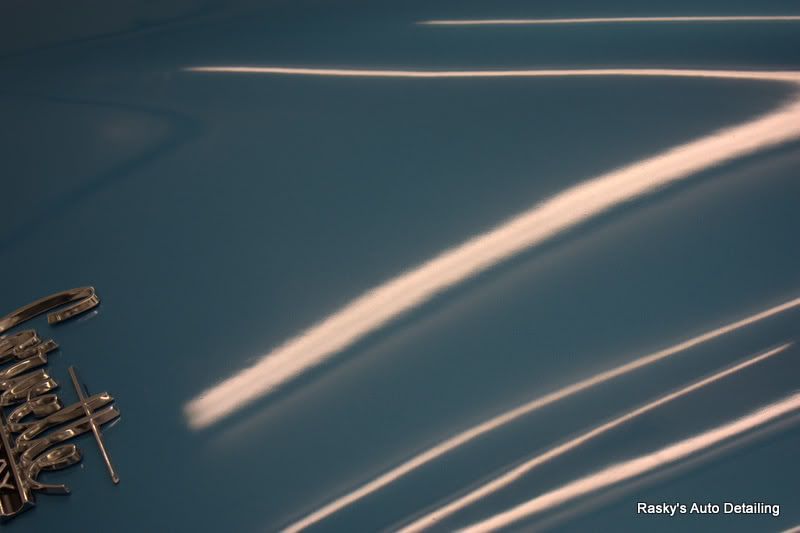
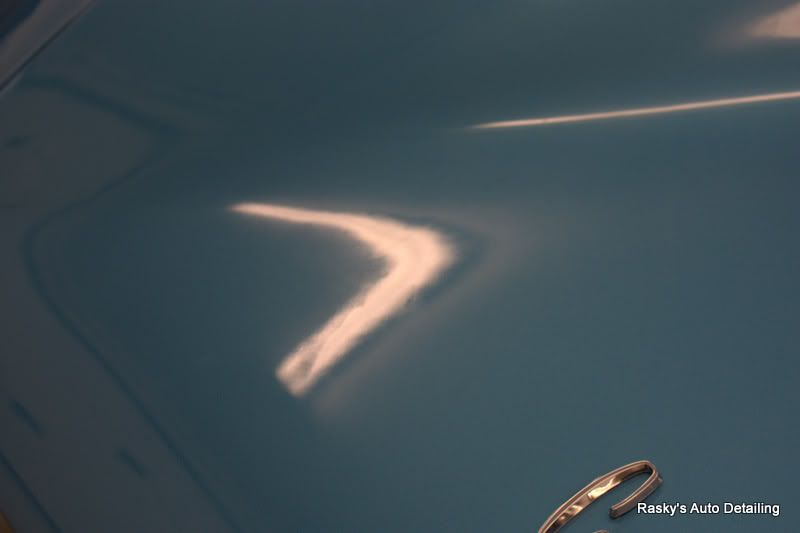
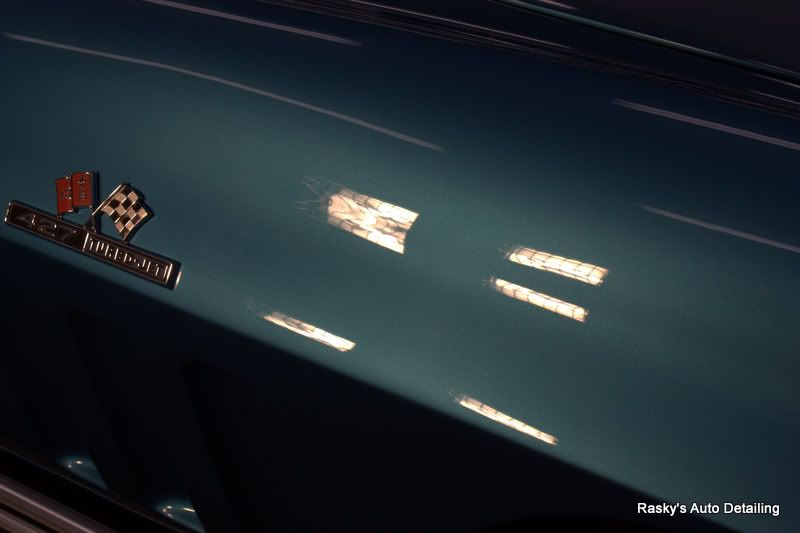
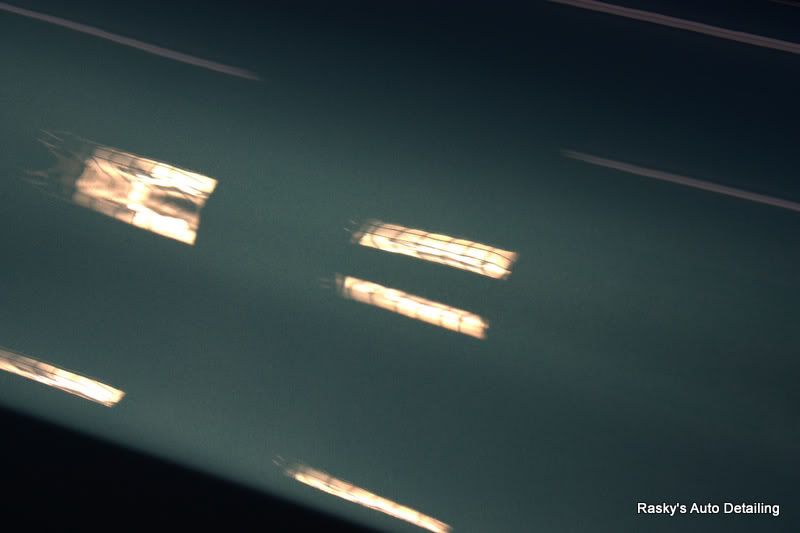
Before pics
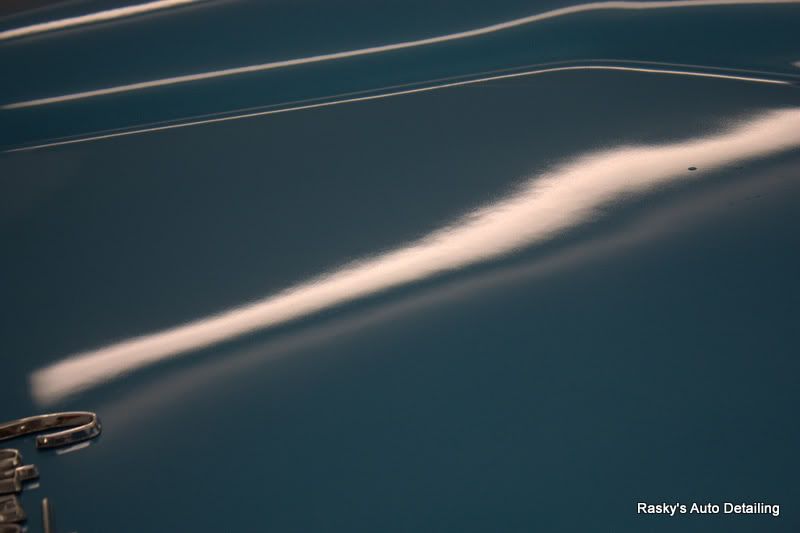
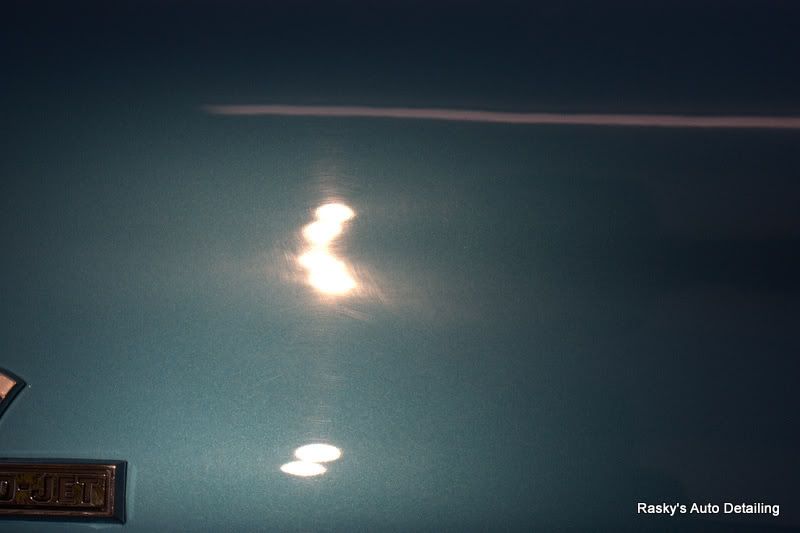
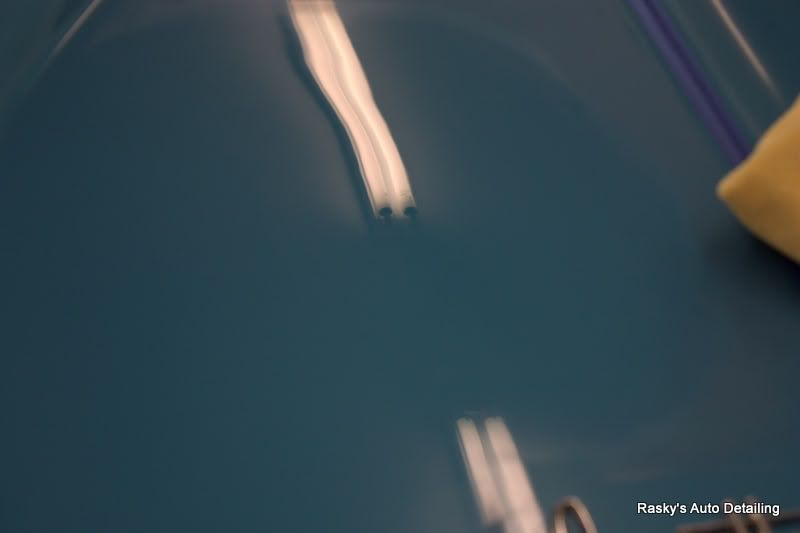
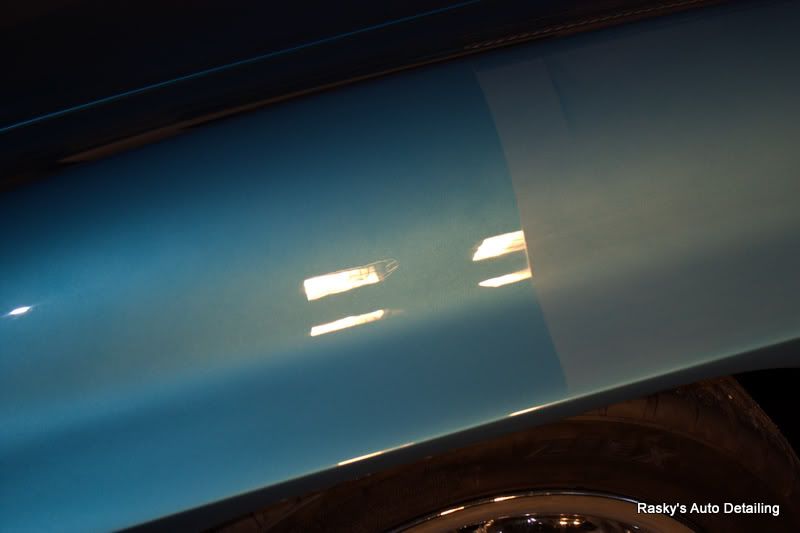
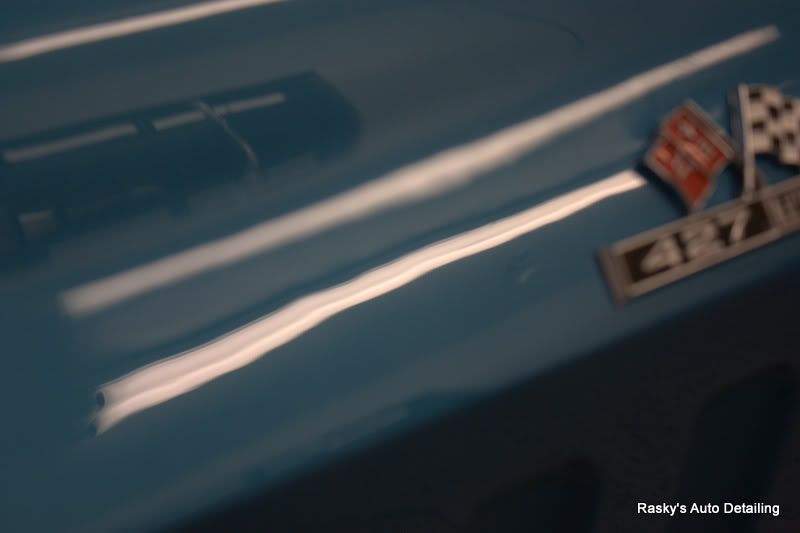
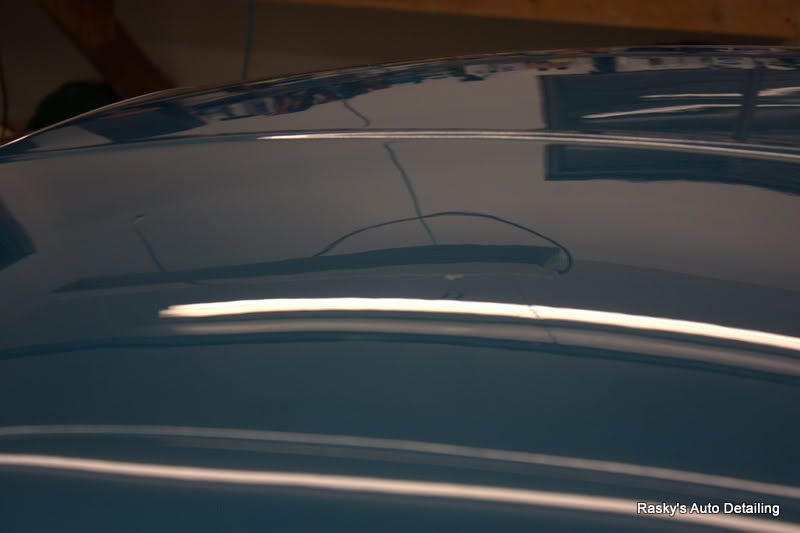
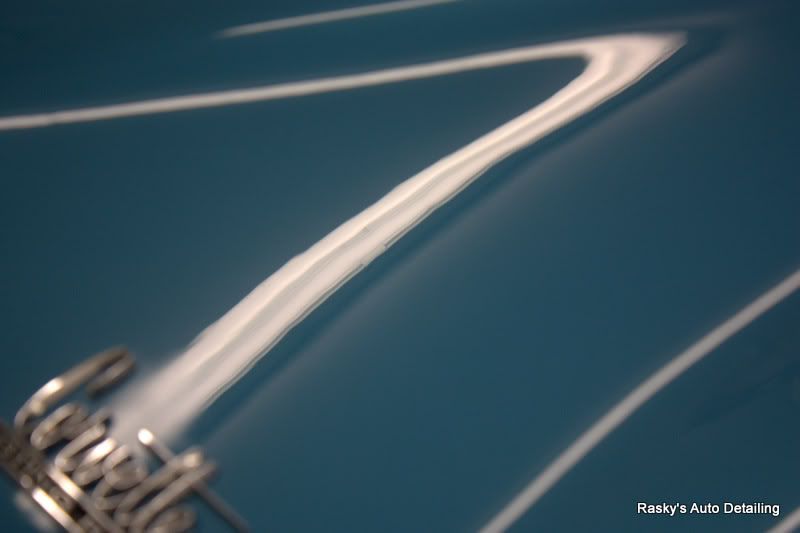
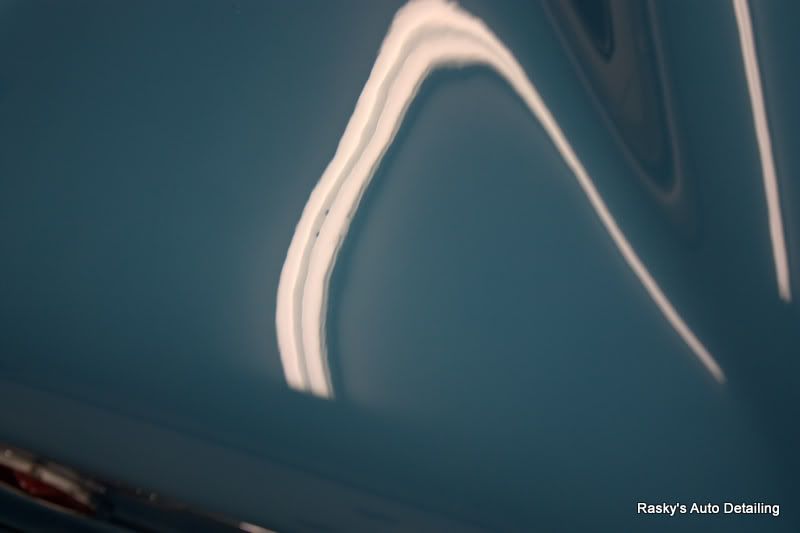
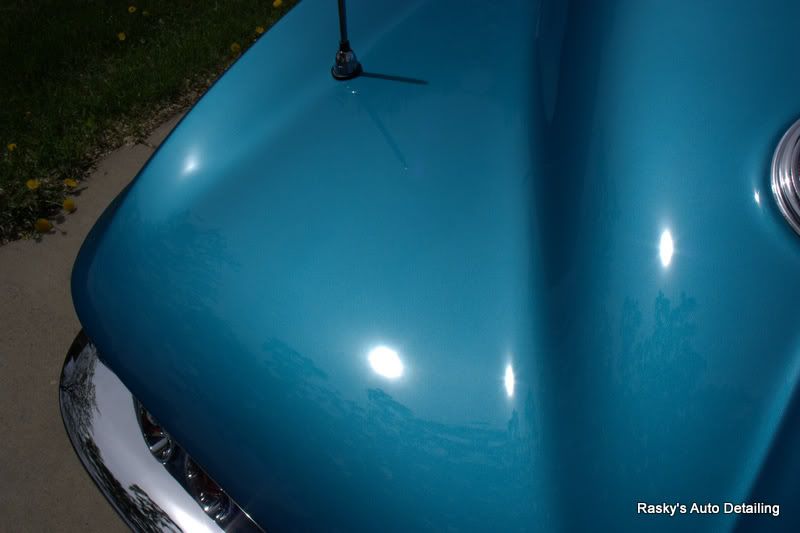
In the following pics try to notice the texture of the paint, lack of gloss, and distortion of the florescent light refection
Left fender
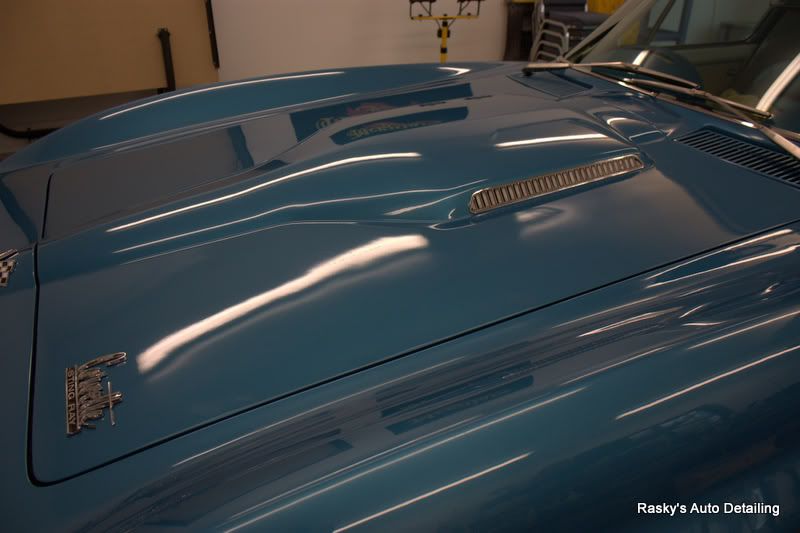
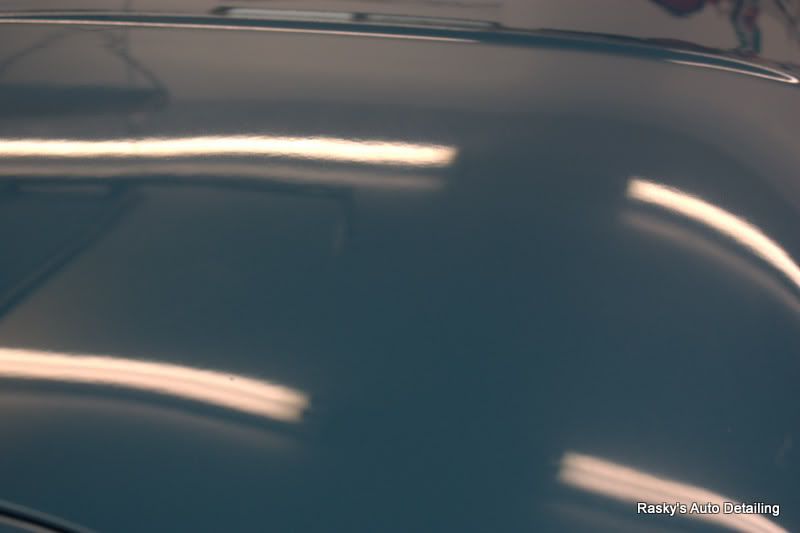
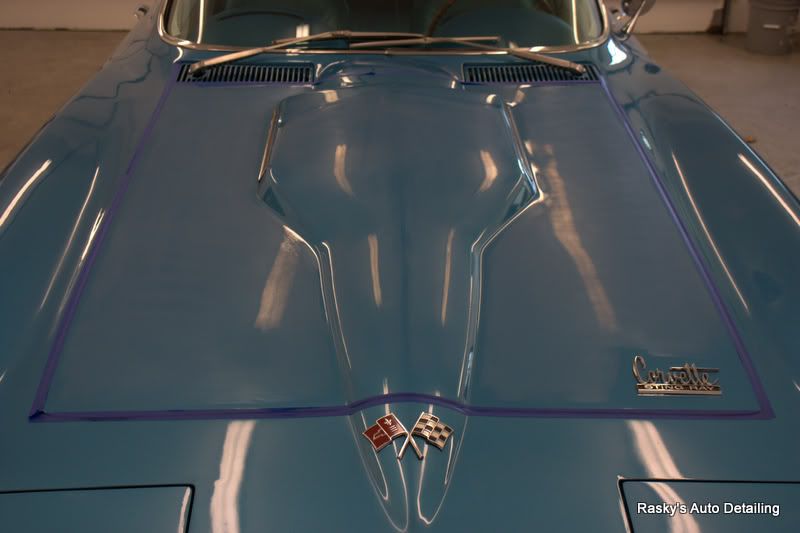
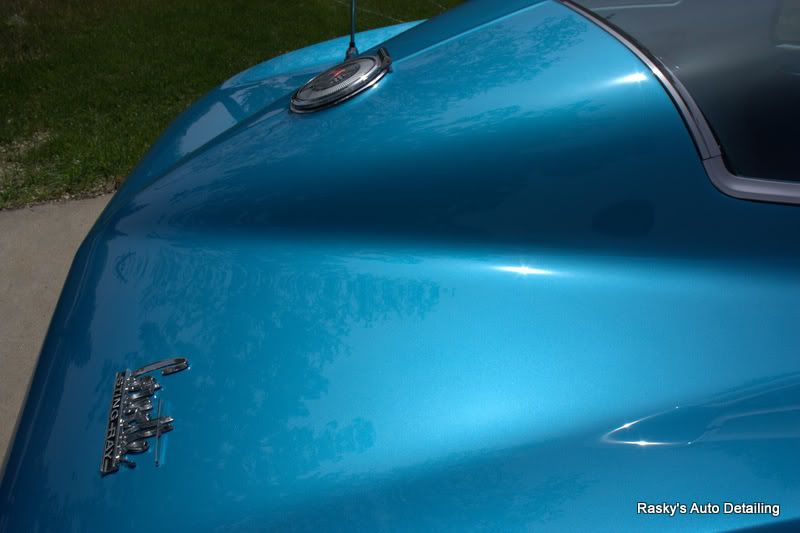
Roof
Right rear
Left rear…some deeper scratches likely from getting fuel
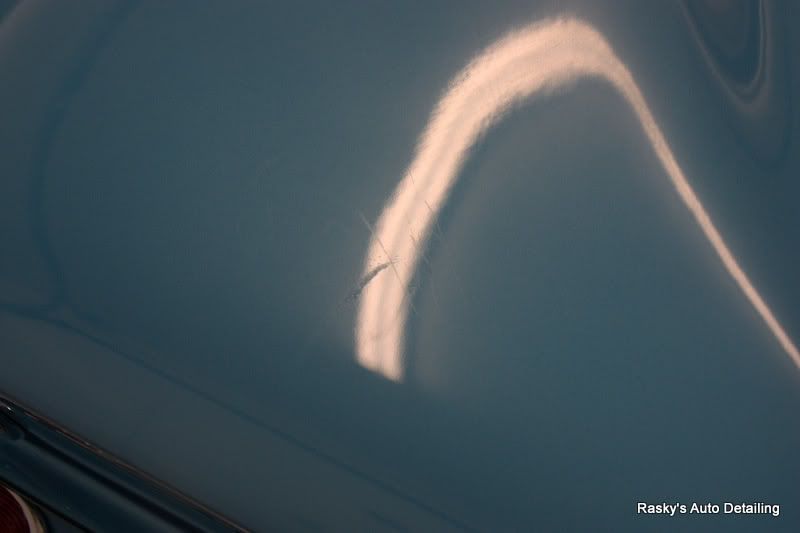
Car has some pretty deep swirls and marring too

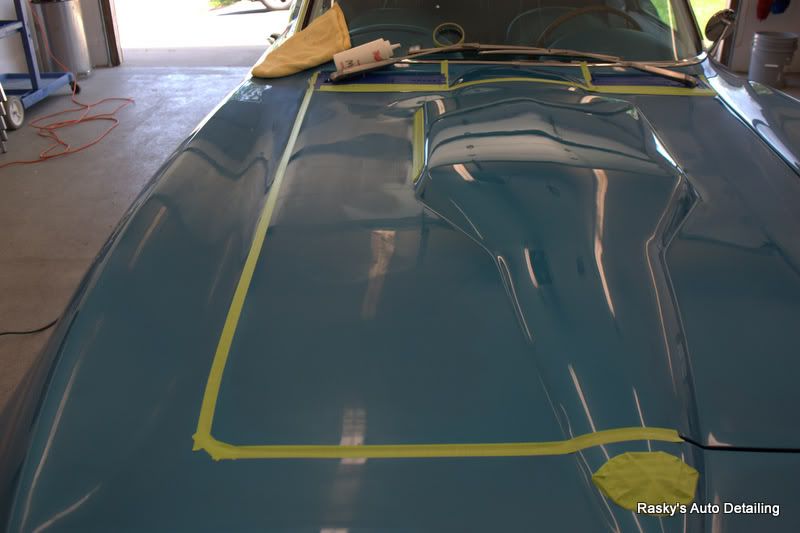
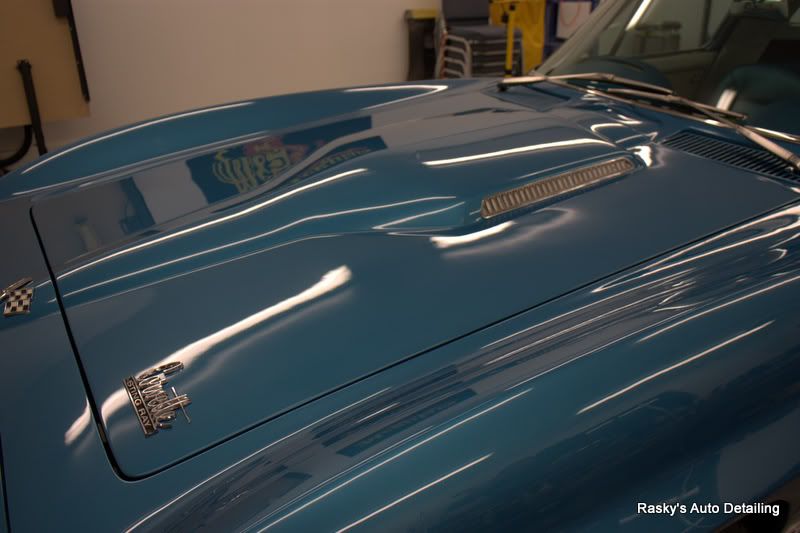
Wet sanding hood

I stopped after doing the hood and decided to try compounding a spot before moving on to wet sanding the whole car. I wanted to be sure the paint would polish out easily first…a little tip I got from the great Mike Phillips.")
All edges were taped off as I worked a section during the first buffing step to prevent any chance of rubbing through on an edge. For the most part all panel heights lined up very well with only the passenger side of the hood being a little higher than the fender (rare on a lot of older cars)
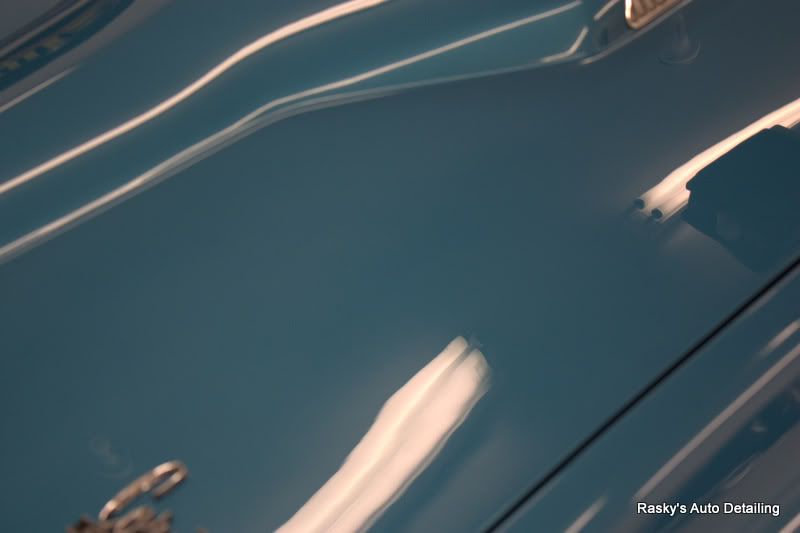
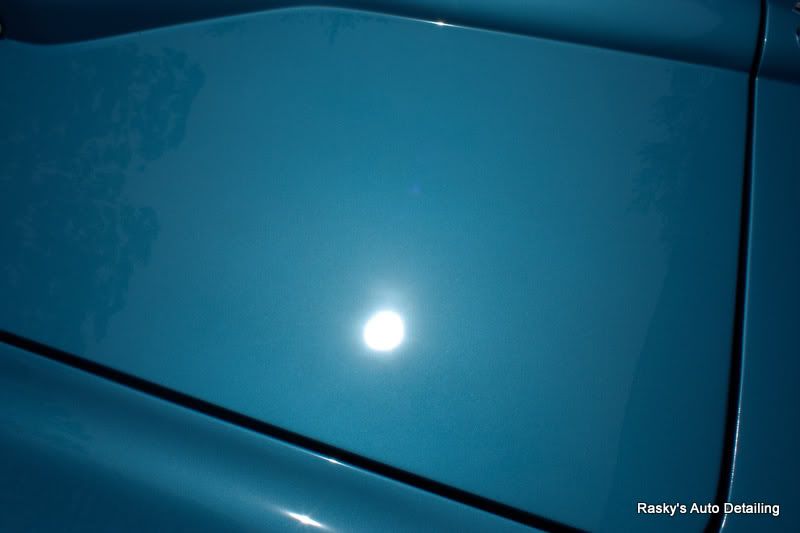
50/50 shot
A little info on this car:
This is a numbers matching 1966 Corvette 427/425hp. It has 58,XXX original miles on the car and underwent a frame off restoration about 3.5 years ago. Pretty much every nut and bolt was replaced, and the car has not seen rain since. There is approximately 1500 miles on the rebuilt motor, and I believe the owner said it was putting down around 575 hp.
Yes he does have the stock wheels too!
My process for wet sanding and correction was as follows:
Wash - Optimum No rinse
Clay - Meguiar’s Mild Clay/Last Touch
Wet sanding - Initial cutting was done with Meguiar’s 2000 grit sand paper, followed by 3000 grit.
Step 1 - Meguiar’s M105 via rotary and a Solo heavy cut wool pad.
Step 2 - Meguiar’s M105 via rotary and orange Classic LC foam pad.
Step 3 - Finishing was done with Meguiar’s M205 via rotary and a Meguiar’s W9207 foam finishing pad. (M205 finished off VERY well on this car and I saw no improvements by following it with PO85RD or UF)
LSP - Wolfgang DGPS 3.0
Wheels and chrome – KAIO
Glass – Meguiar’s D120
Tires – ARO / Hyper Dressing 3:1
Before pics
In the following pics try to notice the texture of the paint, lack of gloss, and distortion of the florescent light refection
Left fender
Roof
Right rear
Left rear…some deeper scratches likely from getting fuel
Car has some pretty deep swirls and marring too
Wet sanding hood
I stopped after doing the hood and decided to try compounding a spot before moving on to wet sanding the whole car. I wanted to be sure the paint would polish out easily first…a little tip I got from the great Mike Phillips.
All edges were taped off as I worked a section during the first buffing step to prevent any chance of rubbing through on an edge. For the most part all panel heights lined up very well with only the passenger side of the hood being a little higher than the fender (rare on a lot of older cars)
50/50 shot


")