ReLoaDeD BuLLiTT
New member
- Dec 8, 2007
- 142
- 0
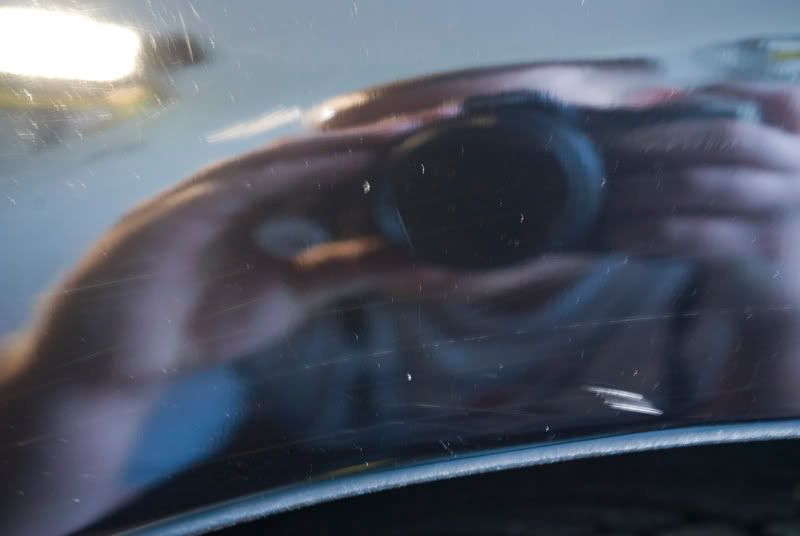
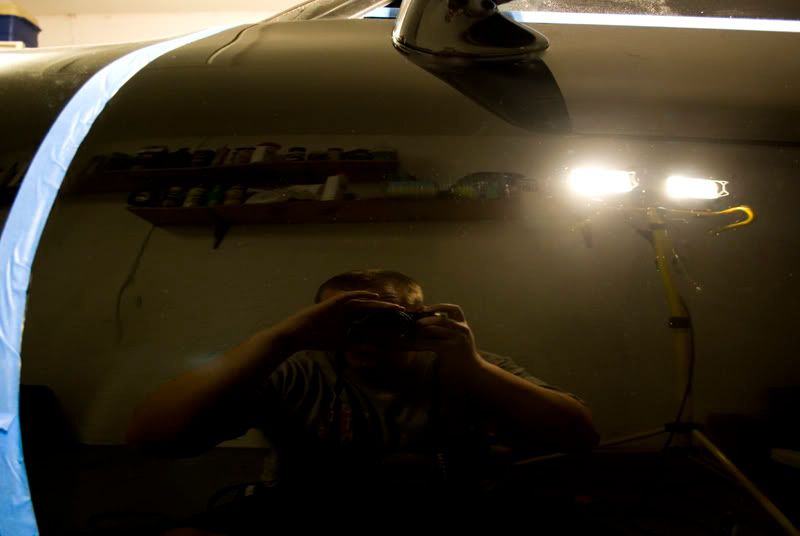
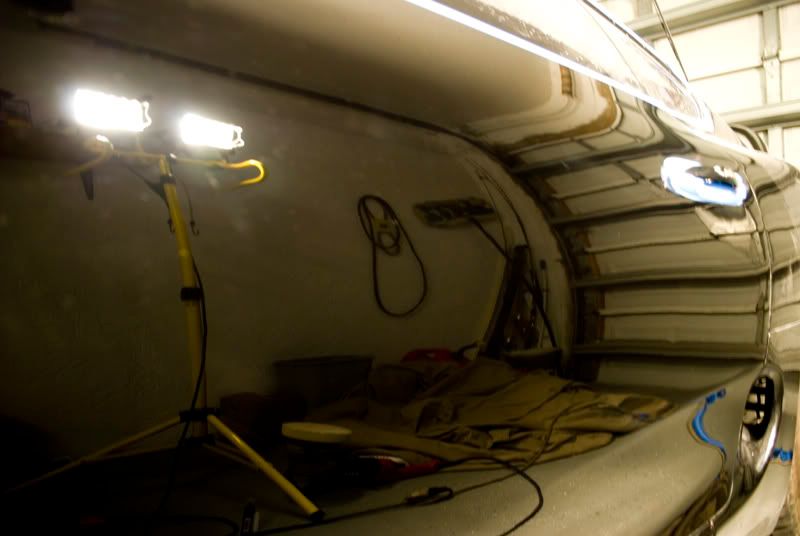
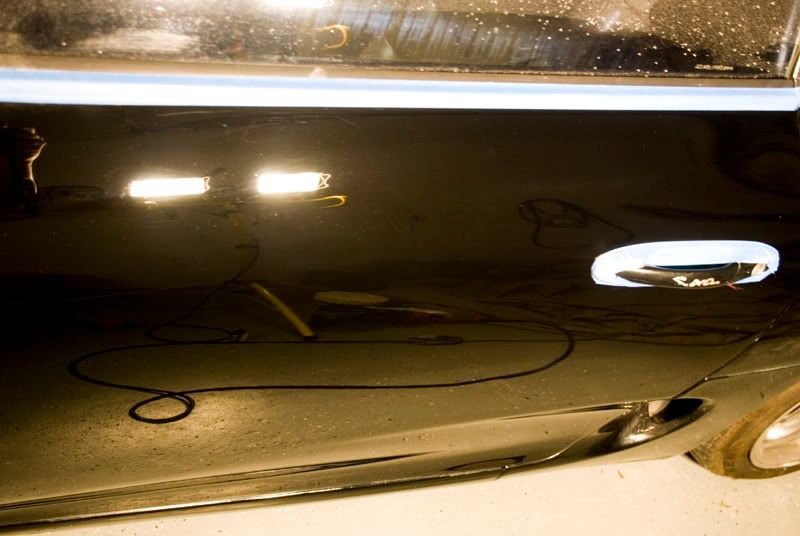
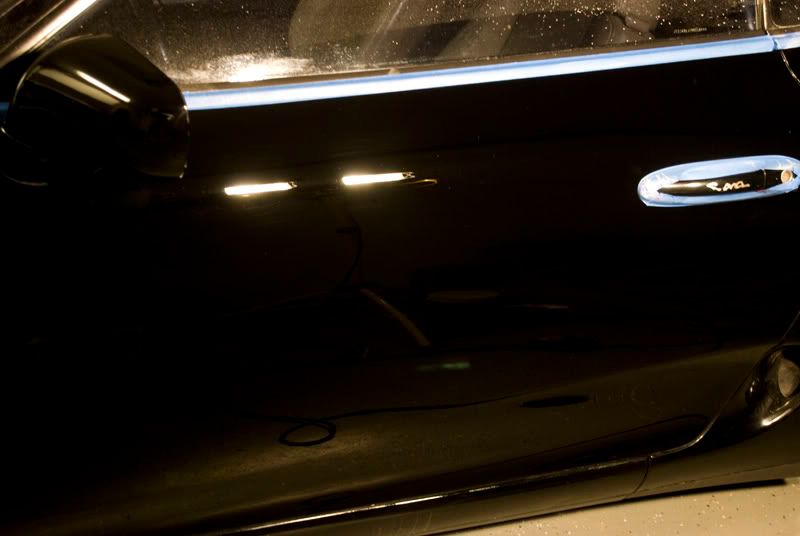
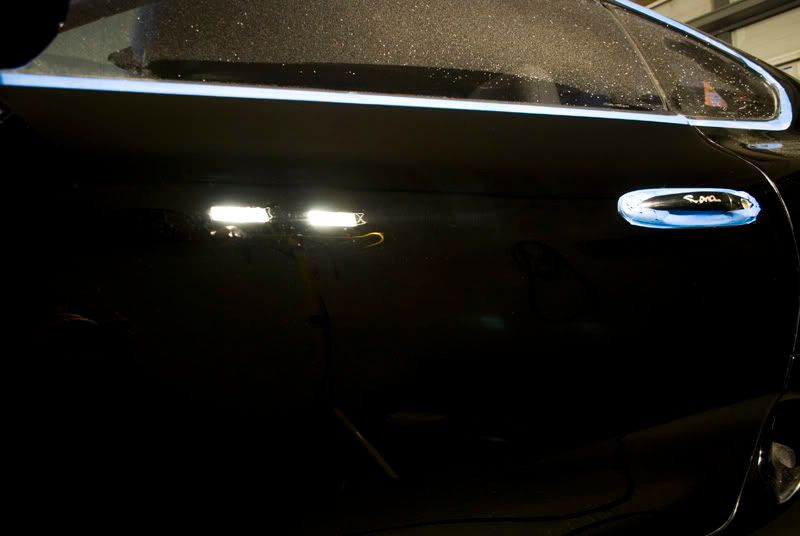
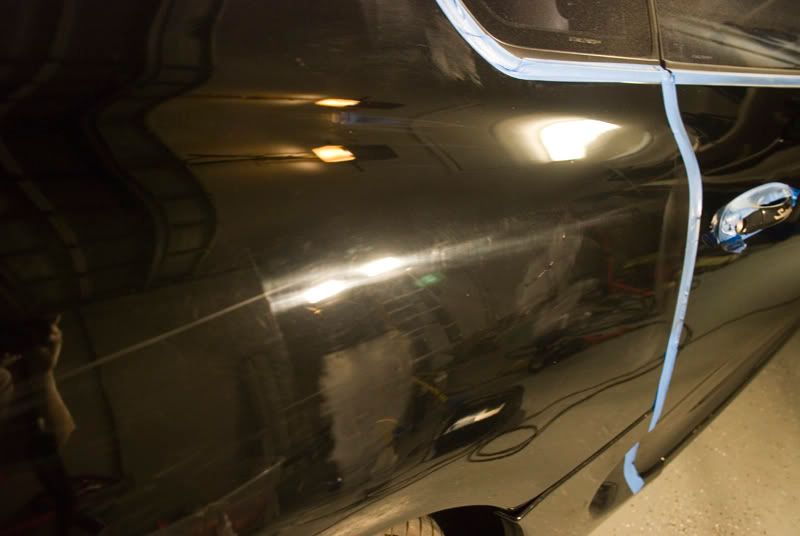
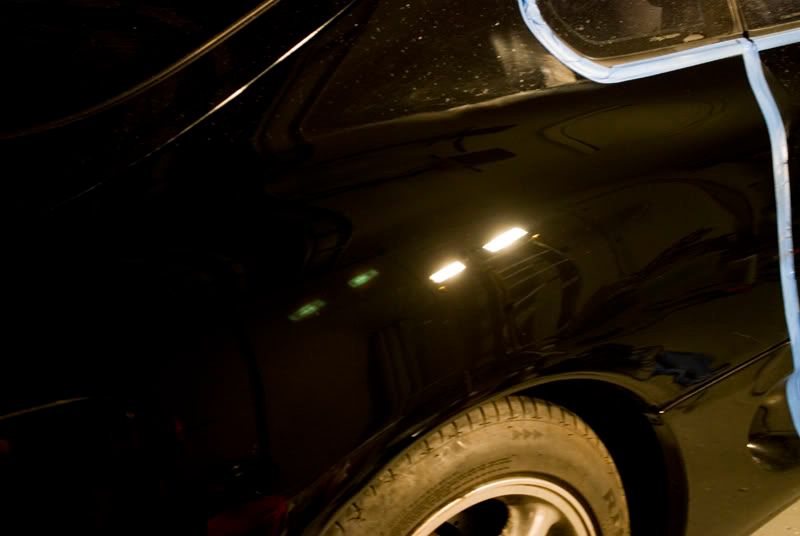
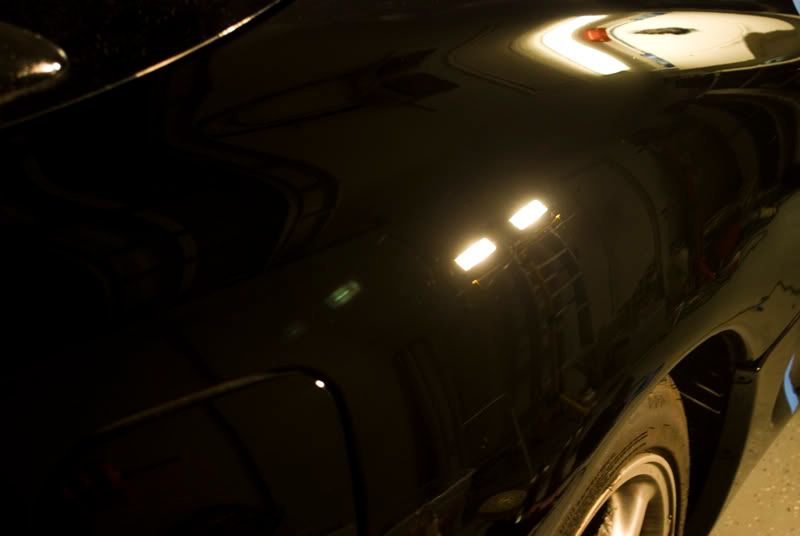
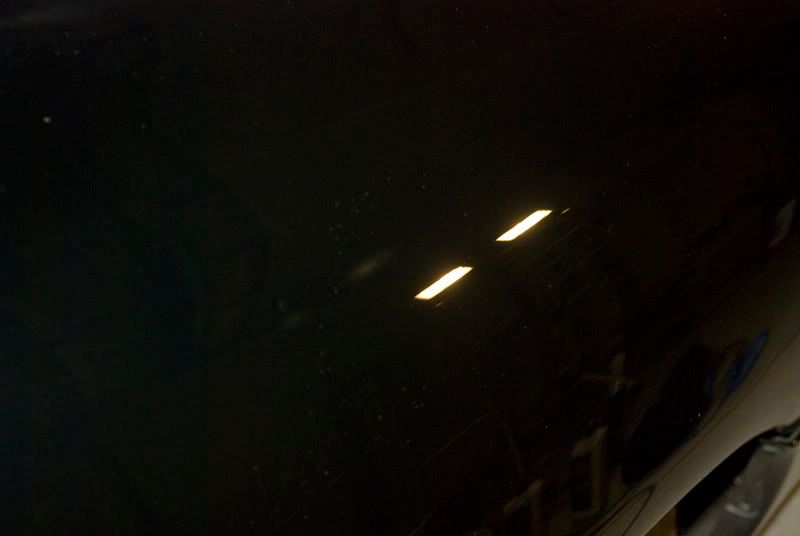
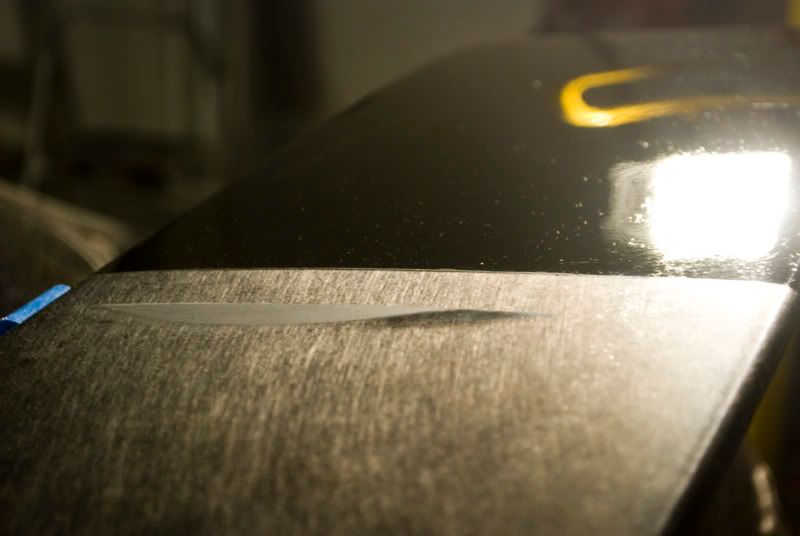
Here's a few teaser shots of a test panel I did on the car:
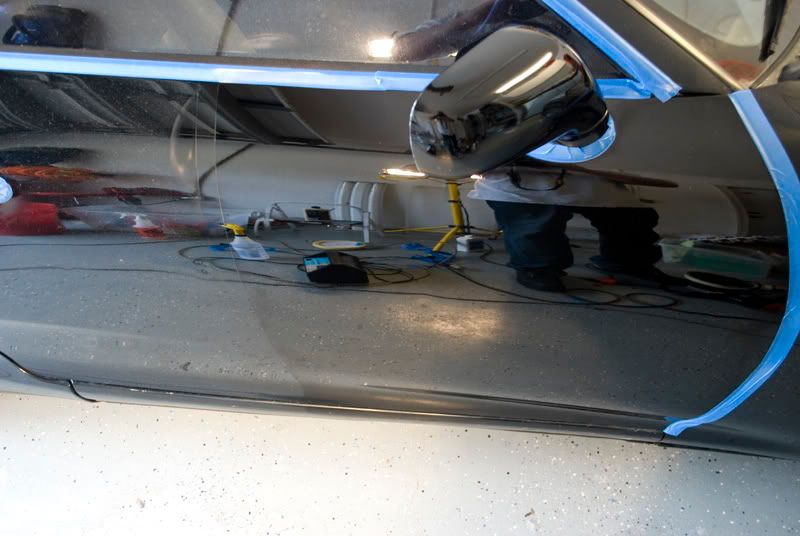
What I found to work best on this unbelievably soft paint was Megs 205 on a white ccs pad, followed up by some Menz 85rd on a blue pad. Thanks for looking. Should have many more pictures up of the rest of the detail throughout the week and a decent write-up. :hb
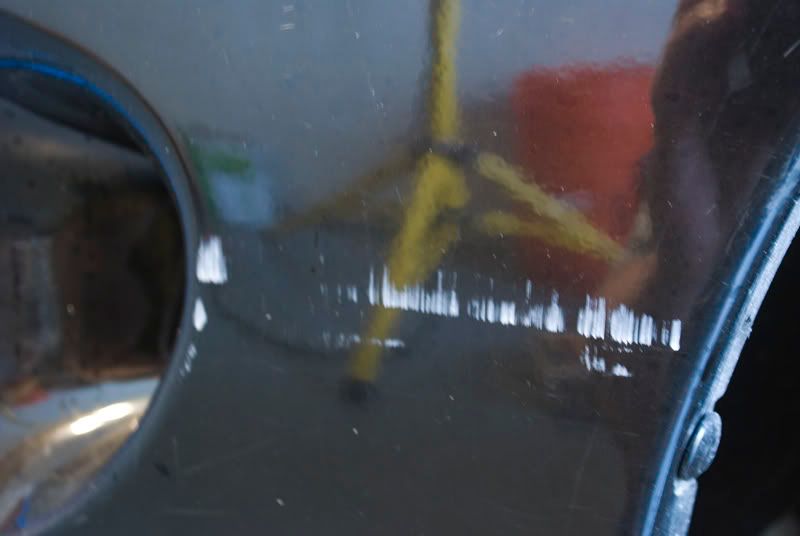
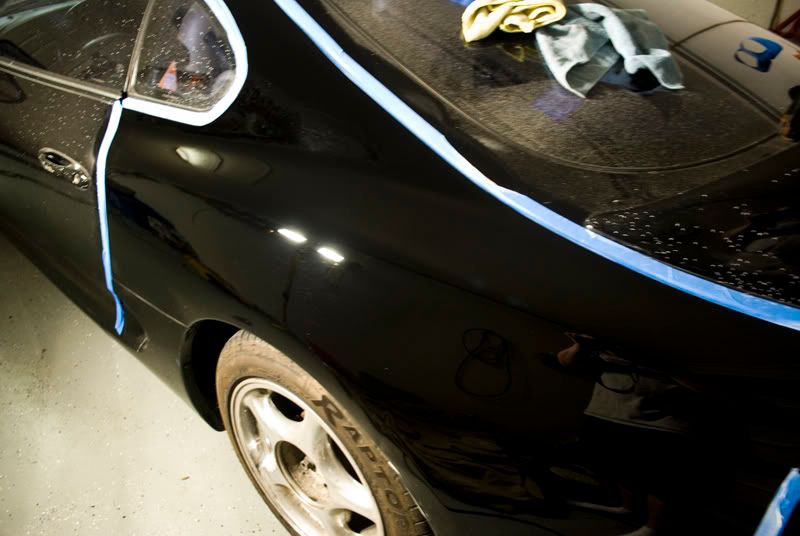
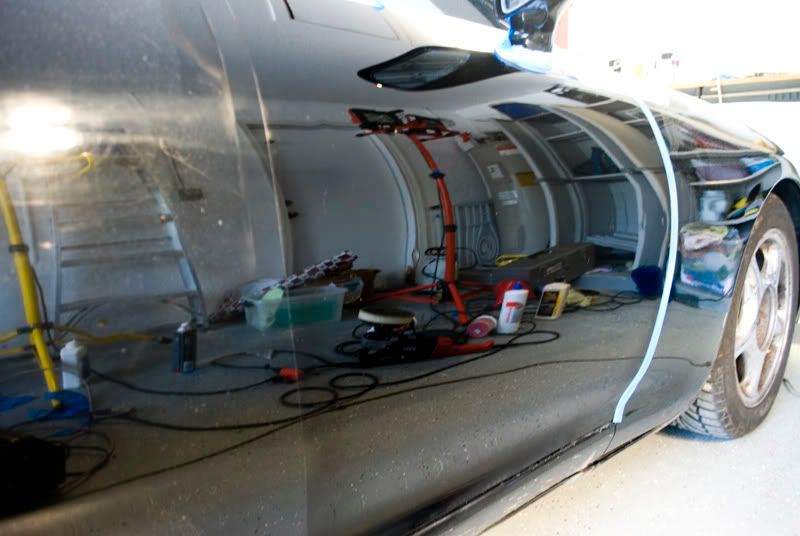
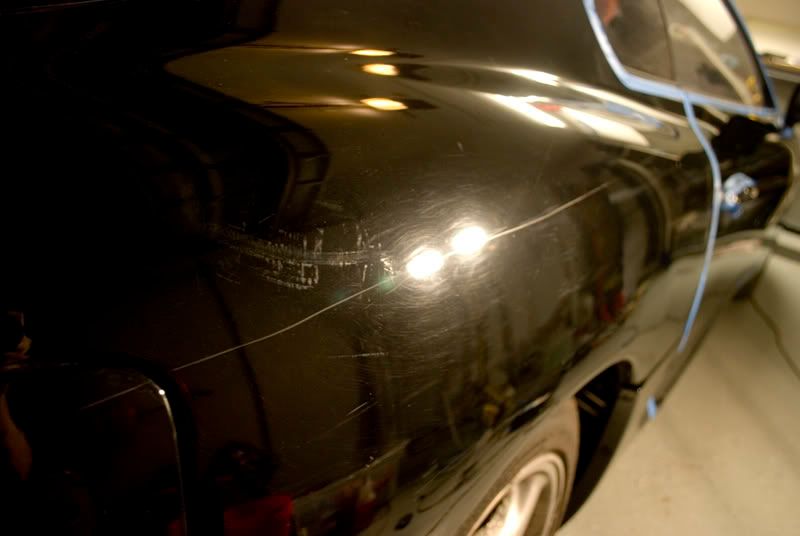
Passenger Rear Quarter Panel:
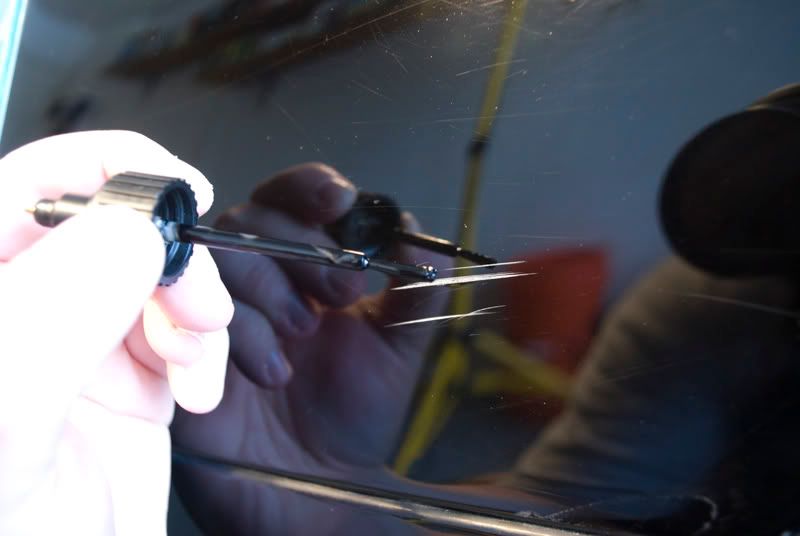
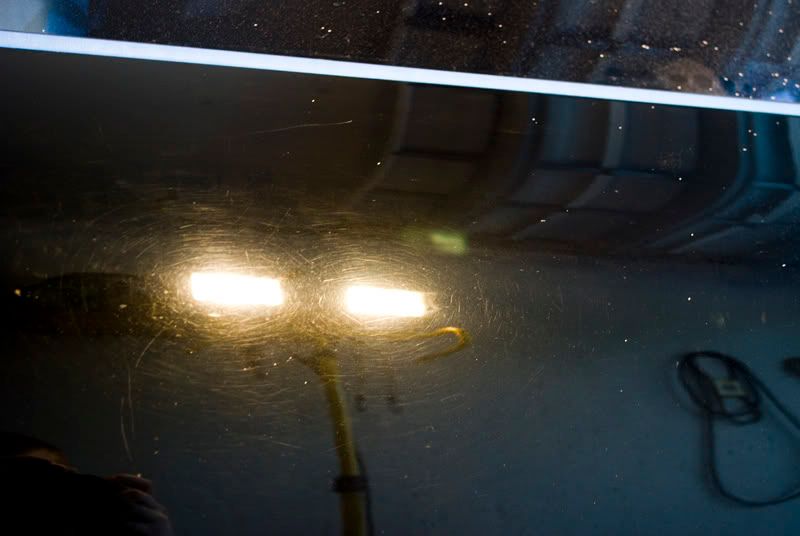
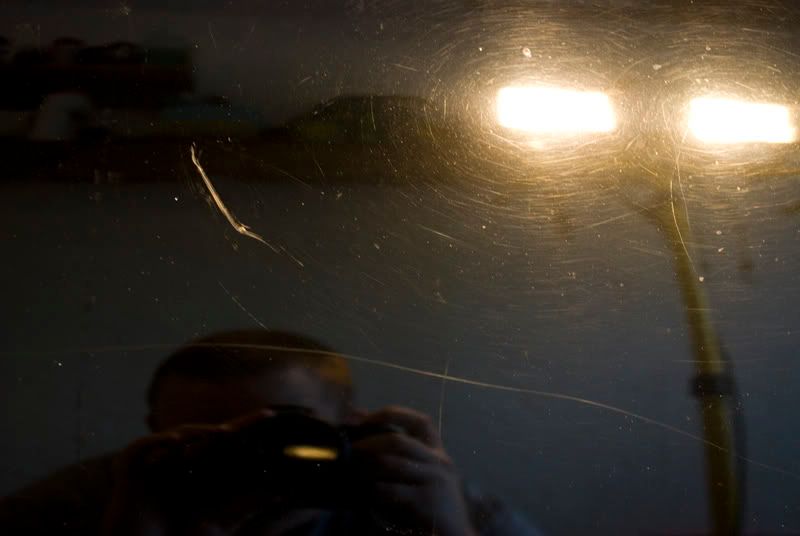
This panel is in some of the worst shape I've seen in a long time. The car had been keyed while owned by the previous owner, and I did my best to conceal the key marks as much as possible. A lot of wetsanding and buffing seemed to do the trick.
PROCESS:
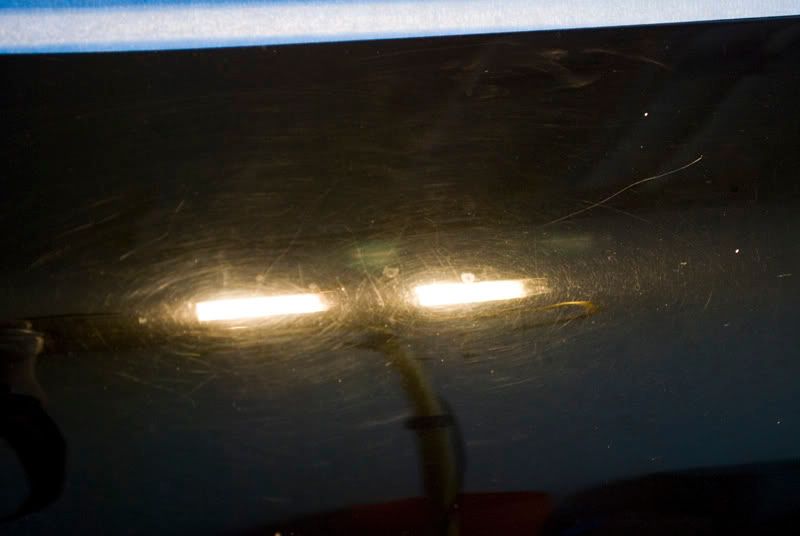
Polished entire panel with Megs Yellow Solo Pad with some M205 on it to see what needed to be wetsanded and what did not.
Wet sanded deep scratches/key marks with 1500 Megs Unigrit paper, followed up with some 3000.
Hit the sand marks with a Megs Burgandy Wool pad with some M105 and the Kevin Brown method.
After this, I followed up with some M205 on a white CCS pad, and then some Menz 85rd on a blue CCS pad.
Here are the results:
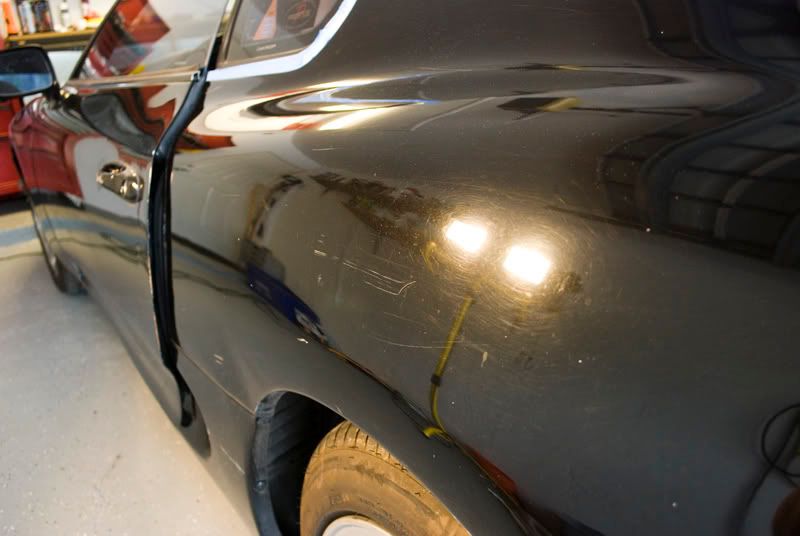
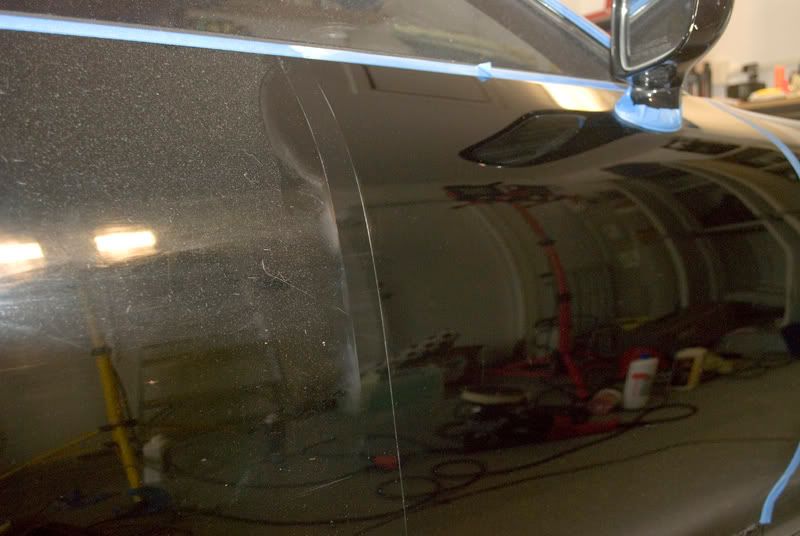
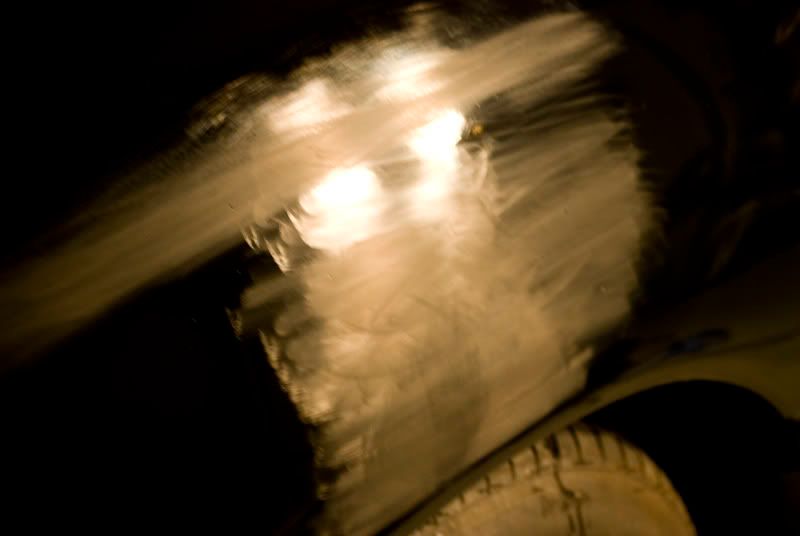
BEFORE:

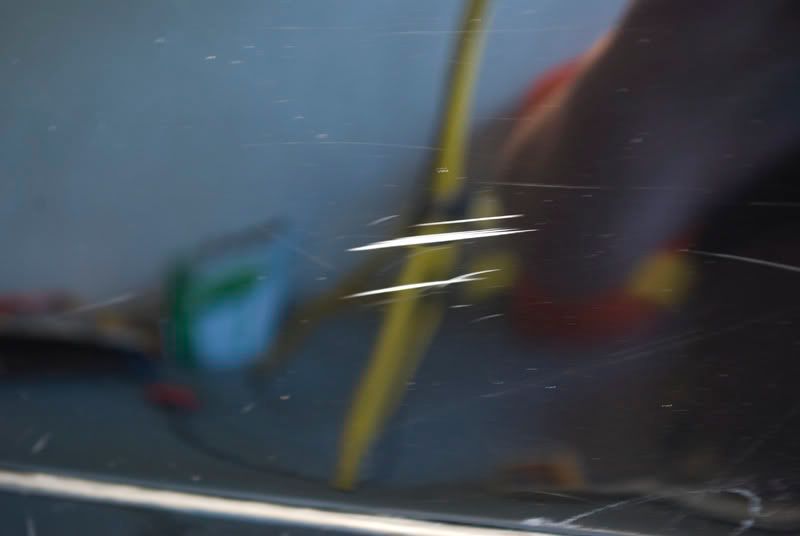
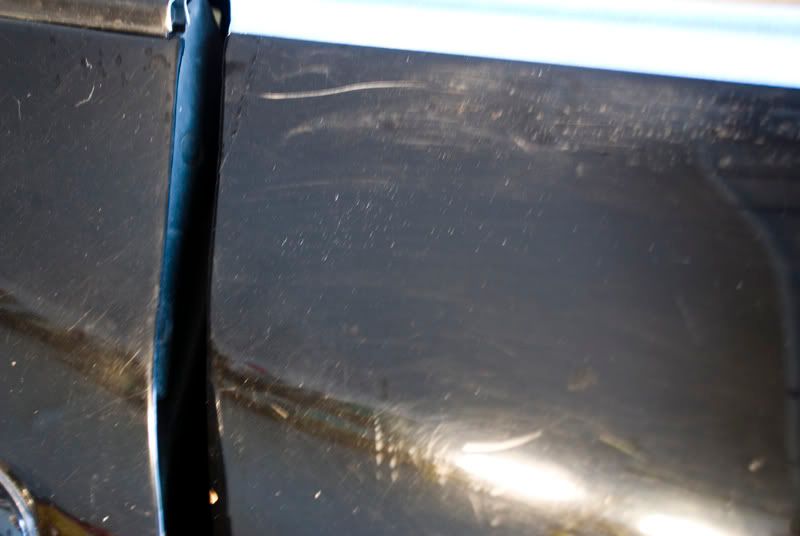
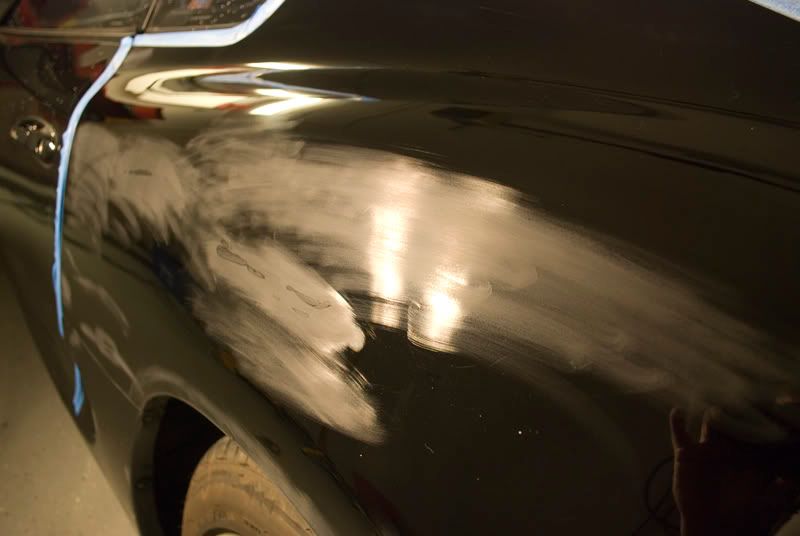
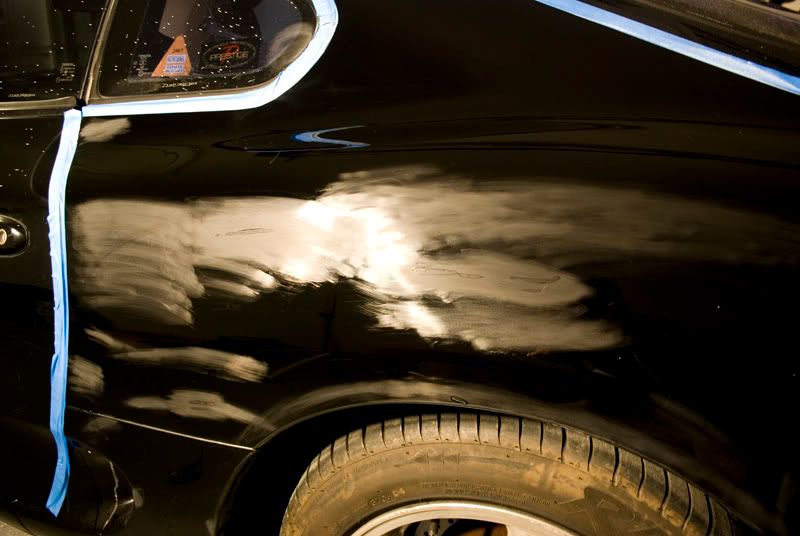
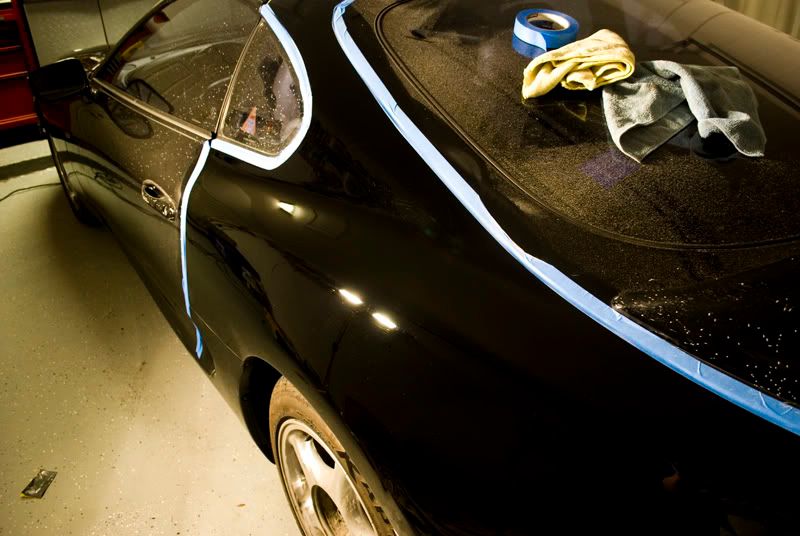
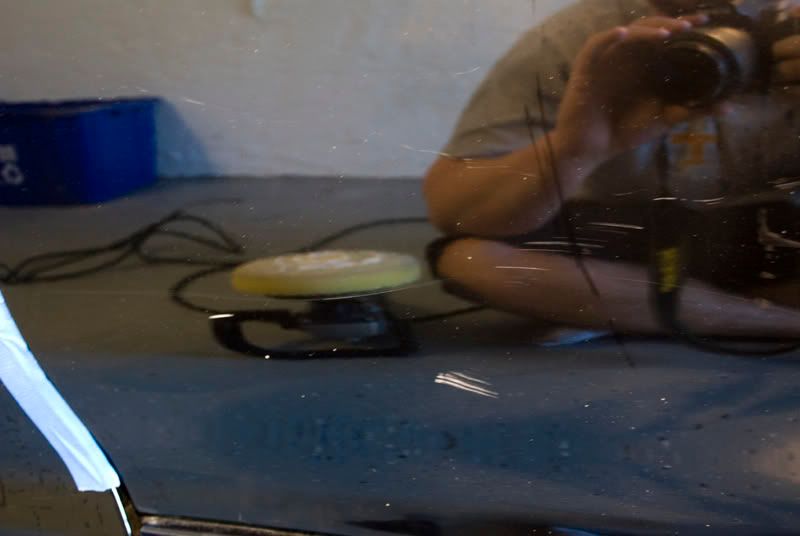
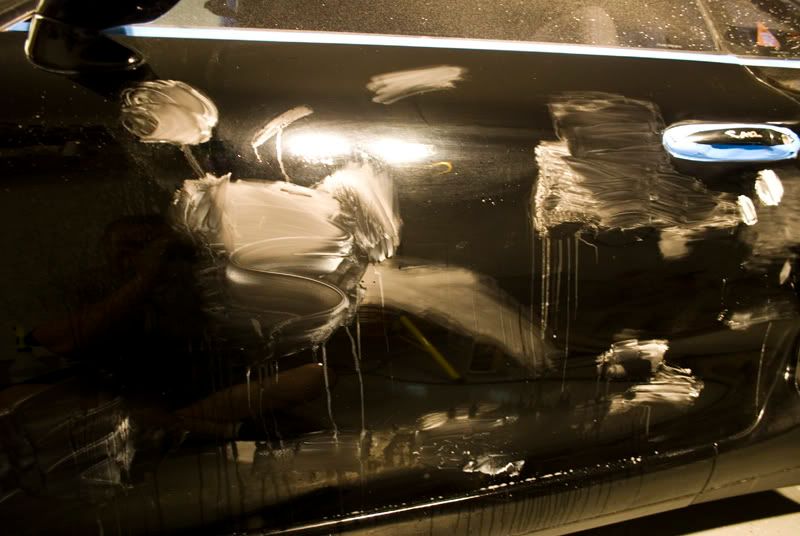
DURING:
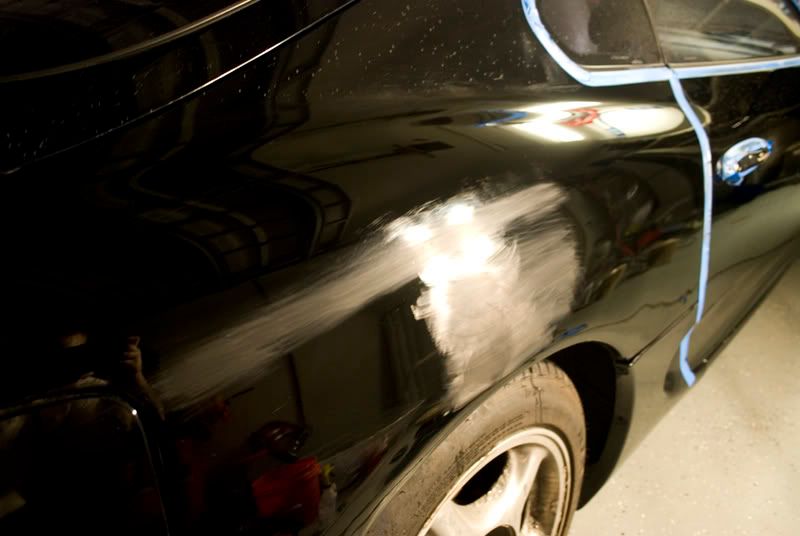
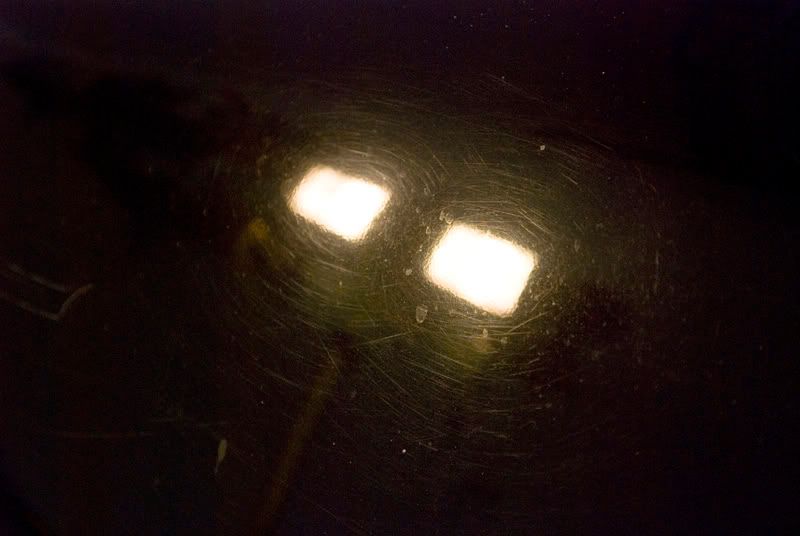
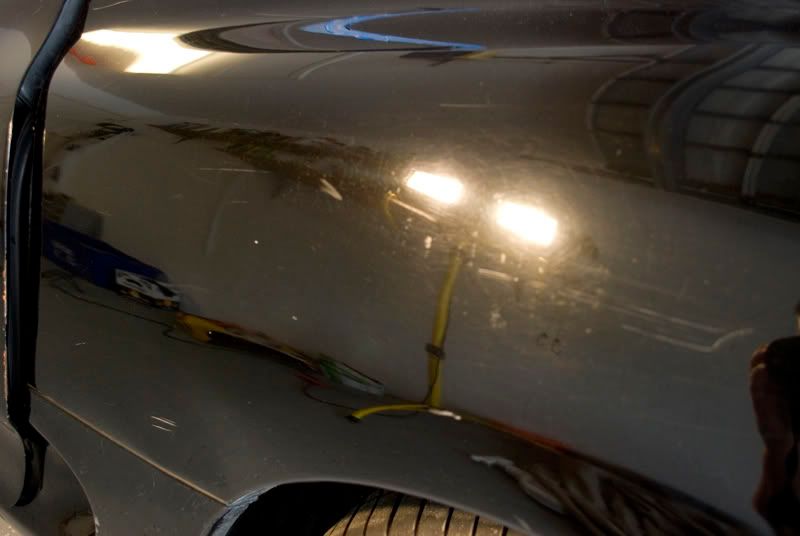
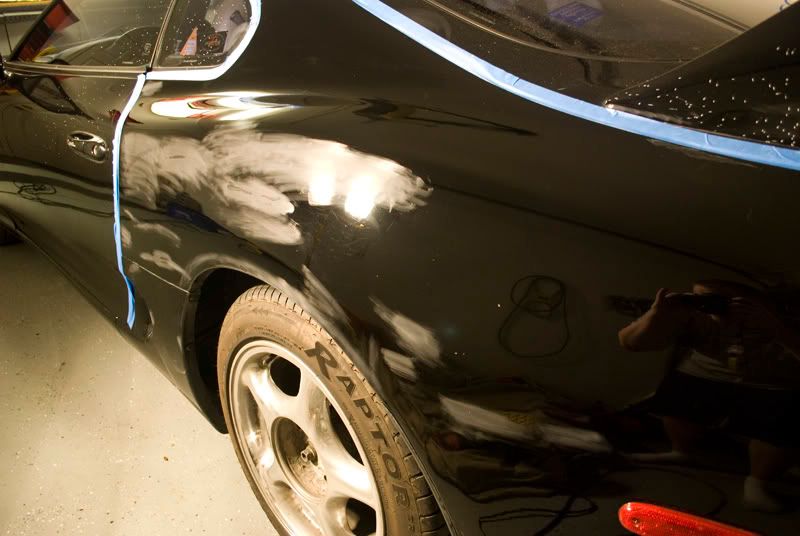
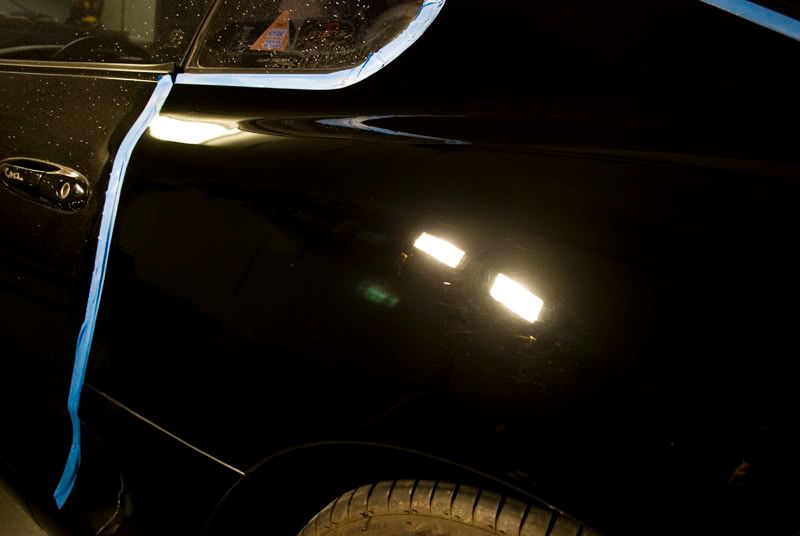
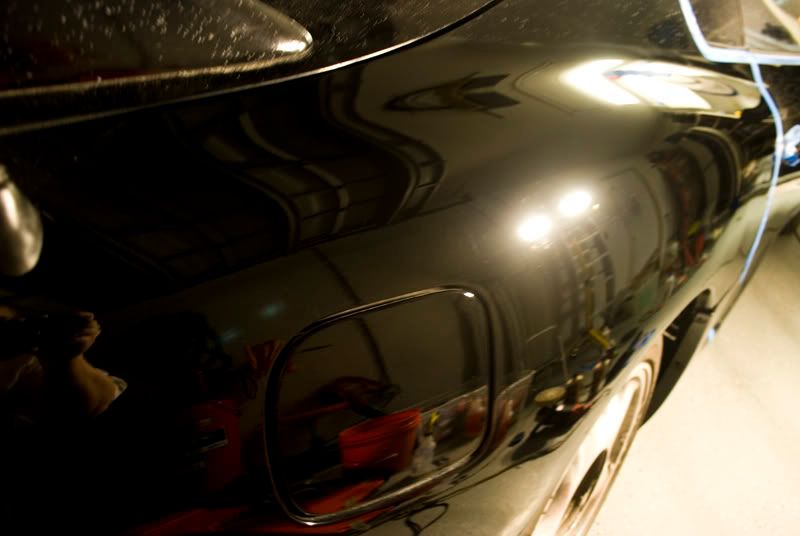
AFTER:
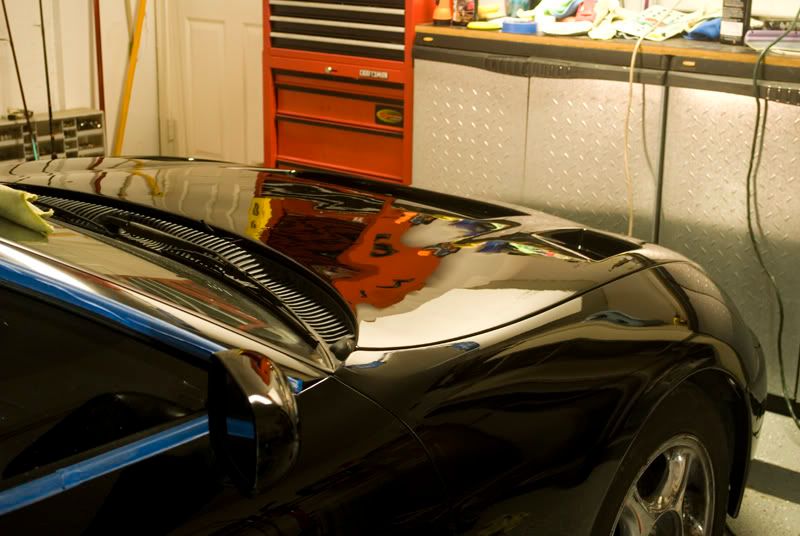
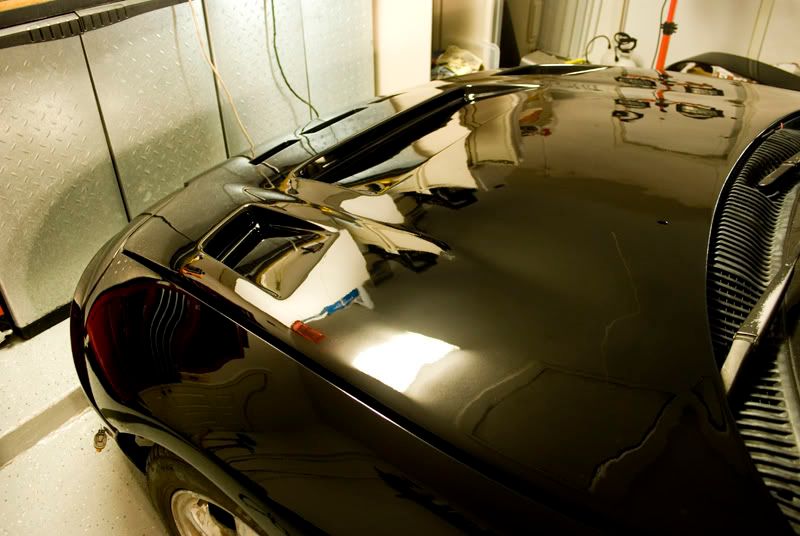
Wing Process:
3 Passes with M105 on Megs Yellow Solo Pad
1 Pass with M205 on White CCS Pad
1 Pass with 85rd on blue CCS pad
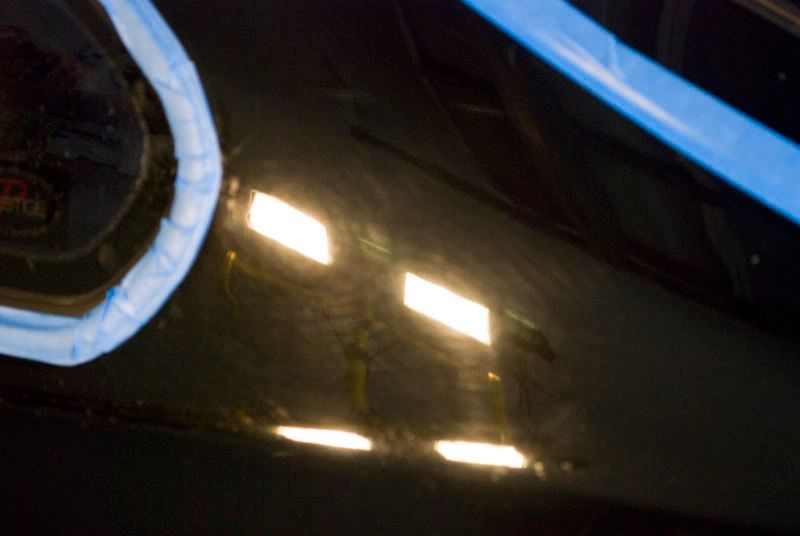
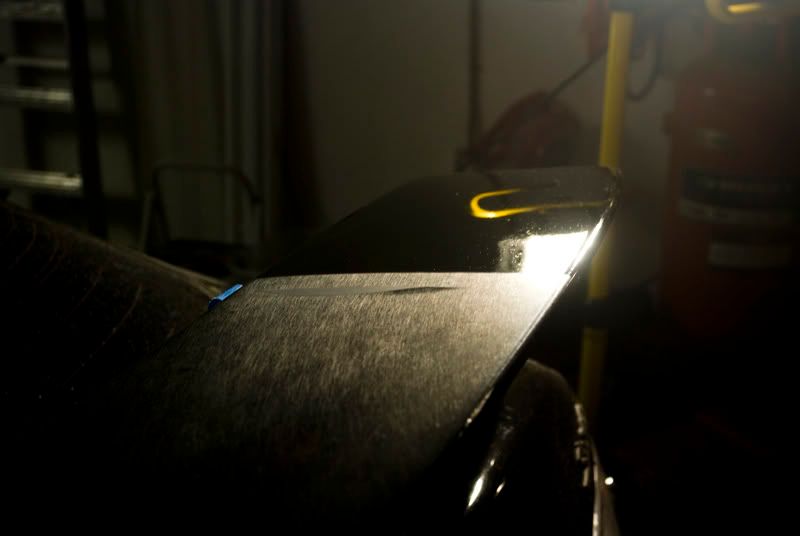
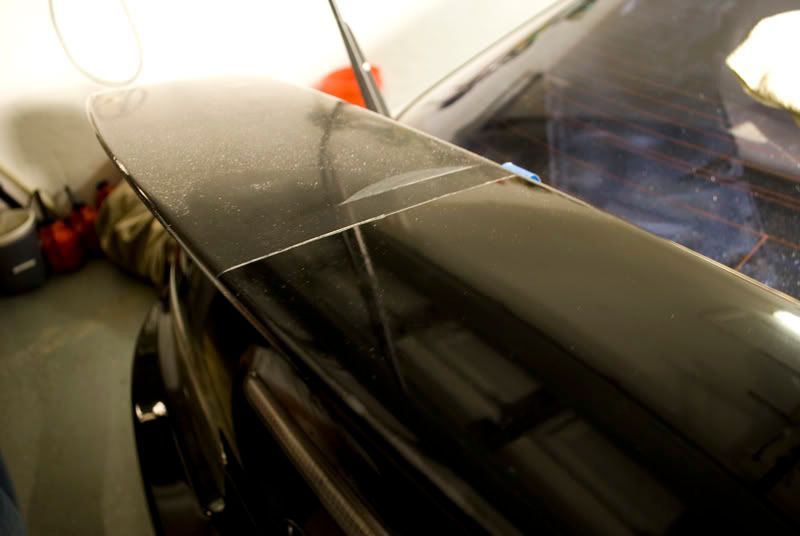
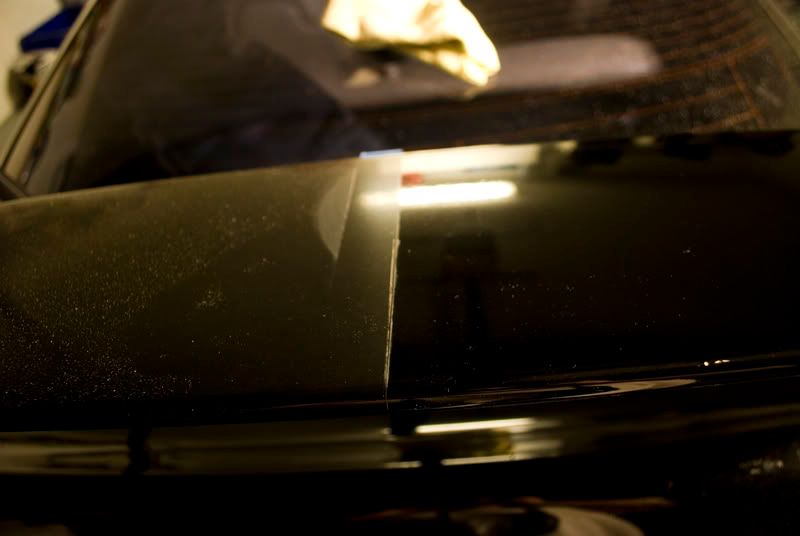
Here's some pretty sweet 50/50 shots:
What I found to work best on this unbelievably soft paint was Megs 205 on a white ccs pad, followed up by some Menz 85rd on a blue pad. Thanks for looking. Should have many more pictures up of the rest of the detail throughout the week and a decent write-up. :hb
Passenger Rear Quarter Panel:
This panel is in some of the worst shape I've seen in a long time. The car had been keyed while owned by the previous owner, and I did my best to conceal the key marks as much as possible. A lot of wetsanding and buffing seemed to do the trick.
PROCESS:
Polished entire panel with Megs Yellow Solo Pad with some M205 on it to see what needed to be wetsanded and what did not.
Wet sanded deep scratches/key marks with 1500 Megs Unigrit paper, followed up with some 3000.
Hit the sand marks with a Megs Burgandy Wool pad with some M105 and the Kevin Brown method.
After this, I followed up with some M205 on a white CCS pad, and then some Menz 85rd on a blue CCS pad.
Here are the results:
BEFORE:
DURING:
AFTER:
Wing Process:
3 Passes with M105 on Megs Yellow Solo Pad
1 Pass with M205 on White CCS Pad
1 Pass with 85rd on blue CCS pad
Here's some pretty sweet 50/50 shots:
")