Greetings all. The following thread is based on a 2 step correction that I performed for my mother as a birthday present. The goal for this one was 80% correction as it's had a little bit of paintwork from a deer hitting it and some etching that will need to be corrected by wet sanding, which I wasn't prepared to do. This was supposed to be posted for the "Show N' Shine" contest but I didn't make it on time. I apologize for the lack of after pictures, due to the fact that I had to drive home from work (150 mile trip) to finish up the car so that it could be picked up the next day and very little sunlight was present. I will get the car cleaned up and update with more pictures. One other note, my PC XP broke as I was finishing the last quarter panel so I was unable to jewel the paint.
Wash
Car was rinsed, then treated to a Meg's APC+ @ 4:1 pre-soak, followed by a wash down with 3oz APC+, 3oz. Meg's Shampoo+ to 4.5 gallons of water.
Tires/Wheels/Wheel Wells
These were cleaned with APC+ @ 4:1, various brushes
Tires dressed with DP Tire Gel (New Formula), wheel wells dressed with Meg's aerosol dressing, plastic pieces treated with 303 Aerospace Protectant
Clay
Car was clayed with Meg's OTC clay and QD (Not Ultimate Quick Detailer but the original). Typically I use Mother's clay kit but wanted to use up what I had on hand.
Engine
Engine cleaned with Zep Citrus, dressed with CD-2
Paint
Paint was corrected using PC XP
Meg's M105/M205
Lake Country 5.5" Cyan & Tangerine Hydro Tech Pads
Lake Country 4" Cyan & Tangerine Hydro Tech Pads
91% IPA diluted 1:1
3M blue & green tape
Trim
Trim was dressed with Poorboy's Trim Restorer
LSP
Car was sealed with DP Poli-Coat followed with a Duragloss Aqua Wax wipedown
Towels
Various towels were used
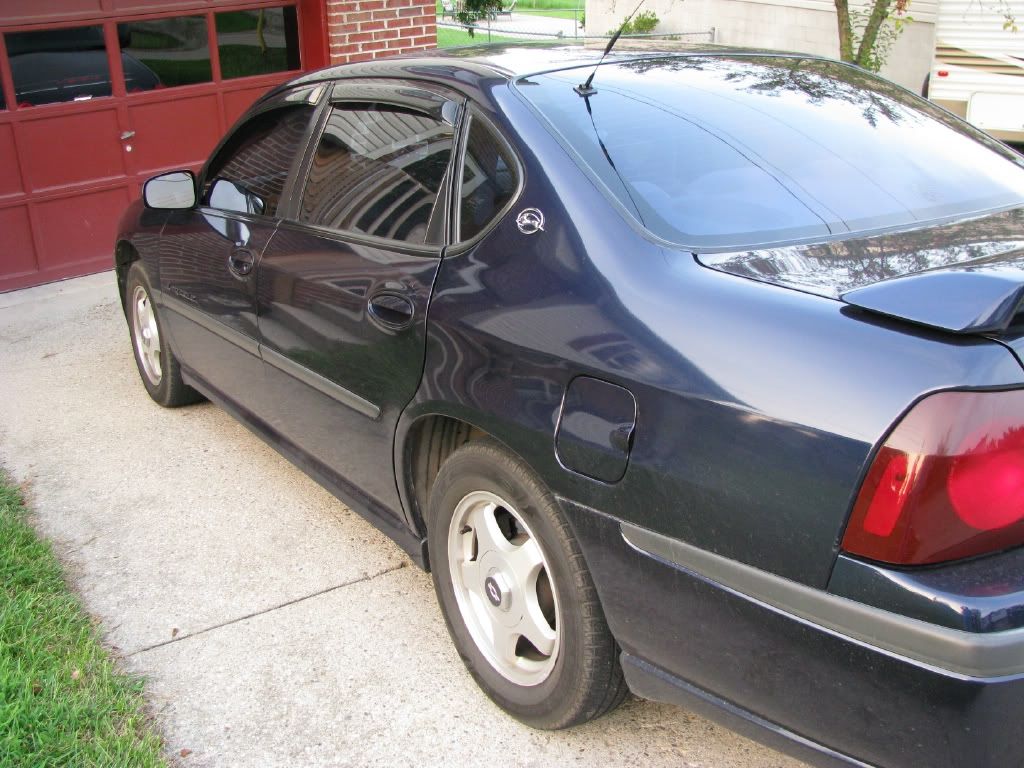
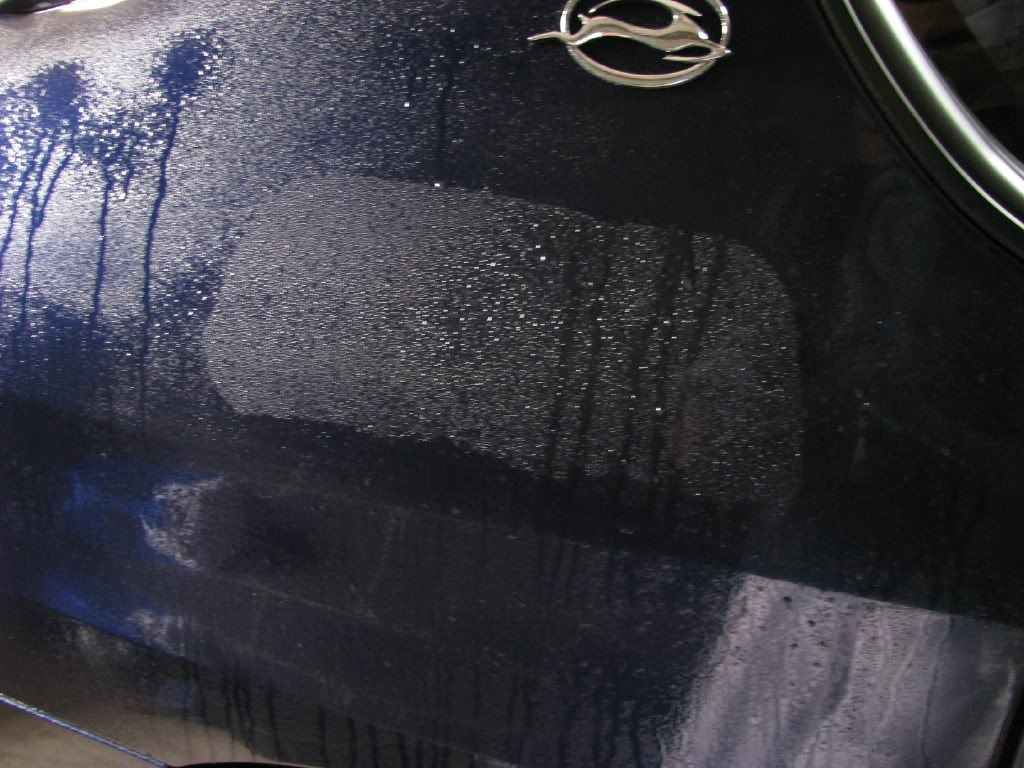
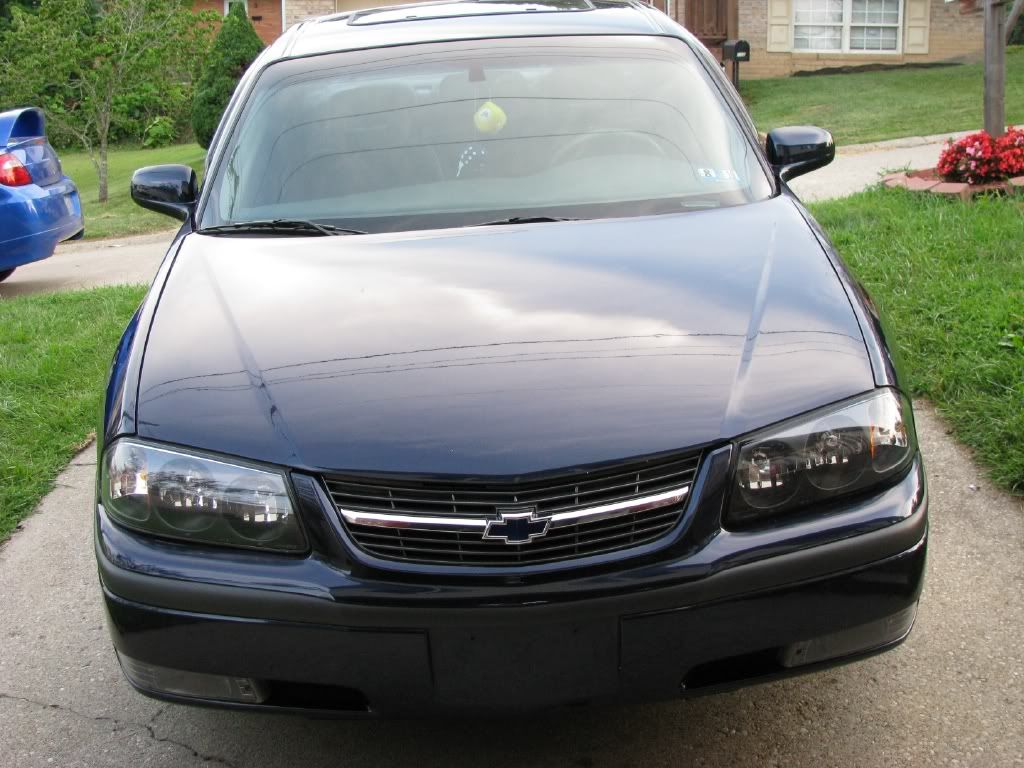
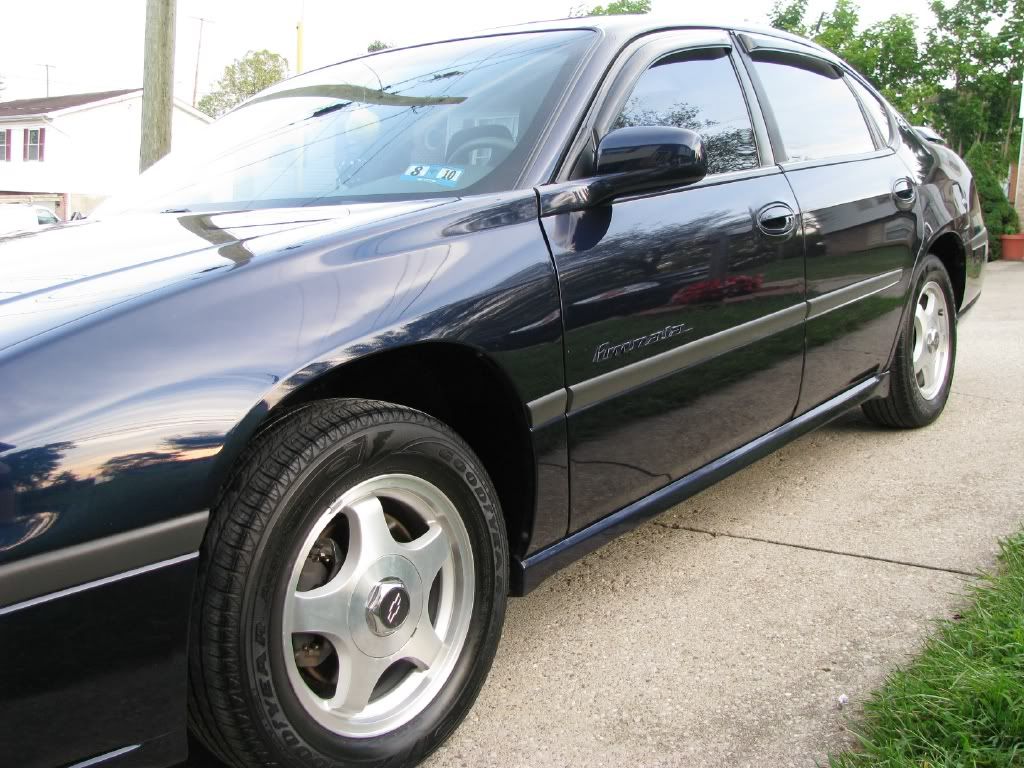
Car on arrival
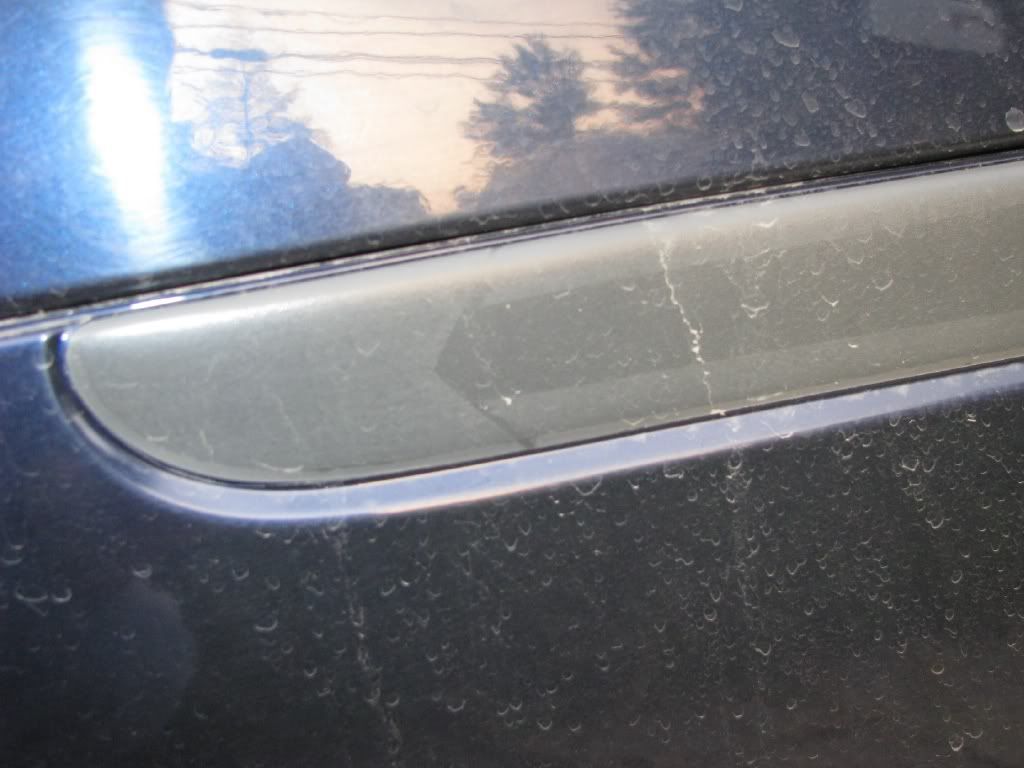
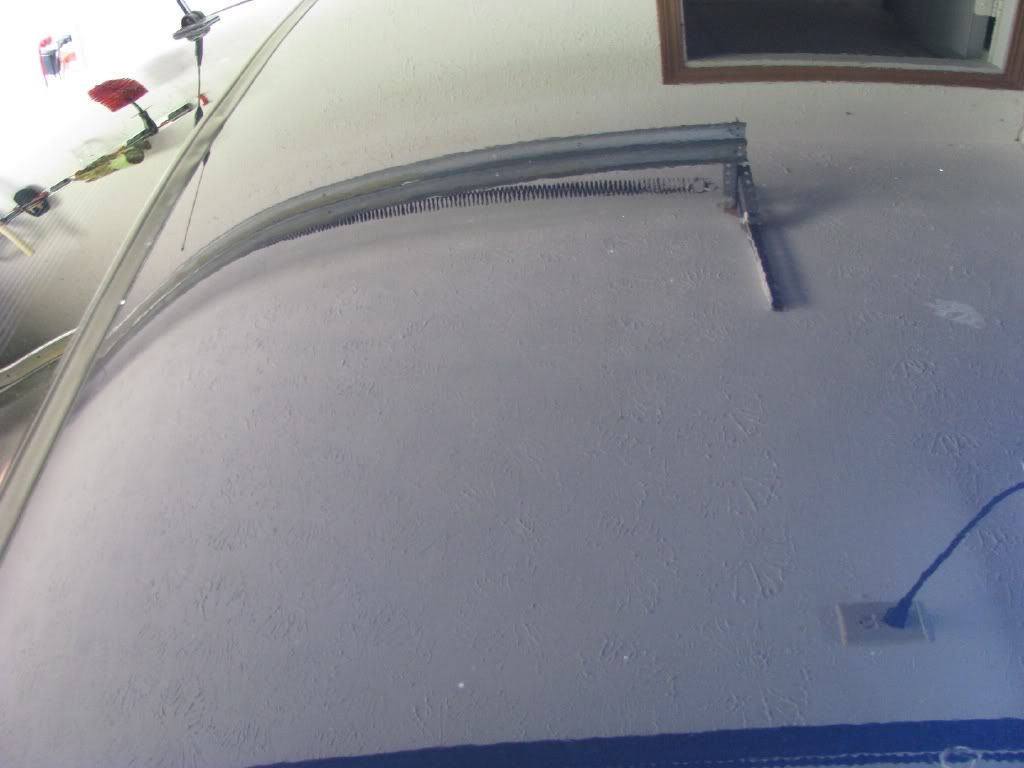
Interesting imprint from the body shop
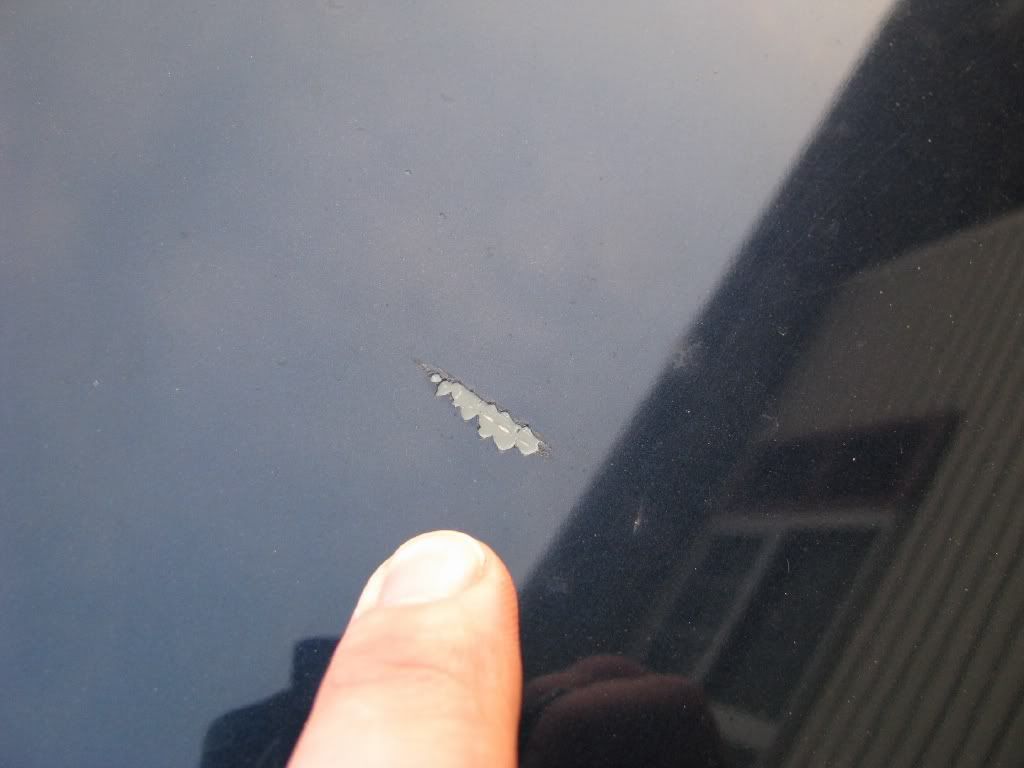
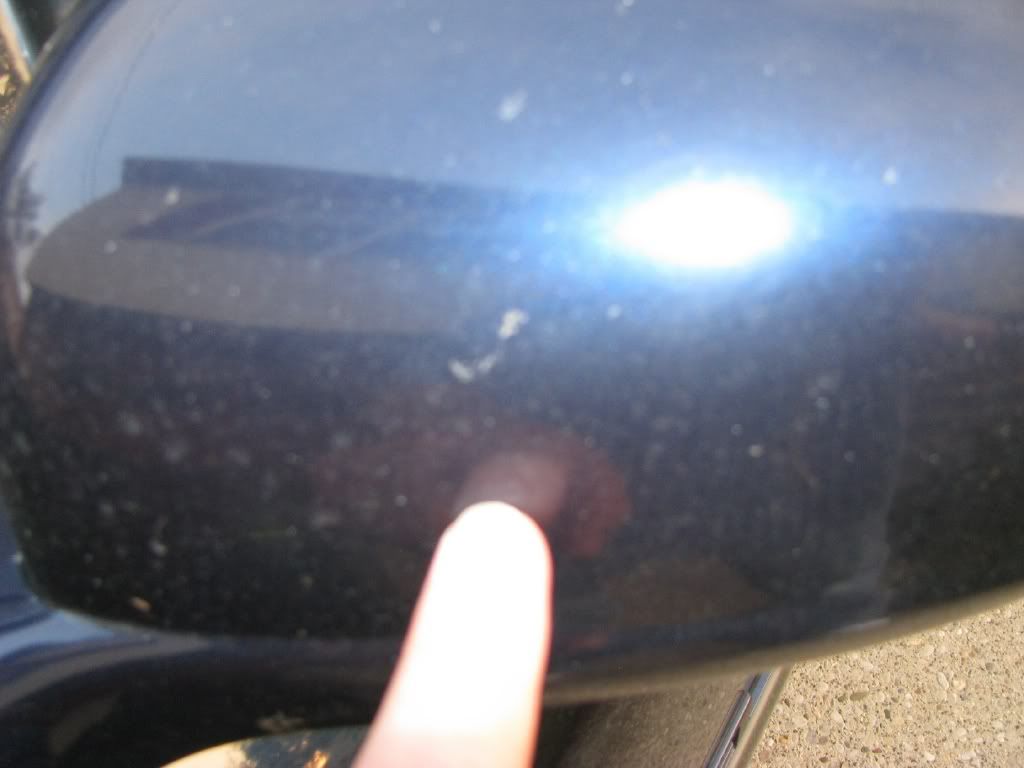
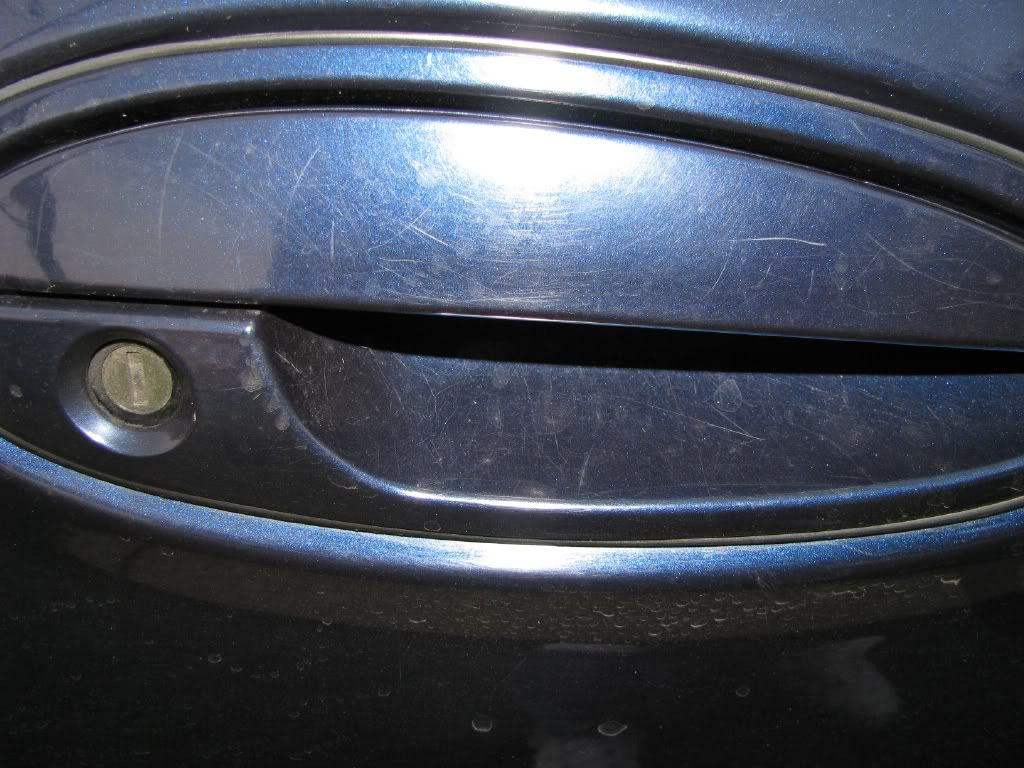
Rock chip, I plan to have this fixed
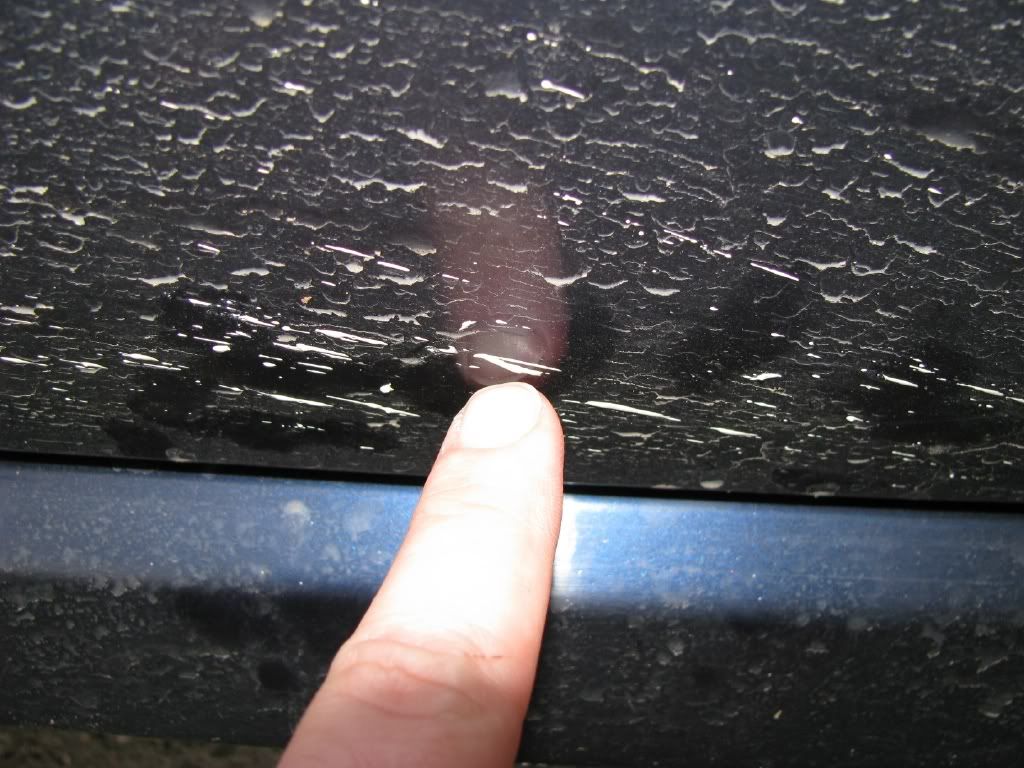
She said this was concrete but I was able to chip it off with my fingernail

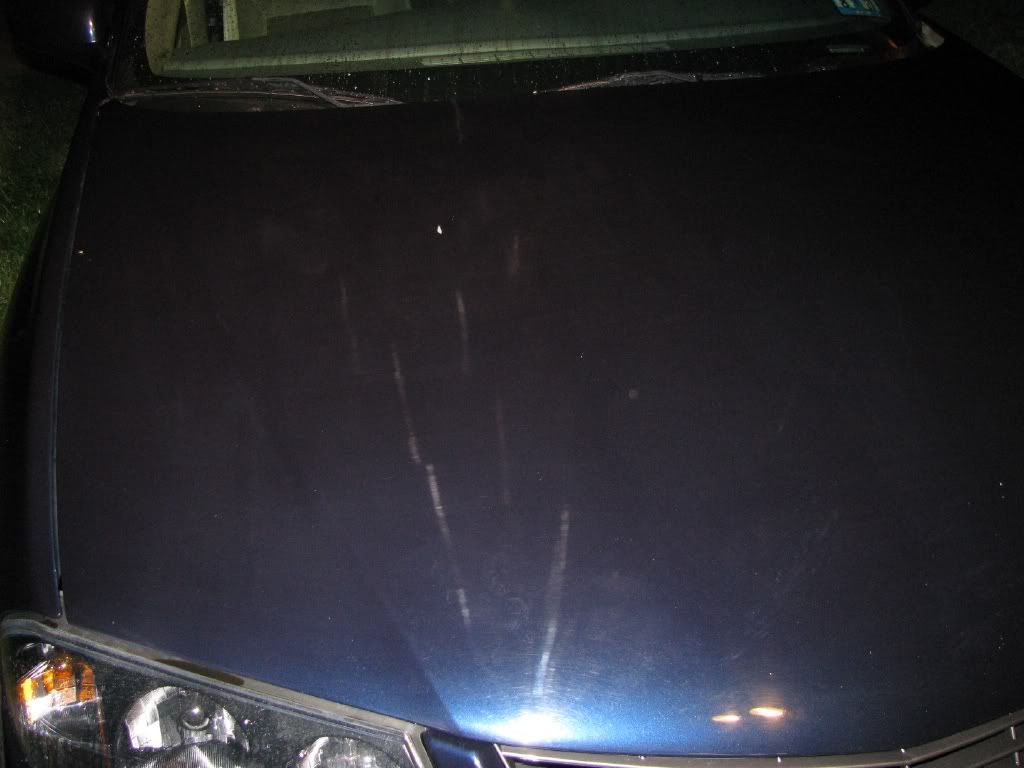
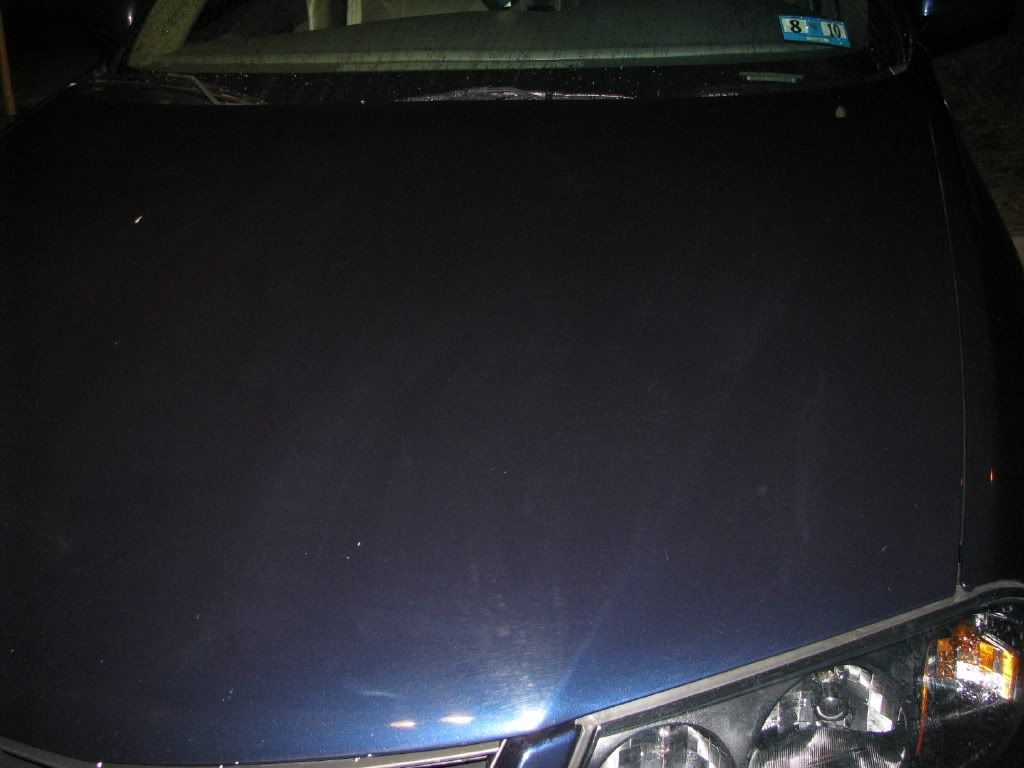
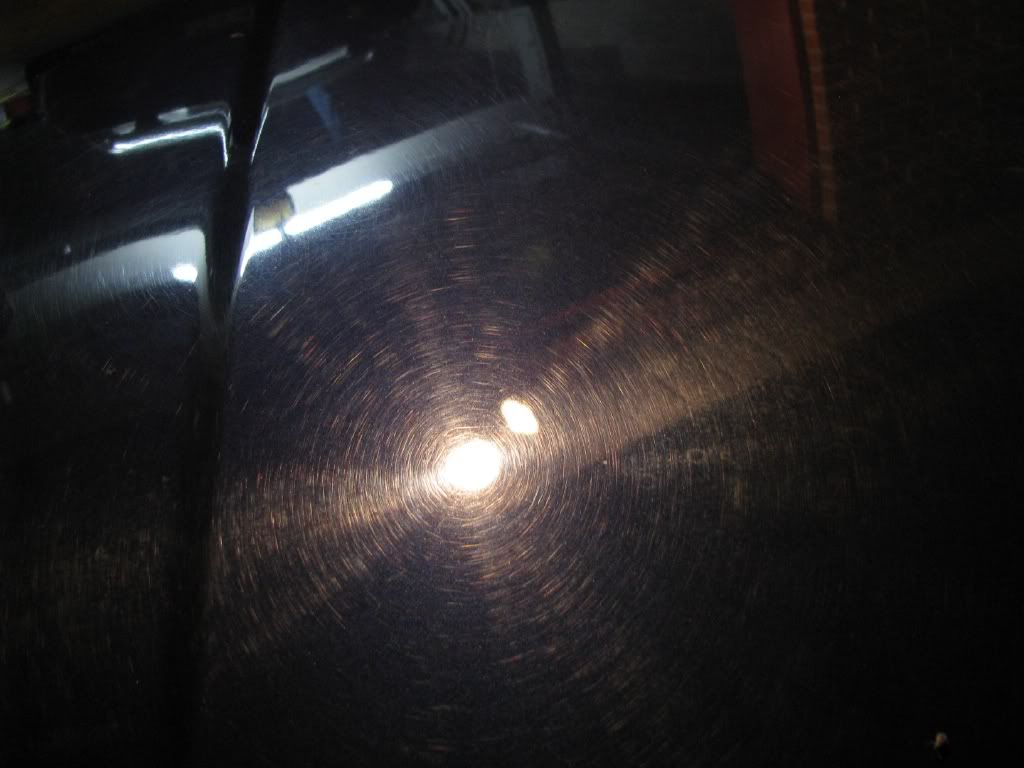
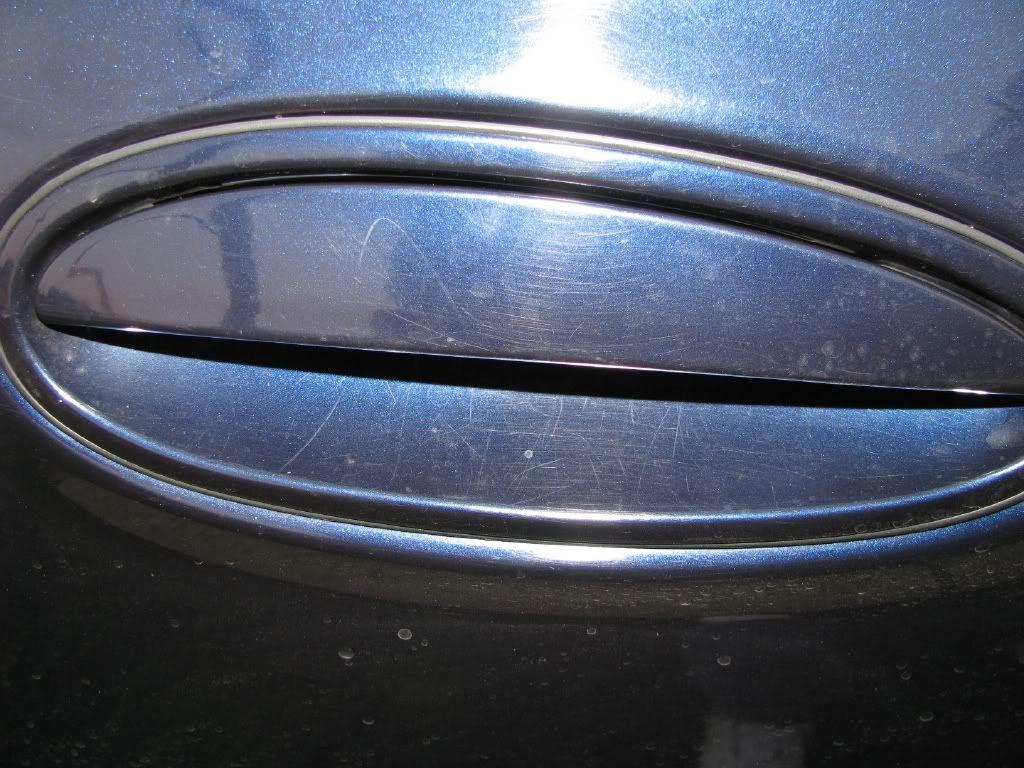
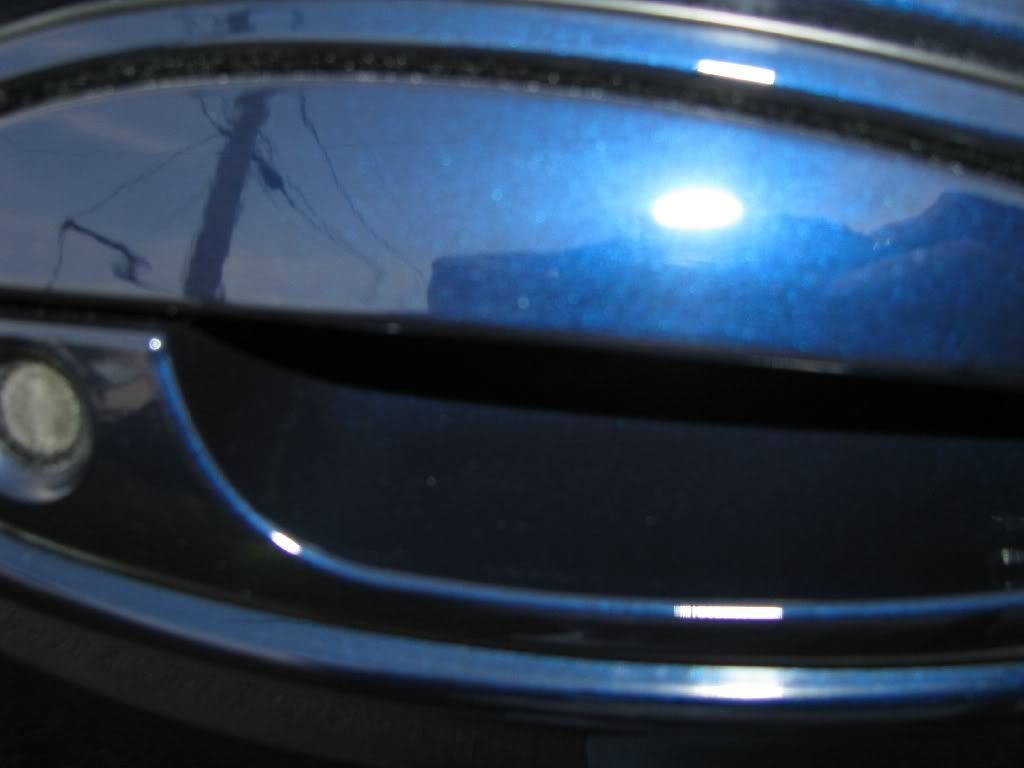
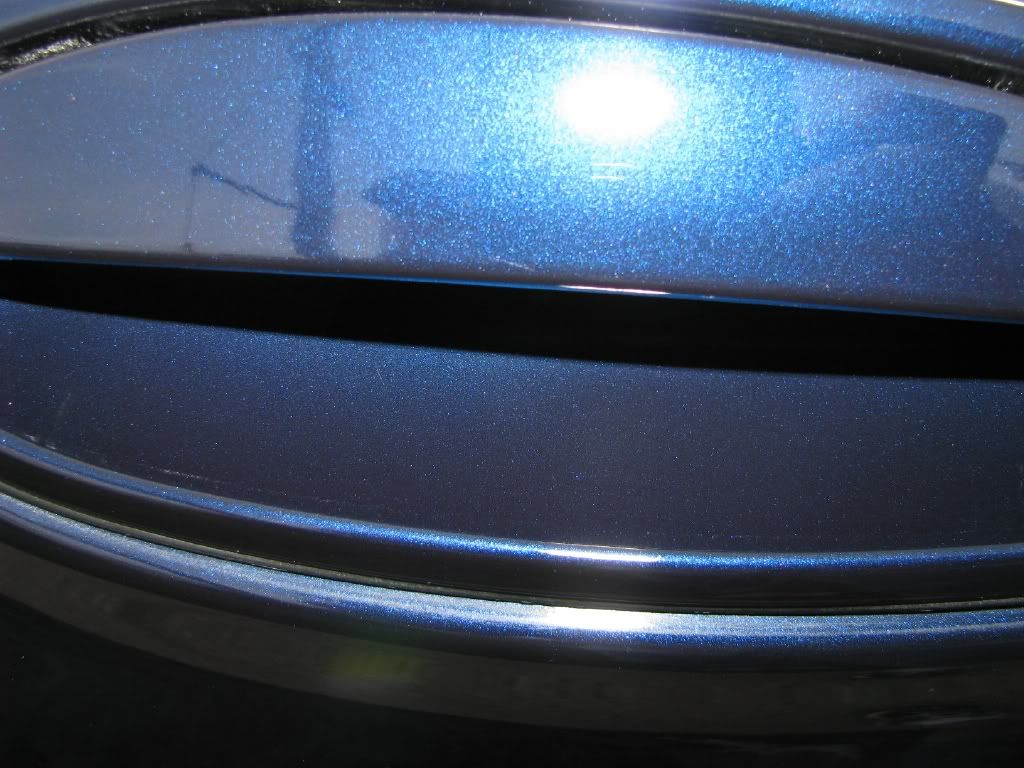
Cleaned the hood, keep in mind this has been in the body shop

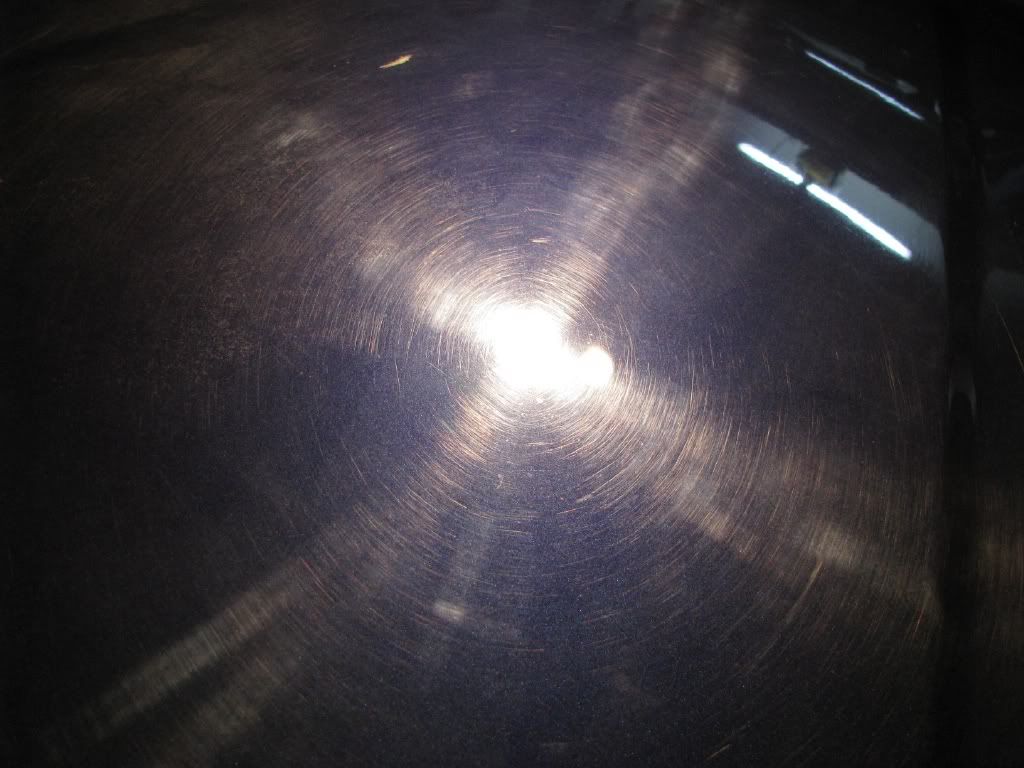
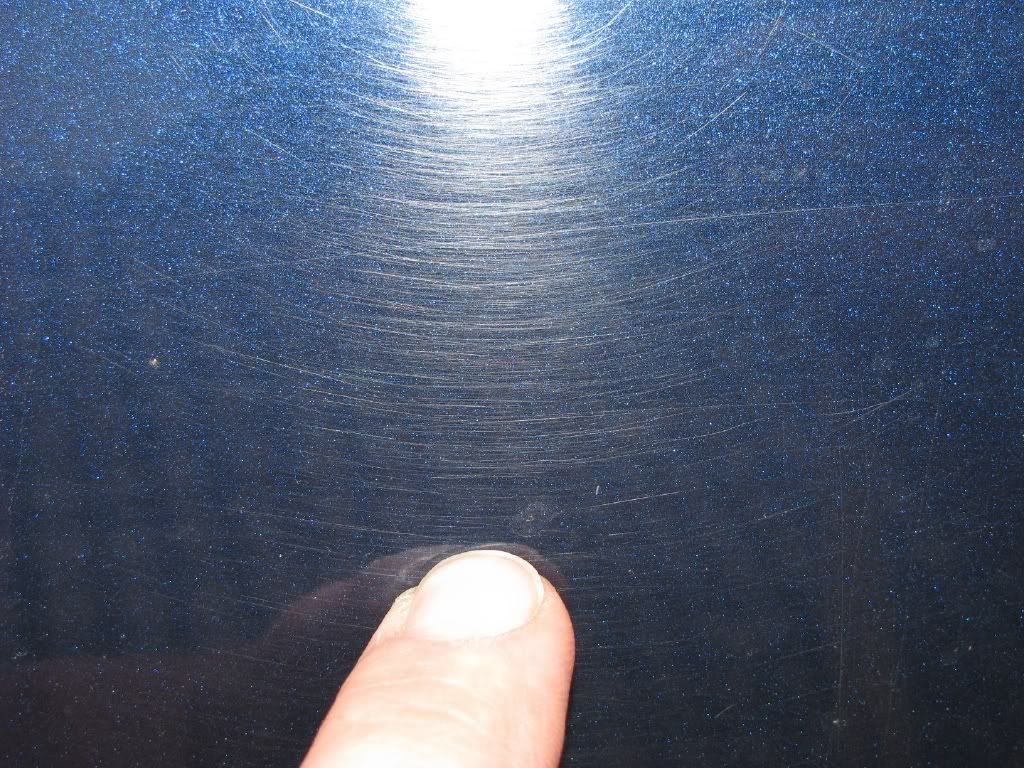
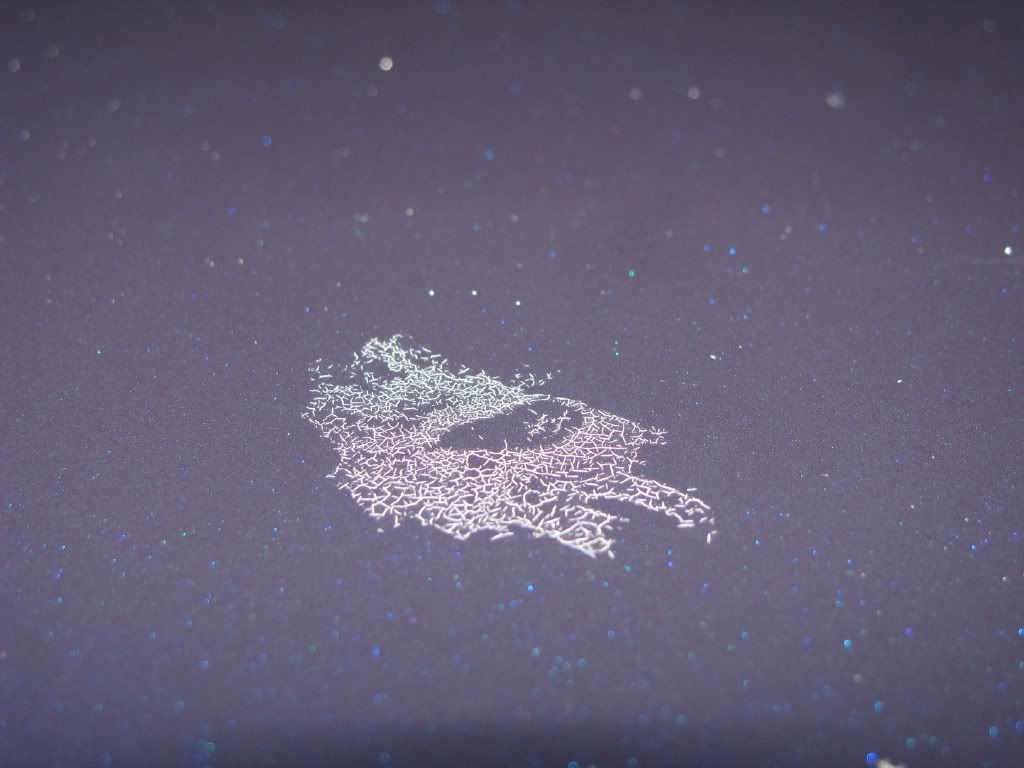
During the clay process I ran across this section and it kind of puzzled me
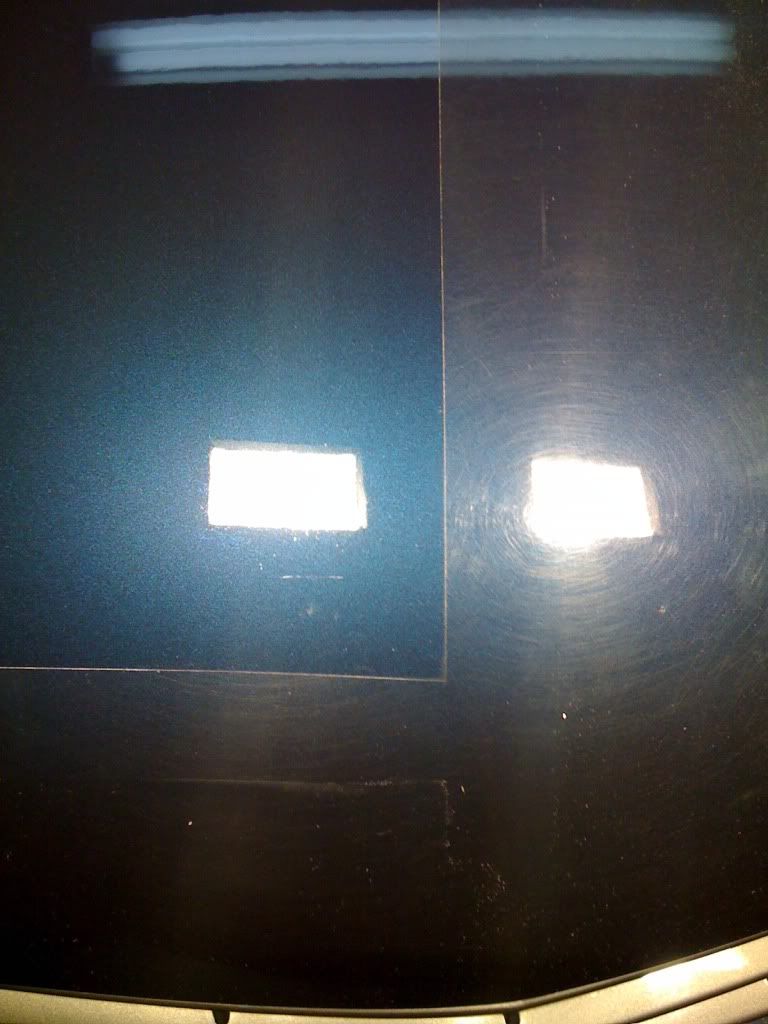
This was a test spot that I performed a long time ago to show what the car was capable of, used orange ccs pad and M105 only
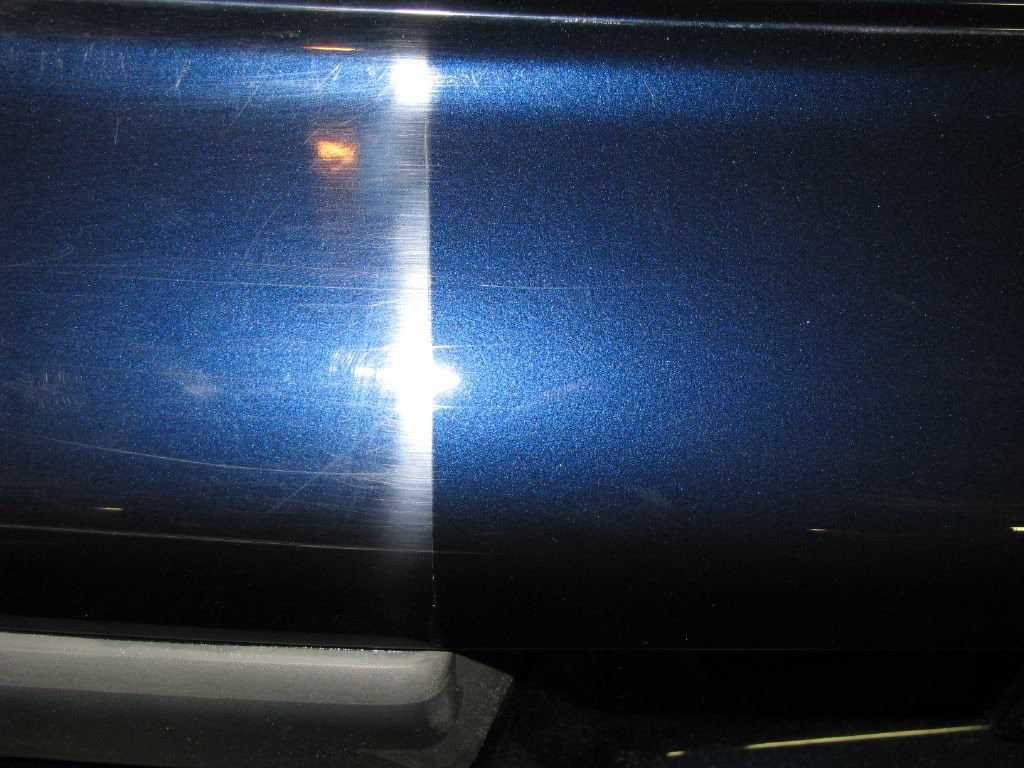
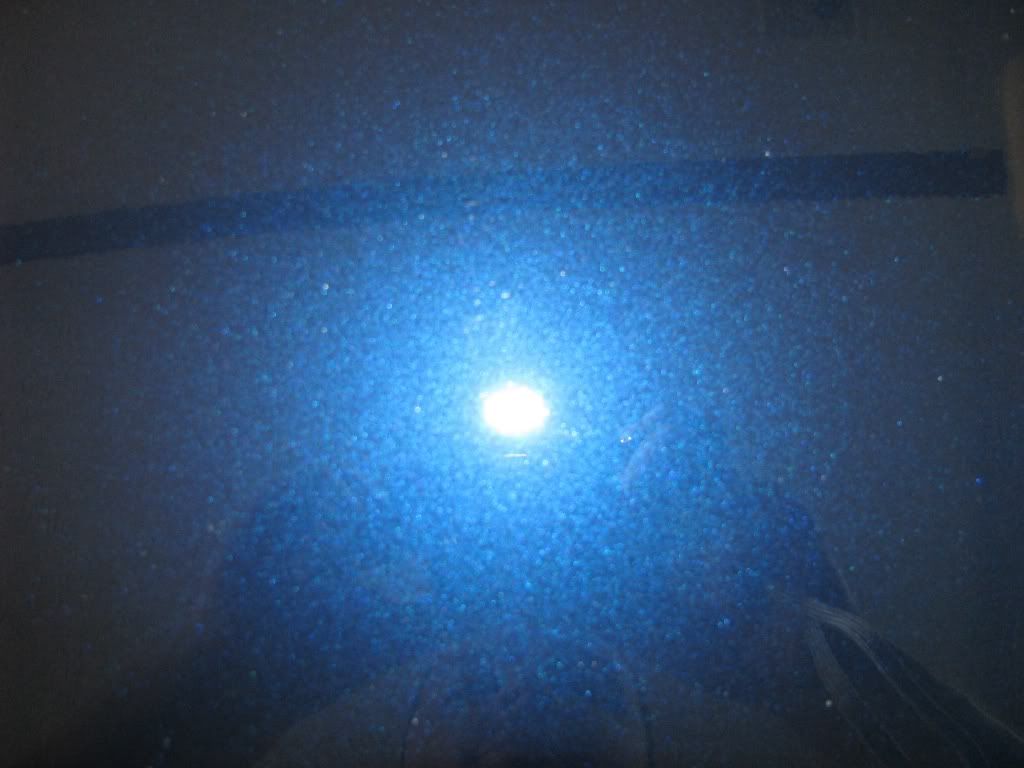
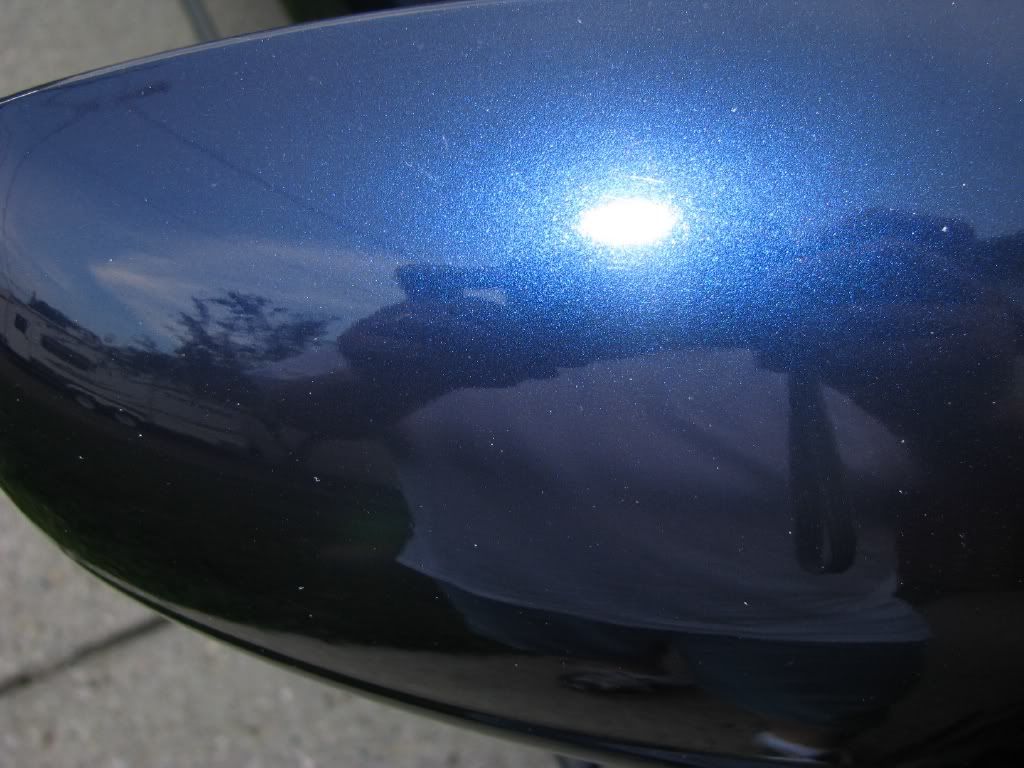
Now for my first test spot, M105 + Cyan Hydro Tech pad taken with iPhone
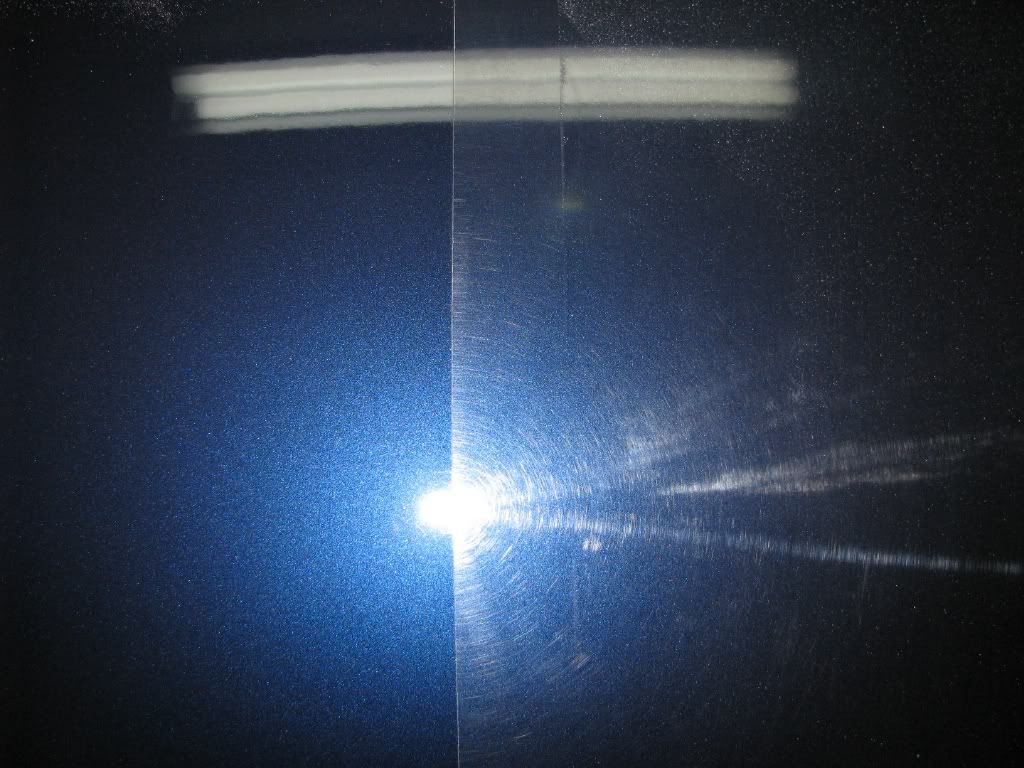
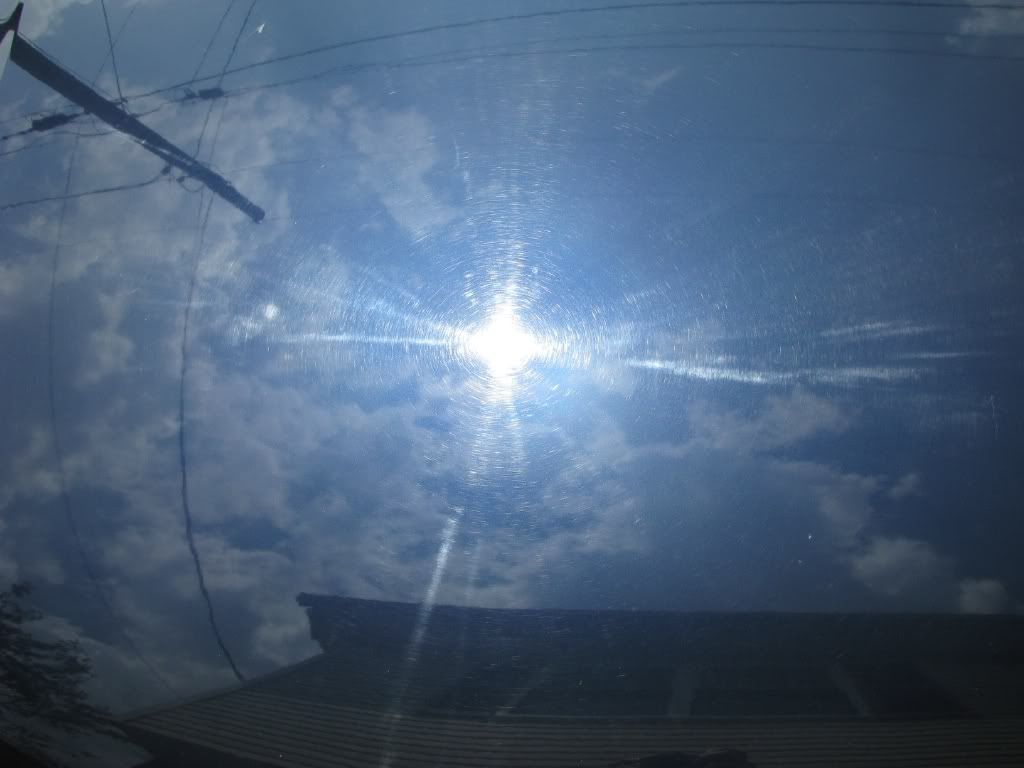
Same spot taken with Canon point and shoot
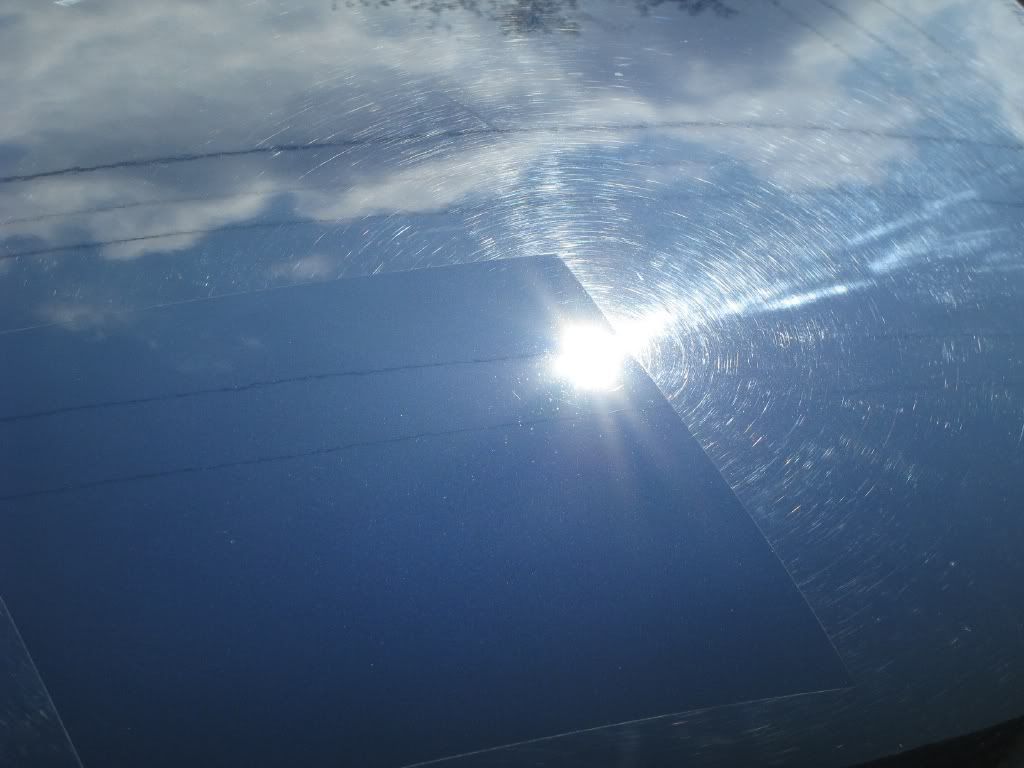
In the sun
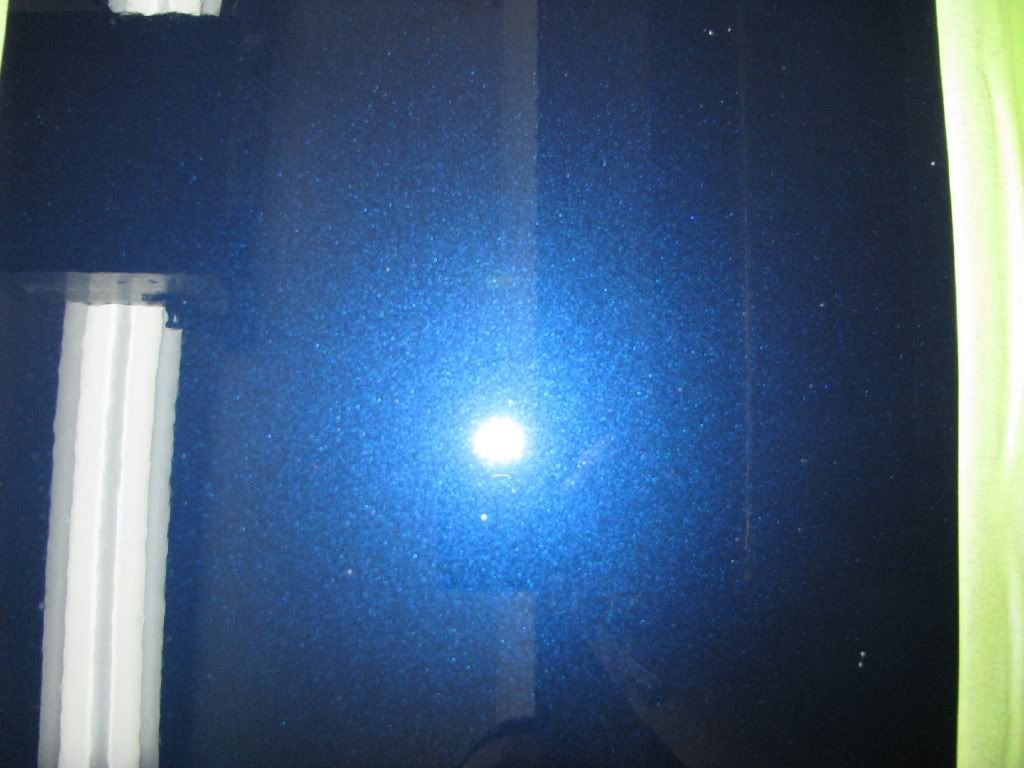
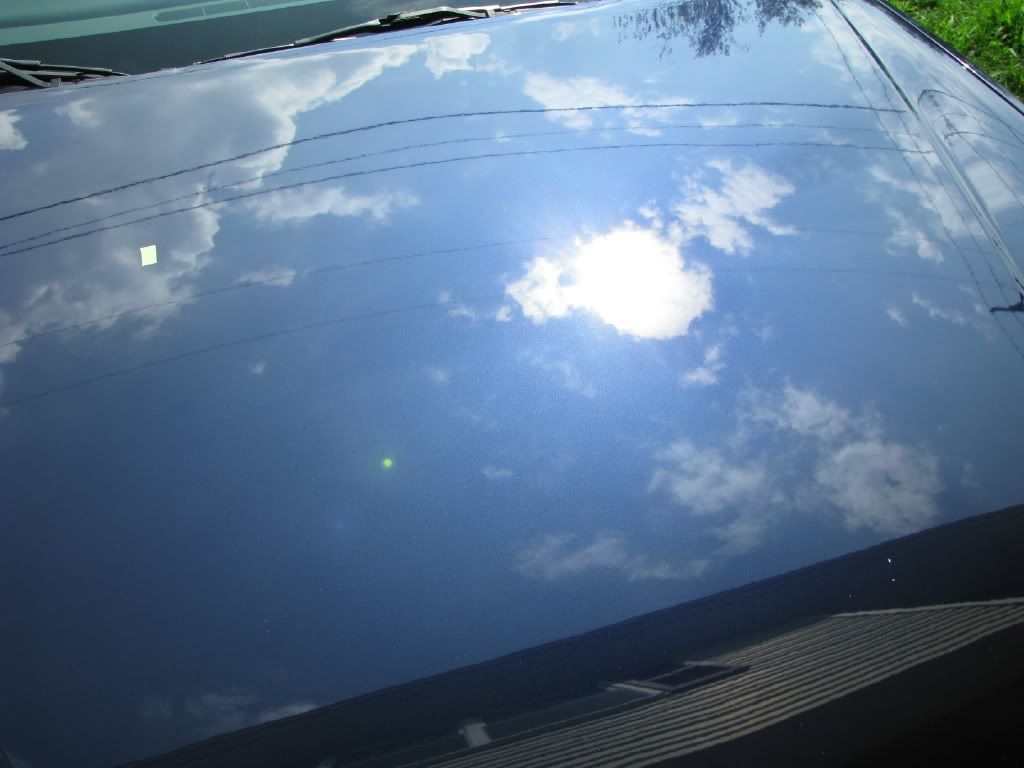
Roof before

Afters
To be continued
Wash
Car was rinsed, then treated to a Meg's APC+ @ 4:1 pre-soak, followed by a wash down with 3oz APC+, 3oz. Meg's Shampoo+ to 4.5 gallons of water.
Tires/Wheels/Wheel Wells
These were cleaned with APC+ @ 4:1, various brushes
Tires dressed with DP Tire Gel (New Formula), wheel wells dressed with Meg's aerosol dressing, plastic pieces treated with 303 Aerospace Protectant
Clay
Car was clayed with Meg's OTC clay and QD (Not Ultimate Quick Detailer but the original). Typically I use Mother's clay kit but wanted to use up what I had on hand.
Engine
Engine cleaned with Zep Citrus, dressed with CD-2
Paint
Paint was corrected using PC XP
Meg's M105/M205
Lake Country 5.5" Cyan & Tangerine Hydro Tech Pads
Lake Country 4" Cyan & Tangerine Hydro Tech Pads
91% IPA diluted 1:1
3M blue & green tape
Trim
Trim was dressed with Poorboy's Trim Restorer
LSP
Car was sealed with DP Poli-Coat followed with a Duragloss Aqua Wax wipedown
Towels
Various towels were used
Car on arrival
Interesting imprint from the body shop
Rock chip, I plan to have this fixed
She said this was concrete but I was able to chip it off with my fingernail
Cleaned the hood, keep in mind this has been in the body shop
During the clay process I ran across this section and it kind of puzzled me
This was a test spot that I performed a long time ago to show what the car was capable of, used orange ccs pad and M105 only
Now for my first test spot, M105 + Cyan Hydro Tech pad taken with iPhone
Same spot taken with Canon point and shoot
In the sun
Roof before
Afters
To be continued
 rops:
rops: