Tru_Shine
New member
- Jan 13, 2010
- 97
- 0
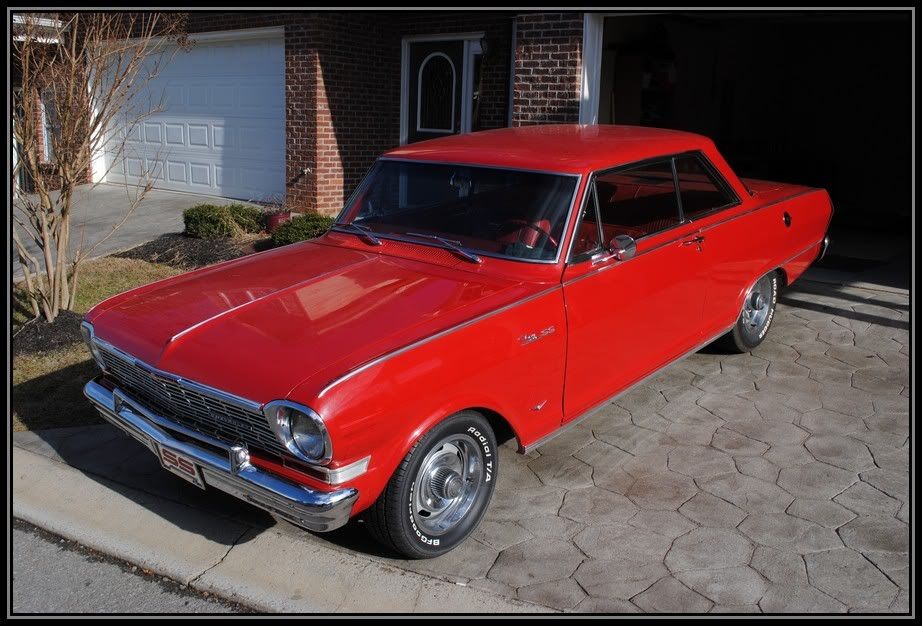
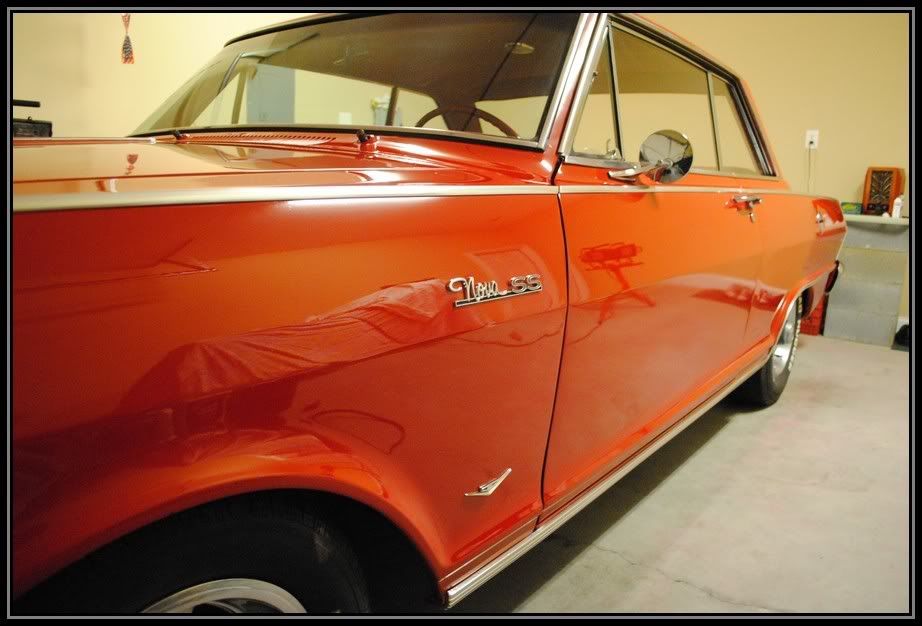
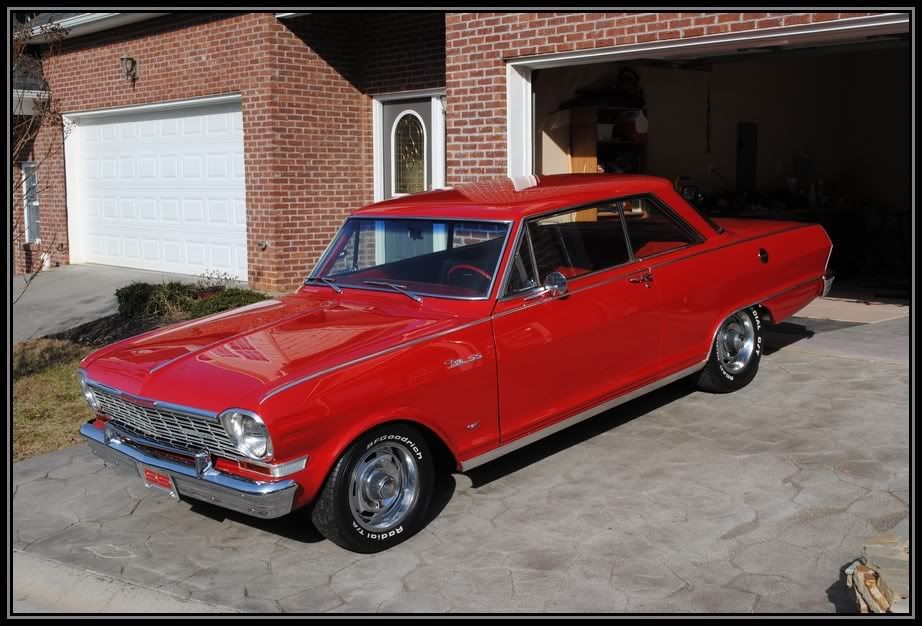
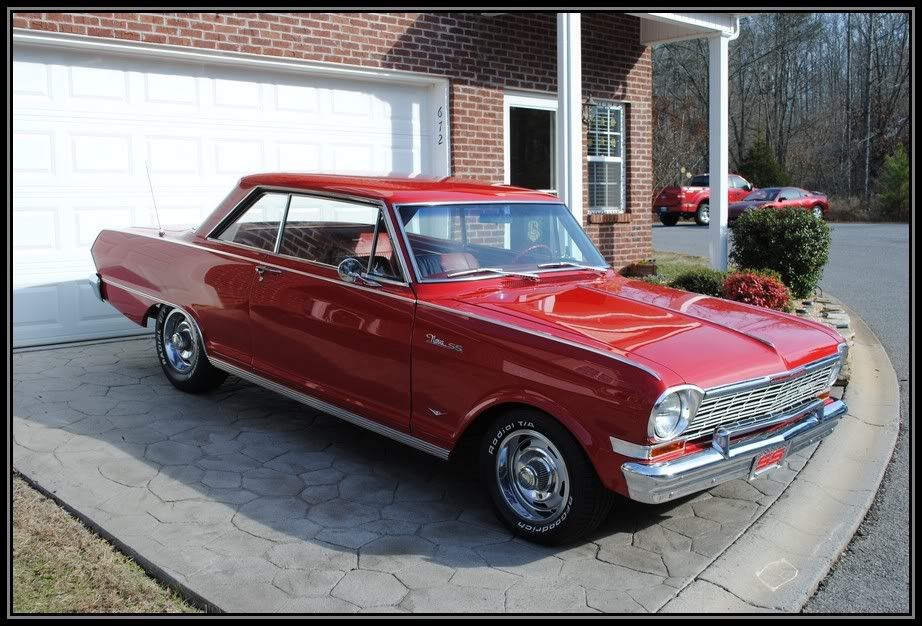
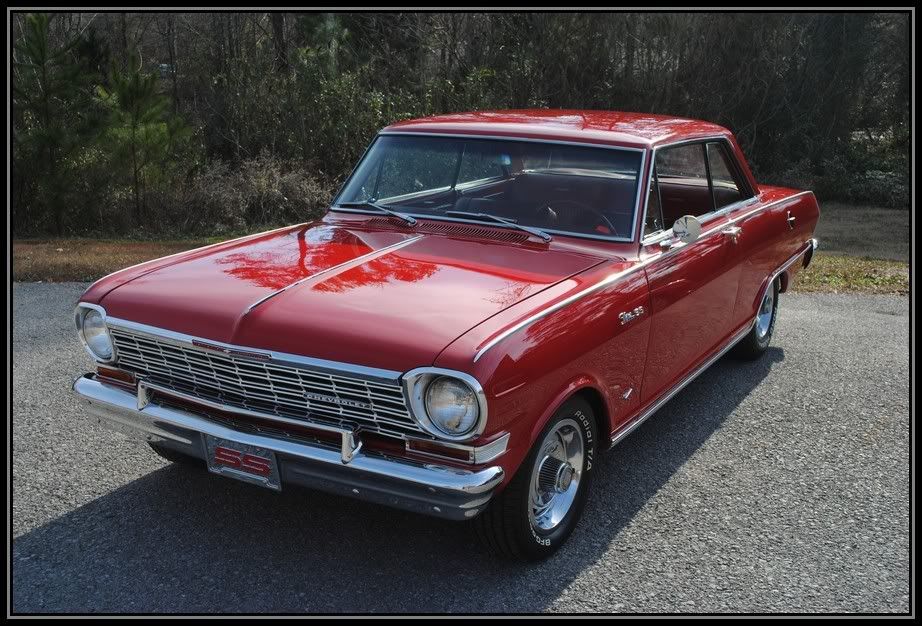
This car is an older write up done back in December, just though I would share it here on autogeek. This 1964 Nova SS is one beautiful classic muscle car. It has had a rough life from the previous owner, but the new owner has lots of plans in store for it. Right now the owner just wanted the paint to be brought back to life to hold it off until the full frame up restoration. So he gave me a call and asked if I could work my magic. I was honored to be able to work on such a nice old school classic piece of American history. Lets get this detail going.
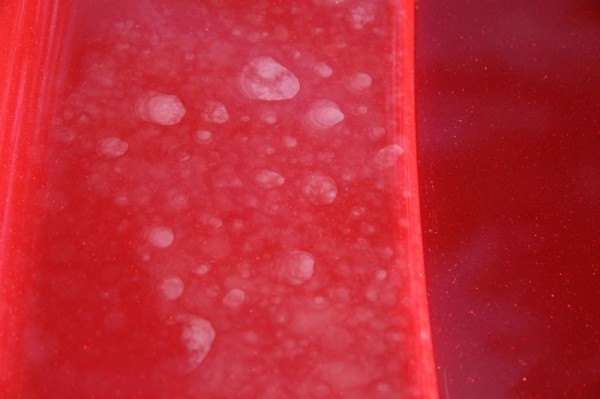
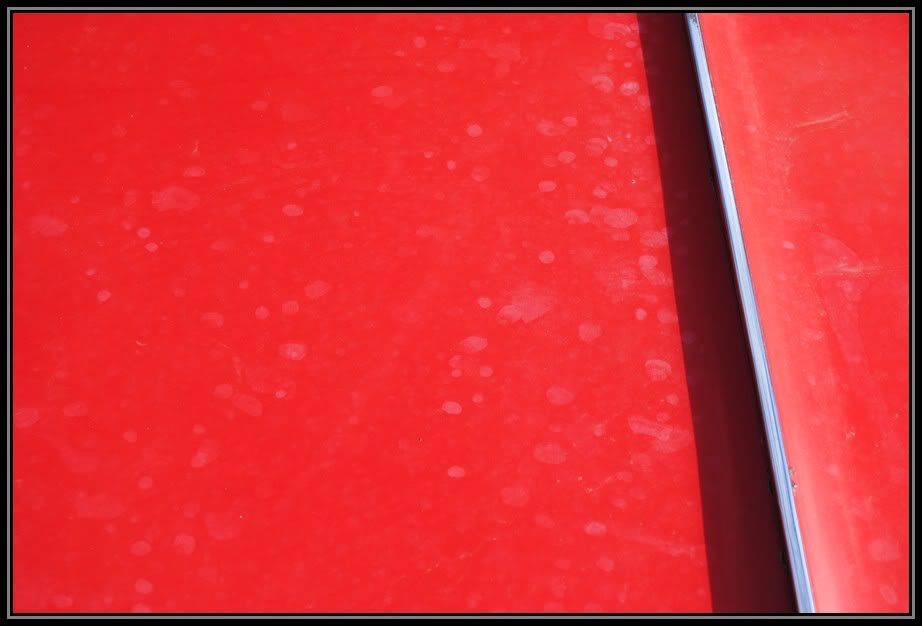
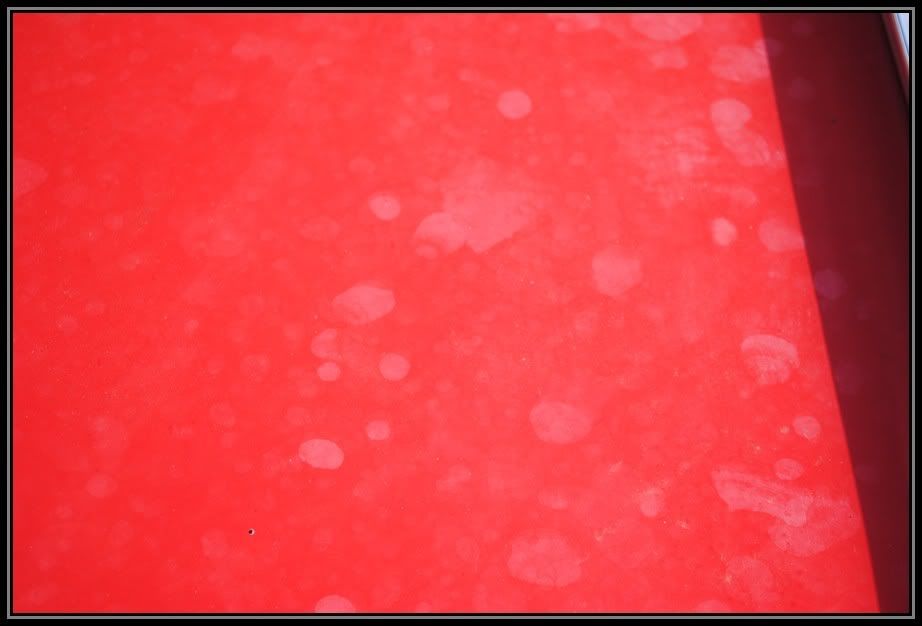
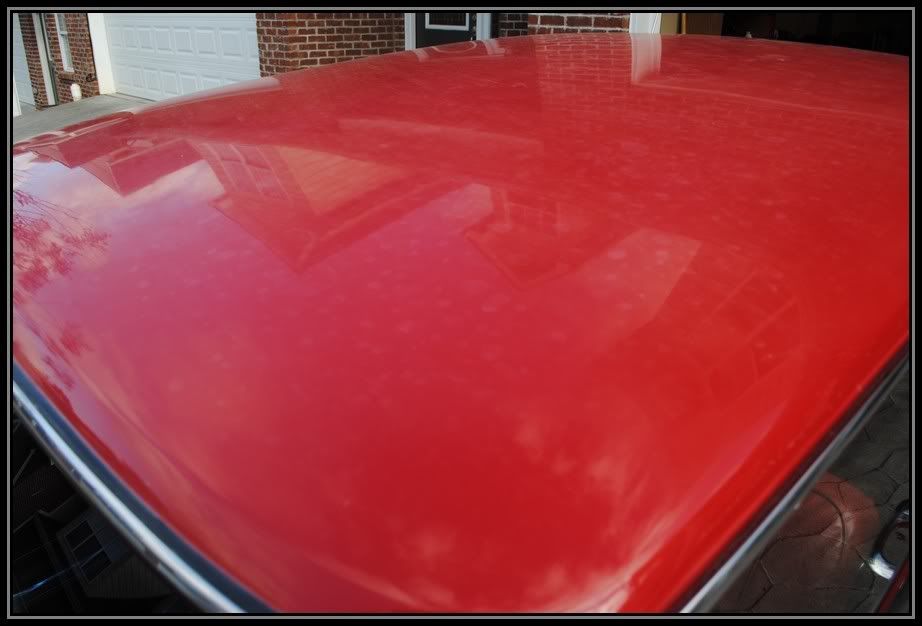
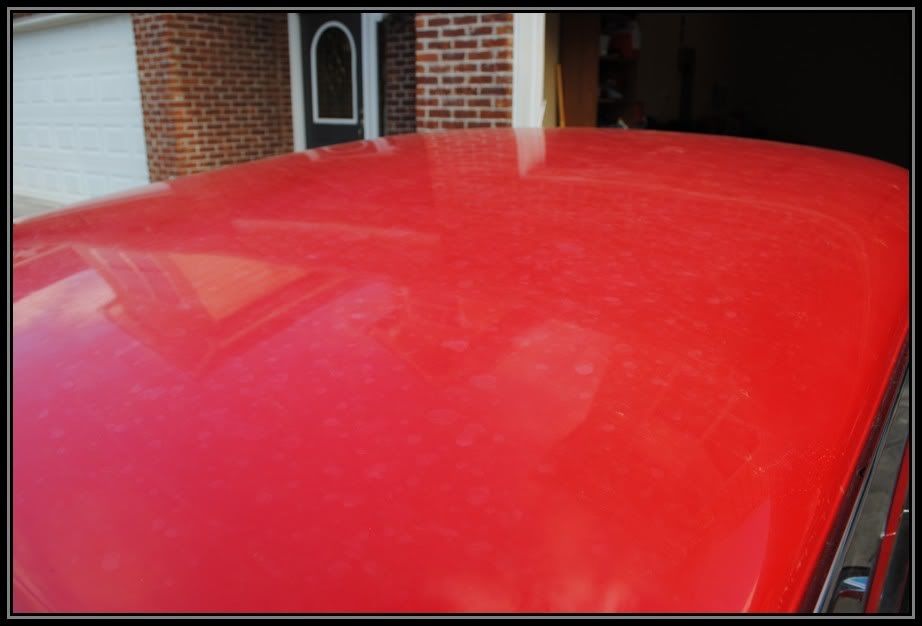
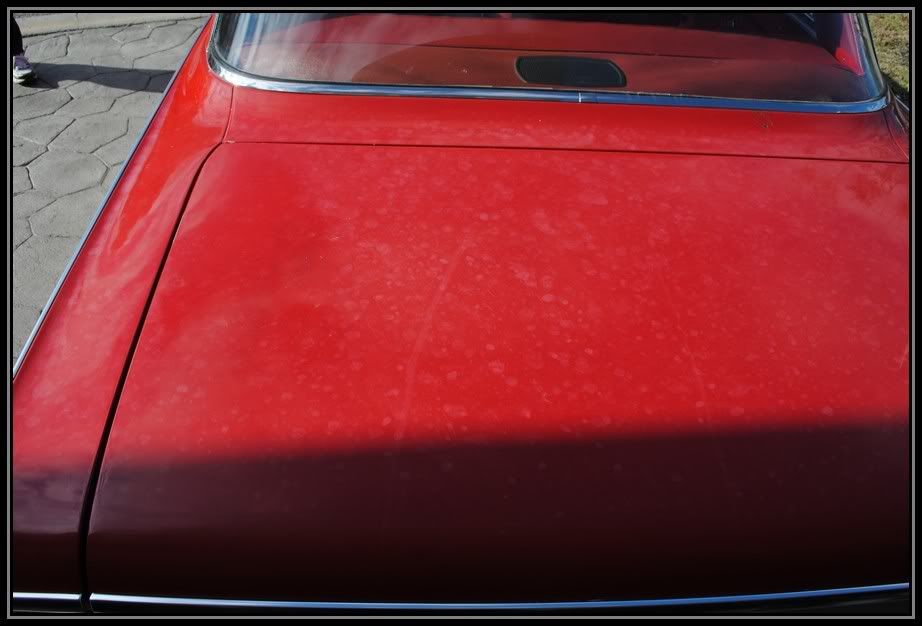
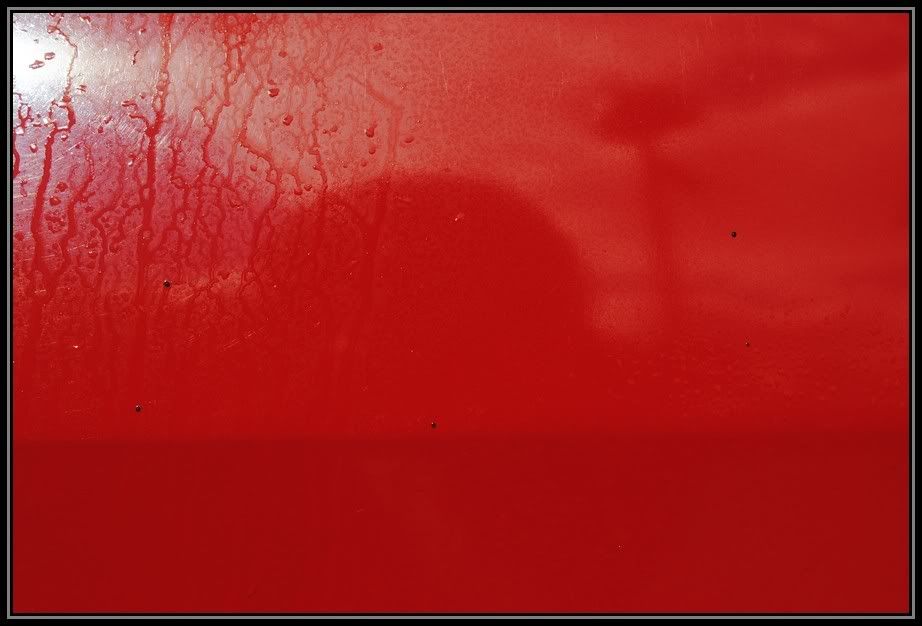
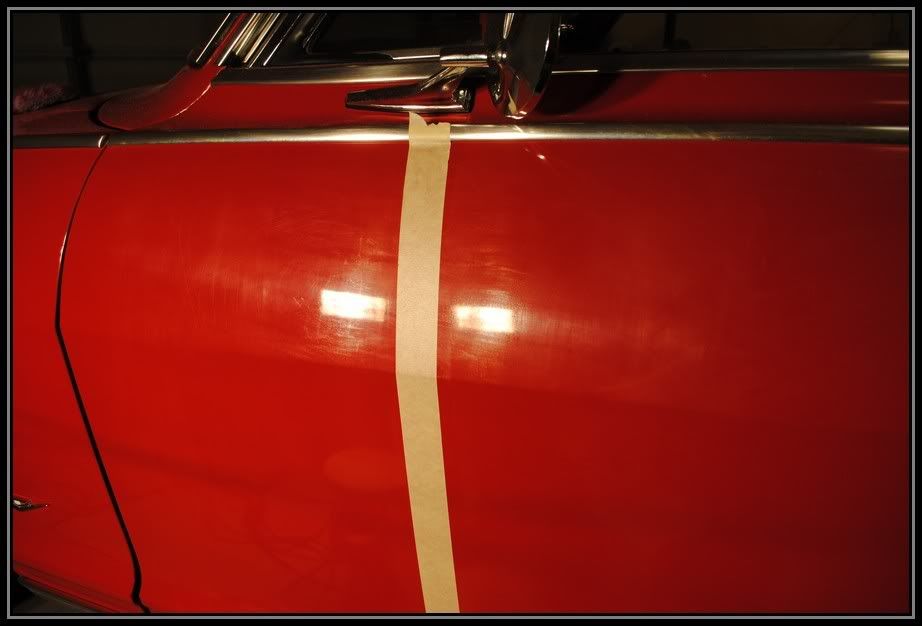
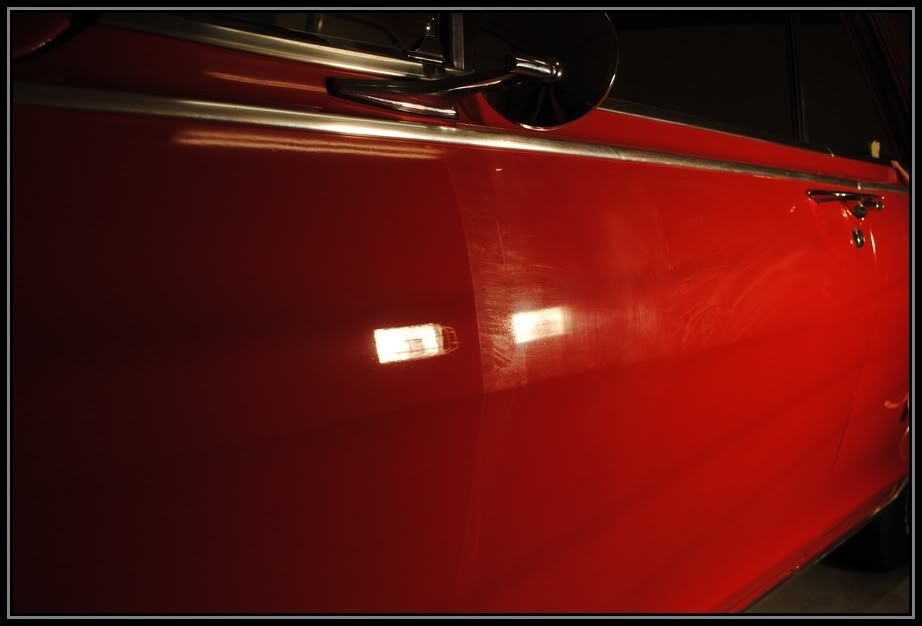
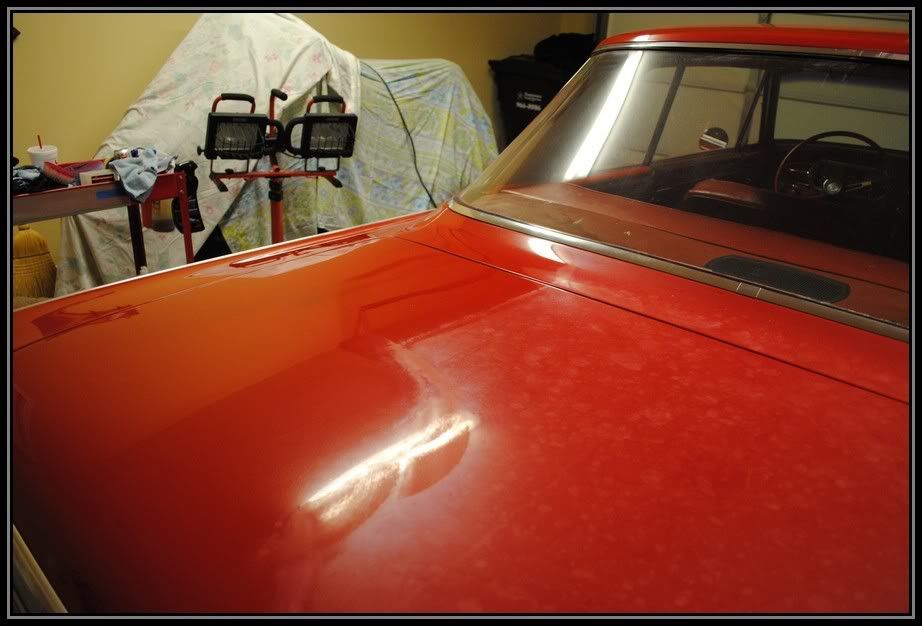
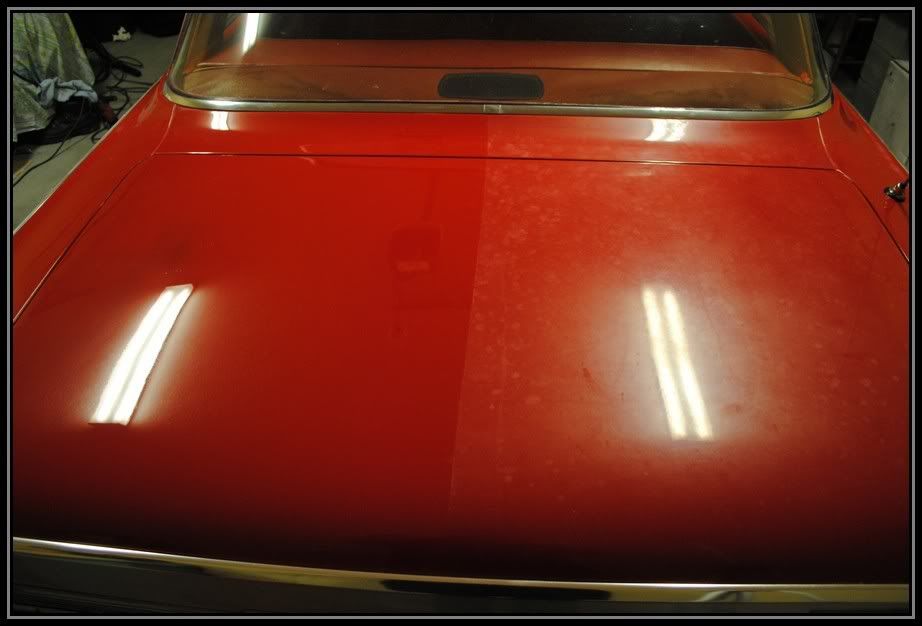
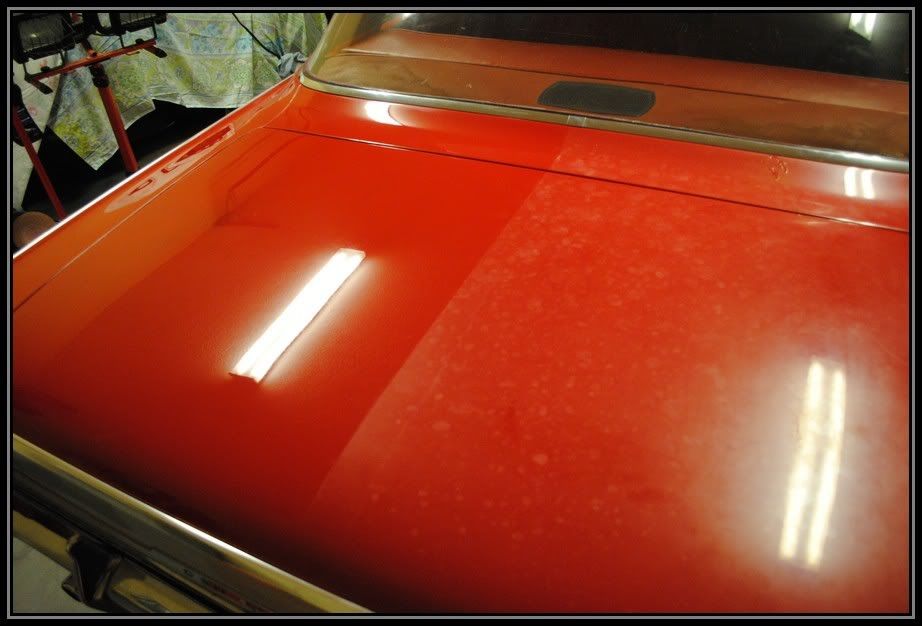
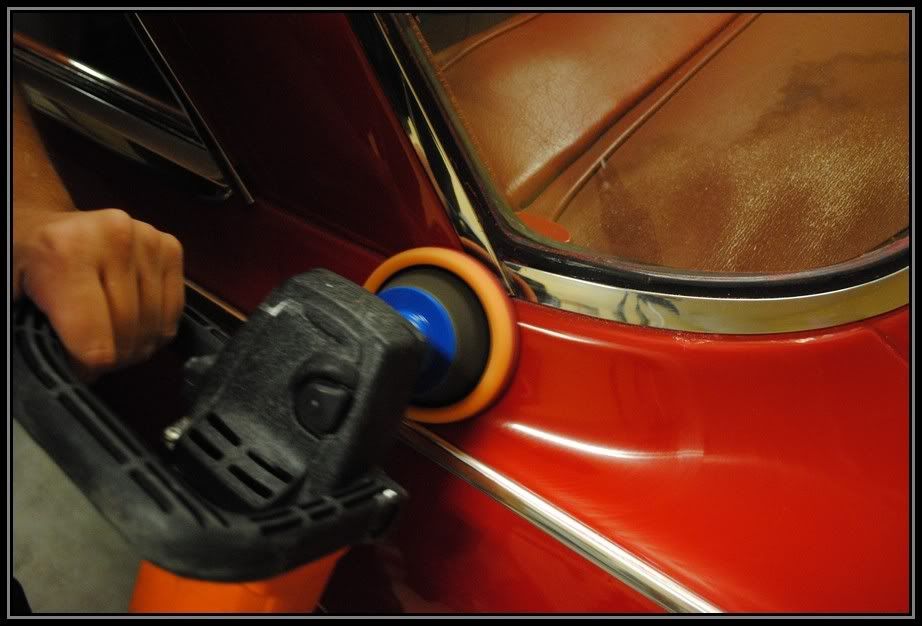
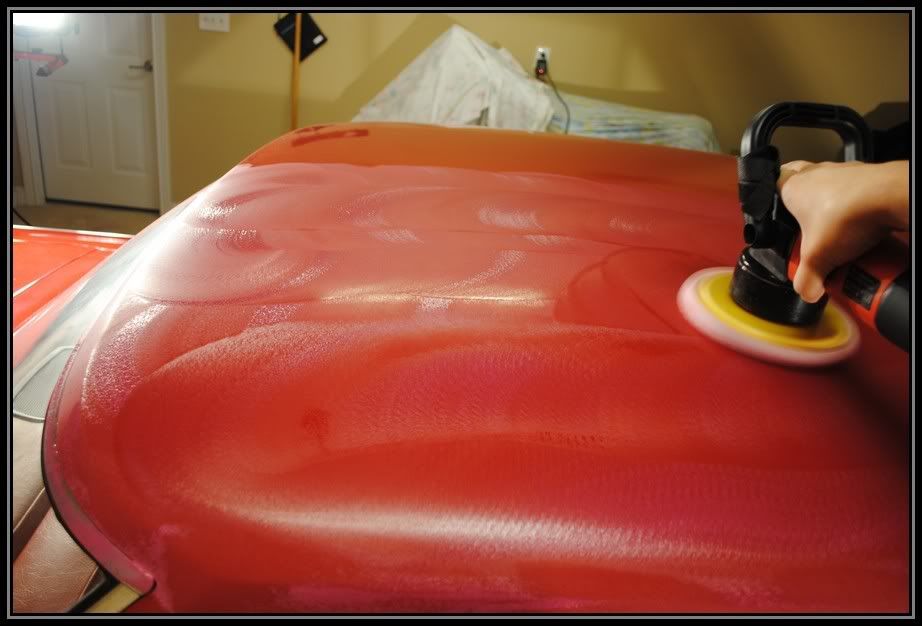
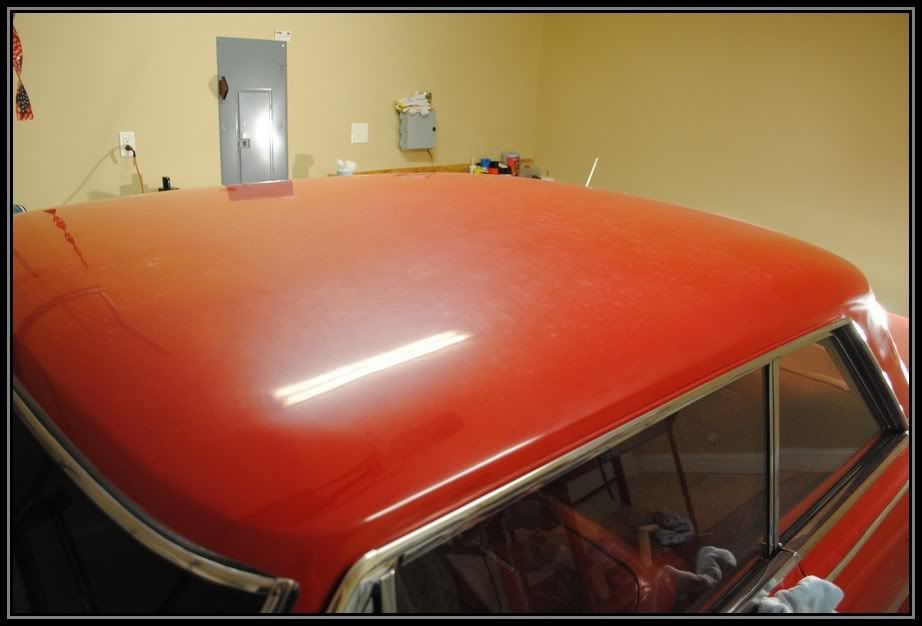
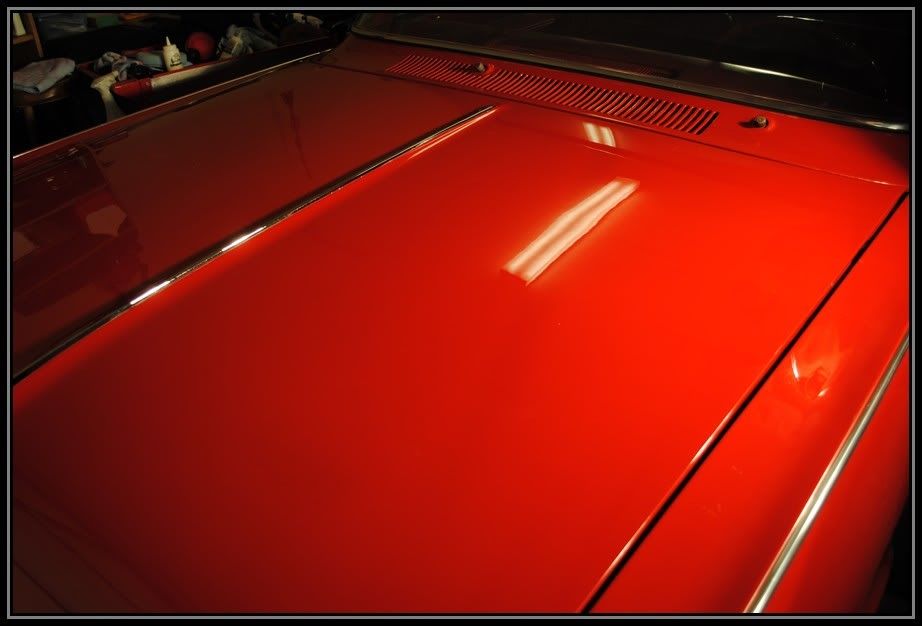
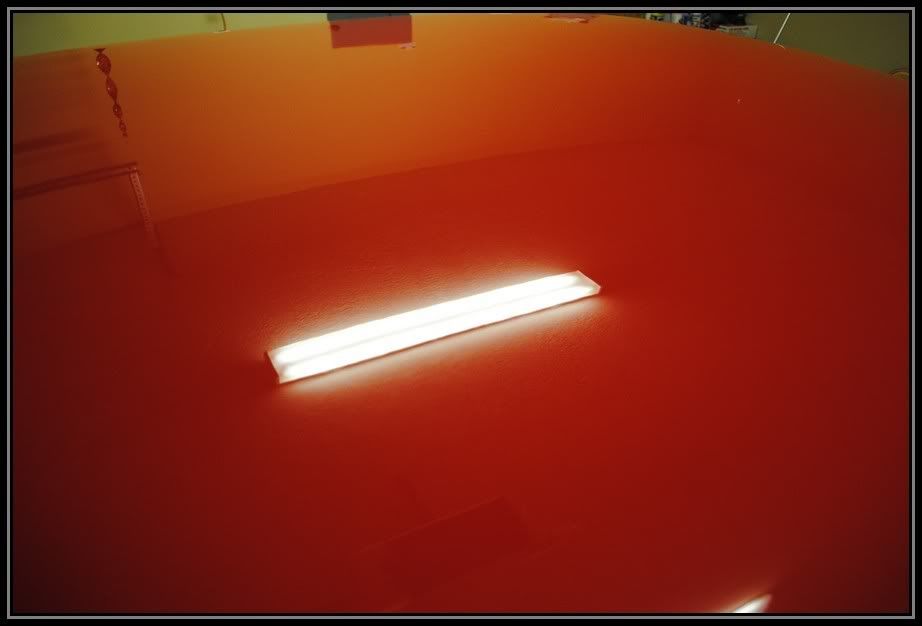
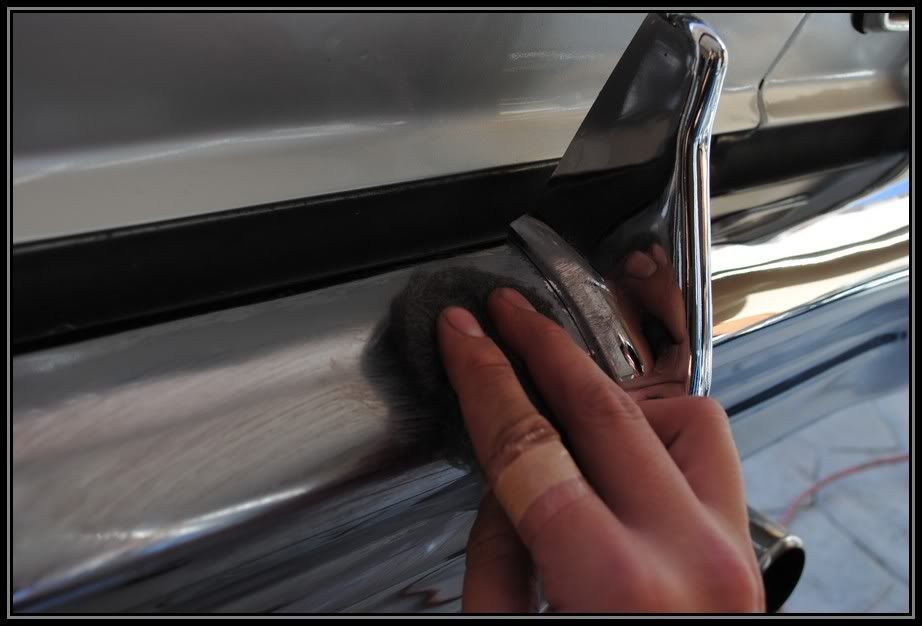
The paint is a Single stage paint which is notorious for fading, and this one had really bad water spot stains and some areas were basically bleached of the color.
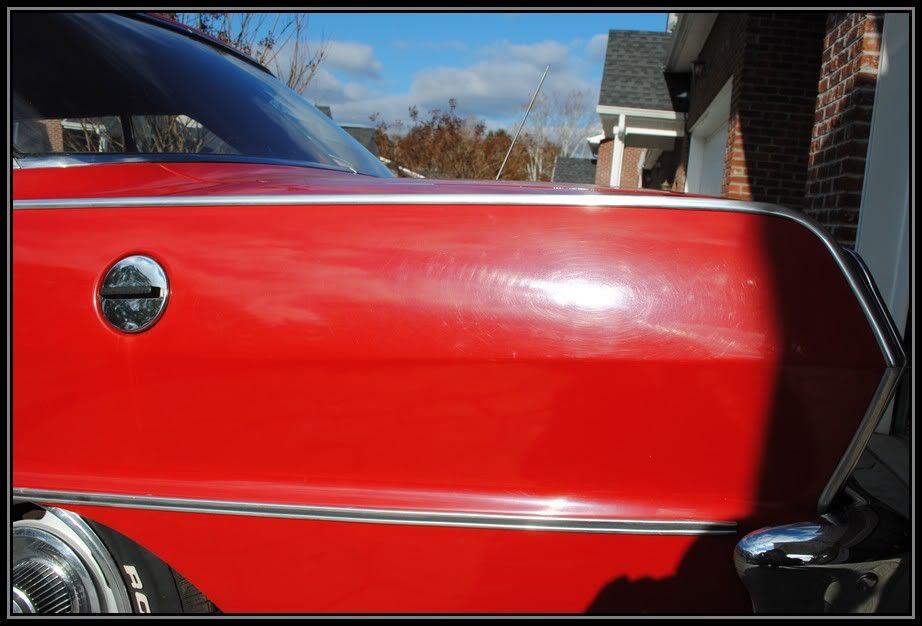
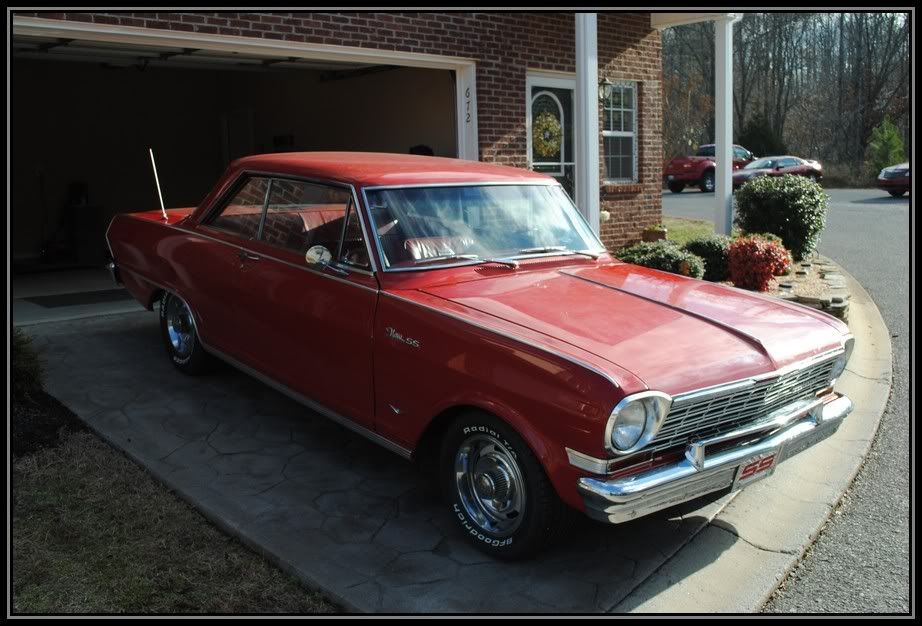
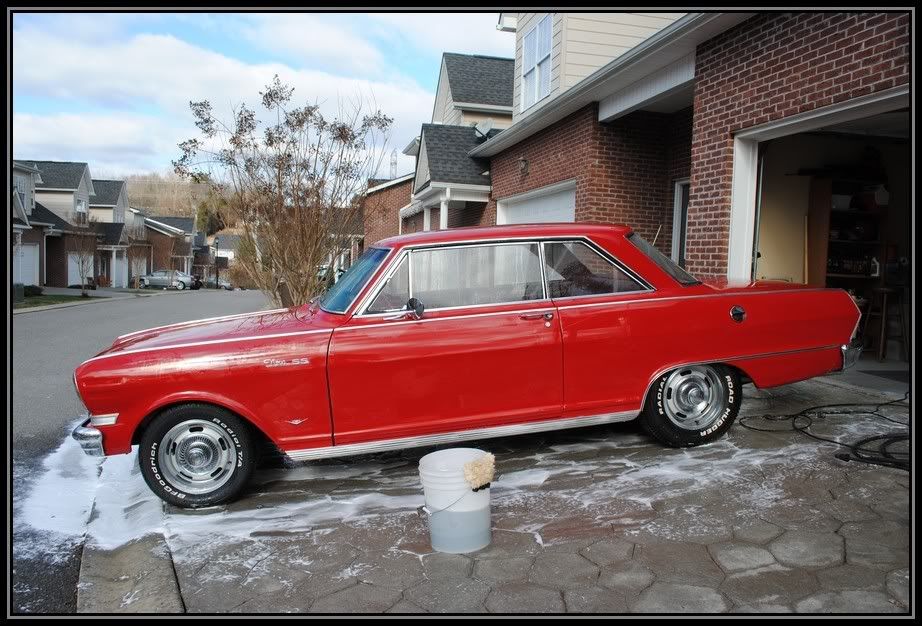
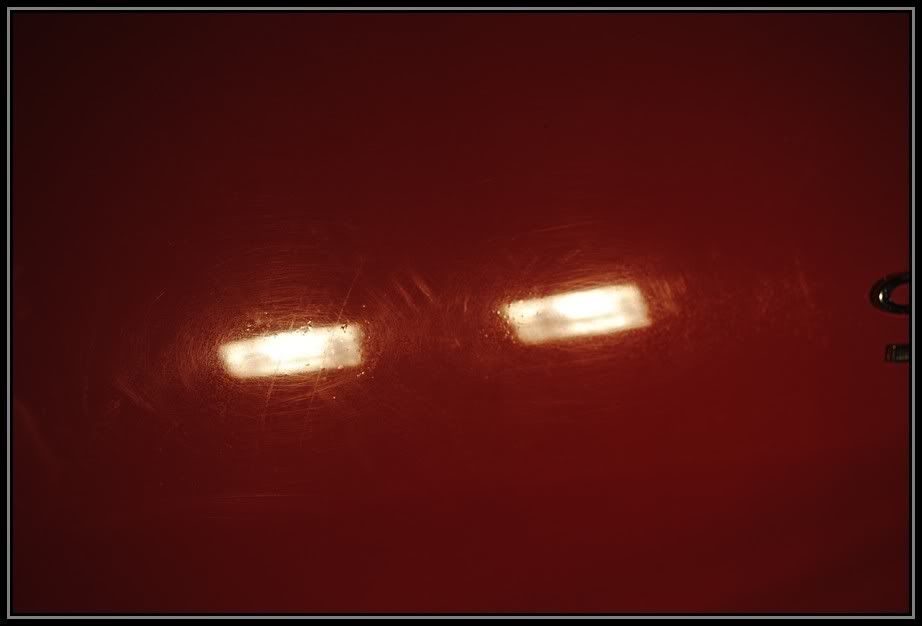
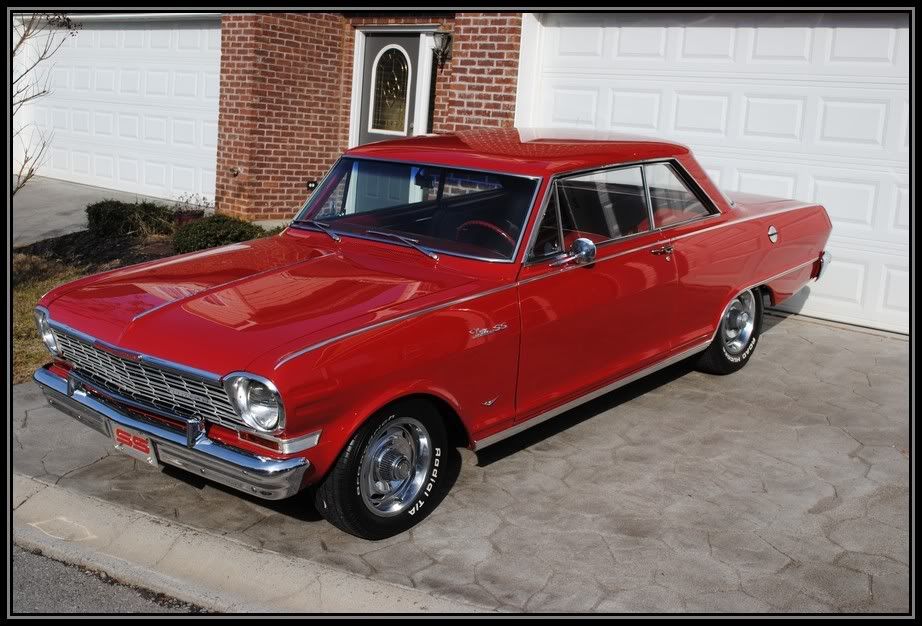
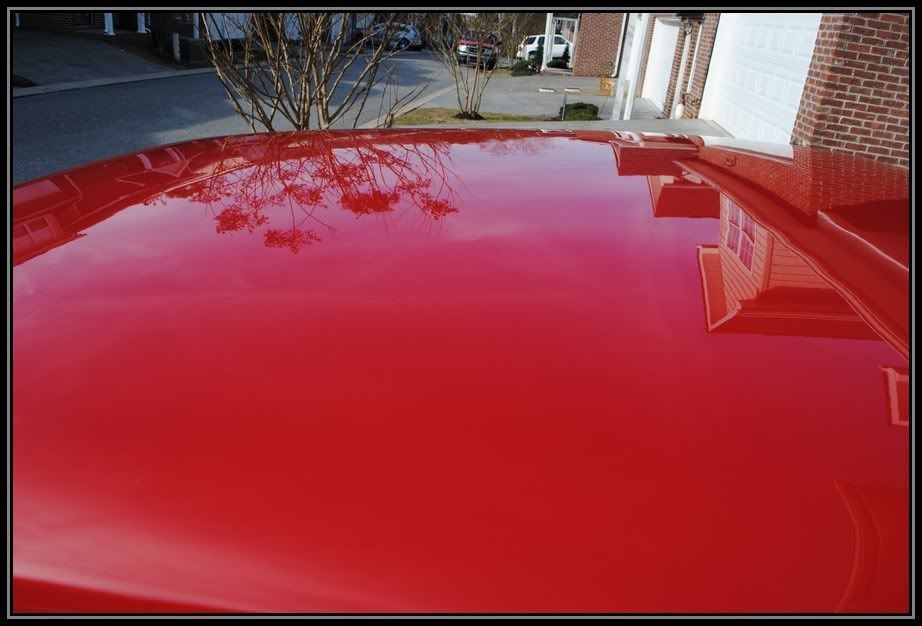
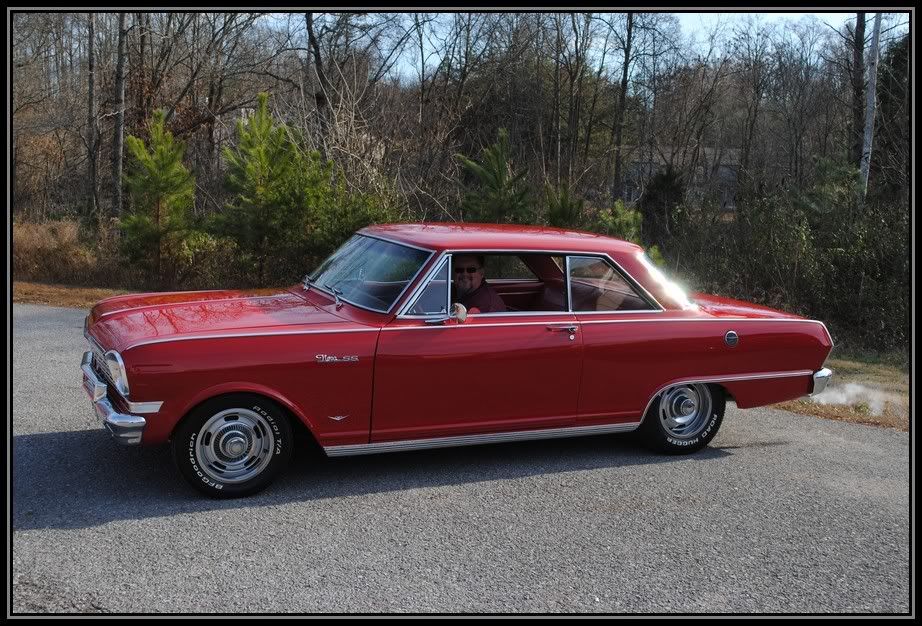
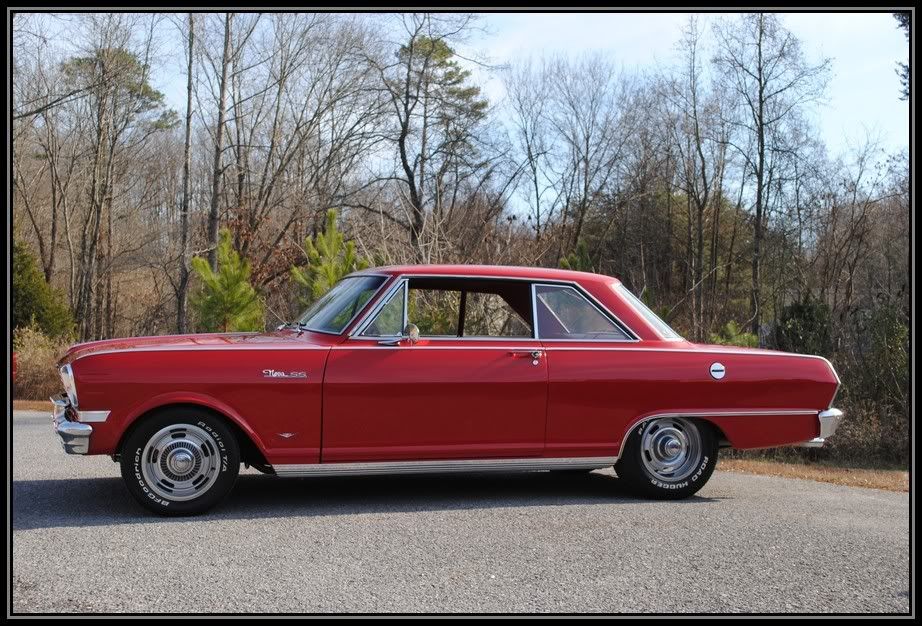
This is the car when I first arrived for the detail.
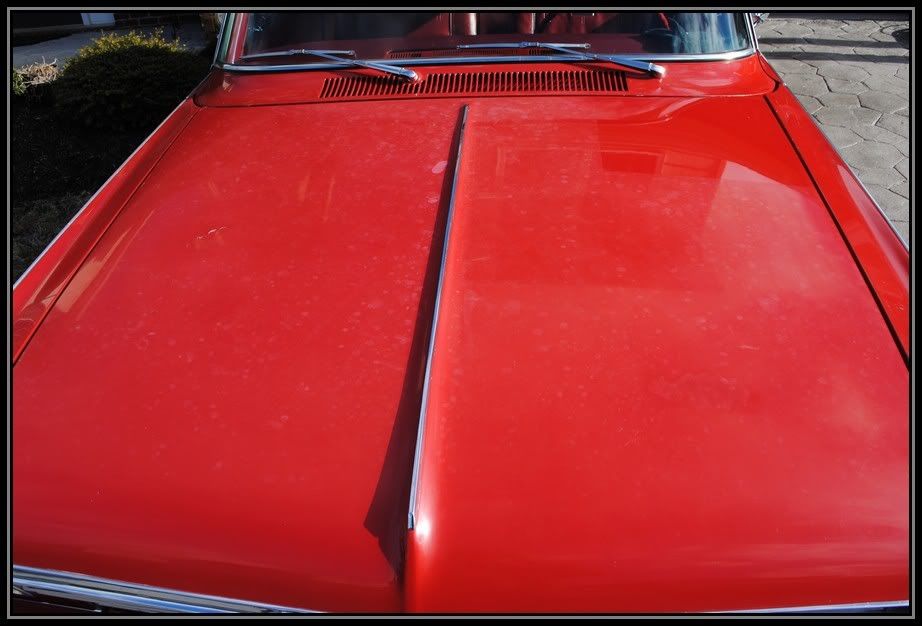
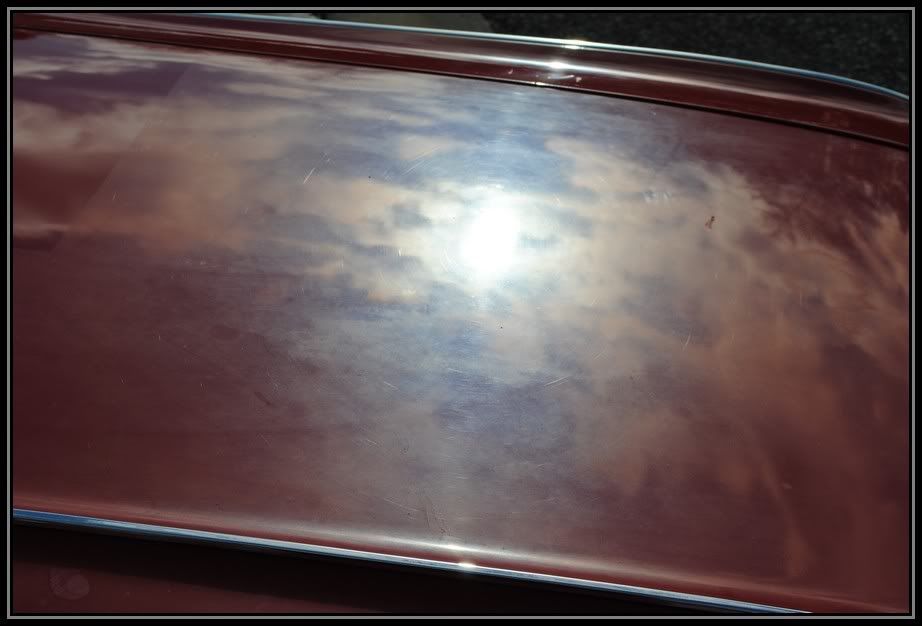
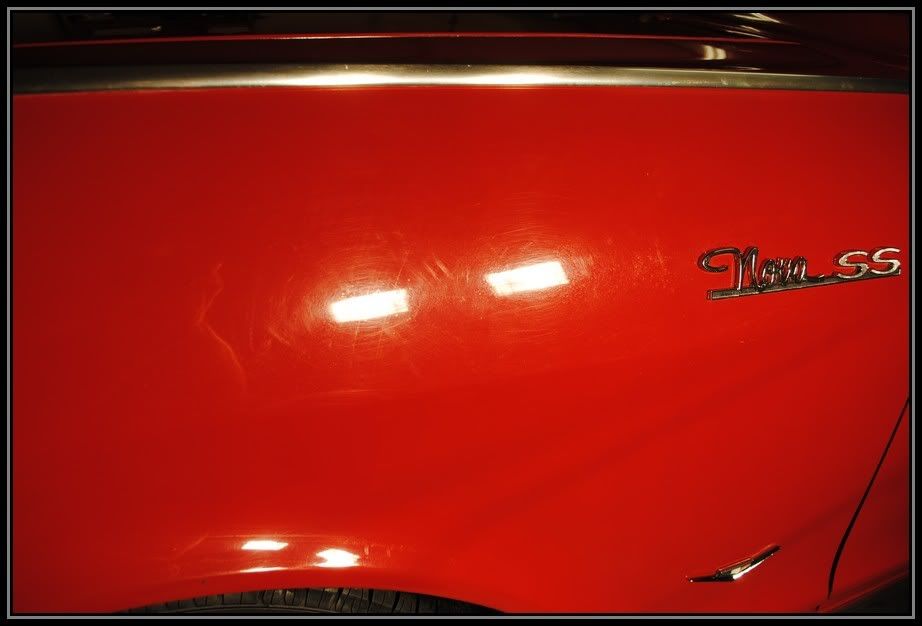
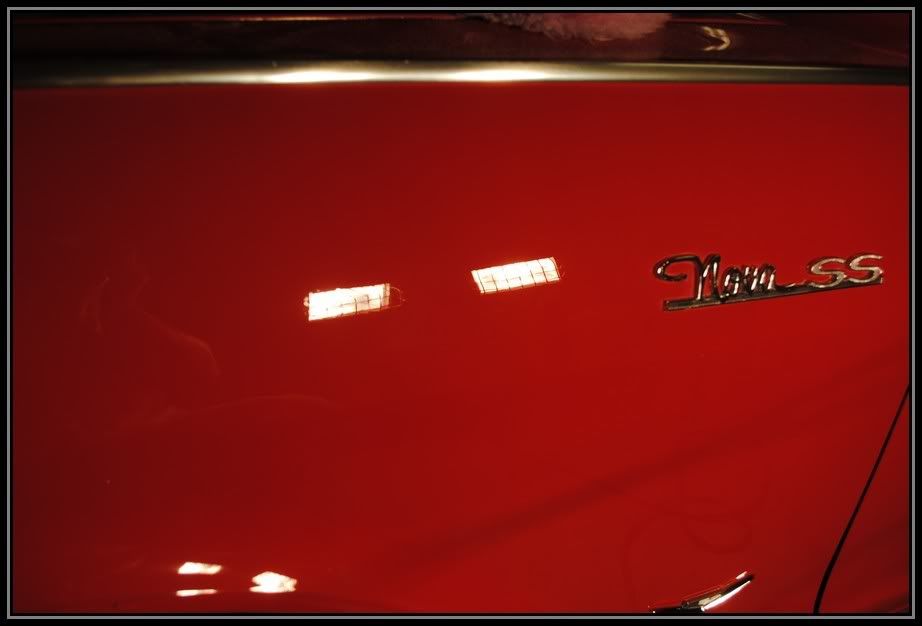
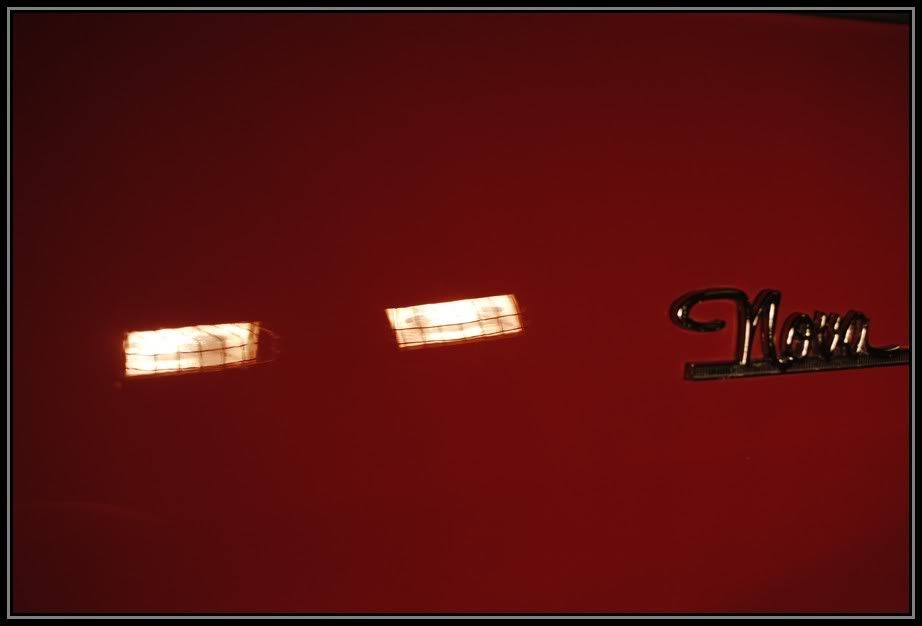
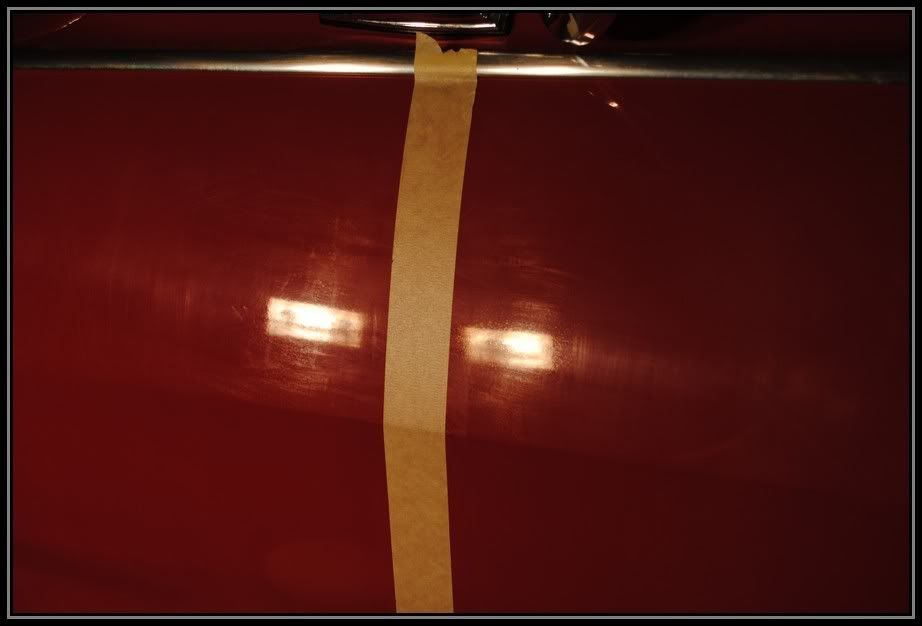
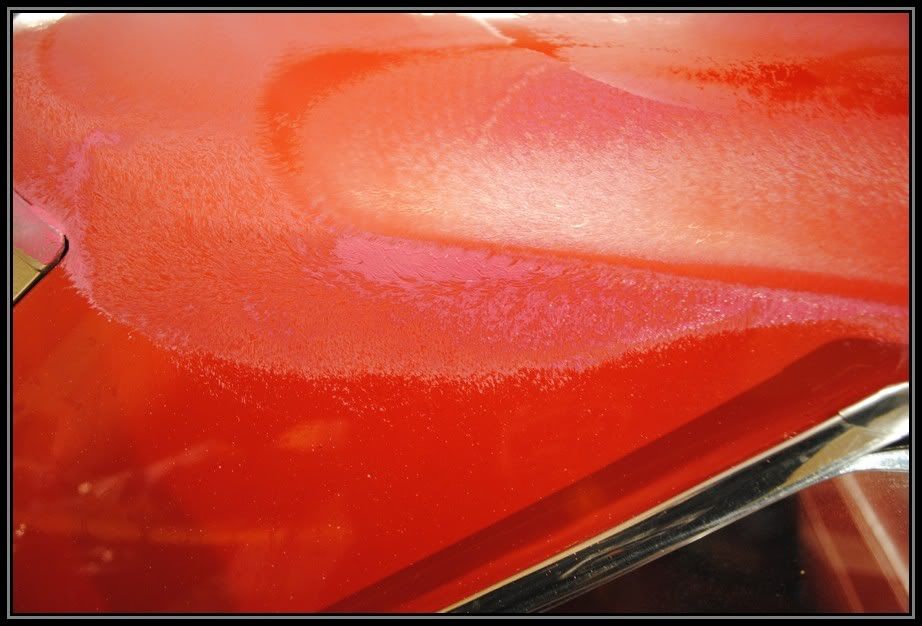
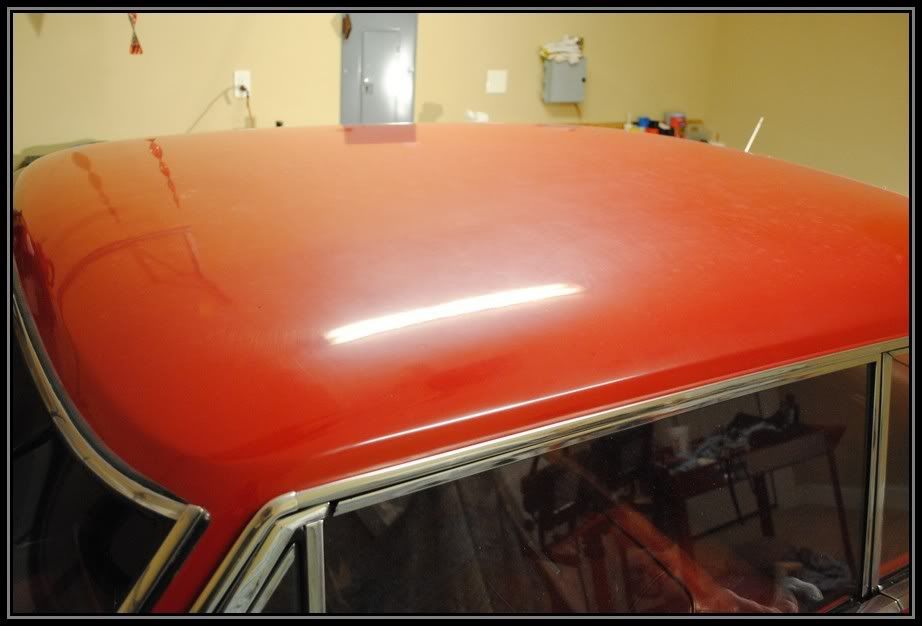
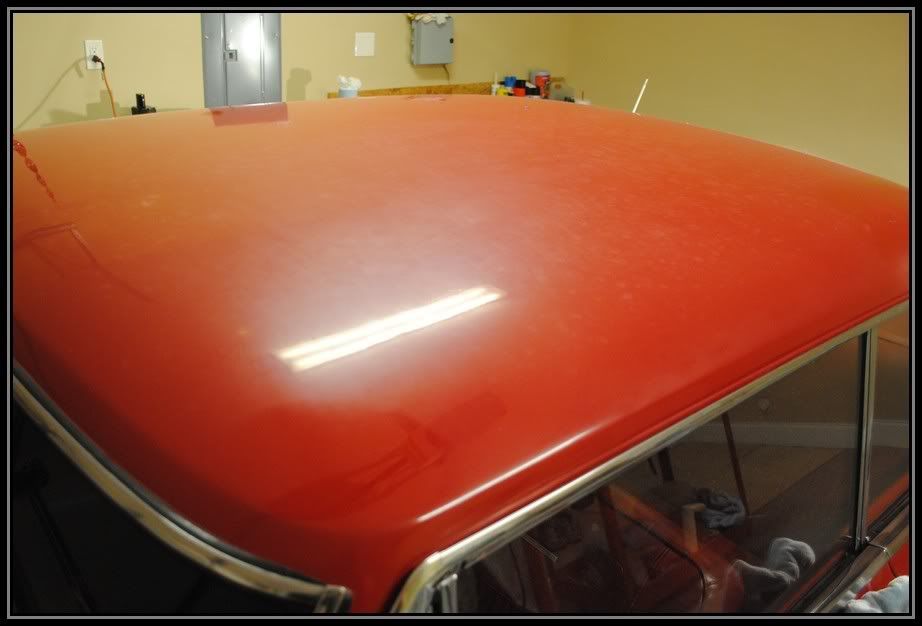
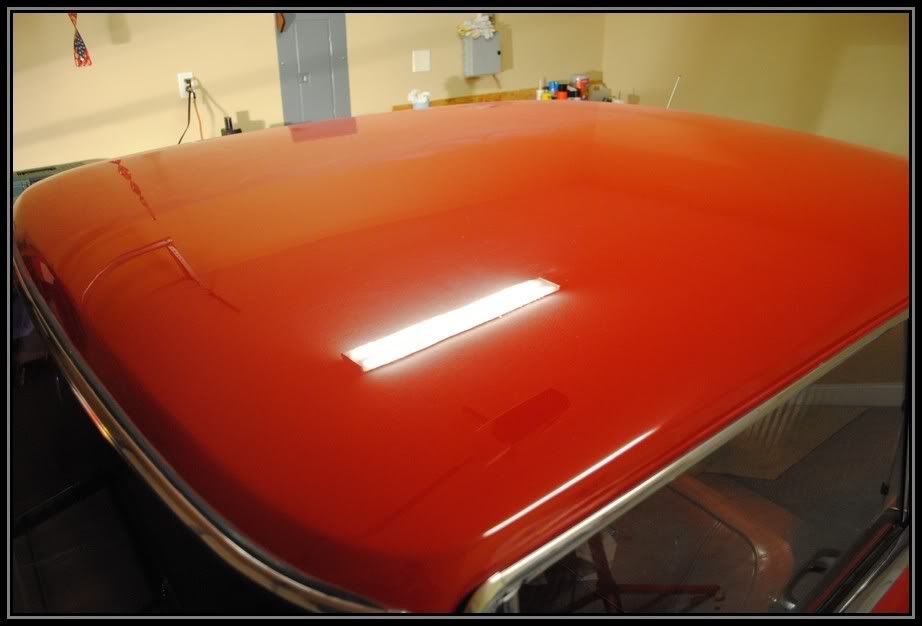
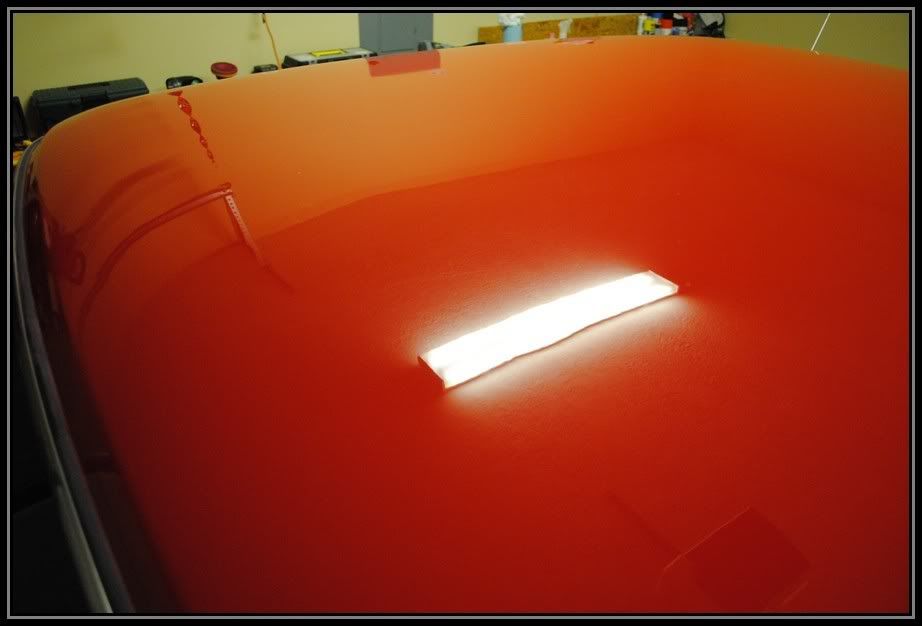
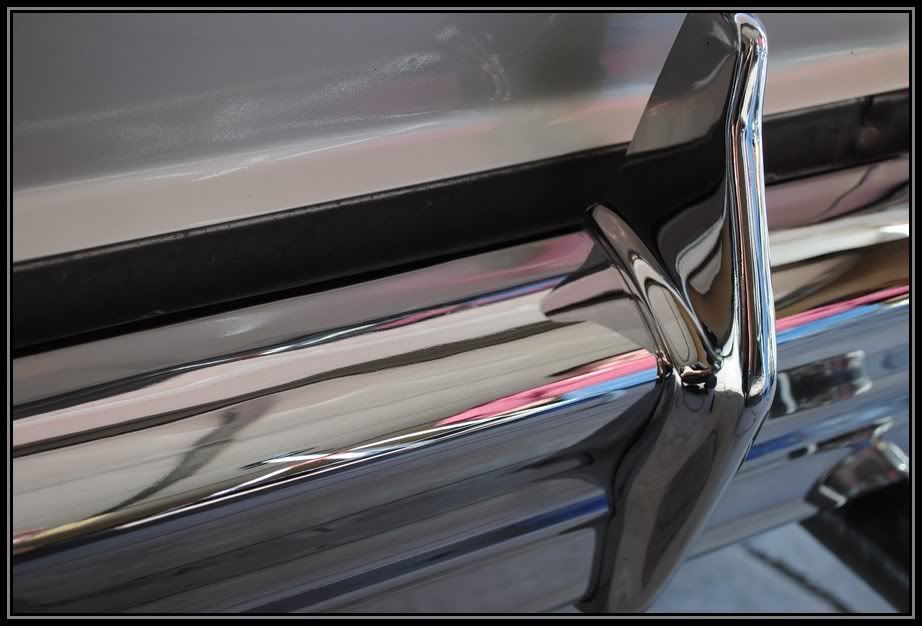
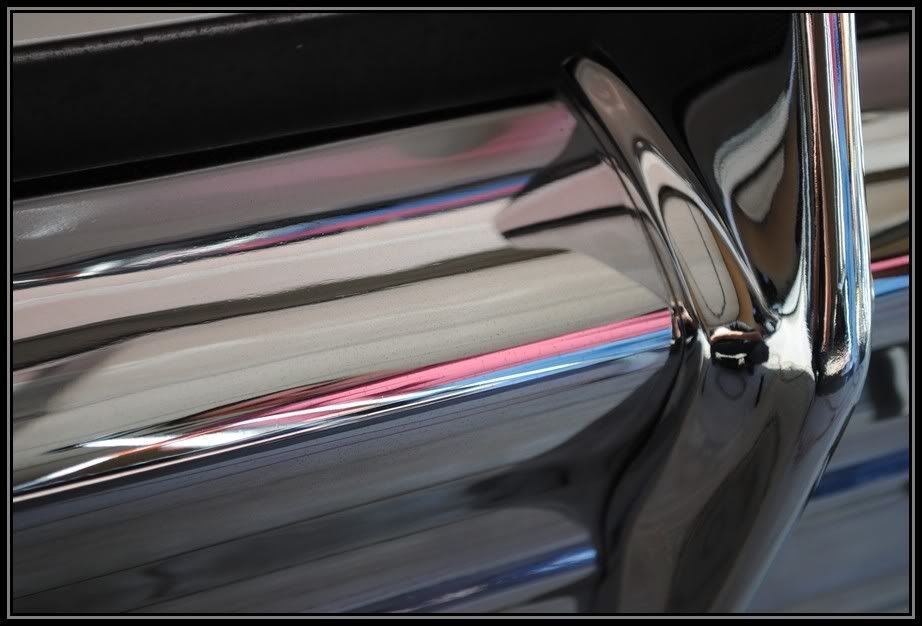
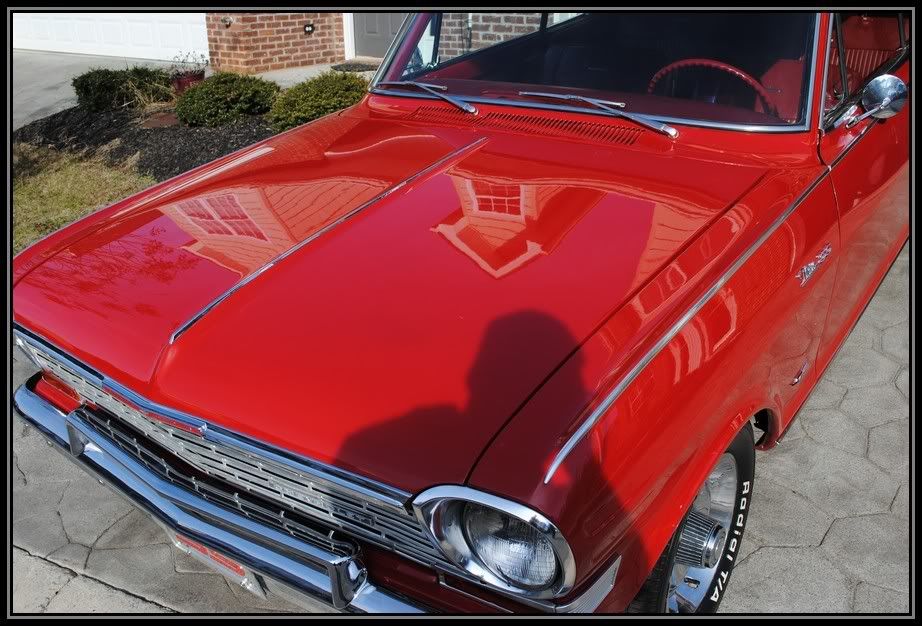
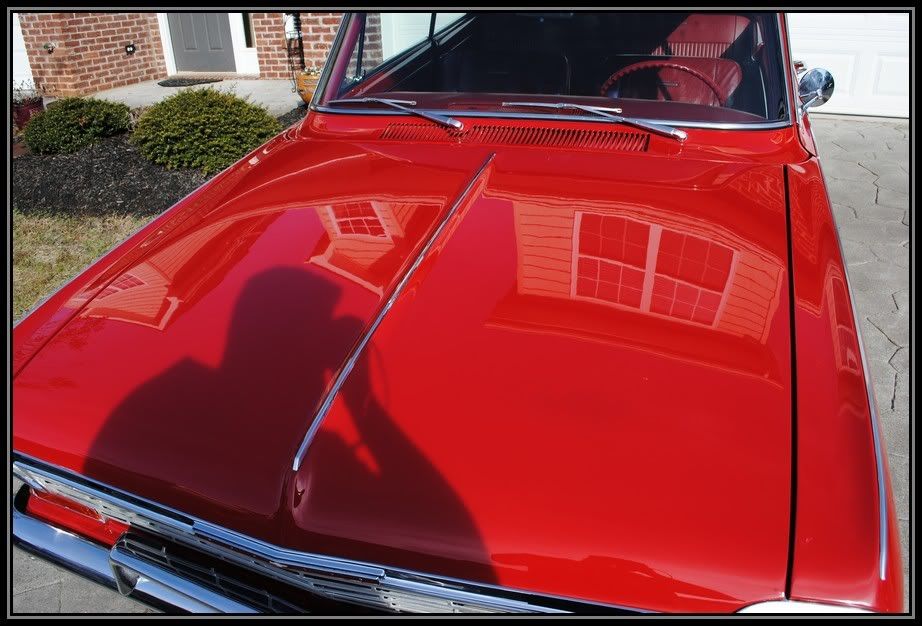
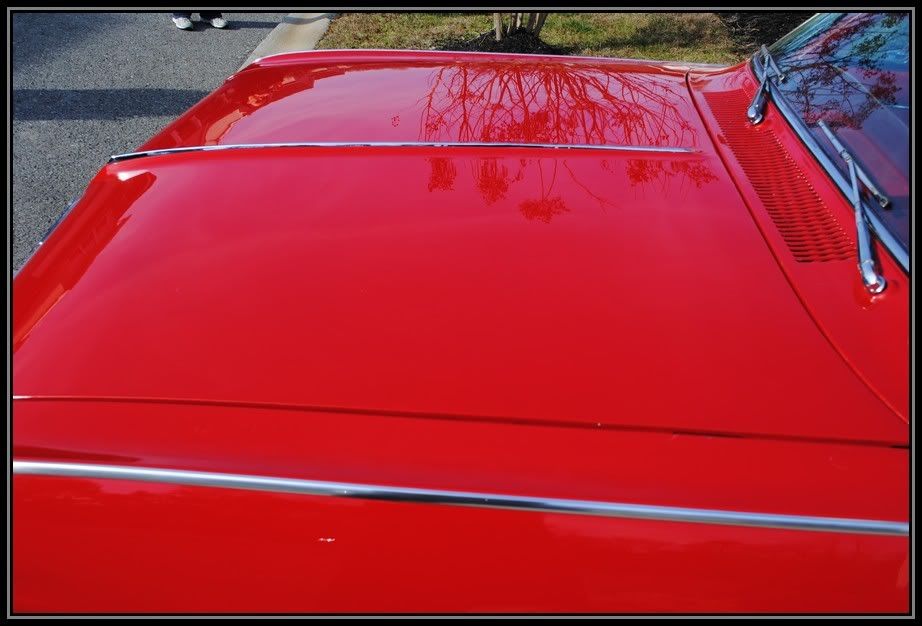
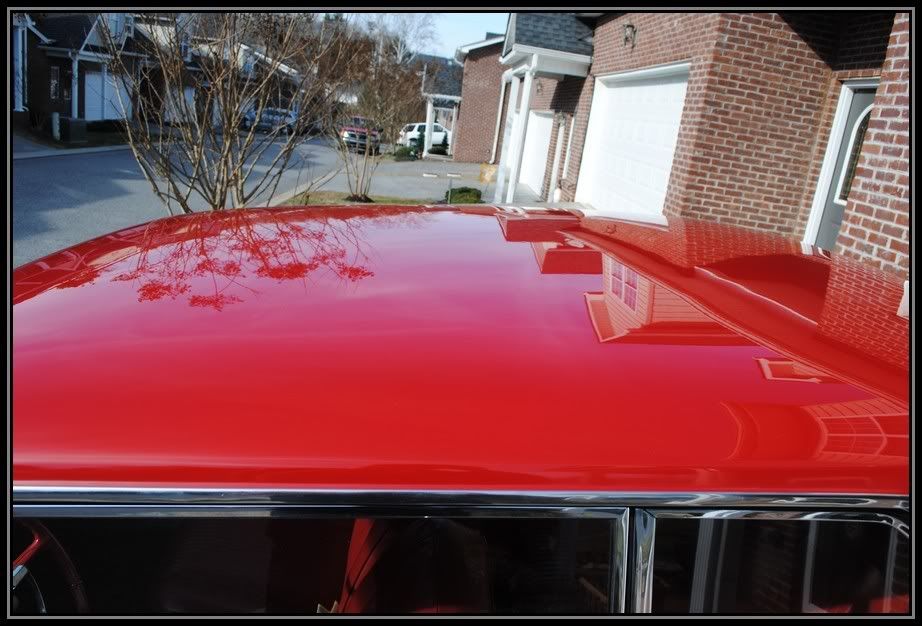
You can tell how bad the paint was oxidized by how cloudy the reflection was.
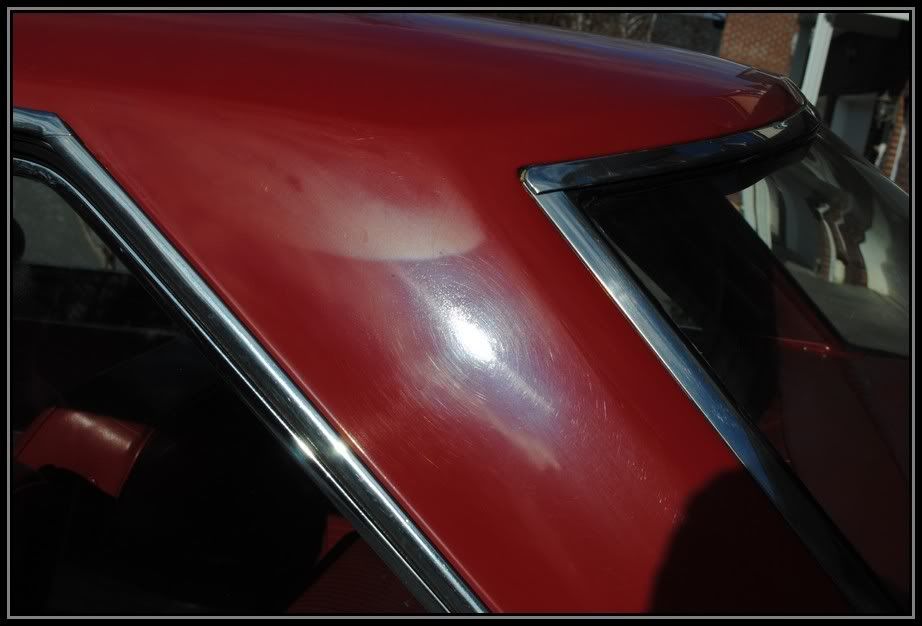
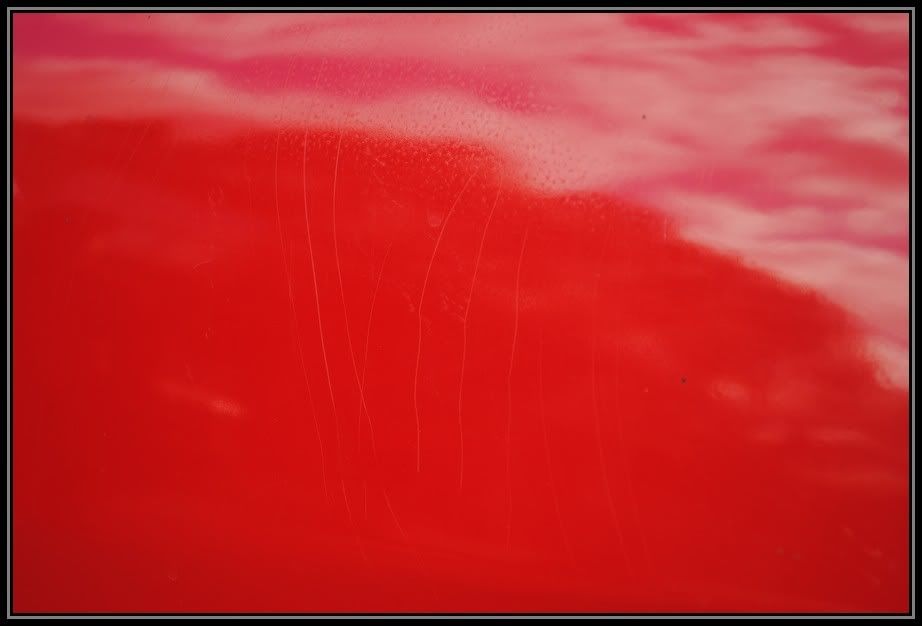
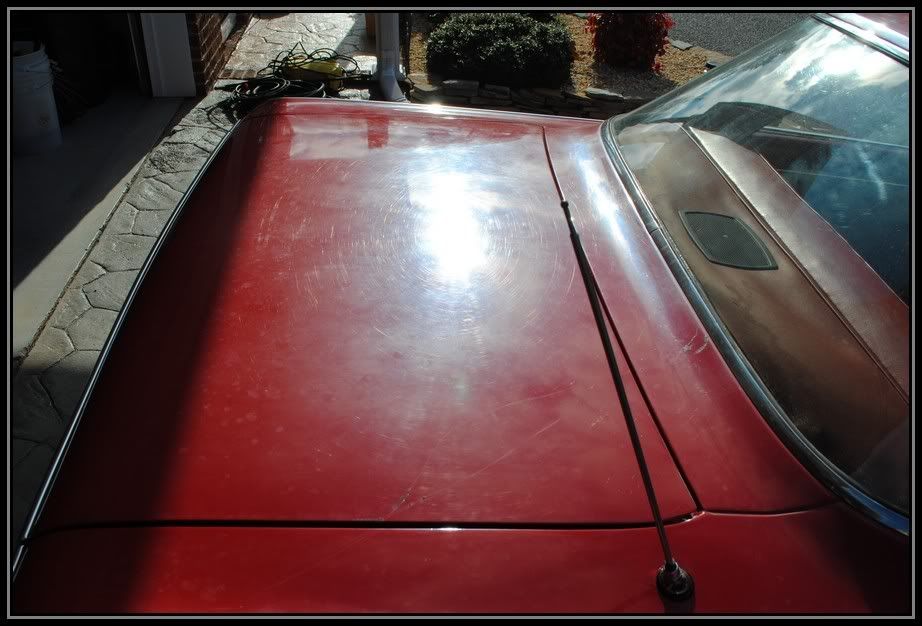
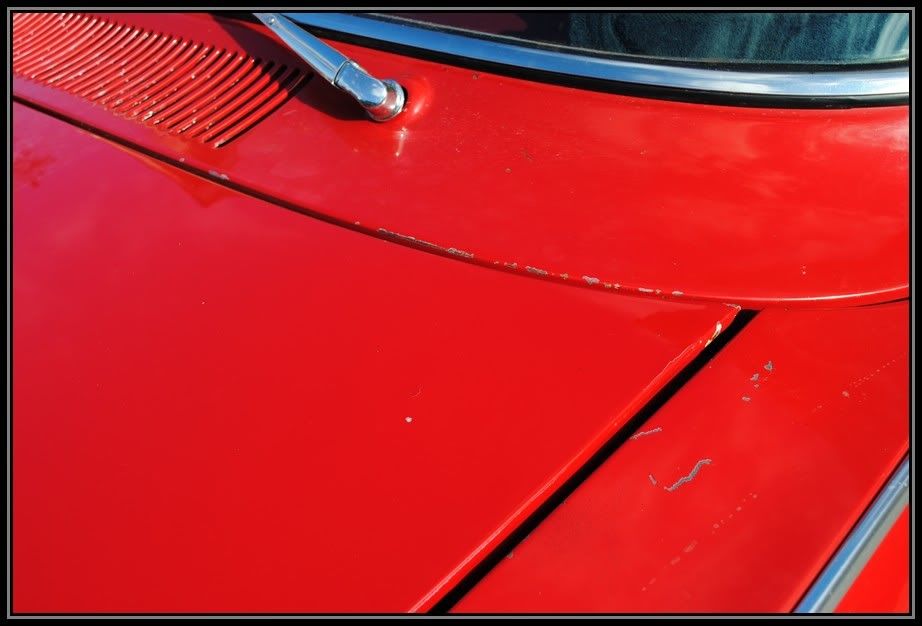
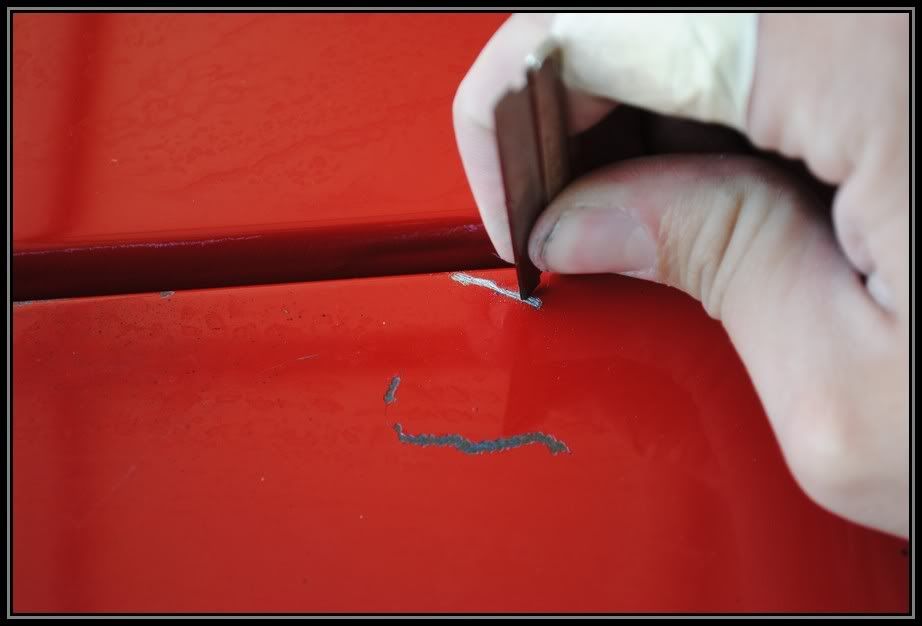
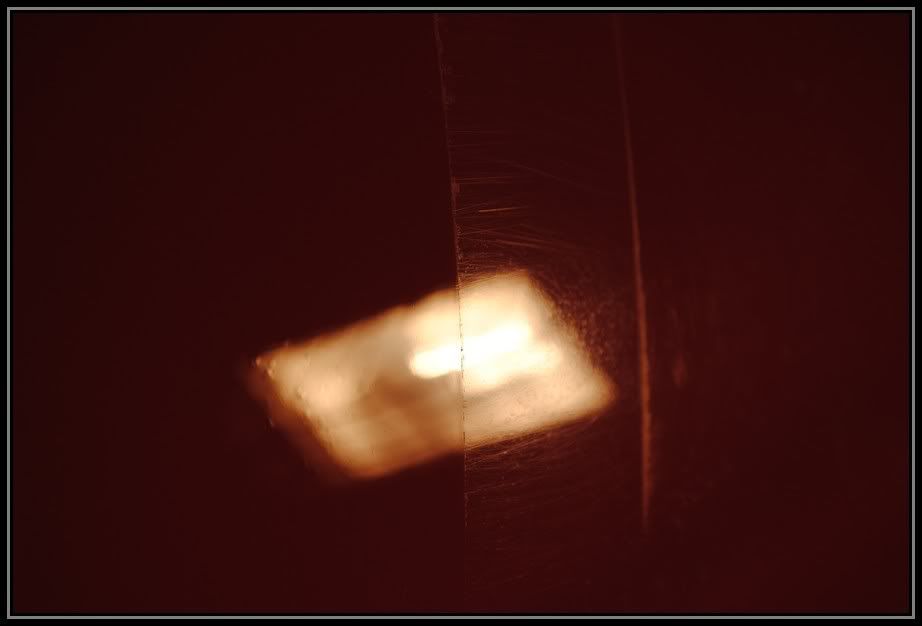
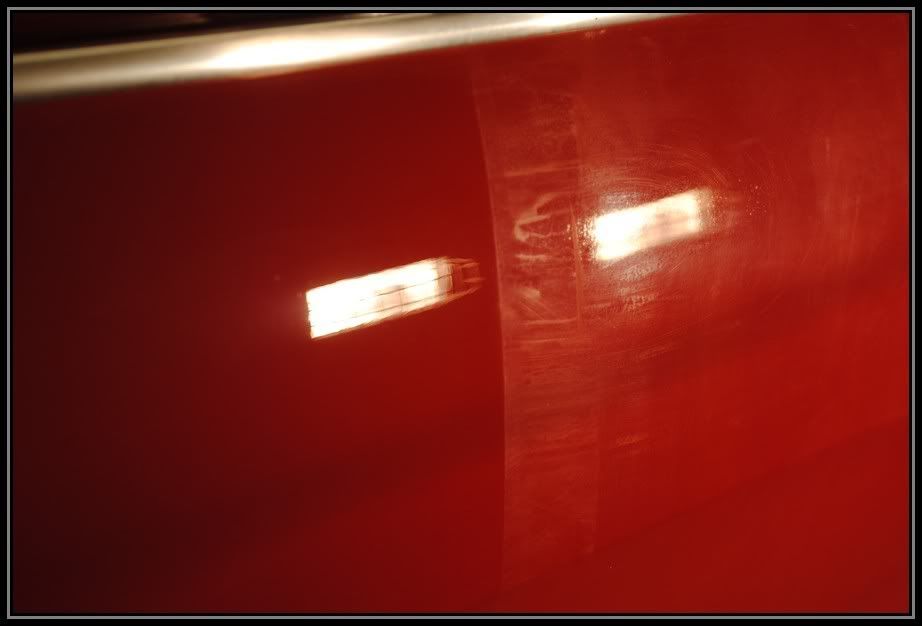
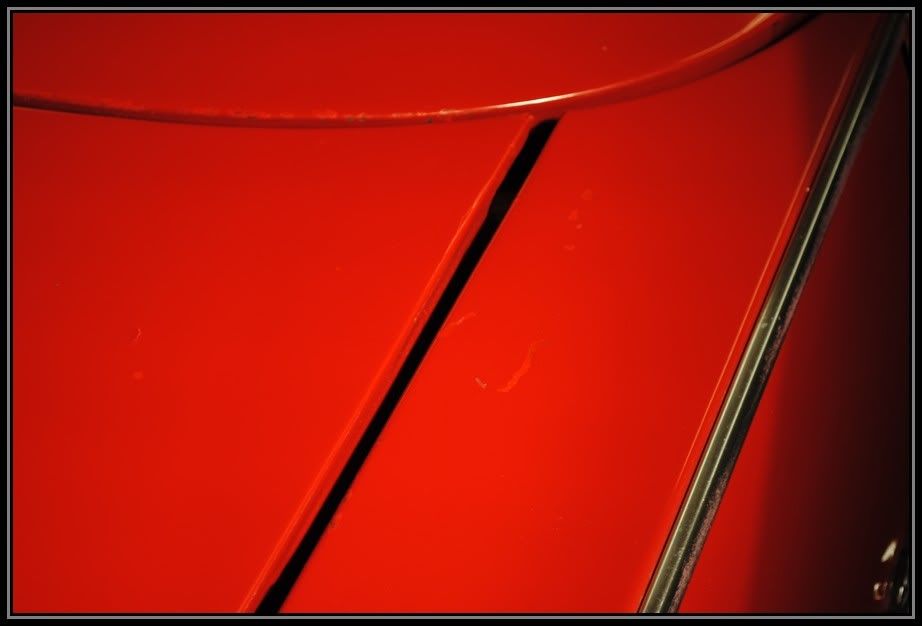
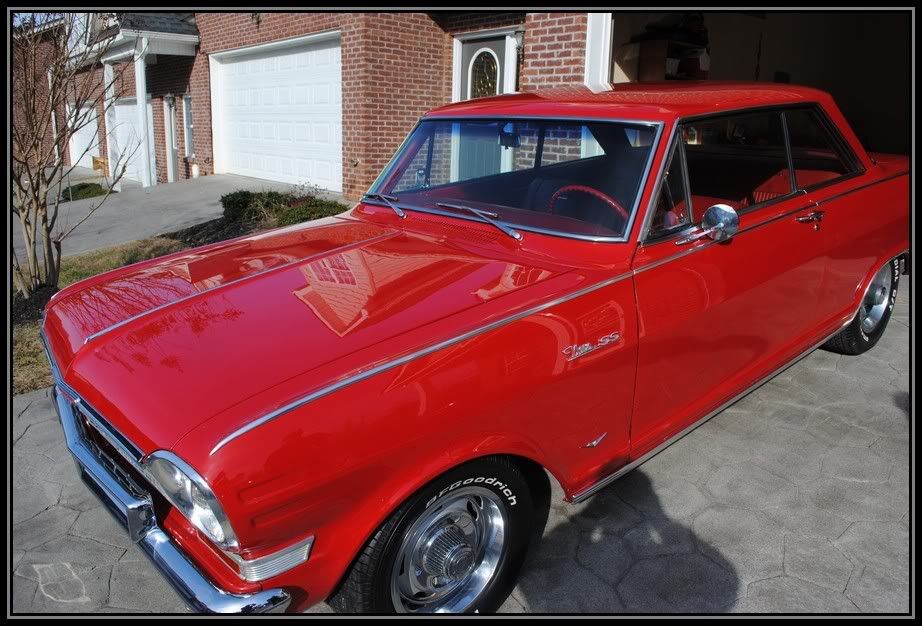
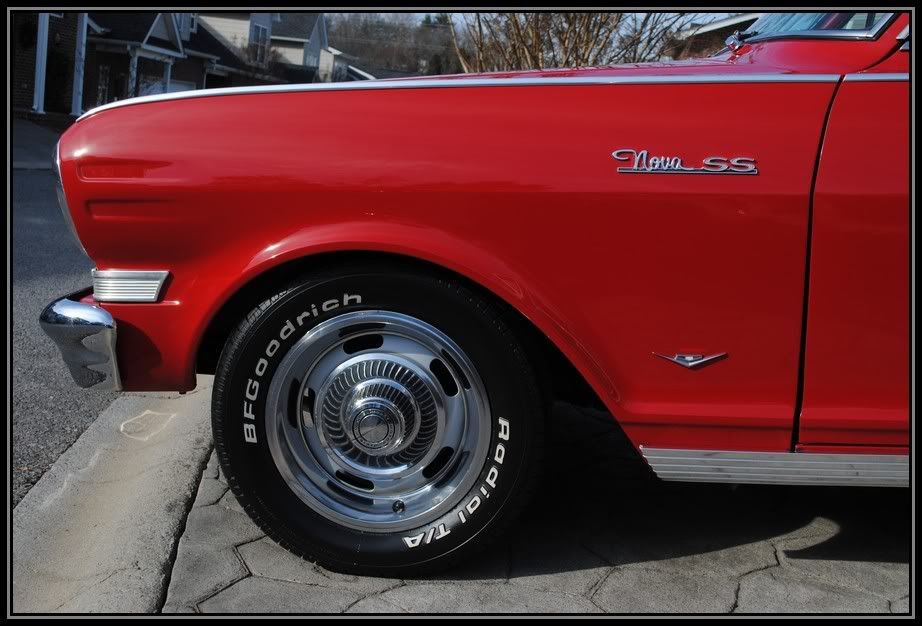
Here are some of the spiderweb scratches
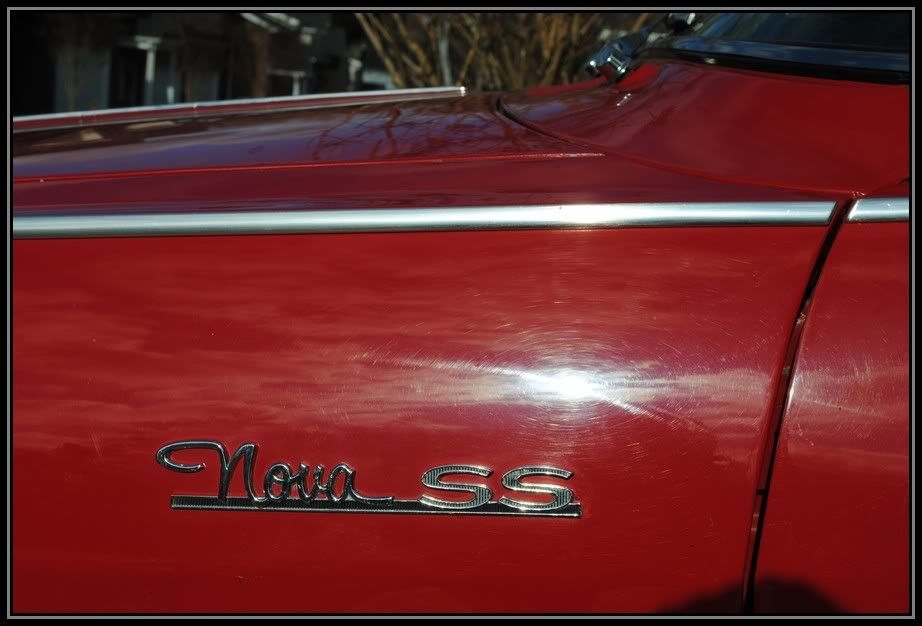

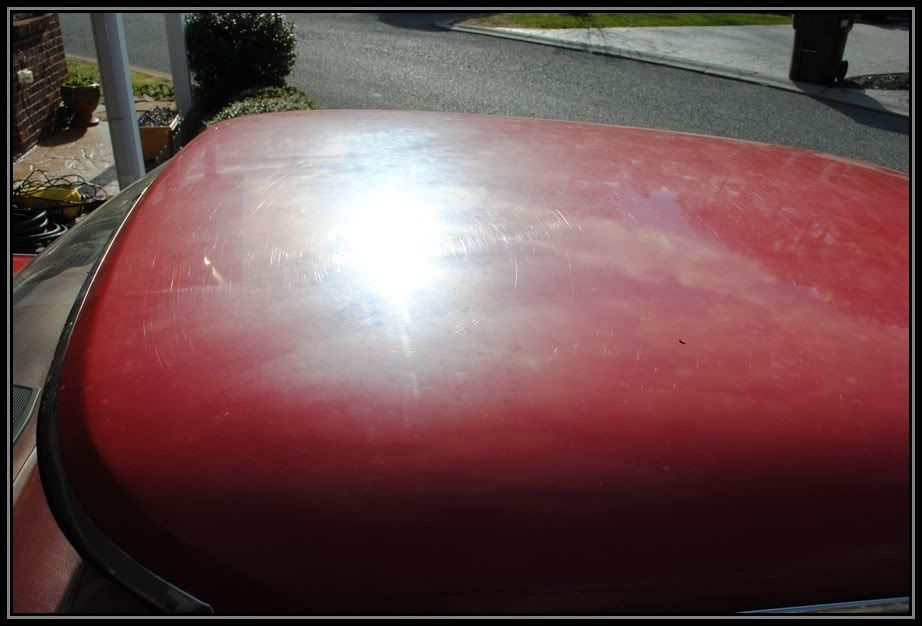
and some type of animal scratches
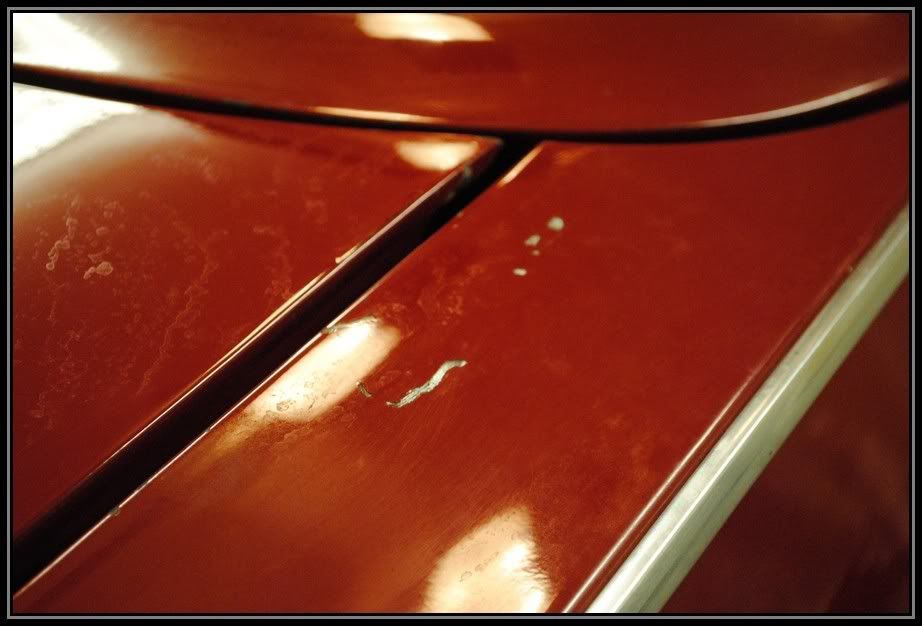
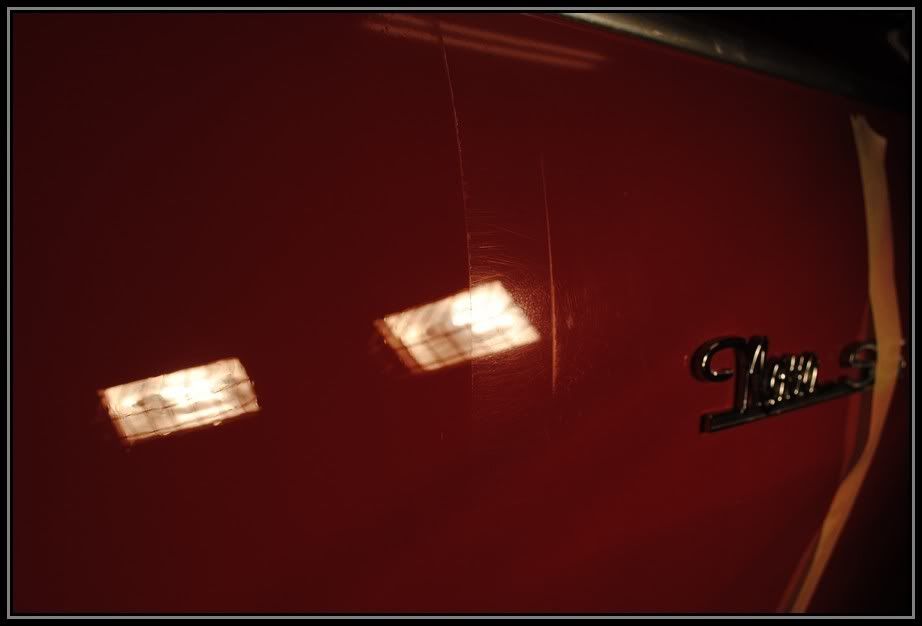
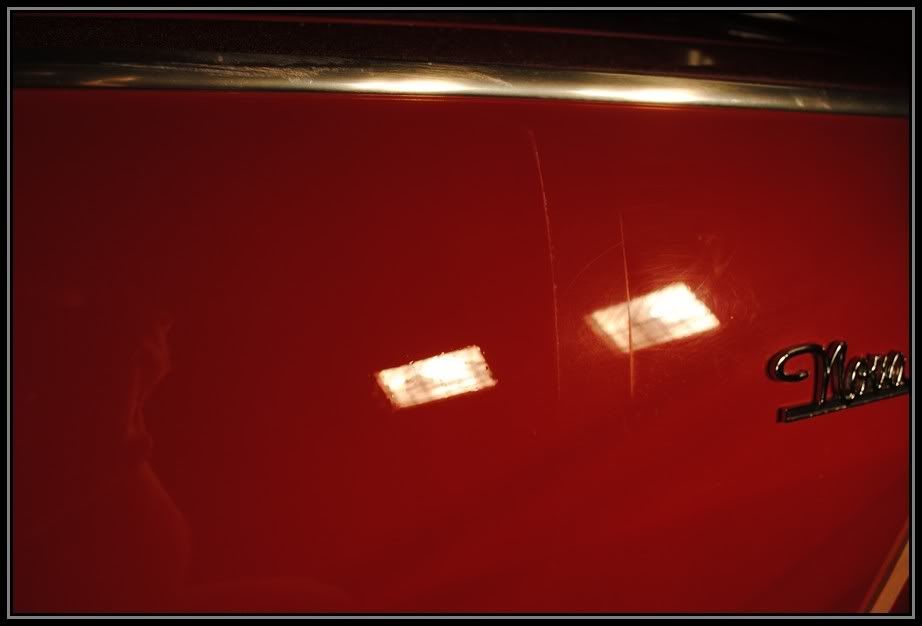
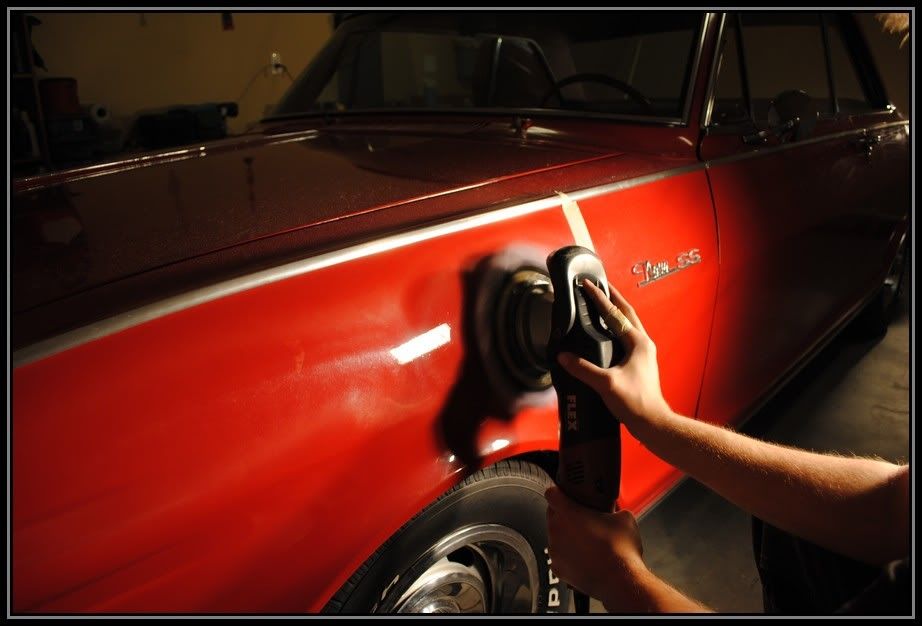
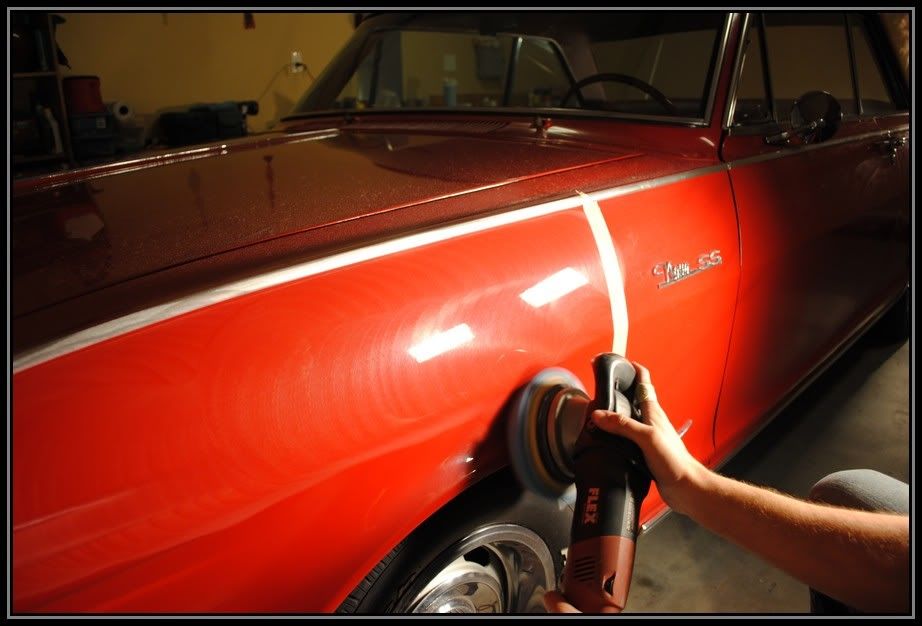
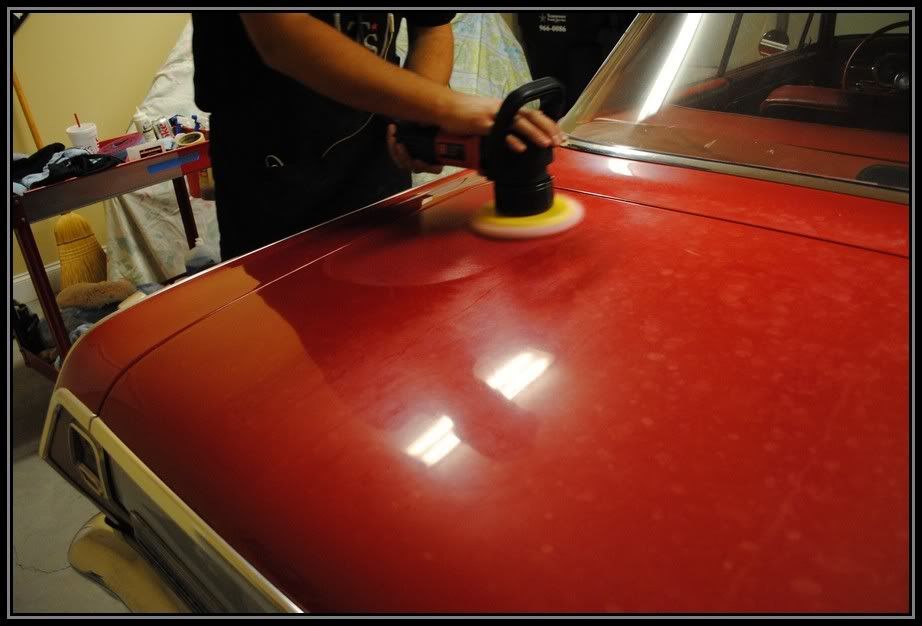
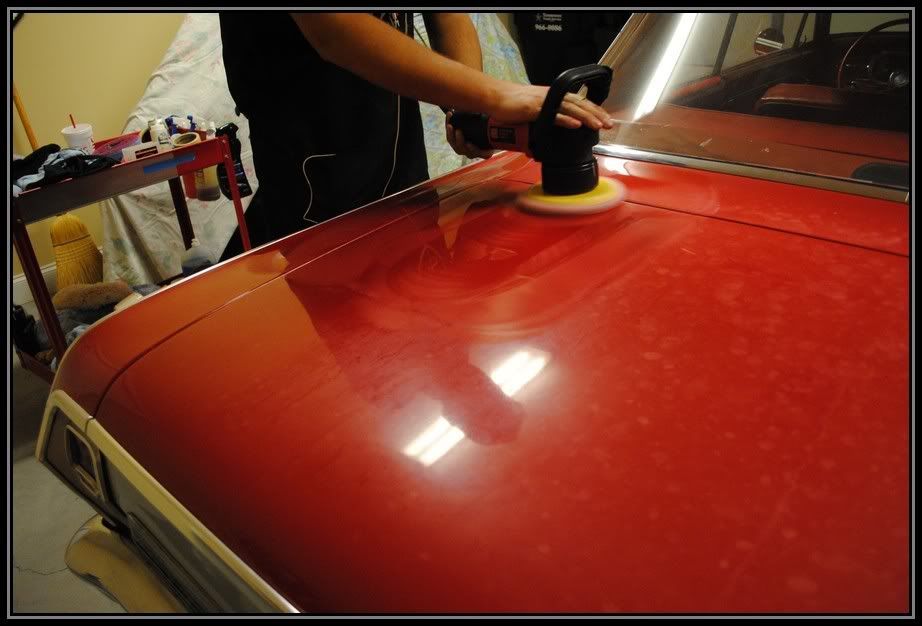
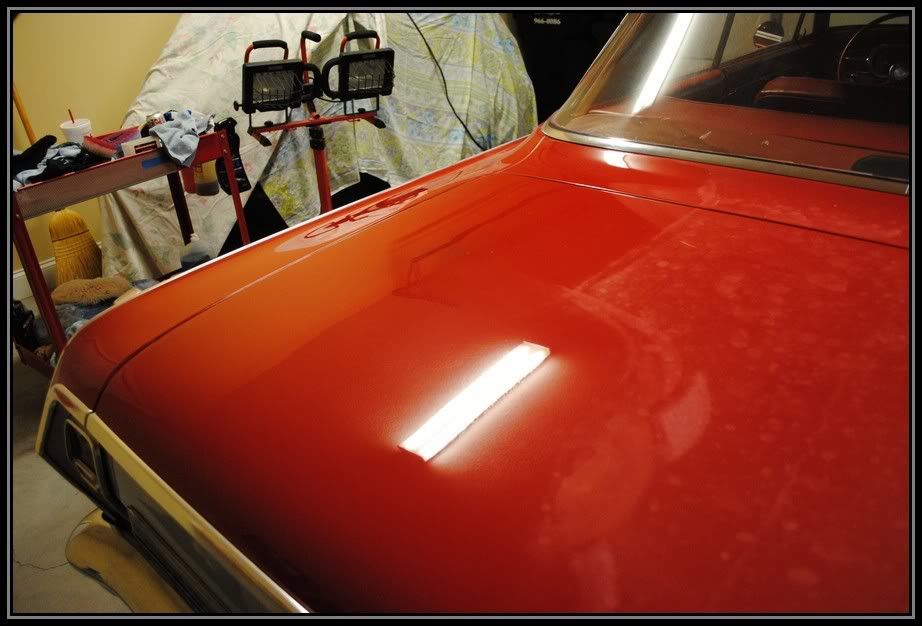
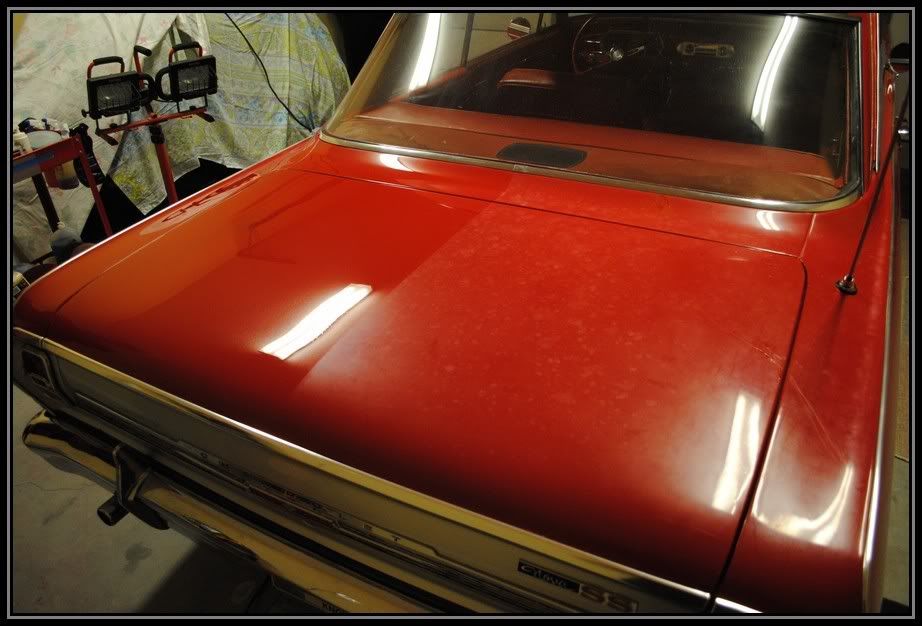
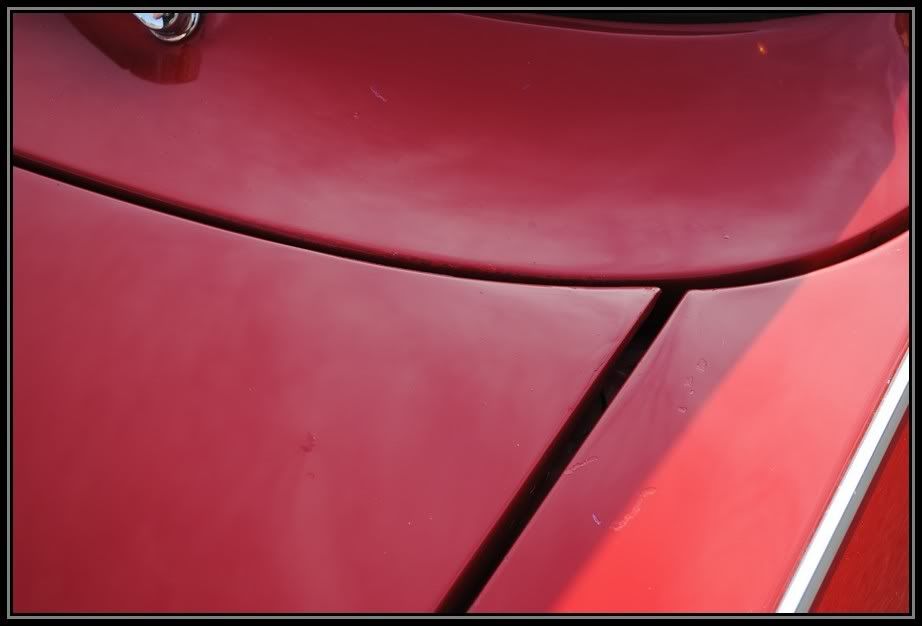
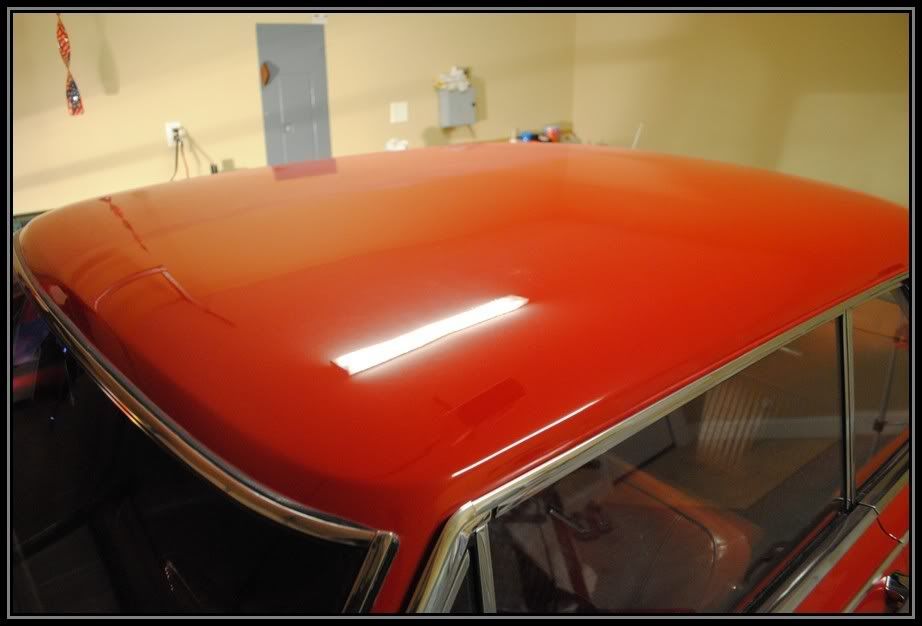
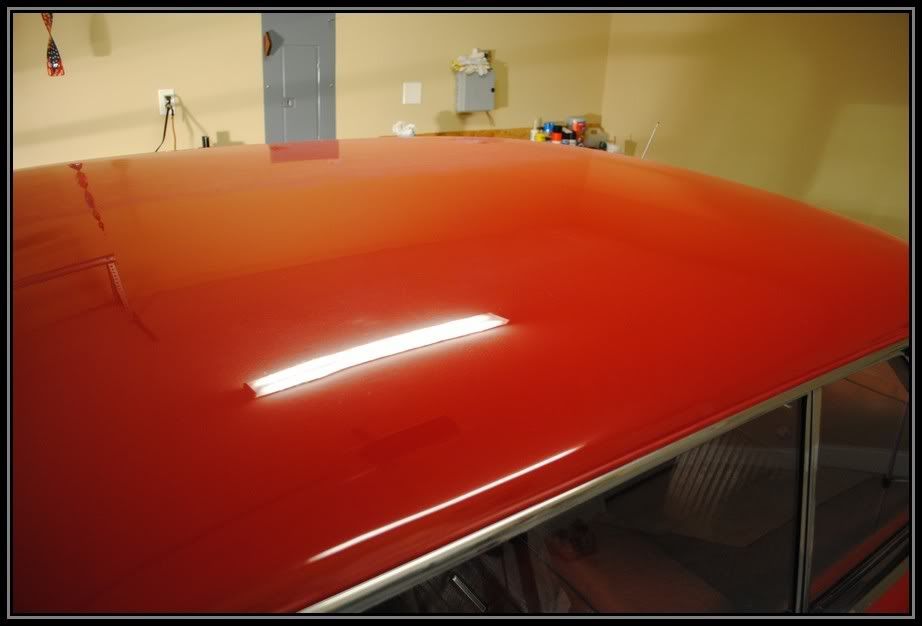
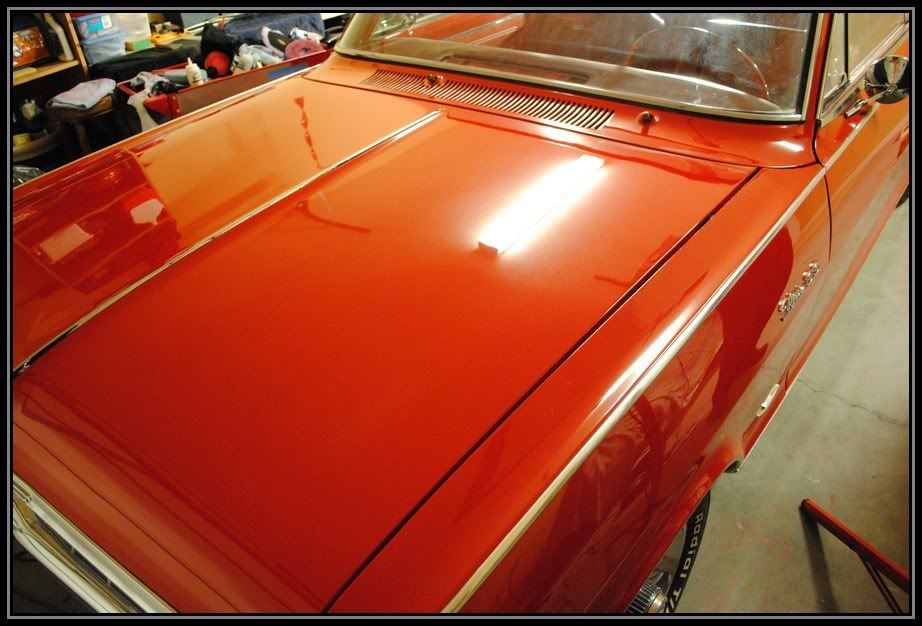
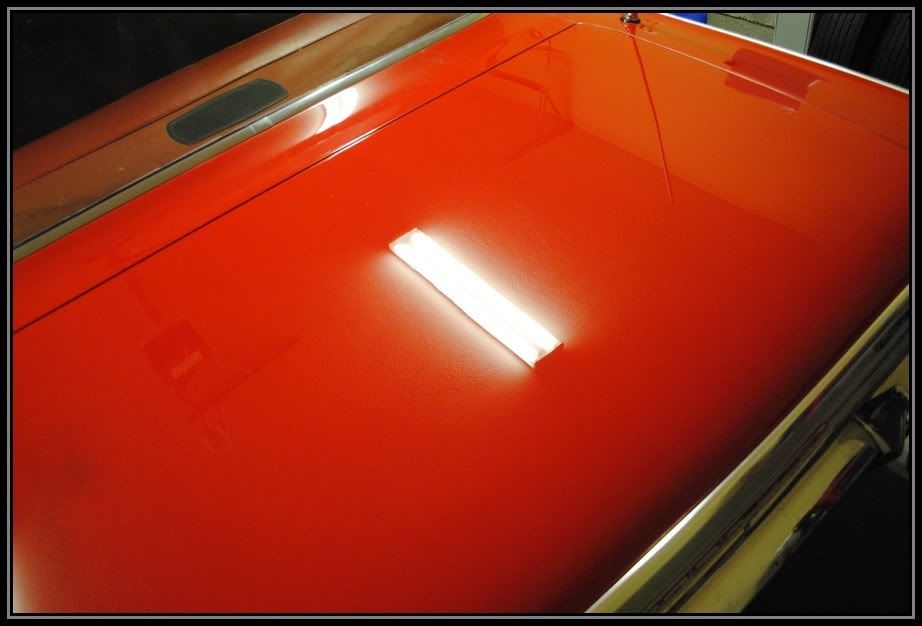
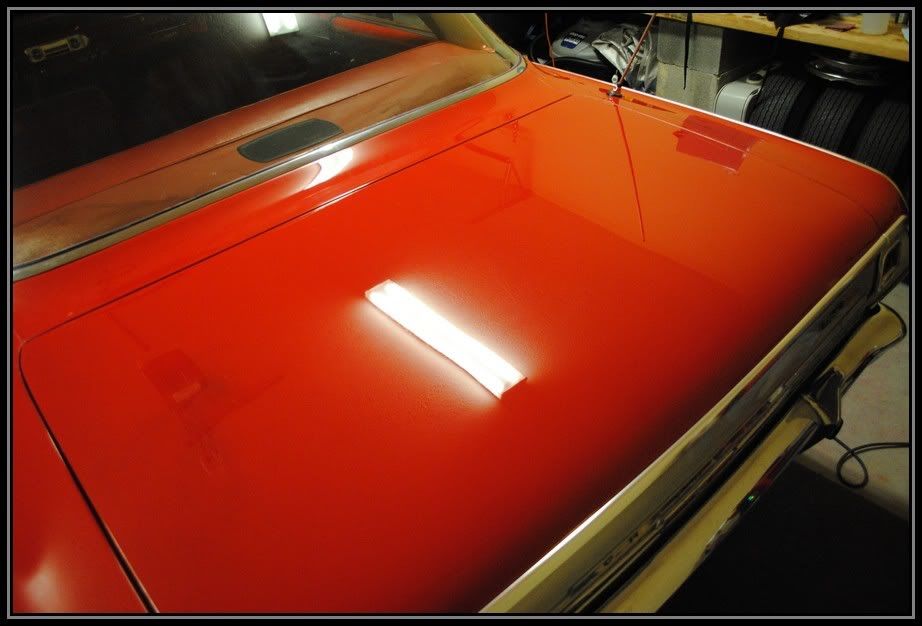
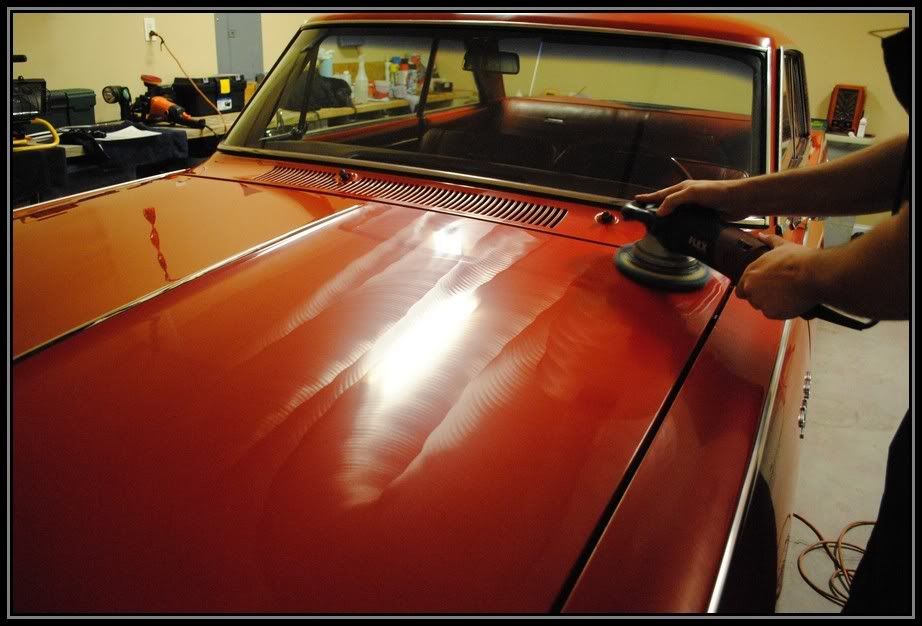
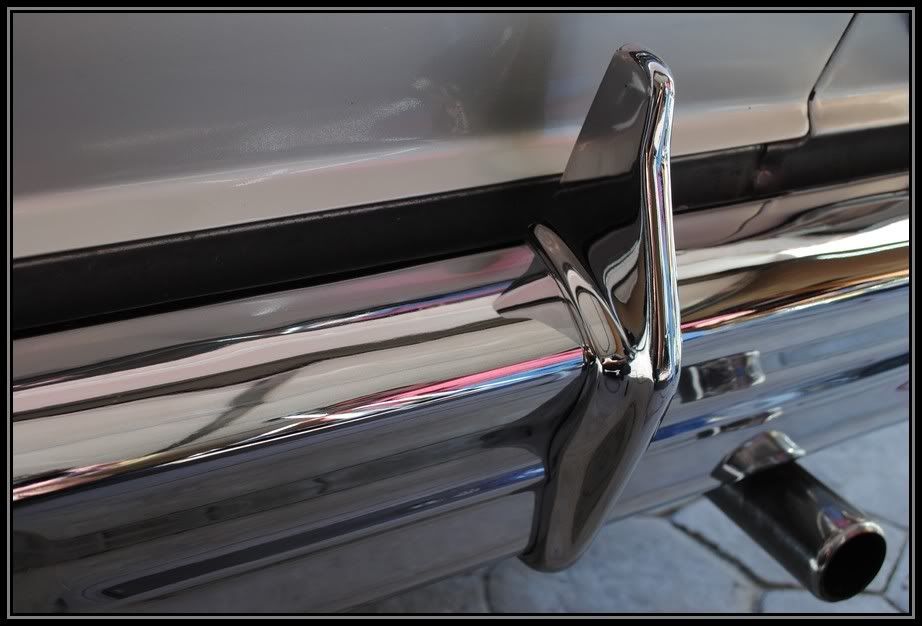
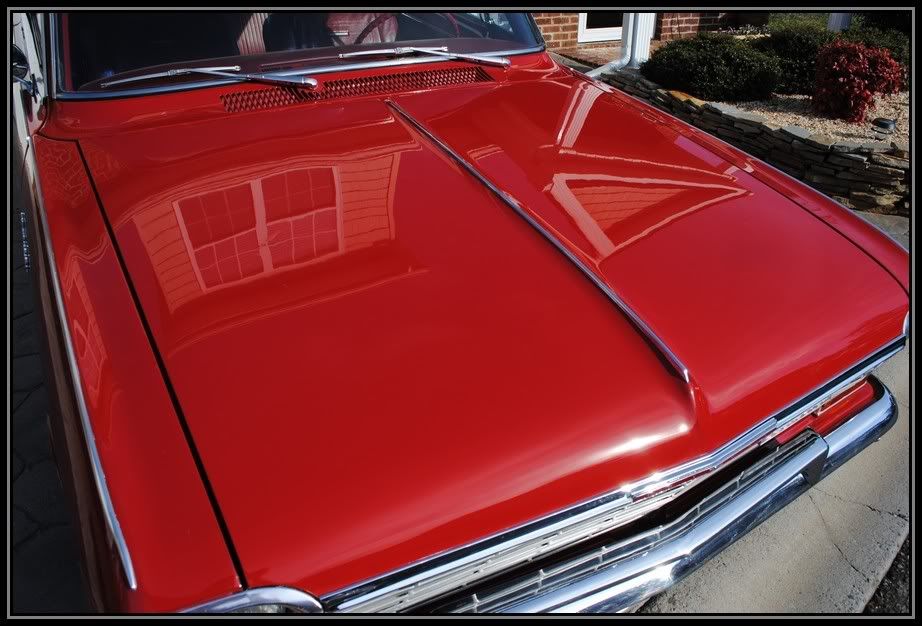
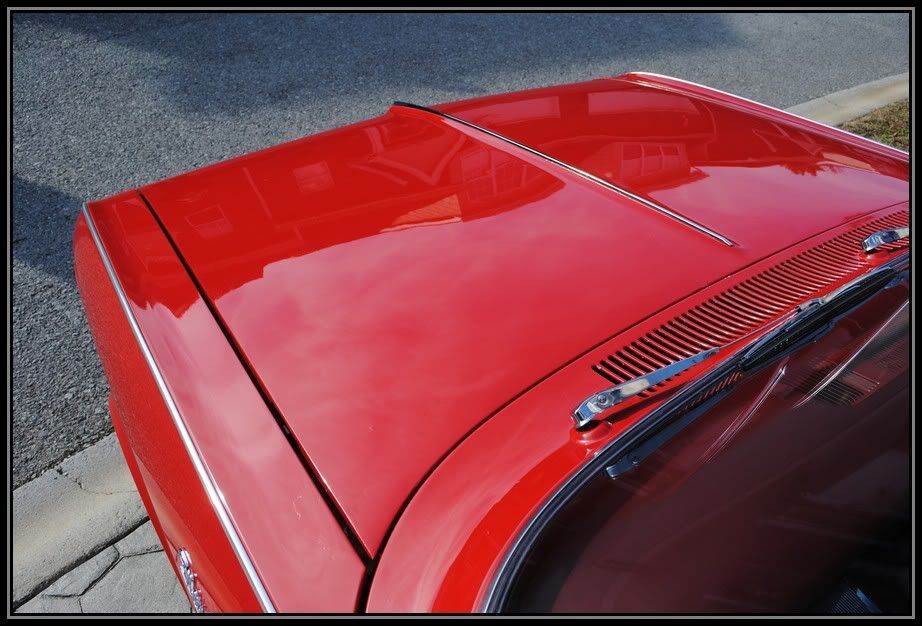
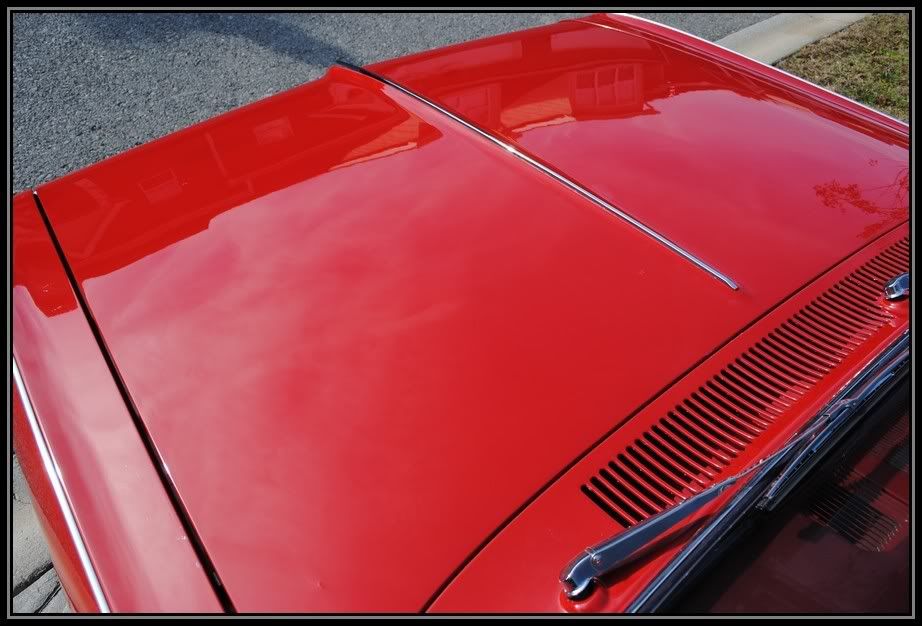
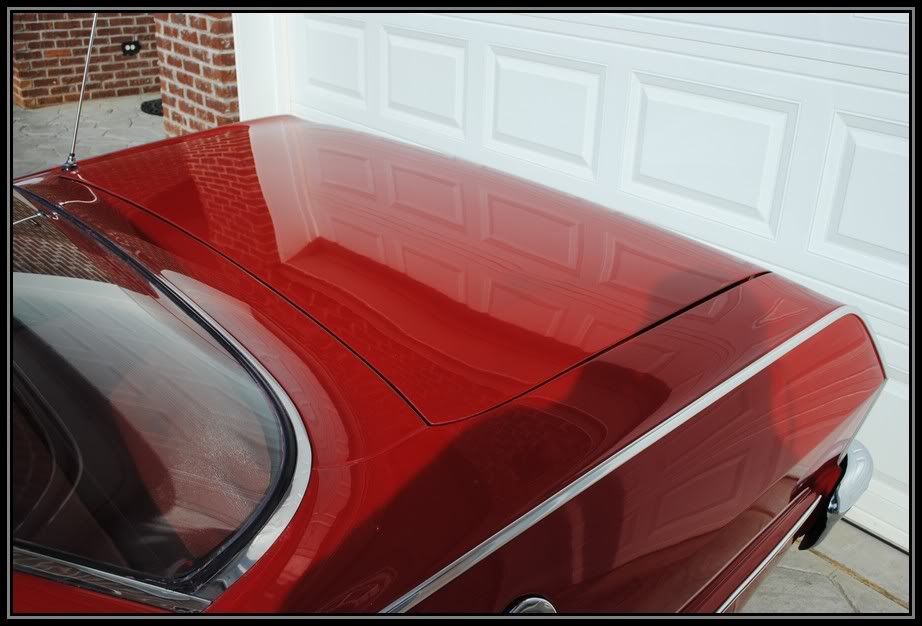
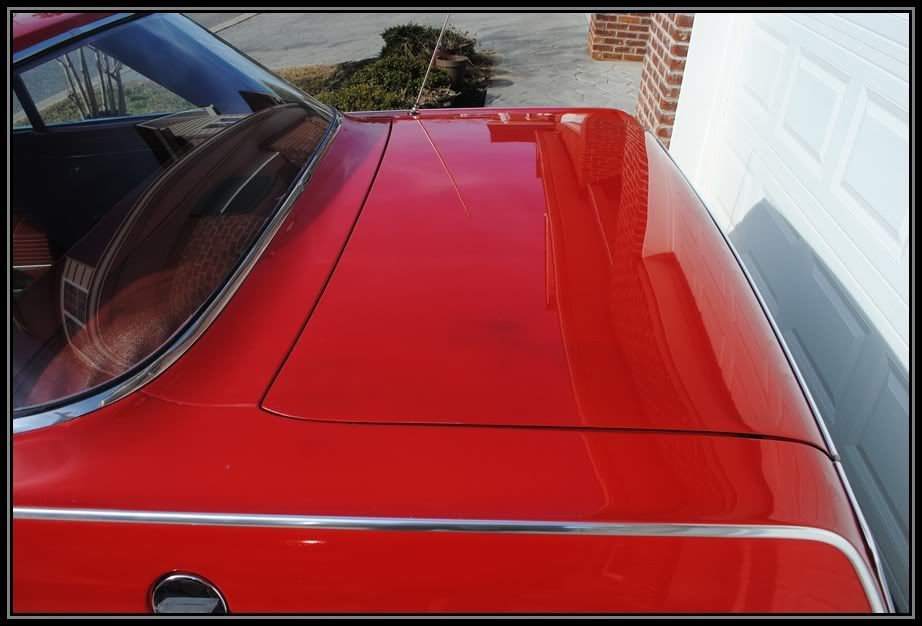
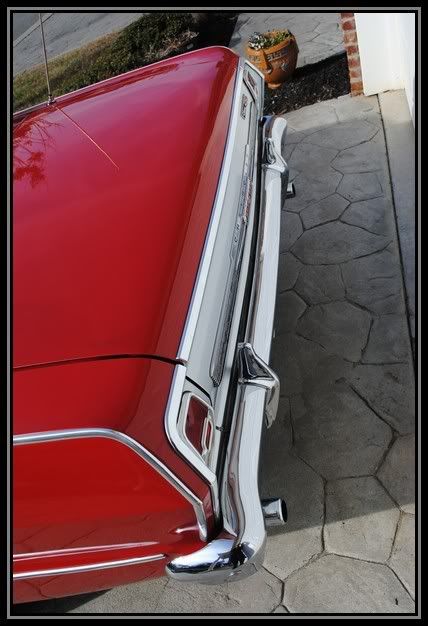
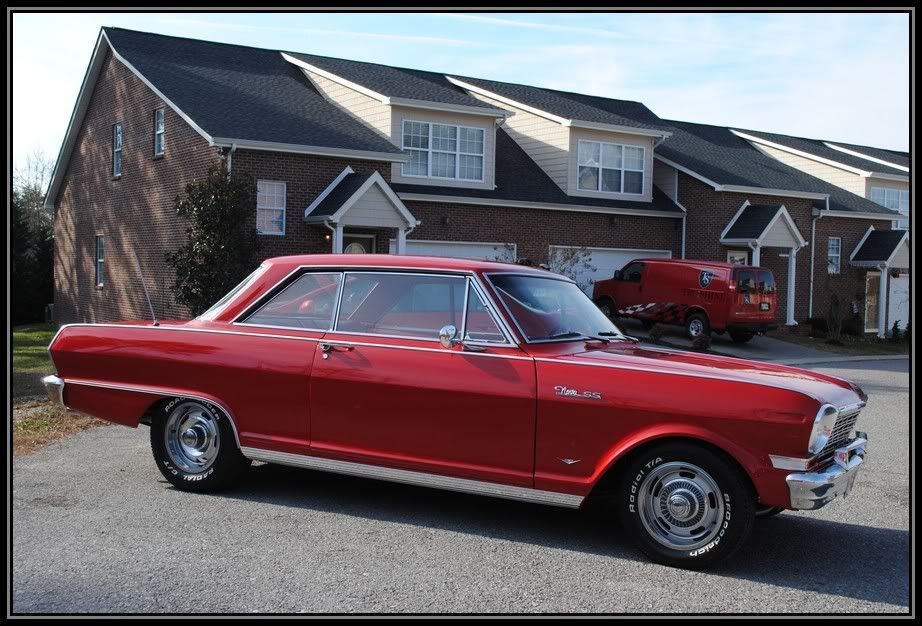
here are some more pics of the horizontal panels
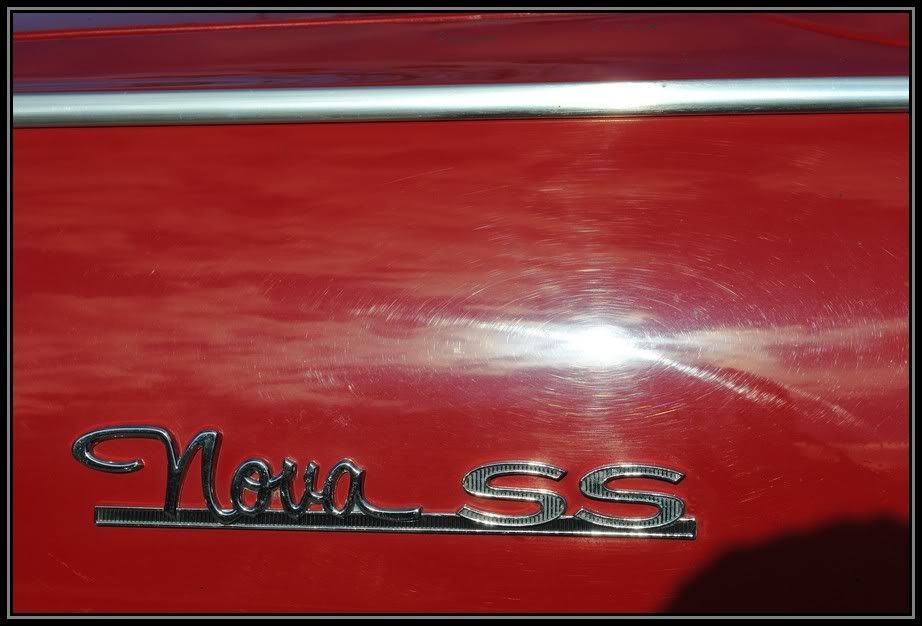
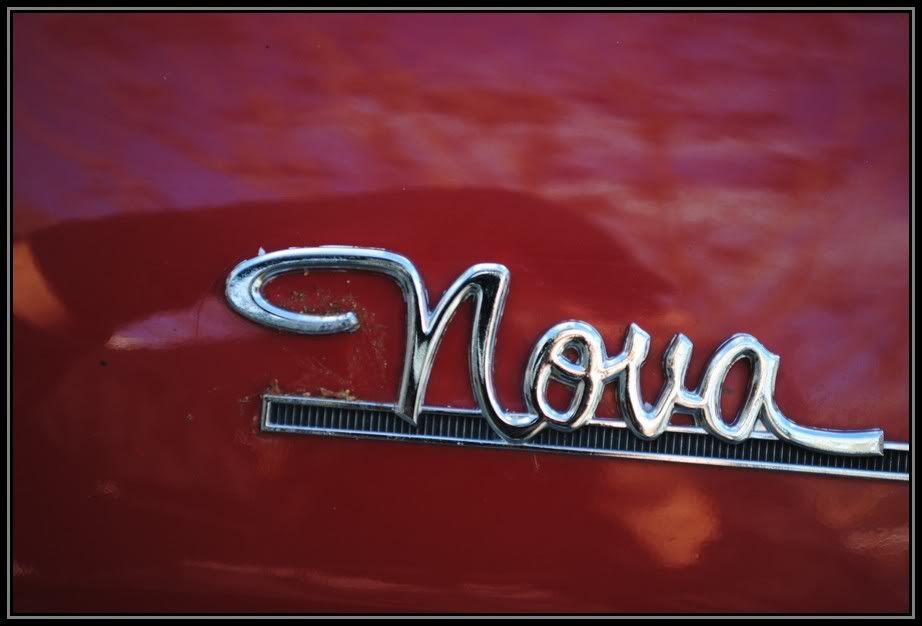
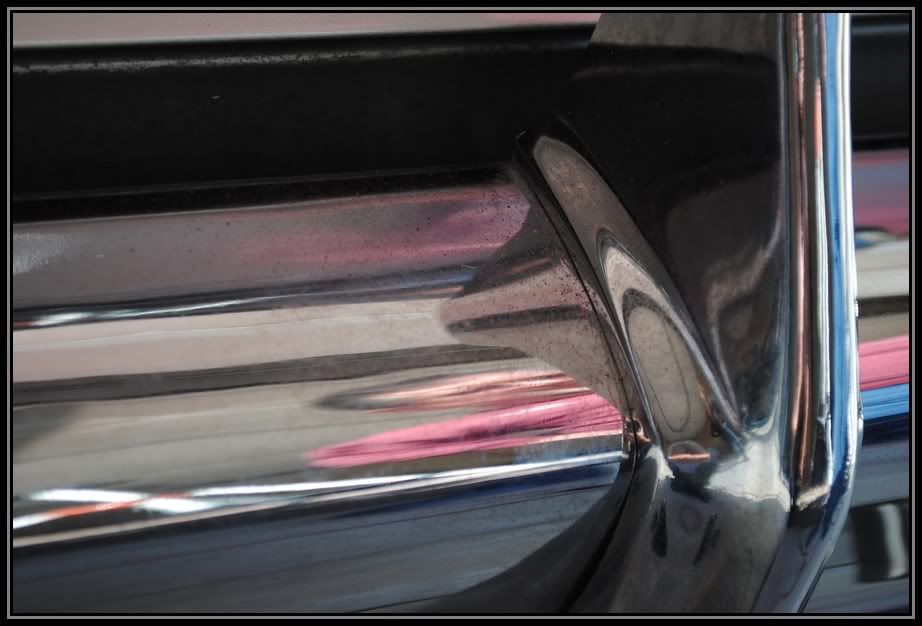
looks like this emblem got bird bombed?
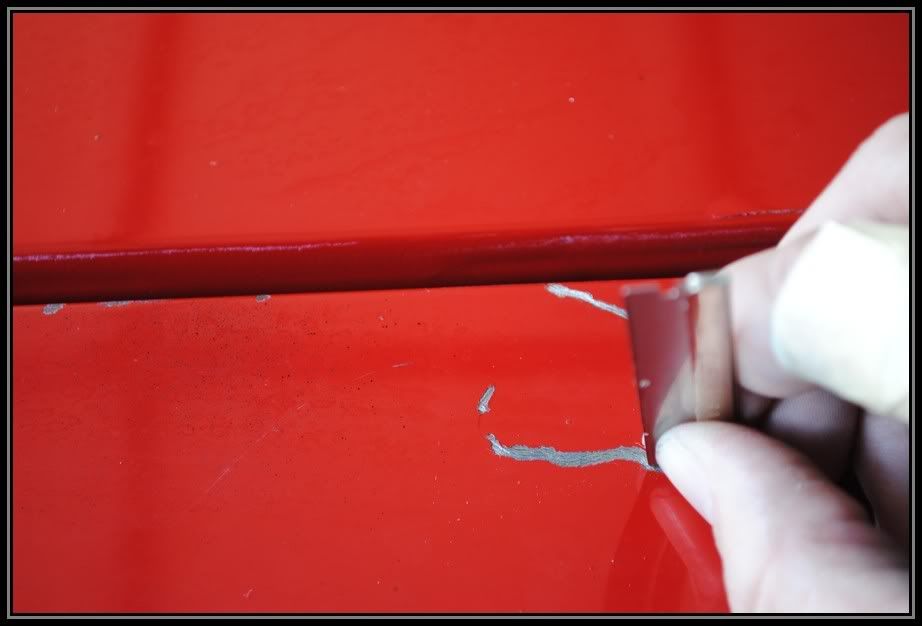
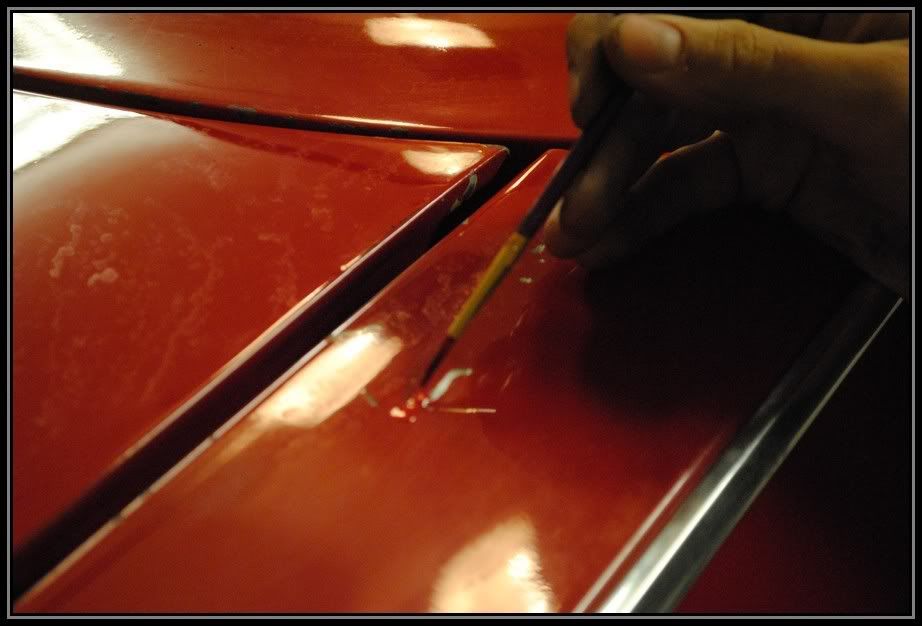
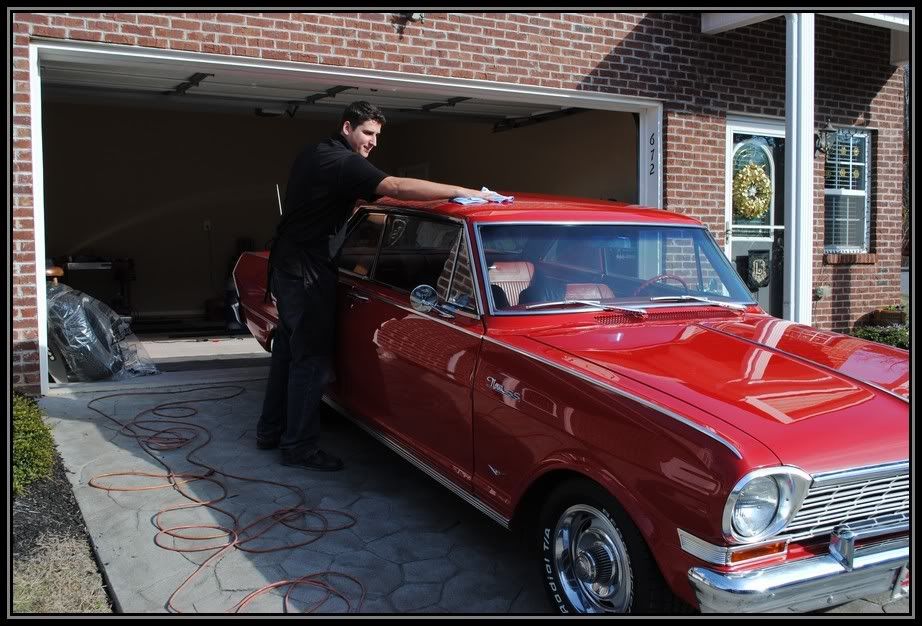
The car had quite a few chips to touch up
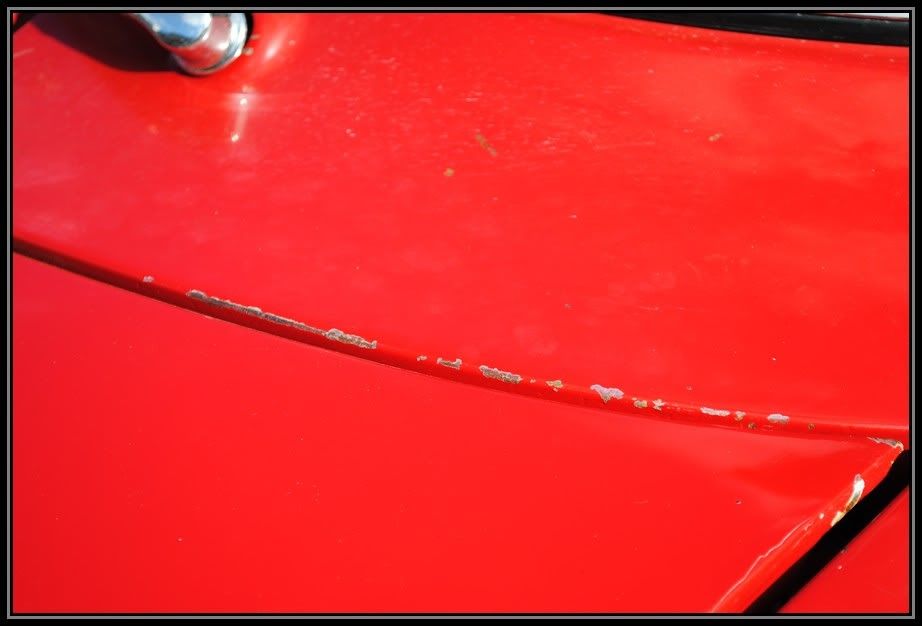
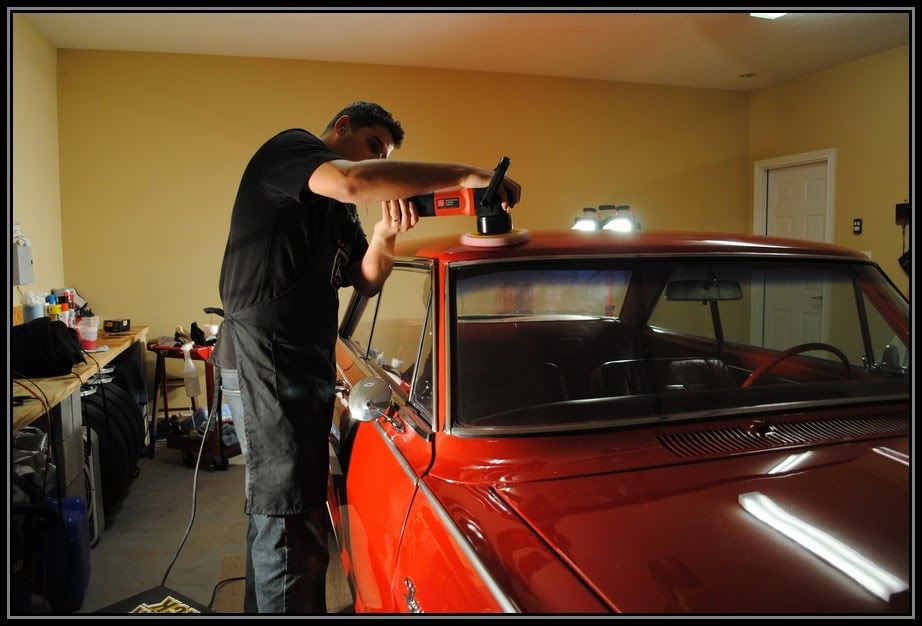
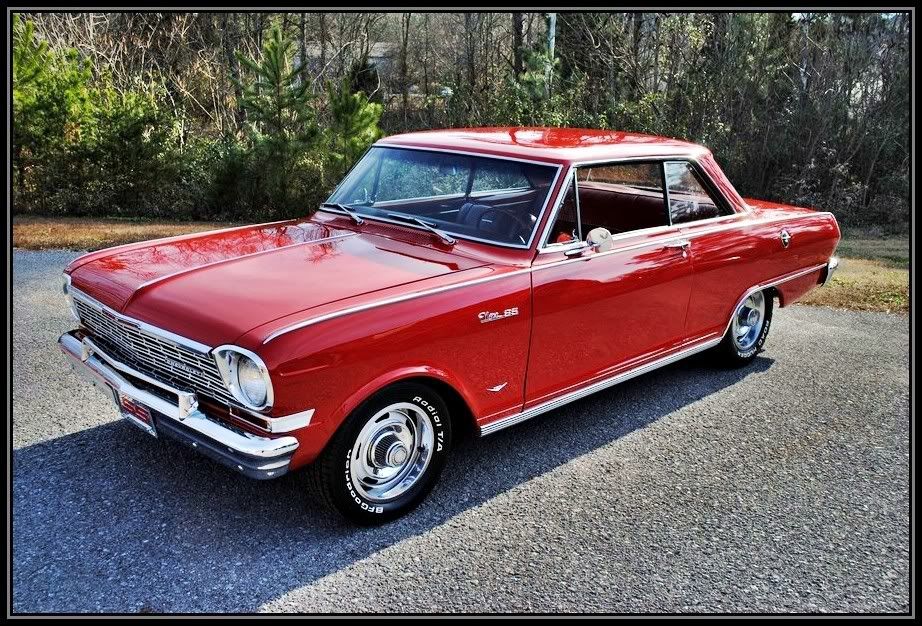
Over all the car is in great condition, but it still needs some luv'n
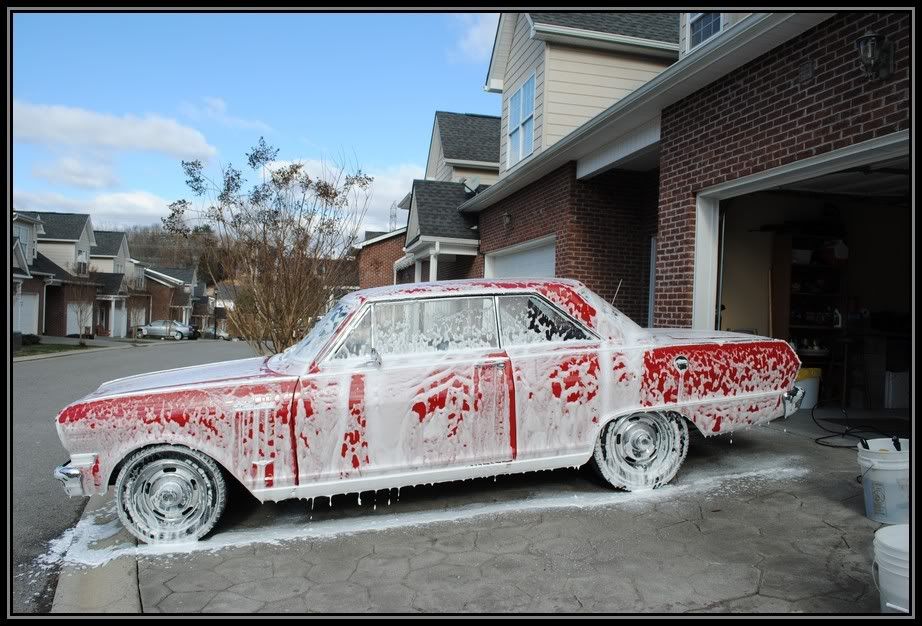
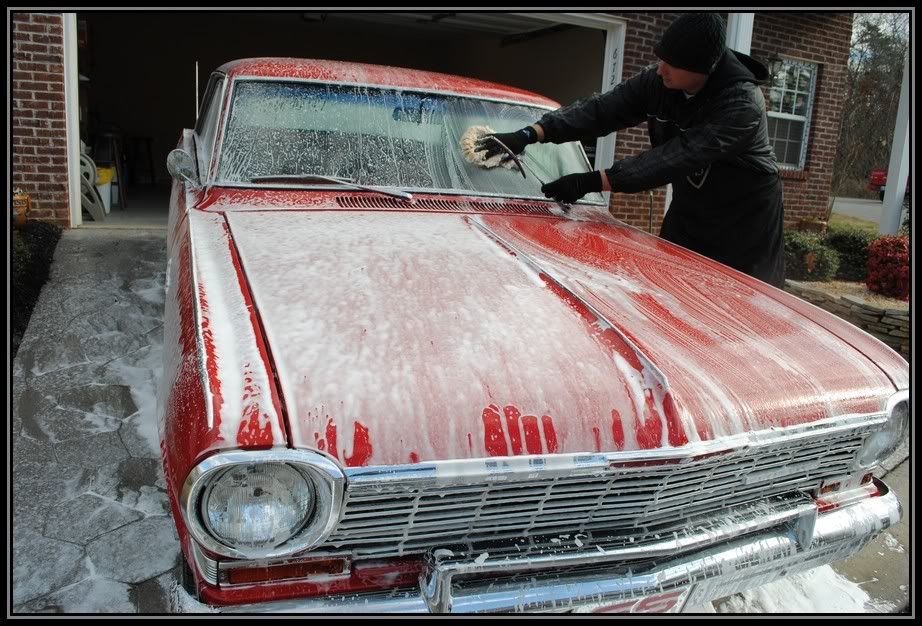
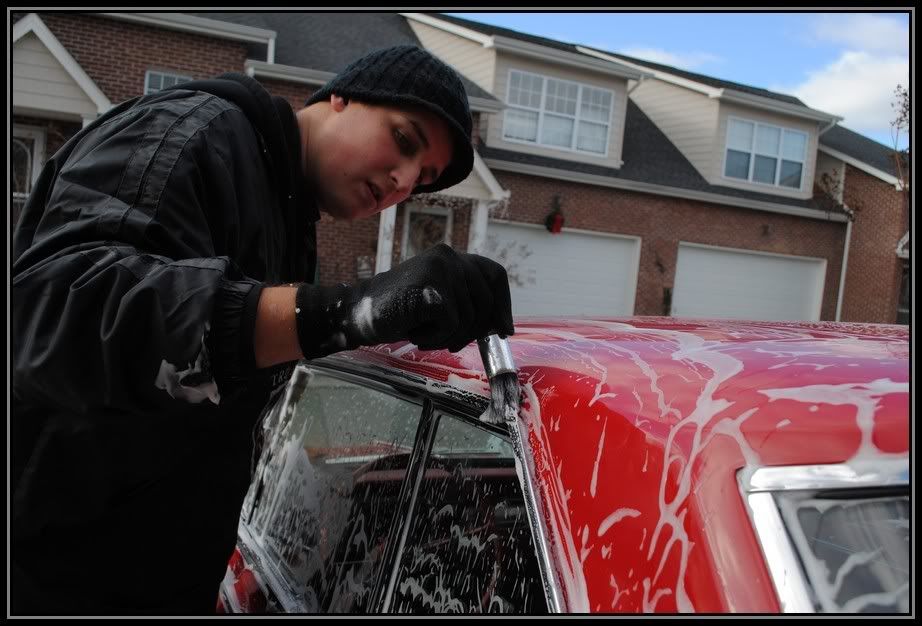
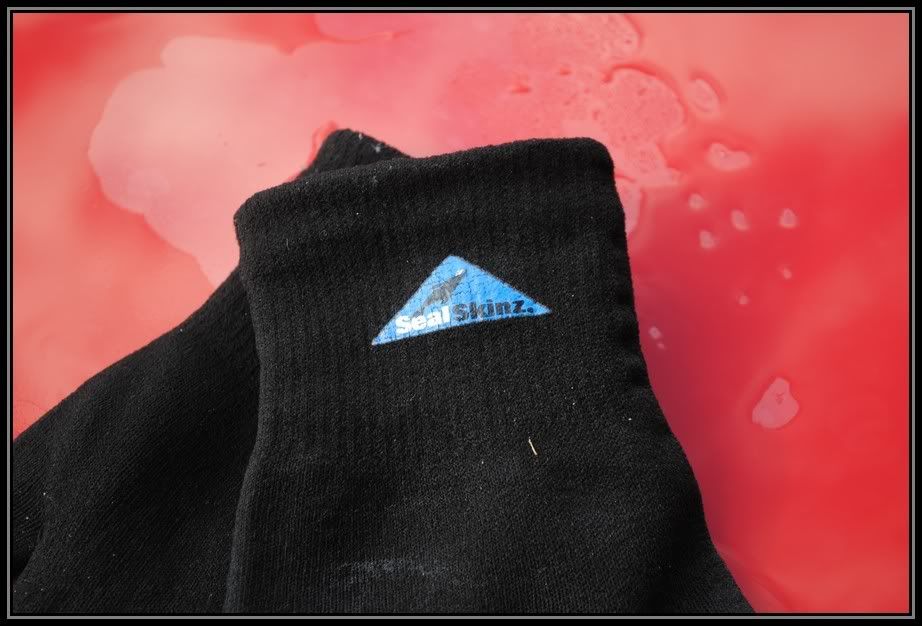
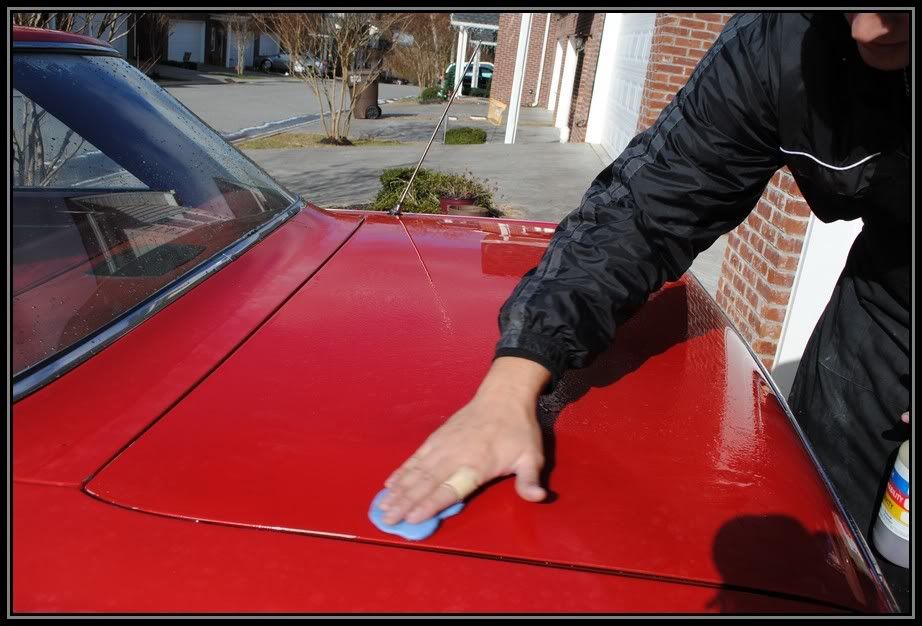
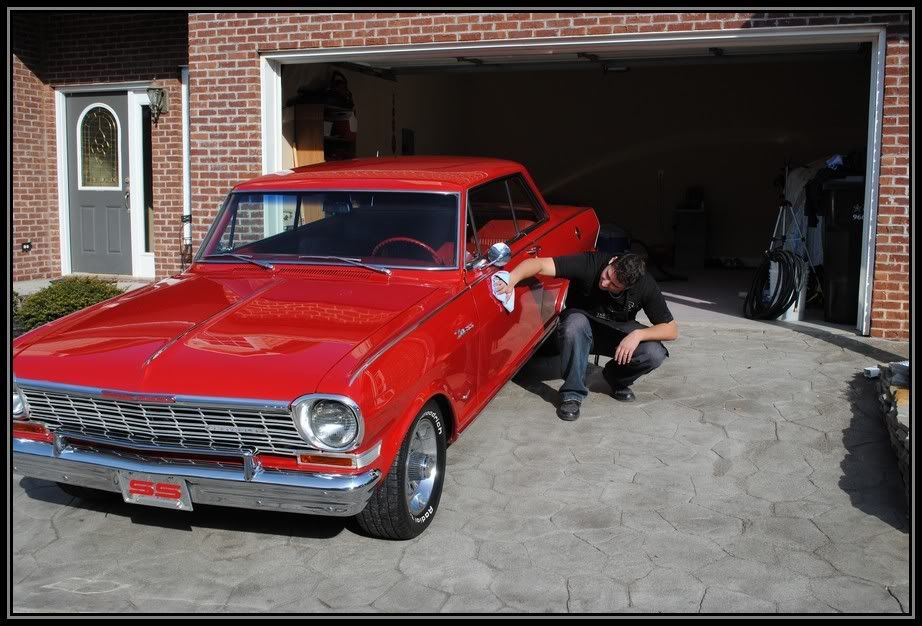
It was a Very cold morning, so I had to dress accordingly. I began the detail by giving it a thorough foam wash using my Foam Canon and Dawn Detergent.
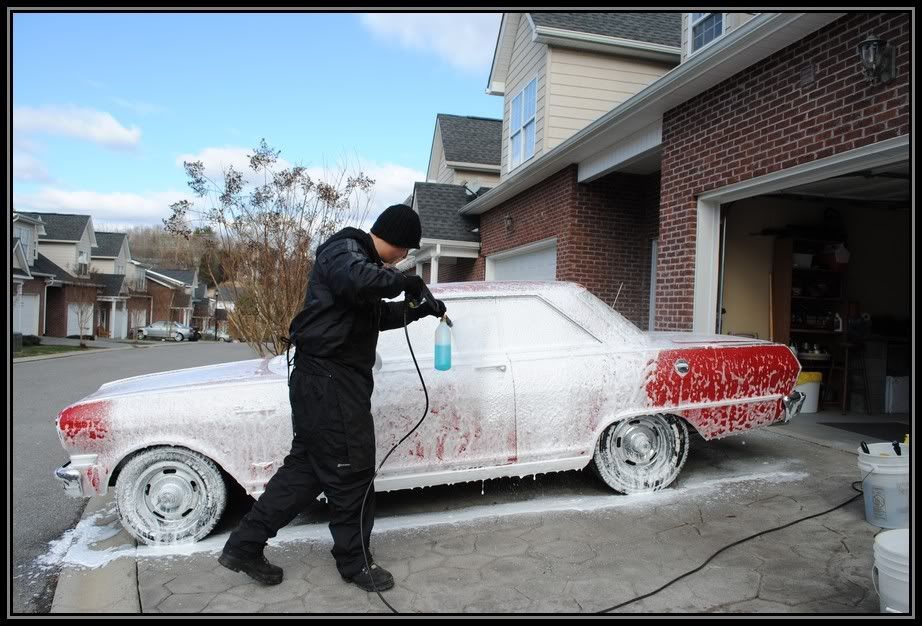
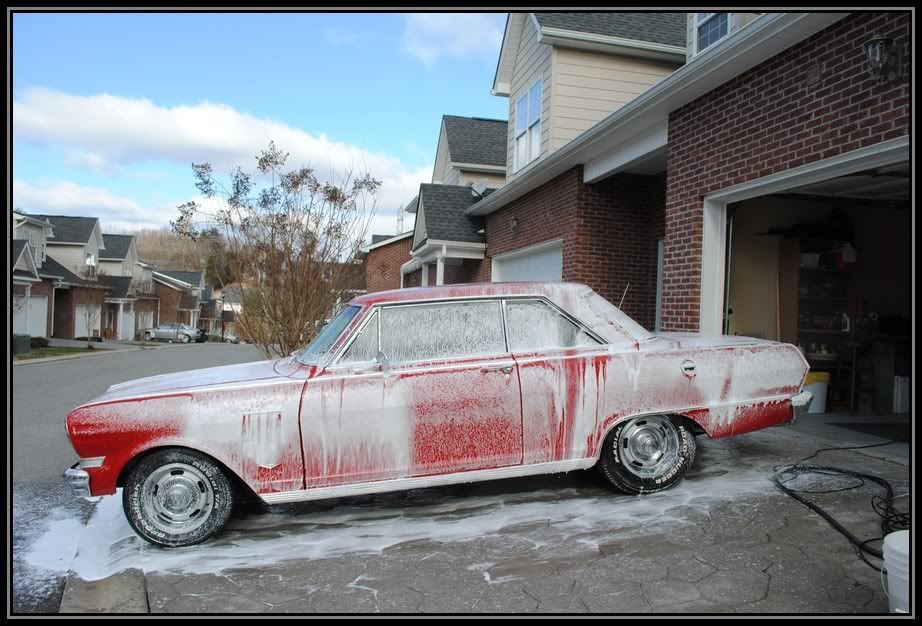
letting it dwell
Then rinse off any heavy stuff
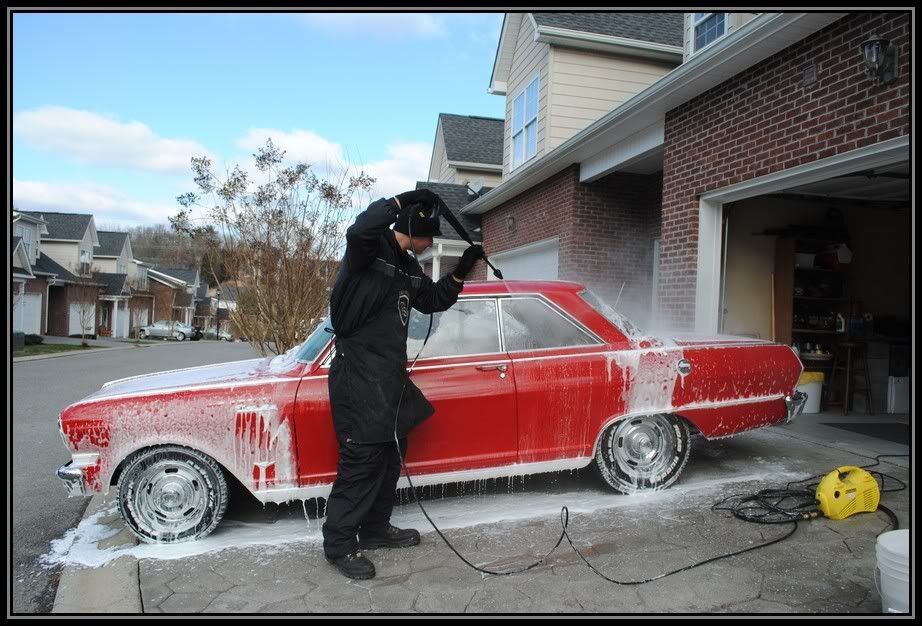
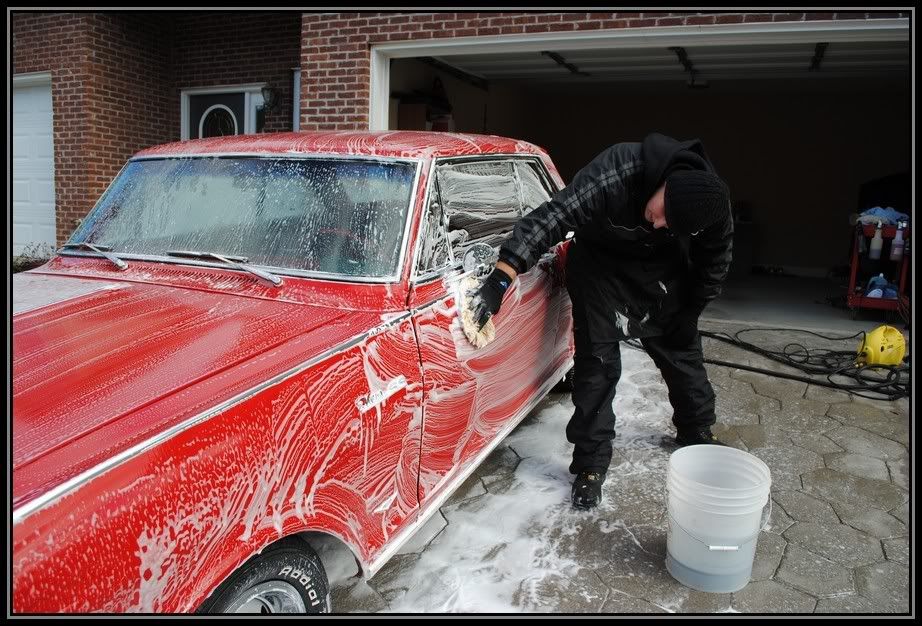
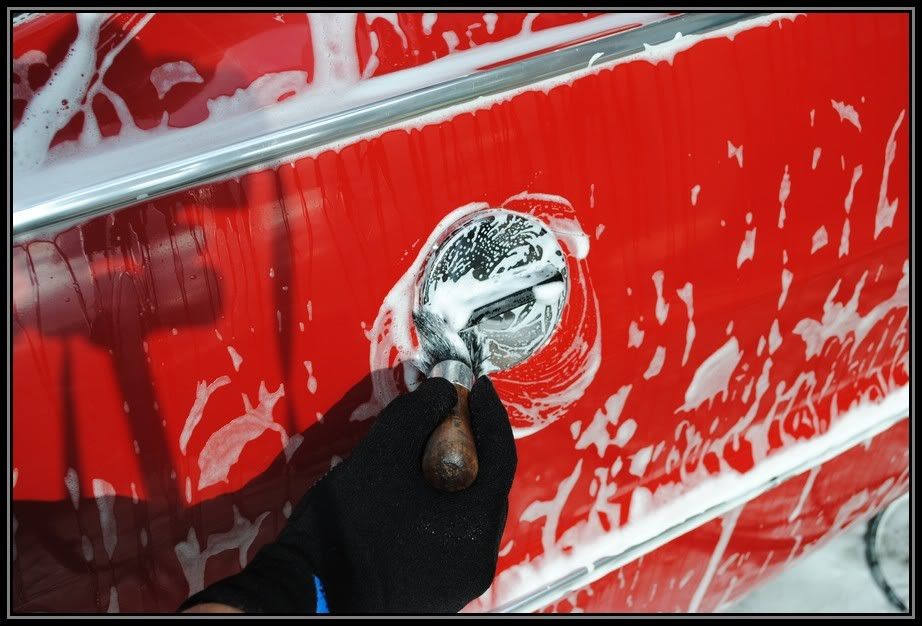
Re-apply the snow foam for the hand wash
Washing it in straight lines.
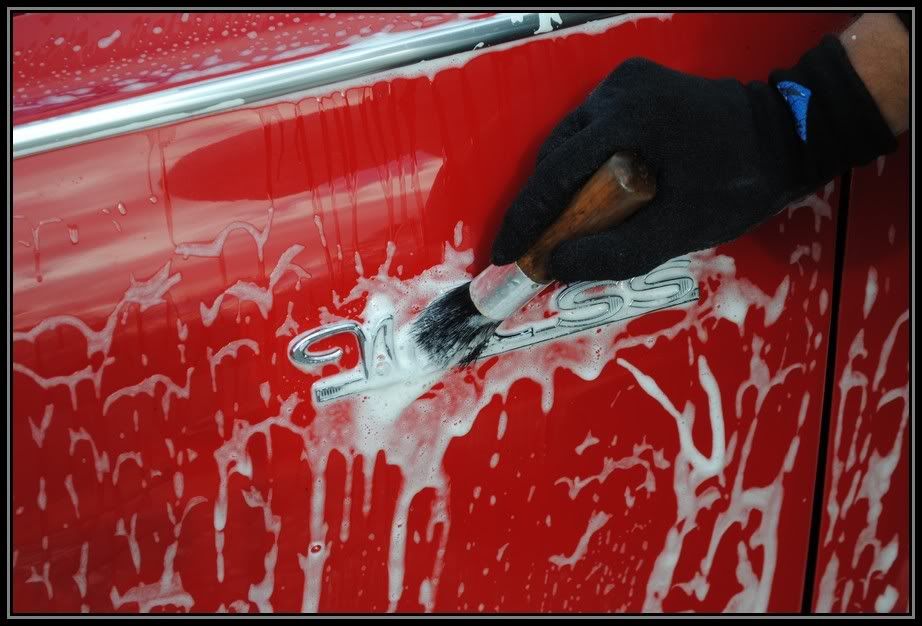
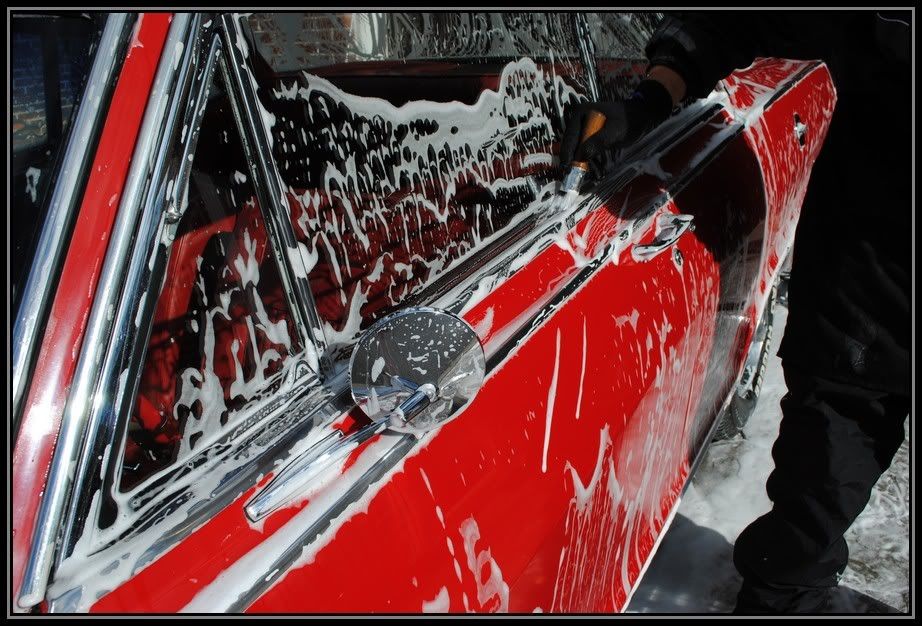
Getting into all the tight areas with my boar's hair brush


 rops:
rops: