polishdoc
New member
- Nov 15, 2008
- 85
- 0
Hi guys back again after a long break !
Lamborghini and Ferrari Sydney Detailing Trip part 3
Well guys , this is the other car that i detailed after the LP 670 SV !
As you will see from the following photos the amount of work that went into the Engine Bay which was dull and oxidized !
One whole day was spent just for the engine bay alone ! This was a back braking job !
I could have spent 4 days on this Ferrari but the owner allowed me 3 days, but in the end he admitted that i should have spent an extra day go figure !
So on with the detail .
Before
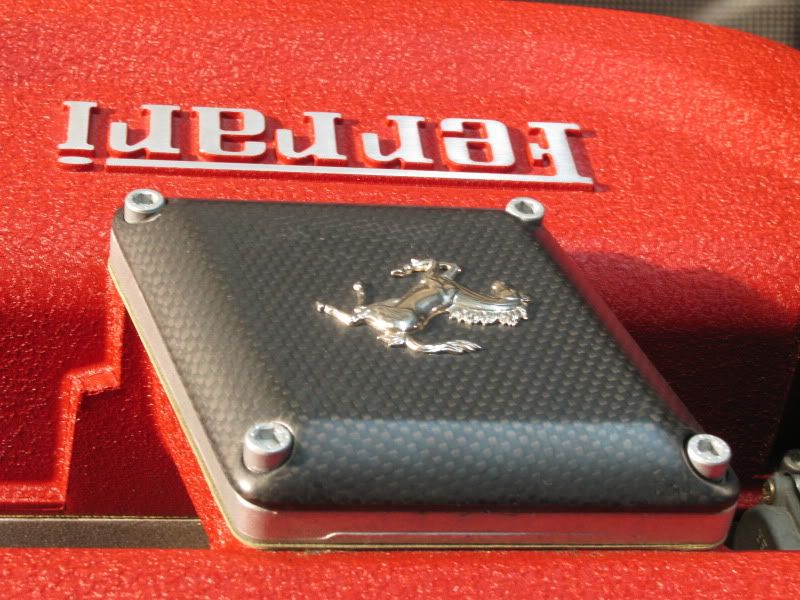
After

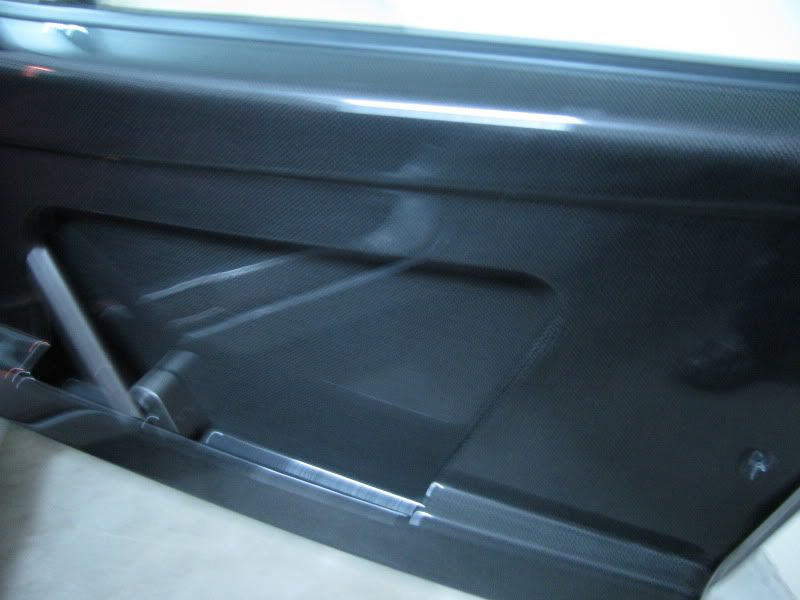
50/50 Carbon Fiber Engine Bay
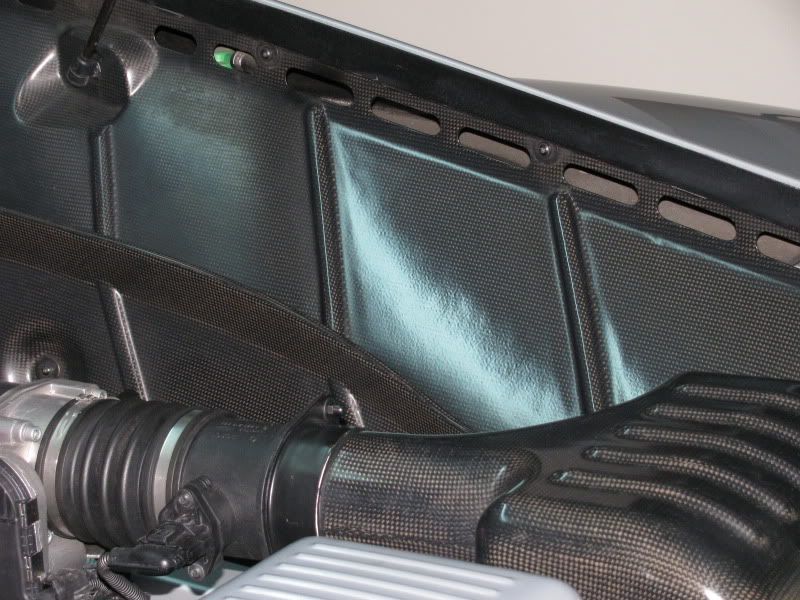
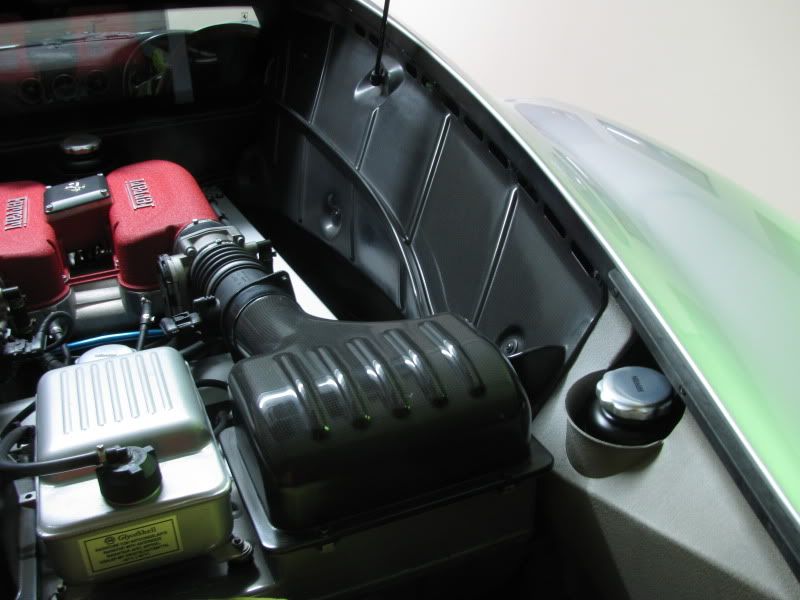
Notice how dull and oxidized the Left hand side of the Carbon Fibre is and the right hand side looking glossy again.
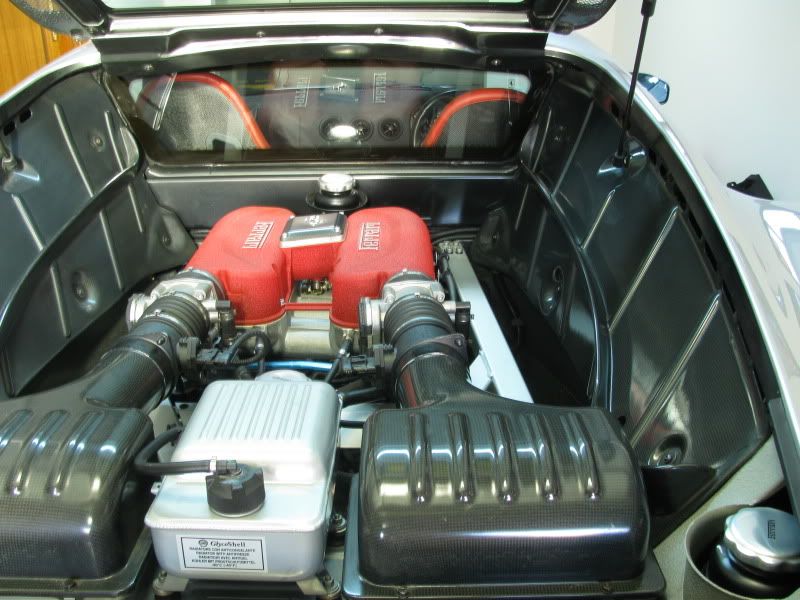
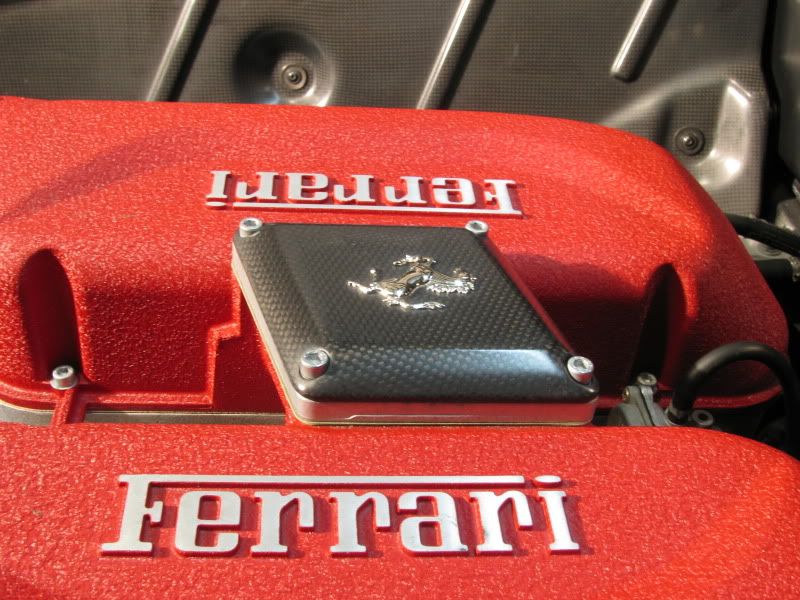
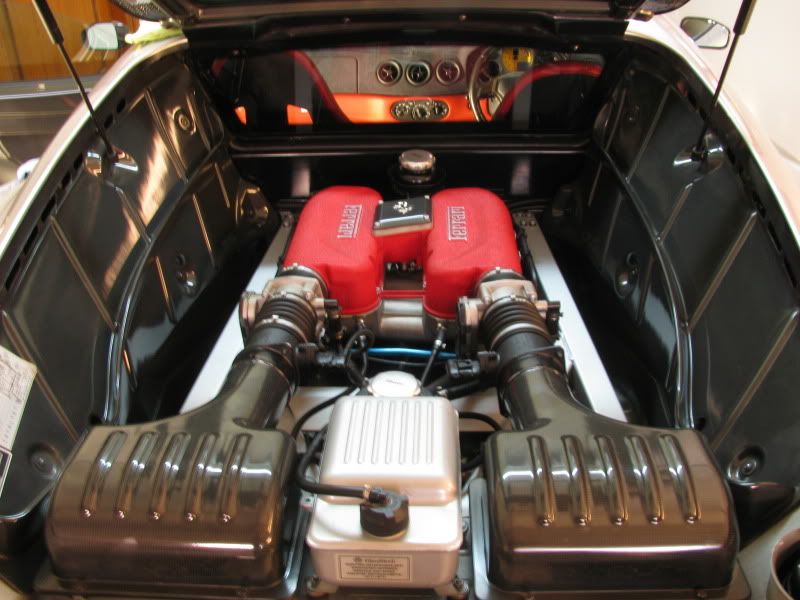
Engine Bay all done nice and glossy again !
Metal Polish AutoGlym Metal Polish
LSP for engine bay AutoGlym High Definition Wax !
Client wanted me to try this Wax out on his Engine Bay .
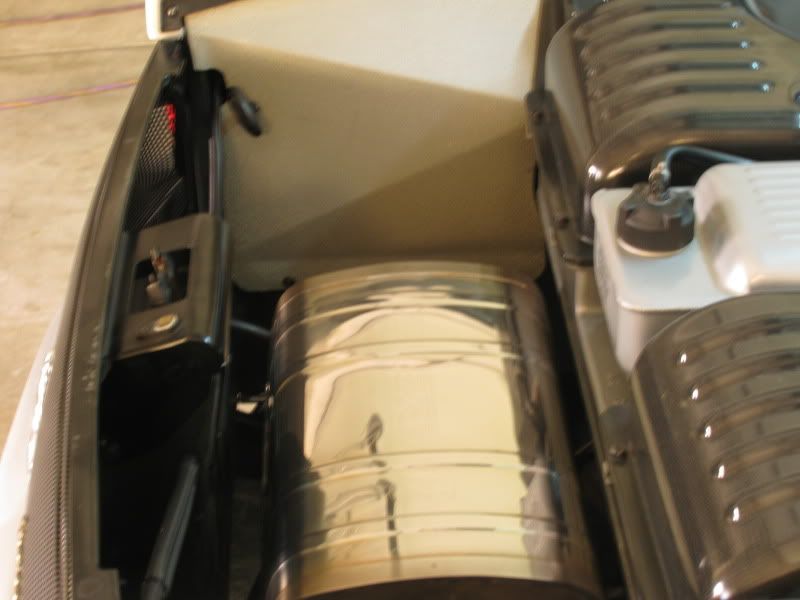
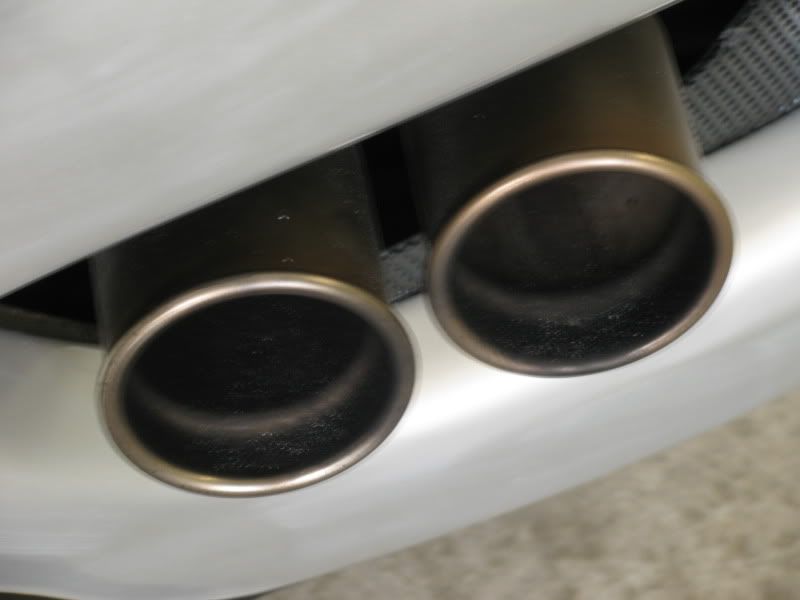
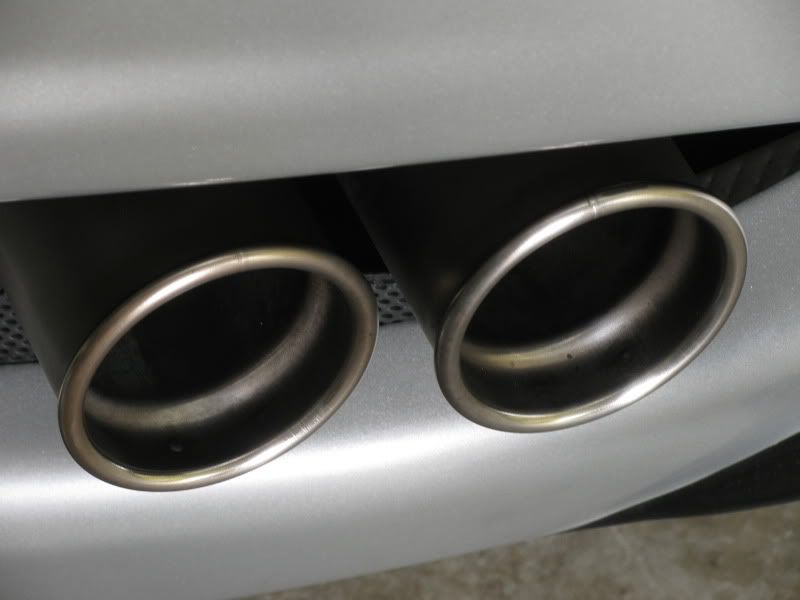
Tail Pipes cleaned with AutoGlym Metal Polish and steel wool 0000 .
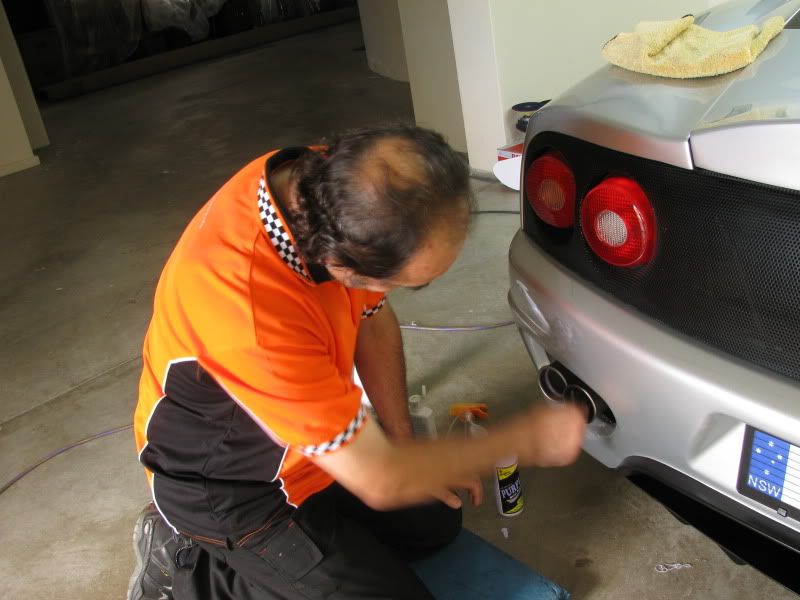
Before
After
I called it a day as my back was killing me leaning over the engine bay with my Flex DA and Mini Metabo RO.
Day two
Bright and early to get as much work done on the paint work as possible, i only had one day left so i was timing myself !
All areas of Carbon Fibre were polished using a small Random Orbital Polisher since an attempt at hand polishing was a complete waste of time !
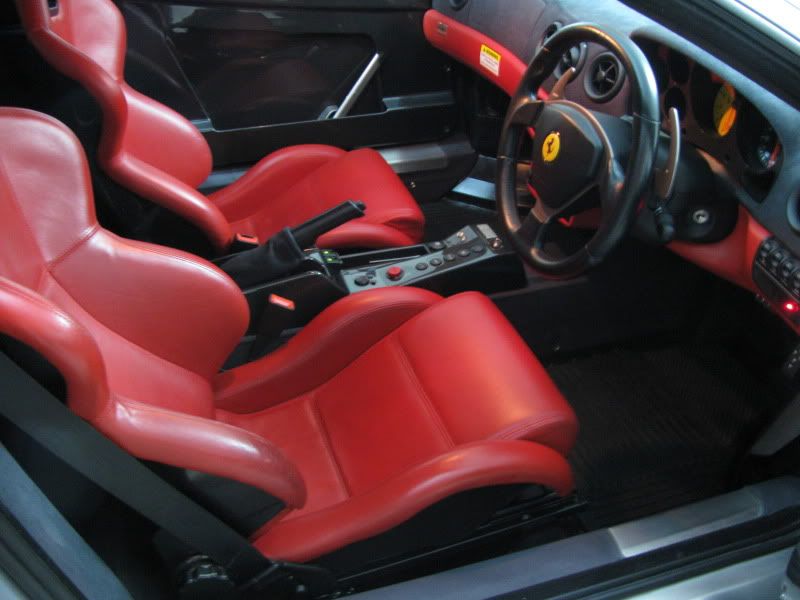
The only exception were very small areas on the center console which required hand polishing and later sealed with AutoGlym High Definition Wax which was also used in the engine bay !
Pinnacle and AutoGlym were used for the Leather
and you know how times flies when you are having fun !
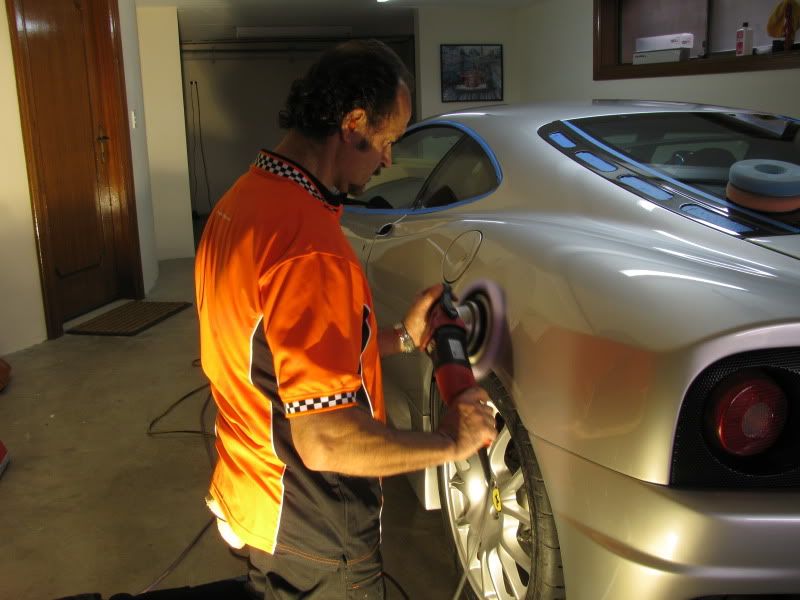
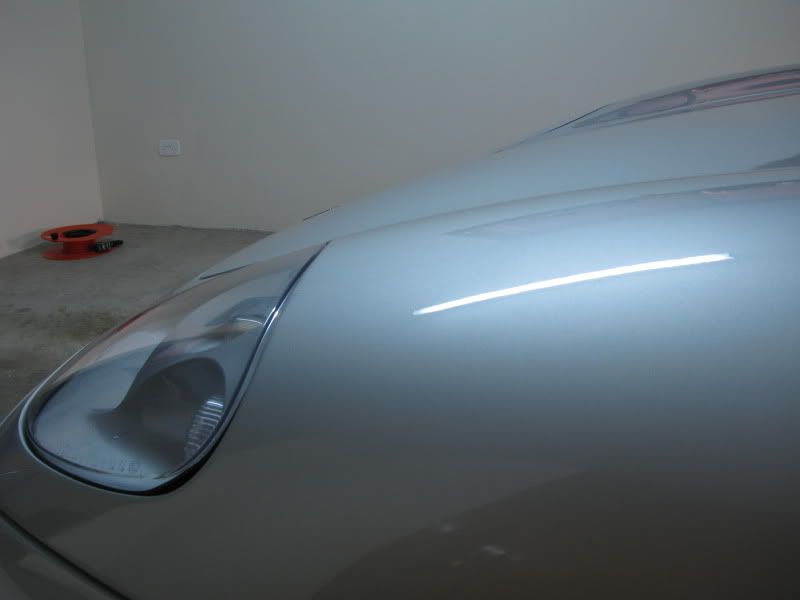
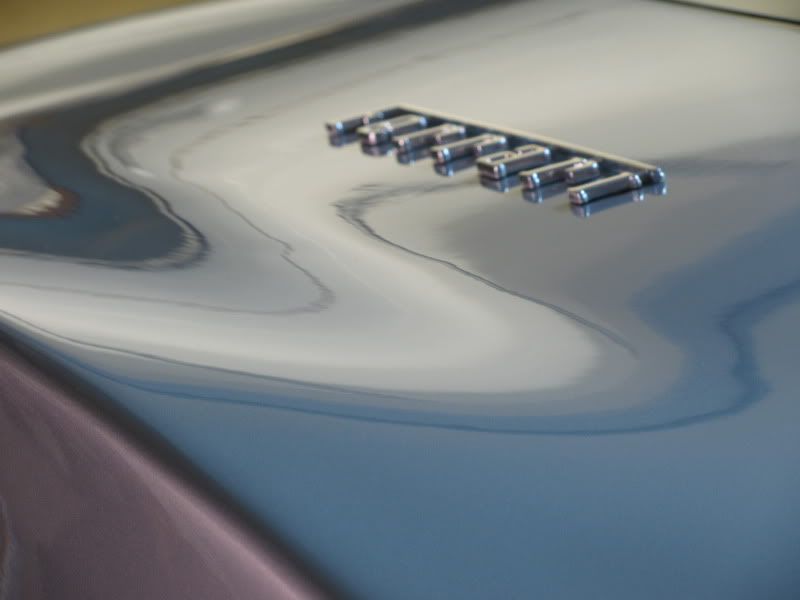
Paint Correction in progress
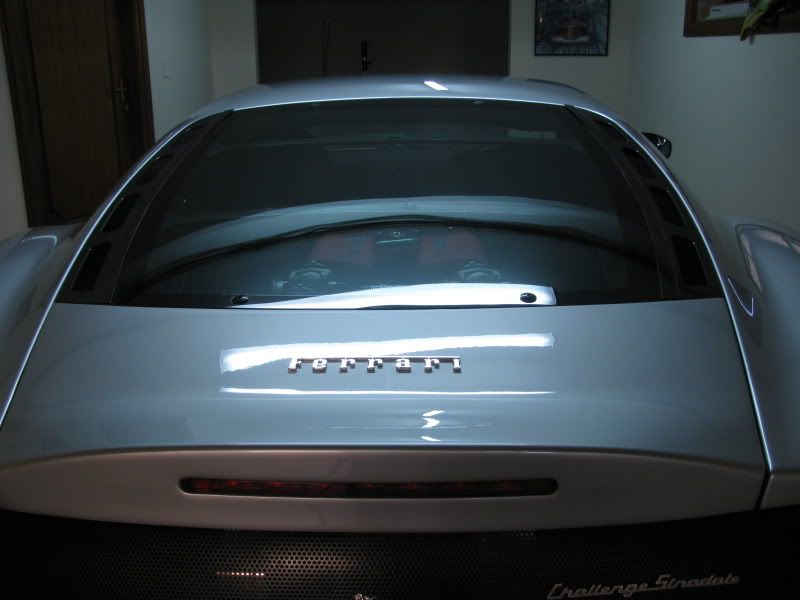
Mothers Professional line of Polishes were used to correct this Ferrari Challenge Stradale with my Festool Rap 180 Rotary and my Flex XC 3401 VRG DA polisher with a combination of Lake Country's Foam Wool Pad and CG Hex-Logic 6.5" pads from Orange , Green , and White to refine the paintwork !
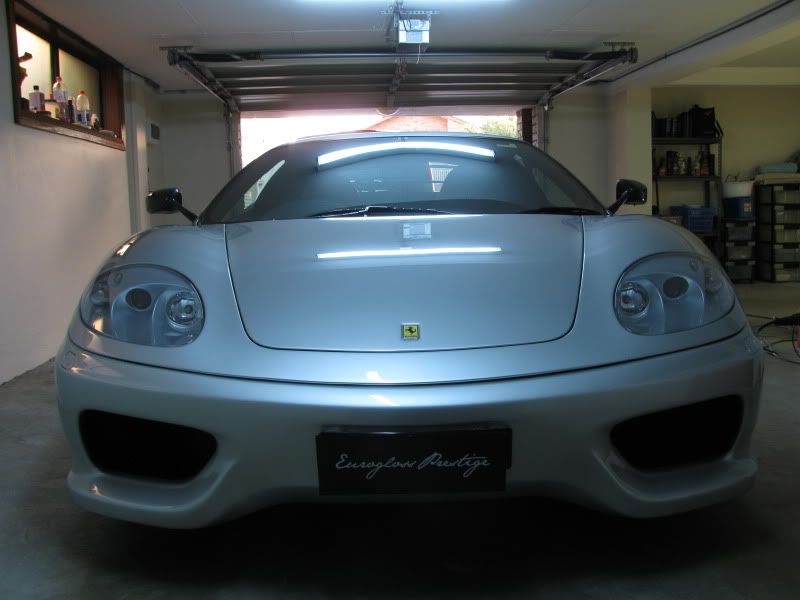
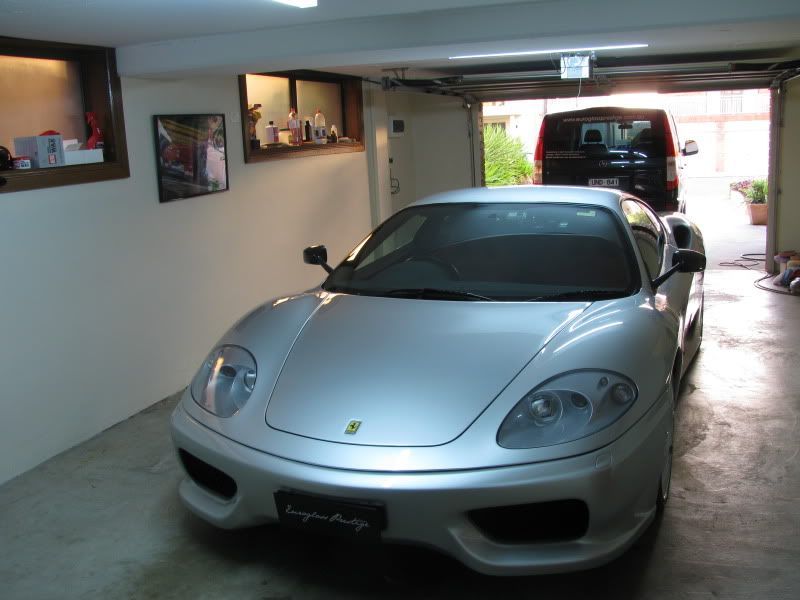
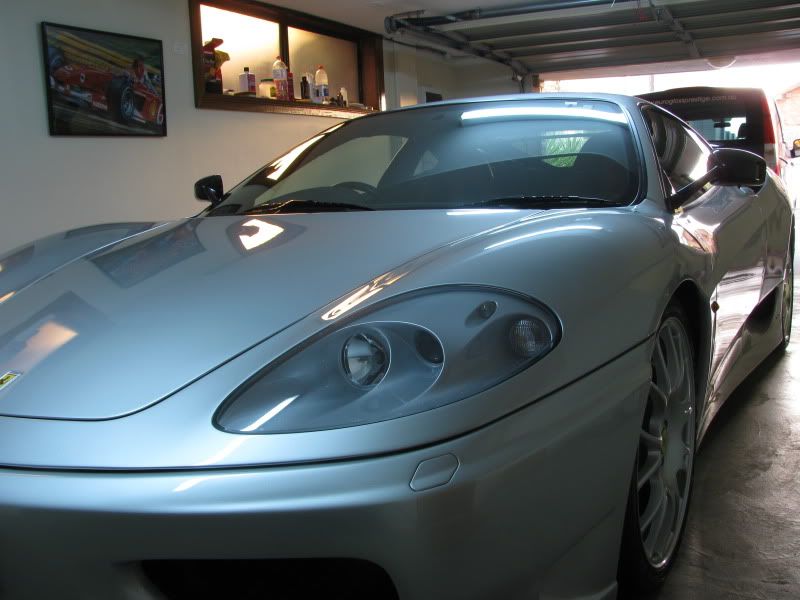
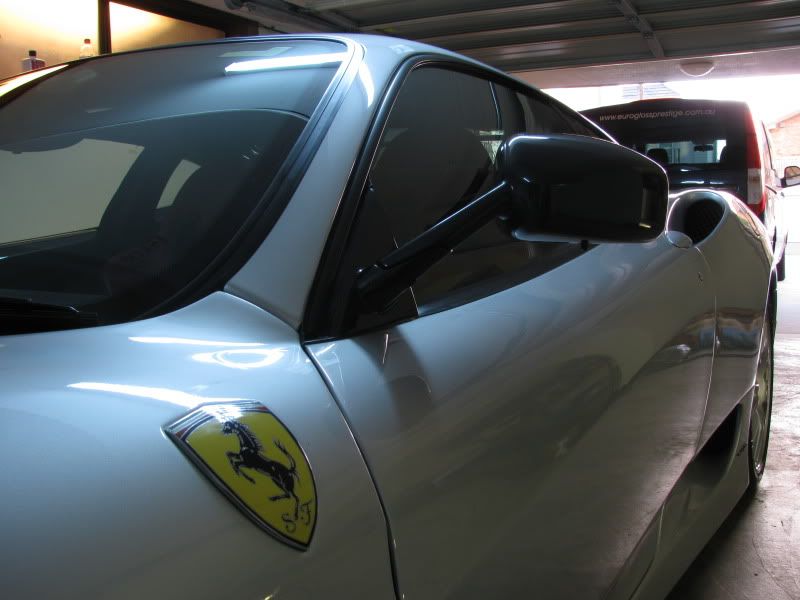
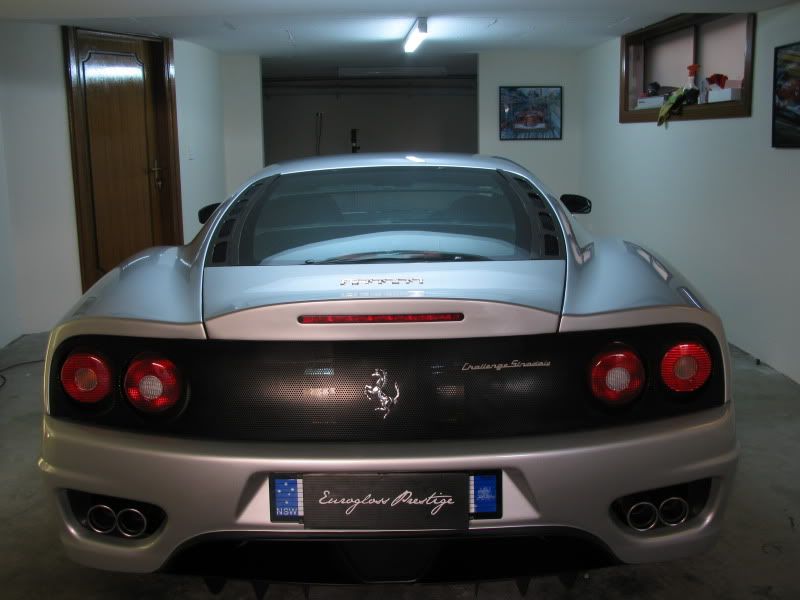
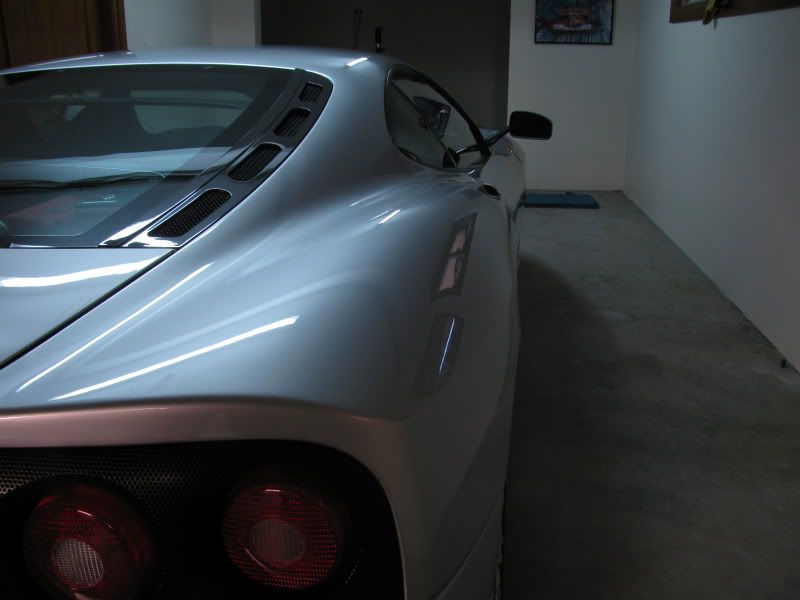
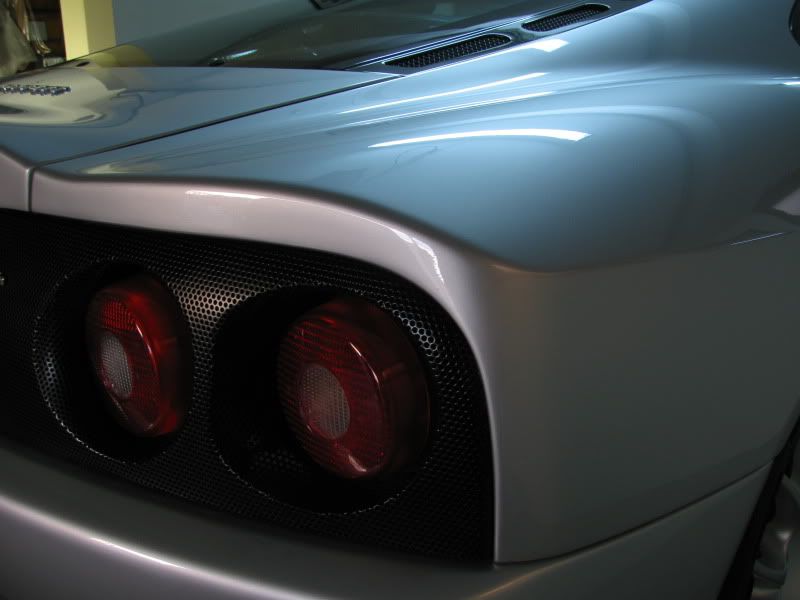
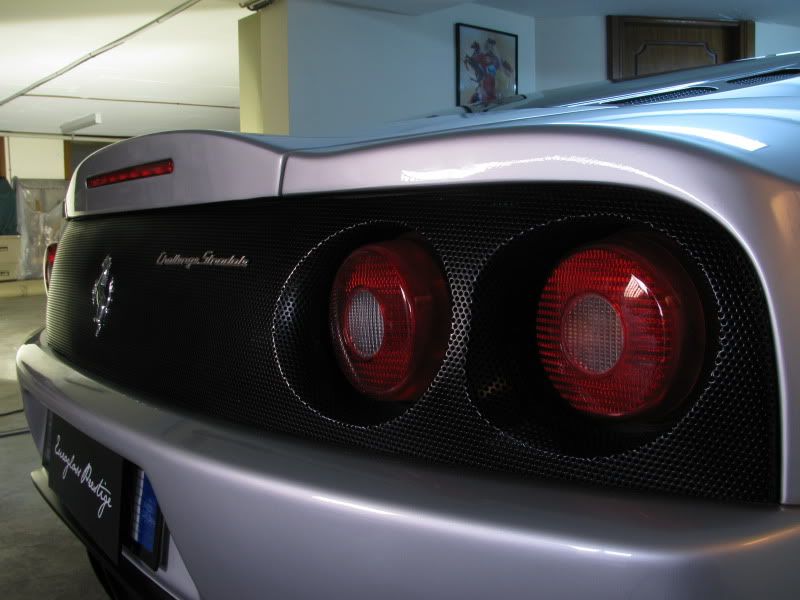
With the paint correction all done it was time to apply three coats of Swissvax Crystal Rock over two days .
Here are the final results please enjoy !

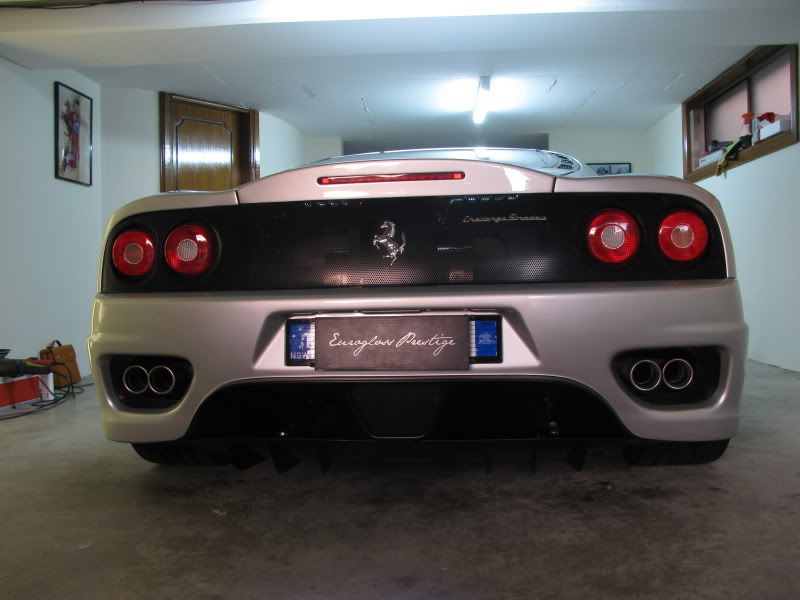

Thanks to all for looking i hope you enjoyed the write up as much as i enjoyed working on these supercars !
Regards
Mario
Coming up next !
Lamborghini and Ferrari Sydney Detailing Trip part 4
Lamborghini and Ferrari Sydney Detailing Trip part 3
Well guys , this is the other car that i detailed after the LP 670 SV !
As you will see from the following photos the amount of work that went into the Engine Bay which was dull and oxidized !
One whole day was spent just for the engine bay alone ! This was a back braking job !
I could have spent 4 days on this Ferrari but the owner allowed me 3 days, but in the end he admitted that i should have spent an extra day go figure !
So on with the detail .
Before
After
50/50 Carbon Fiber Engine Bay
Notice how dull and oxidized the Left hand side of the Carbon Fibre is and the right hand side looking glossy again.
Engine Bay all done nice and glossy again !
Metal Polish AutoGlym Metal Polish
LSP for engine bay AutoGlym High Definition Wax !
Client wanted me to try this Wax out on his Engine Bay .
Tail Pipes cleaned with AutoGlym Metal Polish and steel wool 0000 .
Before
After
I called it a day as my back was killing me leaning over the engine bay with my Flex DA and Mini Metabo RO.
Day two
Bright and early to get as much work done on the paint work as possible, i only had one day left so i was timing myself !
All areas of Carbon Fibre were polished using a small Random Orbital Polisher since an attempt at hand polishing was a complete waste of time !
The only exception were very small areas on the center console which required hand polishing and later sealed with AutoGlym High Definition Wax which was also used in the engine bay !
Pinnacle and AutoGlym were used for the Leather
and you know how times flies when you are having fun !
Paint Correction in progress
Mothers Professional line of Polishes were used to correct this Ferrari Challenge Stradale with my Festool Rap 180 Rotary and my Flex XC 3401 VRG DA polisher with a combination of Lake Country's Foam Wool Pad and CG Hex-Logic 6.5" pads from Orange , Green , and White to refine the paintwork !
With the paint correction all done it was time to apply three coats of Swissvax Crystal Rock over two days .
Here are the final results please enjoy !
Thanks to all for looking i hope you enjoyed the write up as much as i enjoyed working on these supercars !
Regards
Mario
Coming up next !
Lamborghini and Ferrari Sydney Detailing Trip part 4
")