Can you tell us your process louie_blu?
My Process for Headlight Restoration:
I clean the headlight/s with Soap and Water first then Dry with a terry cloth towel or dry soft rag, Please try to use a soft soap or a soap made for vehicle washing other hard soaps have abrasives and chemicals not meant for cars and you will get that on the paint as you clean the headlights.
I then tape around the Headlight just in case. you don't want to scratch the area around the headlight last thing you want is to be doing touch up work on Paint when not needed, so always tape around the Headlights
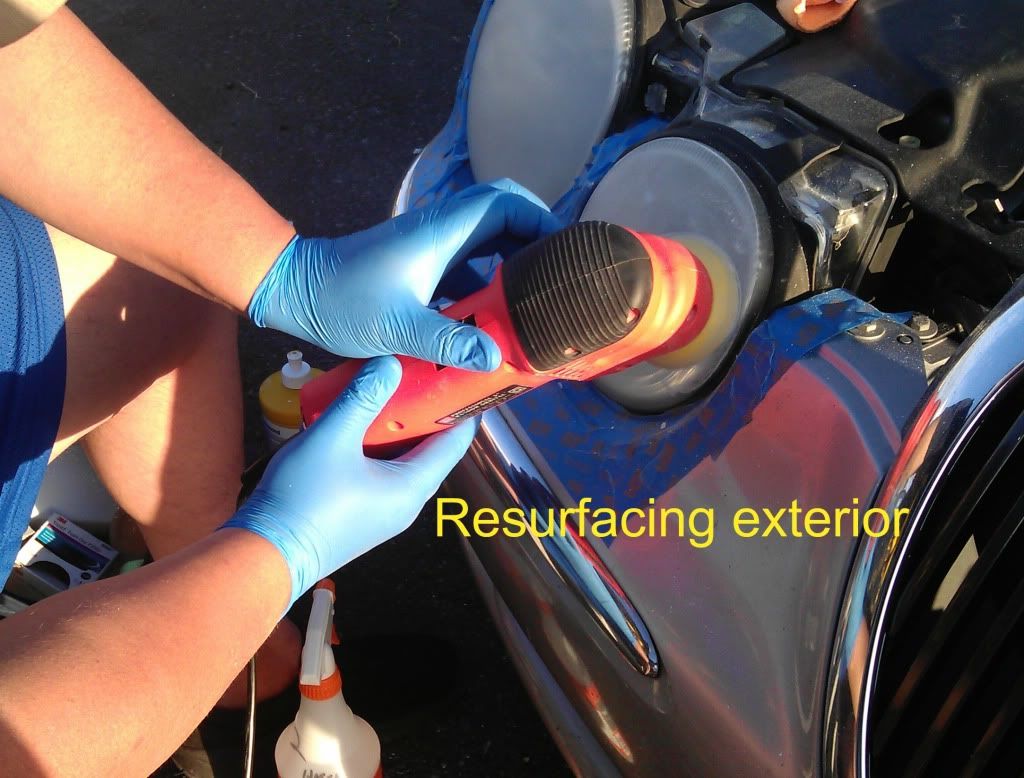
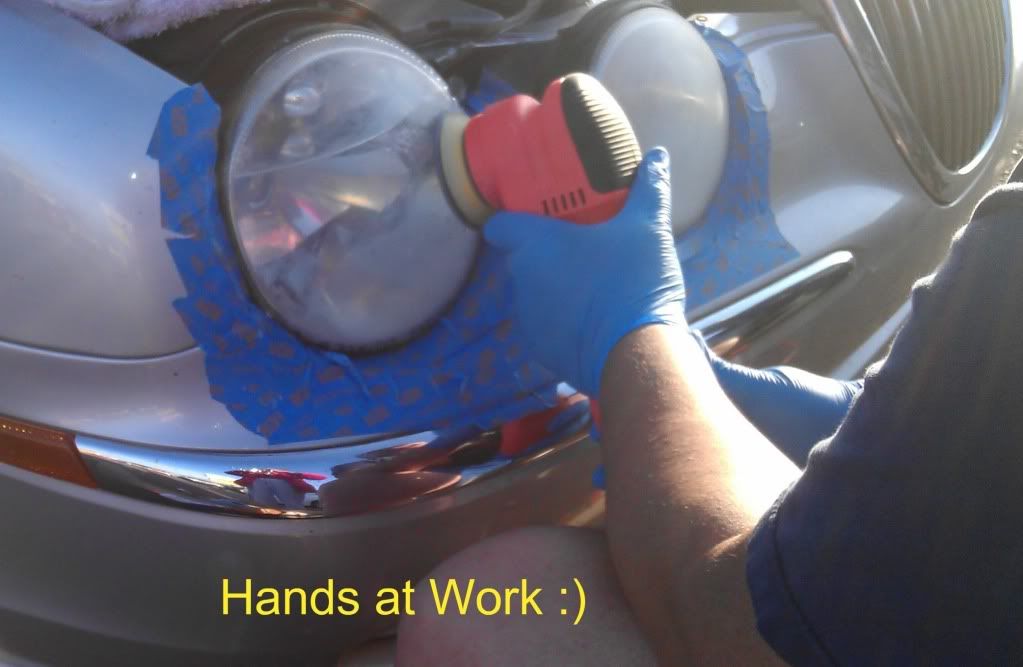
I usually start off sanding with a 500 grit 3 inch sanding disc using the 3 inch Griot's Orbital Polisher, you can use a Drill with a hook & loop backing plate, but in my experience it is so much better then the drill, just like using a rotary buffer and burning the clear and paint off a vehicle, you can burn the plastic on a headlight with a drill and its harder to fix or correct.
Some headlights require heavier grit like 320 and I have only used 220 grit once before but usually never under 320 grit, ALSO there will be headlights where you can start with 800, 1000, 1500 grit, these headlights have very minimal oxidation and do not require heaver grit sandpaper.
What ever grit you start with you need to follow up with a lighter grit to remove heavier sanding marks caused by the first initial sanding.
For Example:
Starting with 500 grit
500 then
800 then
1000 then
1500 then
2000 or 2500 then
3000 finishing
With Lighter Oxidation
1000 then
1500 then
2000 then
2500 or even 3000
Now for Dealership cars this is what I use, they are usually in pretty bad shape when I get them so considering the time it takes and what they pay per vehicle its really about doing the best you can and getting them done quick, also I have perfected this method, so if your starting out get practice on your vehicle and your family and friends I believe we all might use the same materials but the craft is different within everyone, that's how I started.
Dealership Cars
320 then
500 then
800 then
3000 Trizact 3M Disc
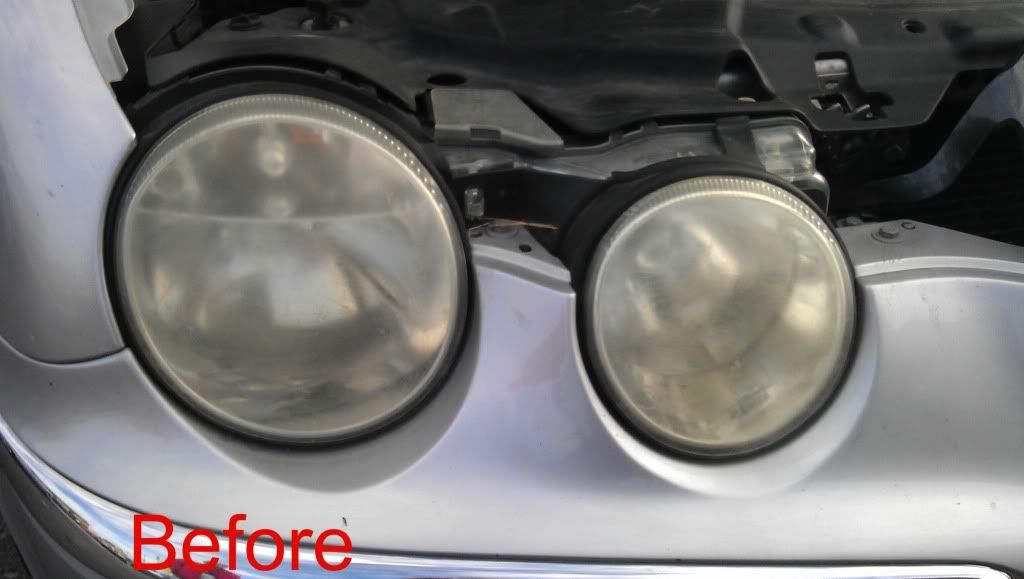
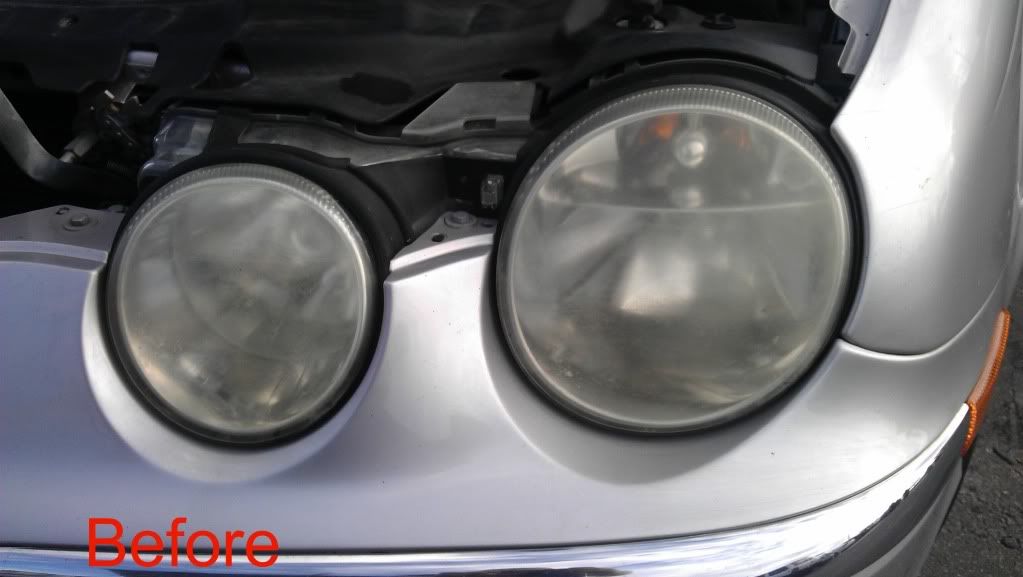
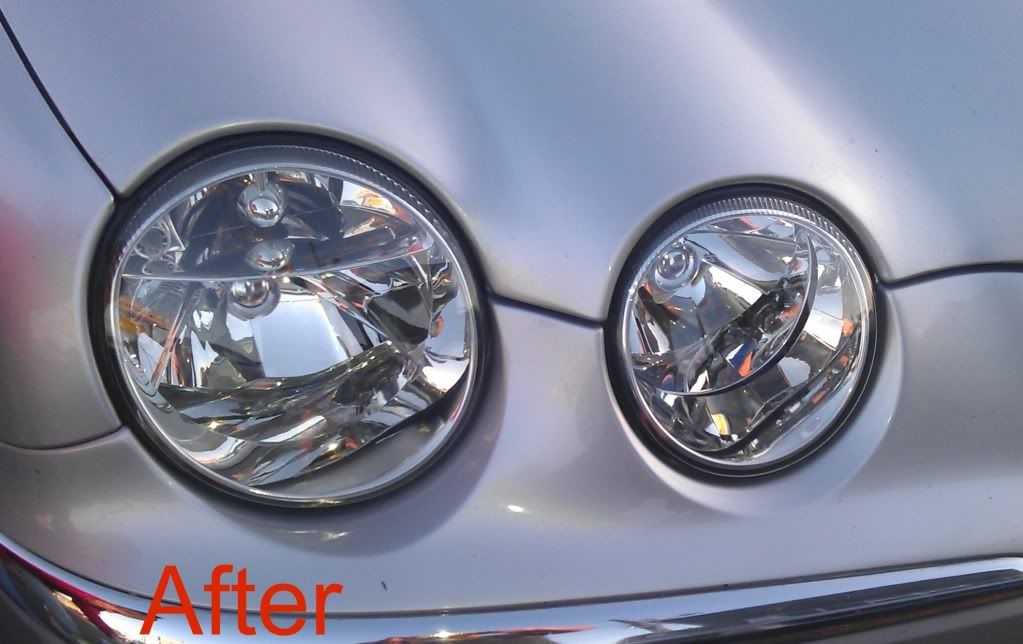
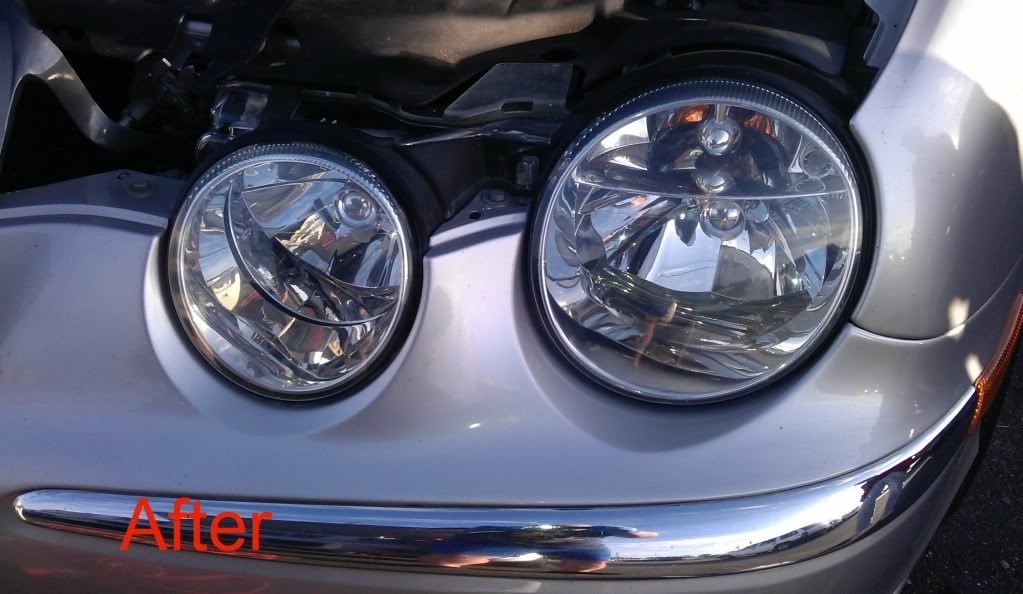
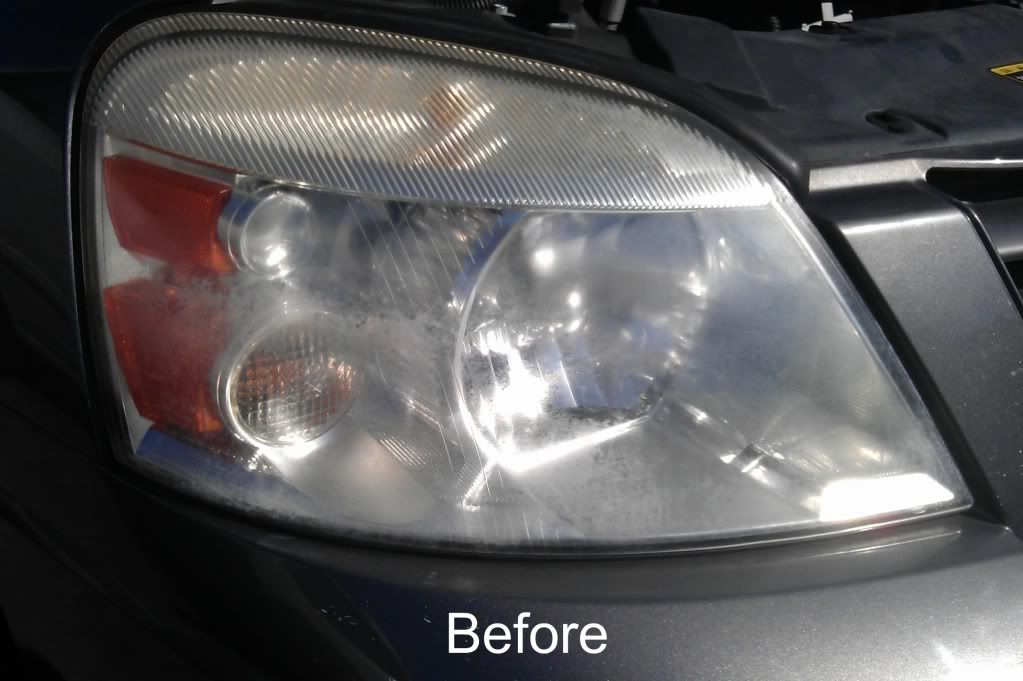
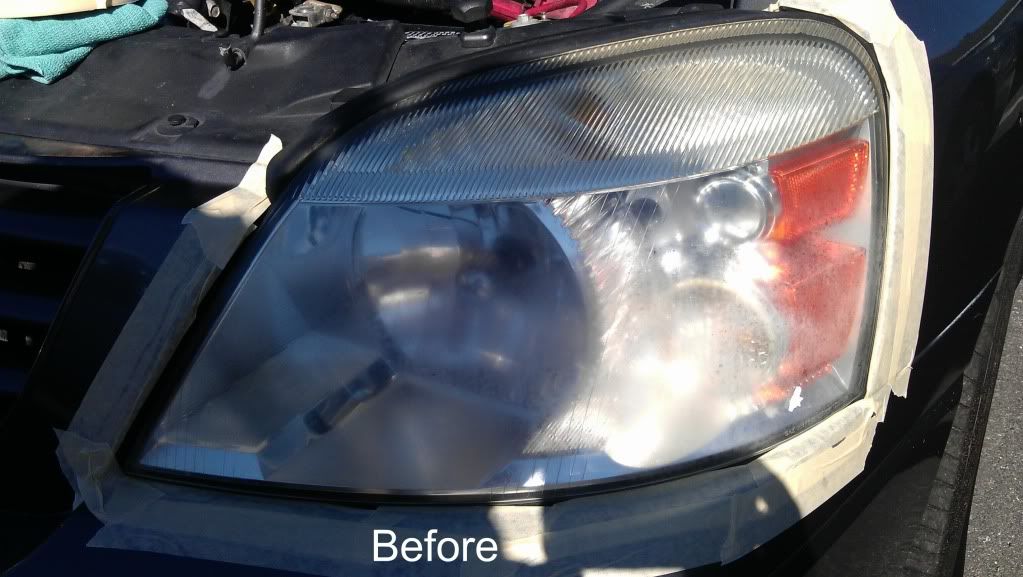
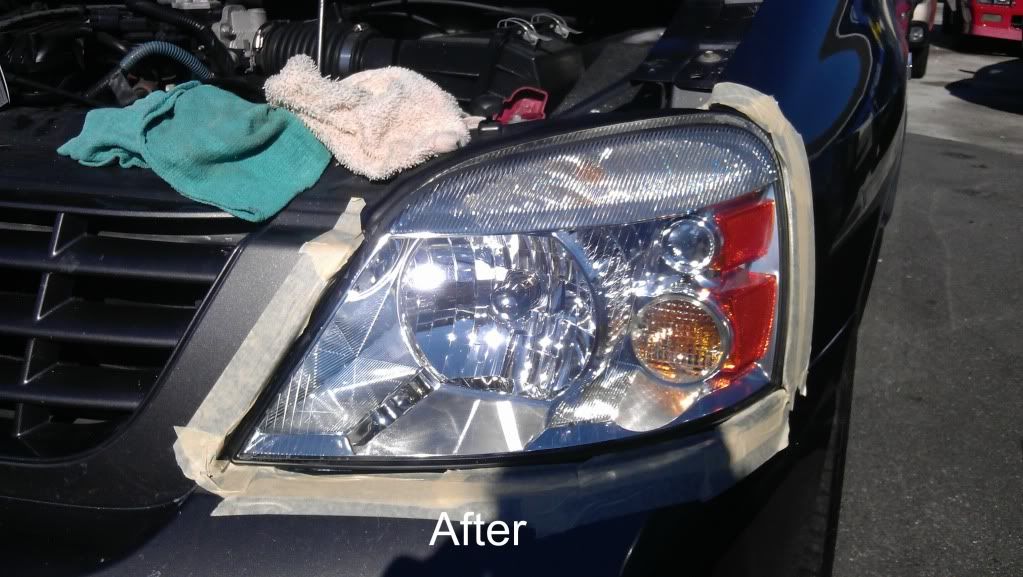
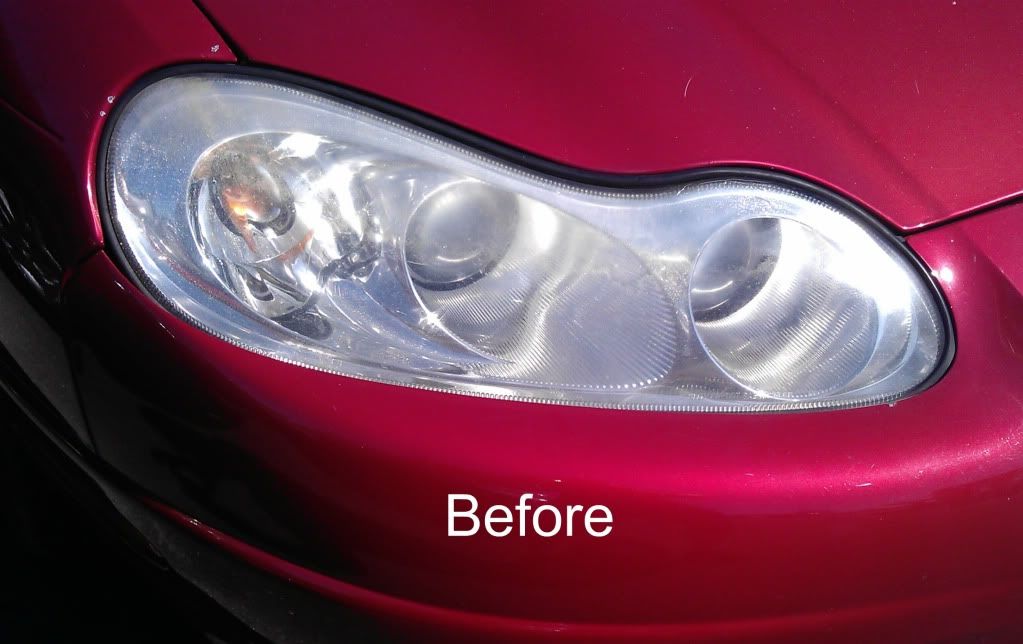
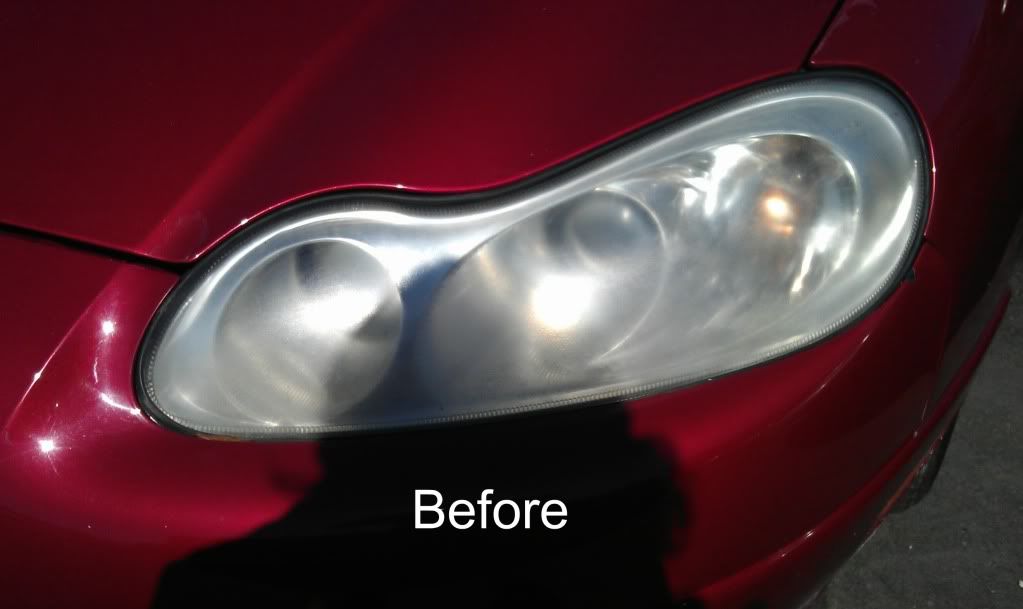
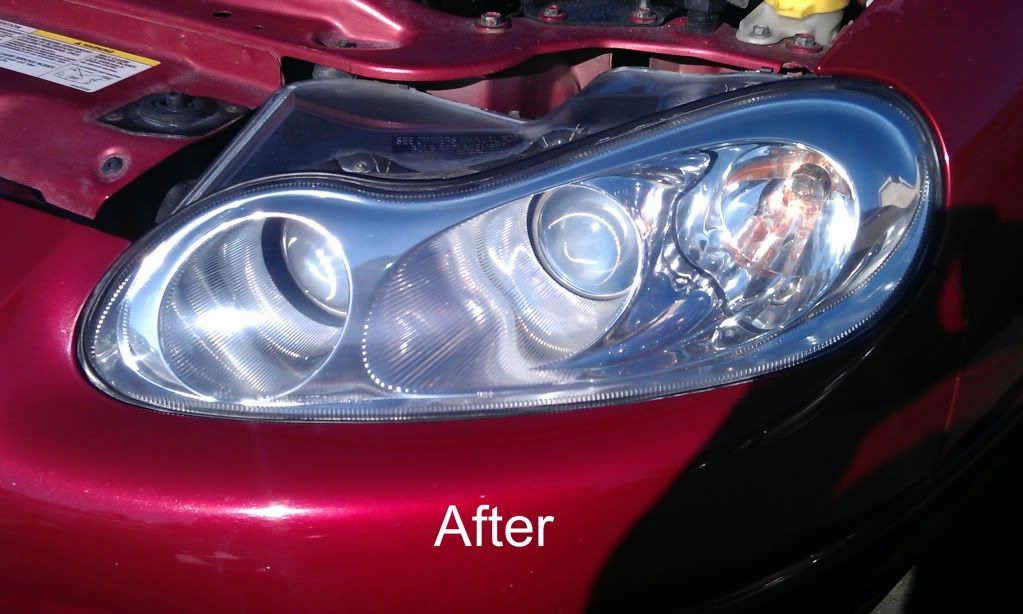
THIS METHOD WORKS REALLY WELL as you can see in some of my before and after pics in past forum posts
http://www.autogeekonline.net/forum/show-n-shine/43615-some-headlights-i-ve-done-past-week.html
I like to wipe the Headlight after each sanding to see how the sanding scratches are and you also want to have a small wet towel or rag to clean the sanding disc as you sand it will build up on the disc and prevent you from sanding any further make sure to blow off or clean the disc I would say after 1 to 2 passes on the Headlight
when done sanding the headlight/s I use Mineral Spirits to prep the light for the Spar Urethane sealant after the light is dry then I apply the Spar Urethane Mix with a Blue Scott's Shop Towel
here is a link on on the Spar Urethane Method which has really worked wonders for me Posted by HotRod and I thank him for it
") http://www.autogeekonline.net/forum/show-n-shine/19021-headlight-restoration-new-uv-sealant-idea.html
http://www.autogeekonline.net/forum/show-n-shine/19021-headlight-restoration-new-uv-sealant-idea.html
here are some links to some materials and tools I use
Griot's Garage Professional Random Orbital 3 Inch Polisher, Random Orbit Buffer, Dual Action Polisher, 3" buffer
Meguiars Unigrit Sanding Discs, paint sanding discs, sandpaper discs, abrasive discs
Meguiars Unigrit Finishing Discs, paint finishing discs, Meguiars finishing grit discs
You will need other things like Microfiber Towels, Spray Bottles, light Rubbing compound and 4 inch orange pads this is for just polishing blinker lights, side lights, tail lights and fog lights using the Griot's 3 Inch or Drill you can polish by hand as well but I like machine polishing better
There are a lot of videos on YouTube that show you different Methods some prefer to sand by hand and some by machine I of course like the machine for me its quicker and very effective and I have it down to a science as you learn you will develop your style, this is what works for me and I haven't had an unhappy customer yet Knock on Wood
Good Luck
Louie :dblthumb2: