Camaro SS OPT OC

Ron Atchison

New member
Joined
May 2, 2011
Messages
1,034
Reaction score
0
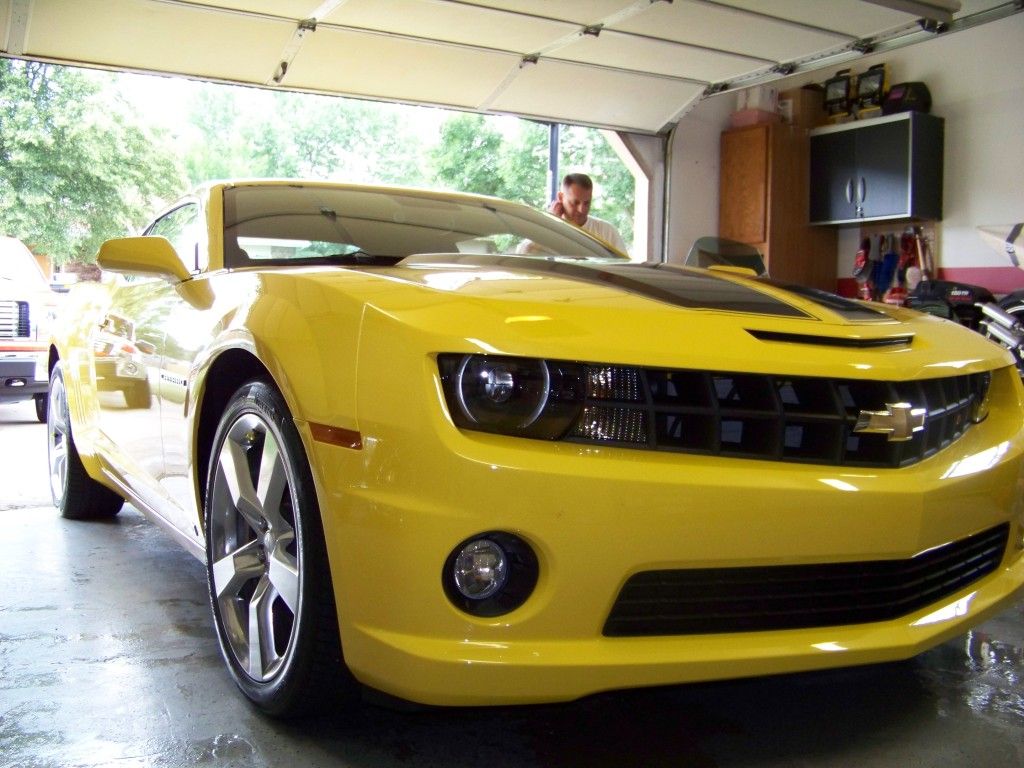
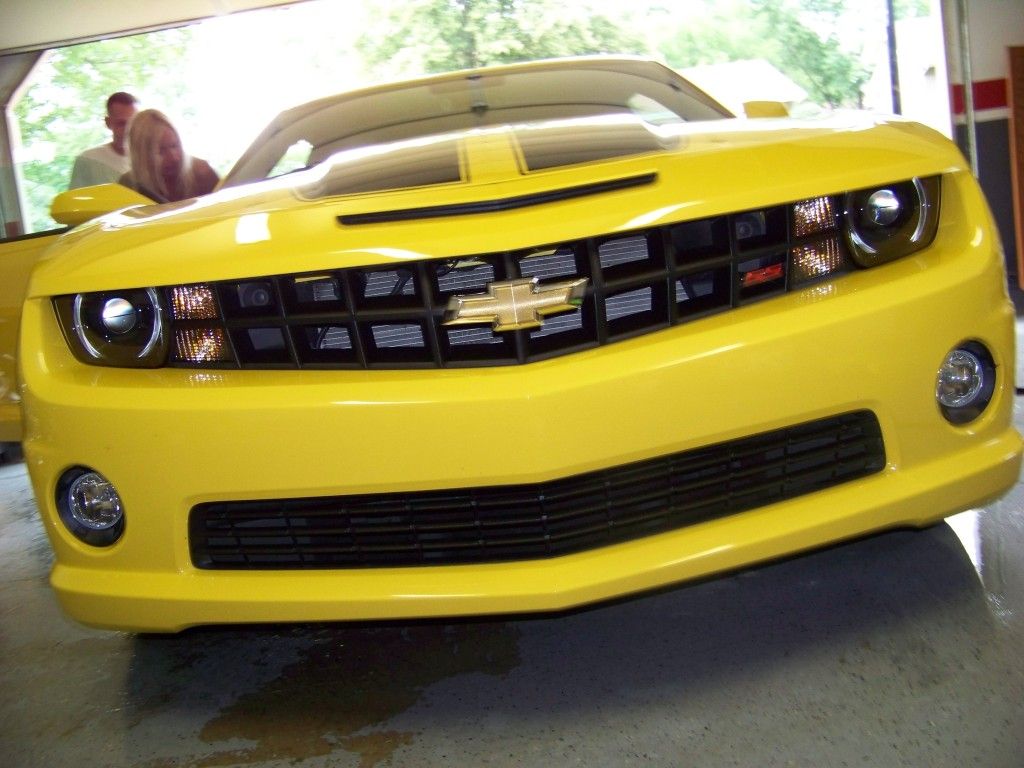
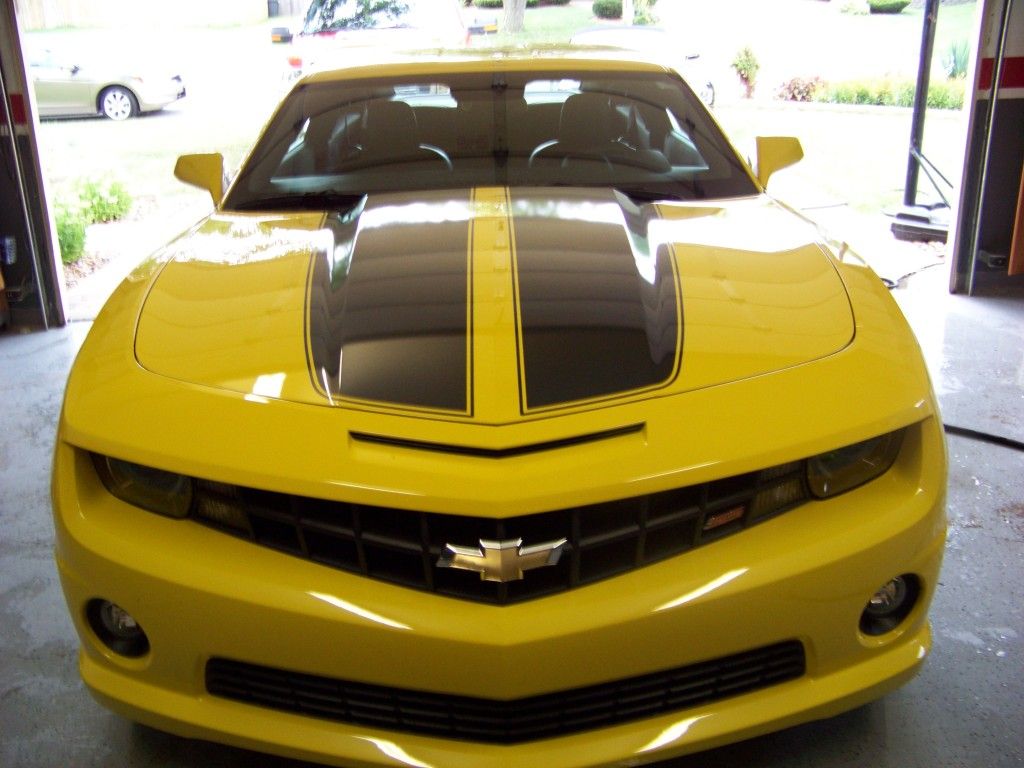
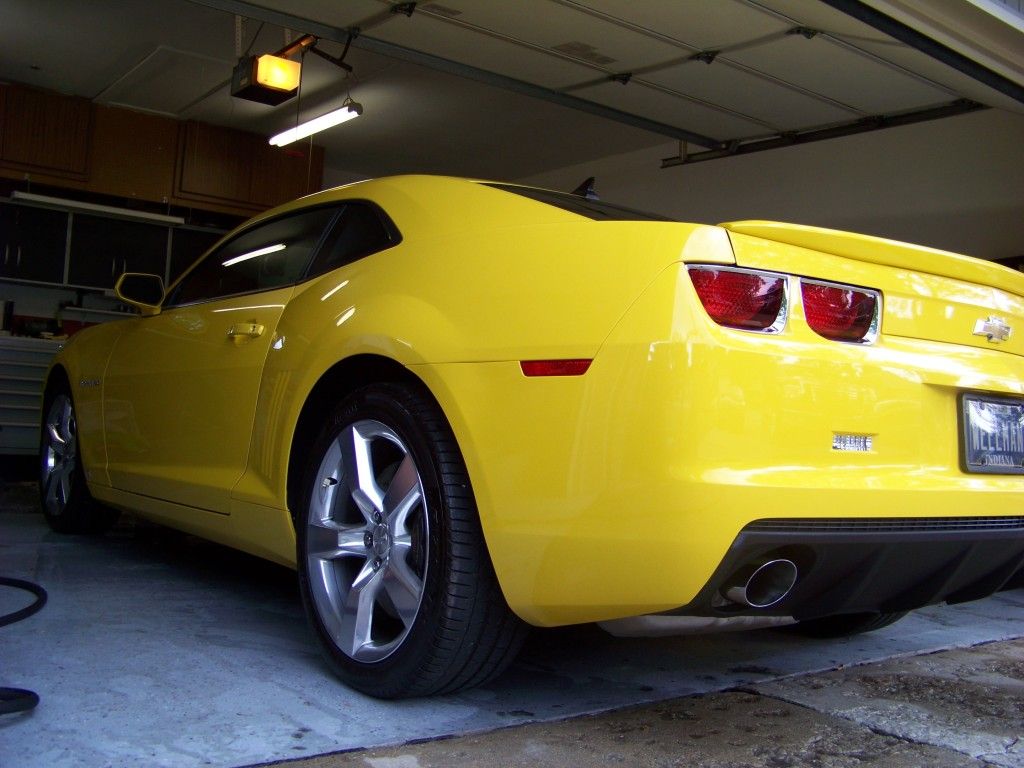
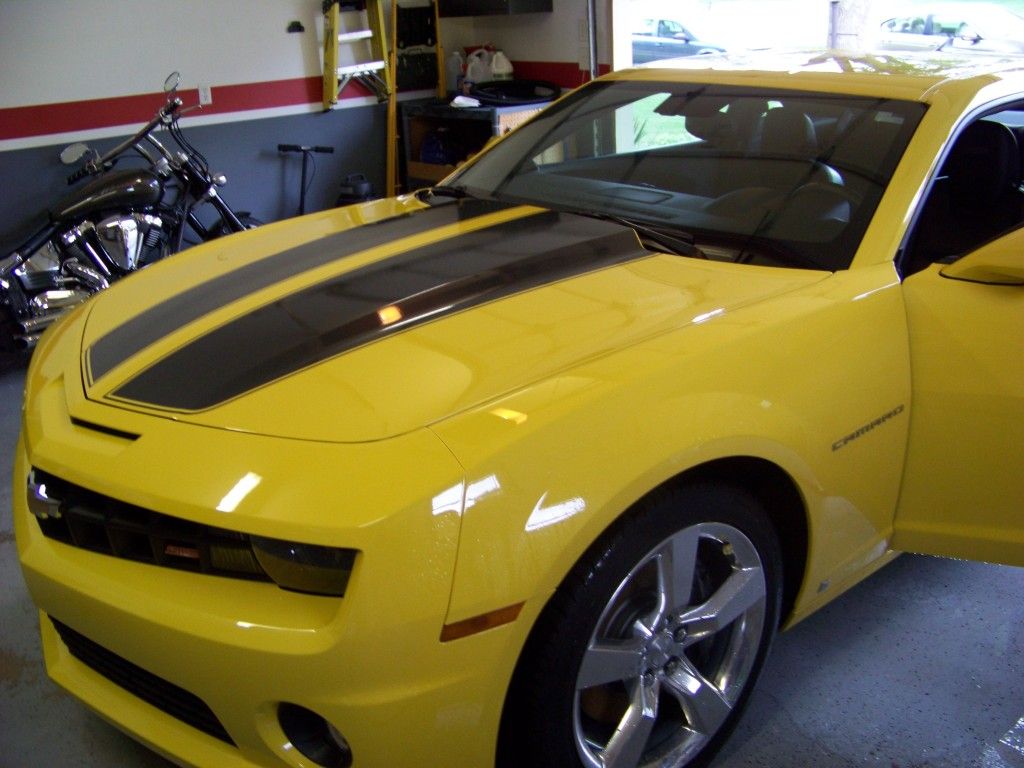
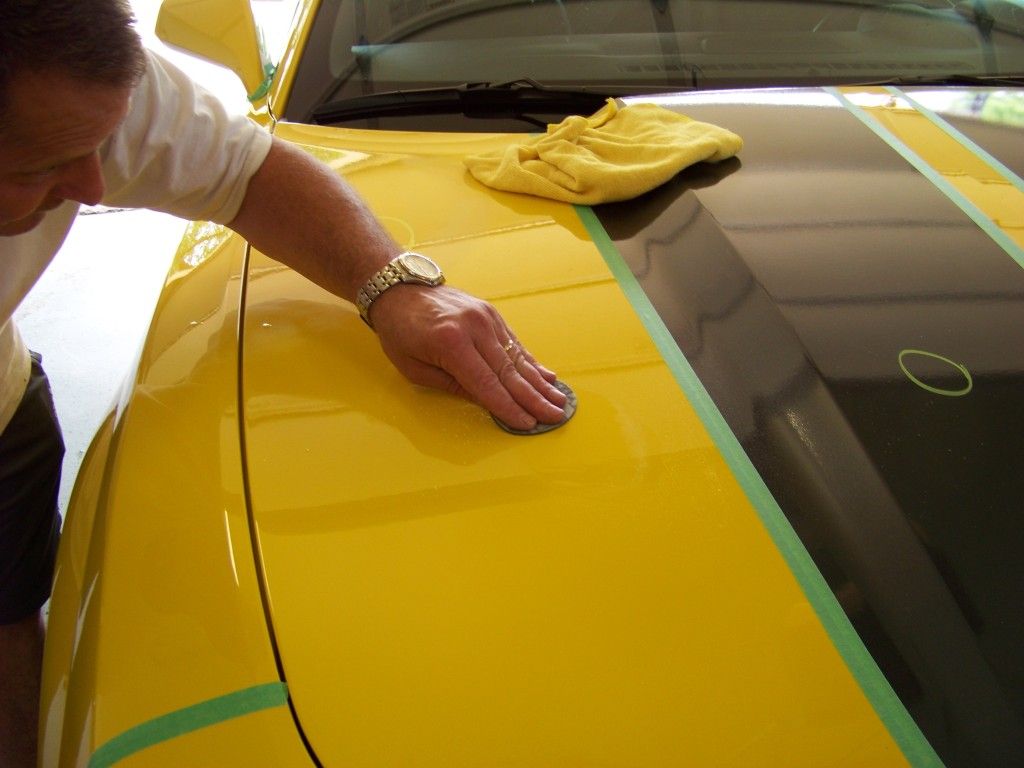
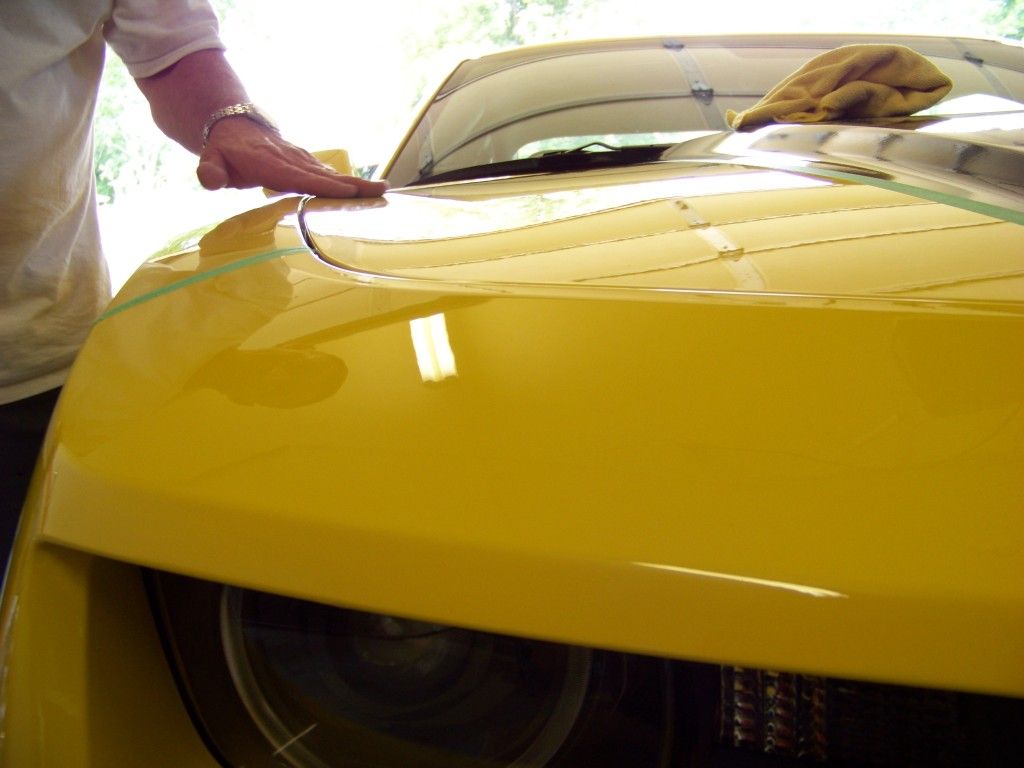
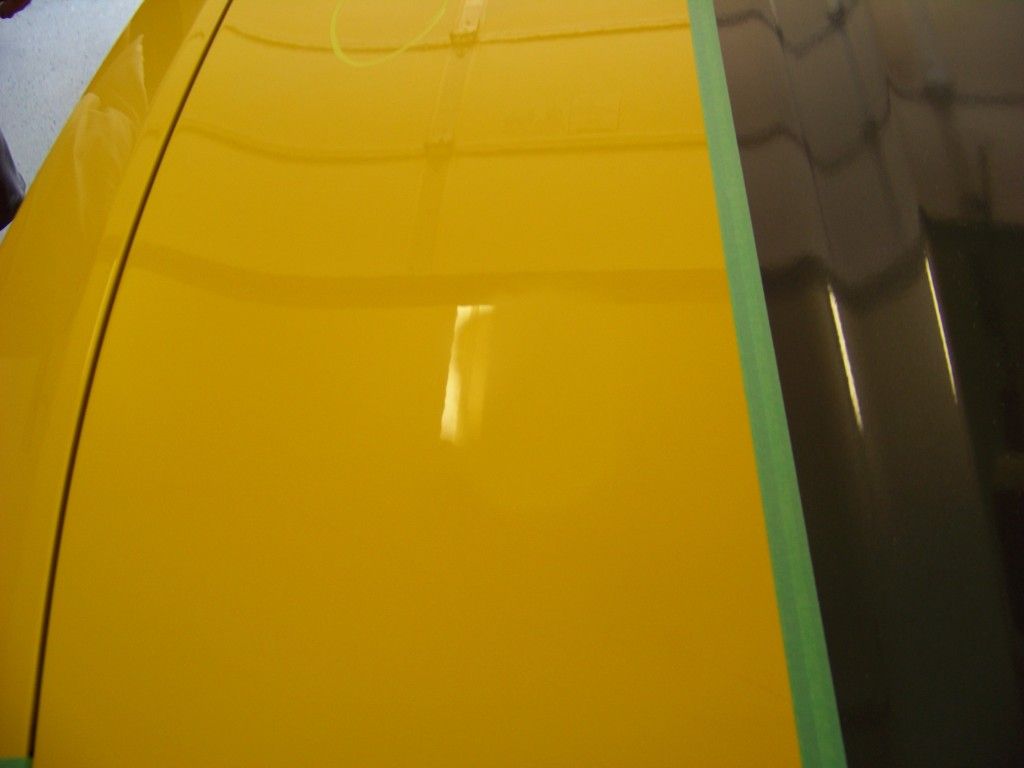
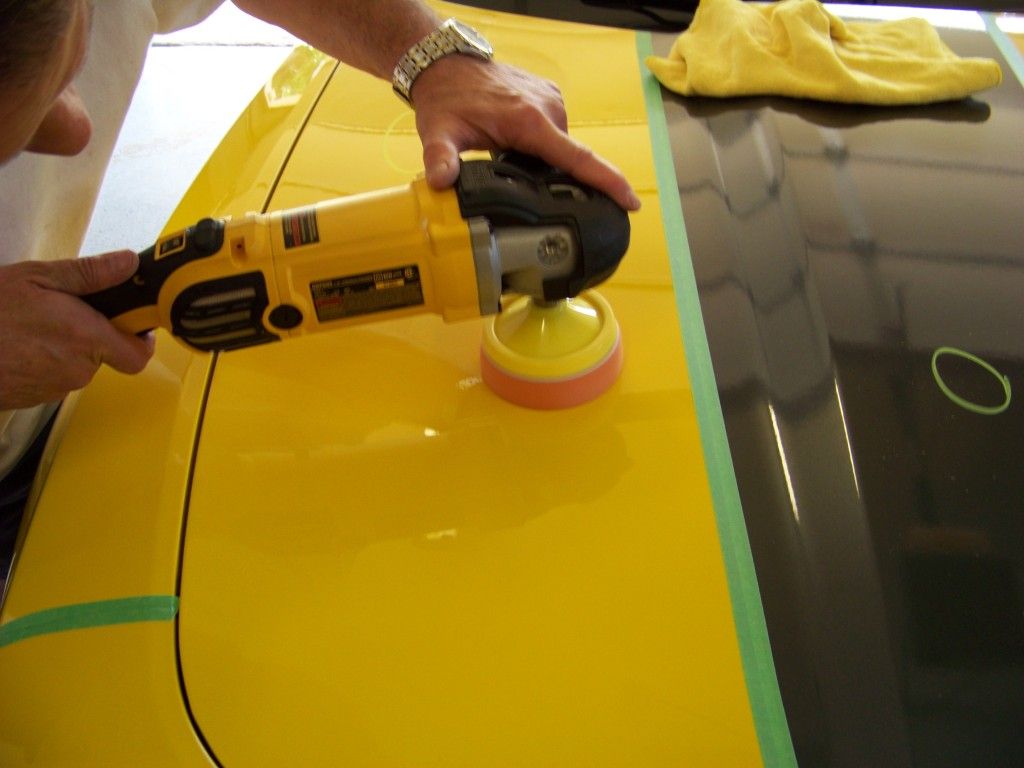
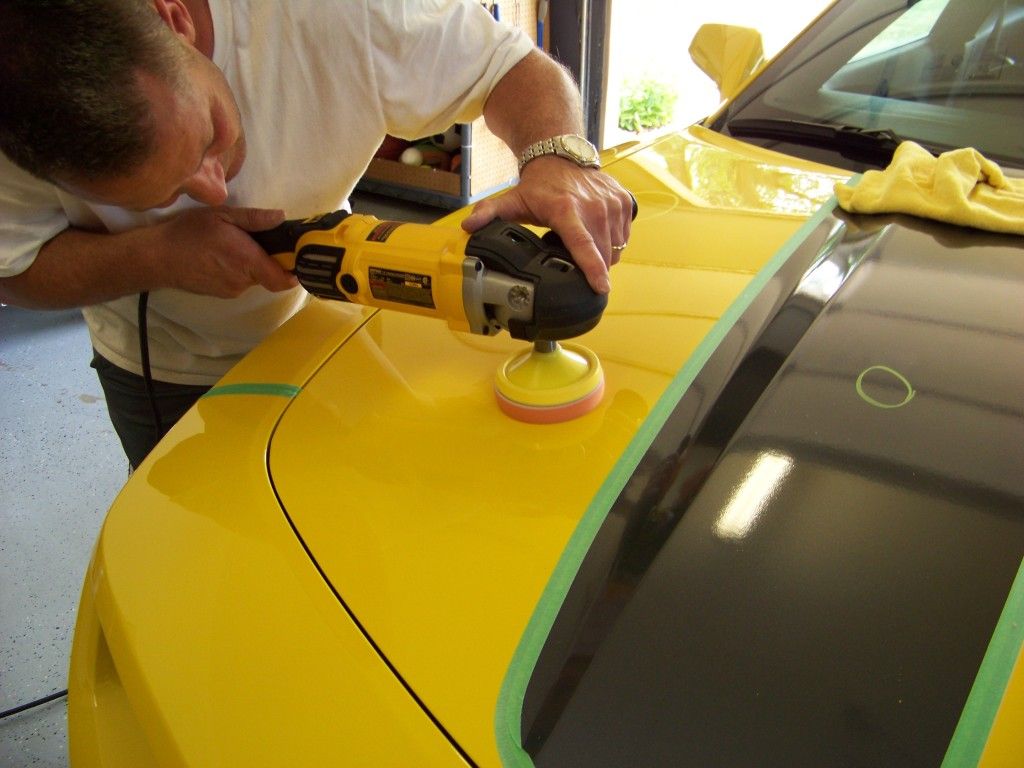
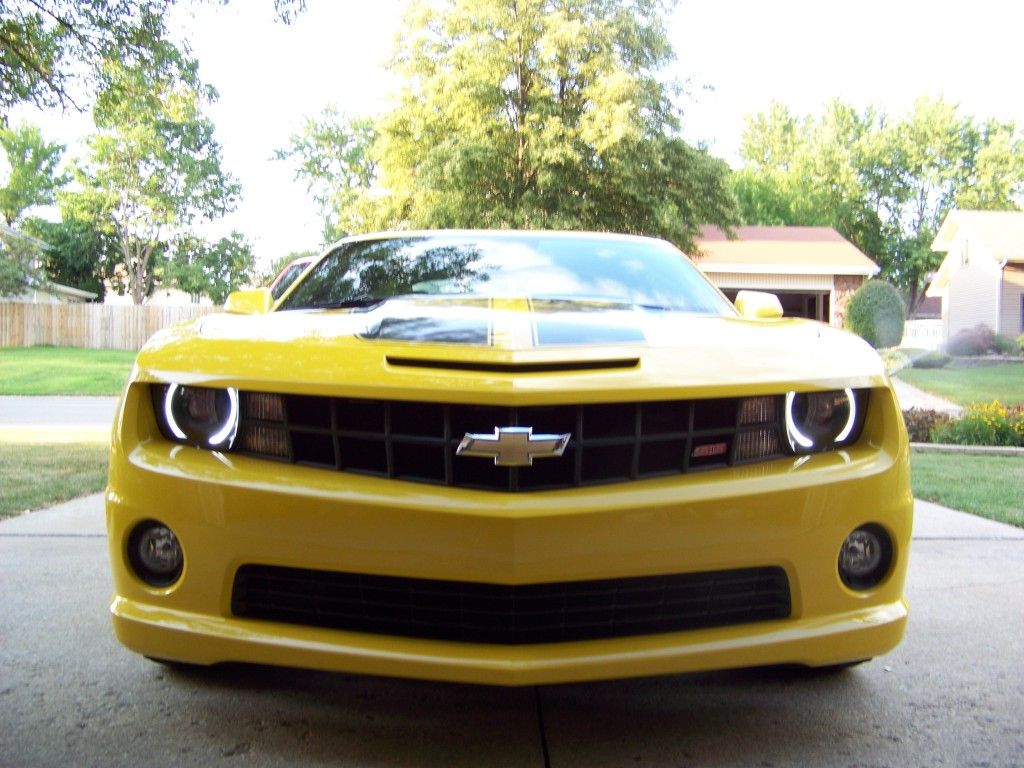
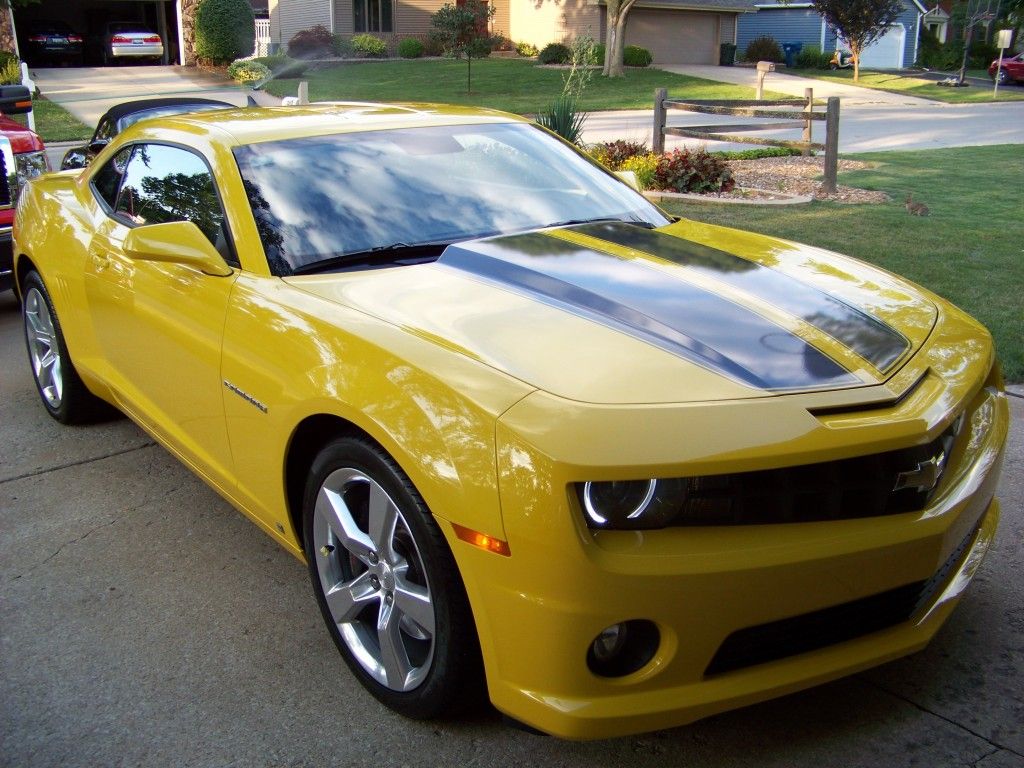
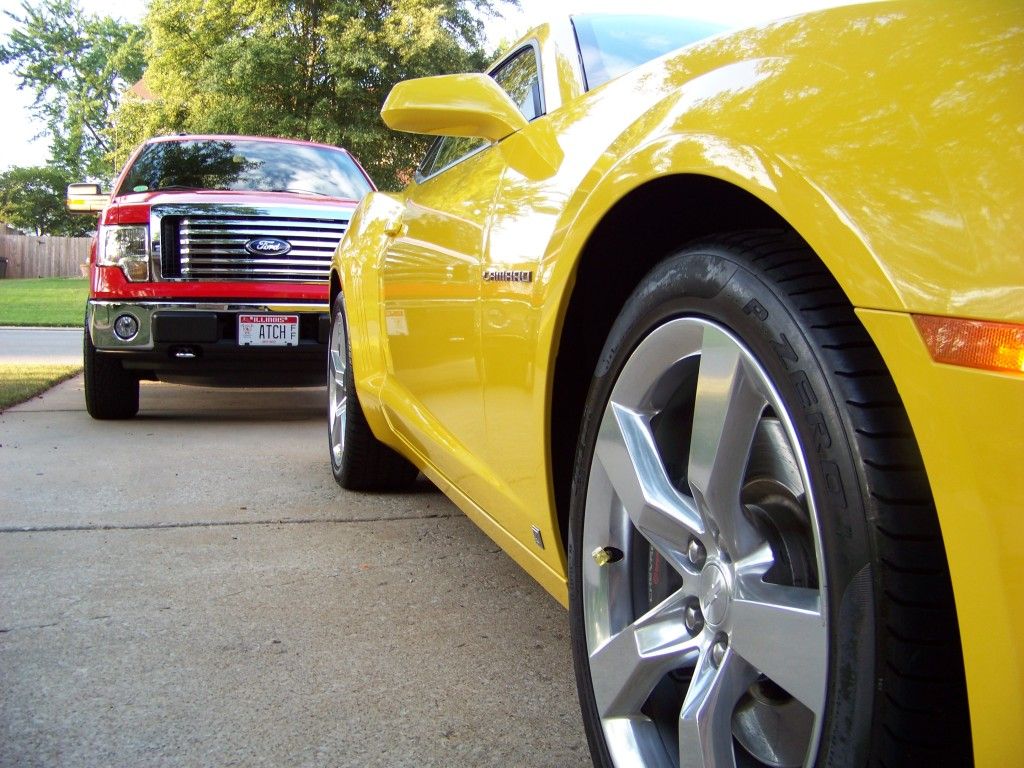
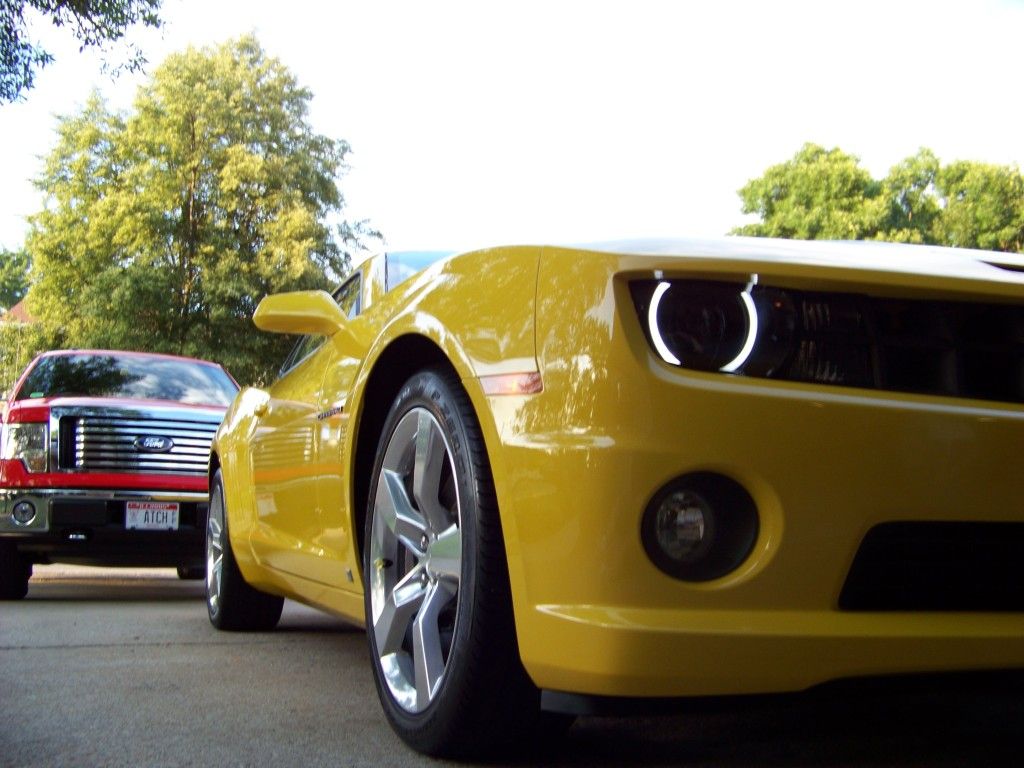
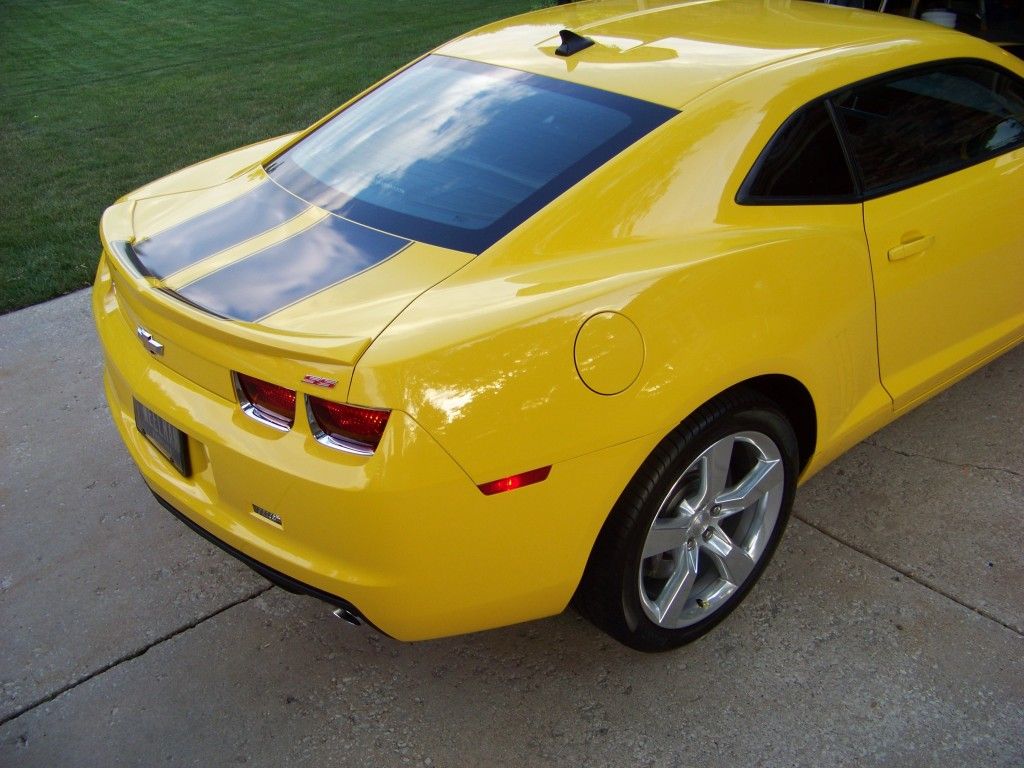
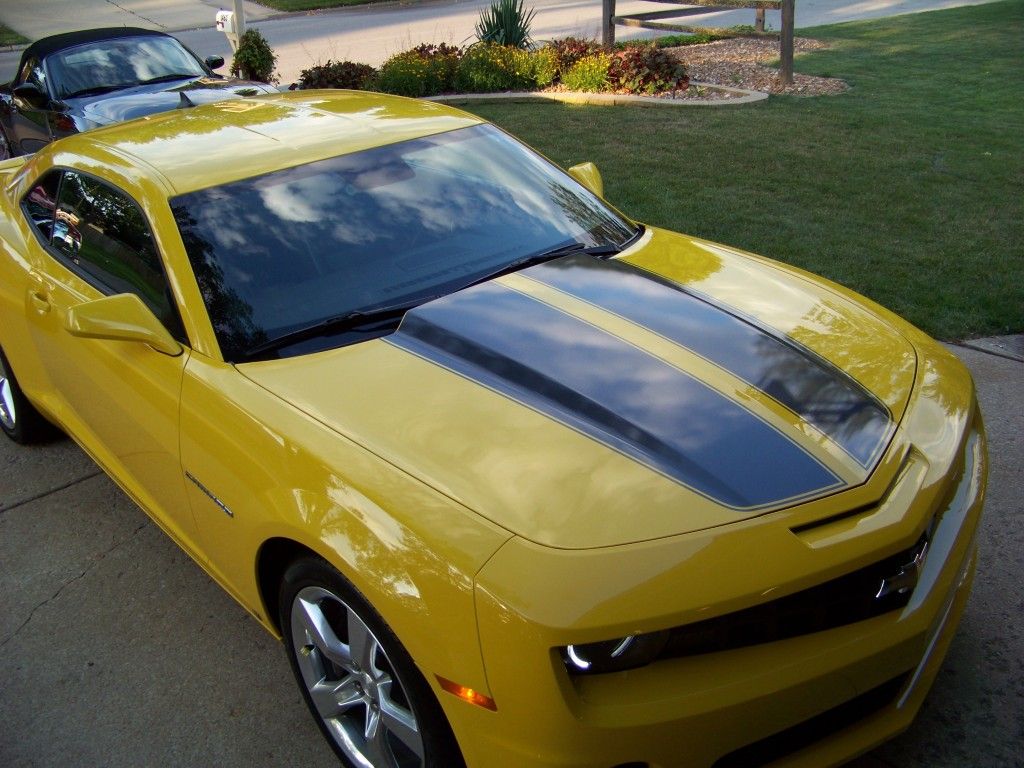
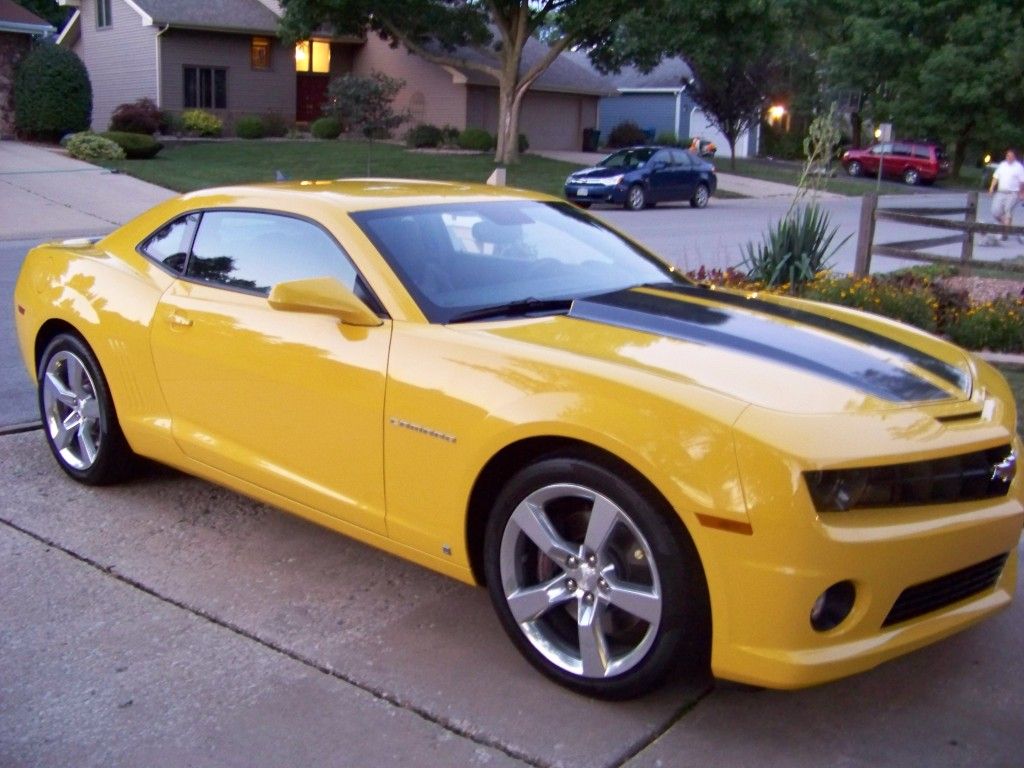
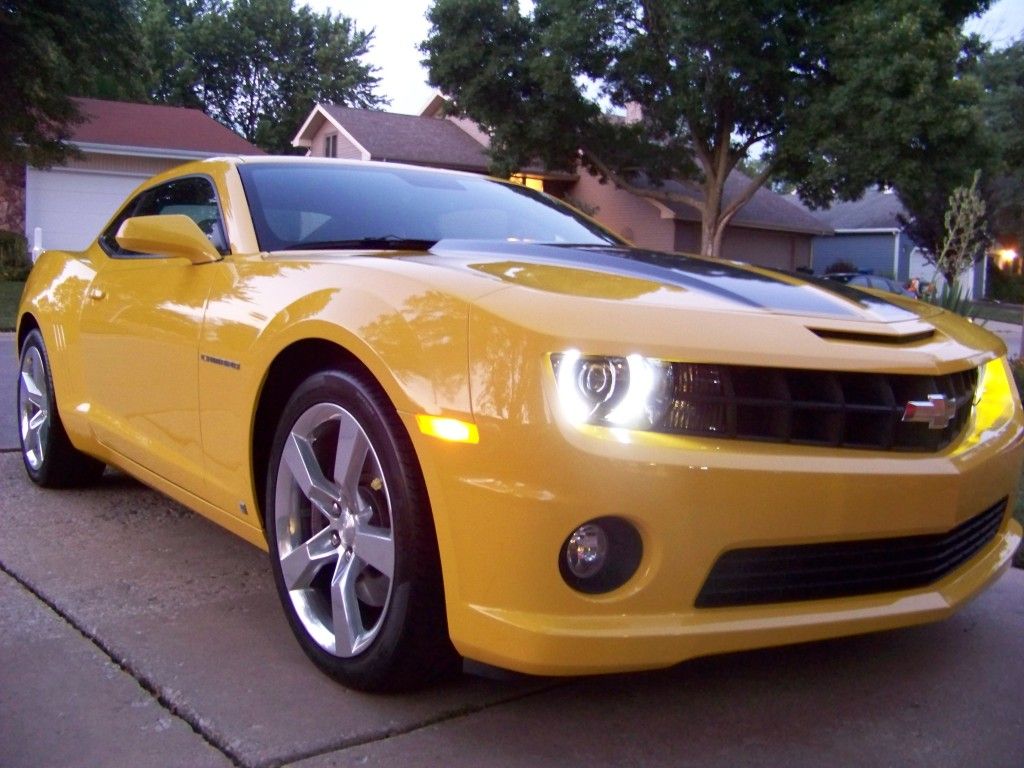
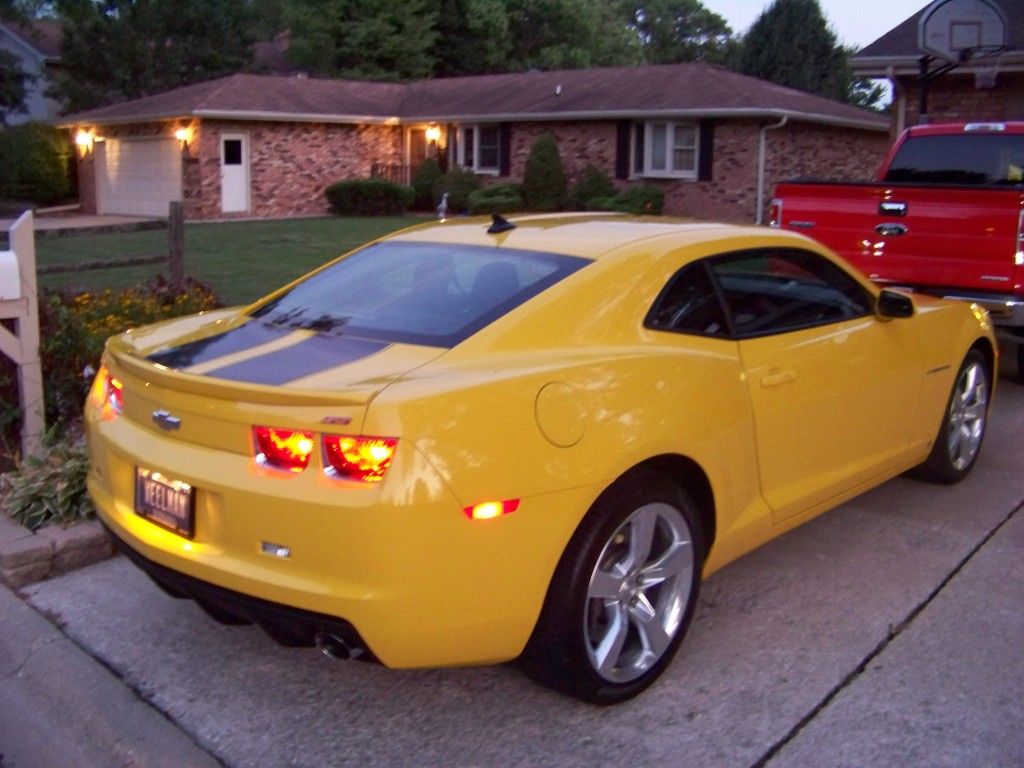
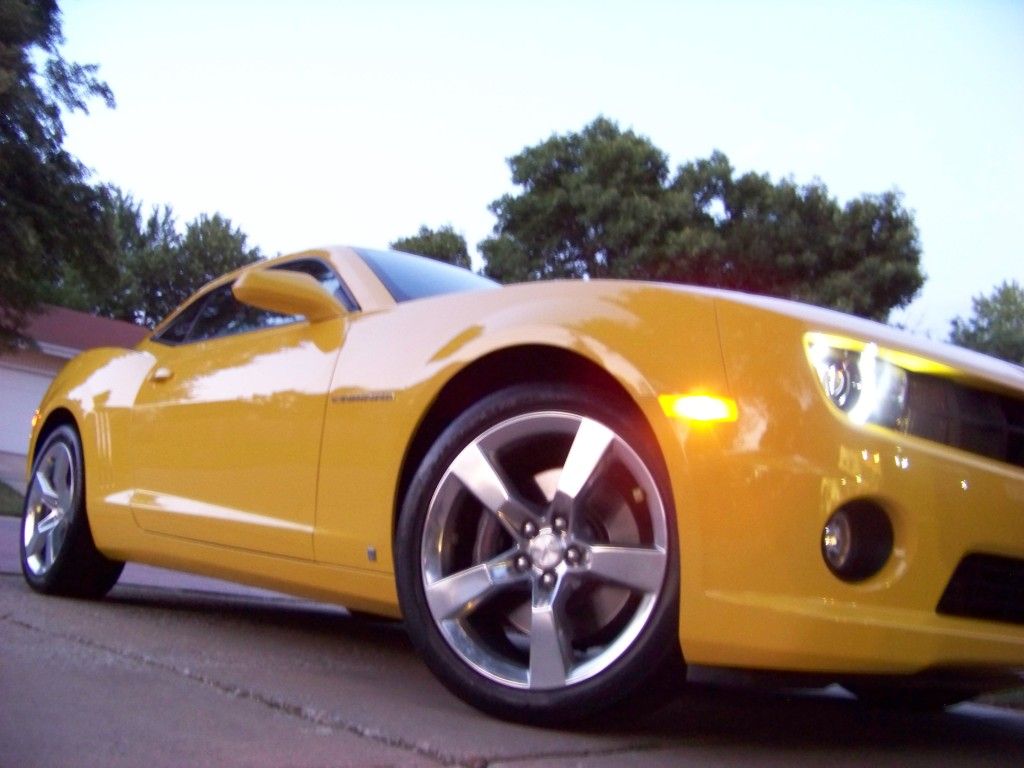
When my wife’s nephew returned home from his tour in Afghanistan a few months ago he treated himself to a bright yellow SS Camaro. I don’t think anyone in the family would have said a word if he would have come home with two of them. Never having a new car before and being very proud of it he asked what he needed to take good care of it and keep it nice and shiny. I suggested we start at the basics he get a quality mitt and soap to wash it and a Cobra WW towel to dry it. From there we went to paint protection and care. After a few options were discussed OPT Opti Coat 2.0 was decided on along with rolled edge towels and BF Wet Diamond Polymer Spray. Being a new car the paint was already in pretty good condition. This was going to be an easy one for once.
100_3995.jpg


100_4006.jpg


100_4005.jpg


100_4004.jpg

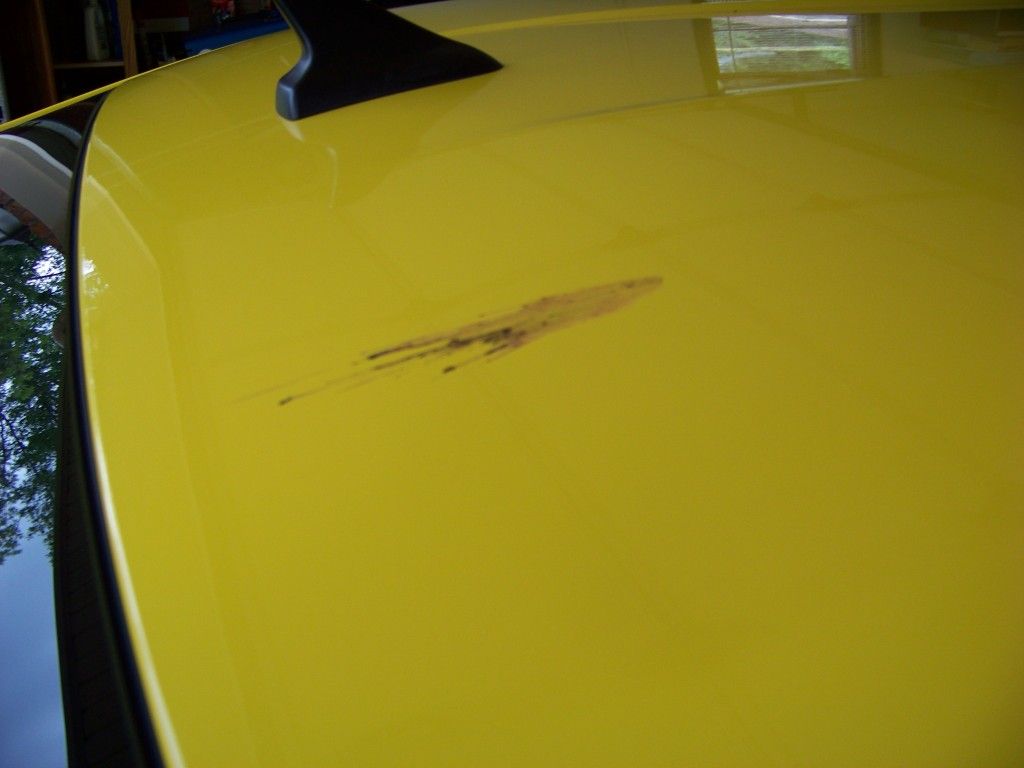
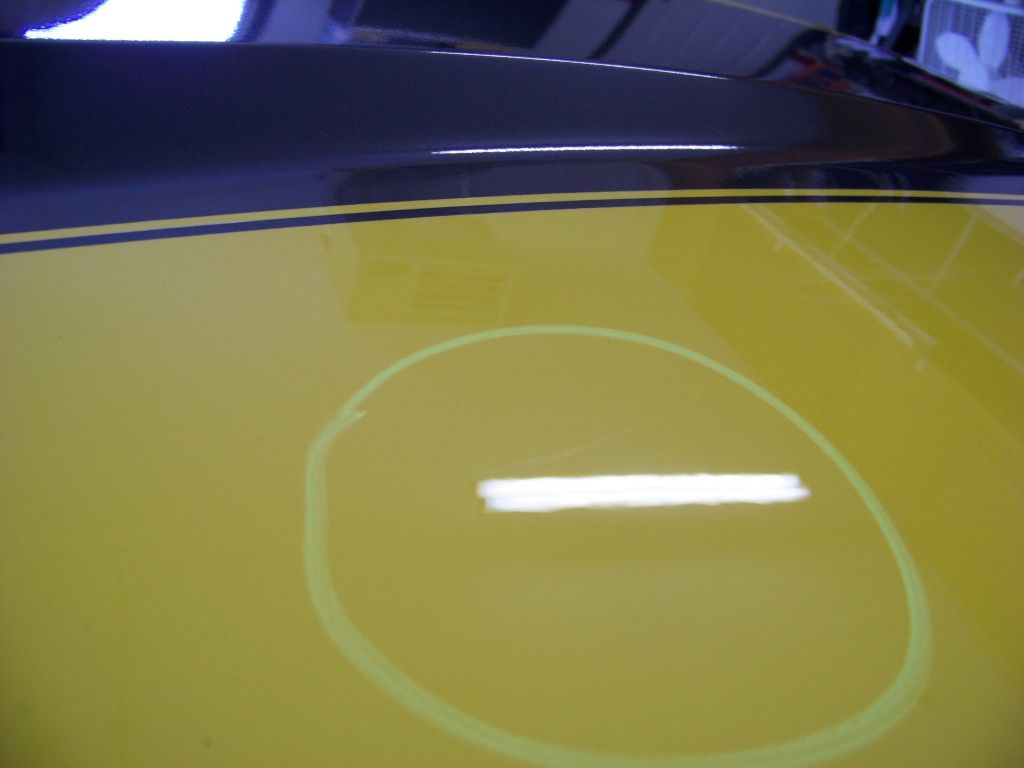
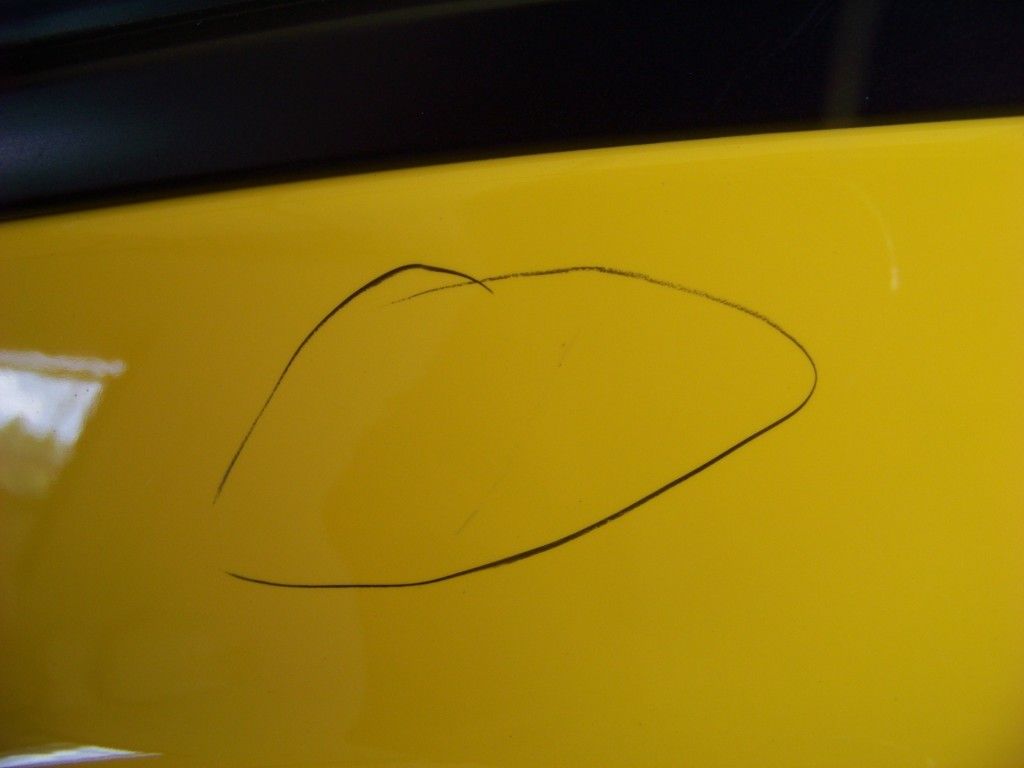
Bird Bomb boooo !!!!!!!
100_4002.jpg


100_3996.jpg

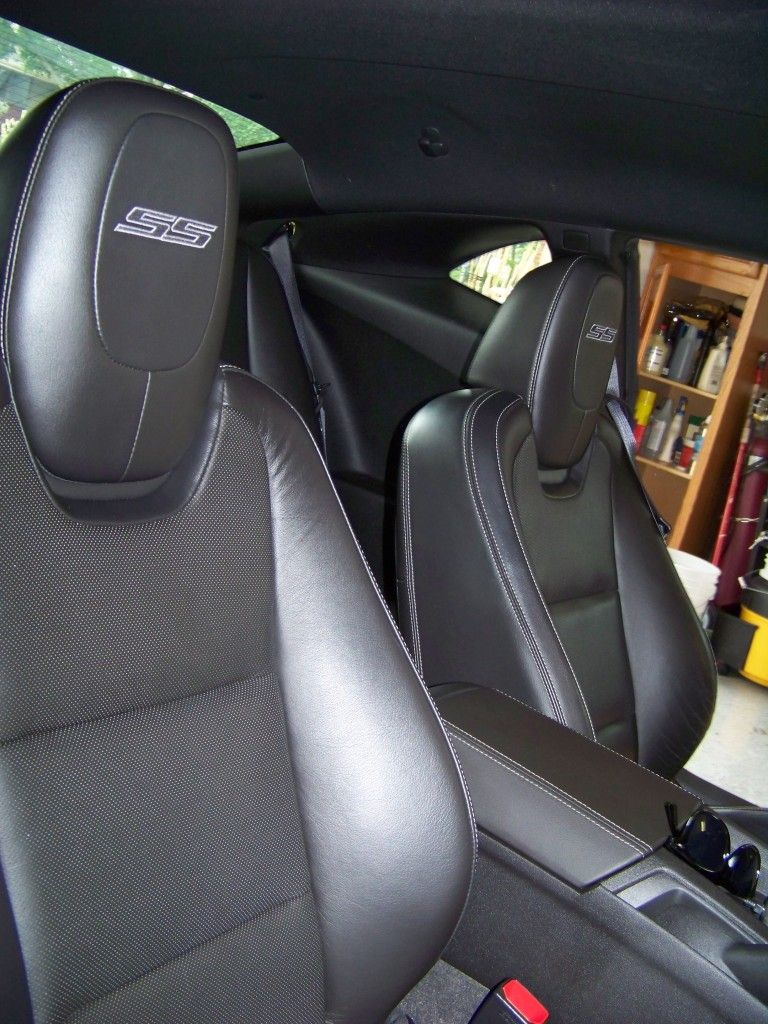
Interior was perfect. Quick vac and close the door. Yeah !!!!!
100_4001.jpg


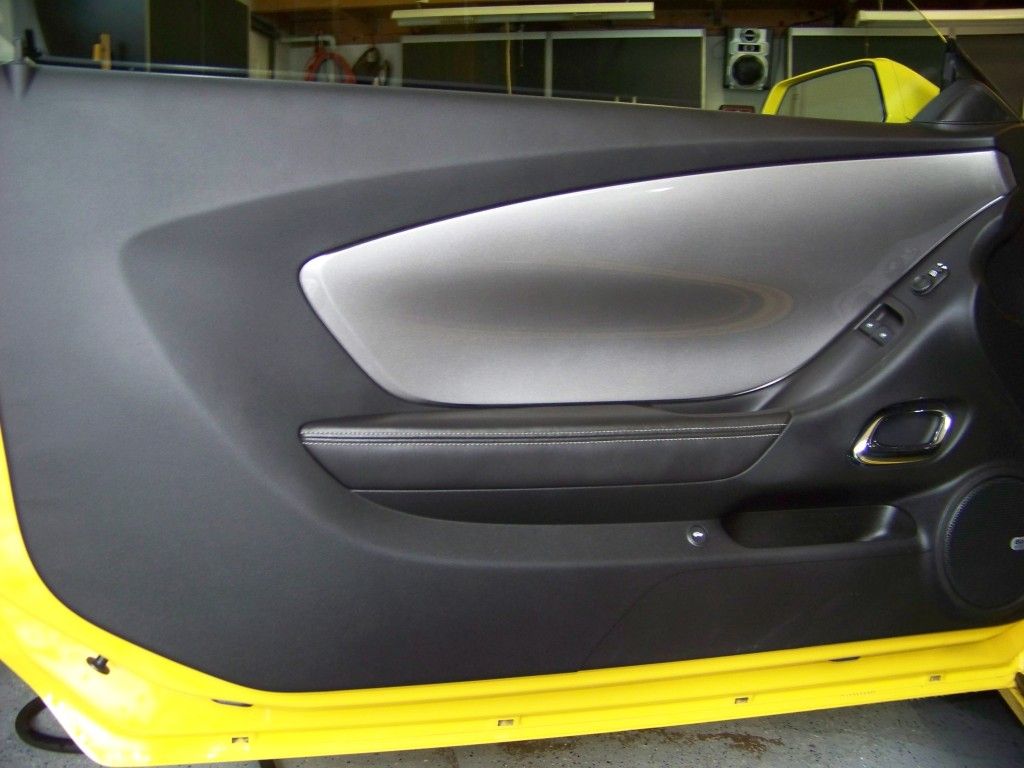
Door panels are kind of neat they have a blue LED light strip that runs the length of the silver panels at the top.
100_4000.jpg

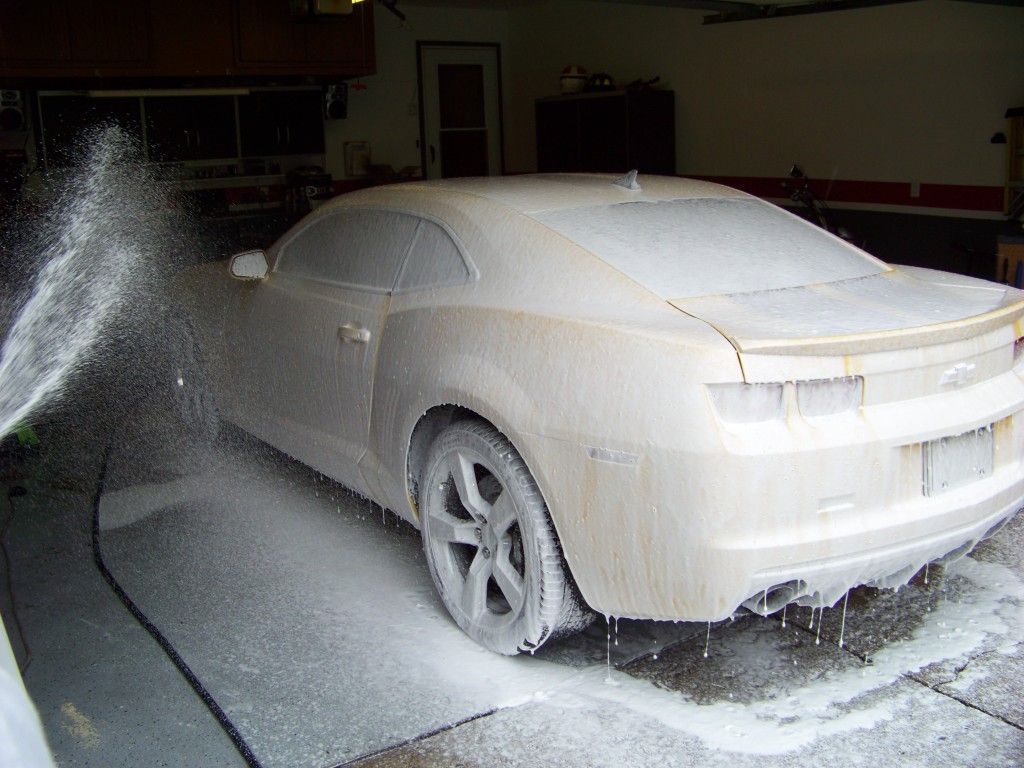
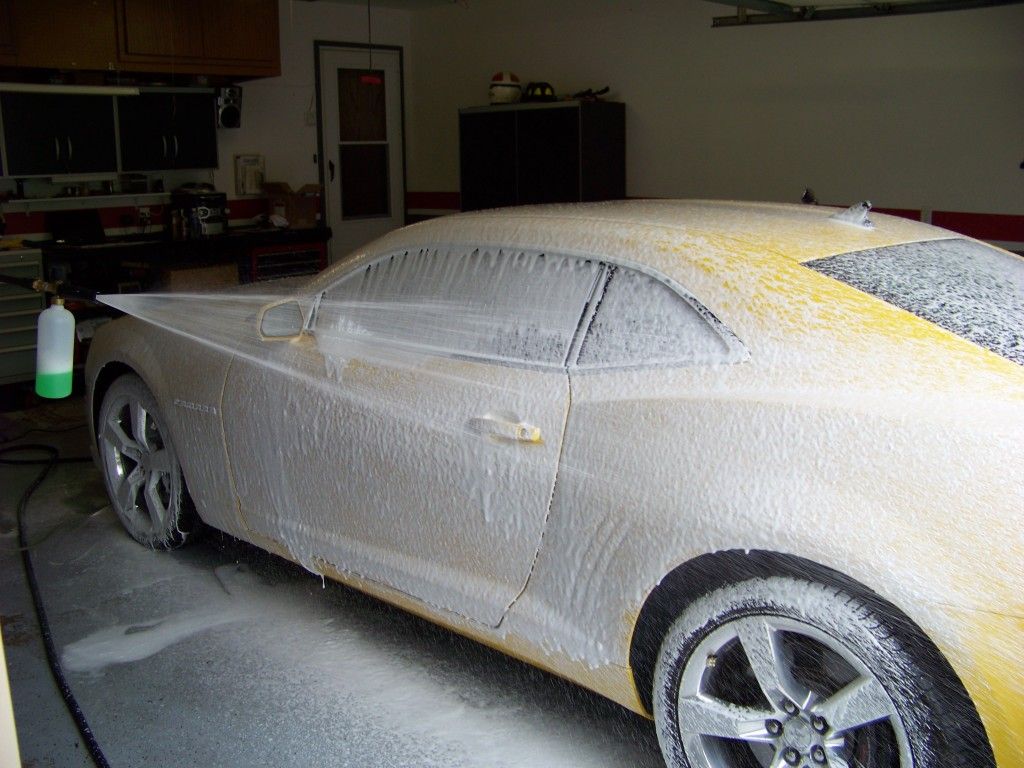
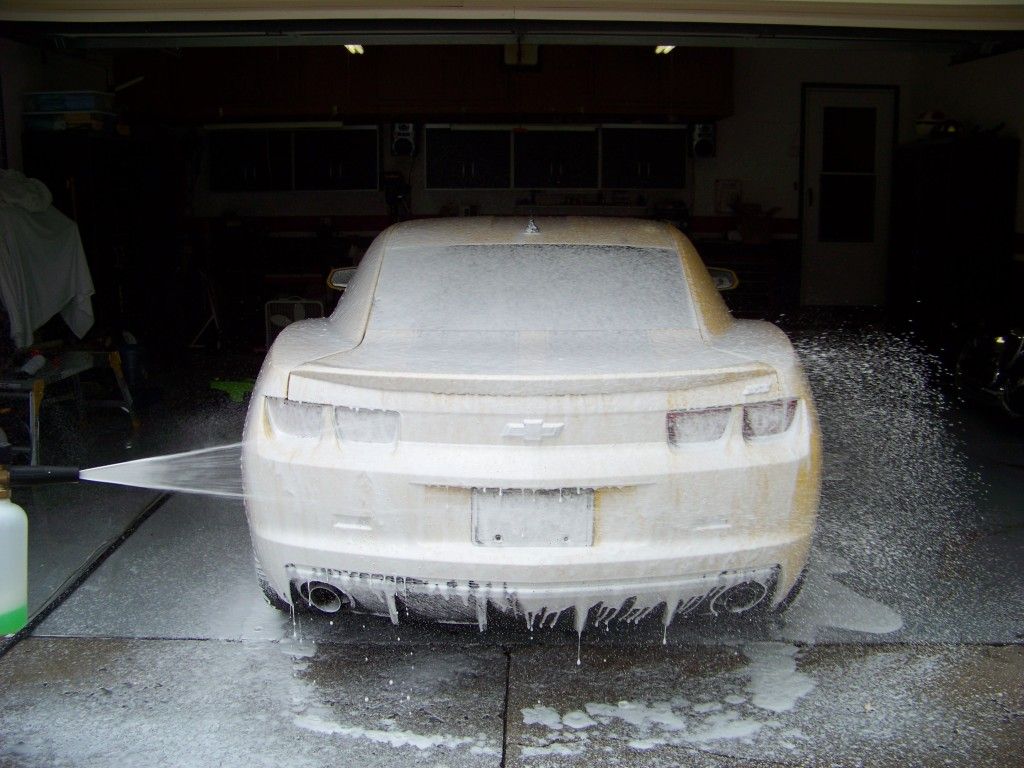
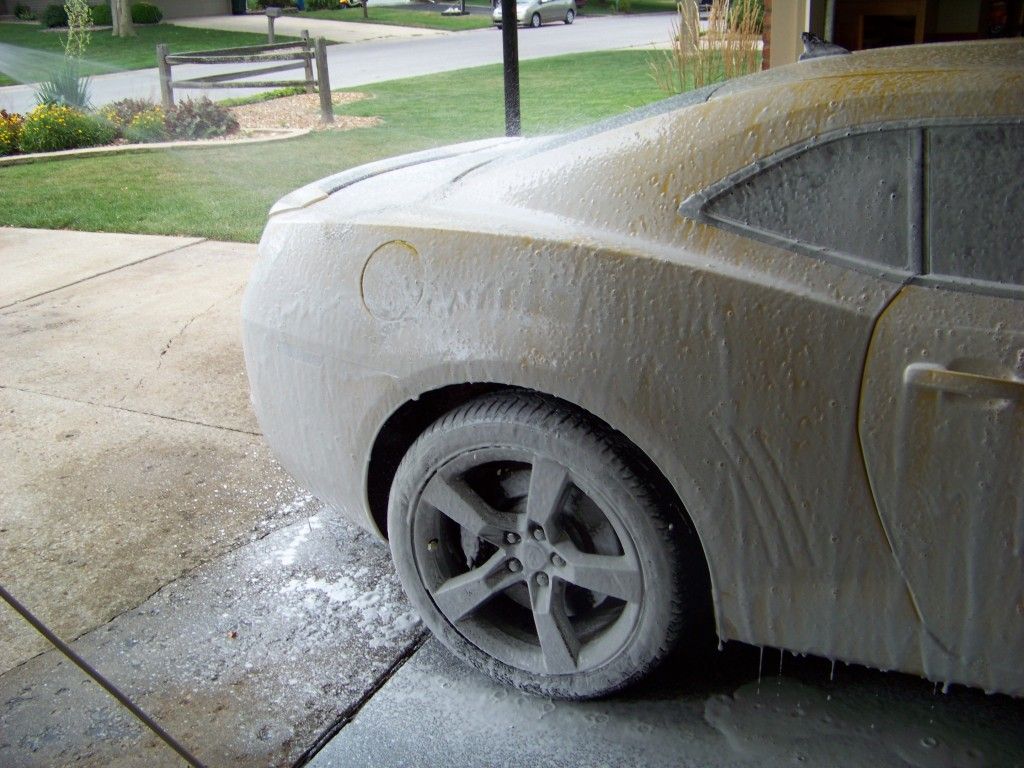
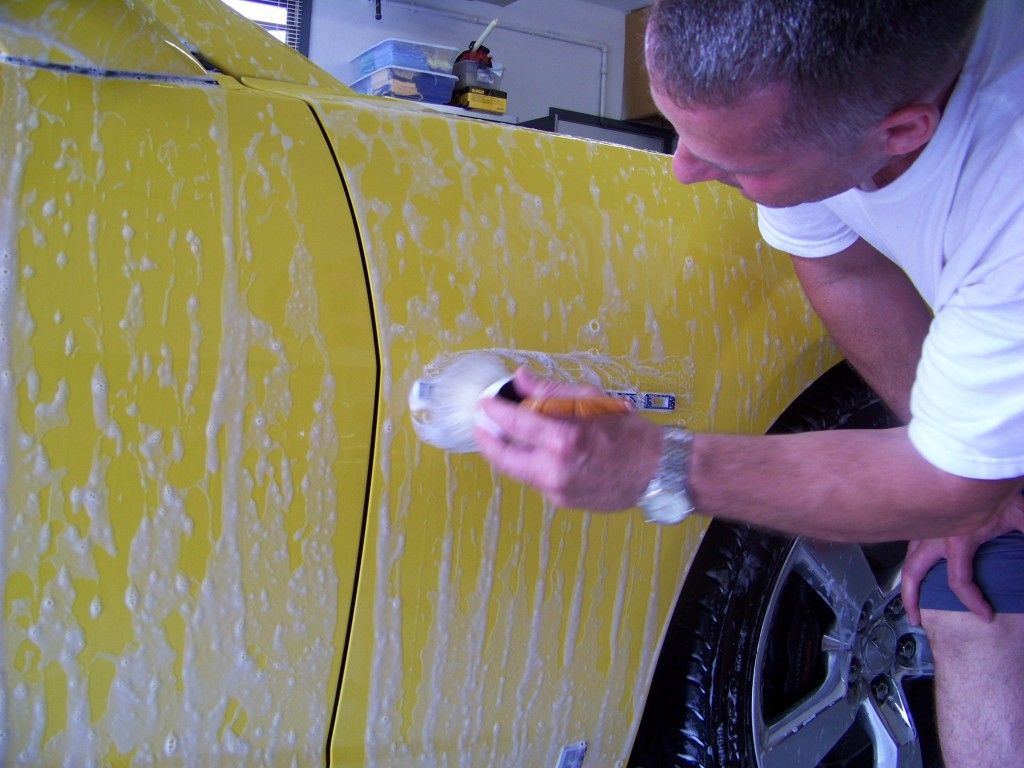
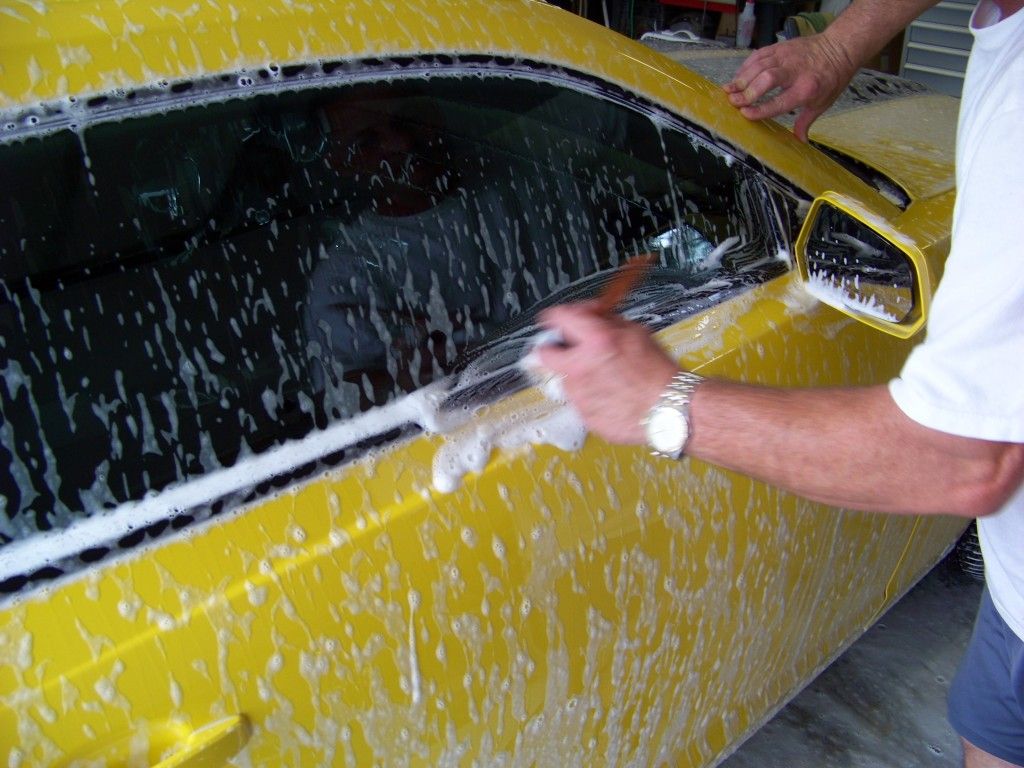
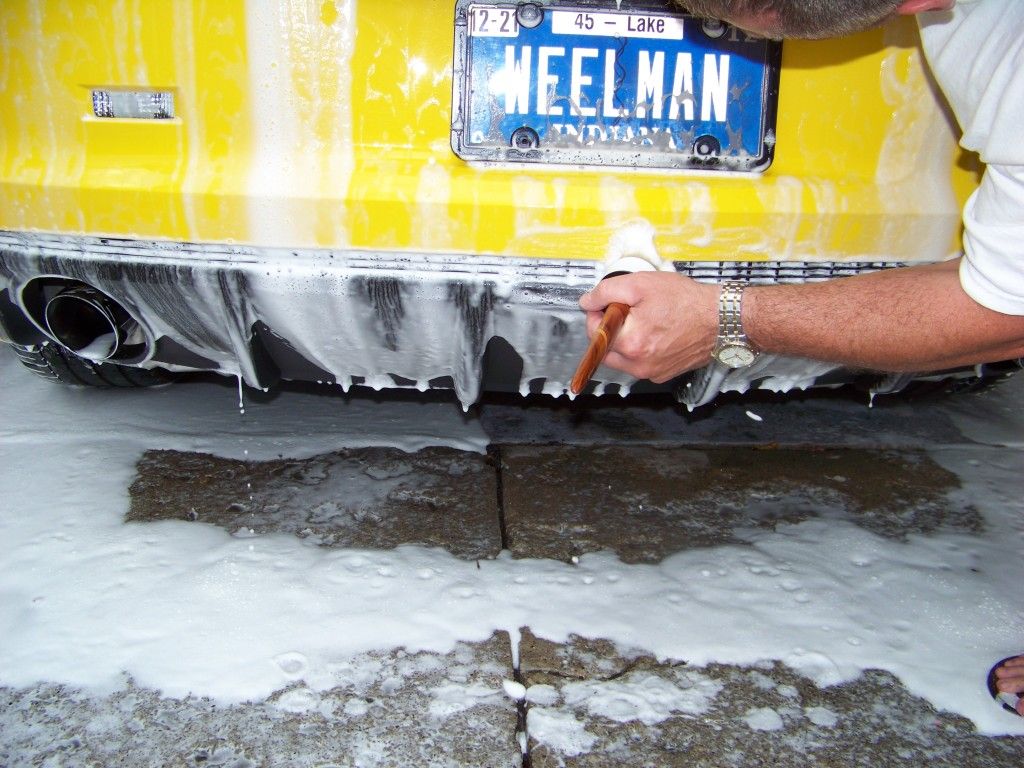
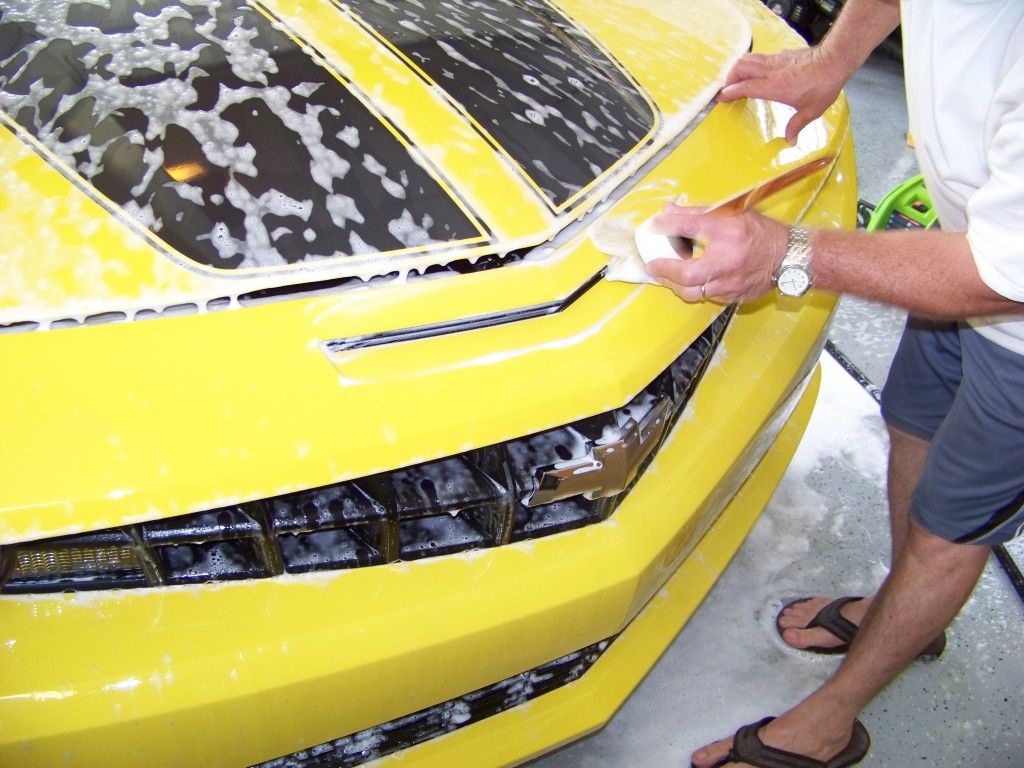
Time to get washing to see what we have for paint problems. I gave it a foam bath with Dawn and CG CWG.
100_4014.jpg

100_4011.jpg


100_4013.jpg


100_4009.jpg


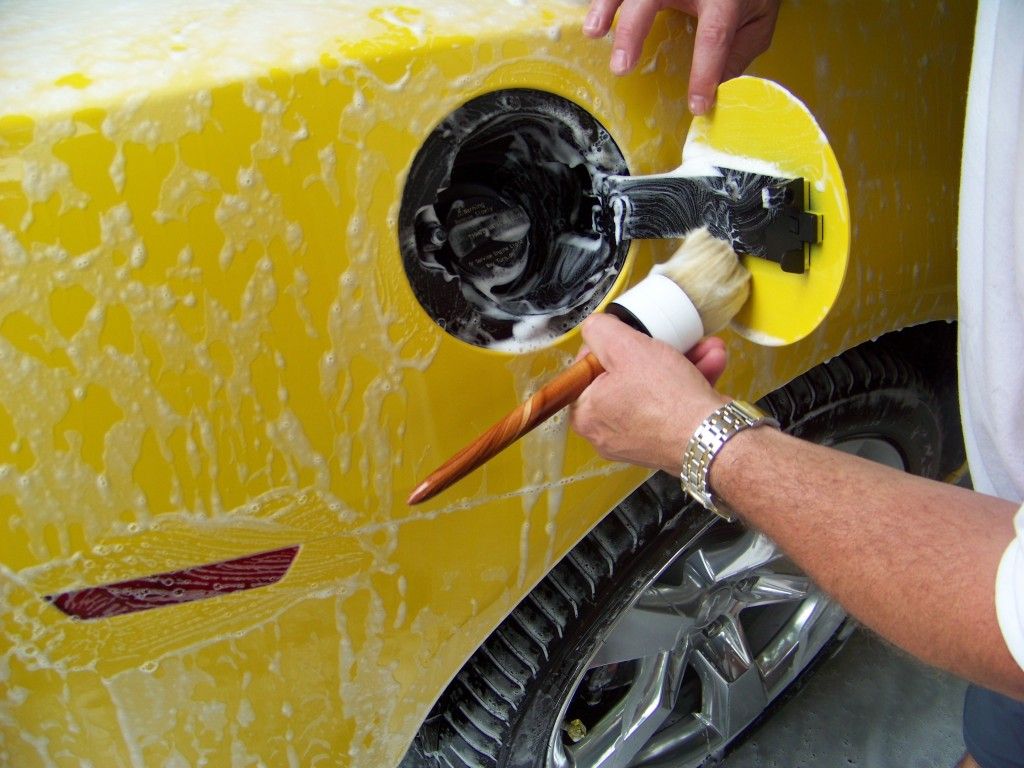
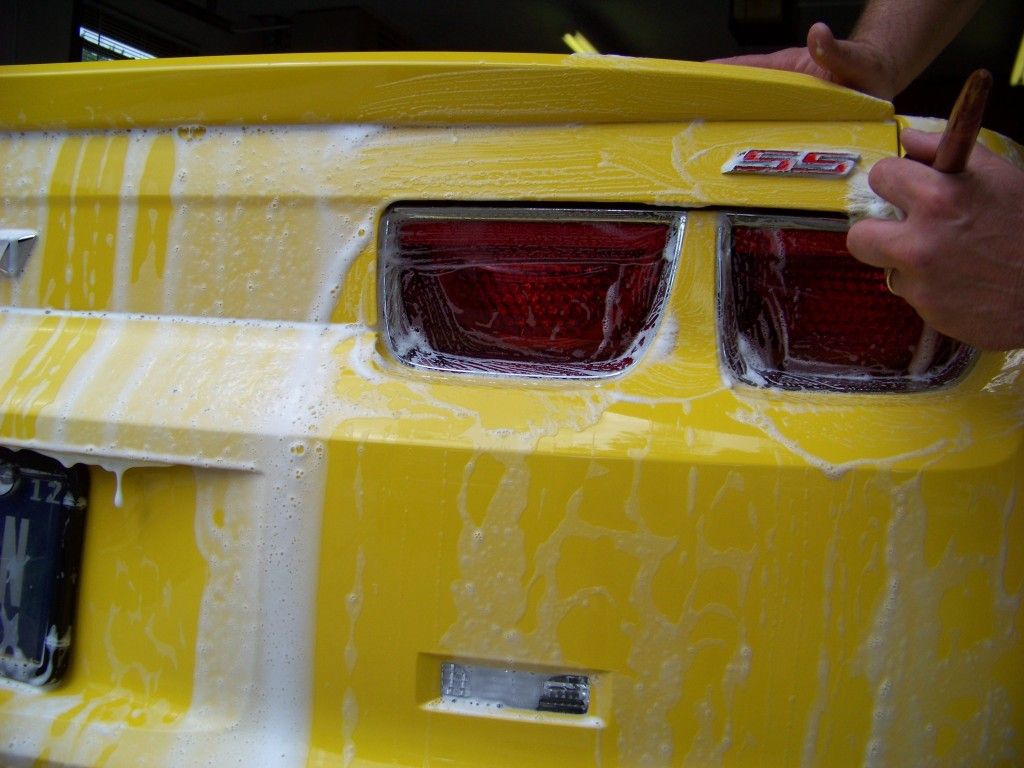
While it was dwelling all the trim and emblems were cleaned.

100_4016.jpg


100_4018.jpg


100_4019.jpg


100_4021.jpg
 
100_4022.jpg


100_4023.jpg


100_4026.jpg

After it was washed and rinsed the contaminates were cleaned with Ultima Elastrofoam Paint Cleaning ‎System followed by a ONR wash and taped up to start the polishing.‎
‎ Going over the car with a fine tooth comb typical swirls and rids were found. The more serious ‎problem areas were marked so none of them were missed as I worked my way around the car.


100_4035.jpg


100_4041.jpg


100_4035.jpg

With all the blemishes identified it’s time to start correcting them. The majority of the blemishes were ‎corrected with BF SRC compound and polish. For the ones that were too deep and needed wet ‎sanding I used 3M 3000 grit 3” Trizact hook and loop pads.

100_4047.jpg

100_4053.jpg


All gone !!!!

100_4049.jpg


100_4037.jpg


Now to polish out the sanding scratches.‎

100_4050.jpg


100_4052.jpg

No the cord didn’t touch the paint lol.‎

All polished up and coated whoo hoo!‎


100_4054.jpg


100_4056.jpg


100_4057.jpg


100_4058.jpg


100_4061.jpg


100_4063.jpg


100_4064.jpg


100_4065.jpg


100_4070.jpg


100_4072.jpg


100_4077.jpg

Thanks for taking a look[/B] :)
 
I'm not big on yellow cars, but that makes me want one! Great job!

What brush was that you were using?
 
Not big on Chevy's but great color. Sporty car should be either red or yellow otherwise why buy it. Hope he gets great use out of it and welcome home.
 
Great job! :dblthumb2:
I think there is some kind of thread duplication...


I think this will help: http://www.autogeekonline.net/forum/off-topic/36280-post-your-unpacking-pictures-149.html#post635871
Thank you. Yes there are two posts, this is the full write up. I accidentally posted twice while trying to edit it. I've asked for the other to be removed

I'm not big on yellow cars, but that makes me want one! Great job!

What brush was that you were using?
It is a number 16 Airebrush 1995 made in Germany.

Not big on Chevy's but great color. Sporty car should be either red or yellow otherwise why buy it. Hope he gets great use out of it and welcome home.
I think he will, he's in love with the car.
 
Great job!!!


What did you use on the stripes?

I'm not sure exactly what your wanting to know about the stripes so I will try an cover all the bases. The green is obviously tape. The stripes sit on top of the paint and have a thinner outer line and polish would be a pain to remove from the edges so it was covered with the tape. For removal of the swirls I used BF SRC polish with a white LC flat pad and a GG6 , same as the rest of the car. Then they were coated with OC.


What did you use to mark the defects that needed extra attention?
I actually used two. The black one is a grease pencil or china marking pencil. The yellow one is a water based flourescent poster marker made by uni. It wipes right off like a dry erase marker.
 
Thanks for the link on the brushes....

Does the guy you bought them from still carry them or make more? Any specifics that would help in searching for them? Size, hair type, etc? Search terms would be very helpful. I don't mind spending $$$ on good quality supplies, and these look excellent.
 
Thanks for the link on the brushes....

Does the guy you bought them from still carry them or make more? Any specifics that would help in searching for them? Size, hair type, etc? Search terms would be very helpful. I don't mind spending $$$ on good quality supplies, and these look excellent.

Sorry no I can't remember where I got them but it took a lot of searching. I have a few different sizes but this one is a #16 and is 2" in diameter and is horse hair. The smaller ones are easy to find on @bay. You'll need to search arts and crafts supply sites. They are a stippling brush and mostly used for stamp booking, it was around 22.00.
 
Cool

See on the plate you are in lake county. Lived in Hammond for 25 yrs before moving to Indy
Nice car


Ryan
 
Back
Top