Could someone school me please?

tdrake2406

New member
Joined
Sep 5, 2012
Messages
87
Reaction score
0
I was just curious on why you would want to use a rotary over a da? I know da's are safe on the paint and usually wont hurt it so why would someone want to use the rotary? I'm not asking to be offensive I am asking because I simply don't know the difference.
 
Well, DA's won't (easily) remove wet sanding marks for example.

Rotaries can do the same work in much less time.
 
They are able to correct paint faster due to the forced rotation spinning action. This is also the same reason they can potentially cause damage to the paint if used improperly.
 
They are able to correct paint faster due to the forced rotation spinning action. This is also the same reason they can potentially cause damage to the paint if used improperly.

So would you follow the work with a da after?
 
Here's three reasons...


  • Power
  • Speed
  • Effectiveness

While all the other tools have their place, when it comes time to undo years of either neglect or abuse you cannot beat the power, speed and effectiveness of a rotary buffer.


When it comes to wetsanding a car and then removing 100% of the sanding marks, you can limp along with the other tools but nothing beats the power, speed and effectiveness of the rotary buffer.
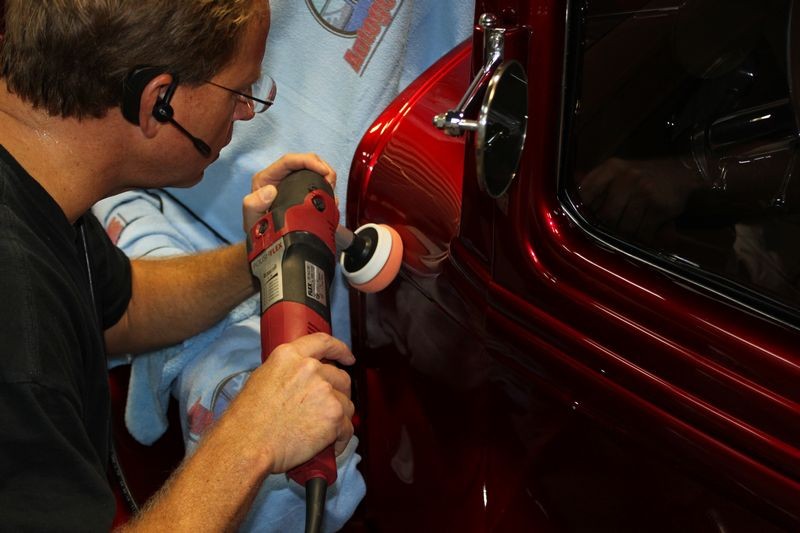
And for 
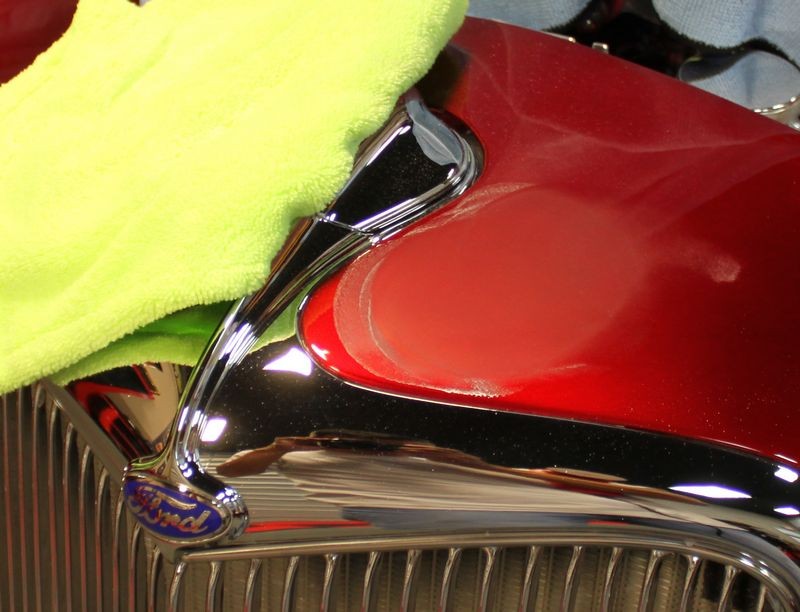
surgical buffing tight areas to remove defects or sanding marks it cannot be beat.

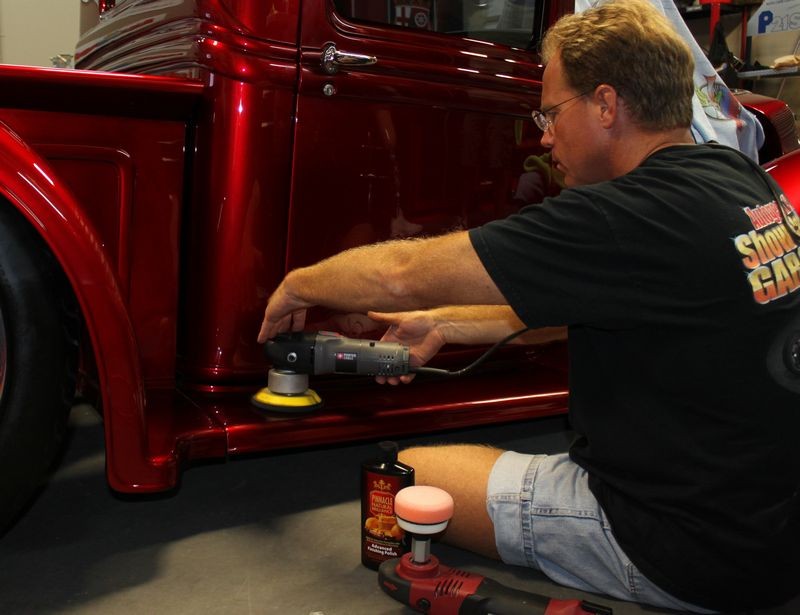
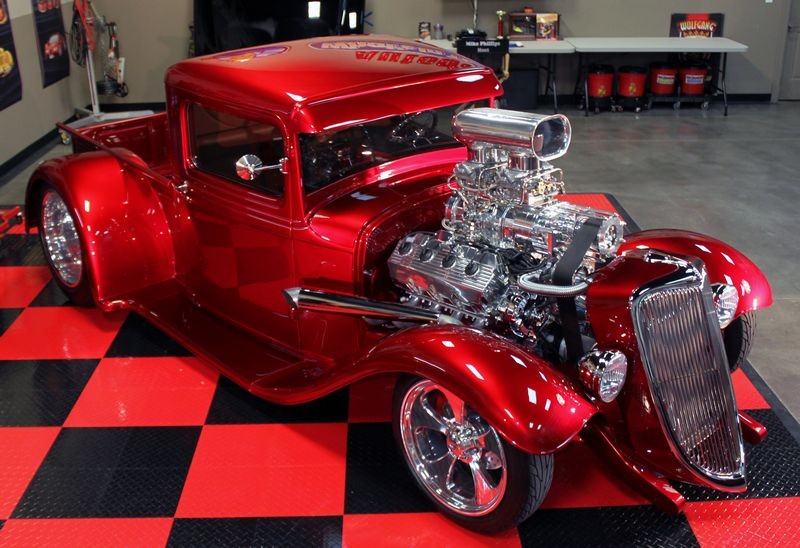
Blown 1934 Ford Pick-up - Show Car Makeover - Modeled by Kristin


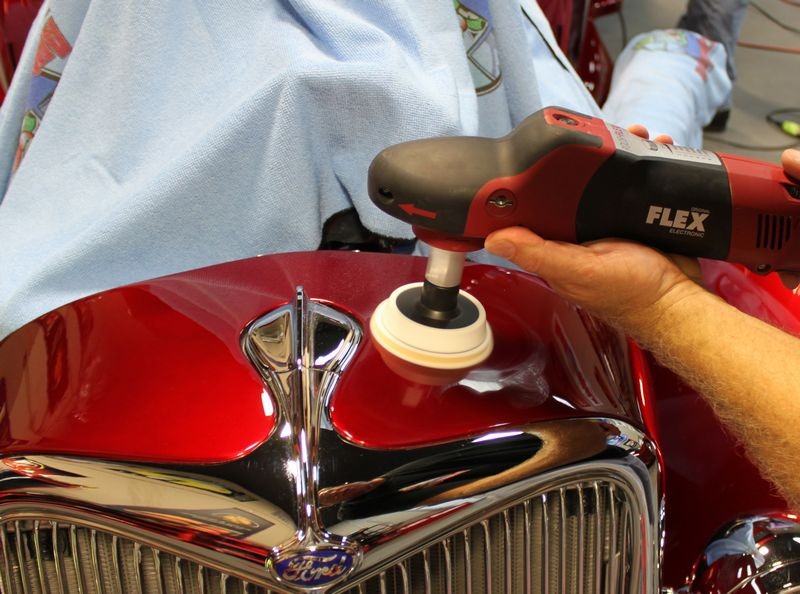
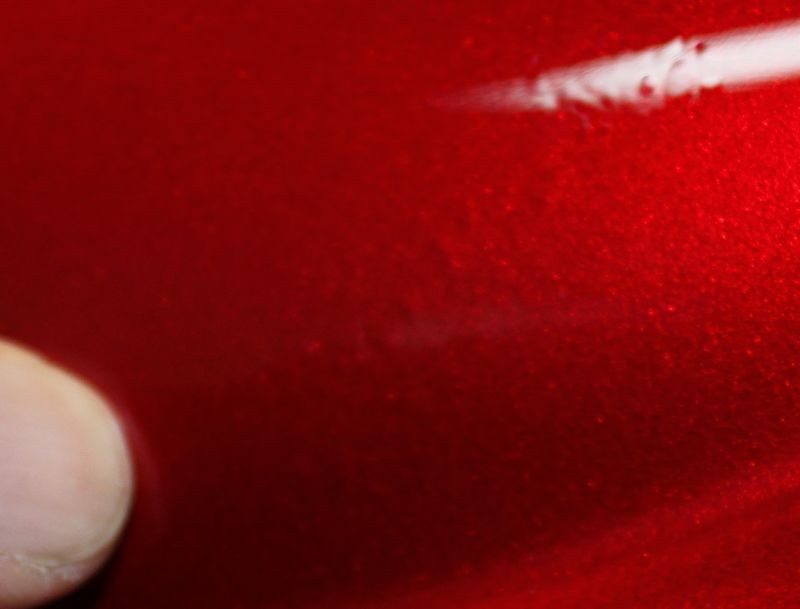
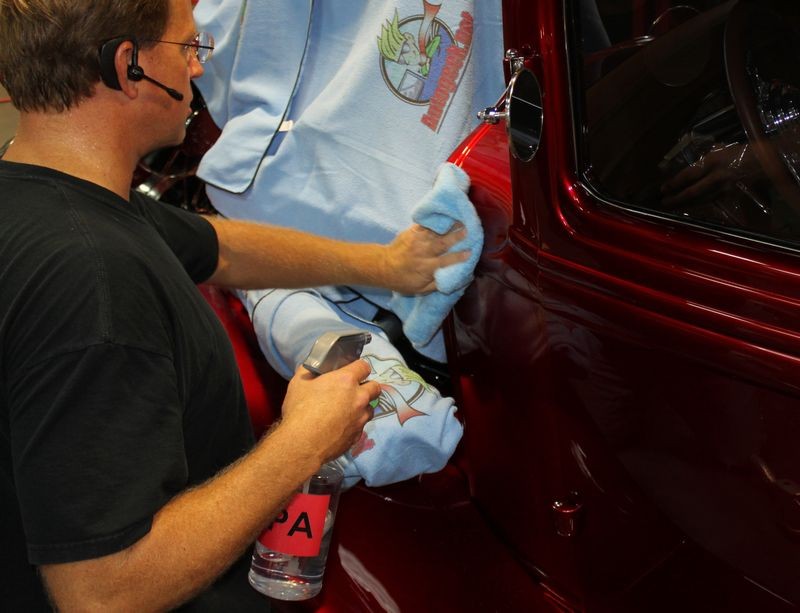
Meanwhile I tackled the random, isolated deeper scratches, some by dampsanding with Meguiar's #3000 Finishing Discs and some just using the new Optimum 3" Microfiber Pads on a Flex PE 14 Rotary Buffer using Pinnacle Advanced Swirl Remover.

Dampsanding34Ford01.jpg


Dampsanding34Ford02.jpg


Dampsanding34Ford03.jpg


Dampsanding34Ford04.jpg


Dampsanding34Ford05.jpg


Dampsanding34Ford06.jpg


Dampsanding34Ford07.jpg


Dampsanding34Ford08.jpg


Dampsanding34Ford09.jpg


Dampsanding34Ford10.jpg


Dampsanding34Ford11.jpg


Dampsanding34Ford12.jpg


Did some sanding on the driver's side floorboard...


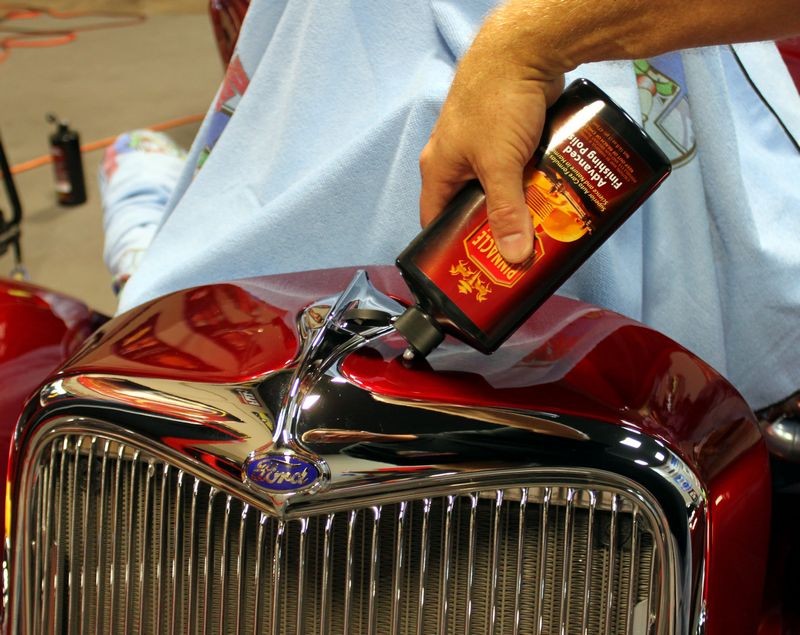
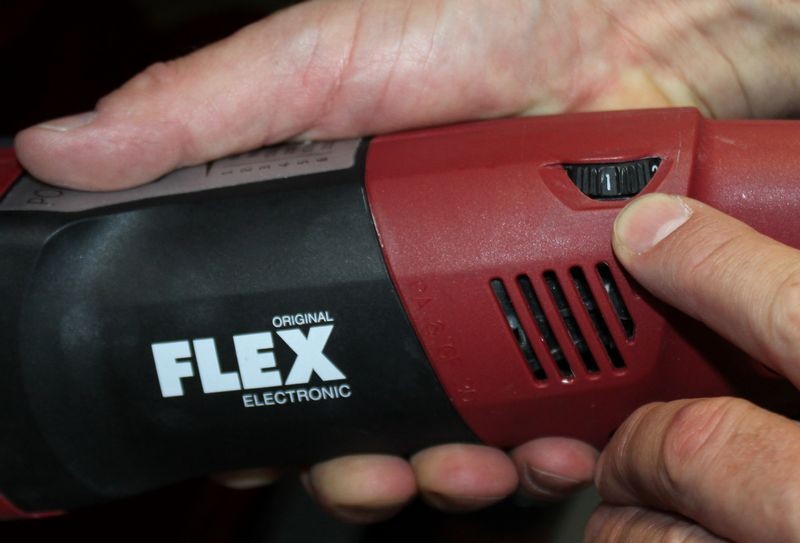
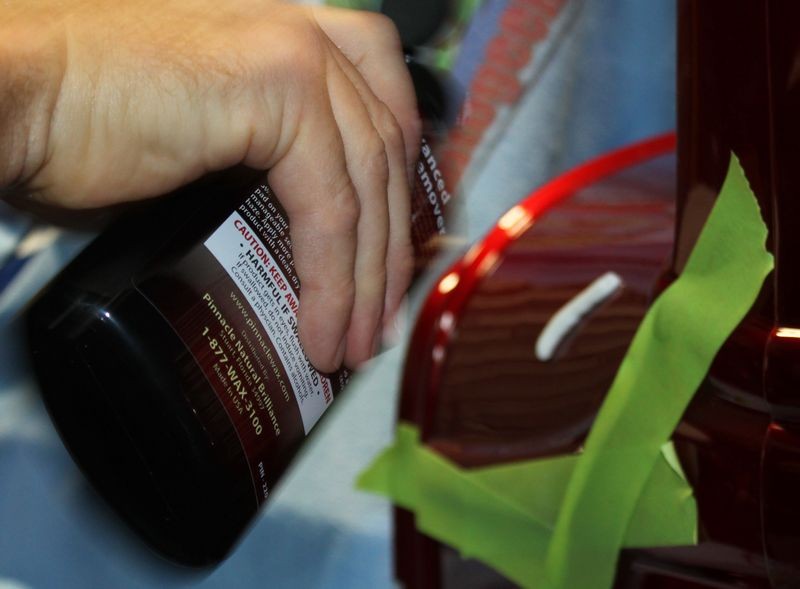
Start out slow on the 1 setting which is 600RPM to spread the product out after using the 10 @ 10 Technique to pick up a bead of product
Project34054.jpg


Project34055.jpg


Project34056.jpg


The 10 @ 10 technique for picking up a bead of product with a rotary buffer


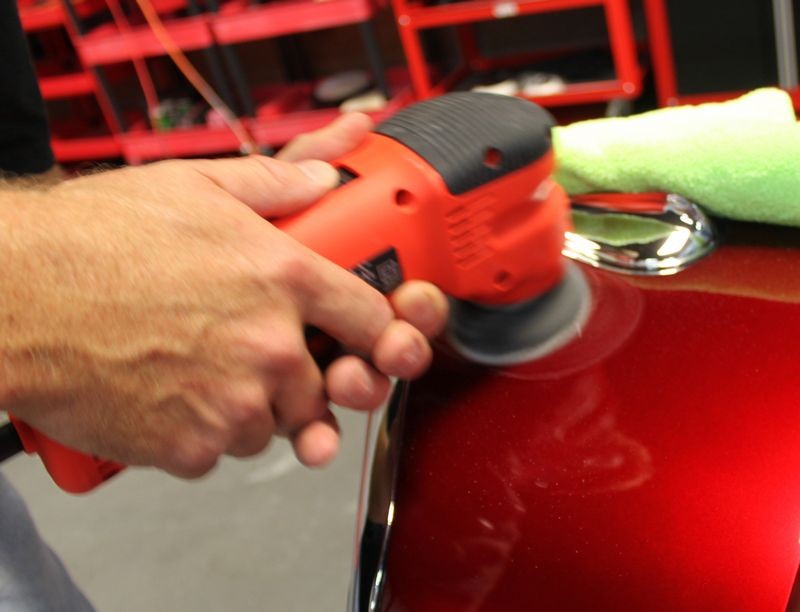
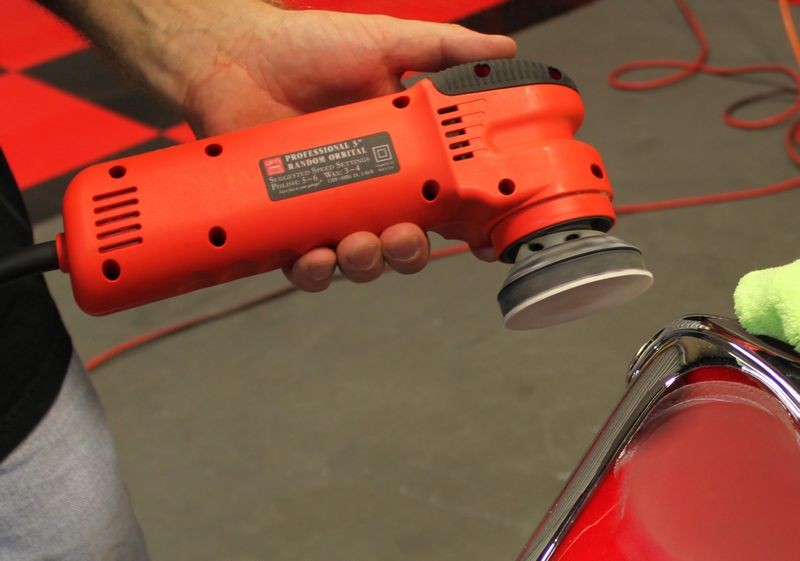
Following up using a Porter Cable 7424XP to ensure any swirls are removed...
Project34057.jpg


Project34058.jpg


Did some sanding on the cowel...


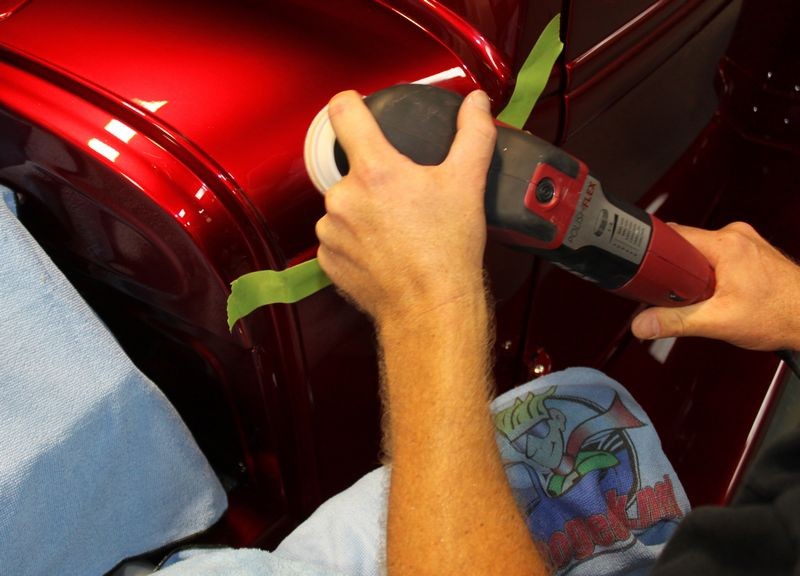
After the radiator shell we moved to an area with some raised dimples on the paint, we sanded the area flat and then removed our sanding marks.

Project34025.jpg


Project34026.jpg


Project34027.jpg


Project34028.jpg


Project34029.jpg


Project34030.jpg


Project34031.jpg


Project34032.jpg


Project34033.jpg


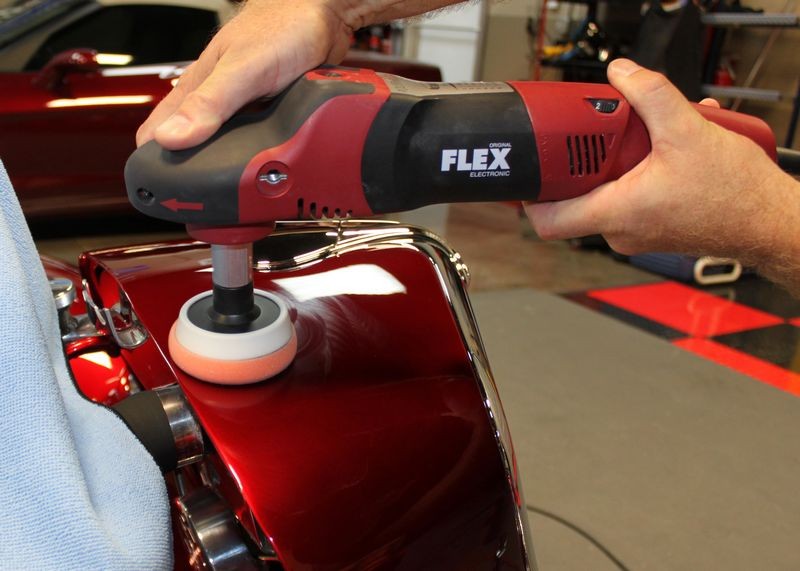
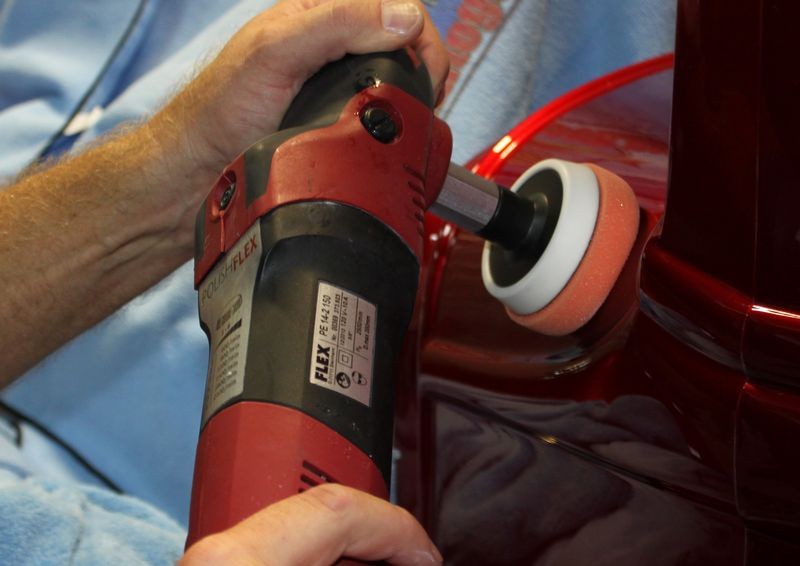
The above is what I call Surgical Rotary Buffer work which comes in real handy for working on small or thin panels or hard to buff areas. You need an extension for your rotary buffer, small backing plates and small buffing pads.

Trend: Backing Plate Extensions for Surgical Precision Buffing

On Autogeek.net
Optimum Optimum Double-Sided Rotary Adapter
2-3/4 inch Hook & Loop Rotary Backing Plate


Done...


Project34012.jpg
 
I love the analogy lol and incredible work as always mike
 
Thanks guys for the lesson. Would you recommend any videos for someone starting out with a rotary?
 
I would say the DA and rotary both have a role to play. I use a rotary as I am not able to cope with the vibrations of a DA, my hands go numb very quickly

As for videos of a rotary, I am sure there a quite a few by Mike Phillips
 
Back
Top