Mike Phillips
Active member
- Dec 5, 2022
- 51,004
- 7
John,
Here's some cars Laura's buffed out. She's attended my detailing class and is completely capable of undoing the damage and also showing you the correct techniques for removing swirls and restore a true show car finish.
I can't promise you she'll take the job but we can ask...
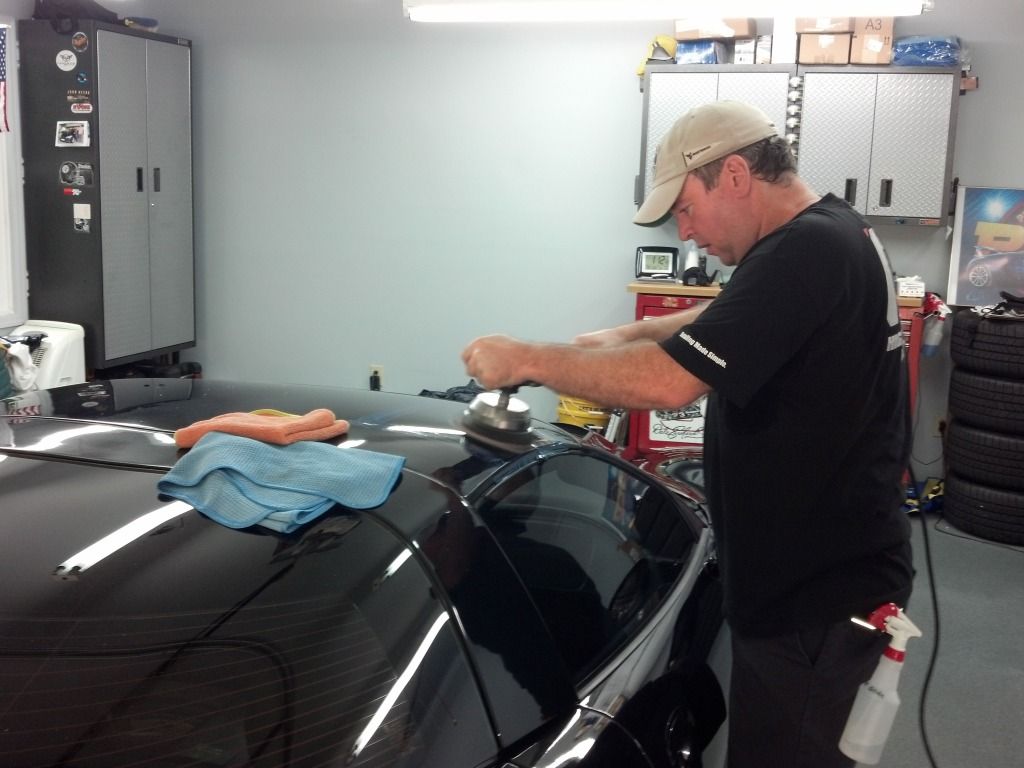
Lessons I learned from a Black 2009 BMW 550i
Lesson #1 – Even people with good intentions don’t know how to take care of their paint.
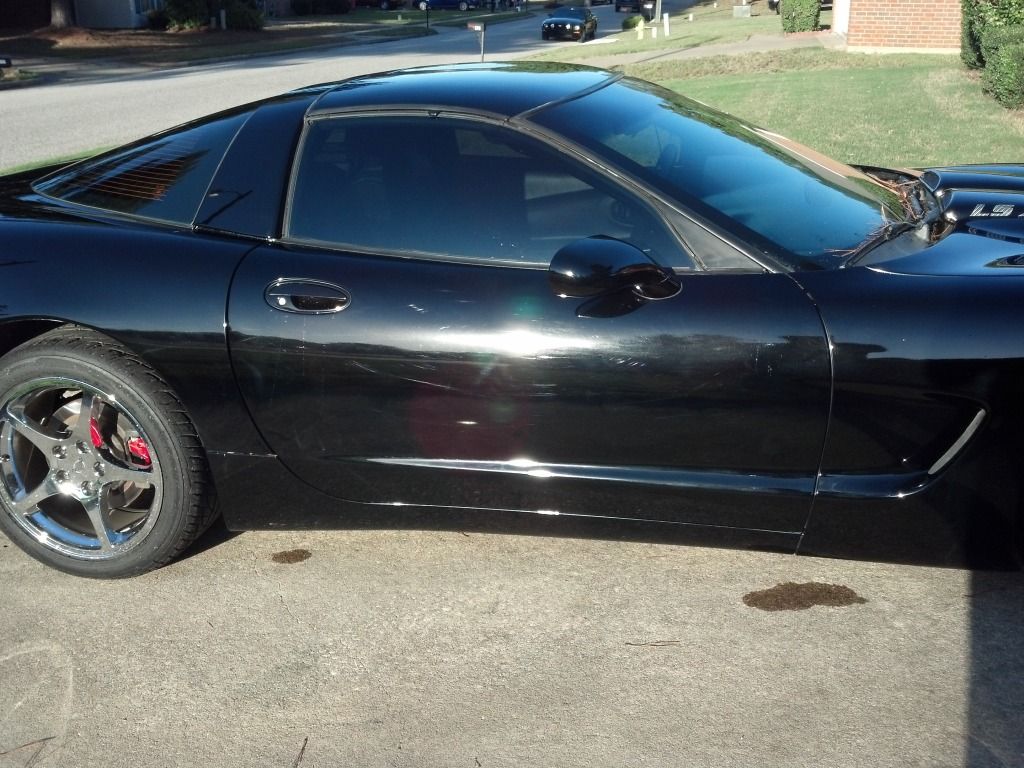
This car is basically the only thing a friend of mine got out of his recent divorce. It has almost 25,000 miles on it and compared to most cars with similar mileage, it was very clean. He had it on a regular schedule with a detailer, and he was very careful with it. He thought he was doing everything right.

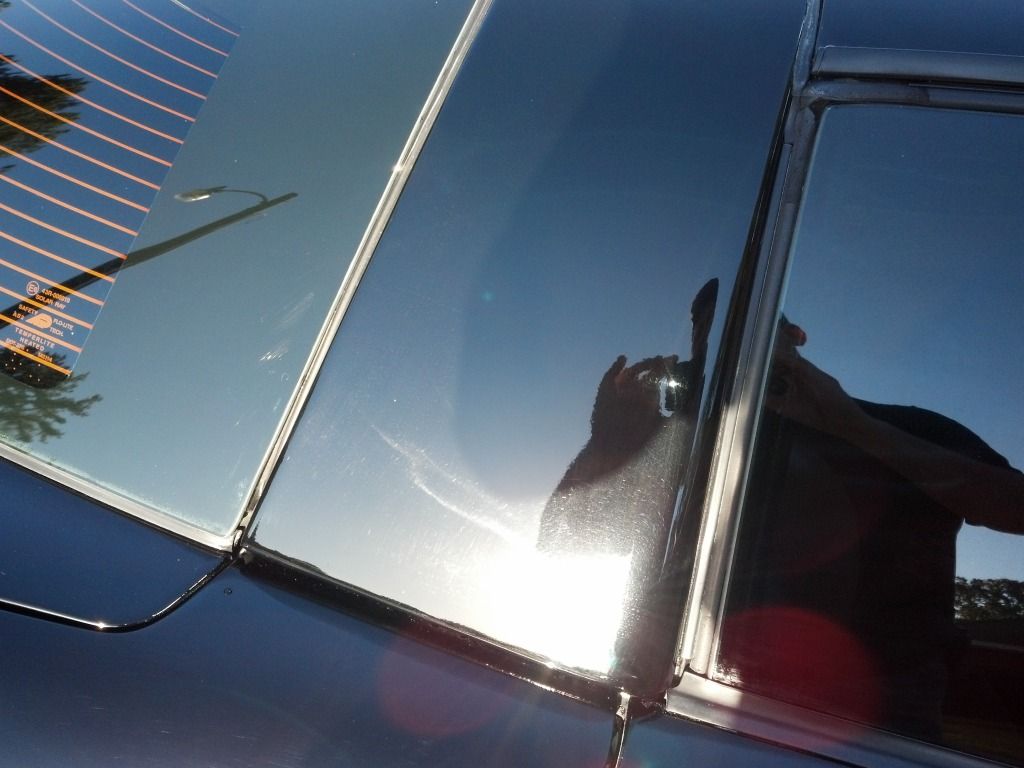
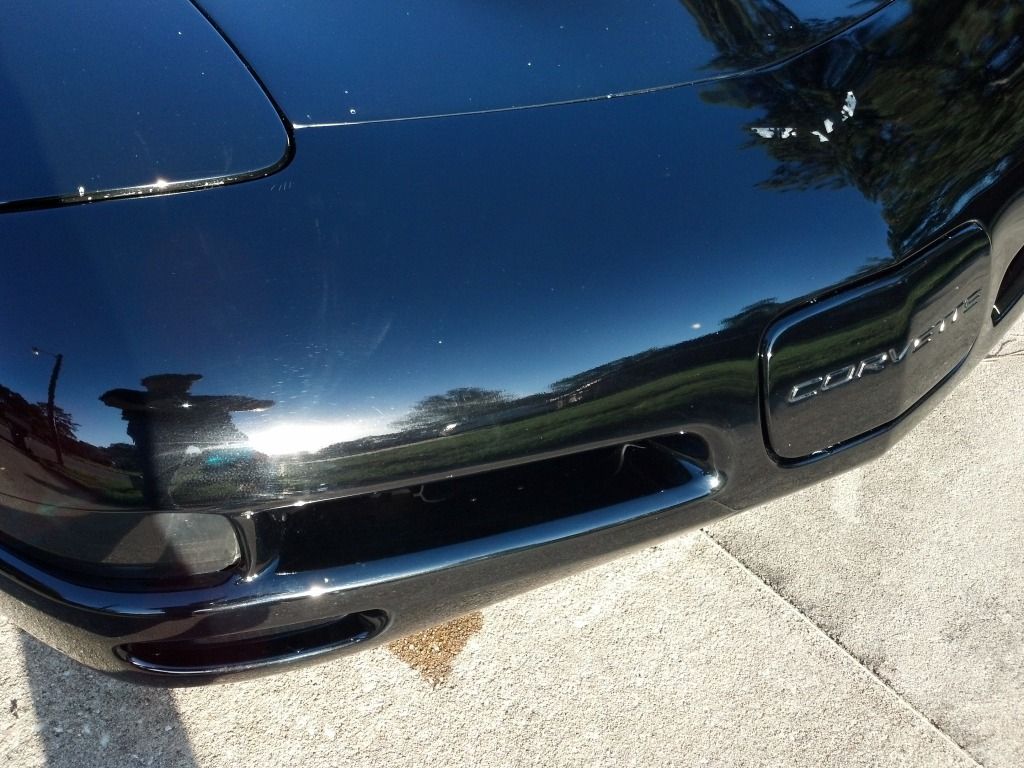
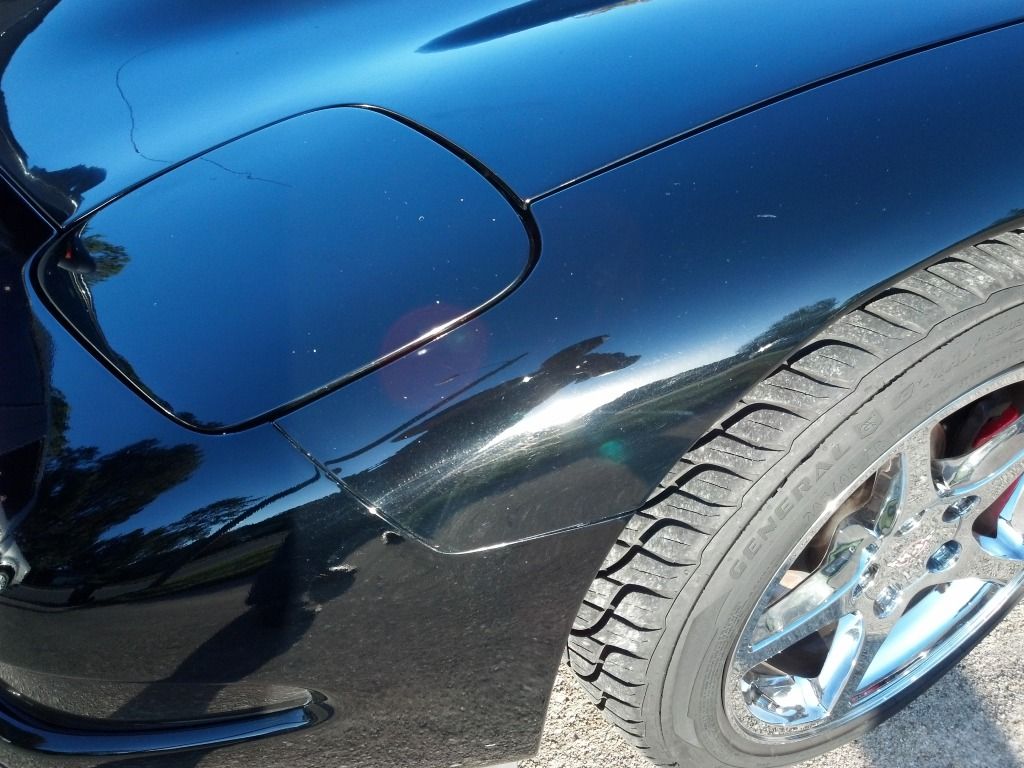
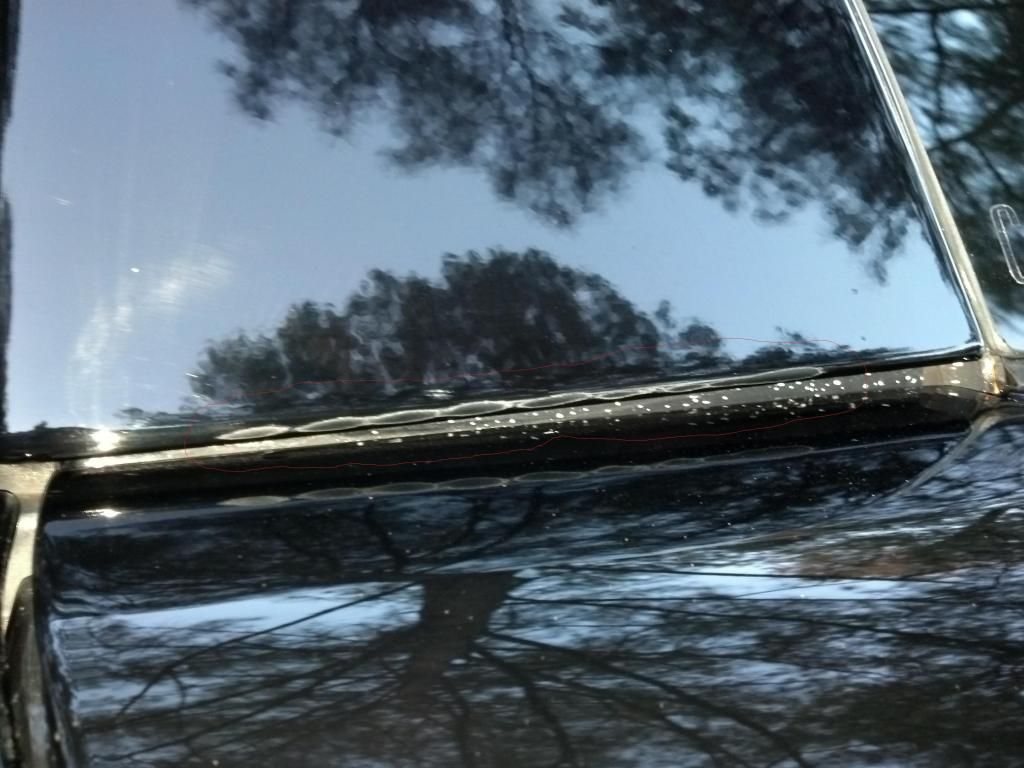
Water Spots:
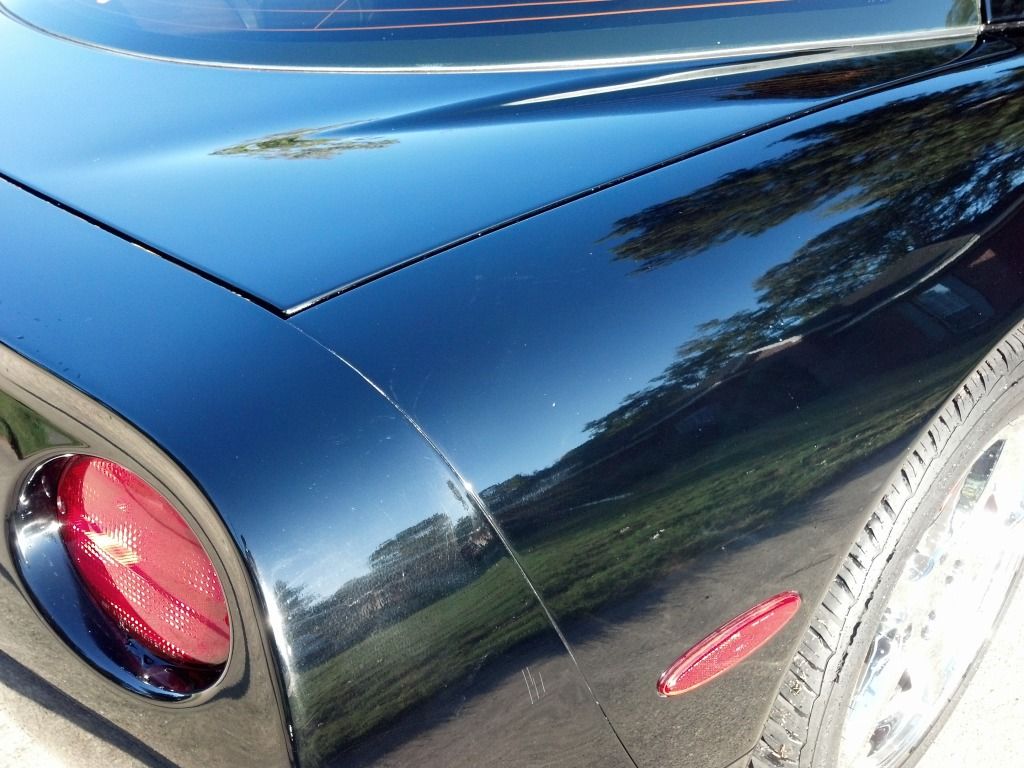
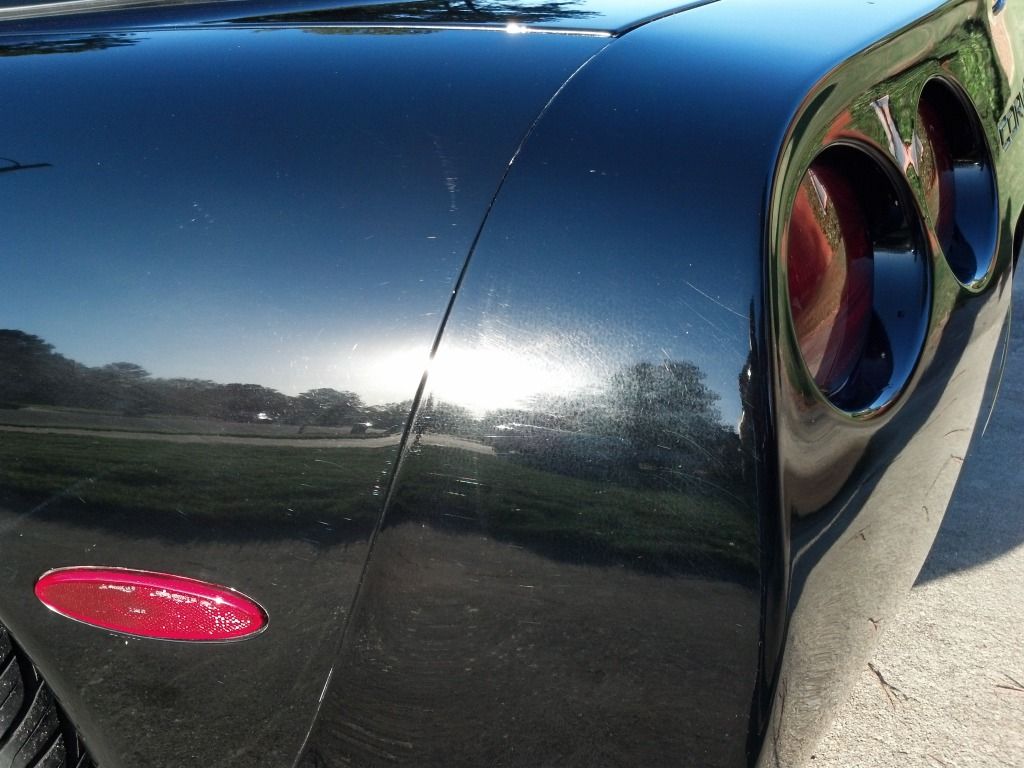
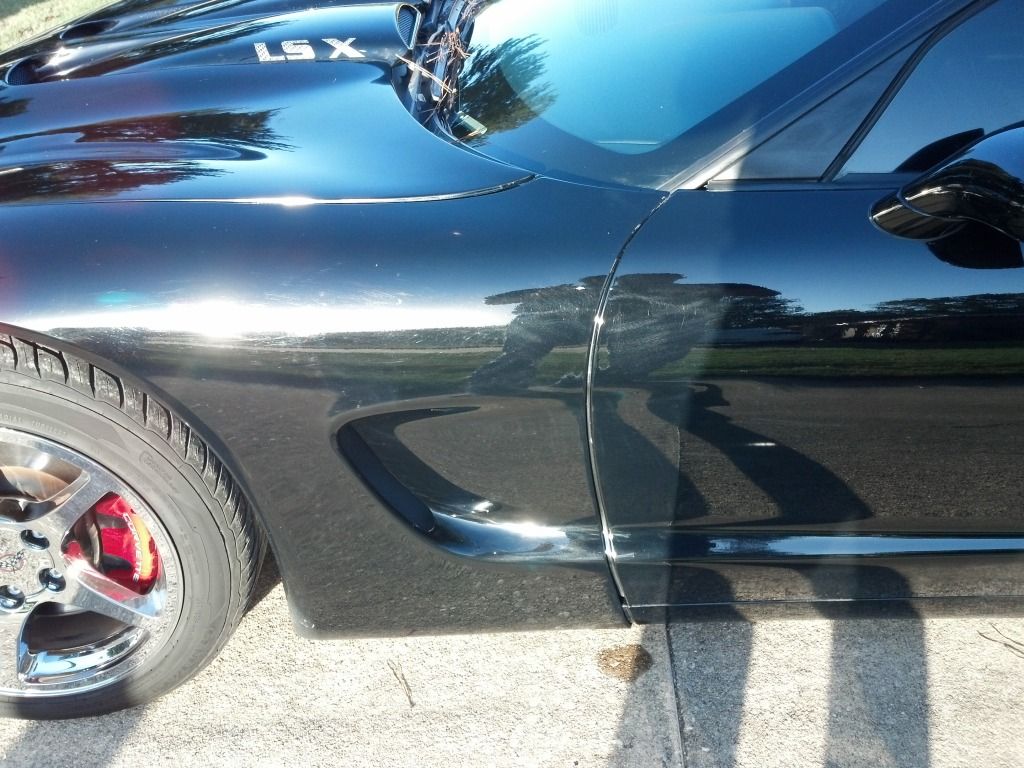
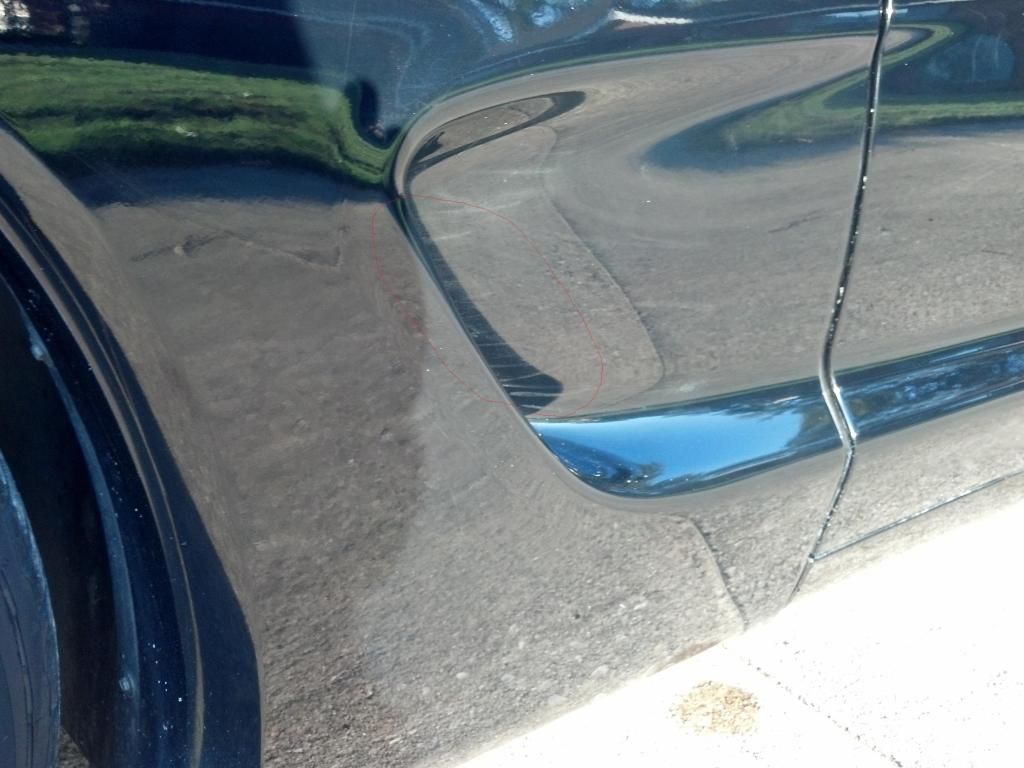
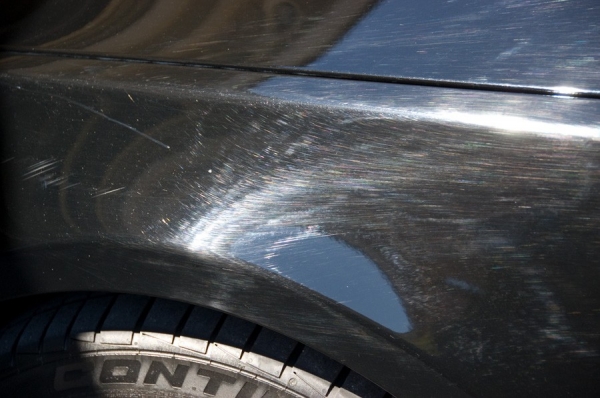
Fender Scuffs:
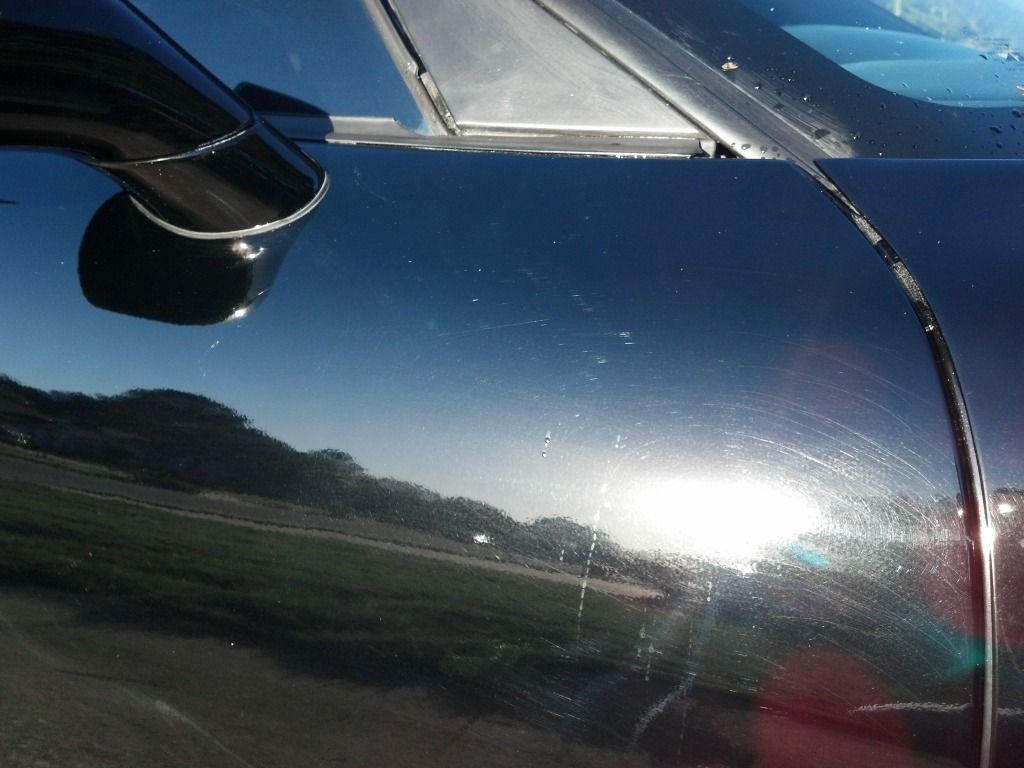
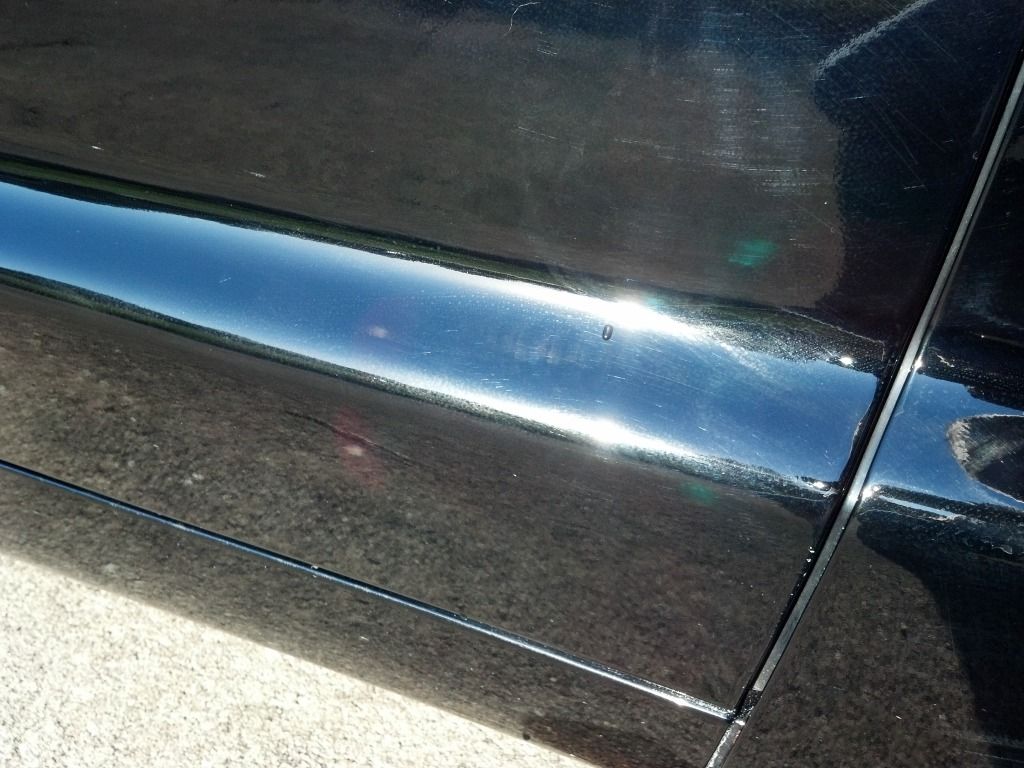
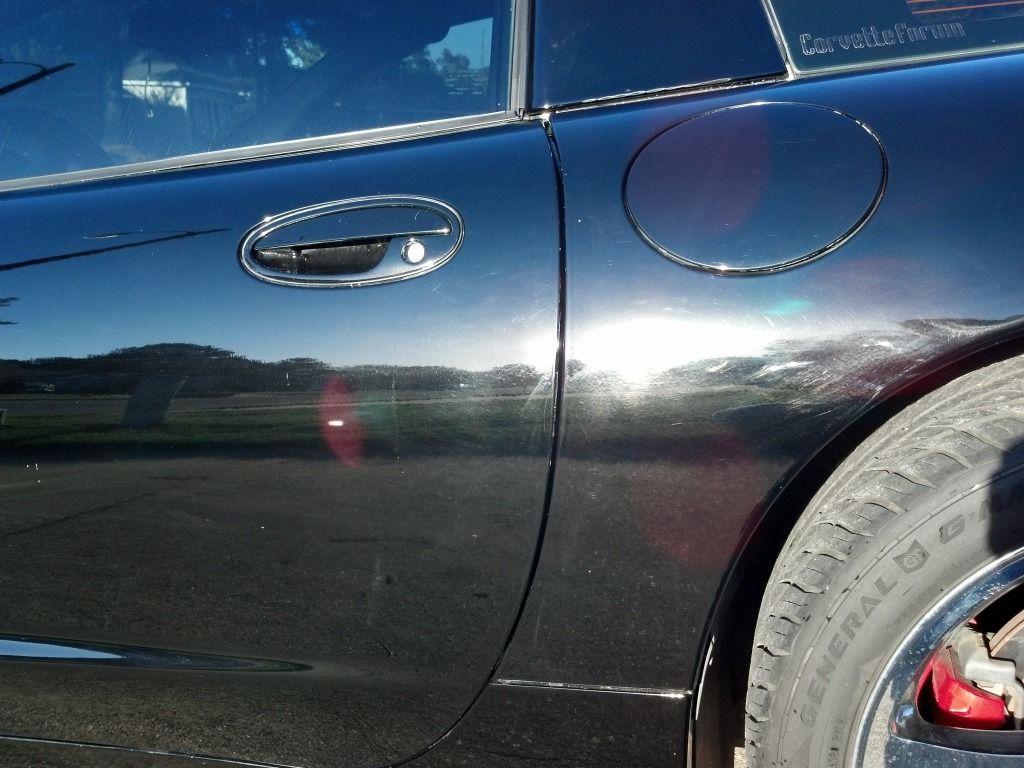
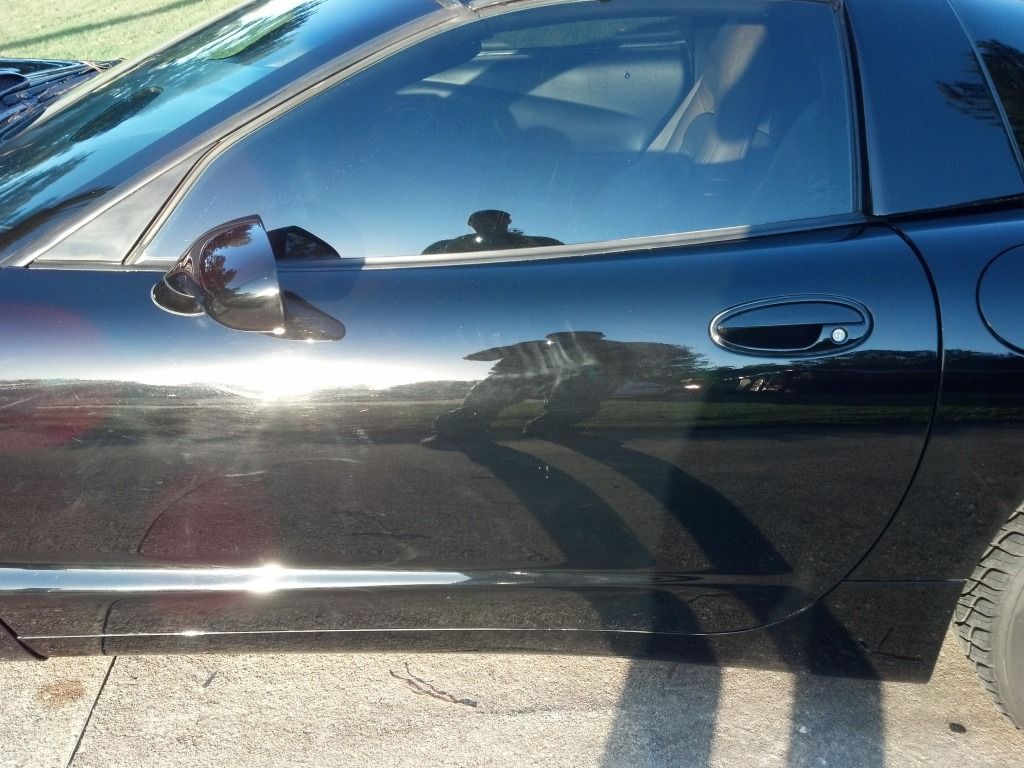
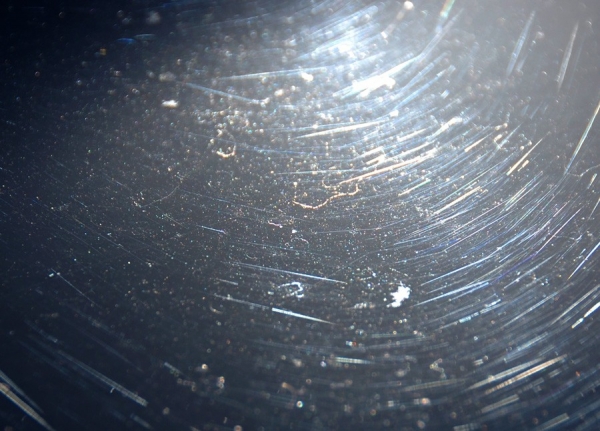
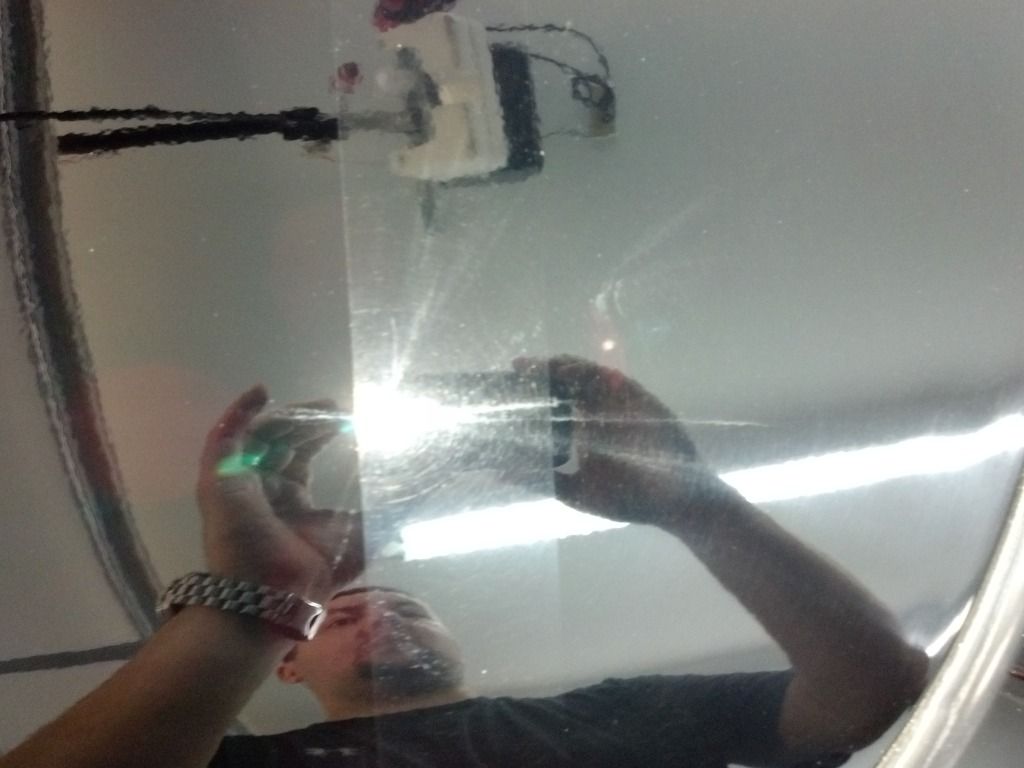
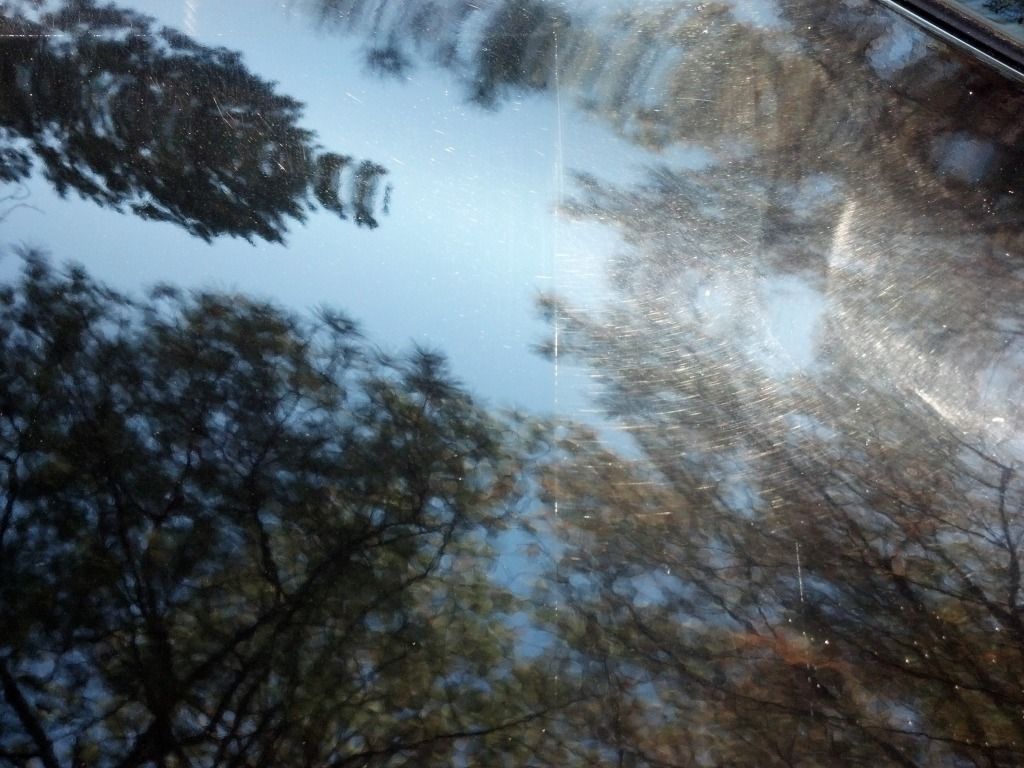
Swirly:

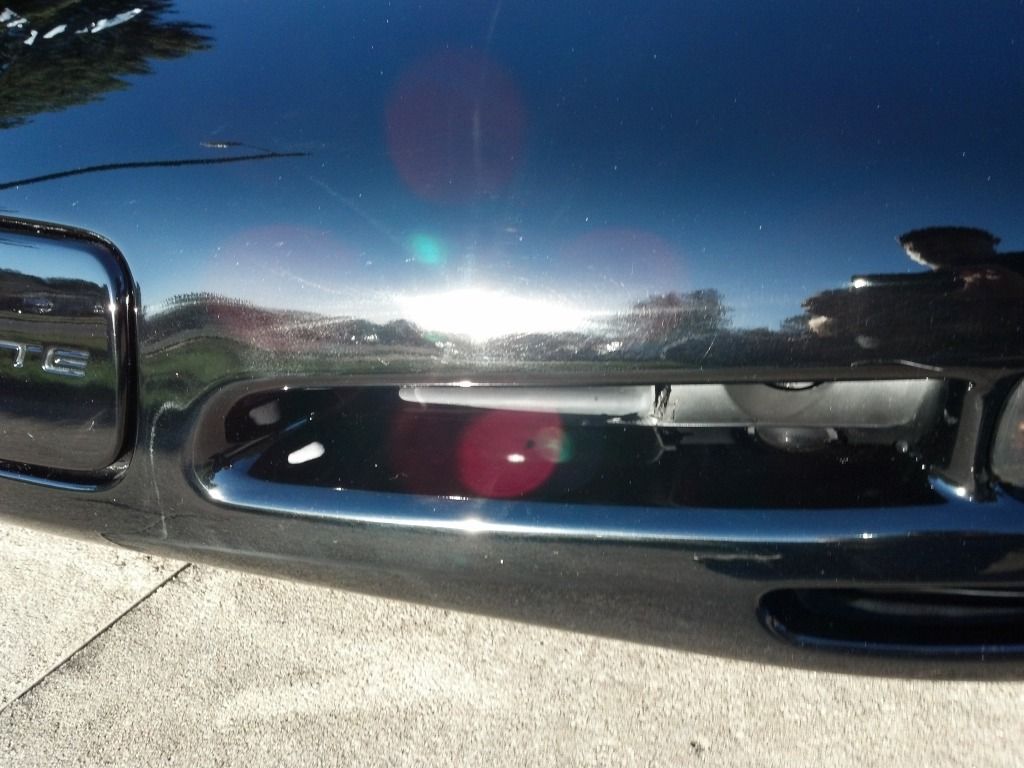
Trunk 50/50:


http://www.autogeekonline.net/forum...you-ag-forum-first-detail-lexus-ls-460-a.html
The paint had swirls and rids like this all over.


And the final package


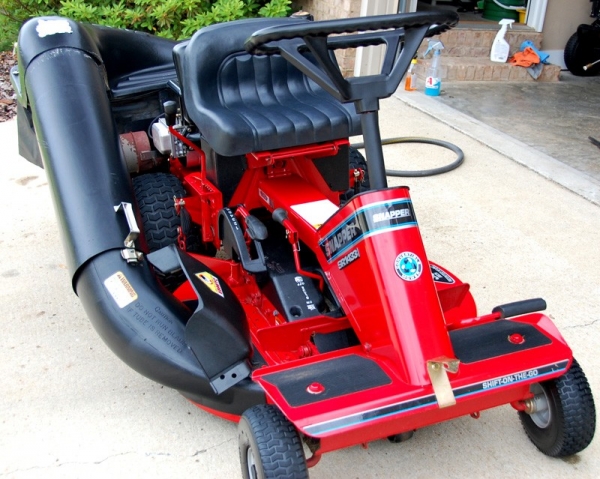
http://www.autogeekonline.net/forum/show-n-shine/35897-today-s-project-2003-snapper-sr1433.html
Before

After
Here's another demonstration of what she can do...
http://www.autogeekonline.net/forum...eme-practice-what-i-did-not-do-chevy-pos.html
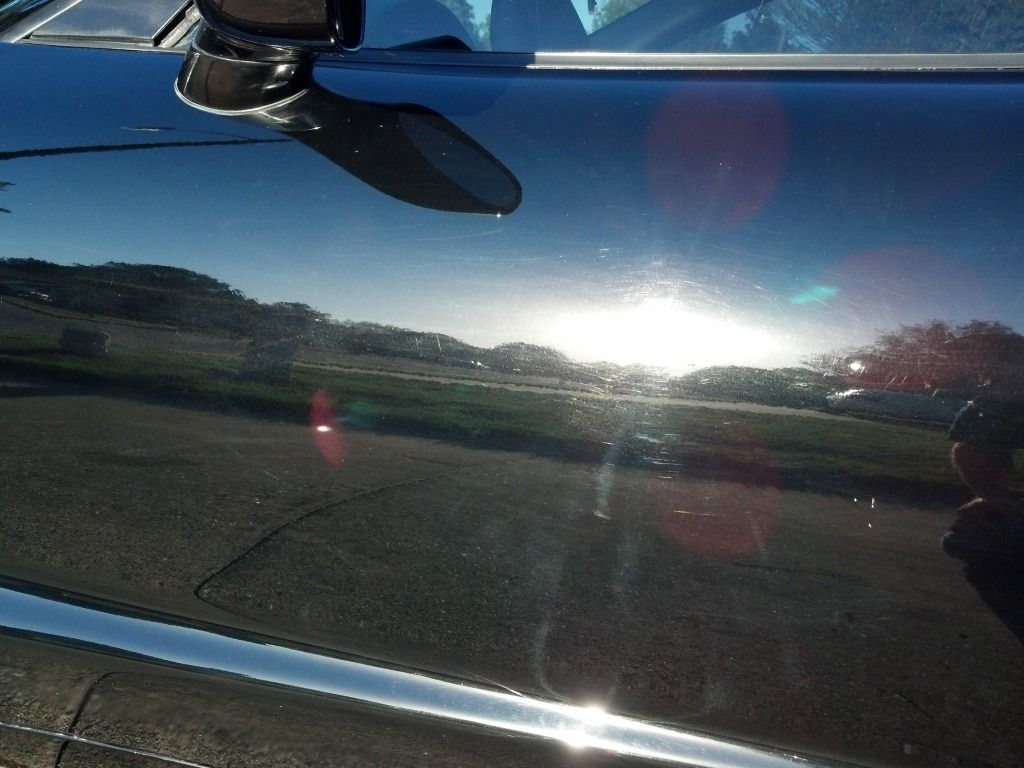
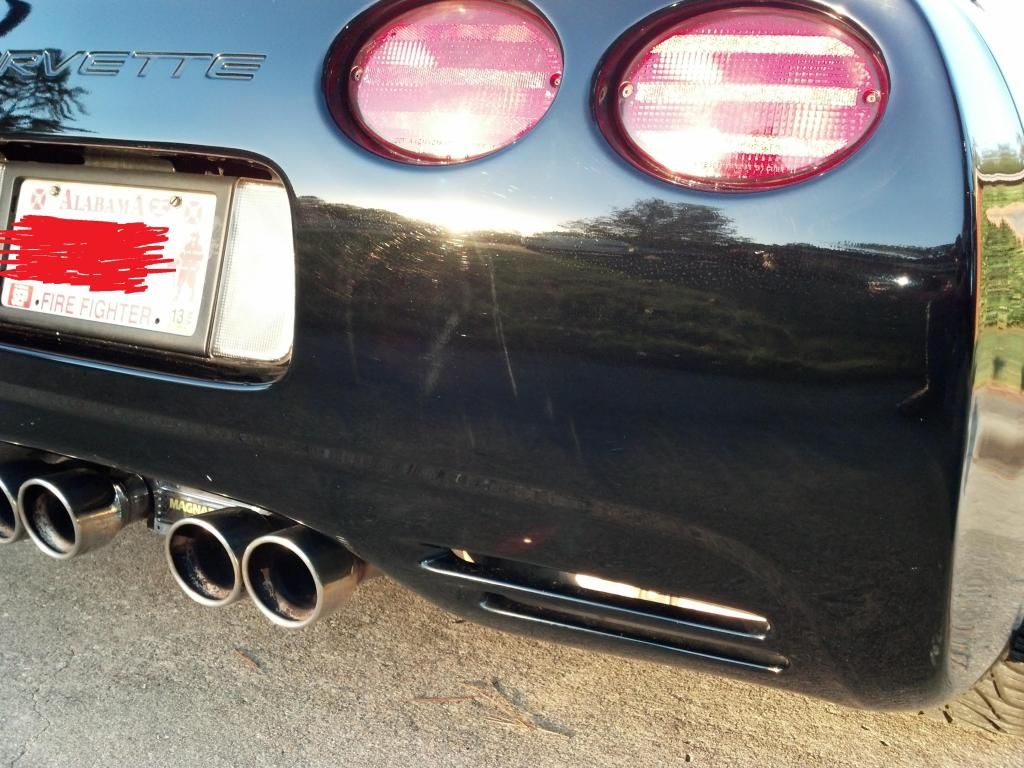
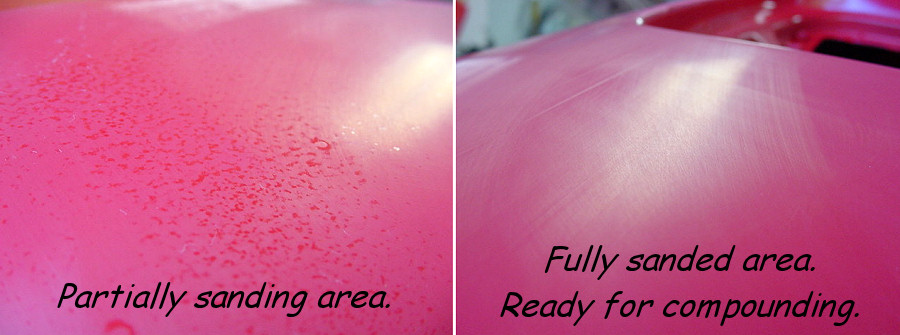
This is an example of scratches I WAS able to remove…


http://www.autogeekonline.net/forum/show-n-shine/22538-1st-post-worthy-detail-2009-ford-ranger.html
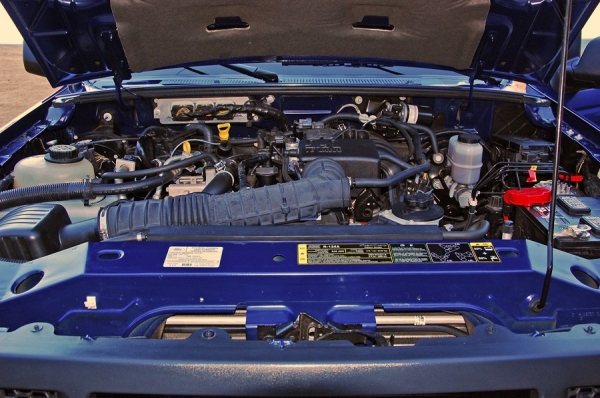
Engine before & after:

I'll send her the link to this thread...
")
Here's some cars Laura's buffed out. She's attended my detailing class and is completely capable of undoing the damage and also showing you the correct techniques for removing swirls and restore a true show car finish.
I can't promise you she'll take the job but we can ask...
Lessons I learned from a Black 2009 BMW 550i
Lesson #1 – Even people with good intentions don’t know how to take care of their paint.
This car is basically the only thing a friend of mine got out of his recent divorce. It has almost 25,000 miles on it and compared to most cars with similar mileage, it was very clean. He had it on a regular schedule with a detailer, and he was very careful with it. He thought he was doing everything right.
Water Spots:
Fender Scuffs:
Swirly:
Trunk 50/50:
http://www.autogeekonline.net/forum...you-ag-forum-first-detail-lexus-ls-460-a.html
The paint had swirls and rids like this all over.
And the final package
http://www.autogeekonline.net/forum/show-n-shine/35897-today-s-project-2003-snapper-sr1433.html
Before
After
Here's another demonstration of what she can do...
http://www.autogeekonline.net/forum...eme-practice-what-i-did-not-do-chevy-pos.html
This is an example of scratches I WAS able to remove…
http://www.autogeekonline.net/forum/show-n-shine/22538-1st-post-worthy-detail-2009-ford-ranger.html
Engine before & after:
I'll send her the link to this thread...


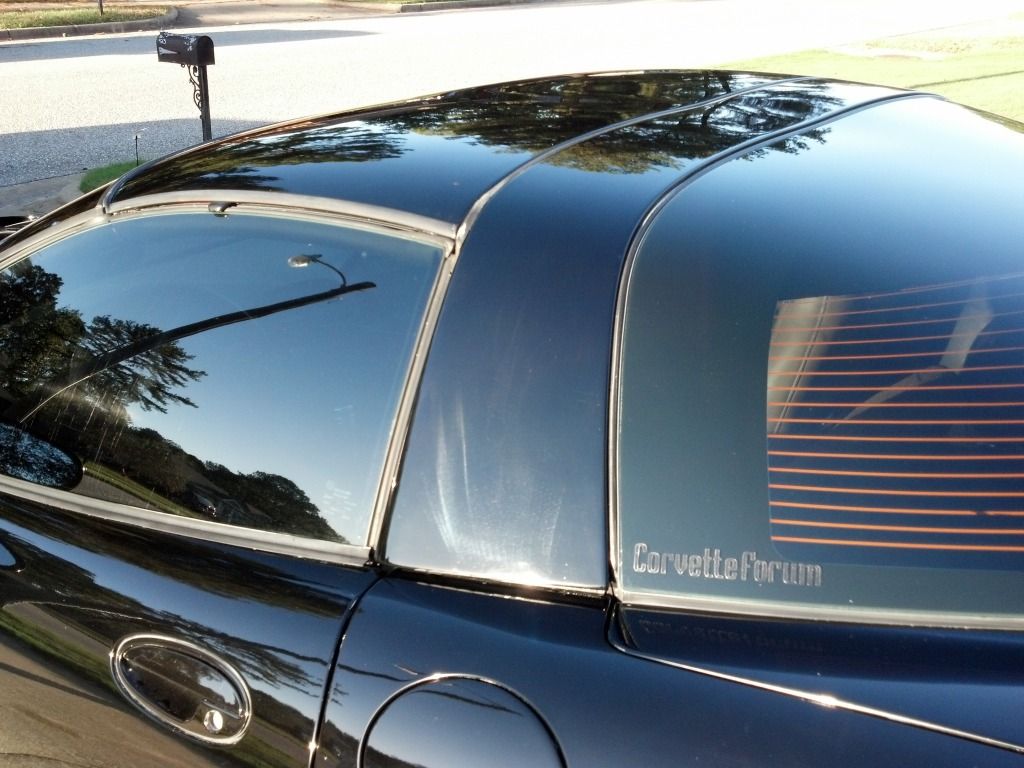
 Look near the bottom of tha halo behind the window (Circled in red).