chemguy626
New member
- Jul 16, 2012
- 294
- 0
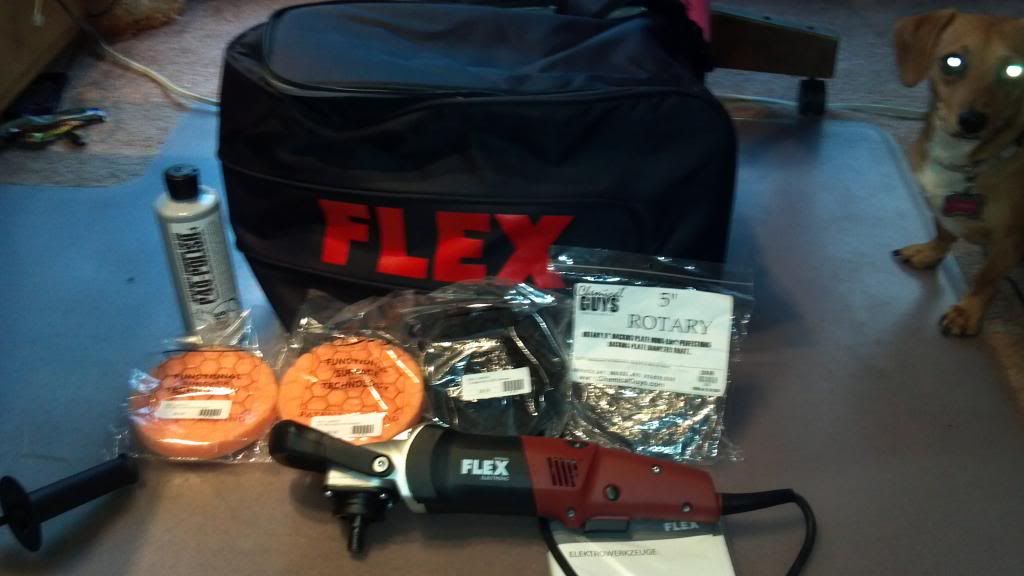
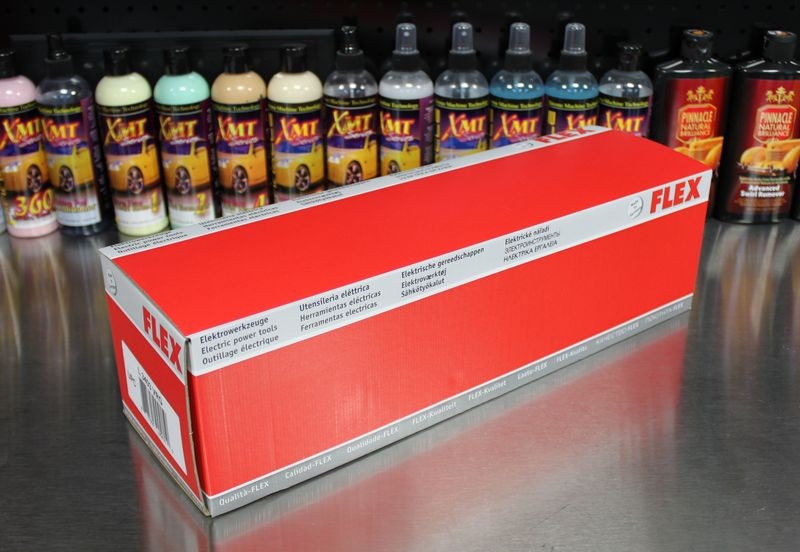
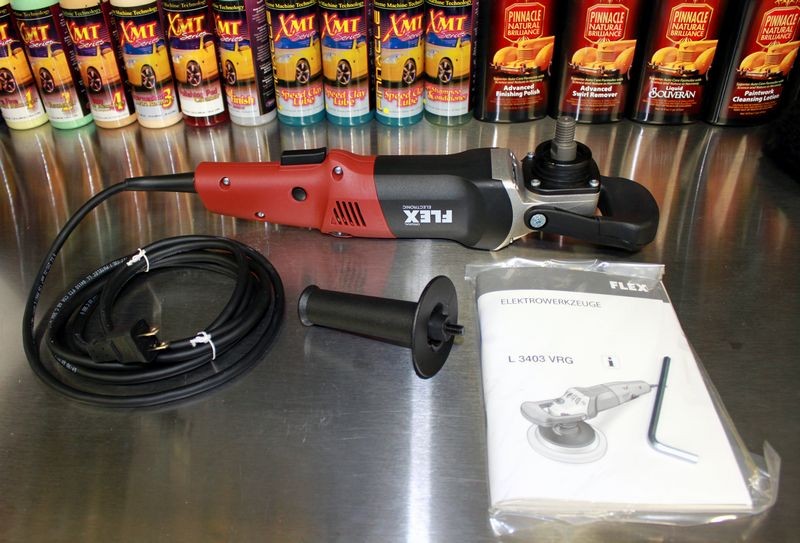
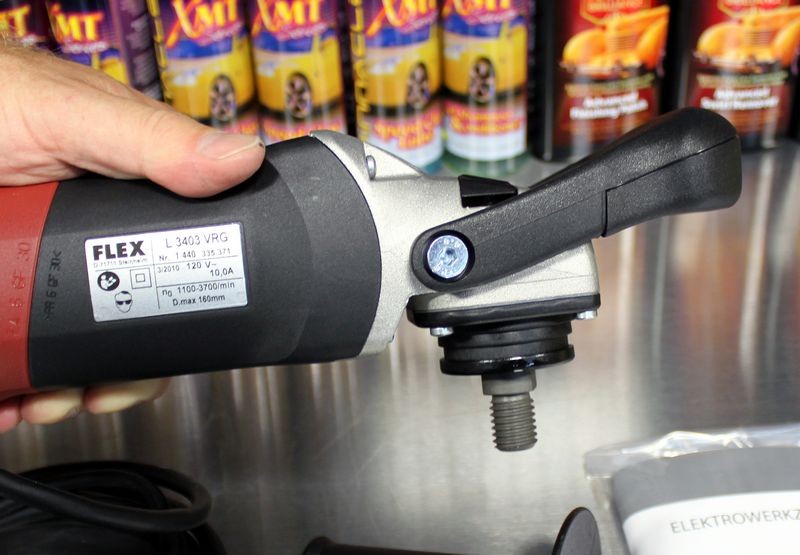
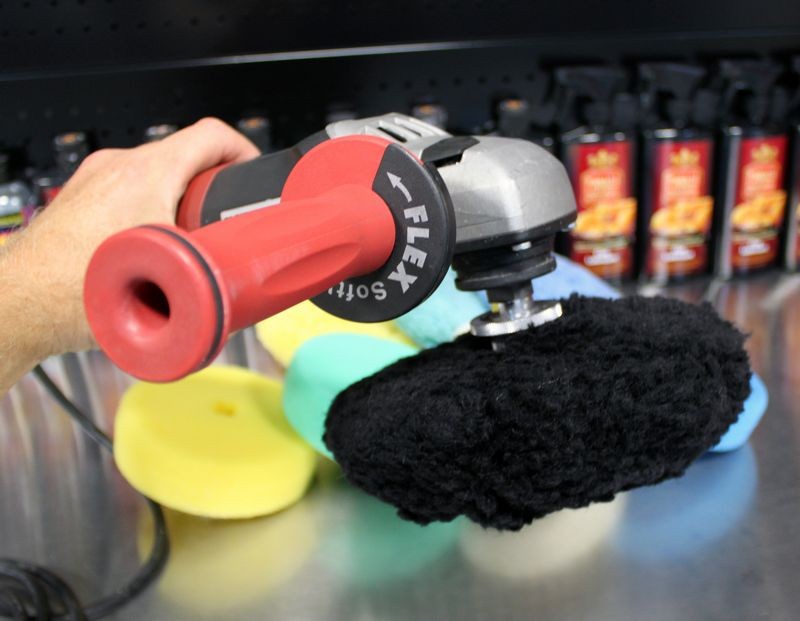
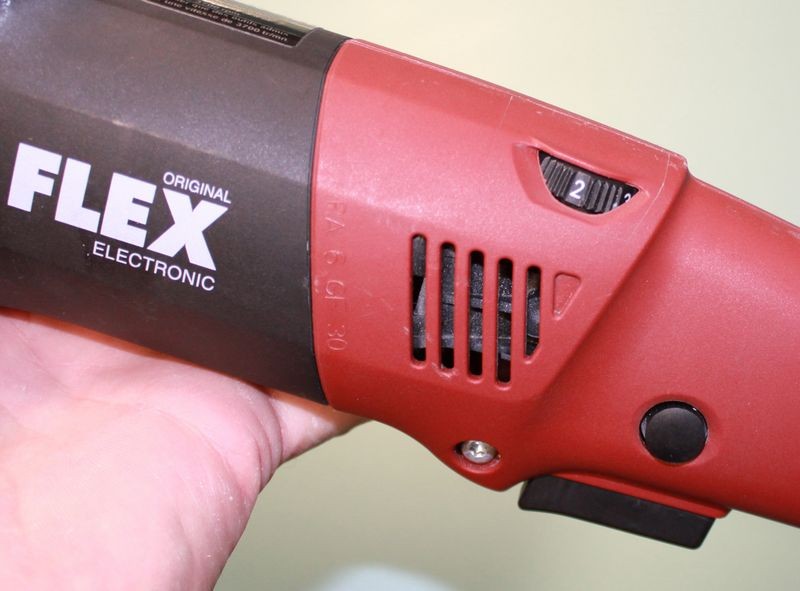
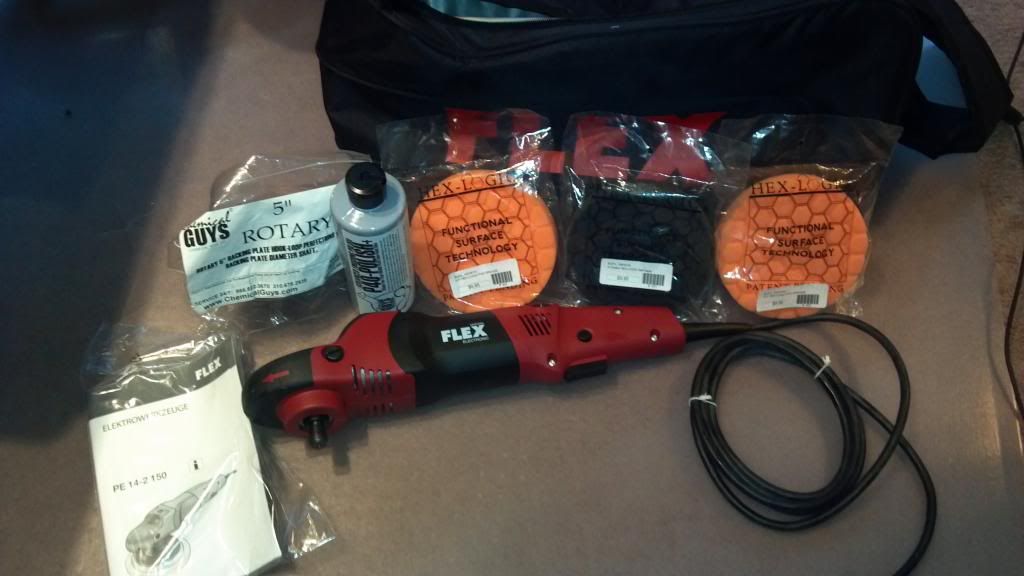
Im looking for overall opinions on this polisher. I just bought one today and wanted to get some feedback before I use it...or return it.
Follow along with the video below to see how to install our site as a web app on your home screen.
Note: This feature may not be available in some browsers.
I use my 3403 with a dynabrade da attachment often. It's like a da on steroids. My makita 9227 sits on the cart more often then not. love it on large areas such as crew cab trucks.
Unless you are just going to use it as a precision buffer for smaller areas and tighter spaces.


Mike Phillips said:How to choose the right polisher for your detailing project
Rotary Buffers are the tool of choice for professionals in the refinishing industry, (body shops where new paint is sprayed), and the reconditioning industry, (car detailing both mobile detailers and fixed locations.
Rotary Buffers, also referred to as Circular Polishers use powerful electric motors to power direct drive gear systems that force a spindle to rotate in one circular direction. When you place a backing plate and a buffing pad onto the spindle you now have a tool that offers the most correction ability out of all the tools listed here. Another way of saying this is a rotary buffer has the ability to remove a lot of paint fast.
Now I know that never sounds good but remember the industries this tool is targeted at and designed for and that's body shops and detail shops.
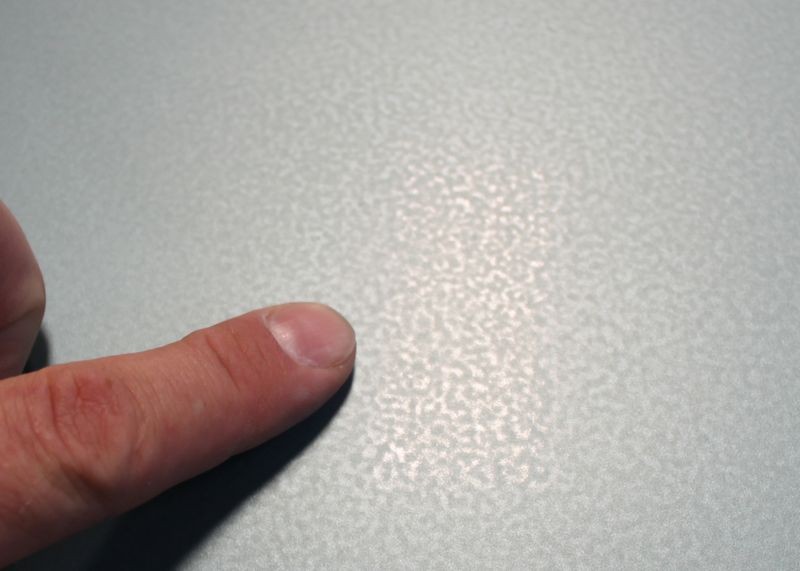
In a body shop situation, often times after a car is sprayed with fresh paint, after the paint dries it may be wet-sanded or color sanded to remove Orange Peel by sanding the textured surface flat. After the finish is sanded flat the next step is to remove the sanding marks which is requires a polisher that has a lot of power to cut into the paint and level it thus removing the sanding marks or sanding scratches.
In the detailing industry, a lot of seasoned professional detailers will want to use a rotary buffer for the same reason, that is they want to use a tool to remove a lot of paint quickly only instead of removing a controlled pattern of sanding marks they want to remove uncontrolled or random deeper defects like swirls, scratches, etching and water spots.
The other tools listed above like the dual action polishers, the Cyclo Polisher and the Hybrid Flex 3401 can all remove these types of deeper, serious defects but just not as quickly as they don't have the same type of power.
This power is a double-edged sword as it enables the user to quickly remove serous paint defects but if the user is not careful they can also heat up the paint on a high point or body line and actually burn or grind through the paint to expose the underlying layer of paint and in some cases the actual metal that makes up a panel.
So with greater power comes the responsibility to master the tool so you don't make mistakes.
Now listed this category as having both an Ease of Use Ranking of 4 and 5 because in this category there is a smaller, lightweight rotary buffer and its small size and lightweight make it dramatically easier to control and mastering a rotary buffer is matter of learning to control a rotary buffer.
The full size traditional models weigh more and their physically larger size just makes them a couple ticks more difficult to learn to control and to actually control when buffing out complete cars.
The learning curve of mastering a rotary buffer is the steepest and longest of all these tools and the tired and true way to learn the way of the rotary buffer is with a combination of education, hands-on training and real-world experience, lots of real-world experience.
")


thanks mike...Good stuff as usual
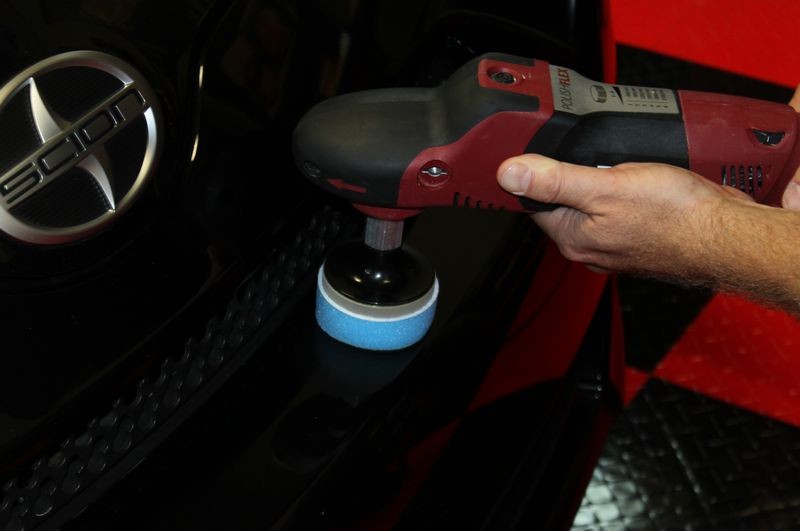
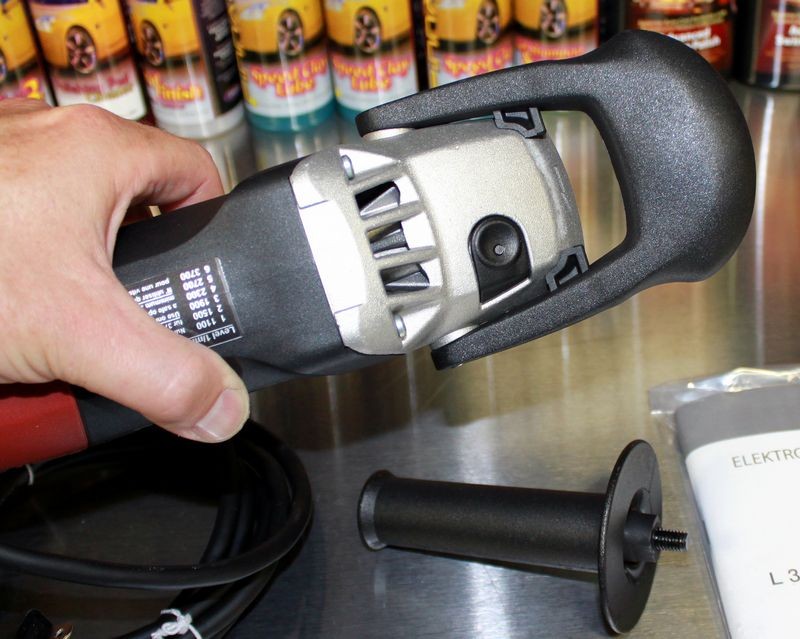
It's also done best with a lightweight rotary buffer with the option to dial down to lower RPM's, thus the Flex PE14 is a better choice as it has an RPM range of 400 to 2100
400rpm's, when did this happen?
 rops:
rops: