Rupes side by side detail - 1955 Crown Victoria

Yeah Mike, thanks for the replies. I wasn't knocking you and Yancy about the battery issue. Just poking fun.

Took it like that too... :)


With the busy schedule you carry Mike I am always just amazed out how much you pack into it and always at such high quality. Okay, now you and Yancy wont be able to fit in the same room with those big heads.LOL;)

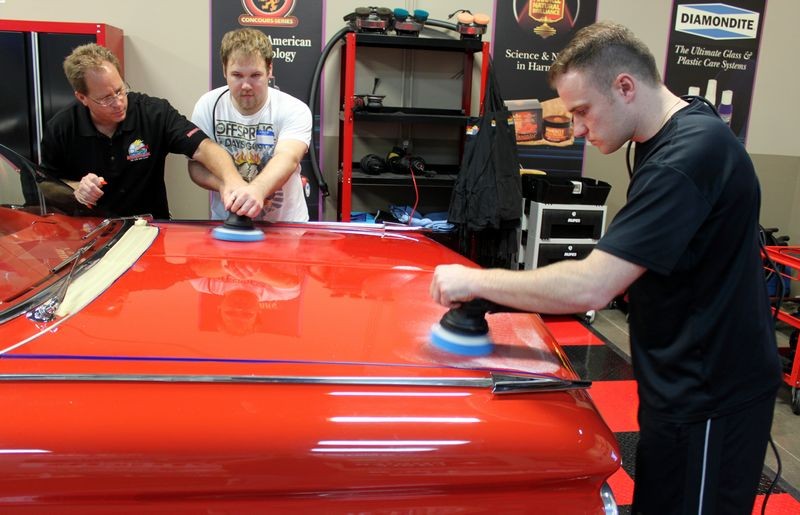
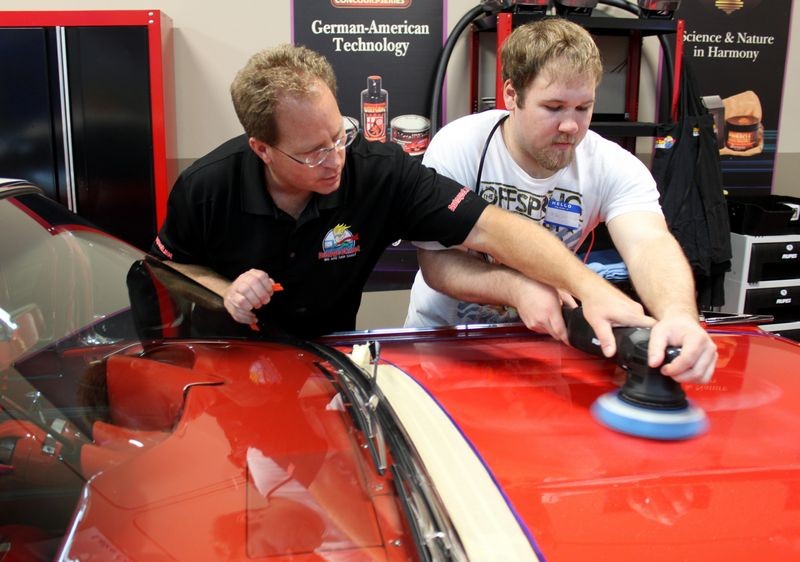
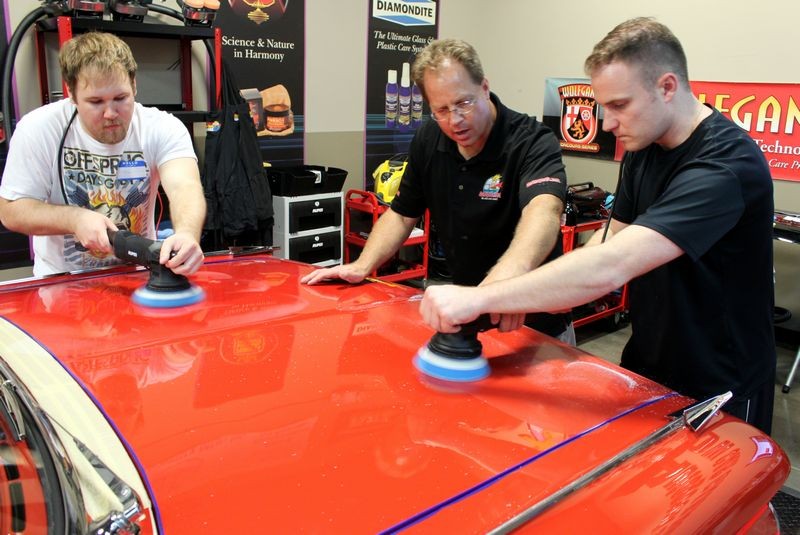
Ha ha... I actually can't remember a time in my work life that I've been busier... just finished a detailing bootcamp class, had a private class last Saturday and this weekend I have a full two day wetsanding, cutting and buffing class plus all polishers all weekend... besides the classes there's a lot of prep work that goes into them and then a lot of follow-up work that follows them.

Maybe I missed it but did you clean the pad on-the-fly? Not critiquing either way just wondering how the Big Foot system performed with so much use on each pad.

Great question I'm glad you asked.

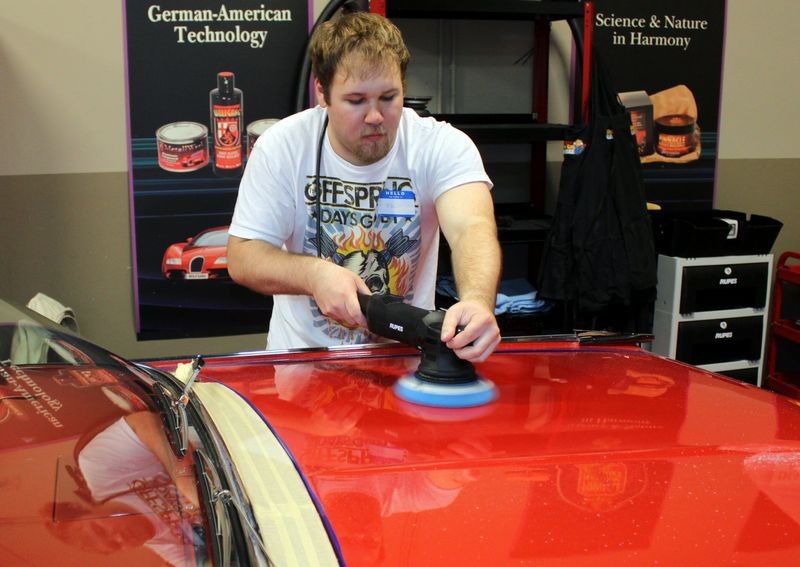
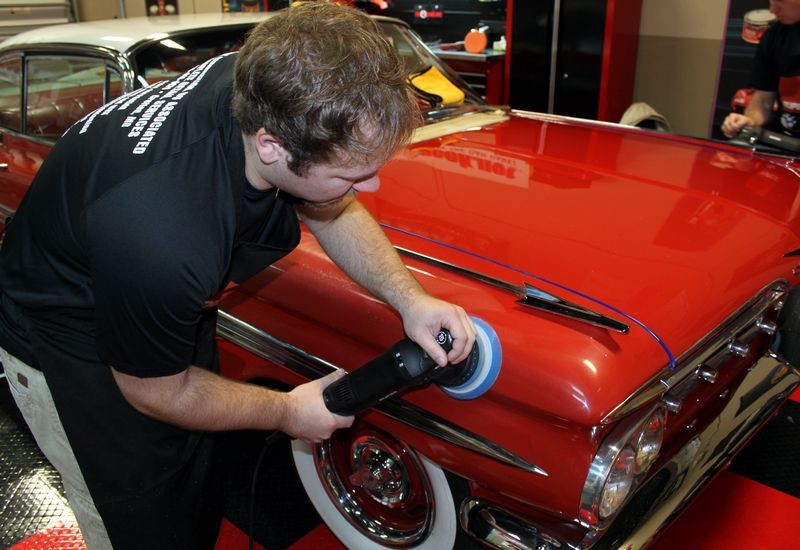
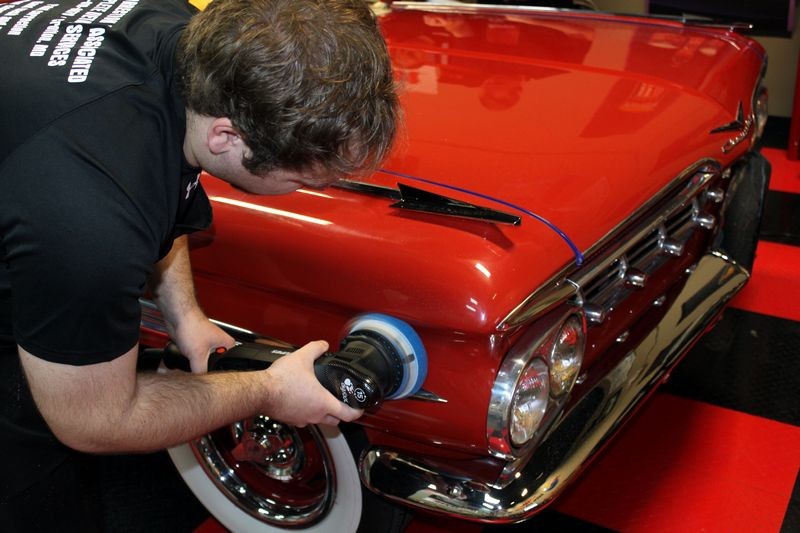
I used the normal terry cloth towel, pad cleaning technique shown here,


How to clean your pad on the fly
[video=youtube_share;NuyrBrqz_YU&hd=1"]How To Clean Your Pad..." target="_blank">How To Clean Your Pad...[/video]​


It's only a tick more difficult to do than with a PC. I actually did this in front of the camera numerous times thinking at least once it would get snapped but I guess it didn't.

I also showed using the orange nylon pad cleaning brush on the pad and I cleaned my pad after each section pass religiously. Again, I'm thought the time lapse camera would have caught this at least once? We'll definitely make some changes in the future for future TL projects.

I also had an air squirter and a Tornador Air Gun but neither of these really worked very well.


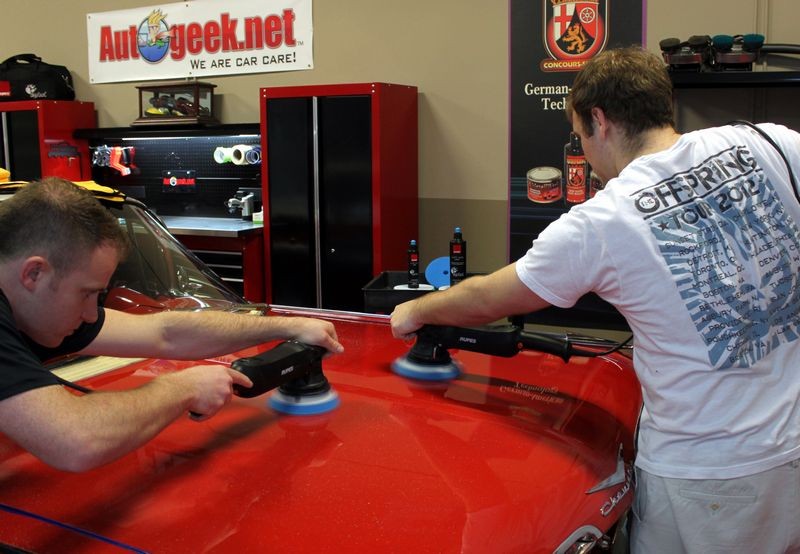
Guess either way that would be normal pad count/use. You used six pads total for compound and polish steps?

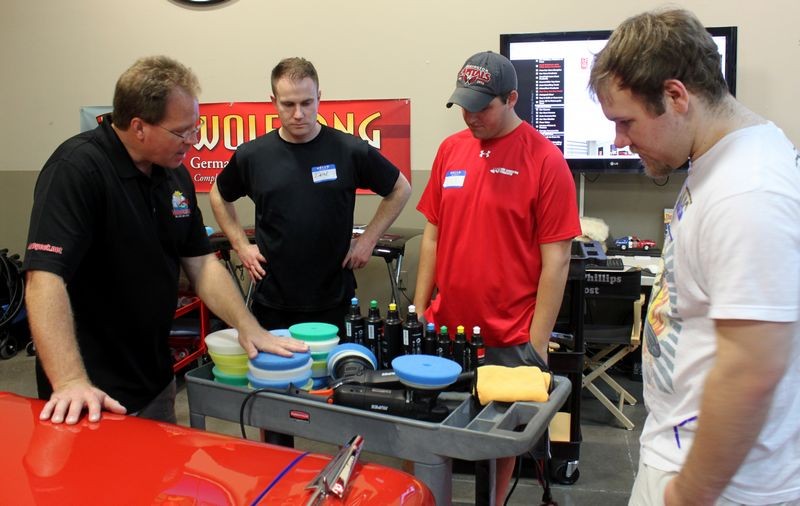
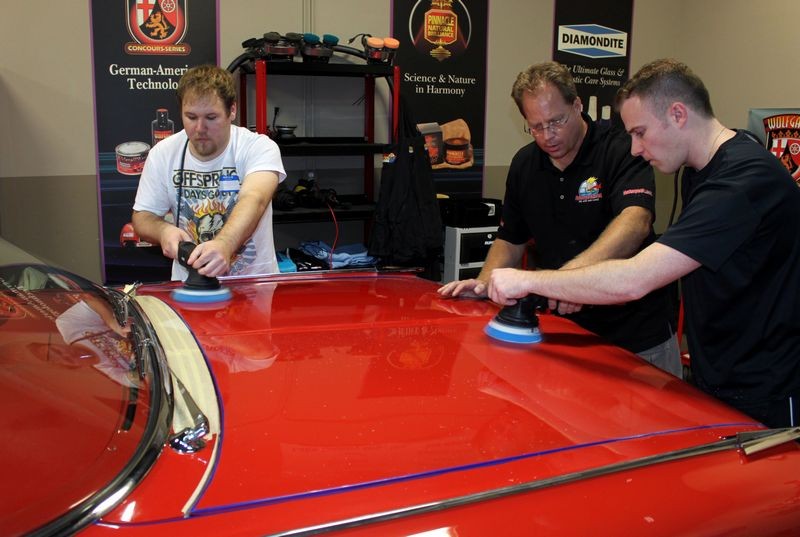
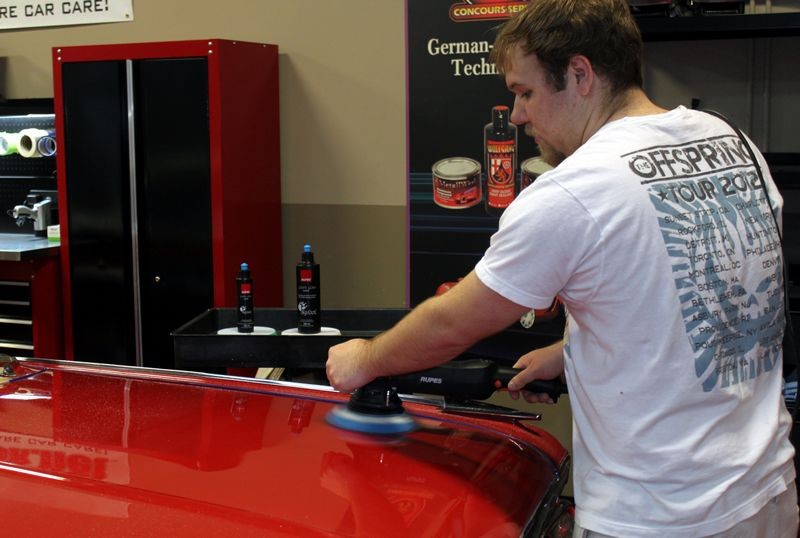
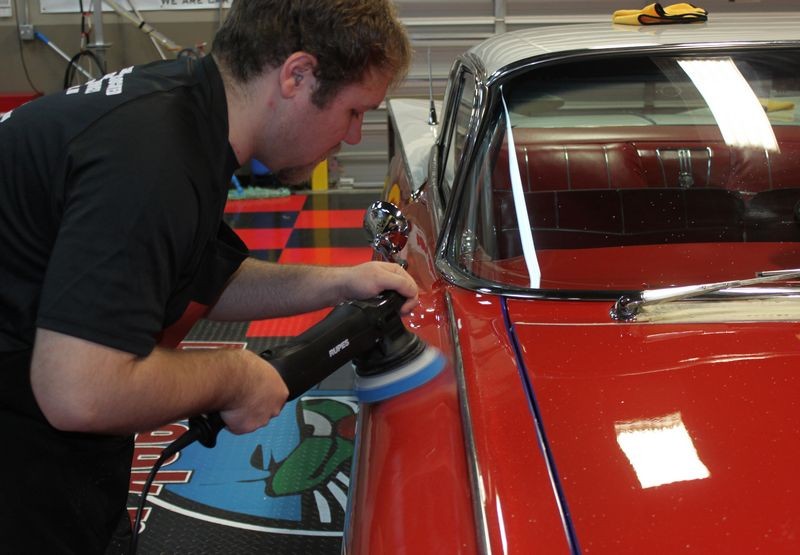
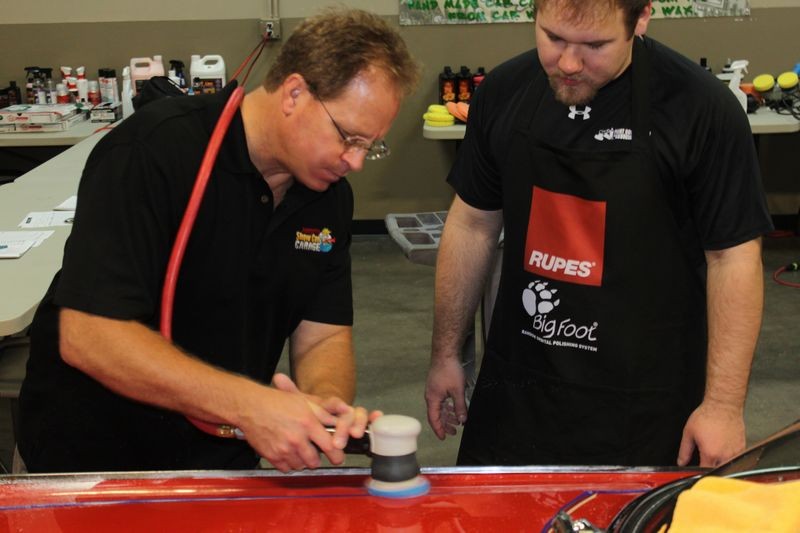
8 pads total including 4 - four inch pads, one blue one for compounding, one white one for polishing, one yellow one for polishing and one more white one for machine applying the wax.

BTW, What did the owners say when they picked up the Crown? Would bet they were excited to see it to say the least.


They were ecstatic. Kept oohing and ahhing... and they tried to take me to lunch but I have/had too much work to do...

:)
 
Thanks Mike for all that info/explanation. I assumed you were cleaning on the fly but thought someone else that didn't know you habitual techniques may mistake that you used one pad per side for each step, never cleaned them on-the-fly. I only watched the TL video once and thought I saw the Tornador in there for a split second but didn't rewind to verify. Either way now everyone that reads this in the future will know. Sure at some point you will show the techniques you described with the RUPES. I guess the time lapse does take more tweaking than I would've thought. Sure you and Yancy will work it for future productions. :)
Can't believe you rejected a "free" lunch.LOL;)

Sent from my SAMSUNG-SGH-I897 using AG Online
 
I was at AG today and able to inspect this car real up close and personal. This is a big car with a lot of area, lot of chrome, edges and other protrusions to chew up the pads. This car also had the Continental extension. We inspected the car outside, I don't think Mike missed polishing an inch of it. I'm impressed that many pads were not destroyed, As I recall only the blue pads were pretty worn and knowing Mike he will get some more use out of them.
 
Last edited:
I was at AG today and able to inspect this car real up close and personal.

We inspected the car outside, I don't think Mike missed polishing an inch of it.


Hi Fred,

It's always good to see you my friend. That was good timing coming by before the owners picked the car up to take her home.


I hope you'll agree the finish looks as good or better in person as it does in the pictures...


:xyxthumbs:
 
I object your honor! Leading the witness!... JK LOL
Hopefully, someday, I get to see some of your work in person Mike. Can only imagine how the Vic looked in person after seeing the pics. Props!:)

Sent from my SAMSUNG-SGH-I897 using AG Online
 
Hi Fred,

It's always good to see you my friend. That was good timing coming by before the owners picked the car up to take her home.


I hope you'll agree the finish looks as good or better in person as it does in the pictures...


:xyxthumbs:
What the pictures don't adequatly show is the detal, this is what you don't see in the forum shots. The corners were all polished, all surfaces to the edges the badges were all cleaned to the edges, polished as well as all other chrome and aluminum.

Mike took the car outside for inspection in sunlight and found a few square inches of wax and I spotted a little splatter in a door jamb. This type of detail is what makes "The Detail" show car quality.

I object your honor! Leading the witness!... JK LOL
Hopefully, someday, I get to see some of your work in person Mike. Can only imagine how the Vic looked in person after seeing the pics. Props!:)

Sent from my SAMSUNG-SGH-I897 using AG Online
LOL no leading the witness here, just a desire to do the best possible job.
 
Last edited:
I rest my case Fred.LOL I believe you and appreciate you insight on the details of how Mike produces a show car finish.

Mike, which RUPES tool allowed you to do such good edge work?

Sent from my SAMSUNG-SGH-I897 using AG Online
 
I rest my case Fred.LOL I believe you and appreciate you insight on the details of how Mike produces a show car finish.

Mike, which RUPES tool allowed you to do such good edge work?

Sent from my SAMSUNG-SGH-I897 using AG Online


Somewhere in this thread, or in this thread,

Rupes Polisher Time Lapse Video - 1955 Ford Crown Victoria


I posted that I thought the smaller 6" pads were easier to maintain rotating/ocillating on edges and curved panels. I had to reduce pressure and allow the rotations to return and then spend time carefully buffing these areas.

Reminded me of using a Porter Cable/Megs G110v2/Griot's.

I also used the 4" pads on the Rupes LHR for tight areas. This air powered tool works pretty good. I set our air pressure gage to 90 PSI with the tool running not at a non running condition. It's a little trickier using a small air powered polisher with a larger orbit strock, you definelty need to keep the pad against the paint durin operation because if you don't the pad will spin up very fast and the foam will want to deform due to inertia. In other words...

Focus on the task at hand...


I have a private class this weekend and all my students will have a chance to test out these tools on a 1959 Impala. This should give them plenty of real-world experinece to get a feel for the Rupes tools as well as all the tools we carry here at Autogeek.


Pictures: The Art of Polishing Paint Advanced Detailing Classes


The above link is a placeholder for after the class.


:)
 
Thanks for the reply and insight for us all. I remembered the post but wasn't sure if what Fred saw/mentioned was the work of one particular tool. I assumed most the edge work was tackled with RUPES 75, but didn't know if the 15 was efficient for working close to edges and correcting well. Thanks for verifying. Here is your quote I cut from the post 44; second to last thing written before pic of Dodo Hard candy wax.


Mike Phillips said:
Below are the approximate times for buffing out each side of this car with the different tools, the times are close enough that I would not purchase one tool over the other nor recommend one tool over the other for any "time factors" but I would say that for most people, buffing out most modern cars with their modern body panel designs, the Rupes 15 with the 5" backing plate and the 6" pads will be a better match.


Sent from my SAMSUNG-SGH-I897 using AG Online
 
Last edited:
Thanks for the reply and insight for us all. I remembered the post but wasn't sure if what Fred saw/mentioned was the work of one particular tool.

I assumed most the edge work was tackled with RUPES 75,

Correct.


but didn't know if the 15 was efficient for working close to edges and correcting well.

As long as you adjust how you hold the tool to maintain pad rotation the smaller 6" pad on the Rupes Bigfoot 15 can be used next to edges and around curves.

I did find that in the stock configuration, the pad will stop rotating when buffing curves in the same way the pad on a Porter Cable will stop rotating when buffing curves.

This is also why it's more accurate to compare the Rupes polishers to Porter Cable polishers than to the forced rotation, gear-driven Flex 3401. With the 3401 the pad never stops rotating no matter what the shape of the panel.


:)
 
In post #2 and #3 of this thread

Pictures: The Art of Polishing Paint Advanced Detailing Classes


You can see two guys using the Rupes 15 and 21 for the first time and as they use the tool they practiced "good technique and that's holding the pad flat to the surface when buffing flat panels and using a little more pressure than just the weight of the machine and reducing pressure when buffing cured panels.


Removing Swirls and Scratches

Next up, the guys are going to get some hands-on time behind the pneumatic 15 and pneumatic Mini Polishers.
The_Art_of_Polishing_Paint_1Class_066.jpg


Rupes 21
Giving Mike a little hands-on training on arm speed, pattern and downward pressure, this is the first time Mike had ever used the Rupes 21 polisher...

The_Art_of_Polishing_Paint_1Class_067.jpg


The_Art_of_Polishing_Paint_1Class_068.jpg


Rupes 15
Working with Derek and the Rupes 15 Polisher...

The_Art_of_Polishing_Paint_1Class_069.jpg


The_Art_of_Polishing_Paint_1Class_070.jpg


The_Art_of_Polishing_Paint_1Class_071.jpg


Both guys have experience using Porter Cable and Griot's Garage DA Polishers and picked up really quick on how to use the Rupes polishers...

The_Art_of_Polishing_Paint_1Class_072.jpg


The_Art_of_Polishing_Paint_1Class_073.jpg


The_Art_of_Polishing_Paint_1Class_074.jpg


The_Art_of_Polishing_Paint_1Class_075.jpg


The_Art_of_Polishing_Paint_1Class_076.jpg


The_Art_of_Polishing_Paint_1Class_077.jpg


The_Art_of_Polishing_Paint_1Class_078.jpg


The_Art_of_Polishing_Paint_1Class_079.jpg


The_Art_of_Polishing_Paint_1Class_080.jpg


The_Art_of_Polishing_Paint_1Class_081.jpg


The_Art_of_Polishing_Paint_1Class_082.jpg


The_Art_of_Polishing_Paint_1Class_083.jpg


The_Art_of_Polishing_Paint_1Class_084.jpg


The_Art_of_Polishing_Paint_1Class_085.jpg


The_Art_of_Polishing_Paint_1Class_086.jpg


The_Art_of_Polishing_Paint_1Class_087.jpg


For getting the thin panel between the hood and the stainless steel trim we used the Rupes LHR75 3 Inch Pneumatic Random Orbital Polisher

The_Art_of_Polishing_Paint_1Class_088.jpg


The_Art_of_Polishing_Paint_1Class_089.jpg


The_Art_of_Polishing_Paint_1Class_090.jpg


The_Art_of_Polishing_Paint_1Class_091.jpg


:xyxthumbs:
 
Back
Top