Mike Phillips
Active member
- Dec 5, 2022
- 51,004
- 7
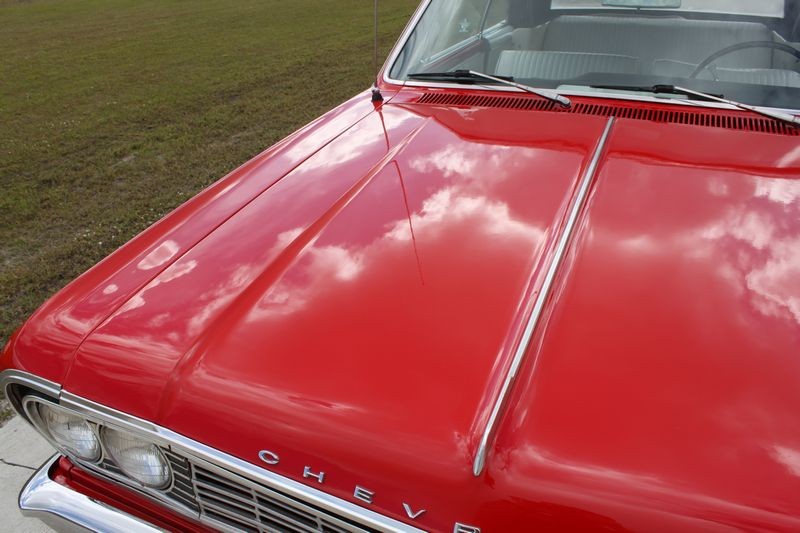
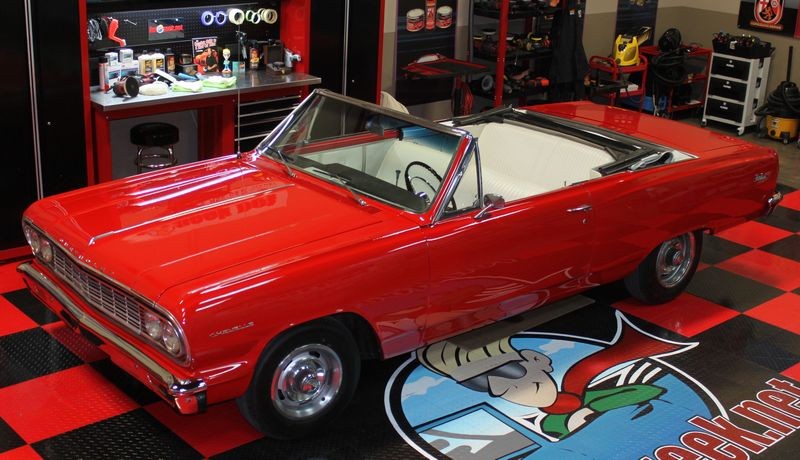
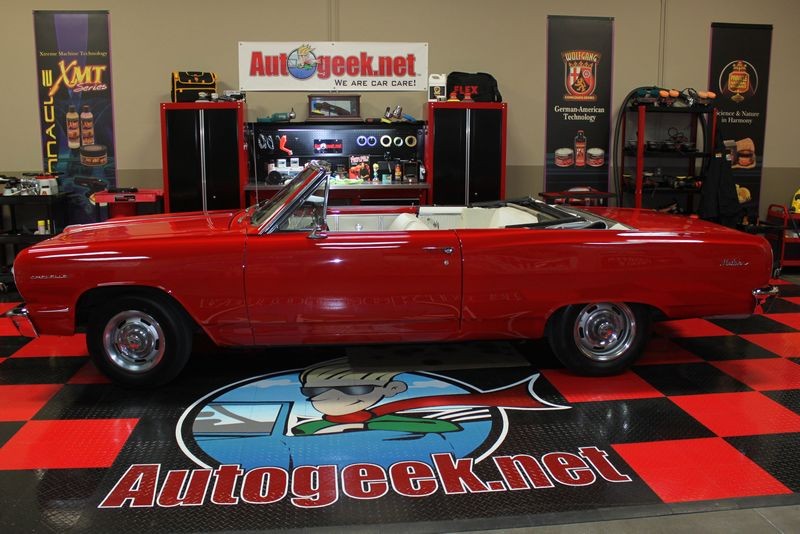
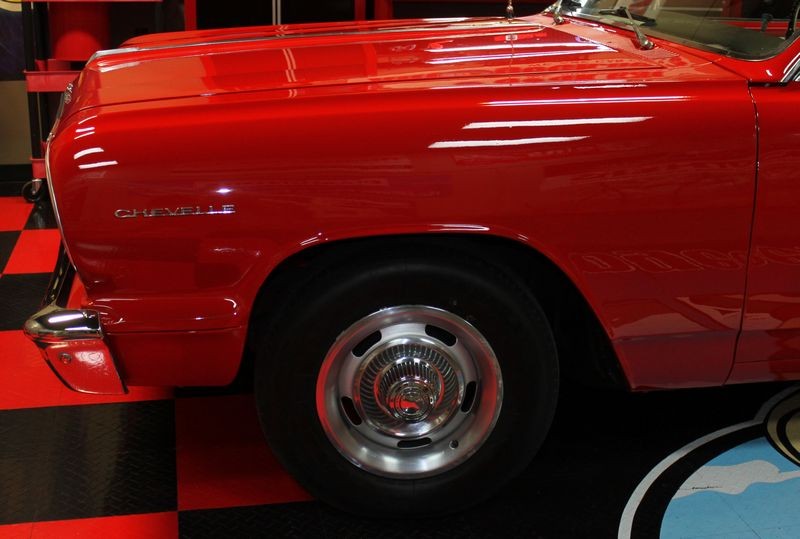
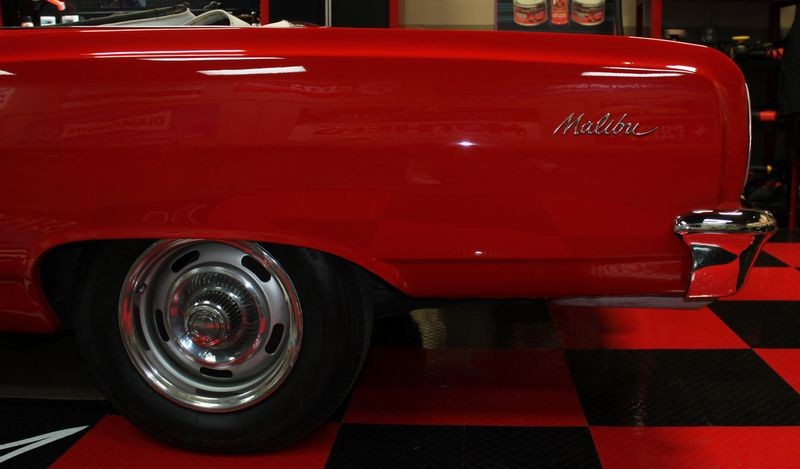
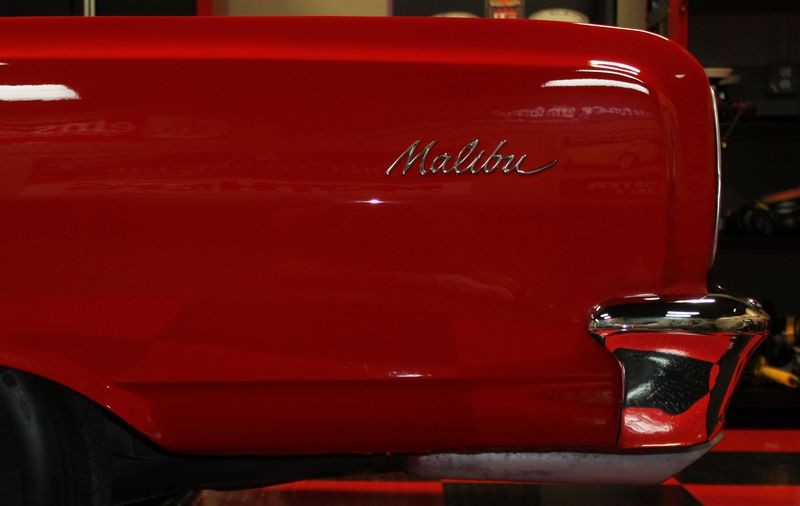
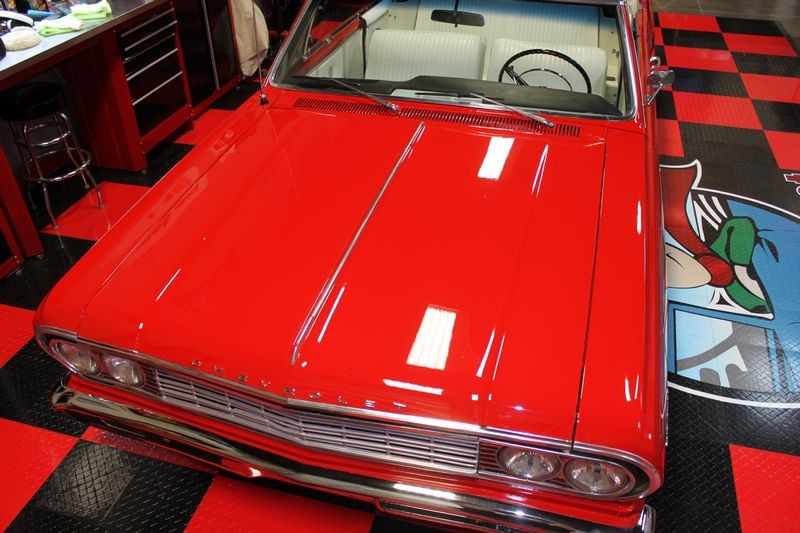
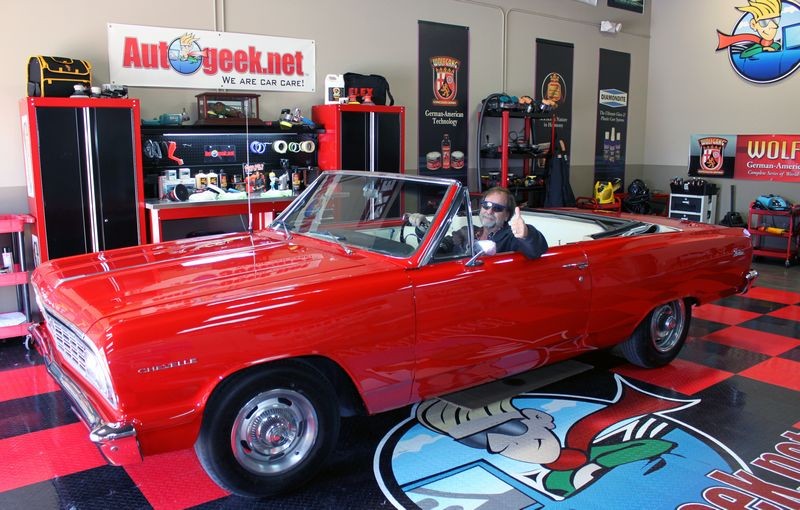
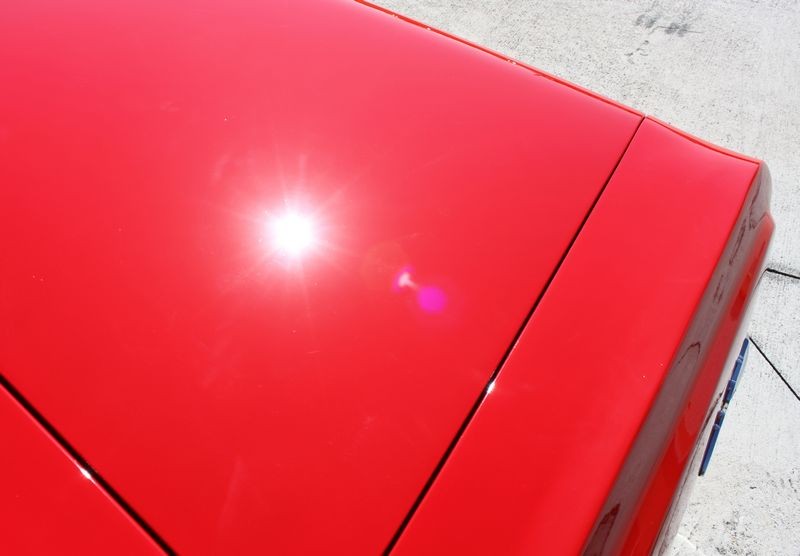
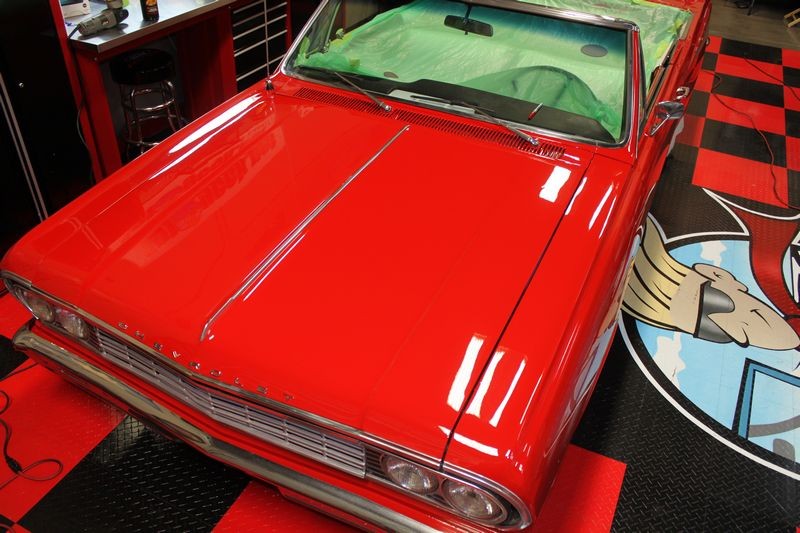
Time-Lapse Video: Wetsand, Cut and Buff 1964 Malibu
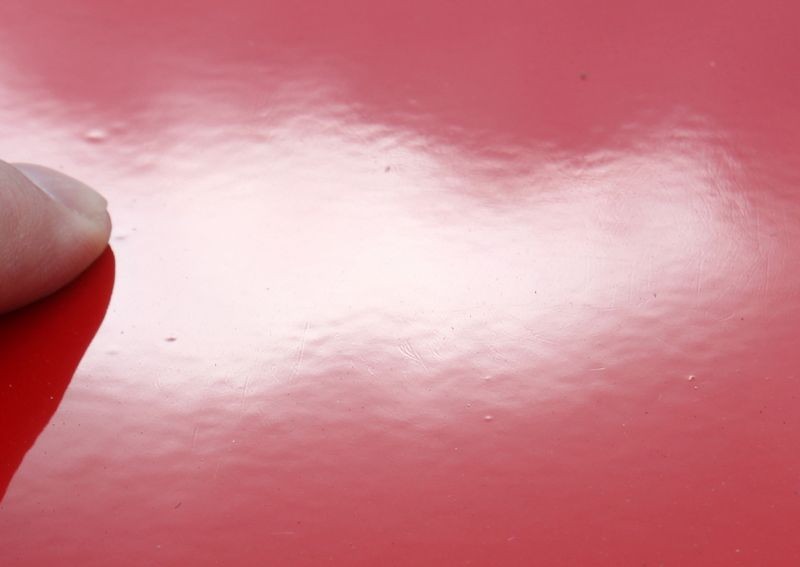
I started the actual sanding around 10:00am this morning and have about 75% of the car done and all the way through to wax. Just have the passenger side vertical panels left to do.
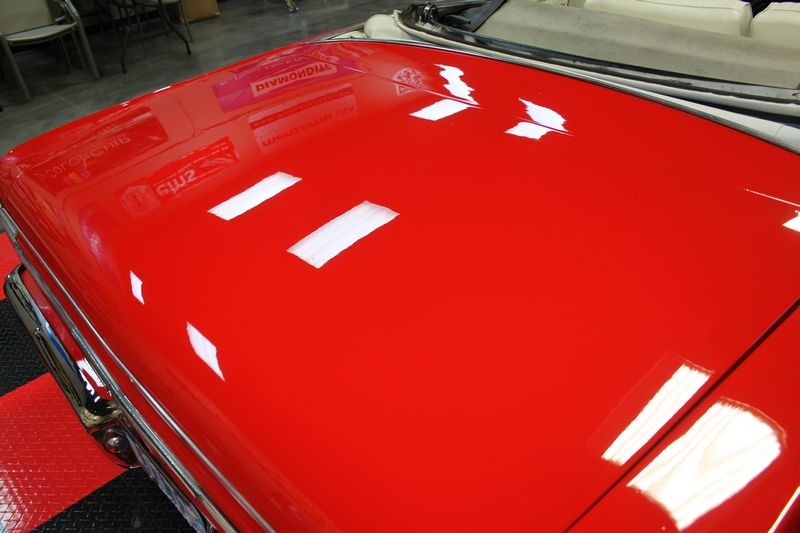
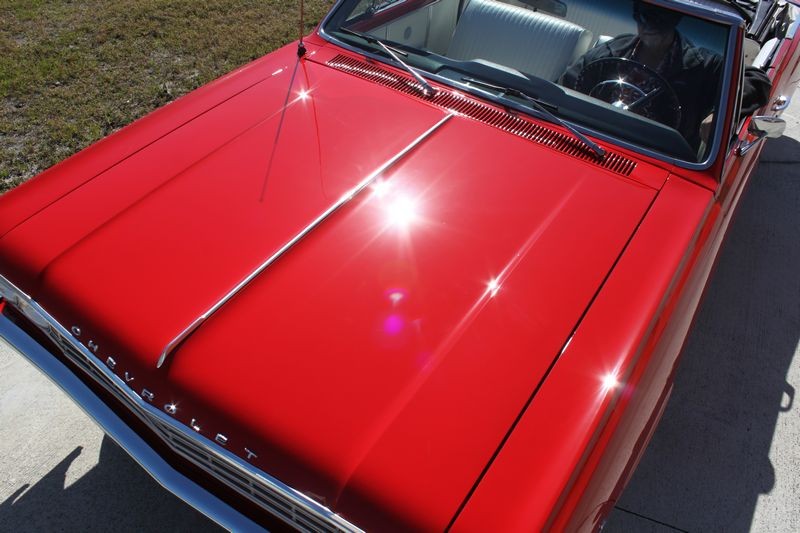
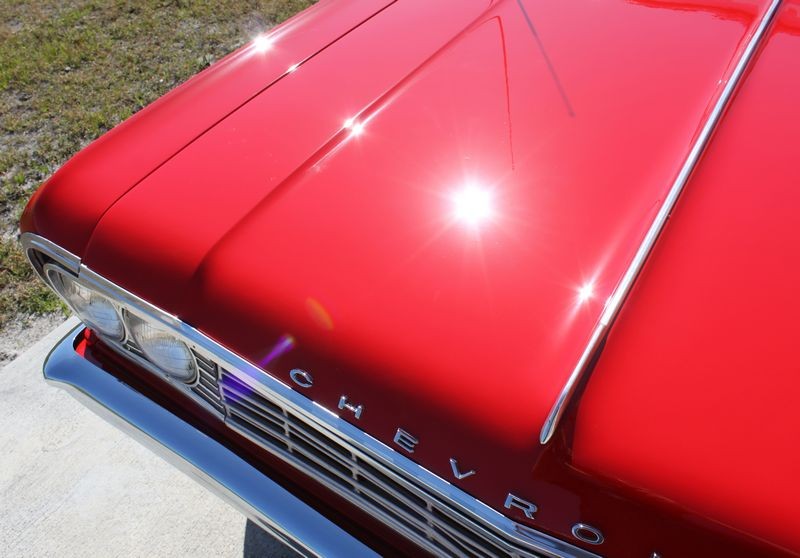
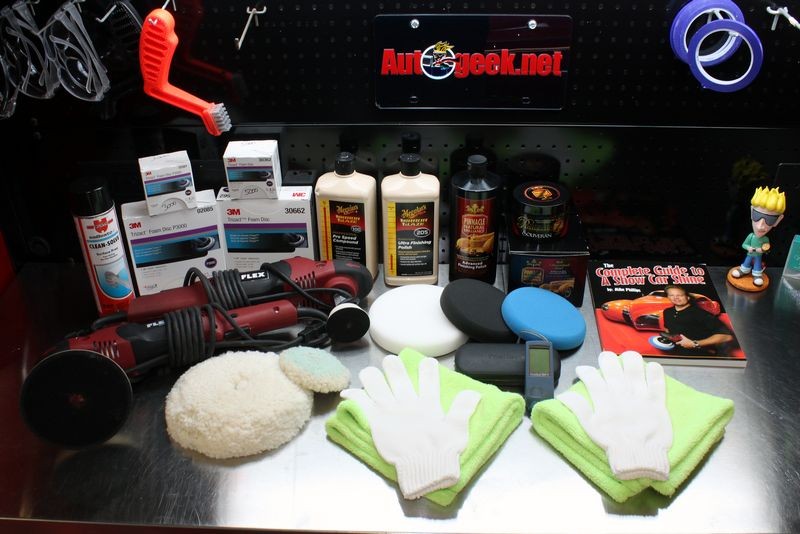
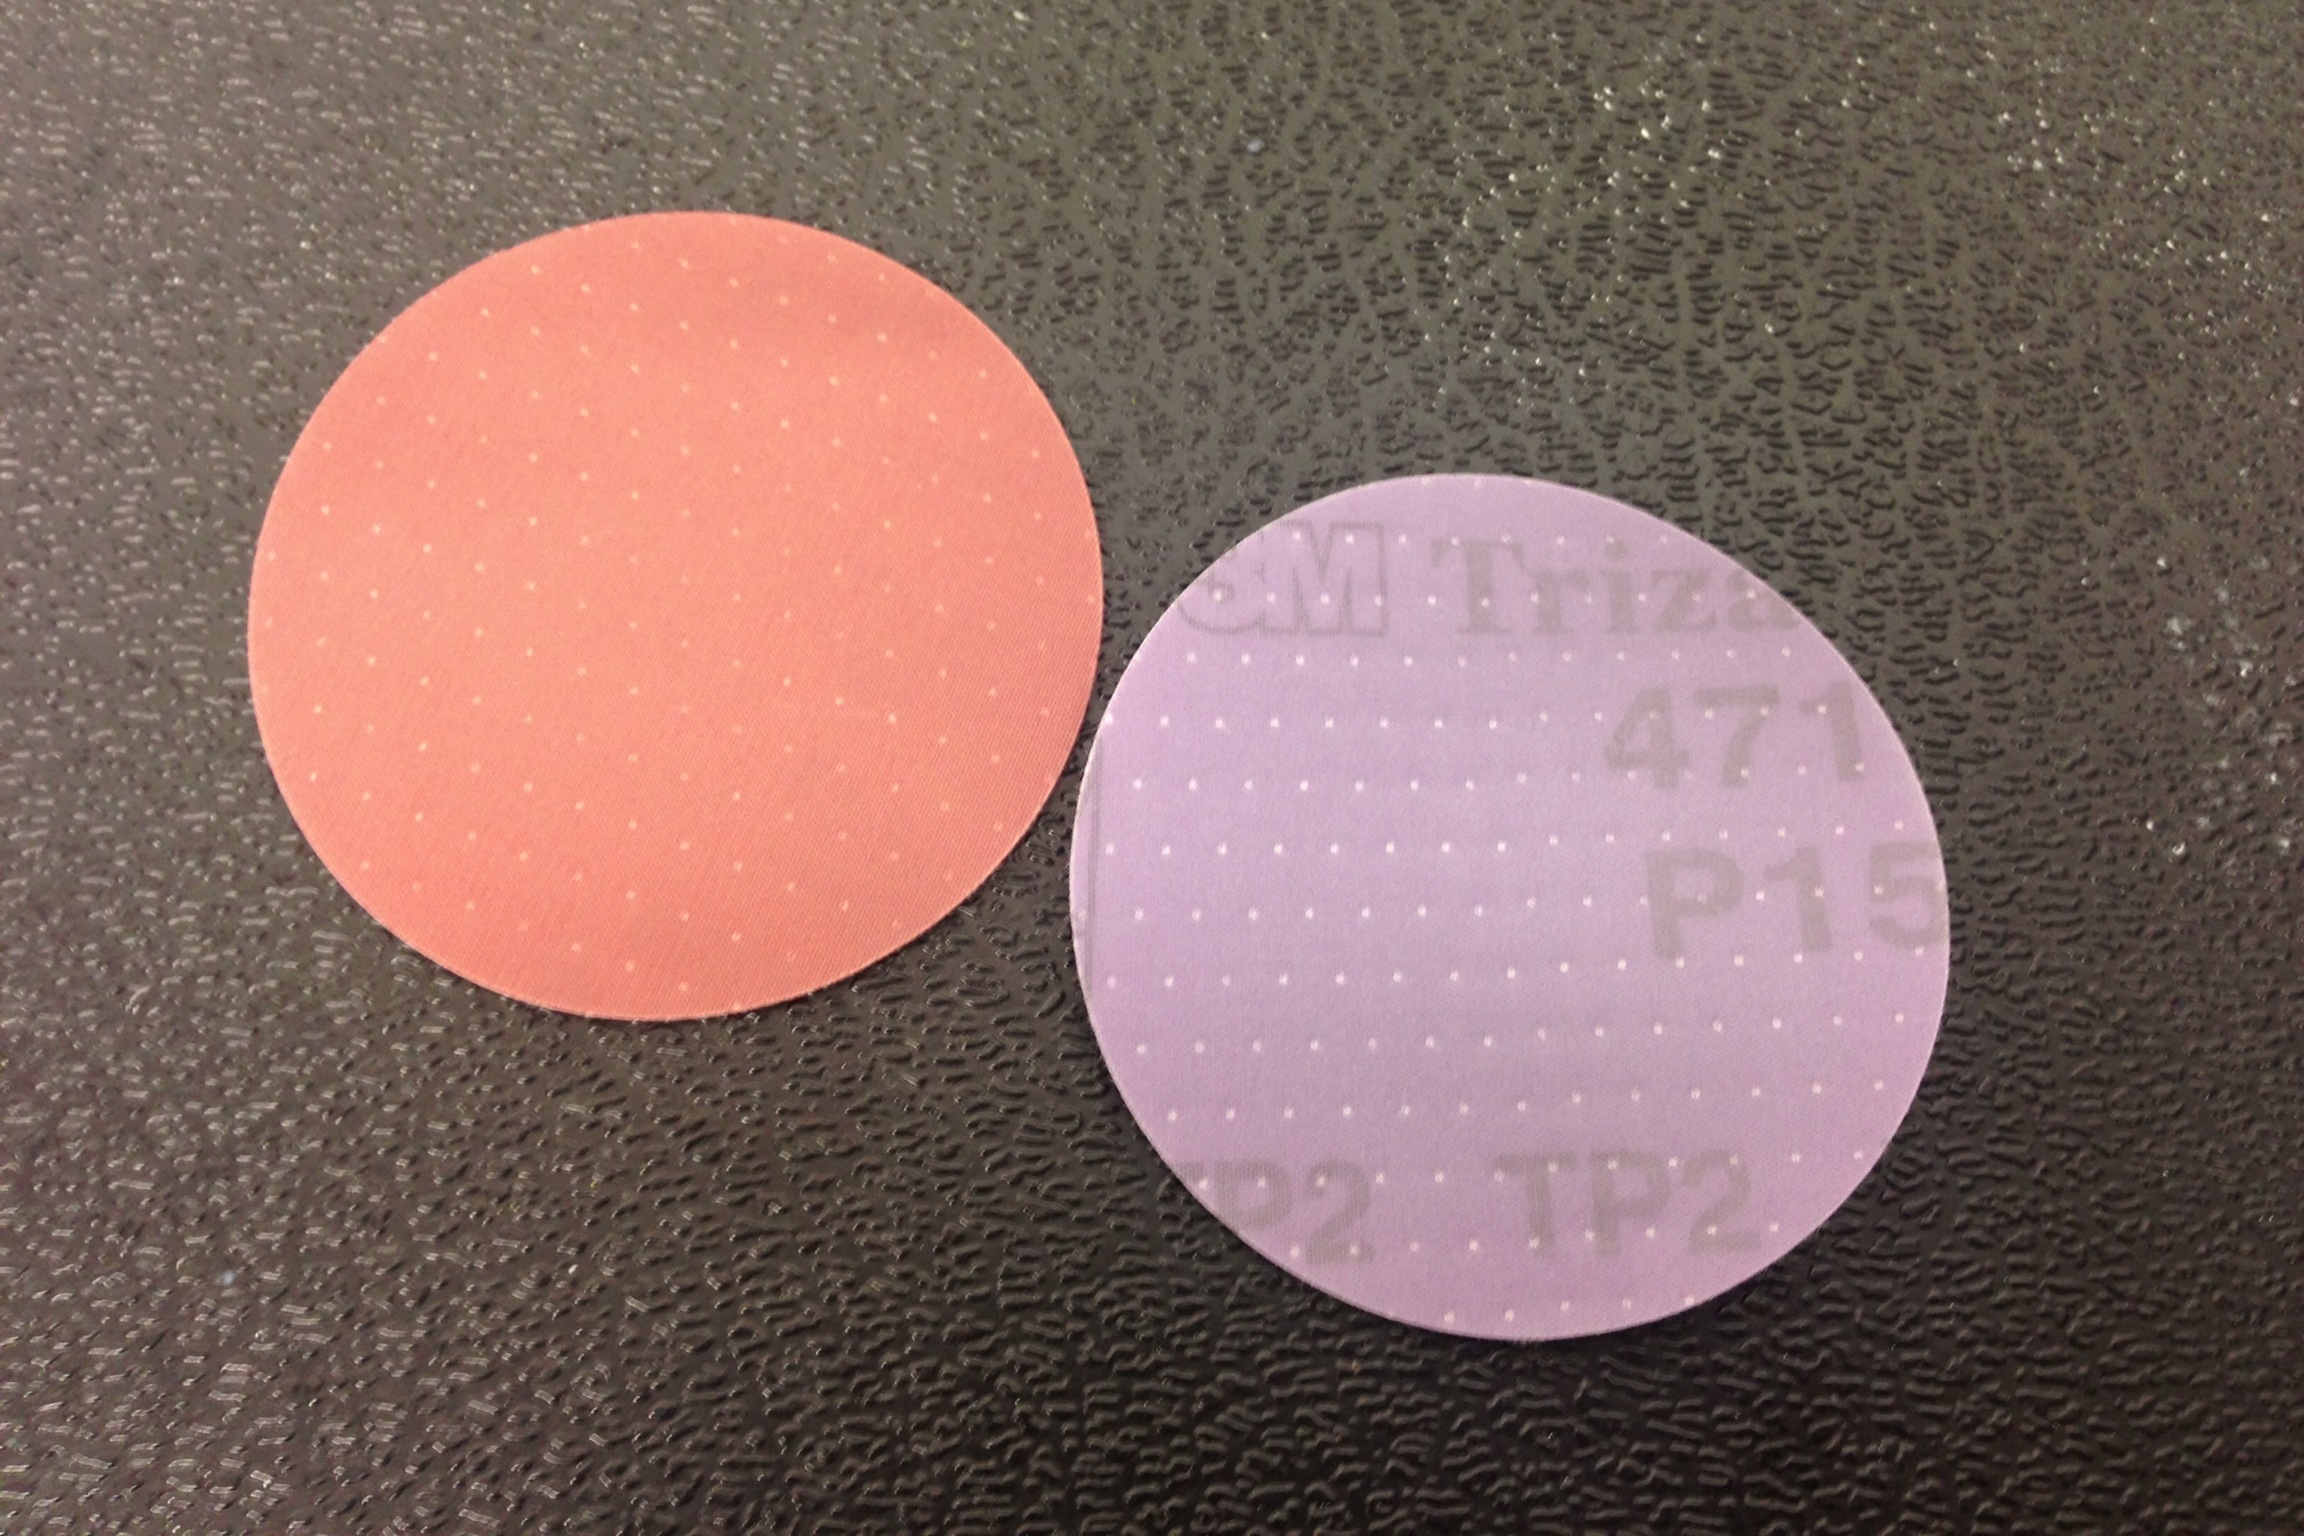
Sanded with 3M Trizact #3000 then #5000 then compounded, polished twice and then machine waxed.


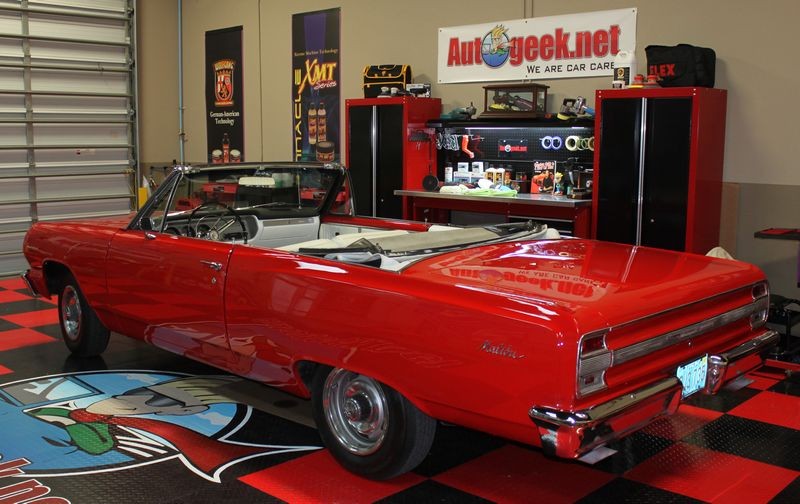
The GoPro is set up to take a picture ever minute. I 'll finish the passenger side this weekend and sometime next week Yancy will have the video on YouTube.
That I know of, this is the first time a complete wetsand, cut and buff all the way through to wax has ever been captured via time-lapse.

Time to shut down the show car garage...
")
I started the actual sanding around 10:00am this morning and have about 75% of the car done and all the way through to wax. Just have the passenger side vertical panels left to do.
Sanded with 3M Trizact #3000 then #5000 then compounded, polished twice and then machine waxed.
The GoPro is set up to take a picture ever minute. I 'll finish the passenger side this weekend and sometime next week Yancy will have the video on YouTube.
That I know of, this is the first time a complete wetsand, cut and buff all the way through to wax has ever been captured via time-lapse.
Time to shut down the show car garage...