Hi there! Hope I am posting this in the right section. Sorry for the long post, but I put much information in here. I have been wanting for years to be able to get my truck buffed out to a real nice shine. Up until now I have waxed my truck with Carnuba/synthetic waxes. I did use turtle wax’s polishing compound, buffed out by hand, on my truck about a year ago, and that about killed me. I could hardly move my sore hand/arm the next day! It did make the paint look better, and at the time I was happy with it, but it was nothing like some of the paint restorations I have seen here on the boards. So I just got my tax return and splurged on the 7424xp. Well, I have quite a few questions, but first let me start out with a few pic’s of my just washed truck. Its an 1989 Toyota Pickup Truck. Yep, she’s a bit old, but I have never had a problem with her, she’s still on her original engine and never had a major repair on her. She’s just over 400,000 miles now. (Extremely reliable, still runs like the day I got her!)
Damages to the truck:
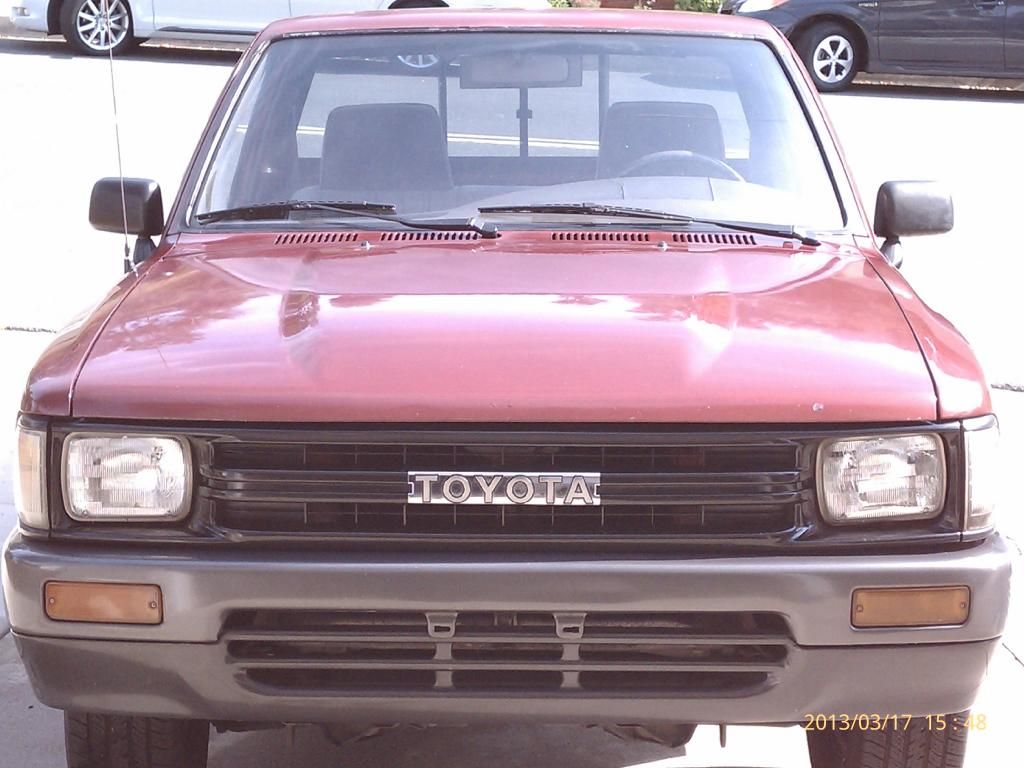
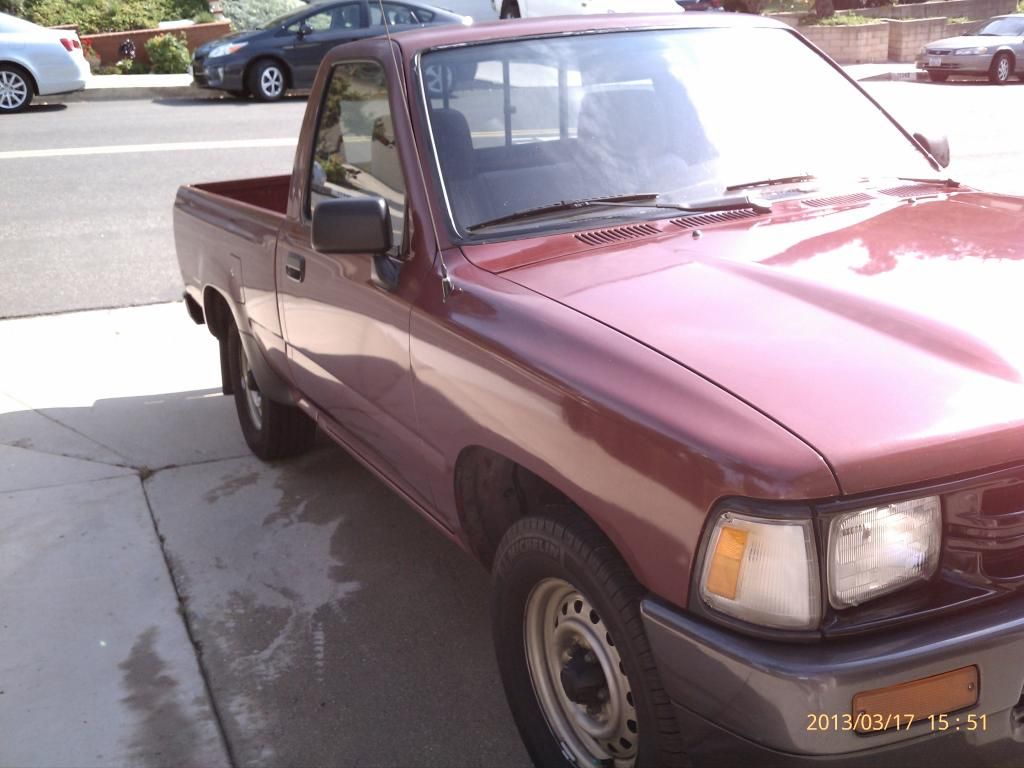
My brother rear ended a car but luckily there was only superficial damage to the truck. As you can see below, the right headlight is a little crooked from this as after market parts were used, and as sometimes happens, they don’t exactly fit perfectly, so I have had to put up with this.
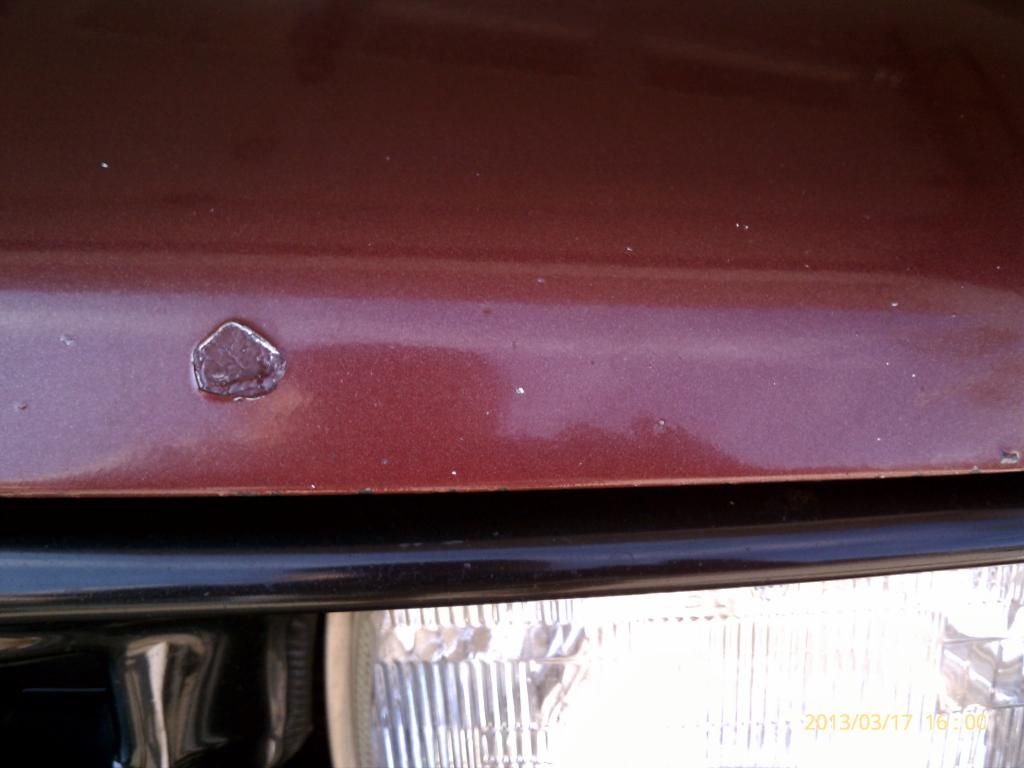
On the very front of the hood, there is a large dent. 3 weeks after I had the truck painted a few years ago, a rock was kicked up and hit my truck. All the paint was knocked off and even some of the primer was gone so that you could see only metal! I didn’t want it to rust away by doing nothing, and I couldn’t afford to have it repaired, and I didn’t know how to repair it myself, so I just took some of the left over paint and brushed it on. Yeah, its an eye sore, I hate it, but it did save the hood from rusting up. I think after I have learned how to use the 7424xp, I might just decide to learn how to fix this dent with your guys help, but not till I have buffed out this truck and my parents two cars. (2007 Camery and 2011 Avalon) Obviously my truck is the test car for me. :xyxthumbs:
I don’t plan on buffing up the inside of the bed, so ignore that part. I may end up getting a bed cover. Not sure yet.
The front windshield has about 15 divots in it from daily driving for 24 years, and about 4 months ago, a rock was kicked up by a semi and cracked the drivers side. The front windshield will be replaced in a few months. The old molding at the top of the front windshield will also be replaced at the same time.
The truck was painted by Maaco Paint and Body about 8 years ago, so I guess that makes the paint a “One Stage Paint job”. (please let me know for sure for my reference when I look up posts/videos) There was no clear coat applied to the paint.
BEFORE PICTURES (Truck was just washed):
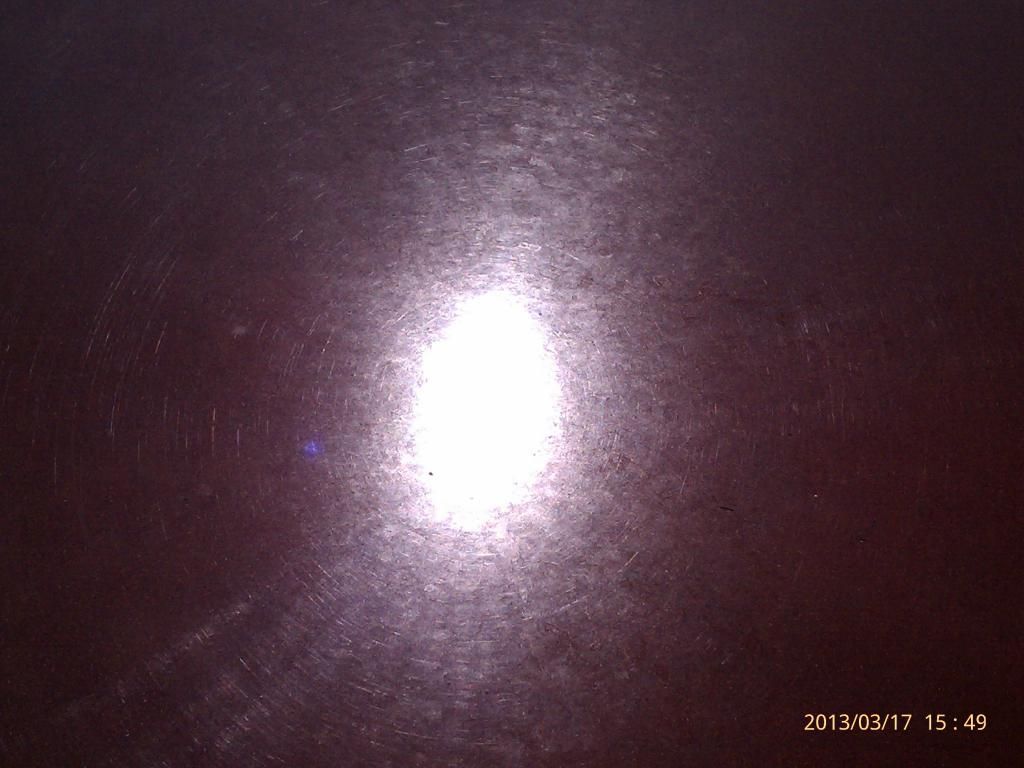
A picture of the sun's reflection on the hood, notice the swirl/water marks...
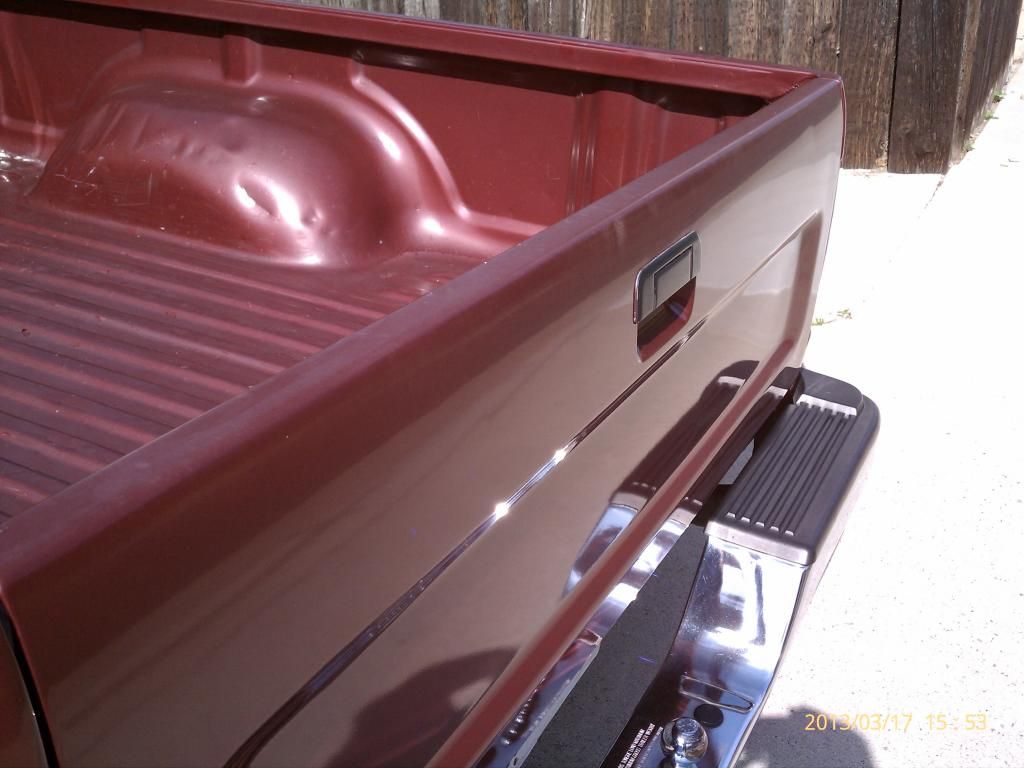
Notice the water marks on the top of the tailgate....
lol, didn't notice that this pic was a little blurry till just now, well, I was trying to take a picture of some minor scratch marks, you can just barely see them...
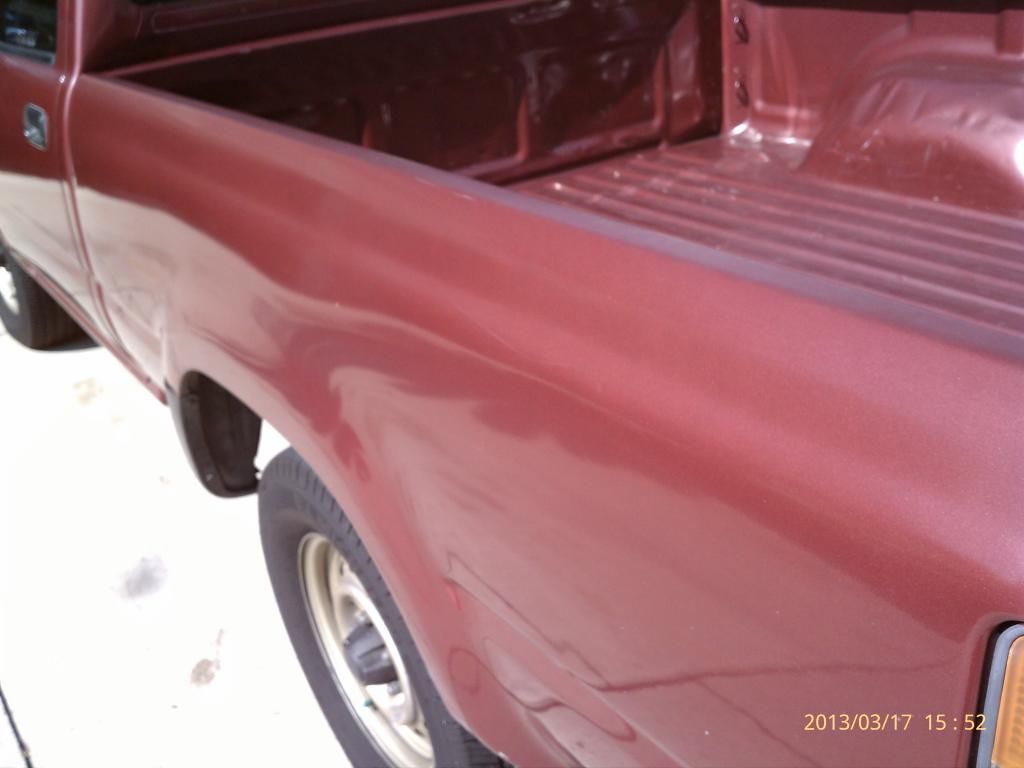
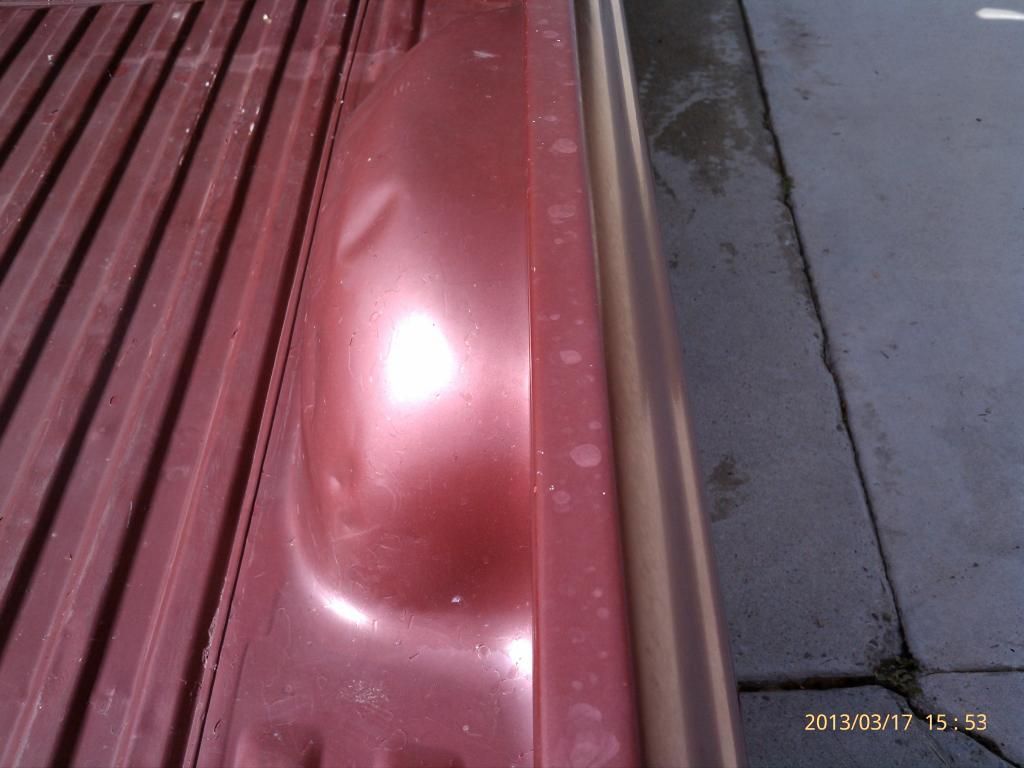
Here you can clearly see the water marks on the top of the bed on the right side, pic was taken from the rear of the truck.
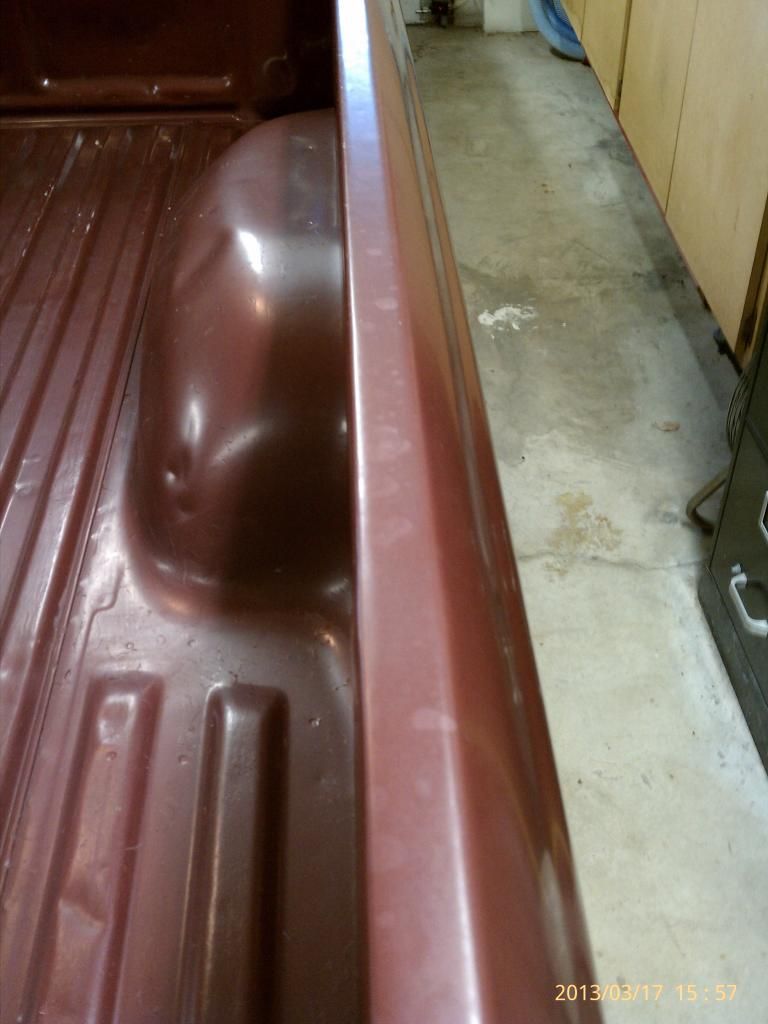
Here is a pic of the same area, just inside the garage...
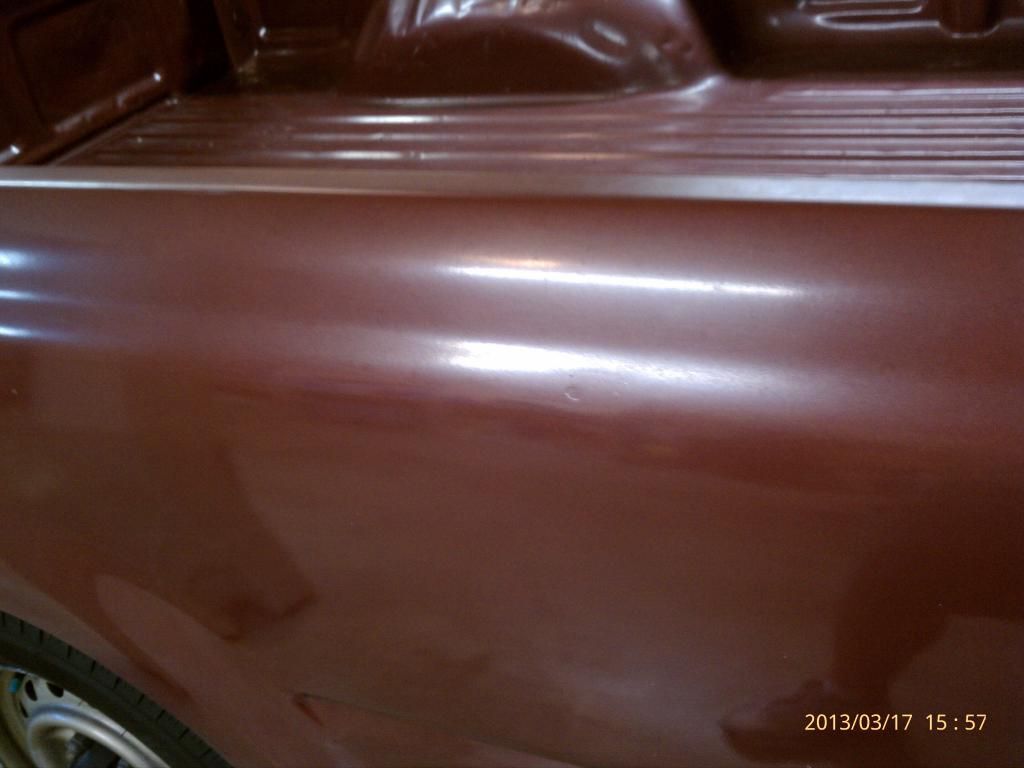
The drivers side of the bed, notice the dull lifeless reflection...
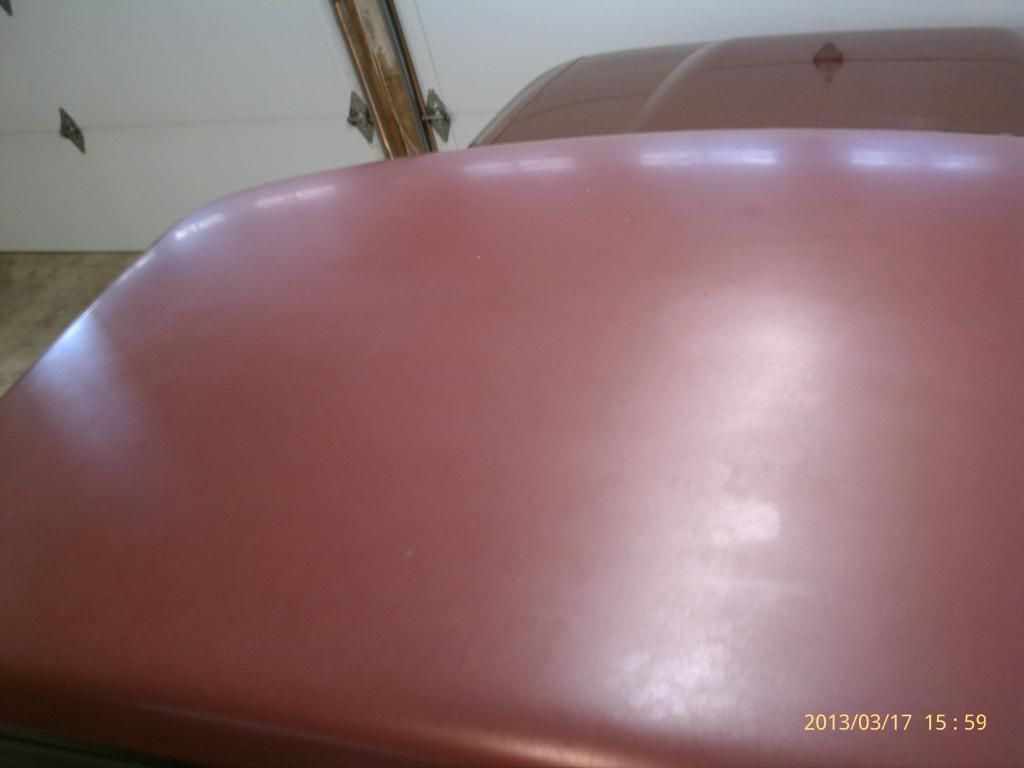
Reflection of the light in the garage on the hood of the truck...

Here you can see the roof with me standing in the bed, obviously the roof is the worst part...
And the final picture is of the damage from the kicked up rock on the front of the hood. (I won't be repairing it at this time)
Here is the list of supplies/equipment I have/am purchasing for my project. (Waiting for detail fest and possibly Easter discounts for the bulk of my purchases):
Porter Cable 7424XP
4 Yellow Lake County CCS Pads (2-6.5, 2-5.5)
7 Orange Lake County CCS Pads (2-6.5, 5-5.5)
6 White Lake County CCS Pads (4-6.5, 2-5.5)
4 Grey Lake County CCS Pads (2-6.5, 2-5.5)
4 Blue Lake County CCS Pads (2-6.5, 2-5.5)
4 Red Lake County CCS Pads (4-5.5) {4 free from 2 bonus paks)
3.5 inch Dual Action Flexible Backing Plate (from PC 7427 Starter Kit)
4 inch Lake County CCS Pads, 2 yellow, 4 orange, 2 White, 2 grey
Multi-Surface Frogtape 1 ½ inch wide
Fireman Hose Sprayer
The Grit Guard Insert - Blue
The Bone Wash Sponge
Detailer’s Polishing Pad Rejuvenator
2x 12oz Pinnacle XMT Polishing Foam Pad Cleaner (Included in Pak)
2x 12oz Pinnacle XMT Polishing Foam Pad Conditioner (Included in Pak)
Microfiber Cloths
BLACKFIRE Microfiber Cleaner & Restorer
Foam Pad Conditioning Brush
1 Lambswool Leveling Pad
8 Microfiber Bonnets
CCS Euro Foam Hand Polish Applicators (3 Pak-1 Orange, 1 White, 1 Red)
2x Microfiber Applicators
2x Large Cotton Race Striped Wax Applicators (chemical guys-free bonus)
Chemical Guys Medium Grade Grey Clay Bar-Poly-Clay
Chemical Guys Luber Lube
Black Fire Clay Cleaner and Extender
CarPro Iron X Iron Remover 500 ml. (Product Code CP-15)
Pinnacle XMT Swirl Remover Bundle (Includes #4, 3, 2, 1 Swirl Removers, 12oz each)
Pinnacle XMT Carnuba Finishing Glaze 12oz
CarPro Eraser Intense Oil & Polish Cleanser 16oz.
Klasse High Gloss Sealant Glaze 33oz.
Polycharger H2O Wax Booster (Product Code: PCH-H2O) {Using with Klasse HGSG}
Half used Meguiars Tech Wax 2.0 Paste, 2x half used Gold Class Carnuba Paste Wax -will use these three first before purchasing a new wax, possibly something like Colonite 845 or Pinnacle Liquid Souveran Car Wax. Suggestions please. J Will use these as the final wax.
ICE Synthetic Spray Detailer (got it free when I bought ICE Polish about 1 year ago, never used) (made by turtle wax)
I may purchase Dr. Colorchip Road Rash Complete Paint Chip Repair Kit, depends if I can find my can of spare paint from Maaco and if its in good condition. Would be for the chips on the front hood and around the car. (but not the larger dent in the right side of the front hood) I won't be repairing the chips at this time though.
That’s quite a list. Also, if you think I should alter the amount of any of my pads/colors, please do tell. If you have any suggestions of things I probably need but am missing, please let me know. In other words, ALL suggestions/questions are most appreciated so that I can learn to do the best job I can.
Ok, now I’m going to write up the sequence I will be using with all the above products. This is the part I will have a few questions with. For now I will omit repairing any chips to the paint in the following sequence:
Washing:
Wash the wheels/tires first with soap and a brush. I am not expecting the rims to look all that great, they are not chrome after all. These are the original stock rims that came with the truck, so no special work is going to be done to them. Would kind of be a waste of time with the condition they are in.
Rinse the truck before washing to remove loose debris.
Wash the car with the two bucket system using dish soap to remove wax, one clean water to rinse out the used/dirty bone sponge and another to reload the bone sponge with soapy warm water.(Using the Grit Guard) Start at the roof of the car and wash from top down.
Rinse off the soapy water by using free-flowing water (no nozzle) to sheet off the truck.
(if only it still beaded...lol) Dry the truck using Microfiber towels. Dry the wheels with older terrycloth towels.
Decontamination/Clay Bar:
After washing with dish soap, Apply IronX to reduce the paint contamination before claying.
After 5 minutes, wipe off IronX with damp soft sponge, not allowing the IronX to dry completely, and rewash the truck.
Dry again with Microfiber cloths.
Move truck into garage for shade.
Using Luber Lube mist generously a 2x2 section at a time, hold the pancake shaped (molded) clay bar and move it back and forth. Wipe each section after claying with a micro fiber cloth. Continue till the car is completed, and then include the glass, chrome, headlights, taillights. (Use BLACKFIRE clay cleaner with the clay bar and fold and reform the clay bar into a pancake shape using a clean portion at all times)
Wash truck again once completed to remove remaining contaminates.
Polishing:
Move the truck in the garage and tape up the truck after it has dried.
Begin polishing by starting with a test spot, which I think I’ll do on the roof. I can stand on the bed for easy access. The roof is also a good place to start as I would like to follow the top down principle as much as possible. I’ll tape a line so that I can better see the completed/buffed side. I’ll start with an Orange (light cutting) CCS pad and use the XMT Intermediate Swirl Remover #3 on the test spot. Using Mike Phillips’s suggestions, I’ll condition the pad first, working it in with my hand, then prime the pad with #3. (techniques from XMT Series car care products youtube videos starring Mike Phillips) Set the 7424xp speed to #6 and put 3 dime side drops on the pad. Putting the chord over my shoulder, spread the product over the test spot and then do slow overlapping passes, I think maybe 4 overlapping passes? Immediately wipe off with micro fiber towel and inspect. If it needs more cut, then switch to #4 (heavy duty swirl remover) with an Orange Pad. If more cut is needed, switch to a Yellow CCS pad.
After using # 3, inspecting and it looks good, switch to #1 XMT Ultra Fine Swirl Remover #1, using a White (Very Light Cutting) CCS Pad. Condition then prime the pad. Apply 3 pea sized drops of #3 to the pad. Set to low speed first to spread the polish then increase speed to 5. Work polish in until it starts to dry or disappear. Buff off polish with micro fiber cloth.
Once I have the right combination for the desired look, continue working top down on the rest of the truck, working in sections.
Glaze:
Using a GREY CCS finishing pad, apply Pinnacle XMT Carnuba Finishing Glaze. Condition then prime pad, then use 3 pea sized drops of glaze per 2ft section. Set speed to 4. Using overlapping passes work product into paint. Once the glaze begins to dry/disappear, turn off and buff residue with microfiber towel.
Sealant:
Using CarPro Eraser Intense Oil & Polish Cleanser, apply to entire truck to remove oil and polish residue.
Mix Klasse with Polycharger in one of the provided Mixing bottles with the proper dose.
Dampen micro fiber pad with a quick detailer then apply a dime-sized amount of Polycharged Klasse onto the pad. Wipe in long, layered strokes and use just a little pressure. Leave sealant on surface for approx. 30 minutes.
To wipe off Klasse, use one damped micro fiber towel (detail spray) and one dry for the final wipe. Mist the surface of the car and the damp micro fiber towel with detail spray when buffing off sealant. Follow with the dry micro fiber towel for the final wipe-off.
Wait 8-12 hours before layering additional coats of Klasse High Gloss Sealant Glaze.
(I am planning on 3 coats)
Technique was seen on two youtube videos:
KSG Application:
[ame=http://www.youtube.com/watch?v=MMZF6hhroFE]KSG application - YouTube[/video]
KSG Removal:
[ame=http://www.youtube.com/watch?v=m0q0QVuLiD4]KSG removal - YouTube[/video]
Final Coat (Carnuba):
12 hours after the final Klasse coat:
Using my leftover Tech Wax 2.0 paste on my truck, (Meguiars Gold Class Carnuba paste on my parents two cars), condition/prime red pads and apply small amount on pad and spread over the entire car using overlapping technique as described above. Buff off with microfiber bonnets over Lambswool Leveling Pad.
***Questions:***
1. Do you have any suggestions/comments about the various colors of pads/amounts of each that I plan on getting? Do I need more or less of any particular ones?
2. When using the Pinnacle XMT Carnuba Finishing Glaze, can you apply the glaze to the entire car, then afterwards, buff off with a microfiber bonnet or do you need to immediately wipe off after buffing each section?
3. Should I be using the CarPro Eraser Intense Oil and Polish Cleanser just before applying Klasse High Gloss Sealant Glaze, OR should I instead apply CarPro before glazing using Pinnacle XMT Carnuba Finishing Glaze?
4. Was my paint job a “One Stage Paint Job”? I described it just before the pictures.
5. Is there any real benefit to using the 7424xp to apply the Klasse coats, or should I stick with the method on the video?
6. What would you recommend to buff out the top portion of the bed where the water marks are, as pictured above? Should I use 4 inch pads there, or am I stuck with doing them by hand?
7. How many overlapping passes should I use on the test spot?
I know this was a really long post (5 pages without pictures on Word), and I apologize, but I wanted to be as detailed about what I was going to be doing so that I could get tips in order to improve my approach. Once I receive all my supplies, I'll post during and after pics. Most likely won't be just just after the beginning of April.
Thanks for patiently reading and I look forward to hearing any tips, suggestions, and comments!
Earl
(hopefully the post comes out ok as its my first)
Damages to the truck:
My brother rear ended a car but luckily there was only superficial damage to the truck. As you can see below, the right headlight is a little crooked from this as after market parts were used, and as sometimes happens, they don’t exactly fit perfectly, so I have had to put up with this.
On the very front of the hood, there is a large dent. 3 weeks after I had the truck painted a few years ago, a rock was kicked up and hit my truck. All the paint was knocked off and even some of the primer was gone so that you could see only metal! I didn’t want it to rust away by doing nothing, and I couldn’t afford to have it repaired, and I didn’t know how to repair it myself, so I just took some of the left over paint and brushed it on. Yeah, its an eye sore, I hate it, but it did save the hood from rusting up. I think after I have learned how to use the 7424xp, I might just decide to learn how to fix this dent with your guys help, but not till I have buffed out this truck and my parents two cars. (2007 Camery and 2011 Avalon) Obviously my truck is the test car for me. :xyxthumbs:
I don’t plan on buffing up the inside of the bed, so ignore that part. I may end up getting a bed cover. Not sure yet.
The front windshield has about 15 divots in it from daily driving for 24 years, and about 4 months ago, a rock was kicked up by a semi and cracked the drivers side. The front windshield will be replaced in a few months. The old molding at the top of the front windshield will also be replaced at the same time.
The truck was painted by Maaco Paint and Body about 8 years ago, so I guess that makes the paint a “One Stage Paint job”. (please let me know for sure for my reference when I look up posts/videos) There was no clear coat applied to the paint.
BEFORE PICTURES (Truck was just washed):
A picture of the sun's reflection on the hood, notice the swirl/water marks...
Notice the water marks on the top of the tailgate....
lol, didn't notice that this pic was a little blurry till just now, well, I was trying to take a picture of some minor scratch marks, you can just barely see them...
Here you can clearly see the water marks on the top of the bed on the right side, pic was taken from the rear of the truck.
Here is a pic of the same area, just inside the garage...
The drivers side of the bed, notice the dull lifeless reflection...
Reflection of the light in the garage on the hood of the truck...
Here you can see the roof with me standing in the bed, obviously the roof is the worst part...
And the final picture is of the damage from the kicked up rock on the front of the hood. (I won't be repairing it at this time)
Here is the list of supplies/equipment I have/am purchasing for my project. (Waiting for detail fest and possibly Easter discounts for the bulk of my purchases):
Porter Cable 7424XP
4 Yellow Lake County CCS Pads (2-6.5, 2-5.5)
7 Orange Lake County CCS Pads (2-6.5, 5-5.5)
6 White Lake County CCS Pads (4-6.5, 2-5.5)
4 Grey Lake County CCS Pads (2-6.5, 2-5.5)
4 Blue Lake County CCS Pads (2-6.5, 2-5.5)
4 Red Lake County CCS Pads (4-5.5) {4 free from 2 bonus paks)
3.5 inch Dual Action Flexible Backing Plate (from PC 7427 Starter Kit)
4 inch Lake County CCS Pads, 2 yellow, 4 orange, 2 White, 2 grey
Multi-Surface Frogtape 1 ½ inch wide
Fireman Hose Sprayer
The Grit Guard Insert - Blue
The Bone Wash Sponge
Detailer’s Polishing Pad Rejuvenator
2x 12oz Pinnacle XMT Polishing Foam Pad Cleaner (Included in Pak)
2x 12oz Pinnacle XMT Polishing Foam Pad Conditioner (Included in Pak)
Microfiber Cloths
BLACKFIRE Microfiber Cleaner & Restorer
Foam Pad Conditioning Brush
1 Lambswool Leveling Pad
8 Microfiber Bonnets
CCS Euro Foam Hand Polish Applicators (3 Pak-1 Orange, 1 White, 1 Red)
2x Microfiber Applicators
2x Large Cotton Race Striped Wax Applicators (chemical guys-free bonus)
Chemical Guys Medium Grade Grey Clay Bar-Poly-Clay
Chemical Guys Luber Lube
Black Fire Clay Cleaner and Extender
CarPro Iron X Iron Remover 500 ml. (Product Code CP-15)
Pinnacle XMT Swirl Remover Bundle (Includes #4, 3, 2, 1 Swirl Removers, 12oz each)
Pinnacle XMT Carnuba Finishing Glaze 12oz
CarPro Eraser Intense Oil & Polish Cleanser 16oz.
Klasse High Gloss Sealant Glaze 33oz.
Polycharger H2O Wax Booster (Product Code: PCH-H2O) {Using with Klasse HGSG}
Half used Meguiars Tech Wax 2.0 Paste, 2x half used Gold Class Carnuba Paste Wax -will use these three first before purchasing a new wax, possibly something like Colonite 845 or Pinnacle Liquid Souveran Car Wax. Suggestions please. J Will use these as the final wax.
ICE Synthetic Spray Detailer (got it free when I bought ICE Polish about 1 year ago, never used) (made by turtle wax)
I may purchase Dr. Colorchip Road Rash Complete Paint Chip Repair Kit, depends if I can find my can of spare paint from Maaco and if its in good condition. Would be for the chips on the front hood and around the car. (but not the larger dent in the right side of the front hood) I won't be repairing the chips at this time though.
That’s quite a list. Also, if you think I should alter the amount of any of my pads/colors, please do tell. If you have any suggestions of things I probably need but am missing, please let me know. In other words, ALL suggestions/questions are most appreciated so that I can learn to do the best job I can.
Ok, now I’m going to write up the sequence I will be using with all the above products. This is the part I will have a few questions with. For now I will omit repairing any chips to the paint in the following sequence:
Washing:
Wash the wheels/tires first with soap and a brush. I am not expecting the rims to look all that great, they are not chrome after all. These are the original stock rims that came with the truck, so no special work is going to be done to them. Would kind of be a waste of time with the condition they are in.
Rinse the truck before washing to remove loose debris.
Wash the car with the two bucket system using dish soap to remove wax, one clean water to rinse out the used/dirty bone sponge and another to reload the bone sponge with soapy warm water.(Using the Grit Guard) Start at the roof of the car and wash from top down.
Rinse off the soapy water by using free-flowing water (no nozzle) to sheet off the truck.
(if only it still beaded...lol) Dry the truck using Microfiber towels. Dry the wheels with older terrycloth towels.
Decontamination/Clay Bar:
After washing with dish soap, Apply IronX to reduce the paint contamination before claying.
After 5 minutes, wipe off IronX with damp soft sponge, not allowing the IronX to dry completely, and rewash the truck.
Dry again with Microfiber cloths.
Move truck into garage for shade.
Using Luber Lube mist generously a 2x2 section at a time, hold the pancake shaped (molded) clay bar and move it back and forth. Wipe each section after claying with a micro fiber cloth. Continue till the car is completed, and then include the glass, chrome, headlights, taillights. (Use BLACKFIRE clay cleaner with the clay bar and fold and reform the clay bar into a pancake shape using a clean portion at all times)
Wash truck again once completed to remove remaining contaminates.
Polishing:
Move the truck in the garage and tape up the truck after it has dried.
Begin polishing by starting with a test spot, which I think I’ll do on the roof. I can stand on the bed for easy access. The roof is also a good place to start as I would like to follow the top down principle as much as possible. I’ll tape a line so that I can better see the completed/buffed side. I’ll start with an Orange (light cutting) CCS pad and use the XMT Intermediate Swirl Remover #3 on the test spot. Using Mike Phillips’s suggestions, I’ll condition the pad first, working it in with my hand, then prime the pad with #3. (techniques from XMT Series car care products youtube videos starring Mike Phillips) Set the 7424xp speed to #6 and put 3 dime side drops on the pad. Putting the chord over my shoulder, spread the product over the test spot and then do slow overlapping passes, I think maybe 4 overlapping passes? Immediately wipe off with micro fiber towel and inspect. If it needs more cut, then switch to #4 (heavy duty swirl remover) with an Orange Pad. If more cut is needed, switch to a Yellow CCS pad.
After using # 3, inspecting and it looks good, switch to #1 XMT Ultra Fine Swirl Remover #1, using a White (Very Light Cutting) CCS Pad. Condition then prime the pad. Apply 3 pea sized drops of #3 to the pad. Set to low speed first to spread the polish then increase speed to 5. Work polish in until it starts to dry or disappear. Buff off polish with micro fiber cloth.
Once I have the right combination for the desired look, continue working top down on the rest of the truck, working in sections.
Glaze:
Using a GREY CCS finishing pad, apply Pinnacle XMT Carnuba Finishing Glaze. Condition then prime pad, then use 3 pea sized drops of glaze per 2ft section. Set speed to 4. Using overlapping passes work product into paint. Once the glaze begins to dry/disappear, turn off and buff residue with microfiber towel.
Sealant:
Using CarPro Eraser Intense Oil & Polish Cleanser, apply to entire truck to remove oil and polish residue.
Mix Klasse with Polycharger in one of the provided Mixing bottles with the proper dose.
Dampen micro fiber pad with a quick detailer then apply a dime-sized amount of Polycharged Klasse onto the pad. Wipe in long, layered strokes and use just a little pressure. Leave sealant on surface for approx. 30 minutes.
To wipe off Klasse, use one damped micro fiber towel (detail spray) and one dry for the final wipe. Mist the surface of the car and the damp micro fiber towel with detail spray when buffing off sealant. Follow with the dry micro fiber towel for the final wipe-off.
Wait 8-12 hours before layering additional coats of Klasse High Gloss Sealant Glaze.
(I am planning on 3 coats)
Technique was seen on two youtube videos:
KSG Application:
[ame=http://www.youtube.com/watch?v=MMZF6hhroFE]KSG application - YouTube[/video]
KSG Removal:
[ame=http://www.youtube.com/watch?v=m0q0QVuLiD4]KSG removal - YouTube[/video]
Final Coat (Carnuba):
12 hours after the final Klasse coat:
Using my leftover Tech Wax 2.0 paste on my truck, (Meguiars Gold Class Carnuba paste on my parents two cars), condition/prime red pads and apply small amount on pad and spread over the entire car using overlapping technique as described above. Buff off with microfiber bonnets over Lambswool Leveling Pad.
***Questions:***
1. Do you have any suggestions/comments about the various colors of pads/amounts of each that I plan on getting? Do I need more or less of any particular ones?
2. When using the Pinnacle XMT Carnuba Finishing Glaze, can you apply the glaze to the entire car, then afterwards, buff off with a microfiber bonnet or do you need to immediately wipe off after buffing each section?
3. Should I be using the CarPro Eraser Intense Oil and Polish Cleanser just before applying Klasse High Gloss Sealant Glaze, OR should I instead apply CarPro before glazing using Pinnacle XMT Carnuba Finishing Glaze?
4. Was my paint job a “One Stage Paint Job”? I described it just before the pictures.
5. Is there any real benefit to using the 7424xp to apply the Klasse coats, or should I stick with the method on the video?
6. What would you recommend to buff out the top portion of the bed where the water marks are, as pictured above? Should I use 4 inch pads there, or am I stuck with doing them by hand?
7. How many overlapping passes should I use on the test spot?
I know this was a really long post (5 pages without pictures on Word), and I apologize, but I wanted to be as detailed about what I was going to be doing so that I could get tips in order to improve my approach. Once I receive all my supplies, I'll post during and after pics. Most likely won't be just just after the beginning of April.
Thanks for patiently reading and I look forward to hearing any tips, suggestions, and comments!
Earl
(hopefully the post comes out ok as its my first)
Last edited: