Custom Painted Camaro SS - Correction & Opti-Coat

Joined
Oct 31, 2009
Messages
1,682
Reaction score
0
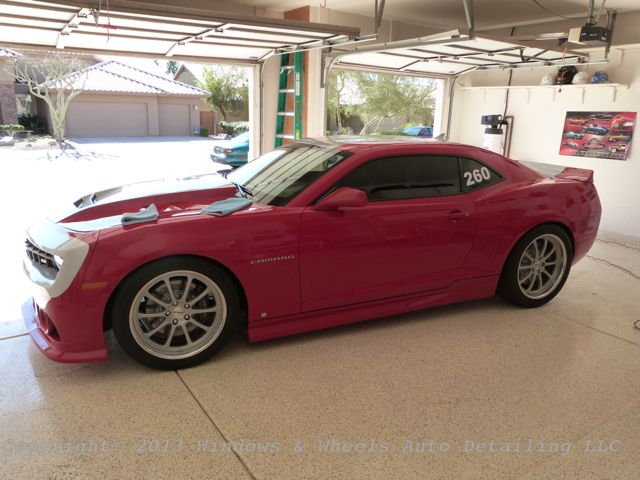
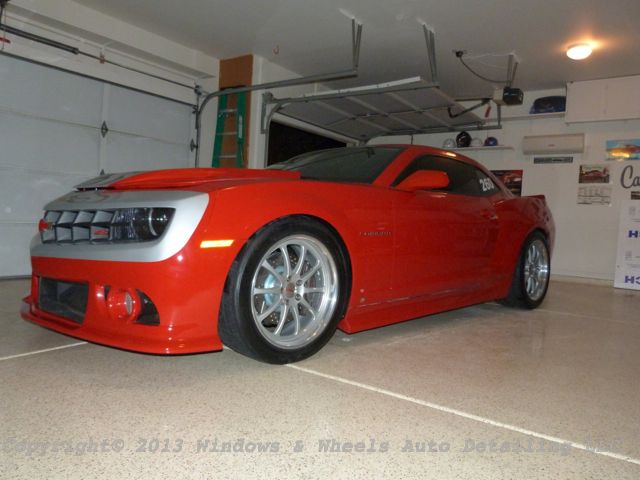
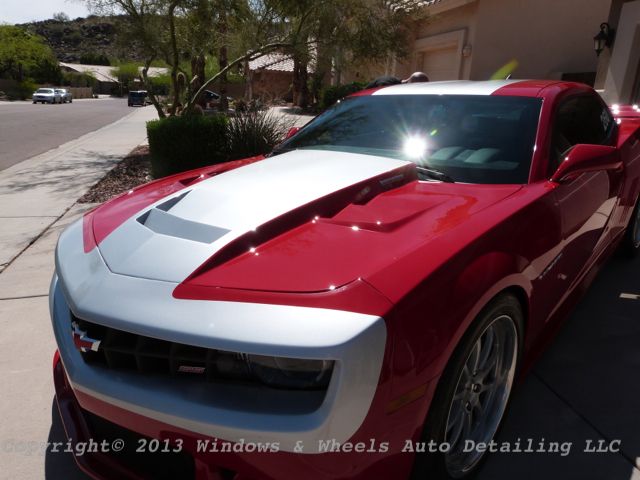
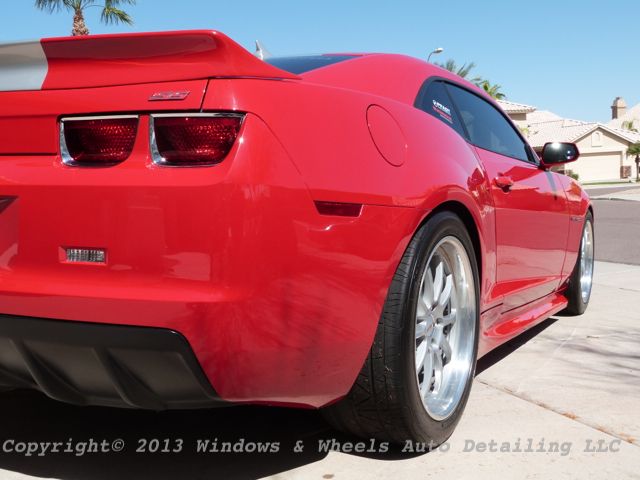
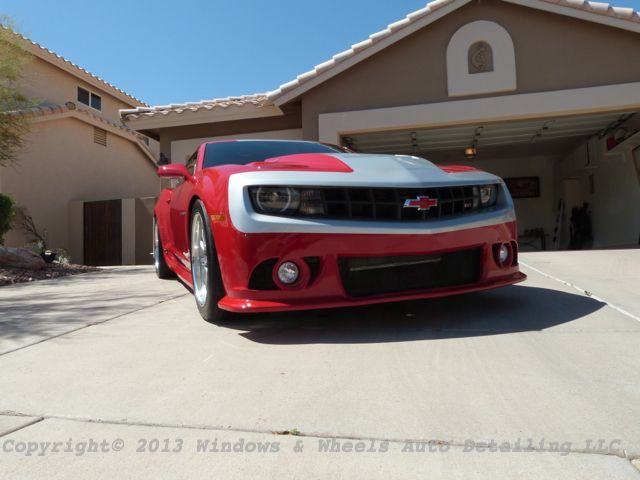
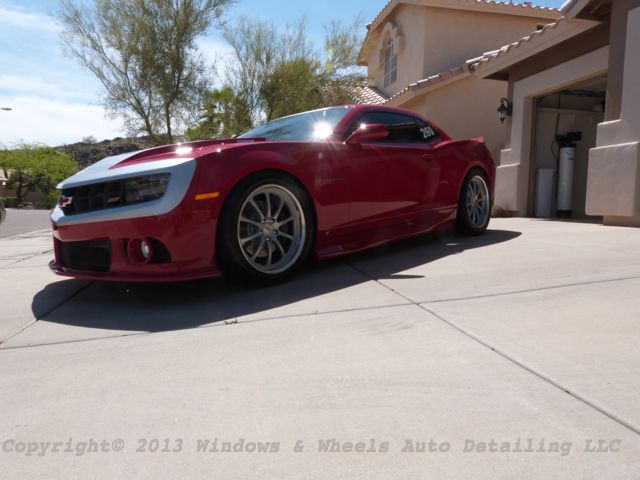
Hammered...thats what popped into mind when we first saw this car. That, and Hammerhead...because the paint job kinda made it look like a hammer head shark...all in though, this baby needed LOTS of love.

I'm going to apologize ahead of time because this post has over 100 photos, but we really wanted to document exactly what we started with....and what we ended up with...and help show how we got there.

P1060066_zps0e754f5a.jpg


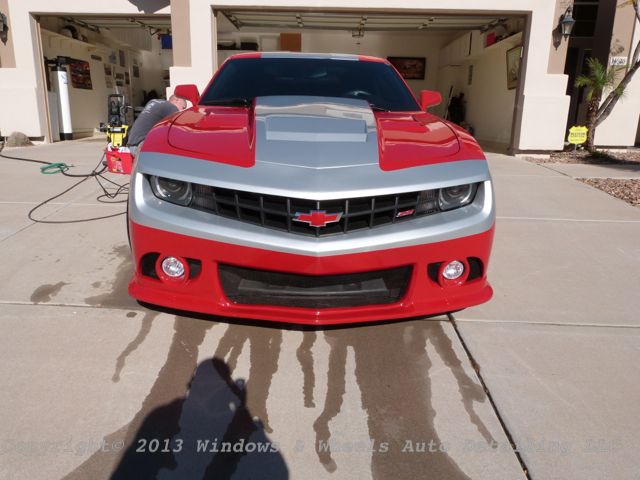
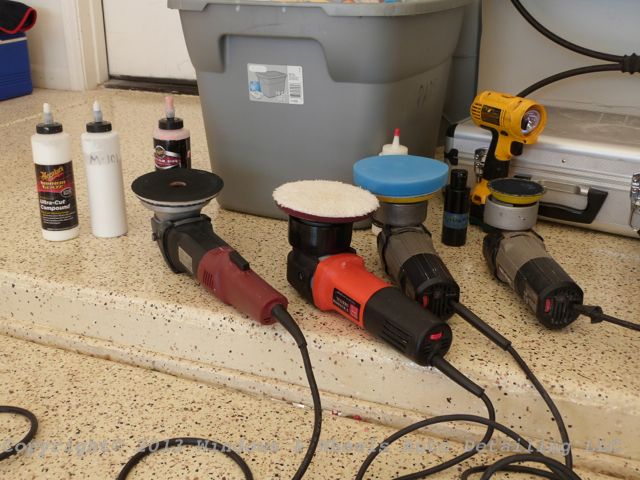
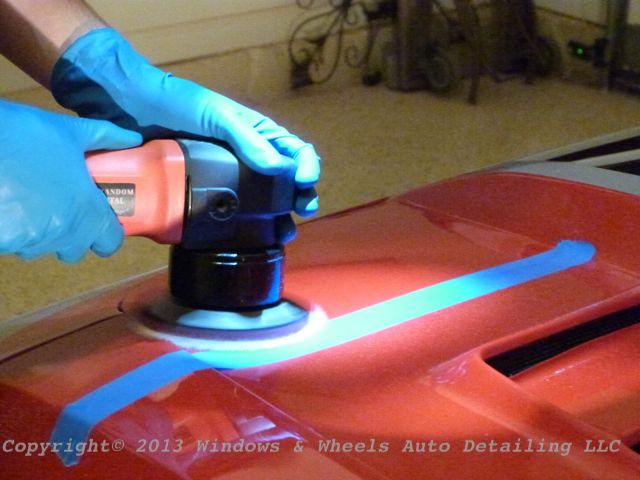
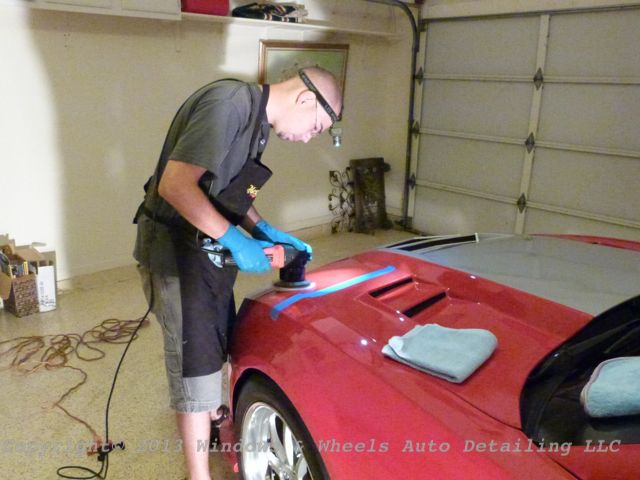
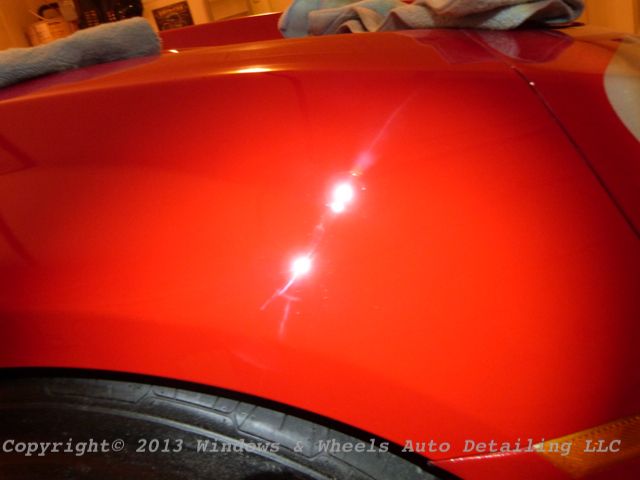
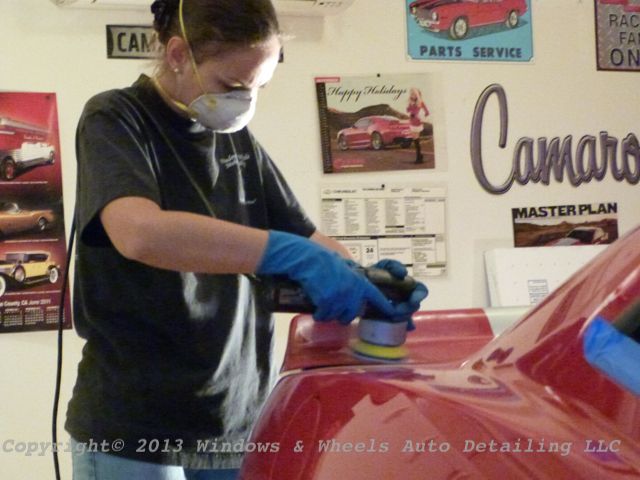
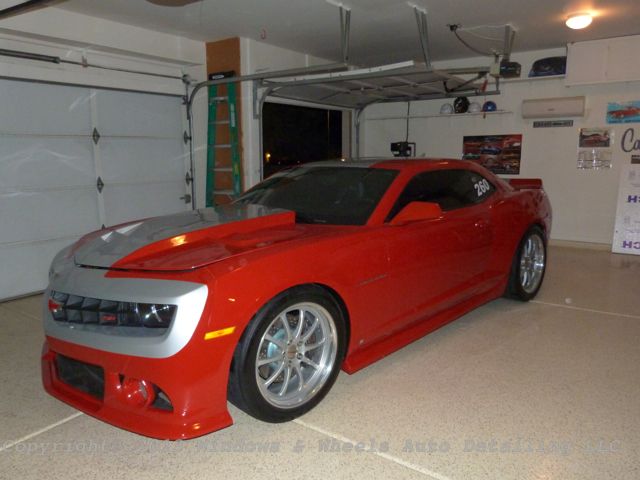
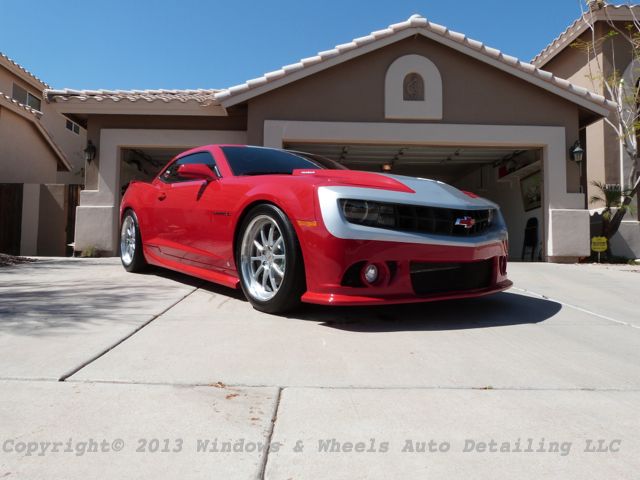
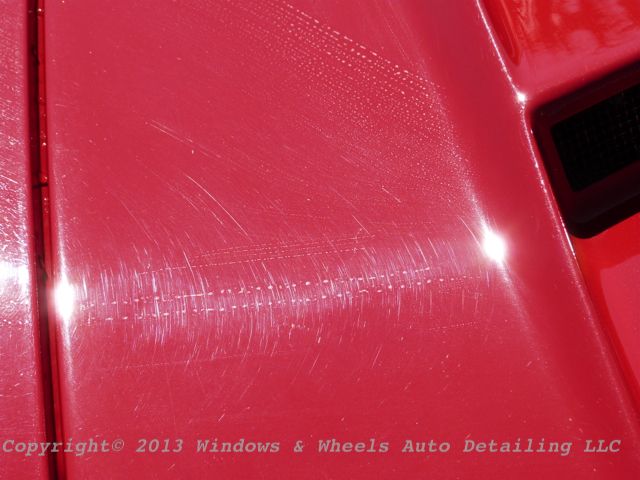
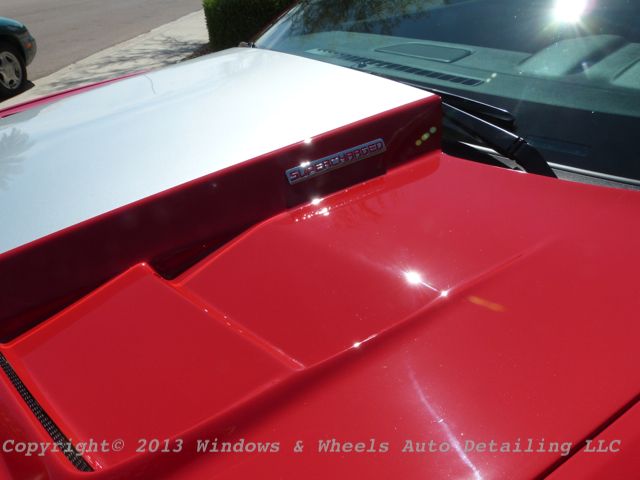
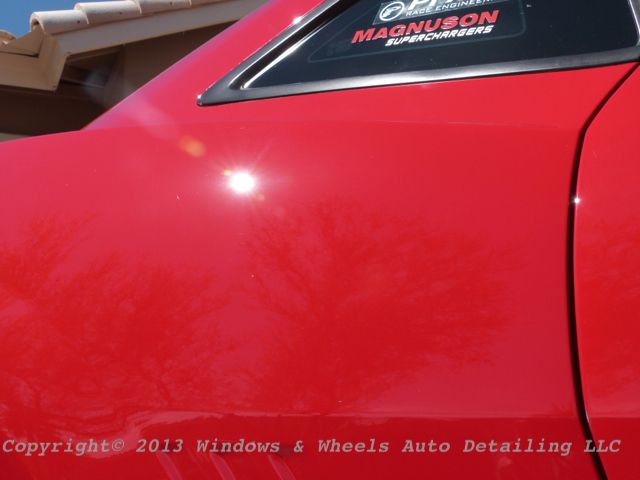
Yup, there she is....lookin pretty damn nice from certain angles. We went out to give the owner a quote....we took one look at a panel in the sun and knew we had some work ahead of us. We explained it needed a multiple step polish-out...serious compounding would be needed to cut the swirls and then final polishing to remove the haze from compounding and brighten the paint up to top notch quality. I told the owner I would send him a link to a write-up I had done so he could put a visualization to what i was describing to him.

After seeing the write up, he said he wanted us to take photos like that of his car and document the work like we had in the write up I sent...my response...of course! A car like this deserves to be documented...and a turn around like this surely does as well! He also opted for the Opti-Coat upgrade to help keep her in good shape.

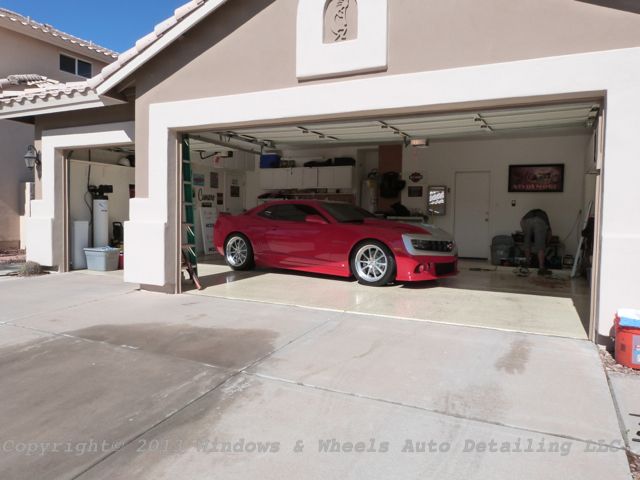
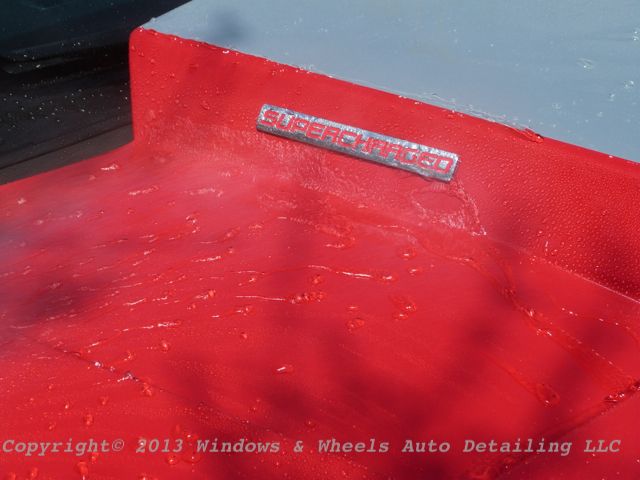
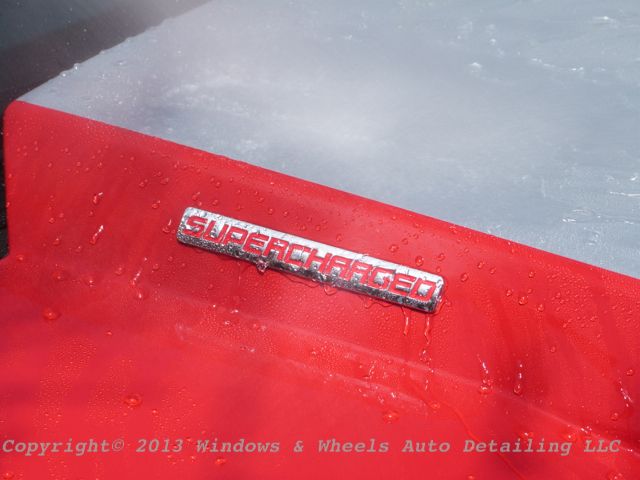
He was going to have us detail it and then have a SuperCharger installed along with a few other upgrades....but Rick, the man who'd be doing the install...and also a customer of ours, suggested that he have the SuperCharger installed FIRST...and have the detail done second...that way there would be no chance of and swirls etc being put back into the paint AFTER we had polished it....that was fine by us :)

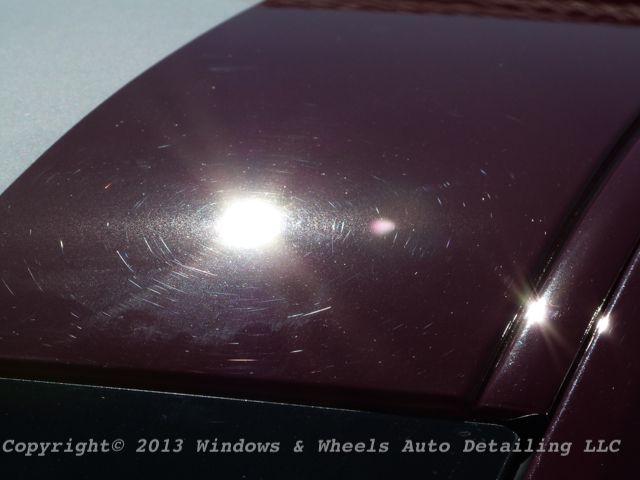
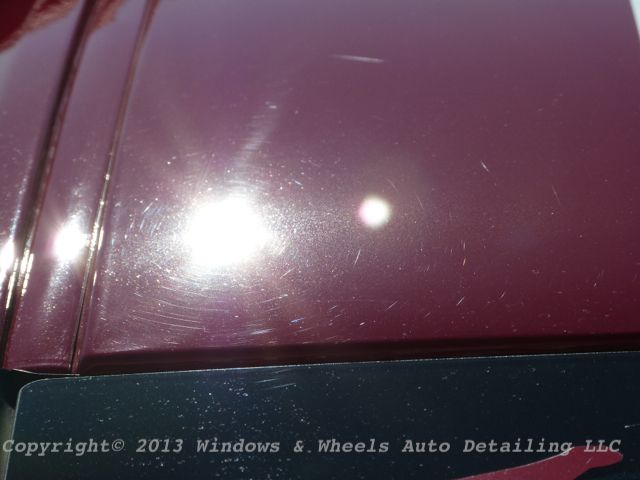
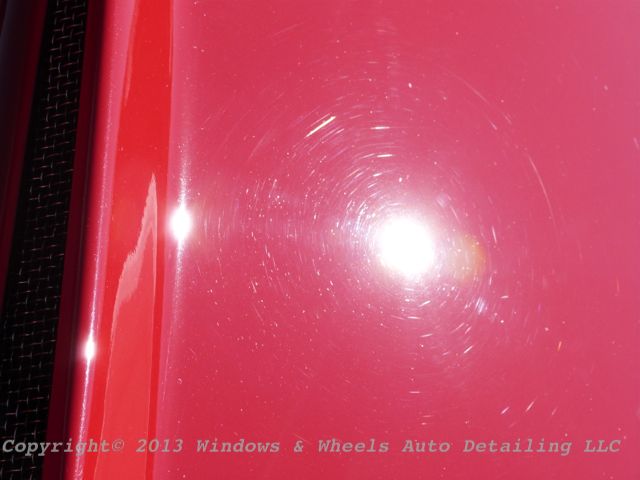
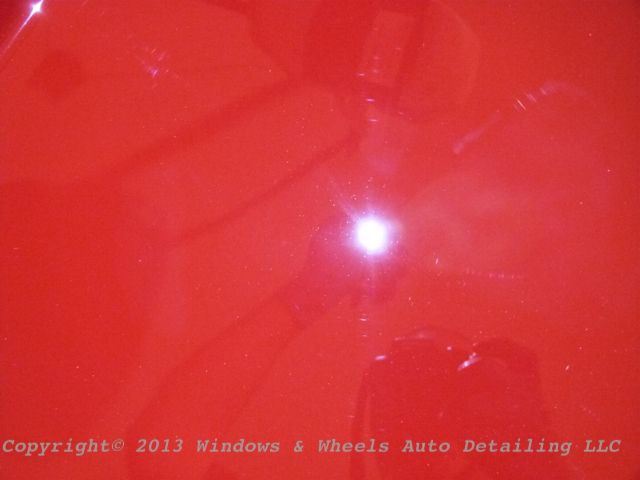
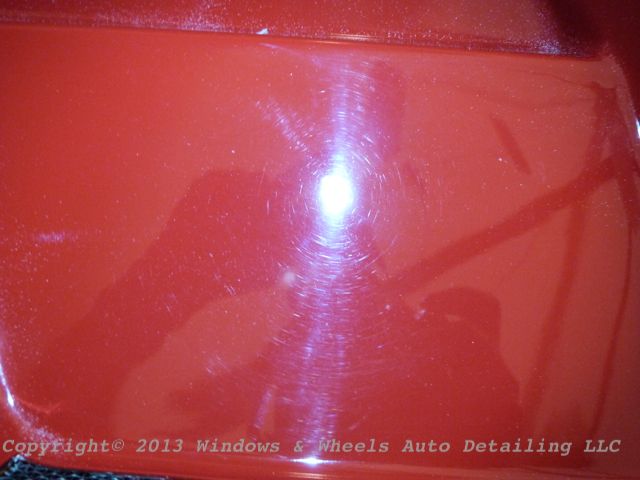
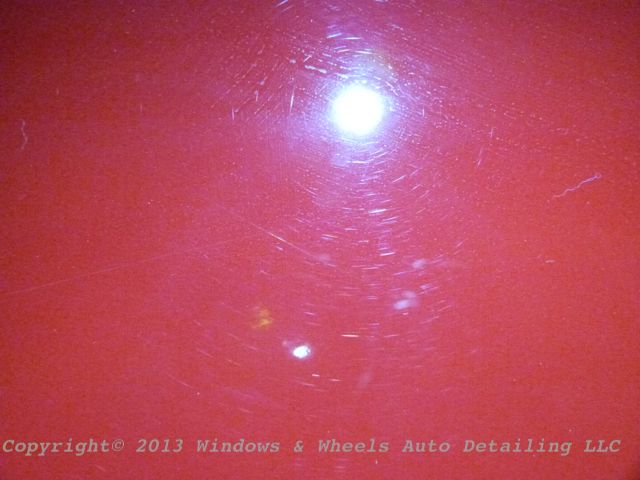
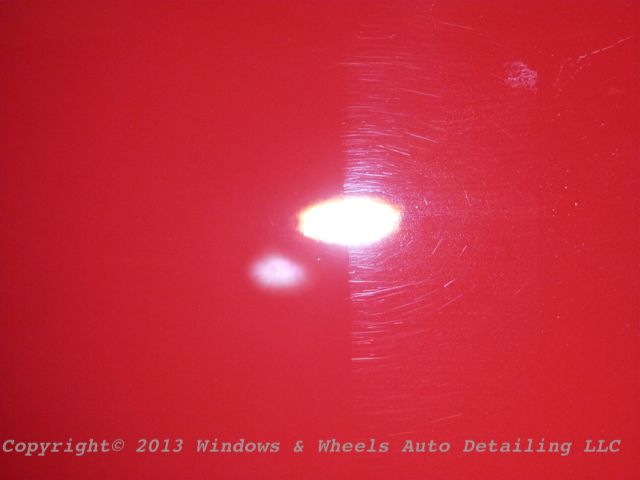
Now, back to the swirls I was talking about....

P1060031_zps7dd6d01c.jpg


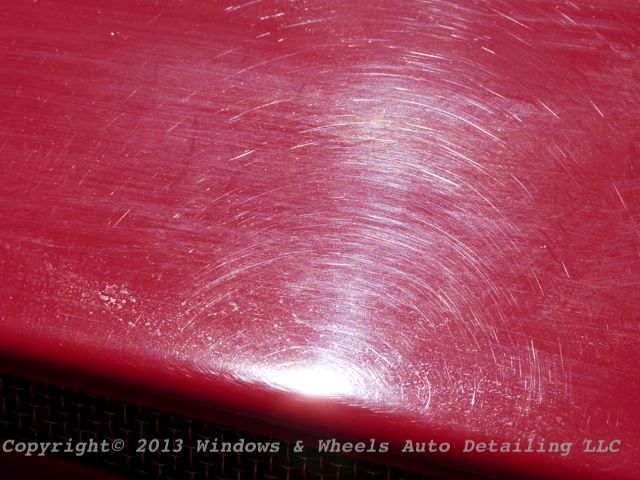
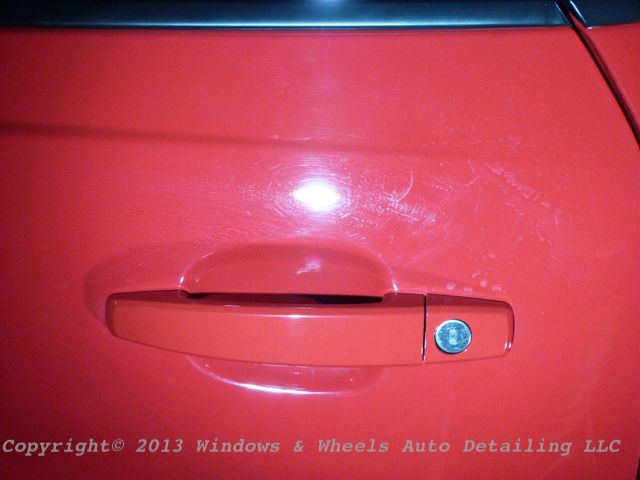
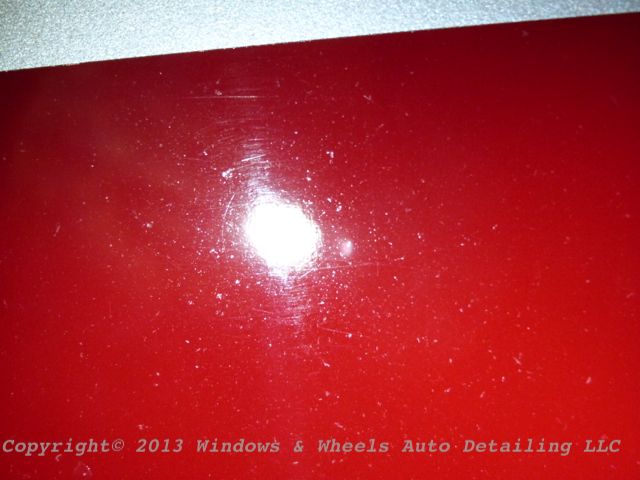
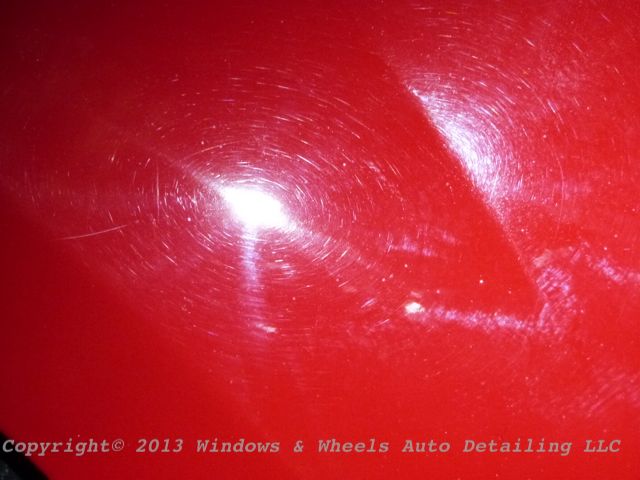
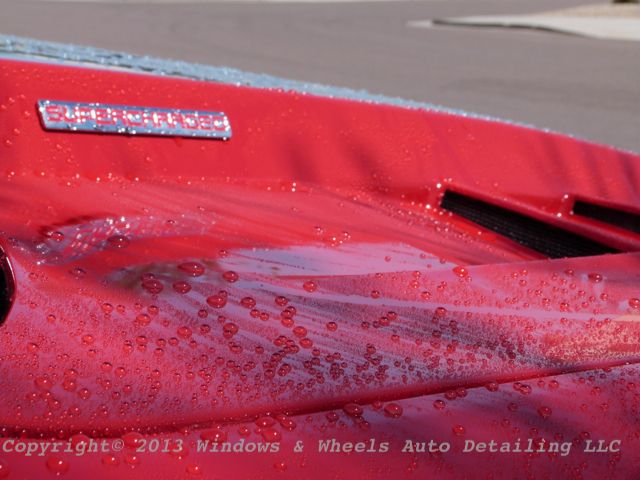
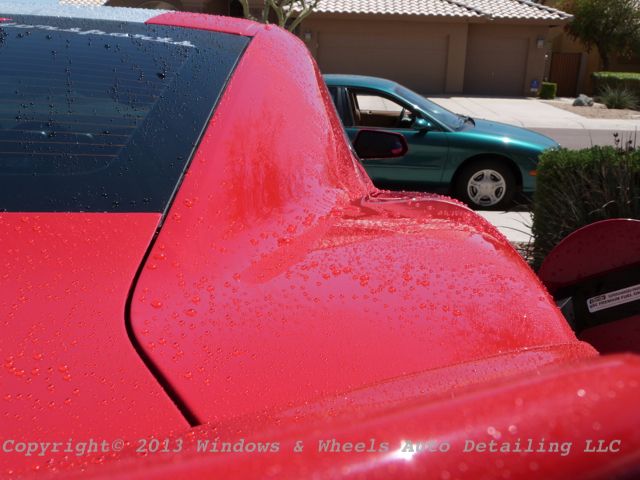
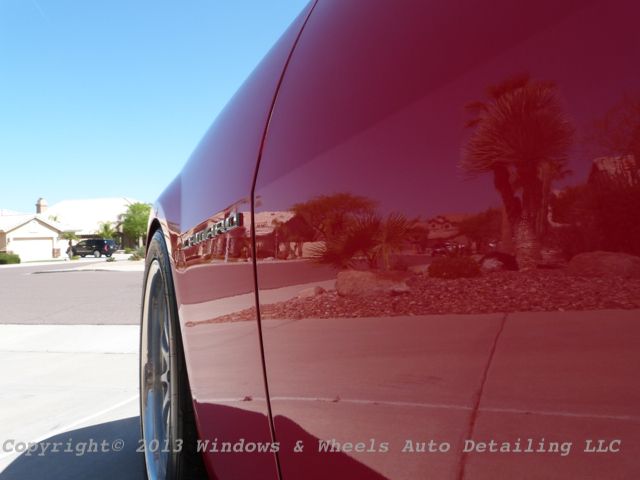
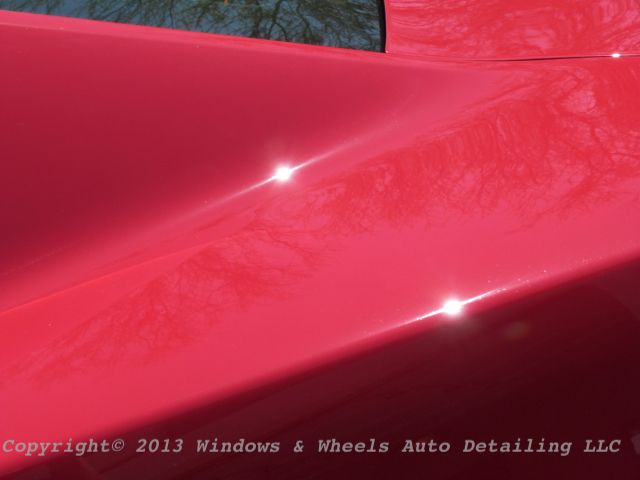
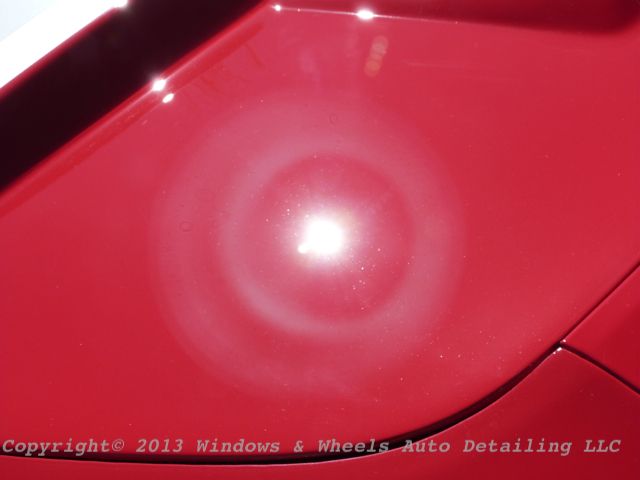
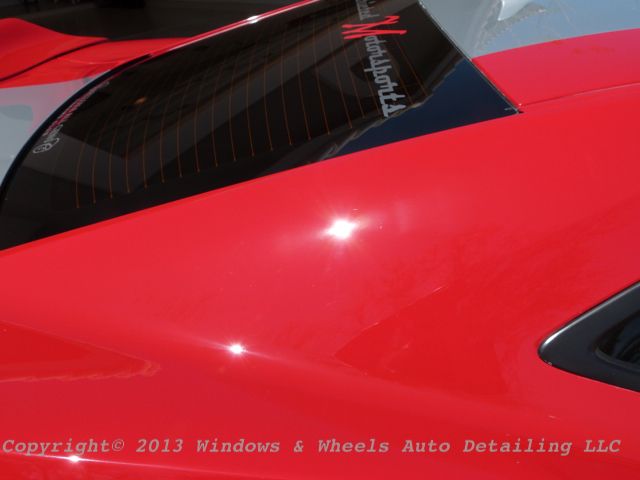
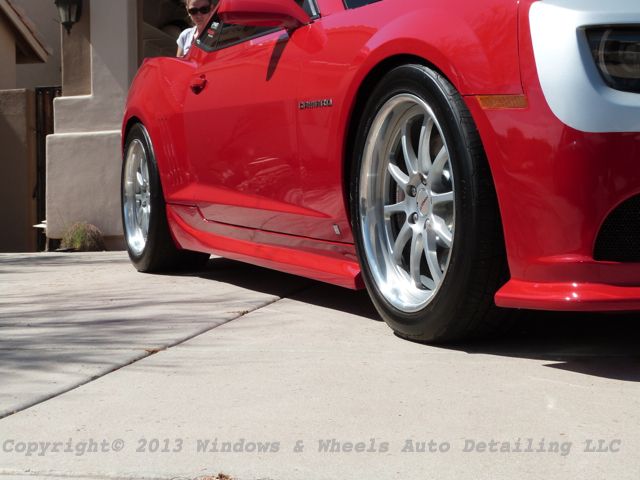
She's got hips and she's got swirls on her hips!

P1060027_zps9f415d9b.jpg


P1060028_zps0befb1c4.jpg


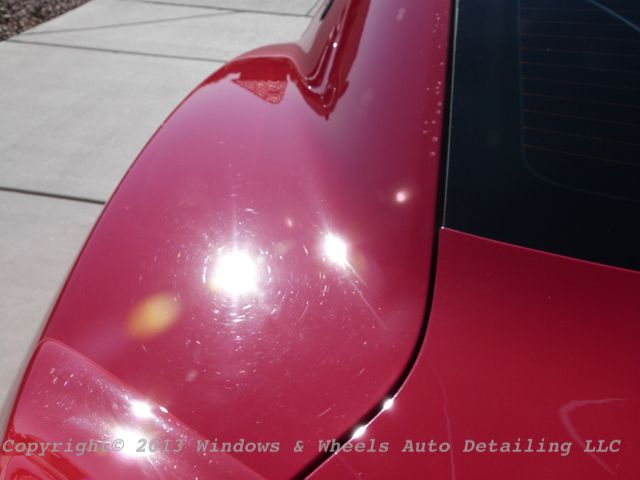
There is a quick taste of what we'd be working with, don't worry though, more is to come :)

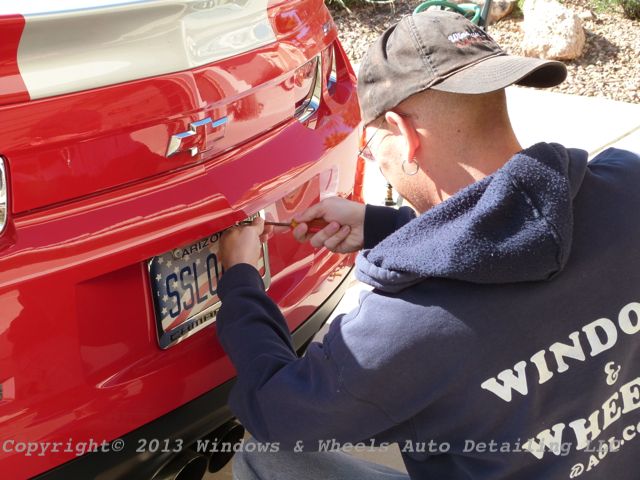
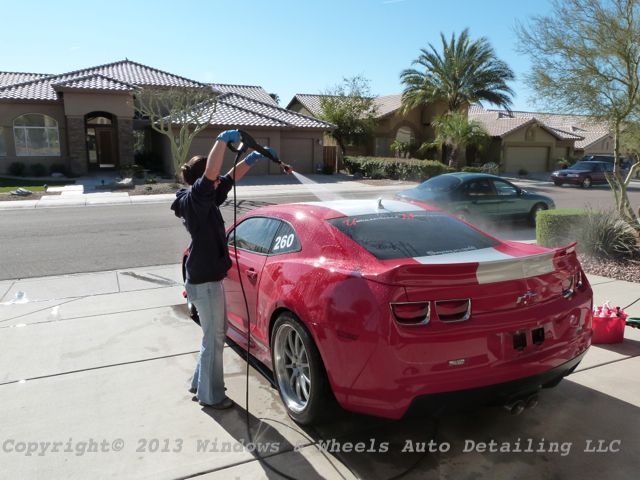
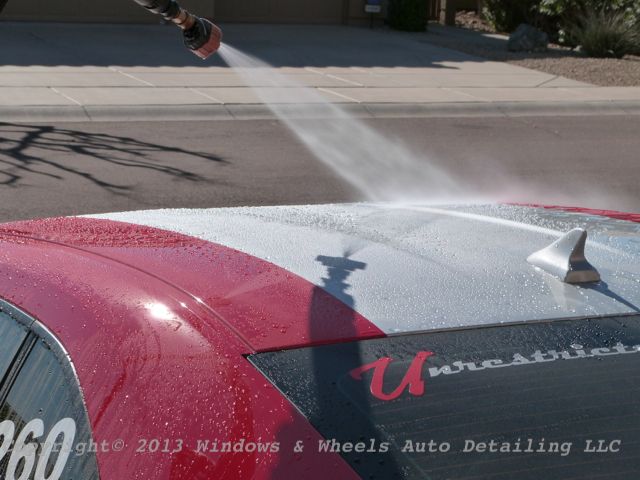
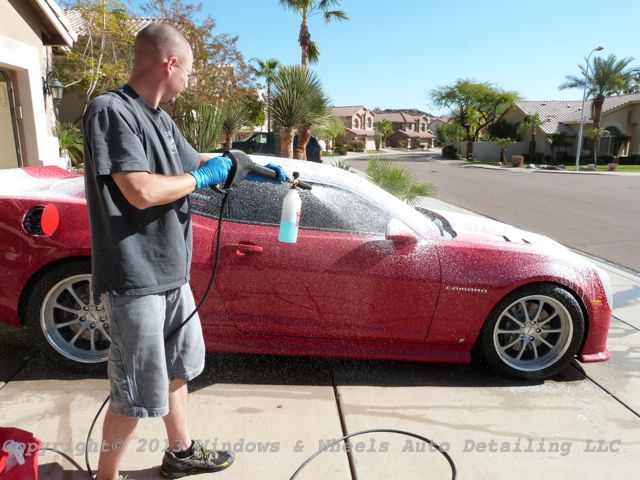
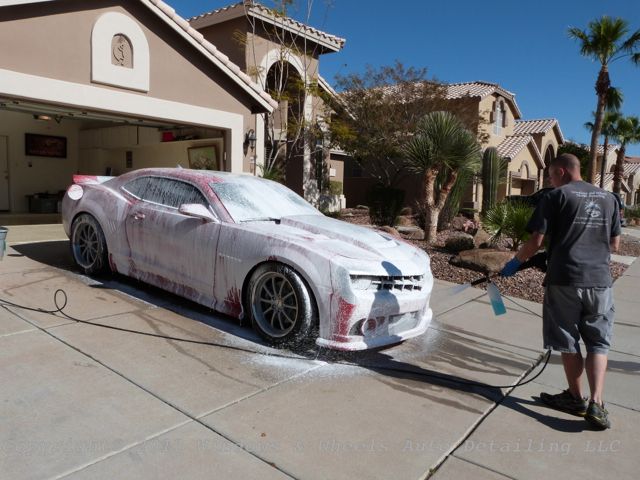
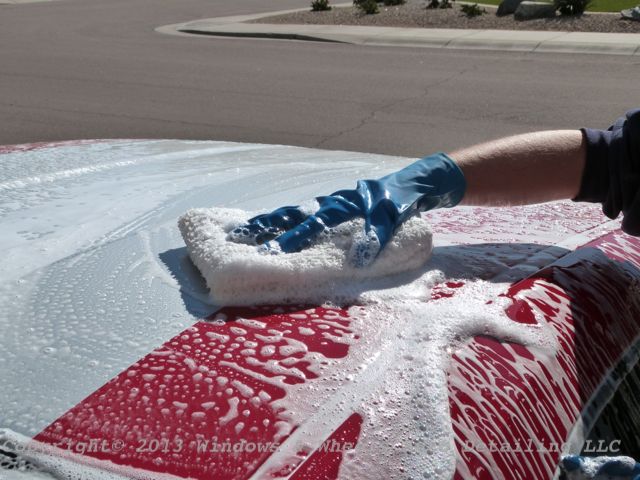
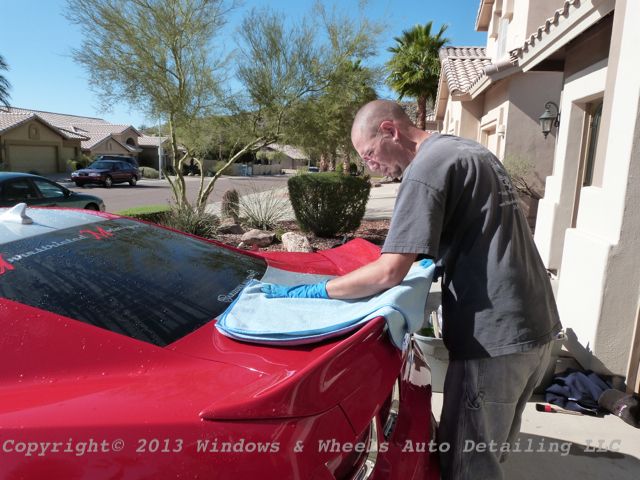
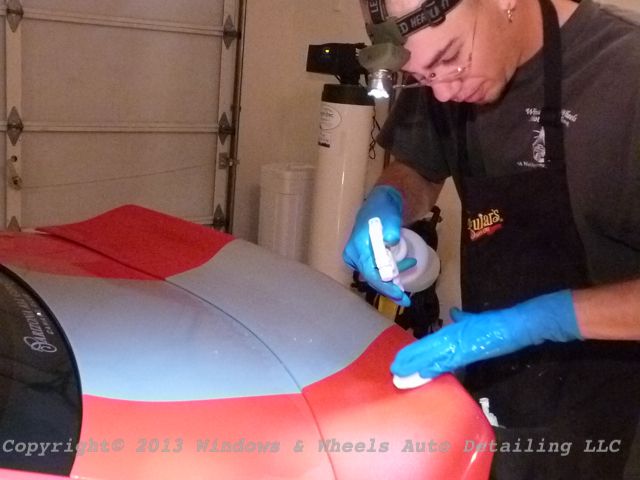
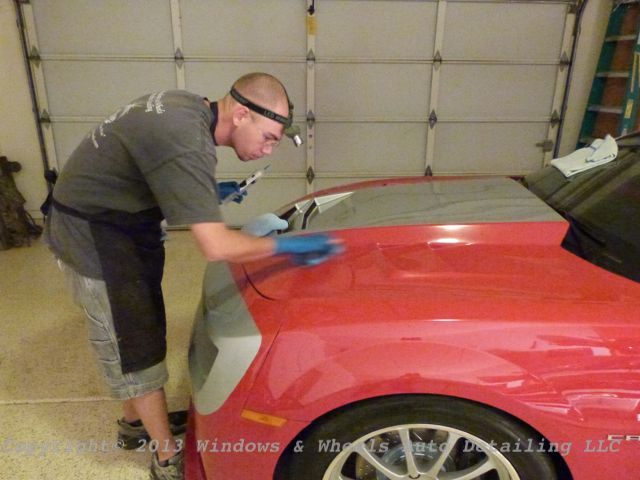
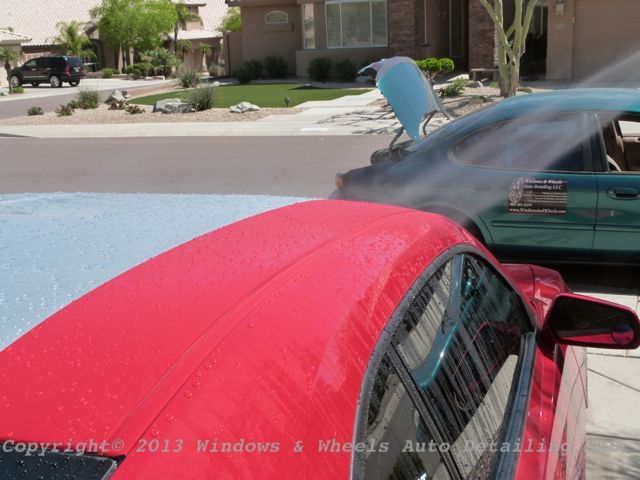
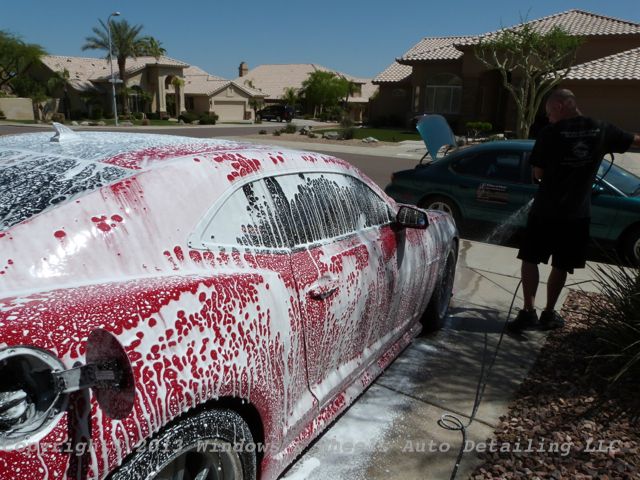
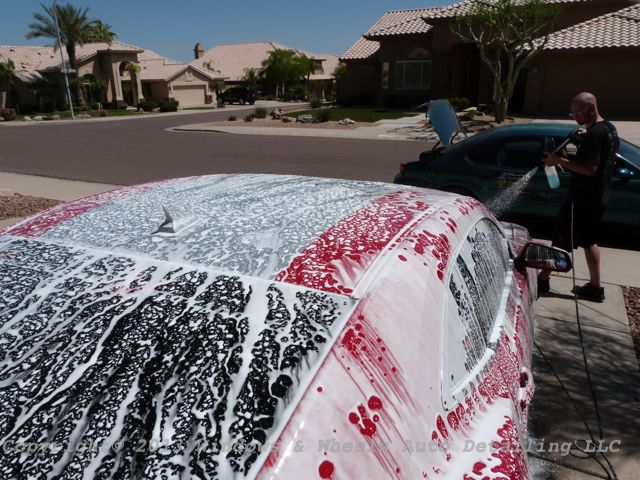
First though, we had to wash this baby...so...off with the license plate:

P1060029_zps3cbaaff1.jpg


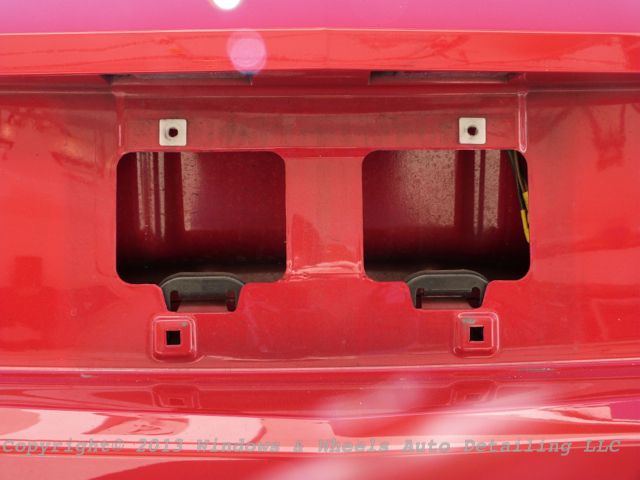
Always some good grime hiding behind there:

P1060032_zps51a0b899.jpg


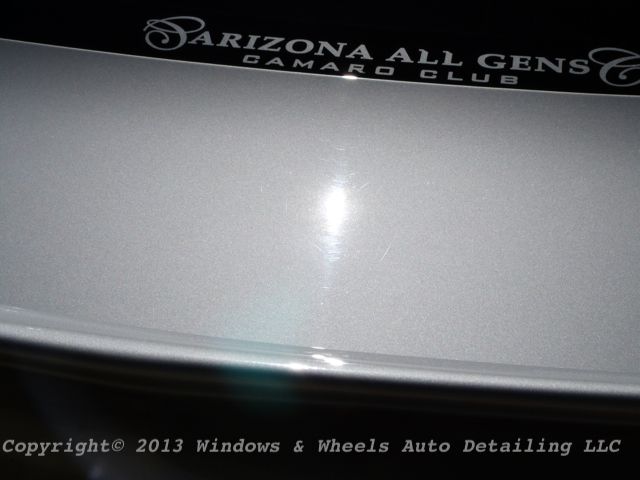
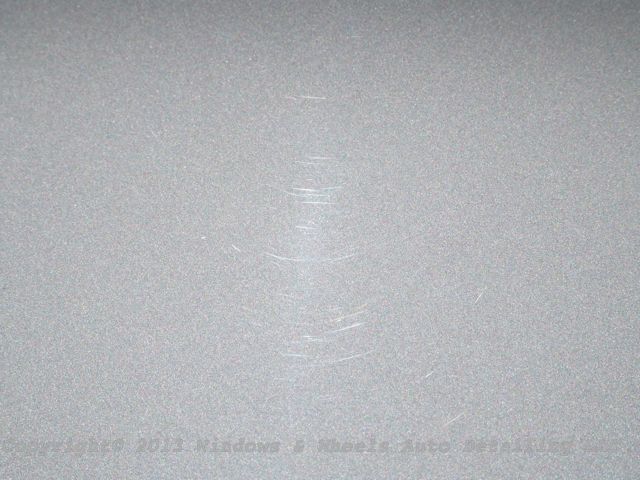
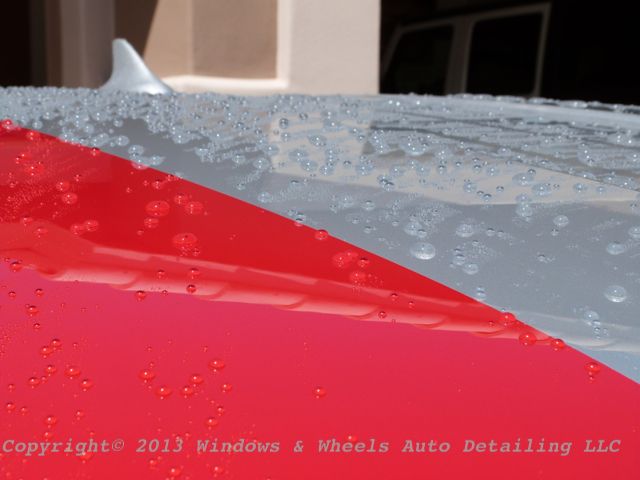
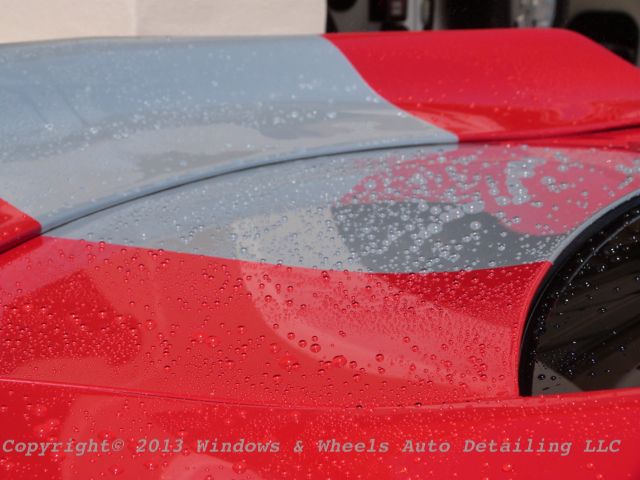
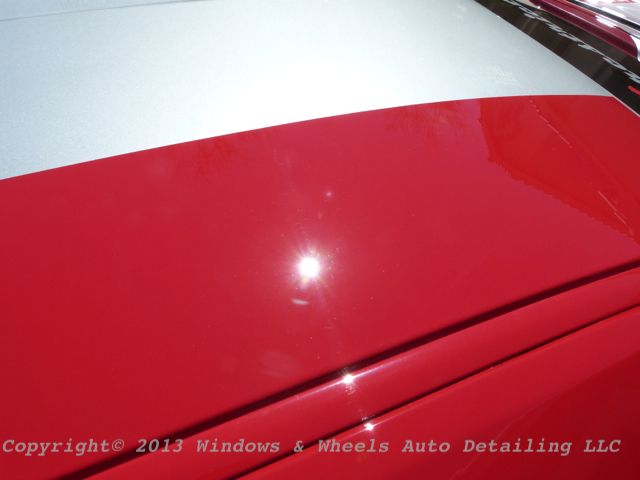
The swirls were also in the silver but, were much more difficult to see (as usual, damn light colors hide everything so well!)

P1060033_zpsd02ab5a5.jpg


P1060034_zps5e8fd175.jpg


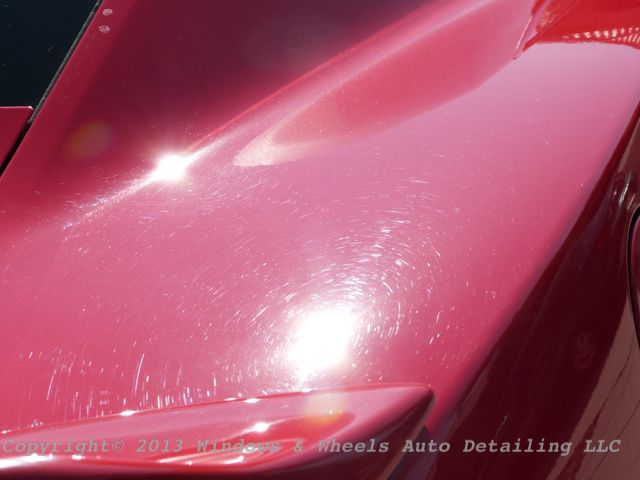
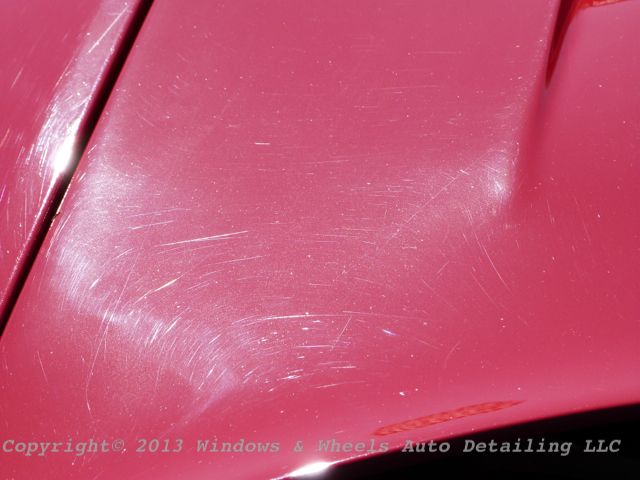
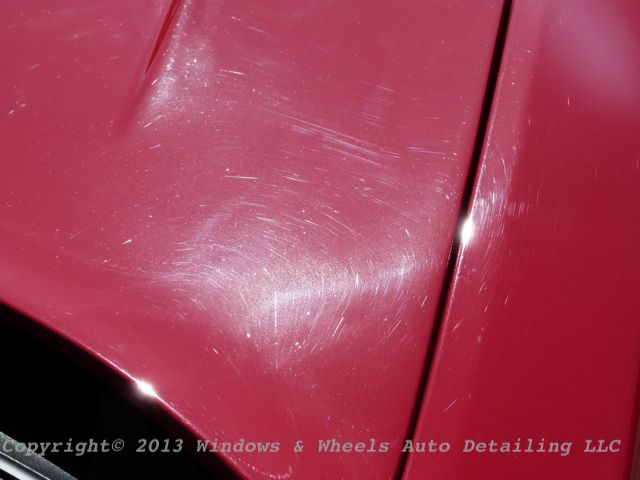
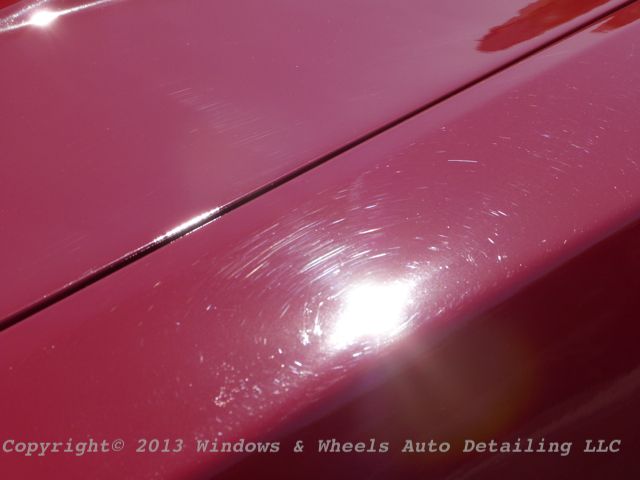
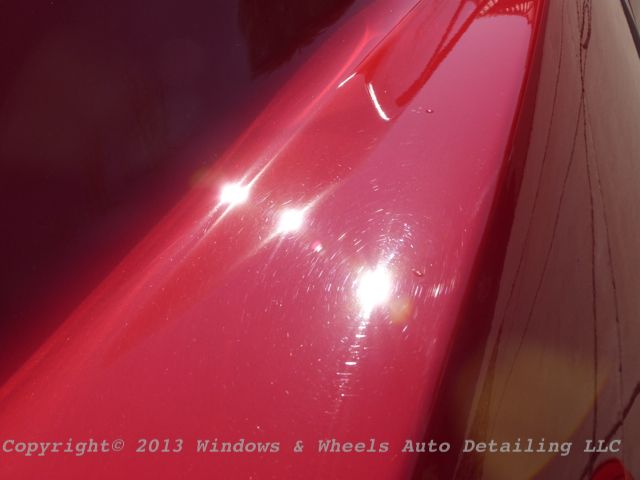
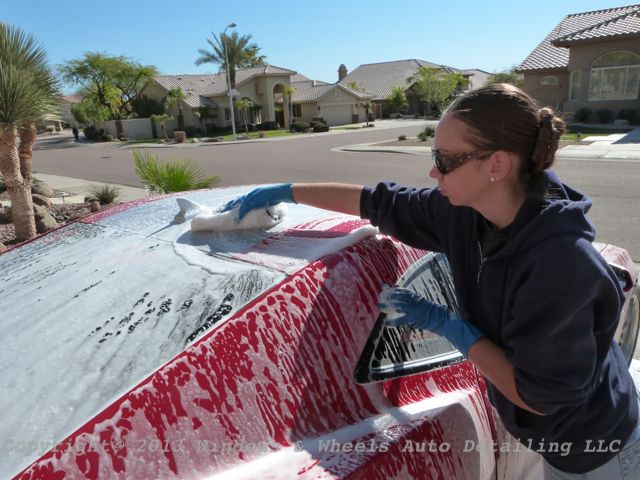
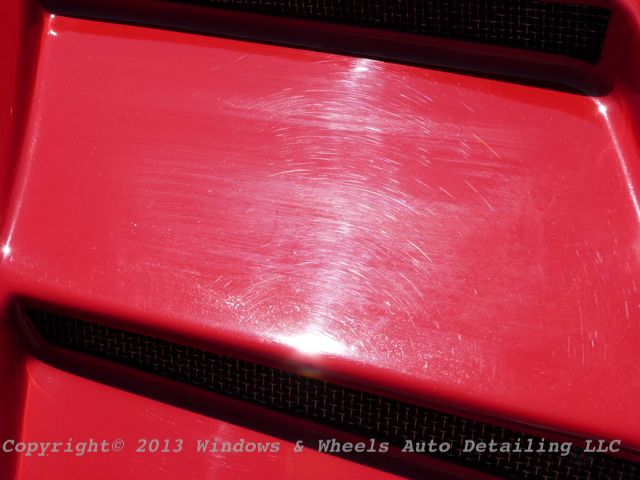
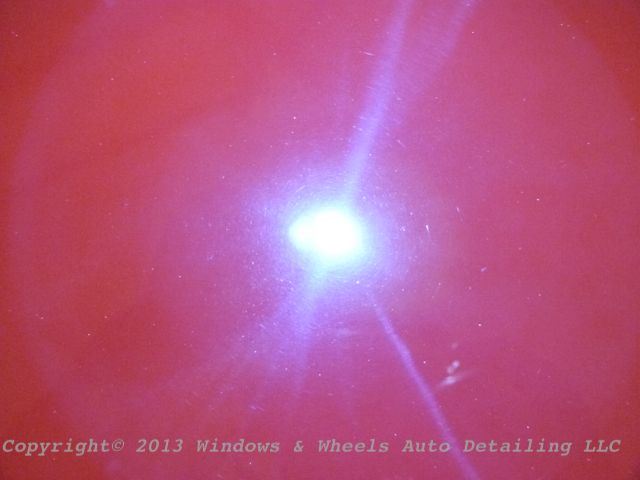
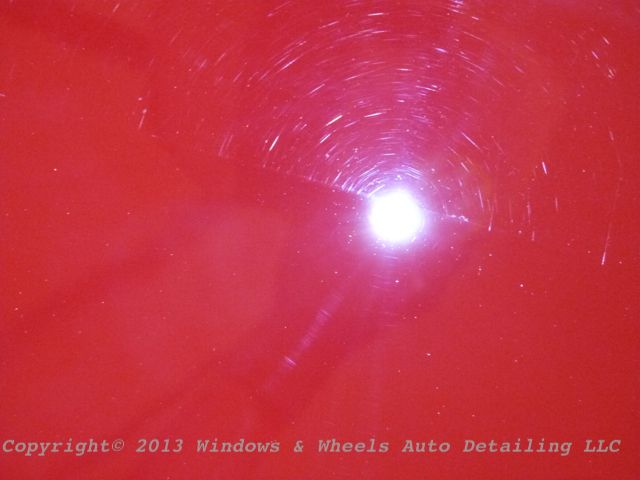
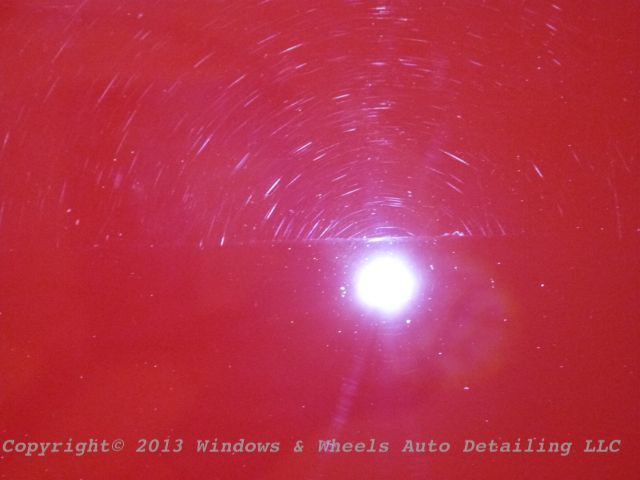
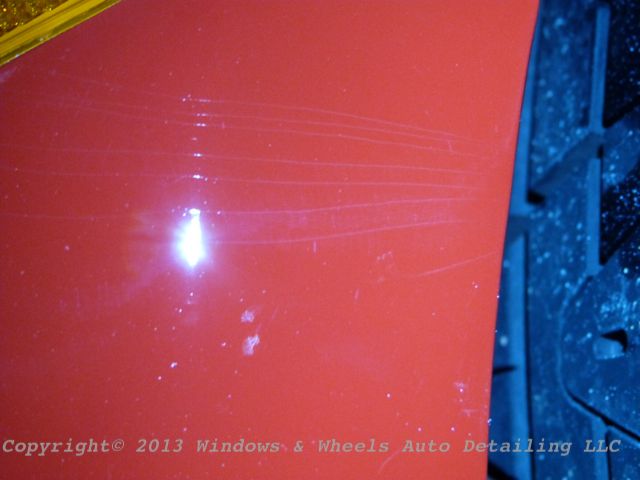
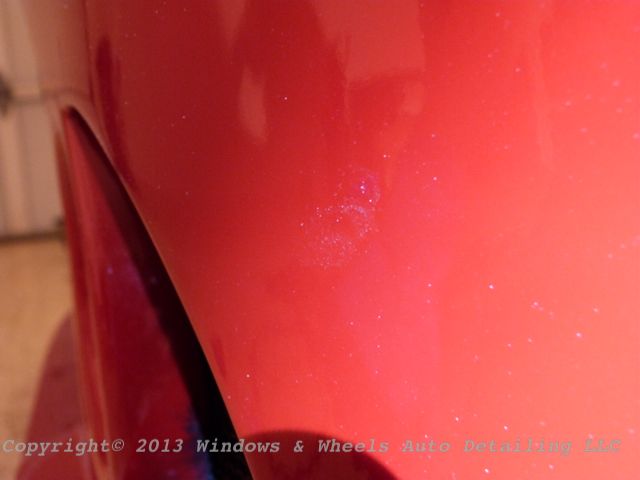
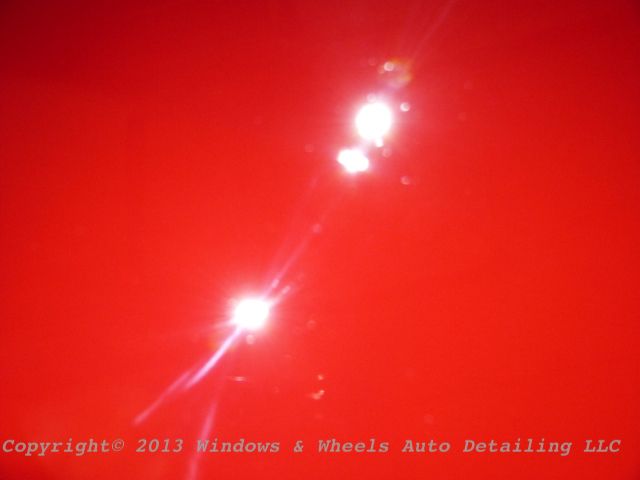
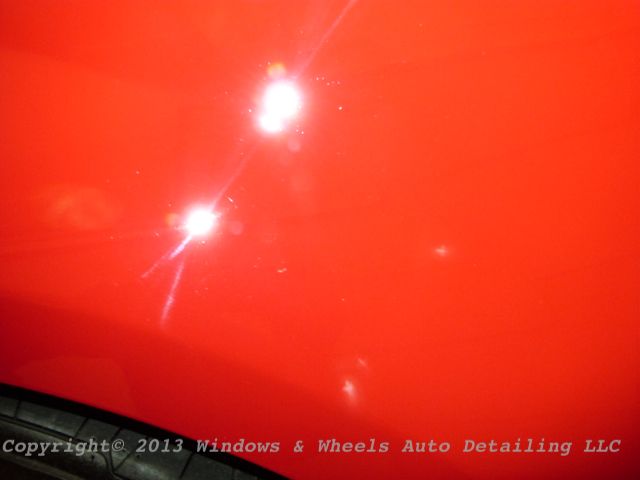
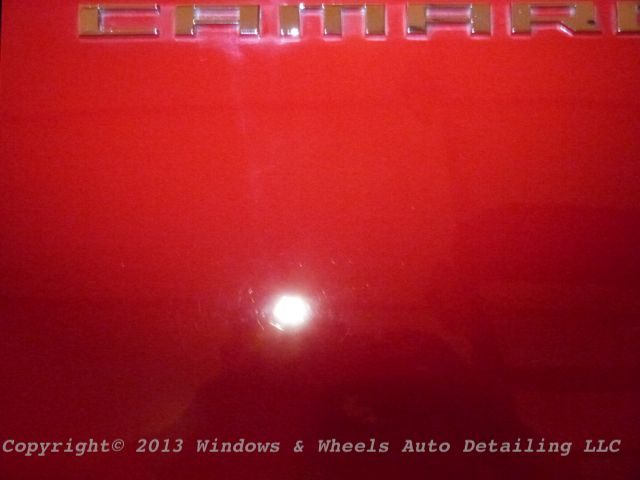
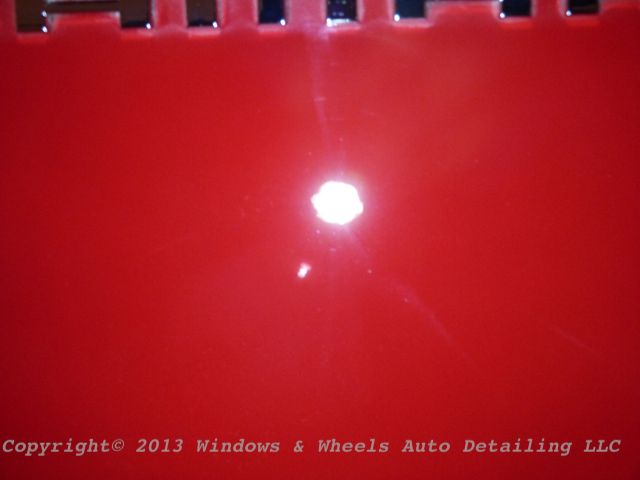
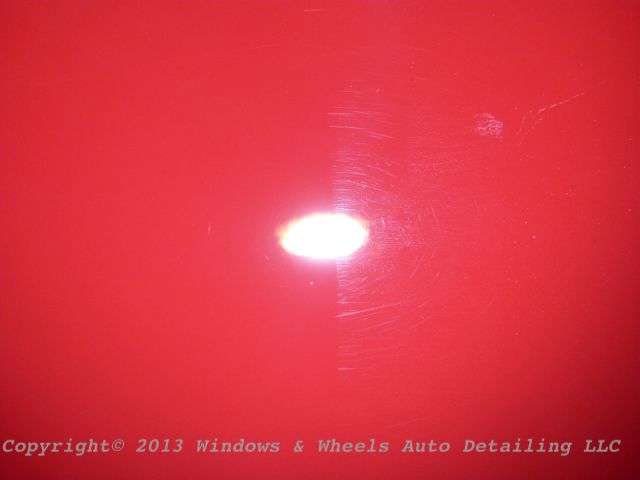
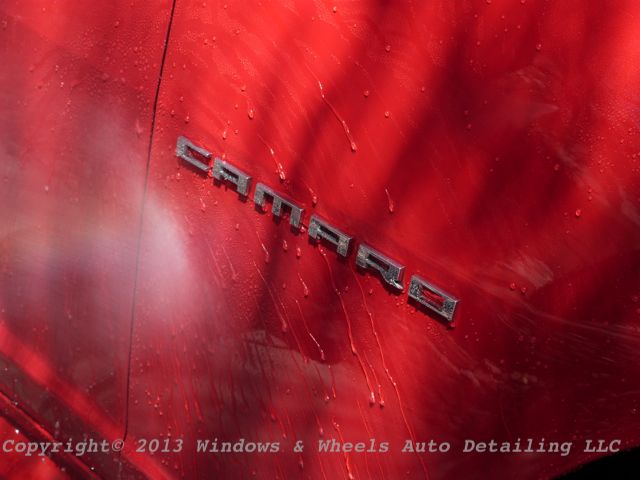
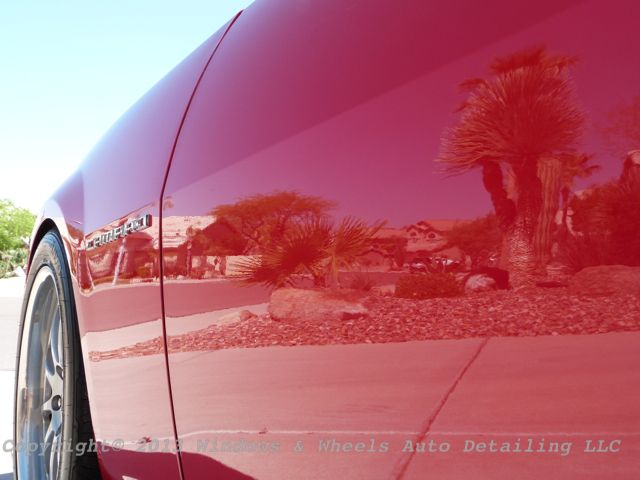
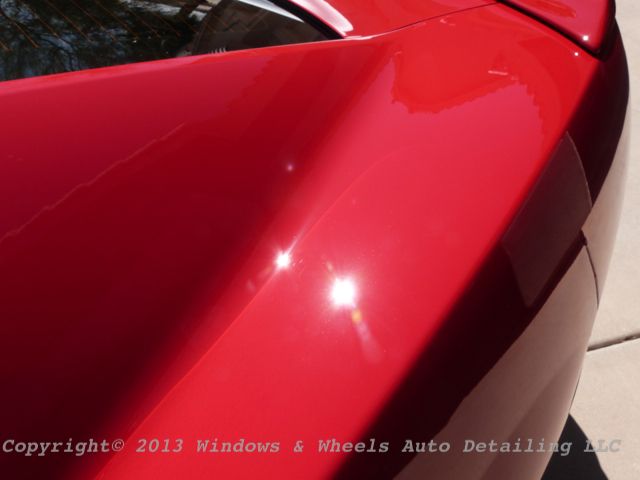
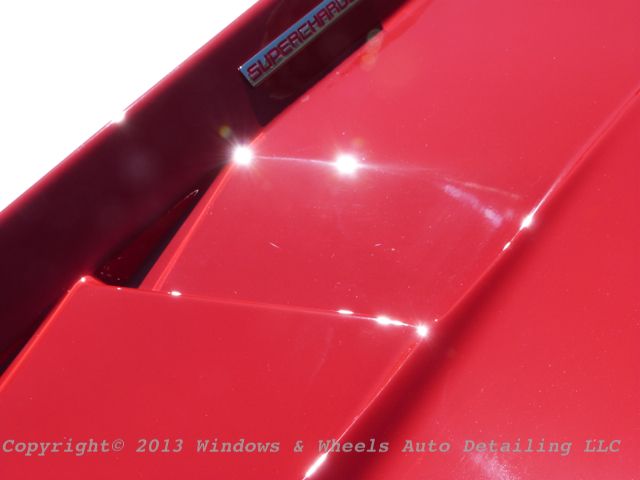
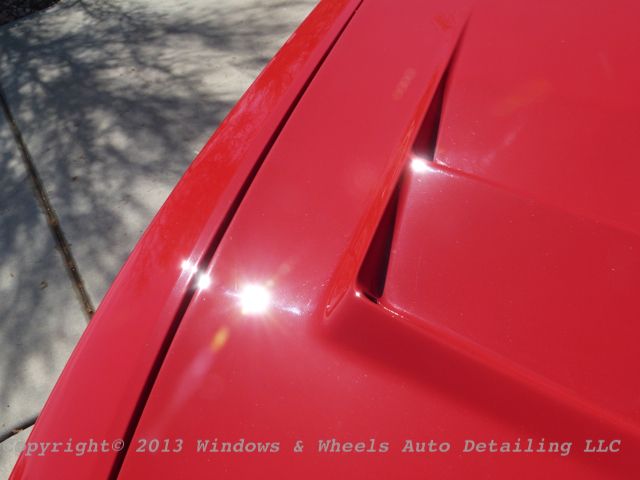
The red however...showed every little flaw:

P1060038_zps4b7c5311.jpg


P1060039_zps1f45a7ae.jpg


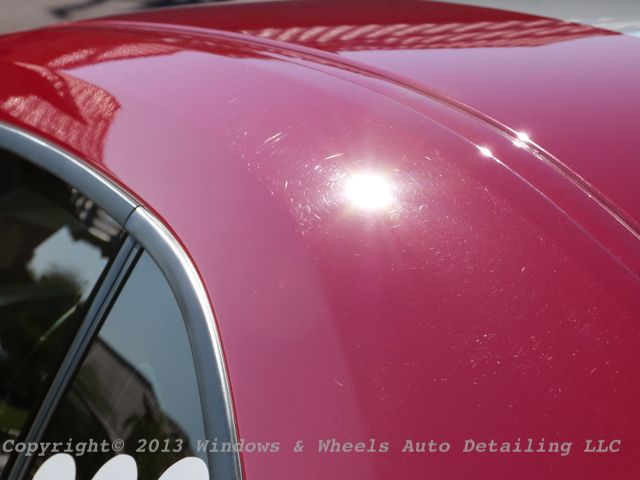
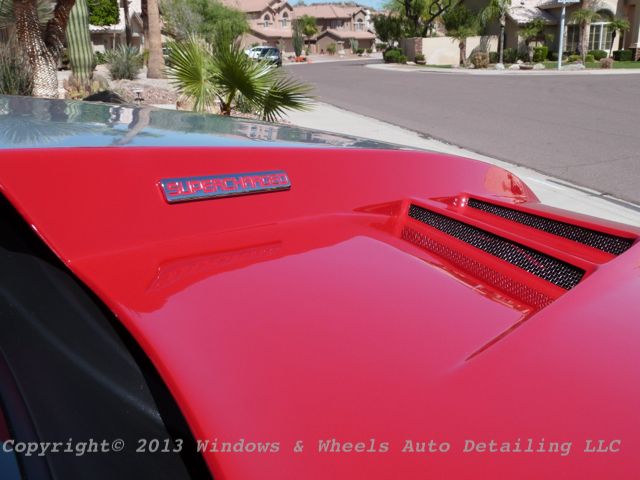
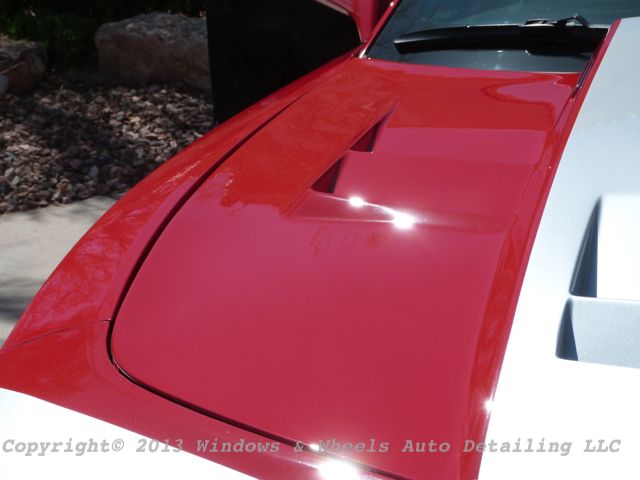
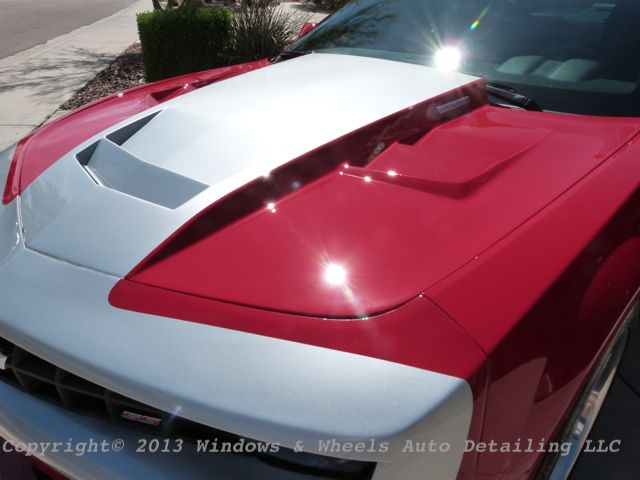
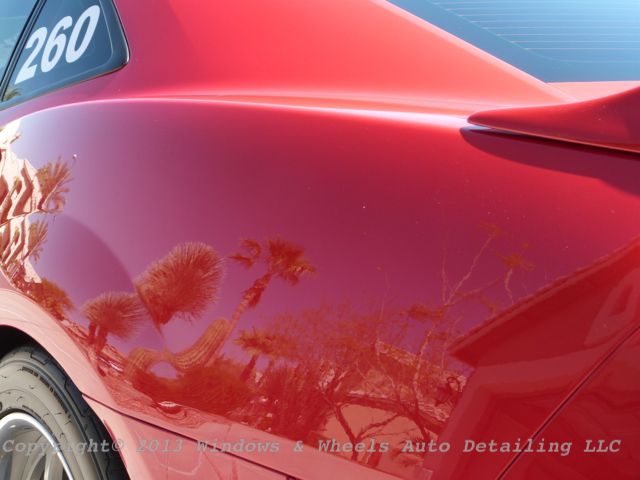
Some nice ones were on the hood:

P1060042_zps6af8f14b.jpg


P1060043_zps5fdb4d5e.jpg


P1060046_zps7c4cc9f0.jpg


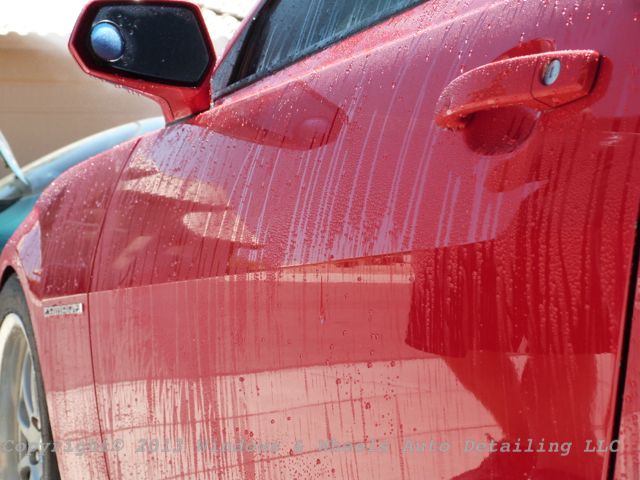
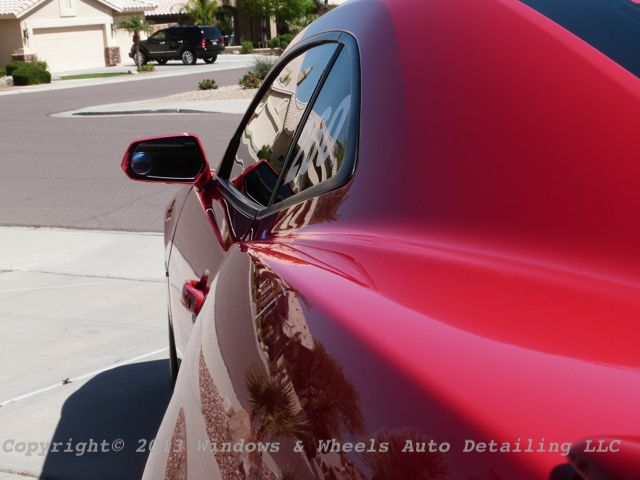
Even the side mirrors got in on the swirled action:

P1060047_zps4aac5e11.jpg


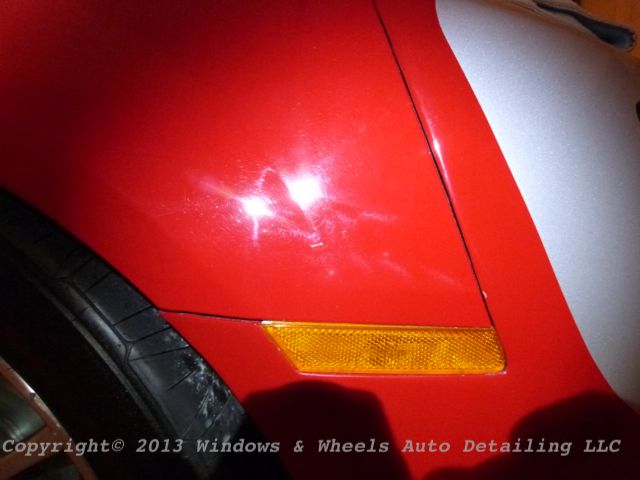
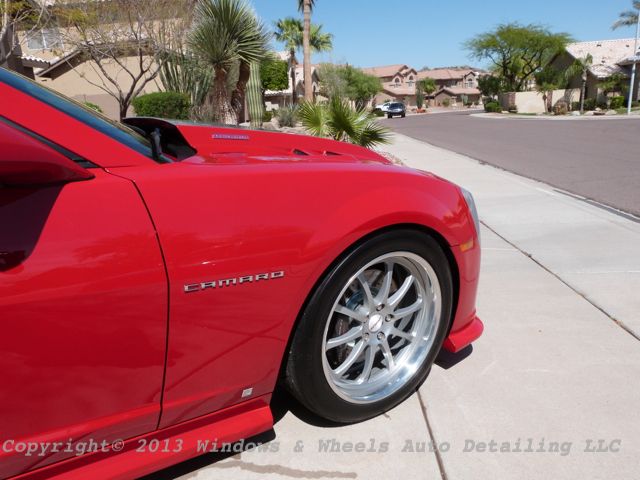
Front quarter panels told the same story:

P1060048_zps43deb0db.jpg


P1060050_zpsd606d494.jpg


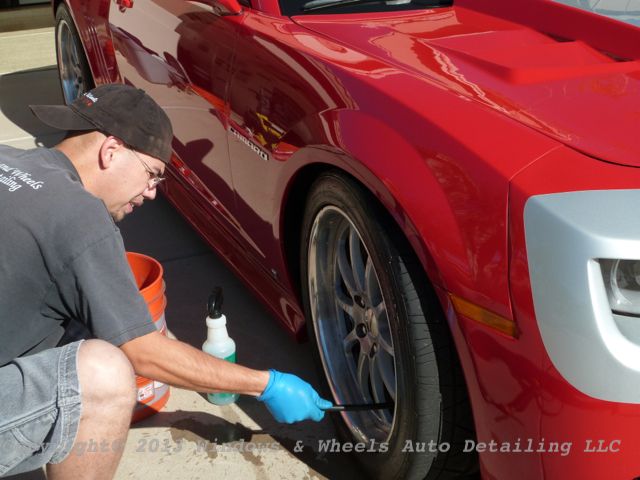
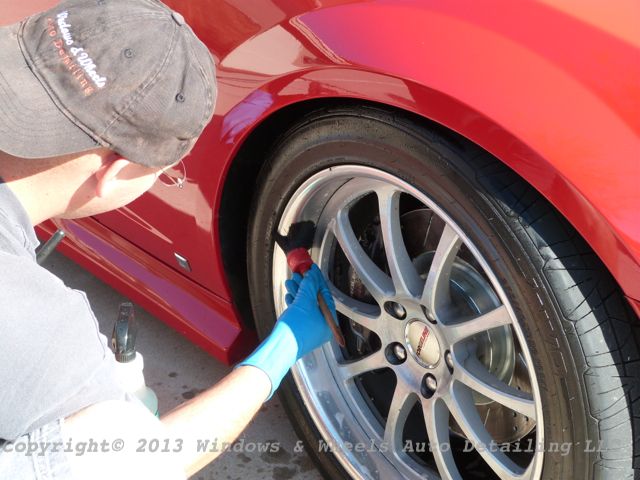
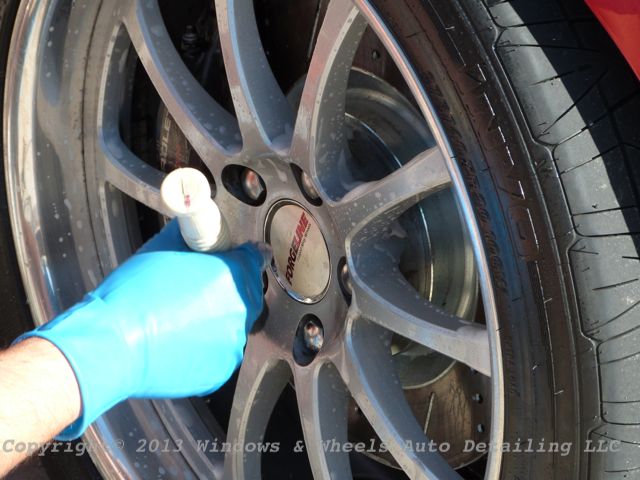
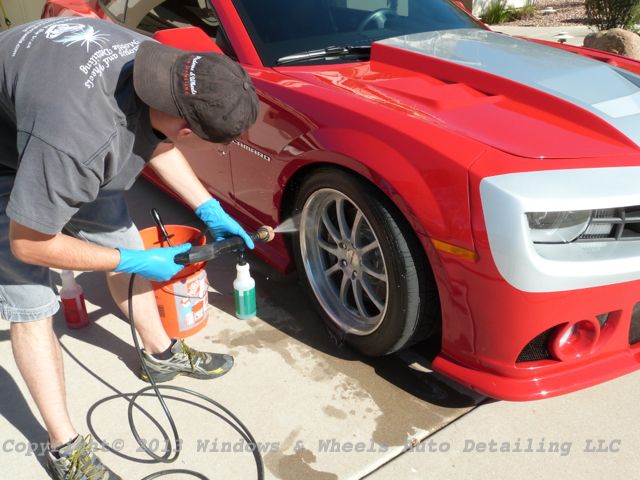
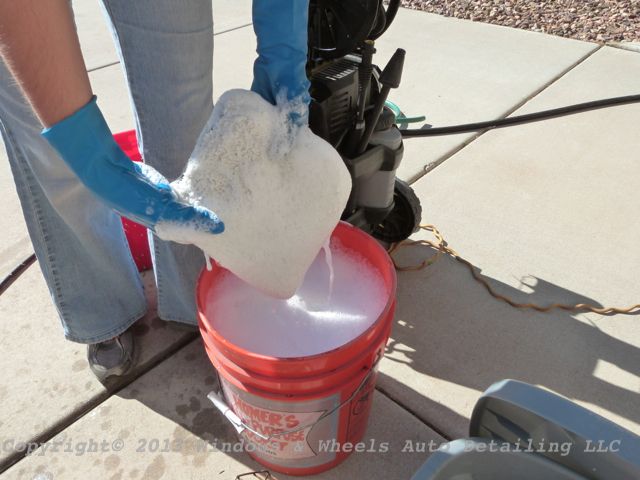
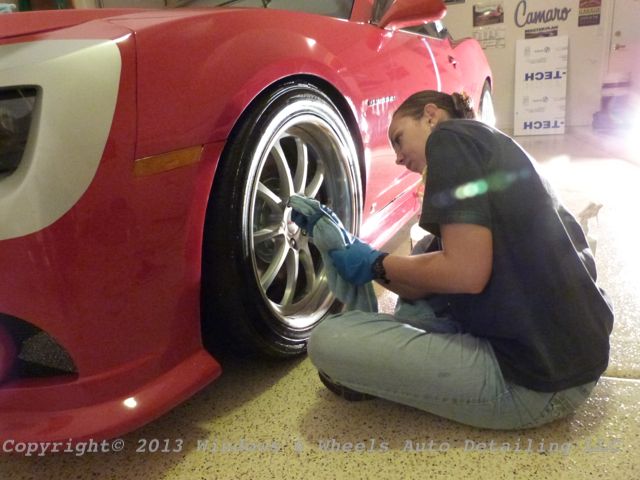
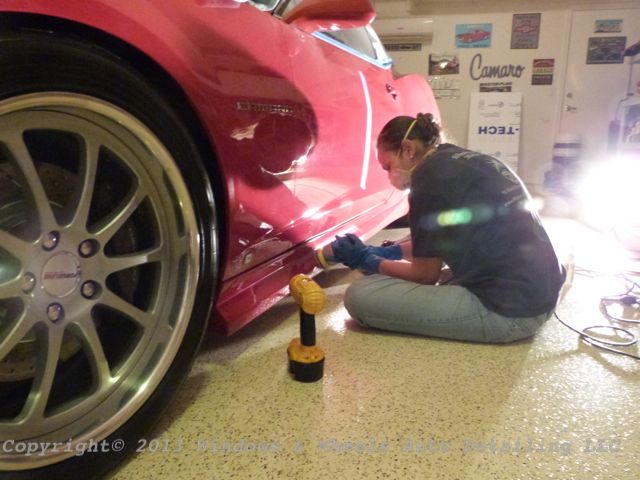
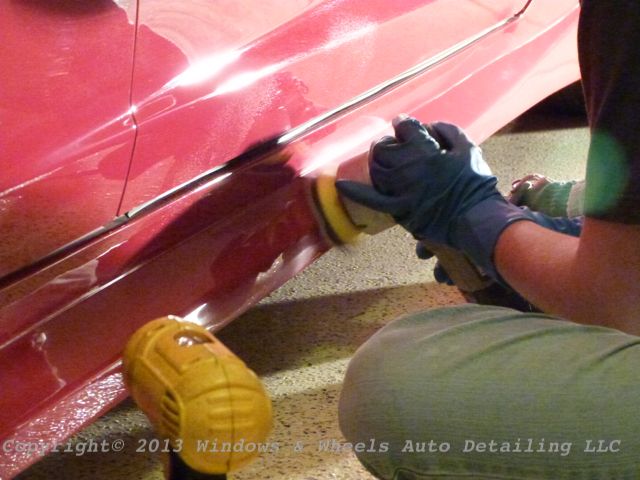
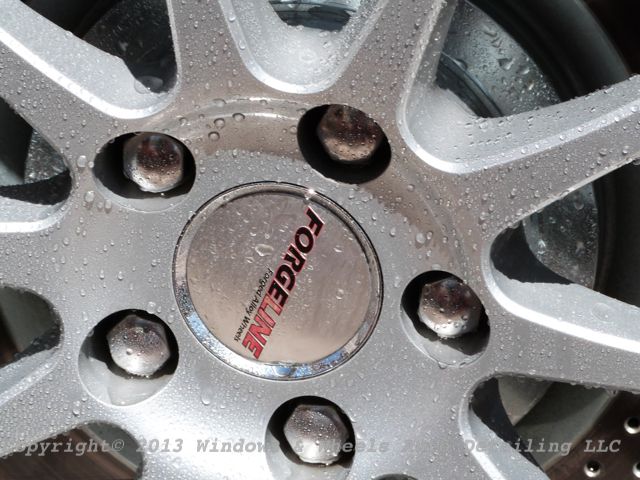
Onto the cleaning! The wheels had a nice amount of grime on them:

P1060055_zps724d69f0.jpg


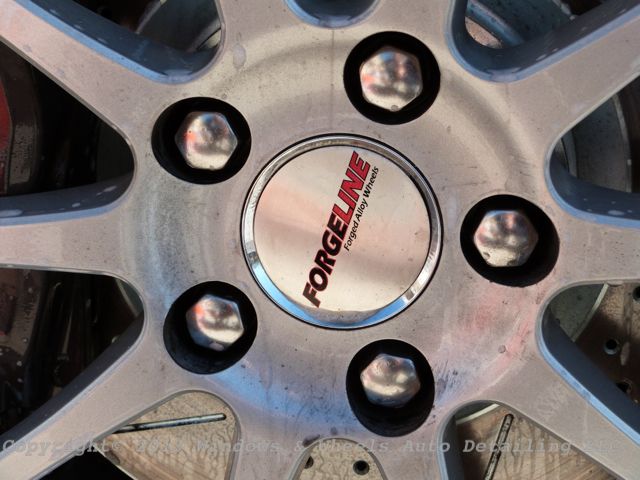
Nothing we weren't use to though...some cleaners...wheel woolies and a few brushes and we were ready to get to work:
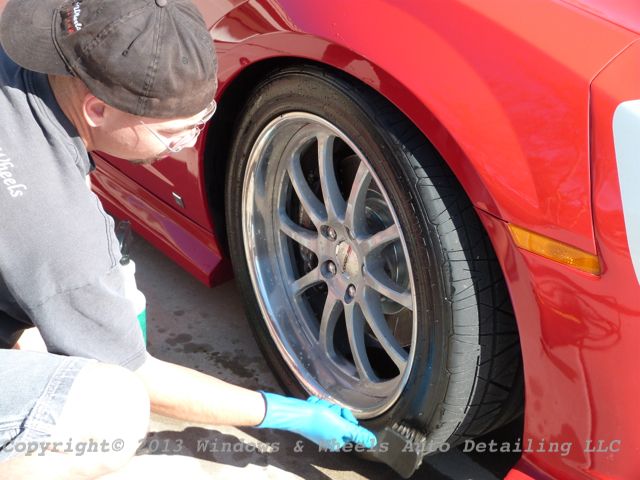
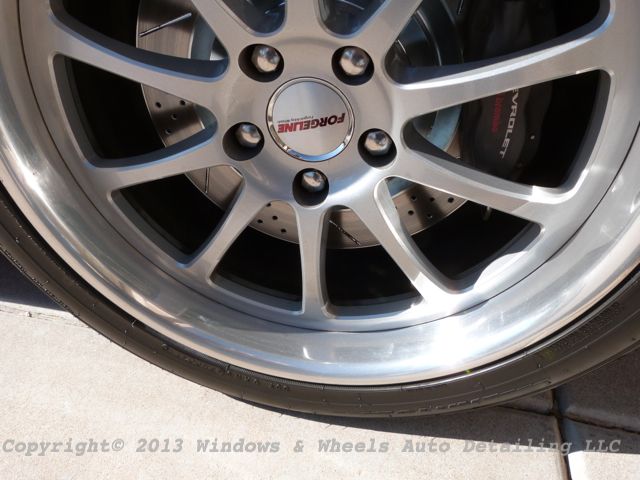
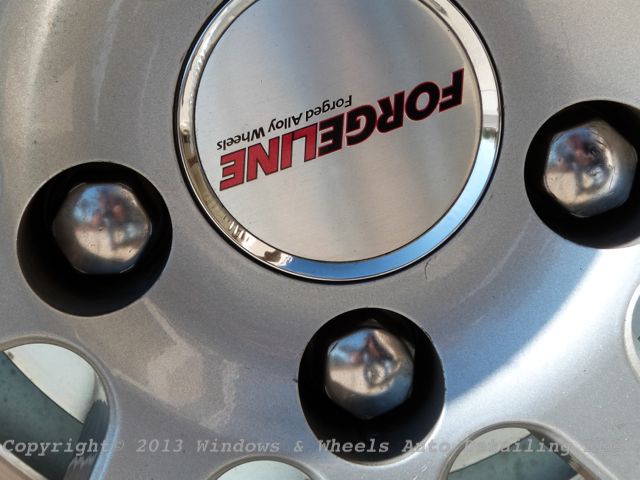
P1060056_zps4dc24fe1.jpg


P1060058_zps12545124.jpg


P1060062_zpsf03f234d.jpg


P1060063_zpsa7a09ea4.jpg


P1060064_zps8936caff.jpg


Not bad huh?

P1060067_zpsdbfdfe13.jpg


P1060069_zpse1cef182.jpg


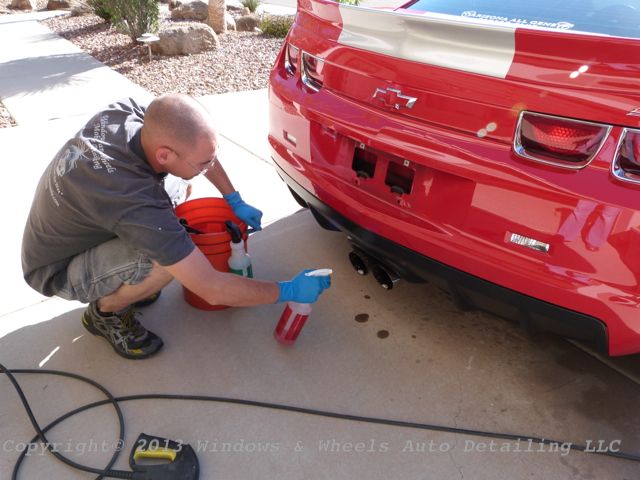
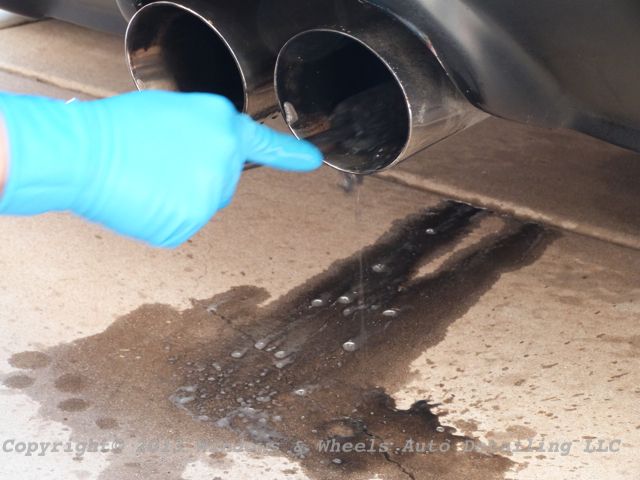
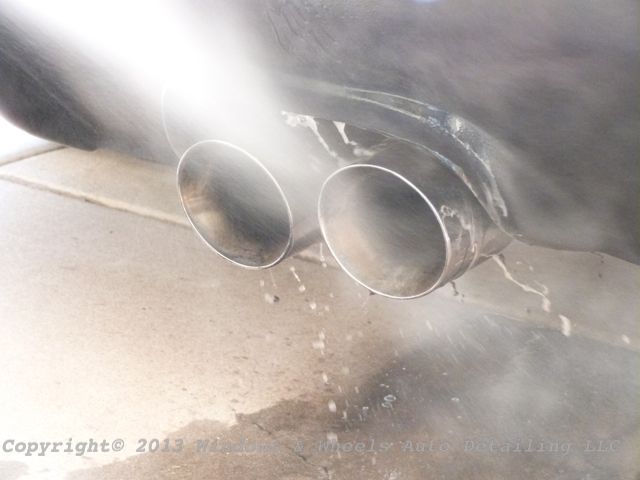
Exhaust tips needed some love too:

P1060072_zpsf0ae6ad0.jpg


P1060075_zpsba1f56d7.jpg


P1060077_zps7b600fbc.jpg
 
Then it was time to rinse off the dirt, there wasn't a ton...but there was definitely some wax or sealant on the paint..water beaded up quite well...but this also meant there was a possibility of even MORE swirls that we just could't see because the sealant or wax was filling it. We'd find out either way...it was time to strip it down to bare paint:

P1060079_zps4fde285e.jpg


P1060080_zpsb046d0e0.jpg


Time to foam her up:

P1060083_zps70e08fd1.jpg


P1060085_zps289403cc.jpg


Now shes a great white instead of a hammerhead hehe


Then we got to washing ...nice and gentle...but thorough:

P1060086_zps942b873c.jpg


P1060087_zps828f7252.jpg


Got sudds?

P1060088_zps4c0060e6.jpg


A quick dry to get the bulk of the water off and then we were heading into the garage:

P1060090_zps01e54885.jpg


Before we pulled in...we took note of how the paint looked after the prep wash:

P1060104_zps47605c7c.jpg


Not so nice still! Some areas maybe just seemed worse but, it was hard to tell:

P1060105_zps8aa096d5.jpg


The owner pulled it in the garage for us and was kind enough to allow us all 3 garage bays to work in...check this out !

P1060107_zps28a279e0.jpg


P1060108_zps8c3be6da.jpg


Awesome...lots of space and very clean.

Next we set up our equipment to get ready to go to battle:

P1060111_zps27325c5c.jpg


Light em up....we closed down the doors...had a nice dark garage to work in and had our lights to be able to see what we were working with in a controlled environment:

P1060114_zps37d3b779.jpg


The paint was pretty smooth feeling...but we did clay it anyway just to be safe:

P1060117_zpsee0813f4.jpg


Then it was time to do a test spot and figure out what combo we'd be using...put a tape line down...compound and polish one side and compare it to the other:


P1060118_zpsccaf68a4.jpg


P1060119_zpsb76360d6.jpg


This is what we started with :

P1060121_zps8ccc4955.jpg


Then, after compounding with a microfiber cutting disc, Meguiars 105 with a little D300 mixed in to help extend working time...we ended up with this:

P1060120_zps89ffdf0c.jpg


Swirls were gone, but micro marring was left....which was expected. These types of marks easily polished out with some 205 Finishing Polish and a polishing pad.

After the 205 polish, we were looking pretty sharp:

P1060122_zpsd549c6de.jpg


A nice close up of the tape line showed us exactly how much improvement we had made...not too shabby:

P1060123_zpsdc880317.jpg


P1060125_zpsbbee37cc.jpg


While it looked quite good and was a huge improvement, there were still some deeper ones i was able to see and wasn't happy with...so i re-compounded the area to see if i could get some improvement. Dani in the mean time was working on the rimes...getting them cleaned and doing an IPA wipe down on them...as well as dressing the tires and wheel wells:

P1060129_zps6c81eb13.jpg


We've found that where usually we'd do tires, wheels and wheel wells last...it really wasn't something we'd look forward to after HOURS of polishing! So, recently Dani has been knocking that out first while i dial in the polishing combo that we need. Most times I can get about a whole panel or so done (usually the hood) by the time she's finished cleaning the wheels, dressing the tires and wheel wells and then coating the wheels with Opti-Coat.

In this case, we weren't so lucky...i was done with only about 1/2 of the hood when she finished...why? Because every section looked like this:

P1060130_zpsbbae7283.jpg


We were just seriously surrounded by LOTS of DEEP swirls...and to top it off...this paint wasn't exactly buffer friendly, it was definitely on the hard side...so the cutting/compounding process was very slow and made you work for ever defect removal. I upped to Meguiars 101 to help with the cut....it did make things work better but man, it was still a SLOW process.

After Dani finished the wheels, she snagged the PC and a 3" cutting pad and started doing the trimming and edging for me. Rockers, mirrors, pillars etc...all the tight areas that required a small pad and concentrated cut, she attacked:

P1060132_zps2e25911a.jpg


P1060133_zps6ce3ecec.jpg


Again, a lot of people don't realize just HOW MUCH time this kinda work takes...doing a very small section like with a small pad can often times take up as much time as a larger panel with a larger pad. It ALL takes time to do right...and trust me time and patience was exactly what was needed for this car.


We found some areas we beyond or repair...specifically, the front bumper. The owner had a SS...and now a SuperCharger....and he USED them. Tracking a car surely shows...one thing we saw was some paint crinkling on the from driver side:

P1060134_zps93224542.jpg
 
Then of course, rock chips....LOTS and LOTS of rock chips:

P1060135_zpsc6ad32f8.jpg


P1060138_zps704d3381.jpg


We told the owner about Dr. Color Chip ...he ordered some while we were still working lol.

The quarter panel was just wow....just like the rest of the car

P1060139_zpsf856f259.jpg


P1060140_zps787e5669.jpg


With certain areas like this...where i had a little more space to work with...i eventually resorted to the rotary, a Lake Country Synthetic Wool pad and some 105. It helped speed up the cutting process...while many areas still required 2 or more compounding passes....it did help level them out:

When it came time to polish...a bit more pressure and slower passes seemed to help remove any holograms left from the rotary...it cleaned up pretty nice :

P1060141_zpsb8525067.jpg


P1060142_zps116993ed.jpg


In the interest of honesty, there were some deep ones left. I still say we got well over 90% correction of the paint and we had to scratch and claw to get that. But compared to the bazillion-million trillion ones that were there to begin with...this was a pretty good outcome:

P1060143_zps82979e67.jpg


And Dani still cut away with the little 3"...man that sure saved me when it came time for me to compound...knowing the little areas were already done.

P1060144_zps51b0af1e.jpg


Panel after panel...more of this:

P1060147_zps6ec6d4bb.jpg


Turned into more of this:

P1060148_zpsff9689e3.jpg


P1060149_zps26dbad37.jpg


The drivers door was no picnic as im sure you've all gathered by now! But, it did make for another sweet 50/50 photo:

P1060162_zps3b449554.jpg


P1060164_zpsf2d9324a.jpg


We had arrived a little before 9 a.m...unloaded and started working right away....well...here we were 12 hours later...the sun was long gone...fast food places (except Filibertos!) were all closed down...and we were still polishing:

P1060165_zpscfd9965d.jpg


Finally...we got to the point to where the polishing was done....now the fun part...we had to wash the car again...do an IPA wipe down (I will now usually spray the panel with my IPA mix...then wash the panel with a rinseless wash...seems to leave less streaks and clean very thoroughly) ...get it dried and ready for coating:

P1060166_zps4851f2a8.jpg


The light helps to be sure no drips are left. And let me tell you..the back side of a Camaro is a DRIP HAVEN! Spoiler, inset back lights...trunk...just drips drips and more drips even with a rinseless wash!

P1060167_zps61f1284f.jpg


Finally, it began...the coating process:

P1060168_zps73bdde8d.jpg


P1060169_zpscfb5575e.jpg


P1060170_zps965bcfe5.jpg


Many curves, sharp edges and tight corners were all over....in the vents on the hood, under side mirrors...the back end as mentioned before...and every inch had to have sufficient coating applied. Applying a thick amount of coating and NOT ending up with a high spot...is very difficult. We're good, but we know we're not perfect, which is why we always offer a free follow up wash AFTER any coating job we do. So, a couple of weeks after the job is done, we'll go back..do a wash to insure the water beads up as it should (if the water runs flat, it means the area was missed with the coating...or the coating didn't bond correctly) and also to check for high spots that may have been missed.

14 hours later...we had finished. When we got in the car to head home the clock read a few minutes after 11 pm. Whew...long day...but man did this baby look good!

P1060171_zps3b56b59b.jpg


P1060172_zpsa038d23f.jpg


We advised the owner to let it stay as is over night and to give it 12 hours to sit...and to not wash it or get it wet. We set a date a couple weeks in advance for a follow up wash.

When we showed up, it was a little dirty but...nothing crazy. We pulled it out into the sun to take a look at it (since the last time we had seen it, it was almost midnight!) Things were looking good...but we wanted to check to make sure the coating bonded correctly...so it was time to start washing.


First the tires and rims...the rims beaded up nicely:

P1060461_zpse671633f.jpg


Then of course...the most important part...it was time to check the beading on the paint:

P1060464_zpse97da9de.jpg


P1060467_zps9450e123.jpg


The water would just fly off lol. To us its actually FUN to wash Opti-Coated cars...just to see the water bead up and then fly off is just...wow, awesome.

The owner had added a little something since we had last seen it...to help advertise what he had under the hood

P1060468_zps11715f89.jpg


We thought it was a nice touch:

P1060469_zpseabd7fc9.jpg


Serious beading:

P1060470_zps39e153aa.jpg


P1060471_zps25fa3028.jpg


P1060472_zpsc161e212.jpg


P1060474_zps05ef15d4.jpg
 
P1060475_zps1171bea9.jpg


Sorry but i think this next picture is just sexy lol

P1060477_zps46e9a560.jpg


Remember how that foam clung pretty good to the paint in the initial prep wash...even though it obviously had a good coat of some sort of wax or sealant on it? Welllll....even the thick foam wouldn't stick to the Opti-Coated paint:

P1060478_zps08fb743a.jpg


I was spraying it just as thick as i had when we first did the car...and yeah, it just slides right the hell off lol:

P1060479_zpse6927bfc.jpg


We completed the wash...every panel beaded like crazy...then we used free flowing water to sheet most of the water off...used a blower to push water out of the tight spots...dried it and then inspected. The paint looked great...we found a few high spots that needed to be touched up real quick by hand, but other than that...magnifico!


Now for the fun part...the after shots...I'll let em' speak for themselves

P1060480_zps31d92008.jpg


P1060481_zpsc4f47a33.jpg


P1060483_zpsdad0f662.jpg


Remember these???

P1060095_zpsd119c4d2.jpg


No mas!!


P1060485_zps0b1d288c.jpg


P1060486_zps50920fdd.jpg


Its all good on the hood now!

P1060487_zps0faf66f6.jpg


The reflection were killer:

P1060491_zps762ef35c.jpg


P1060492_zps59c9db06.jpg


P1060493_zps117da898.jpg


P1060494_zpsa71fedc8.jpg


And remember those sexy but super swirled hips of the SuperCharged Super Sport (wow thats a lot of S's!)

P1060031_zps7dd6d01c.jpg


They too were beautified:

P1060499_zpsad07da66.jpg


P1060500_zpsd77eaff0.jpg


As I said before, there were a few deeper scratches that were left, but all in all...it was an amazing and hard earned transition:

P1060502_zps891d8cc7.jpg


Love this shot:

P1060503_zps7092c751.jpg


P1060505_zps1b818d95.jpg


Thank God for the 3" cutting discs...it took multiple compounding steps to knock down all those scratches in the vented areas....but the result was well worth the effort:

P1060507_zps8f012335.jpg


P1060508_zps6a5f1bc8.jpg


P1060510_zps26a88896.jpg


Got gloss?

P1060511_zps12e6d049.jpg


I think our logo should be on the rear window too!

P1060512_zps8df5a698.jpg


Now of course...time for the sexy beauty shots:

P1060513_zpscbe1a12f.jpg


P1060519_zps08e51fe2.jpg


P1060521_zpsebf9dfb4.jpg


P1060523_zps81ad267b.jpg


This was definitely one of our harder details...it did feel good to know that it ended with an awesome result and was protected with Opti-Coat. The owner said he would probably have us come out to do maintenance washes on it to help keep it in good shape. Of course since he likes to track it and drive it like it should be driven...it'll get some wear and tear, but having careful wash jobs done to it is definitely one big step in the direction of keeping the paint looking stellar!


As always, appreciate you guys taking the time to read one of my long write up's, but i hope you enjoyed it. Take care all!
 
One word."awesome". Great work as always. Great write up. One sexy camaro
 
Great job as usual. I would love to have a garage like that!
 
Incredible write up and pictures to go along with this job.

That car was in bad shape and you two come to the rescue to give it a proper show car finish. Nicely done.
 
Polished gem you turned out there, excellent work and enjoyed reading and looking at the pictures step by step. Thanks for taking the time once again for doing the write up and posting the pictures as this can be a time consuming process. Thanks for sharing, much appreciated.
 
Greatest thread ever...incredible write up.
 
Now you see the horrors of polishing a camaro! Scratches super easy, hard as a rock to polish out, lots of curves, and no fun.

But still better than super super soft like a subie!


Great work!! No, AMAZING work!!
 
One word."awesome". Great work as always. Great write up. One sexy camaro

Thank you...and yes she's very very sexy hahaha. Apparently he tucks her in during the summer months around May, but she'll be back out on the prowl in October.

Great job as usual. I would love to have a garage like that!

MAN i was drooling! That thing was so nice...the floor was as clean as the paint! One day...thats what i keep thinking...one day

Incredible write up and pictures to go along with this job.

That car was in bad shape and you two come to the rescue to give it a proper show car finish. Nicely done.

Thanks a lot, I was glad to go back, pull it in the sun and see "Whew, it WAS as good as we thought, we weren't just really tired" lol

Polished gem you turned out there, excellent work and enjoyed reading and looking at the pictures step by step. Thanks for taking the time once again for doing the write up and posting the pictures as this can be a time consuming process. Thanks for sharing, much appreciated.

No problem, was my pleasure. We probably did more pics than usual because the owner requested it...he saw the write up and loved it...so that makes me feel very good. Thank you for taking the time to read through it :dblthumb2:

Greatest thread ever...incredible write up.

That is SUCH an overstatement lol..very kind of you to say but there are lots of MUCH better threads on here for sure...but I'm glad ya liked it :props:

Now you see the horrors of polishing a camaro! Scratches super easy, hard as a rock to polish out, lots of curves, and no fun.

But still better than super super soft like a subie!


Great work!! No, AMAZING work!!

This was like Camaro #12 for us so...we've seen our fair share. From full repaints to custom stripes like this one to just body shop repaired...we've done a LOT of Camaro's in the last year....this one was so hard though because the swirls were very deep everywhere!

We kept saying "Why couldn't the car be silver with a red stripe" lol...kiddingly of course. I agree though, much nicer than the Sub...i have an STI i need to do a write-up on...very sticky paint...but turned out great.
 
That was one heck of a job! Congrats on a job well done:)
 
I love reading your reviews. You guys do such great work. I love the team combo you employ and yea thats 12 hours with two workers!

I'm loving the pics and kept saying to myself break out the RB and a wool pad. Everybody keeps using the mf system. Break out the Big Dog (RB) and "get-er-dun. Even the Flex and M101 for those initial cutting steps would save time. Then bam you broke out the Big Dog and wool.

Ok back on track. Your reviews are one of the best. I couldn't believe that garage. Whos it is yours or the clients? Man I wish I could get a garage that clean and uncluttered. Mine subscribes to the concept "Junk accumulates to space available"!

Thank you for sharing and documenting the process. It helps that it was an awesome car as well.
 
That was one heck of a job! Congrats on a job well done:)

Thank you much...appreciate you reading and commenting :)

well done man. its a shame that thing is such an eyesore lol.

WAS such an eye sore? lol...or are you talking about the paint job itself lol


I love reading your reviews. You guys do such great work. I love the team combo you employ and yea thats 12 hours with two workers!

I'm loving the pics and kept saying to myself break out the RB and a wool pad. Everybody keeps using the mf system. Break out the Big Dog (RB) and "get-er-dun. Even the Flex and M101 for those initial cutting steps would save time. Then bam you broke out the Big Dog and wool.

Ok back on track. Your reviews are one of the best. I couldn't believe that garage. Whos it is yours or the clients? Man I wish I could get a garage that clean and uncluttered. Mine subscribes to the concept "Junk accumulates to space available"!

Thank you for sharing and documenting the process. It helps that it was an awesome car as well.

I DID try the Flex with a MF and some 105/101...it marred horribly, would have taken just as much time to polish down that damn marring as it would to just cut each section a couple of times. I was able to work the wool and get a better finish...so yup..in this case...broke out the big boy! I seriously dont know how guys use to do it with 20 lbs polishers ...like seriously. Trunks and hoods...ok...vertical surfaces...hell no thats killer!

Garage was his...so envious. Wish it was ours lol. Like i keep saying... "one day" :dblthumb2:

amazing work !

Thank you:xyxthumbs:
 
I really enjoyed this thread!

I like all the photos and writeup for each. It's was easy to follow along and understand what you and Dani were doing and more importantly why. I see you're still using the first generation Porter Cable 7424 dual action polishers. The one I have is about 15 years old not and is still going strong!

There's nothing like having the right tools to do the work....:props:

Superb photography and the after shots were gorgeous. :dblthumb2:
 
I'm going to apologize ahead of time because this post has over 100 photos, but we really wanted to document exactly what we started with....and what we ended up with...and help show how we got there.
Great job on that Camaro, and Never apologize for lots of Pics , We Love Pics !!!
 
Back
Top