the Blind and the Beauty

zckid

New member
Joined
Mar 29, 2010
Messages
352
Reaction score
0
Hi friends

I got to work on a BMW, my first German ride. In our small island, it embodies beauty, quality, comfort and pride.

However, its eyes have gone from worst to blinded. i had to restore the same with a little patience and a lot of passion.
Please enjoy the transformation..

Upon arrival

021.JPG


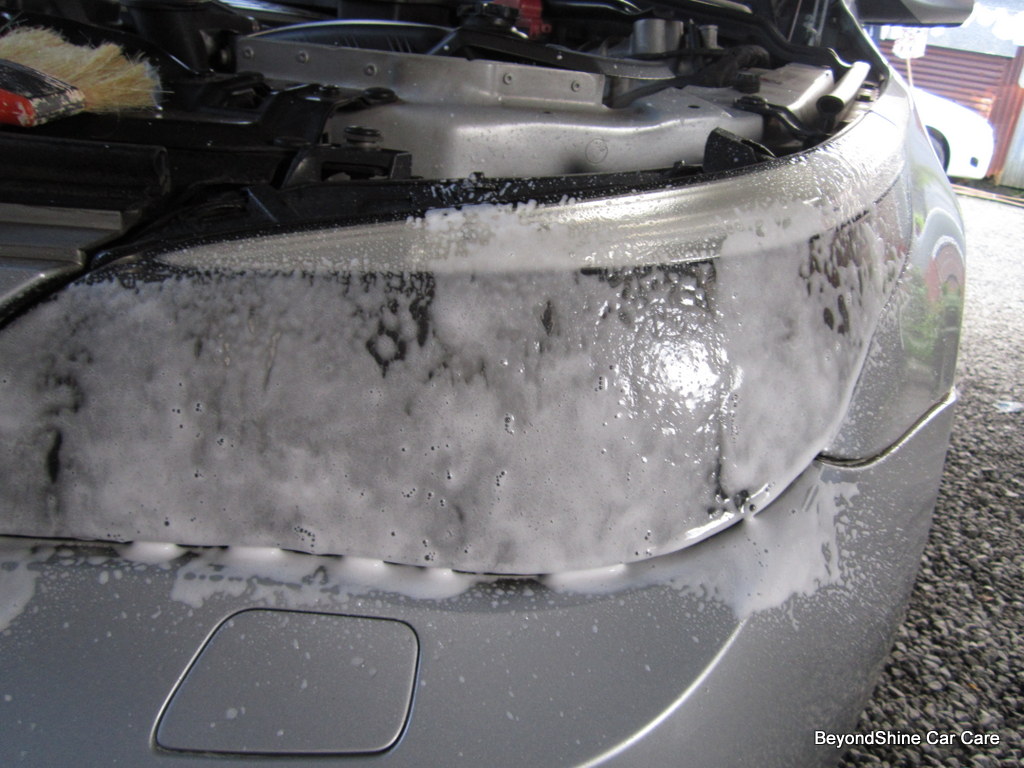
Headlights washed and clayed
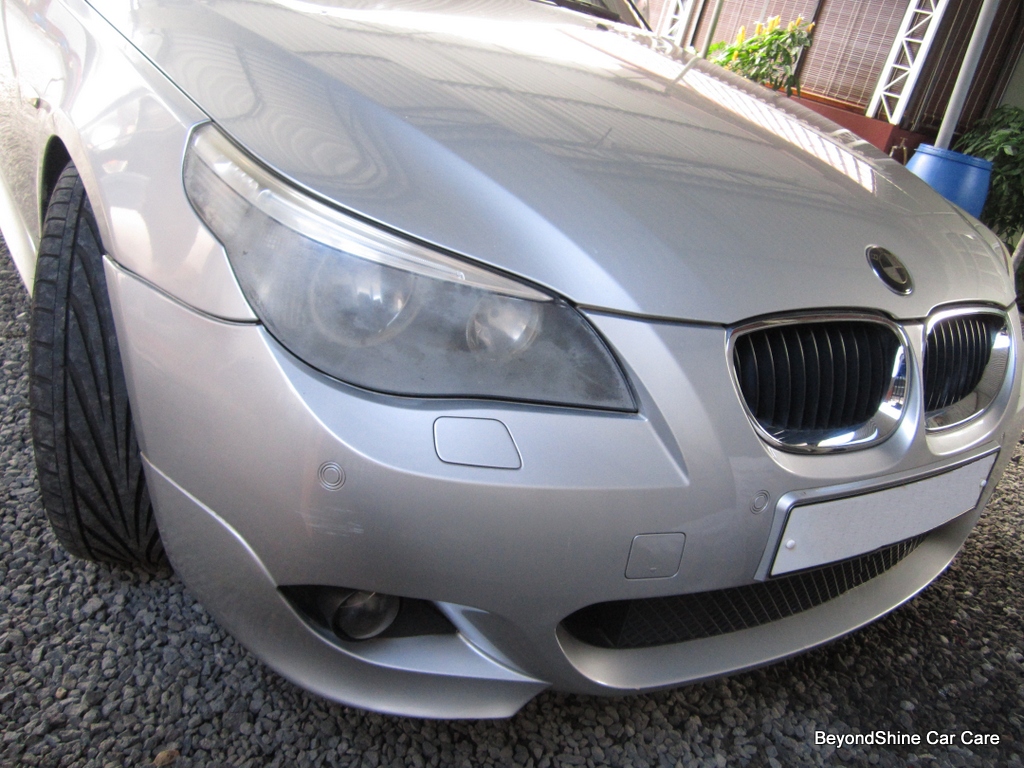
027.JPG


THE LEFT SIDE


022.JPG


Nearer... not appearing a much damaged as the right side...


Let's see what close inspection reveals

From different angles

026.jpg


Extreme close-up


A medley of defects from swirls to deep scratches and...

023.JPG


.... stone chips ... so many of them

025.JPG


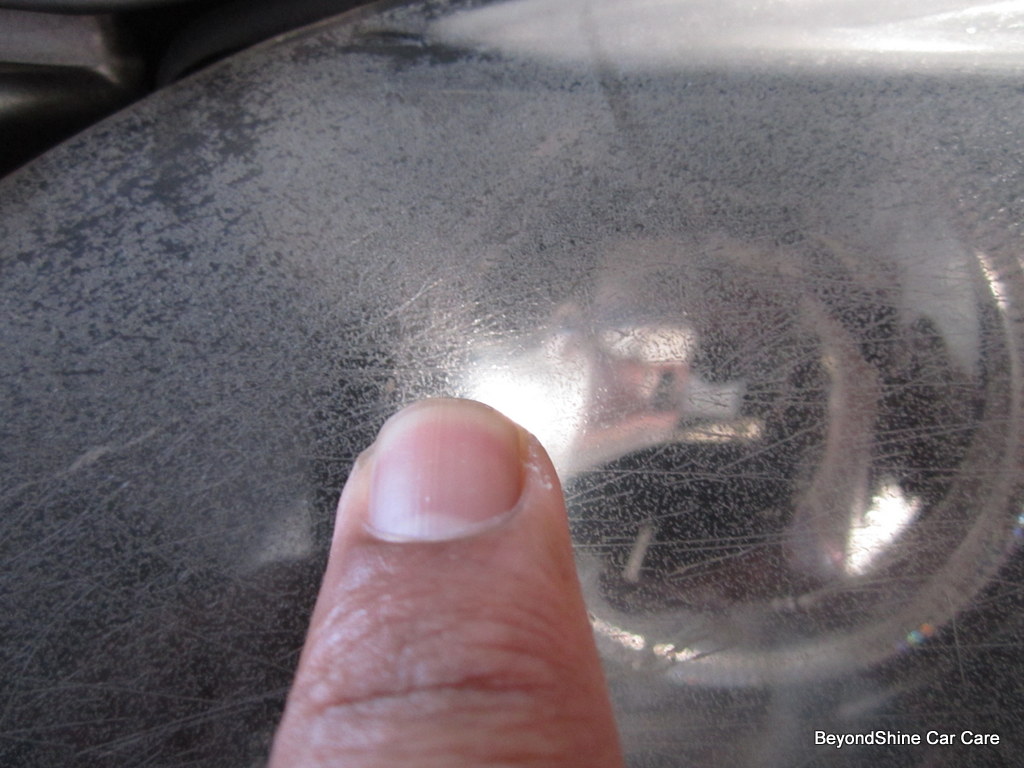
starting to turn opaque.... and

026b.JPG


026a.JPG


... OMG..... this hurts


024.JPG


a very deep scratch...


Correction in progress...

Localizing remaining defects... and

028.JPG


TA DA

same same but new.... only restored with Almighty's grace


029.JPG


Transparency is the only acceptable standard

030.JPG


035.JPG


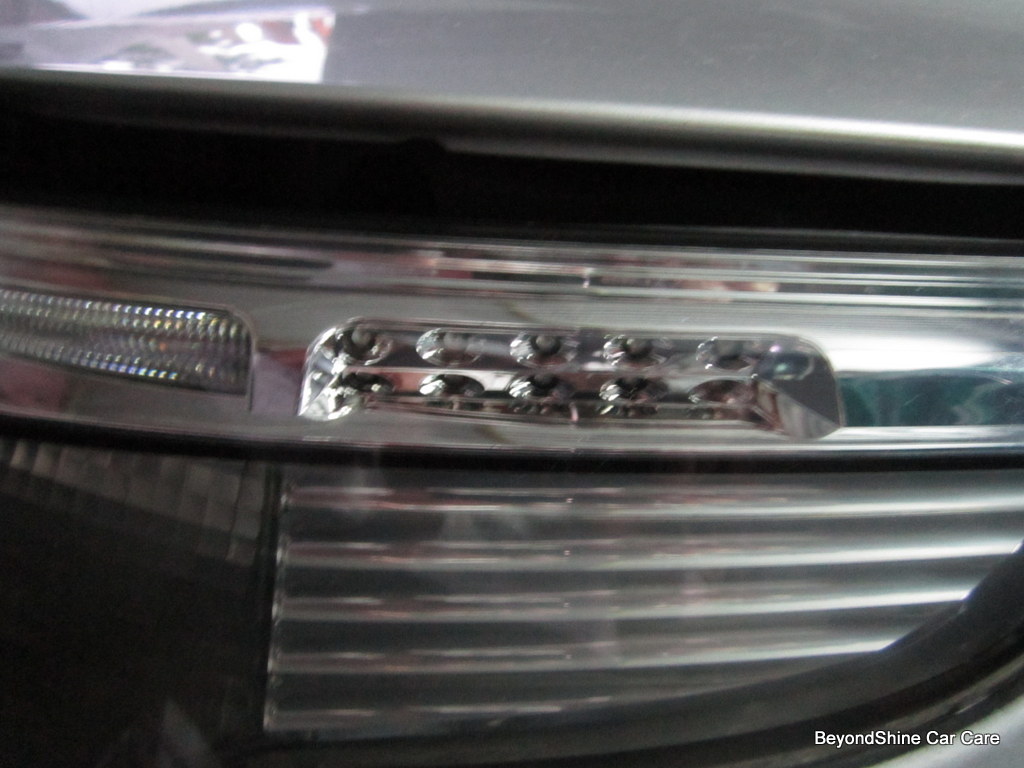
the LED is not forgotten

031.JPG


Hello!

032.JPG


Remember

022.JPG


Now

037.JPG


THE RIGHT SIDE

001.JPG


Close -up

002.JPG


Blinded beauty

003.JPG


Like a brick wall, it should have a very high score on the opacity scale.


003a.JPG


Can you see the LED?
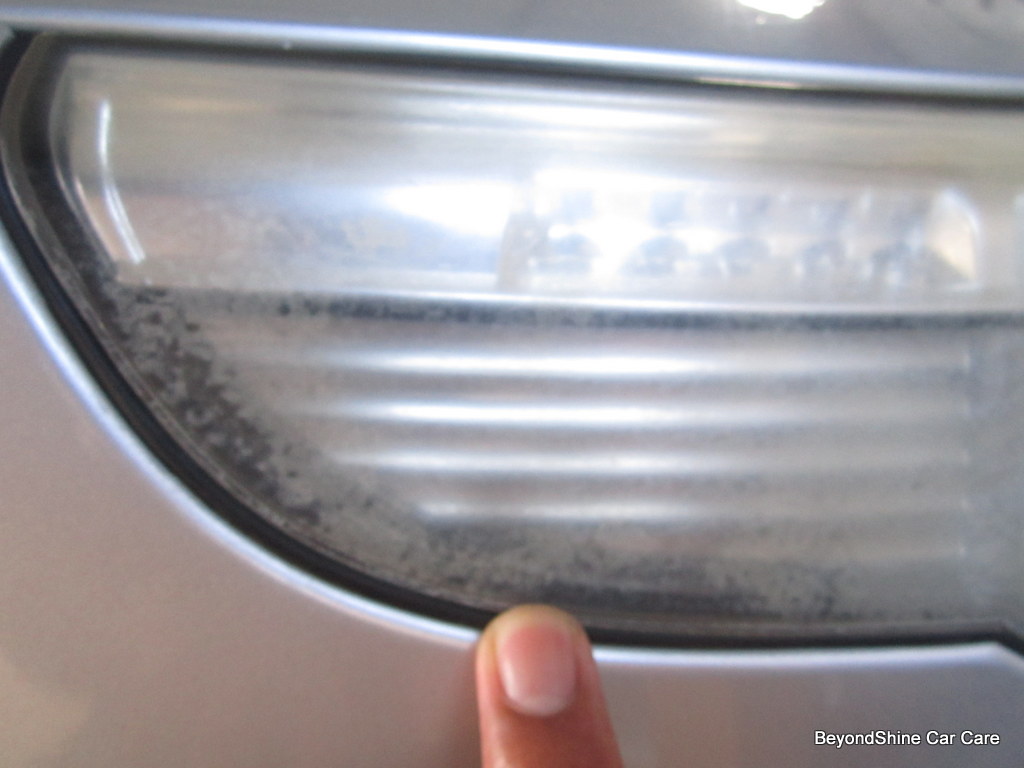
005.JPG


Another view

004.JPG


close-up

004a.JPG


and surprisingly it was hiding many more defects underneath it.

004b.JPG


The Afters

733748_447321442016735_1432435942_n.jpg


733748_447321442016735_1432435942_n.jpg


Transparency is the key

007.JPG


Light allowed to travel

008.JPG


Right side done

008.JPG
 
Right side done

008.JPG


The ex-brick-wall headlight


Remember

005.JPG


Now :nomore:

531974_448001835282029_911105515_n.jpg


Beauty revealed

006.JPG


Thanks for reading. Your comments and advice will be most welcome.

cheers

Zaid
 
Thats a hell of job you did saving those head lamps!
 
What was your process? What products did you use to achieve those amazing results?!
 
Hi Zaid...

Thanks for sharing your excellent job on these headlamp lens' transformation. :xyxthumbs:

I got to work on a BMW, my first German ride.
In our small island, it embodies beauty, quality, comfort and pride.

Did the owner go off-roading through a briar patch with this BMW?!?! :eek:


Besides "Almighty's grace" (Alas...My prayers don't always get answered)...
TA DA

same same but new.... only restored with Almighty's grace
...Would you care to share what 'other' products, tools, processes,
"The Final Coating", etc. you used for this restoration?

Thanks.

:)

Bob
 
Thats a hell of job you did saving those head lamps!

Nice work on those lights. They were begging for it.

Awesome job.

Sent from my PC36100 using AG Online

What was your process? What products did you use to achieve those amazing results?!

Great fix!

Hi Zaid...

Thanks for sharing your excellent job on these headlamp lens' transformation. :xyxthumbs:

:thankyousign: may be such a small phrase, but i really appreciate your encouragement friends. :dblthumb2: still learning here, and sometimes struggling too
 
What was your process? What products did you use to achieve those amazing results?!


...Would you care to share what 'other' products, tools, processes,
"The Final Coating", etc. you used for this restoration?

Thanks.

:)

Bob


Basically an inverse zenith method to go least aggressive

  • Washed with a MPC available locally
  • clayed with Uber clay
  • Wetsand 1500 grit mirka sandpaper with megs sanding block
  • Got down to 800, then 600 (still little done in terms of correction)
  • Coarser grit 400 then 320 grit mirka sandpaper
  • moving up to 600, 800
  • Still higher 1500 grit (Mike Philips' :rulez: at this point i made sure i removed the 800 grit marks- didn't have the 1200 grit paper)
  • Refined with 2000 grit and finally with 2500
  • Compounded with Menz PG S34A on 4" LC orange pad via Makita rotary
  • Polished with Menz 203s on 4" LC wool via the rotary (to get the best of both the cutting power of the wool pad and the smoothness of 203s)
  • Finished with PO85rd on 4" LC white via the makita
  • sealed with Menz PowerLock

hope it helps


Besides "Almighty's grace" (Alas...My prayers don't always get answered)...

sure it does bro, but sometimes it takes time :dblthumb2:

i've read it somewhere that when we face difficulties and think it's over, God Above says it's not the end, it's only a bend :props:

cheers
 
Great Job on the headlights!!!
Thanks for the details of how you restored, I have one that I will be working on shortly, not as bad as this, but many stone chips and scratches, been trying to figure out how I will approach the project.
I do have one more question, when wet sanding, did you sand straight line across the lens, then 90 degrees each time you decreased the grit? Is this your first time using this process?
 
Great job on those. I'm sure the lights are much brighter now.

Thanks buddy :dblthumb2: the owner was pleased. he wasn't sure that it could be restored (me too :props:)

Great Job on the headlights!!!
Thanks for the details of how you restored, I have one that I will be working on shortly, not as bad as this, but many stone chips and scratches, been trying to figure out how I will approach the project.
I do have one more question, when wet sanding, did you sand straight line across the lens, then 90 degrees each time you decreased the grit? Is this your first time using this process?

thanks John, same as u mentioned, one grit horizontally, next vertically, make sure u remove the previous grit marks.

Actually started wetsanding on a really scrap hood


i'm only a newbie but here's my take (learned from the pros here... so credit to them):
let ur sandpapers soak overnight in soapy water, tape twice before u start sanding. make sure u work clean, finish with the highest grit. polishing will be easier,

looking forward to your restoration :dblthumb2:
 
Thanks buddy :dblthumb2: the owner was pleased. he wasn't sure that it could be restored (me too :props:)


thanks John, same as u mentioned, one grit horizontally, next vertically, make sure u remove the previous grit marks.

Actually started wetsanding on a really scrap hood


i'm only a newbie but here's my take (learned from the pros here... so credit to them):
let ur sandpapers soak overnight in soapy water, tape twice before u start sanding. make sure u work clean, finish with the highest grit. polishing will be easier,

looking forward to your restoration :dblthumb2:

Ok, will do, I do leave my sandpaper in the water all the time, I just rotate then out when they are badly worn. I was not using soapy water, could be a good trick, I also use the small squirt bottle of water to keep the sanding wet and was away debris, you could also use a spunge, this I learned from an old body repairman.
Thanks so much for the reply. I will post before and after when I get it completed. Keep up the good work.
 
Back
Top