Greg Gellas
New member
- Apr 10, 2011
- 50
- 0
I was contacted by a very nice gentleman about his Tesla Model S for Paint correction and Opti-Coat Pro. We decided that a 1 step polishing would be perfect for the car. Once I saw the car I knew that a 1 step would not come close to touching some of the damage and upon drop-off explained this. He agreed that a 2 step correction and coating would be much better for his beloved Tesla.
After pulling in up, I used a Nanoskin clay pad, Iron-x, and a citrus based wash to fully decon the paint.
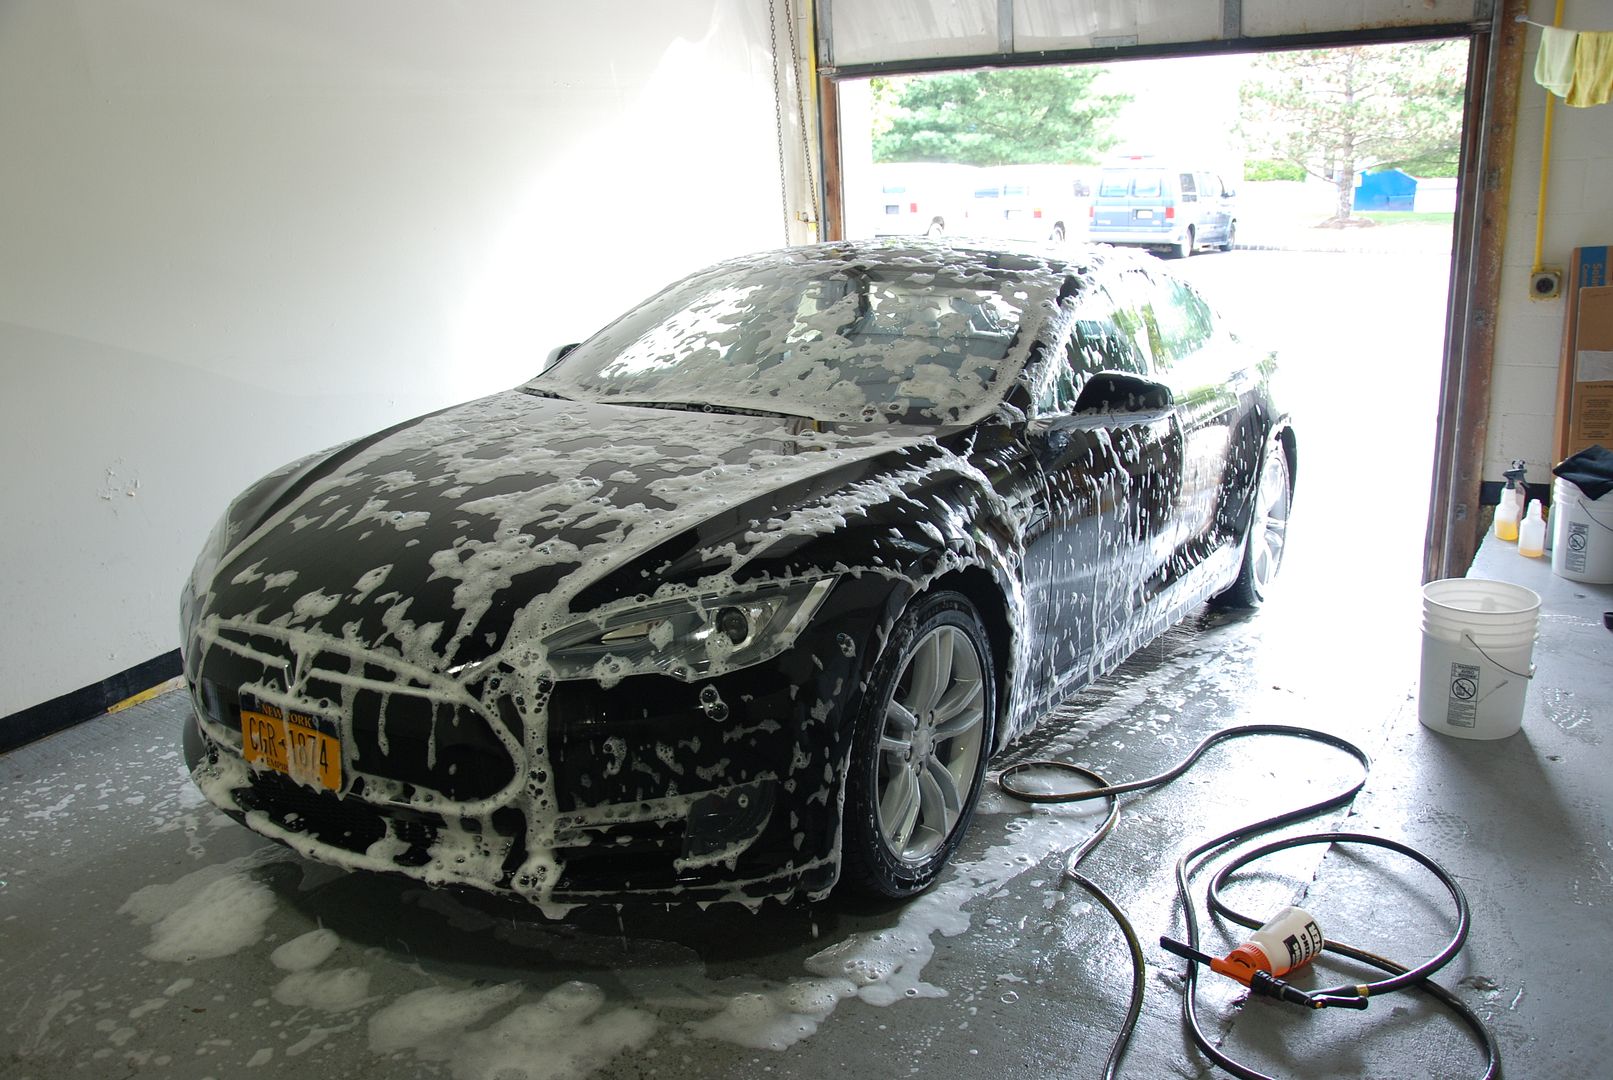
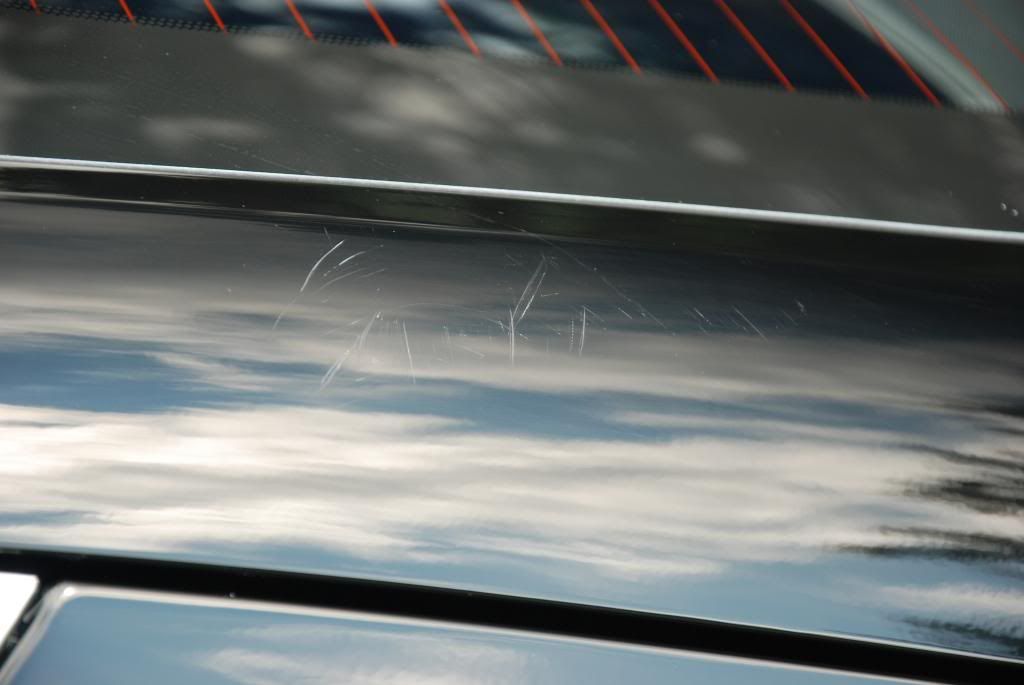
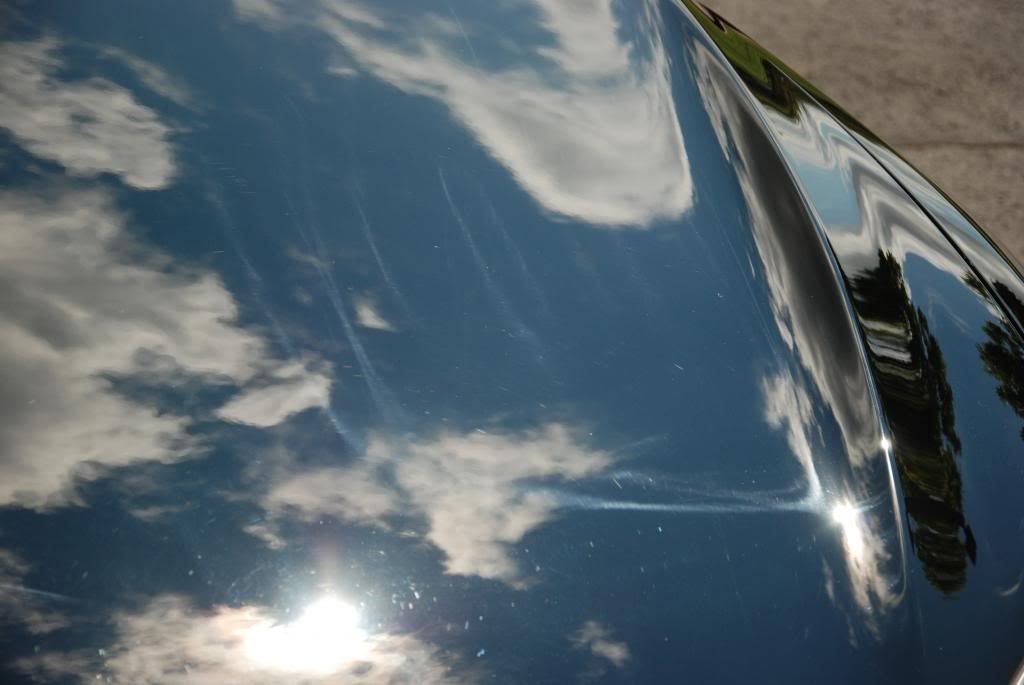
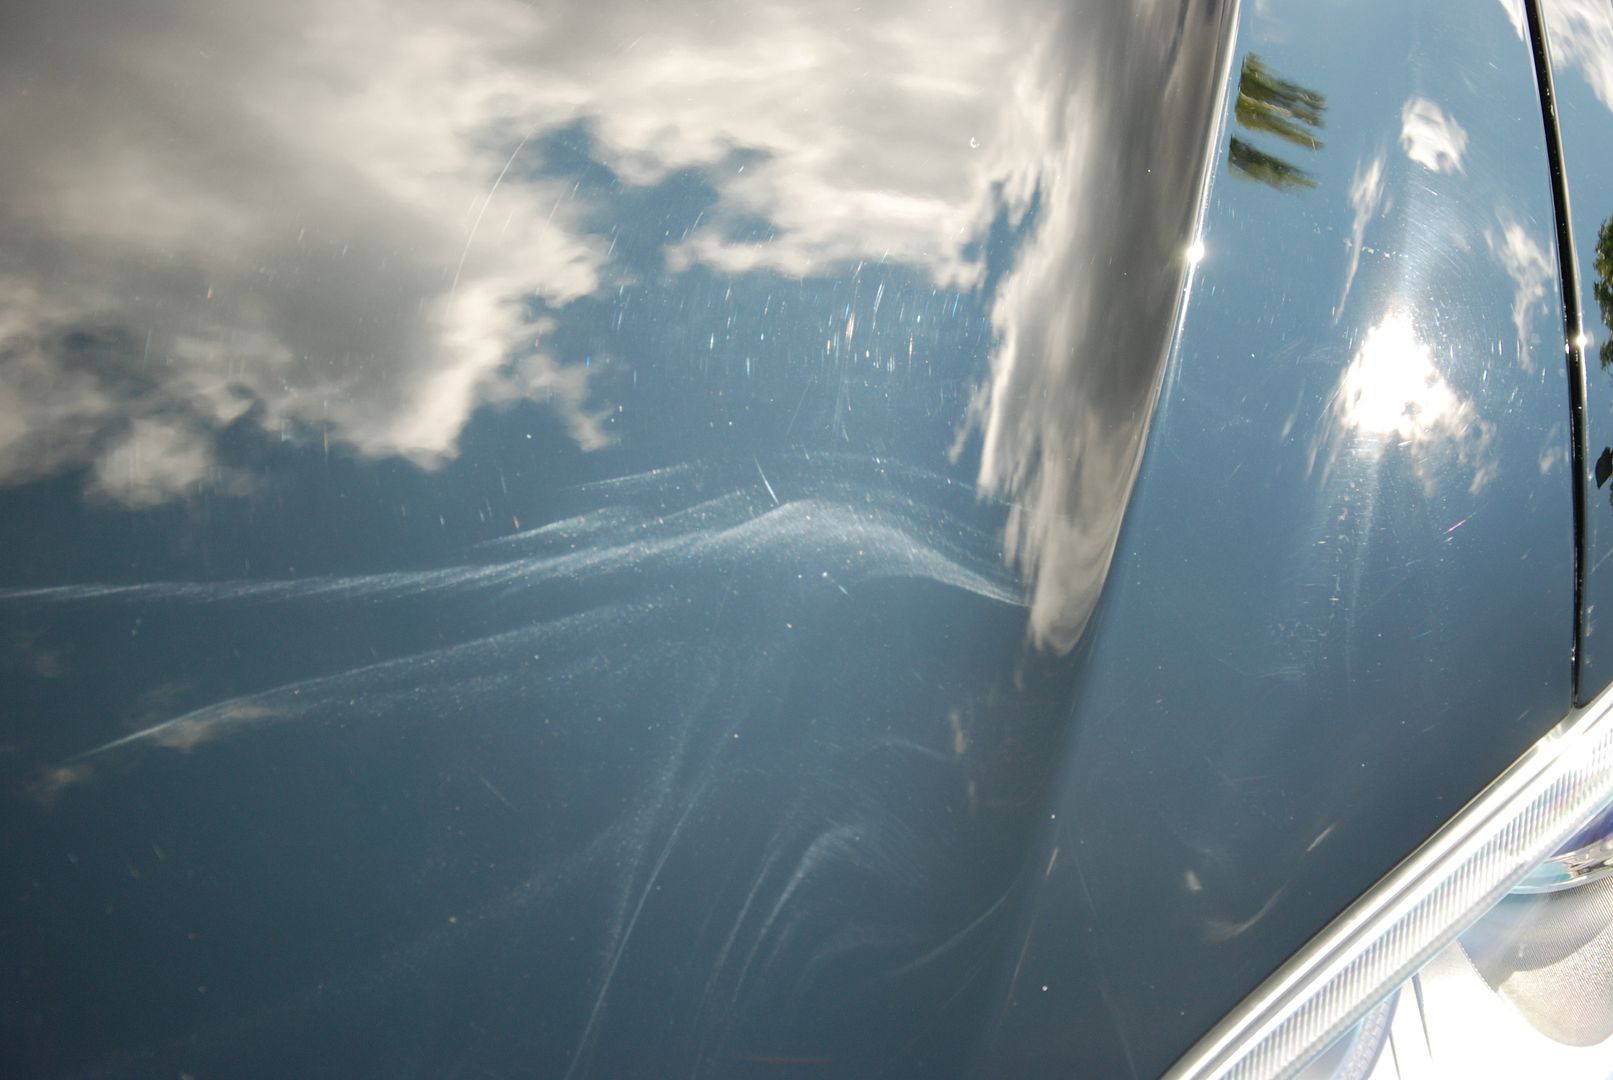
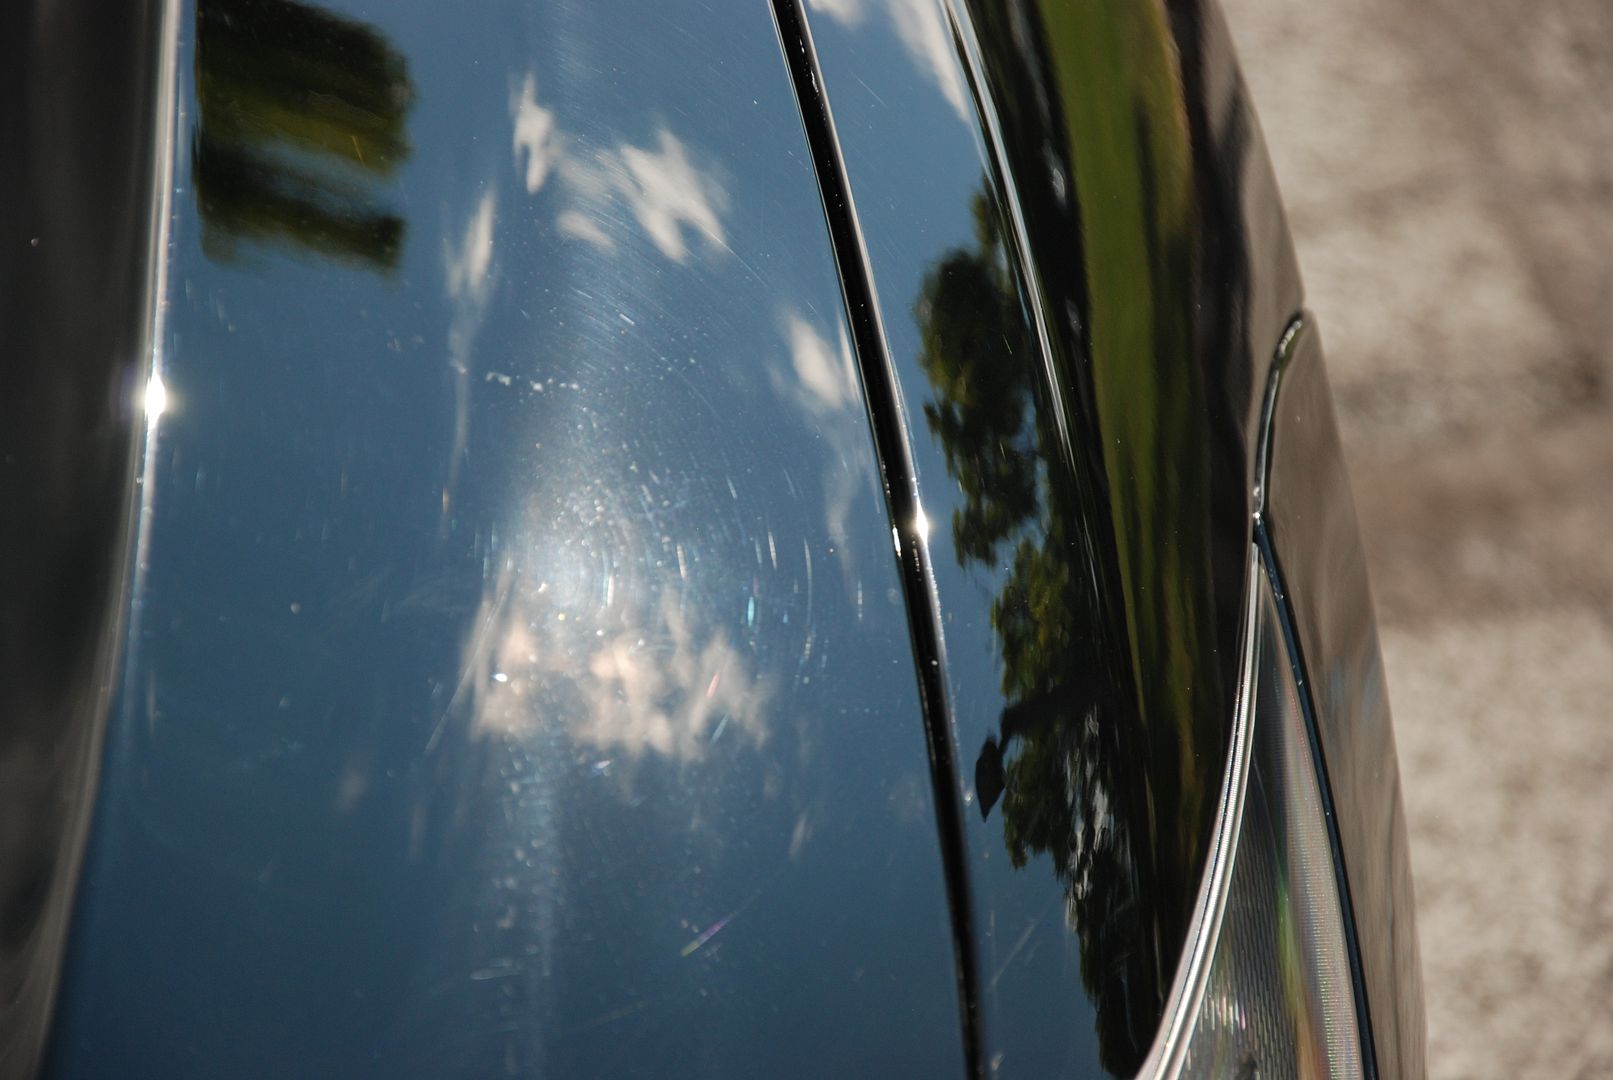
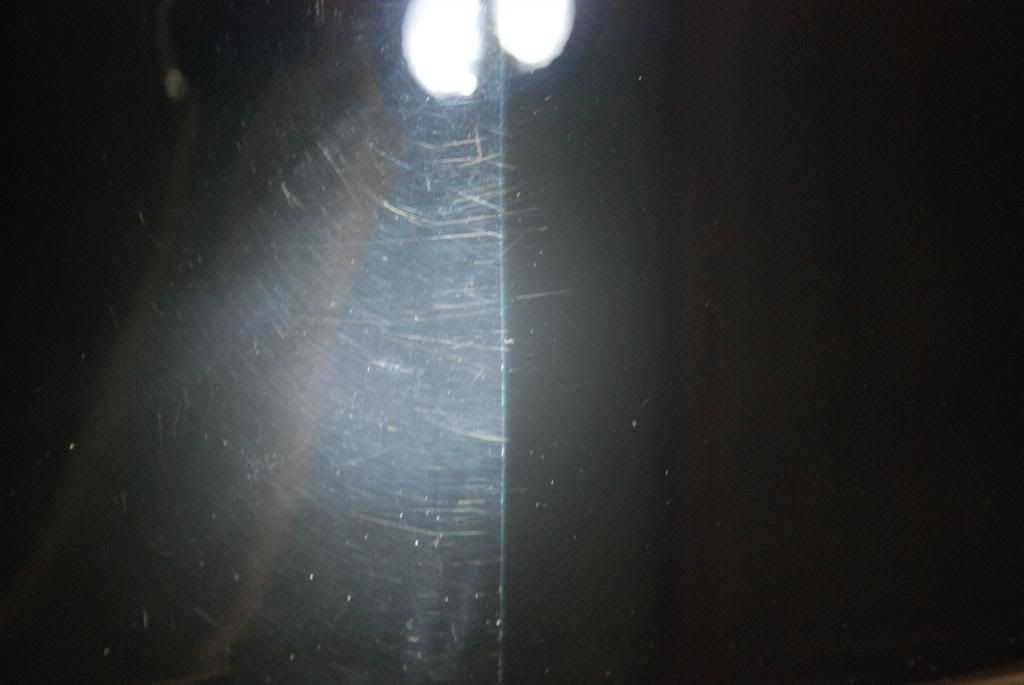
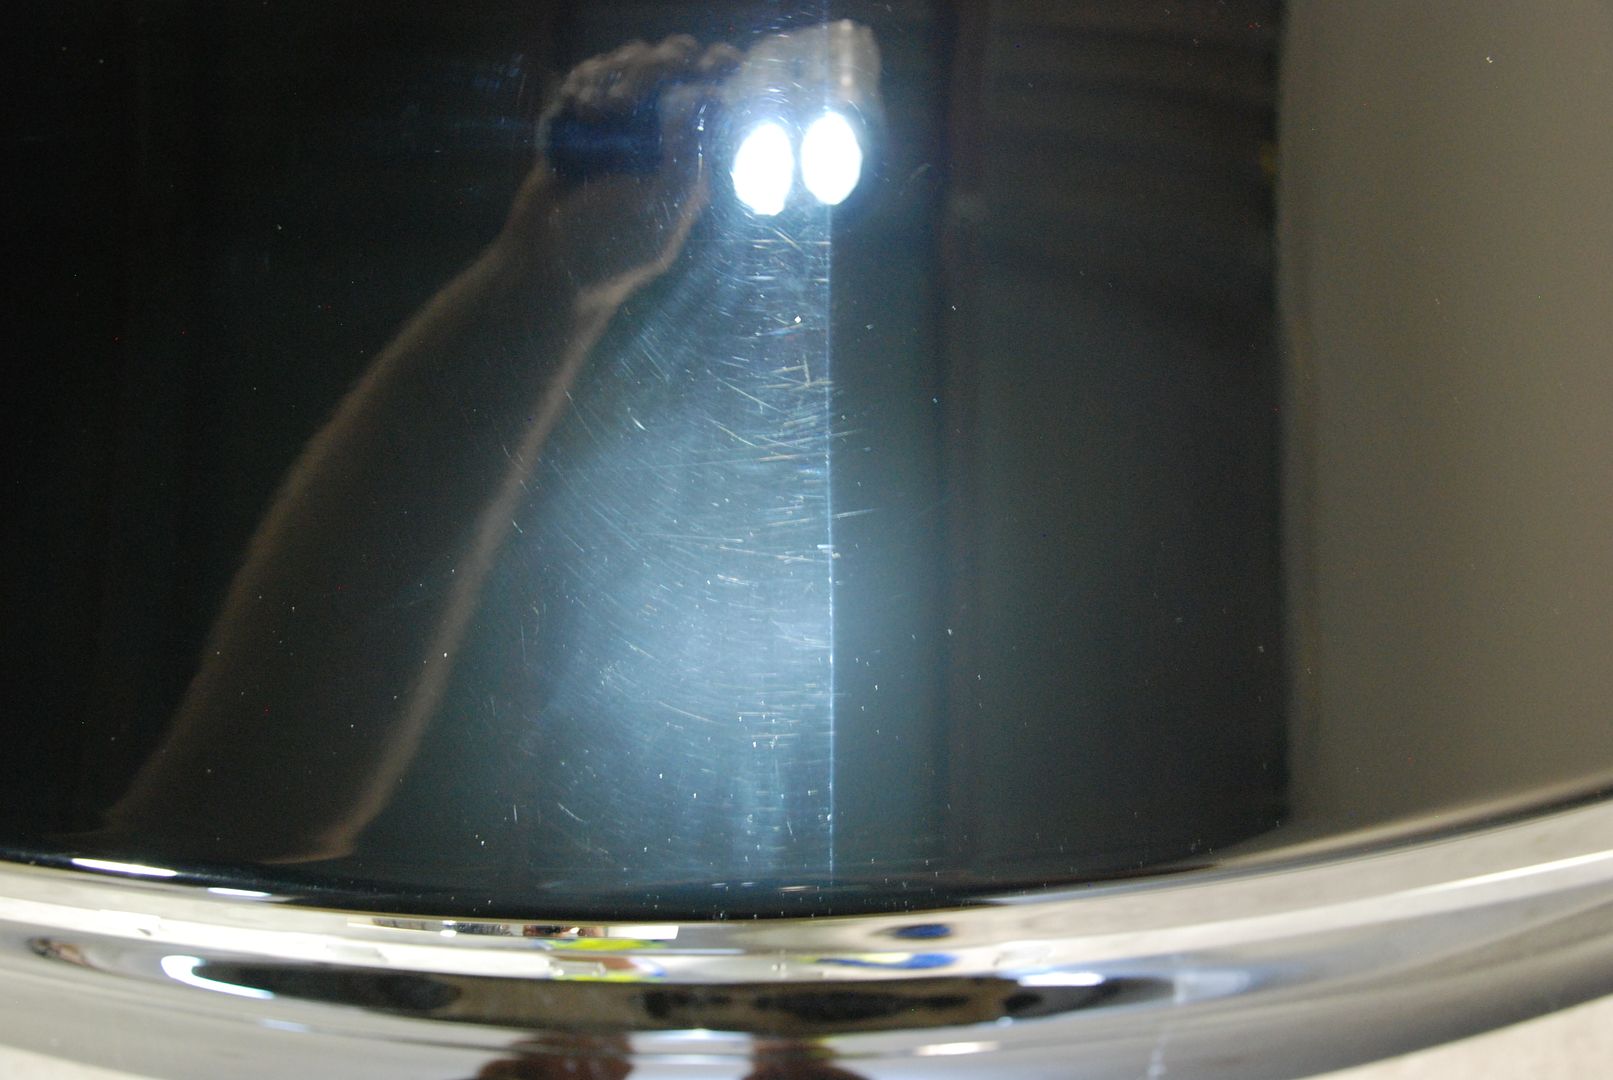
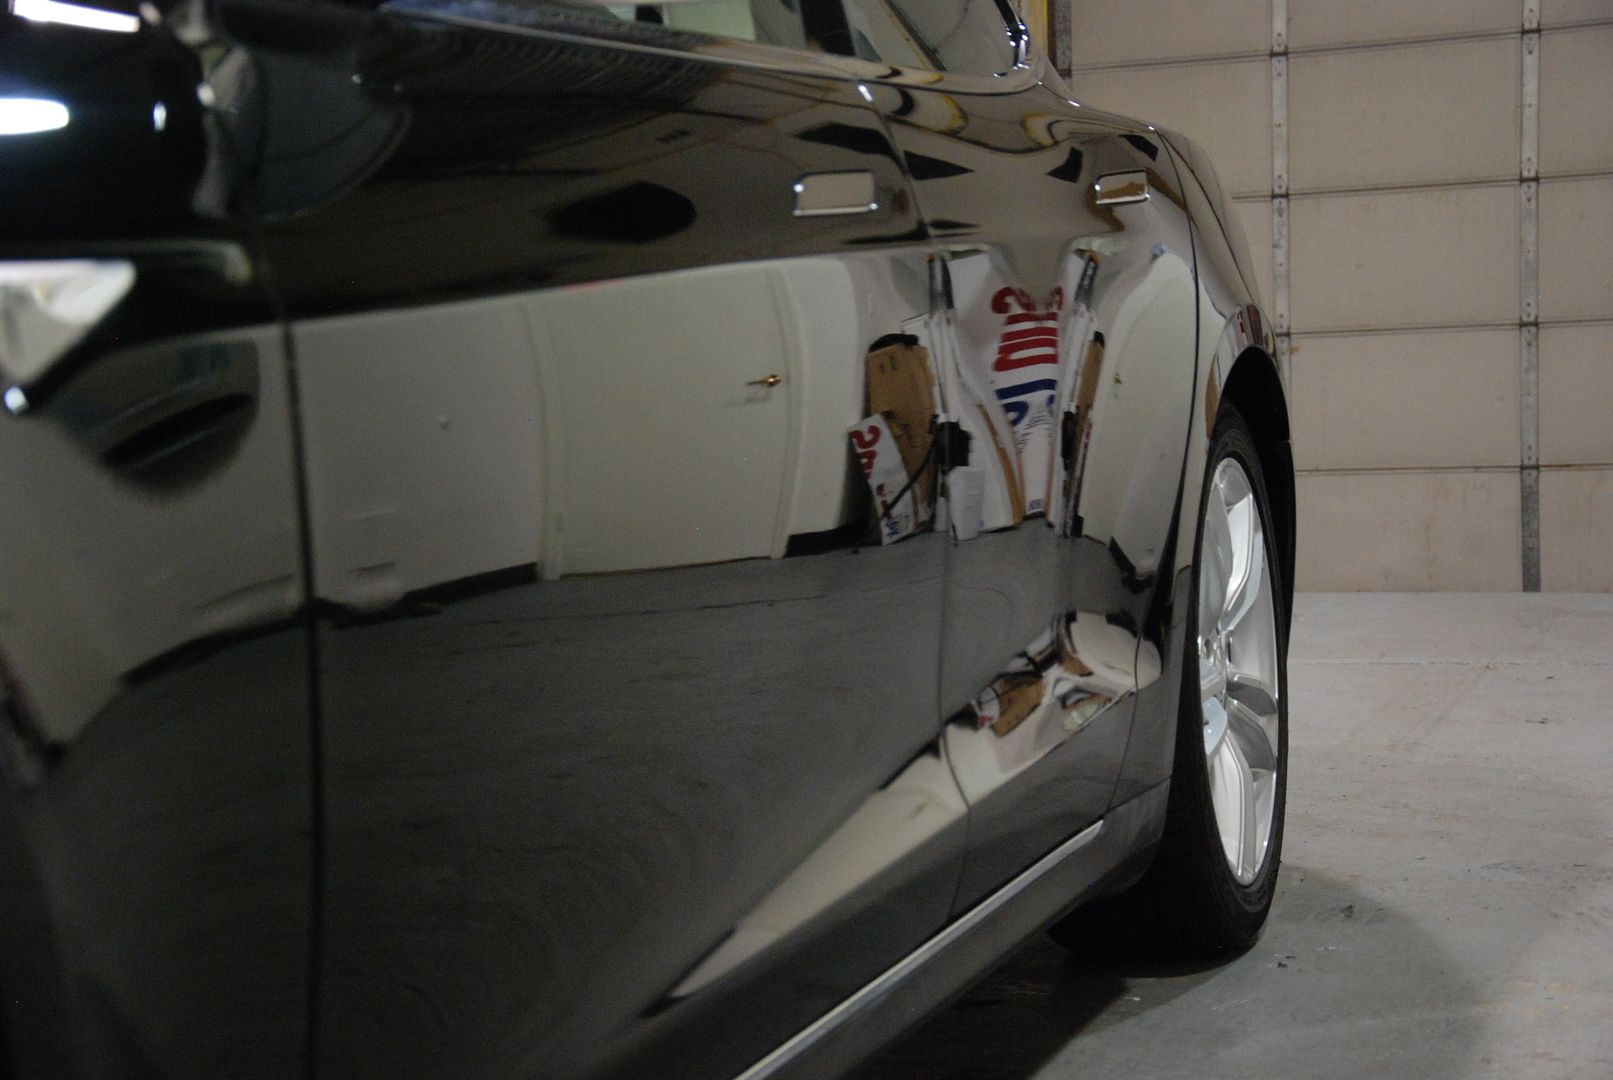
Using a Waffle Weave drying towel I dried and then pulled it out to inspect the paint. As you can see there were deep scratches, buffer trails, and swirling throughout the paint. In addition the owner was hoping to protect the paint by waxing it hit some of the white trim. This needed to be corrected.
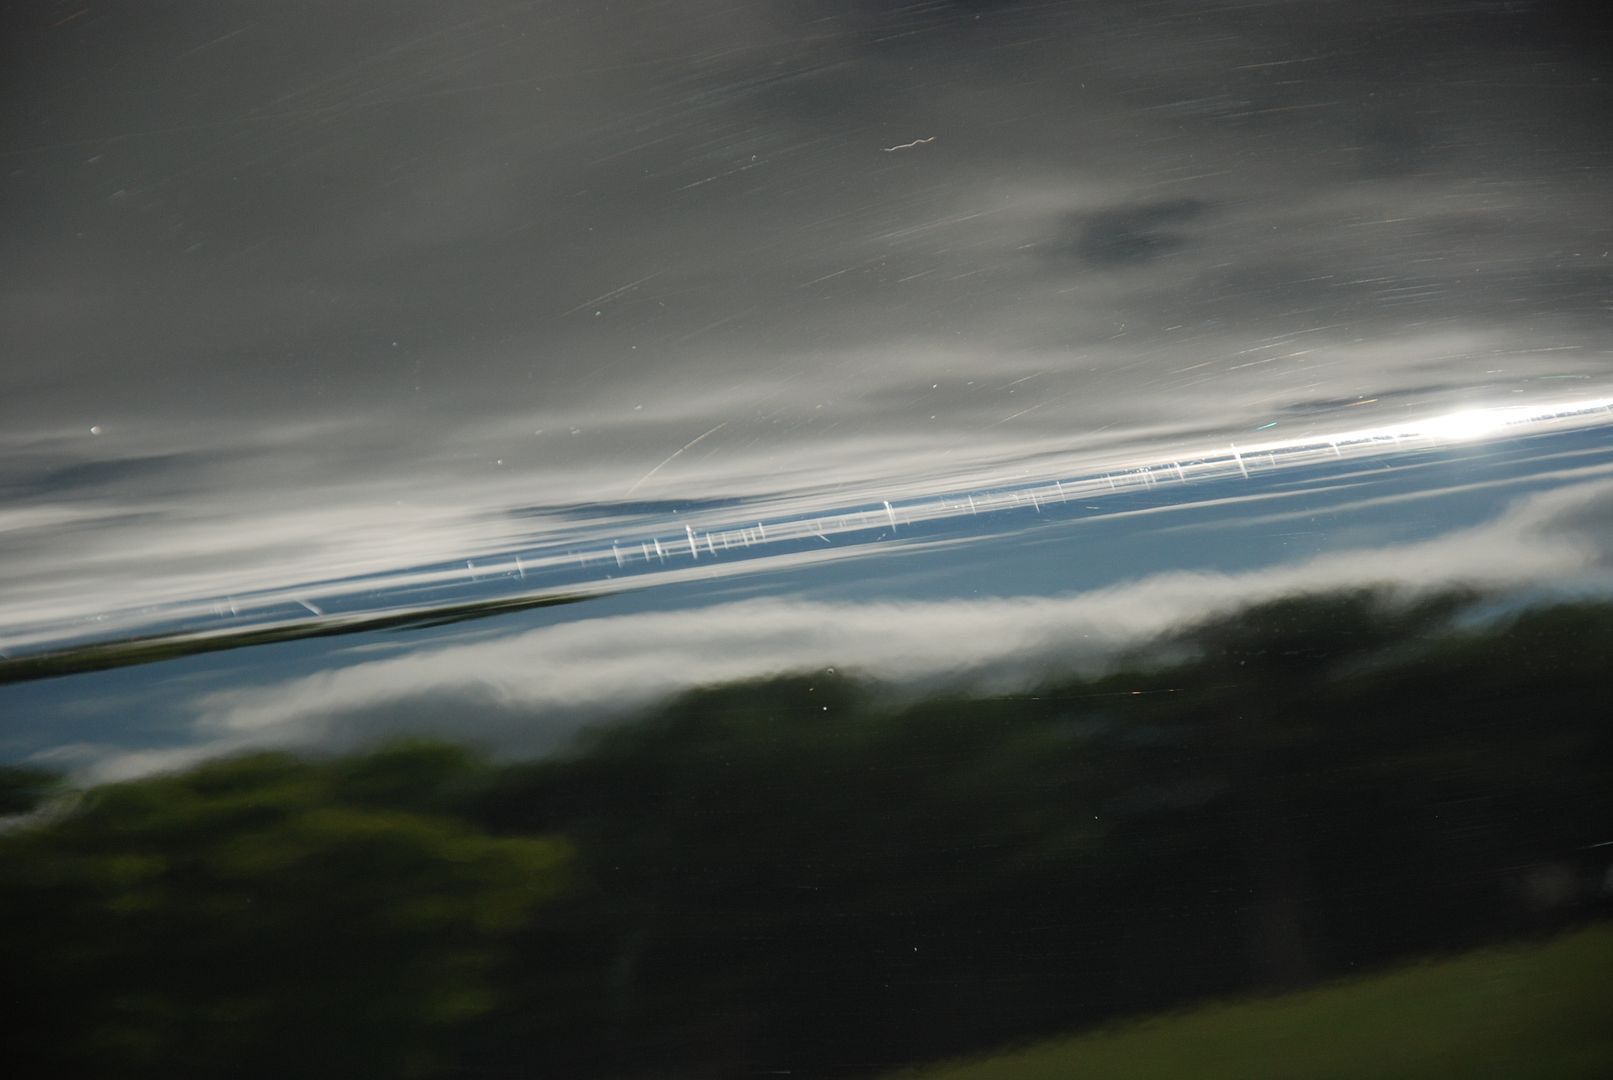


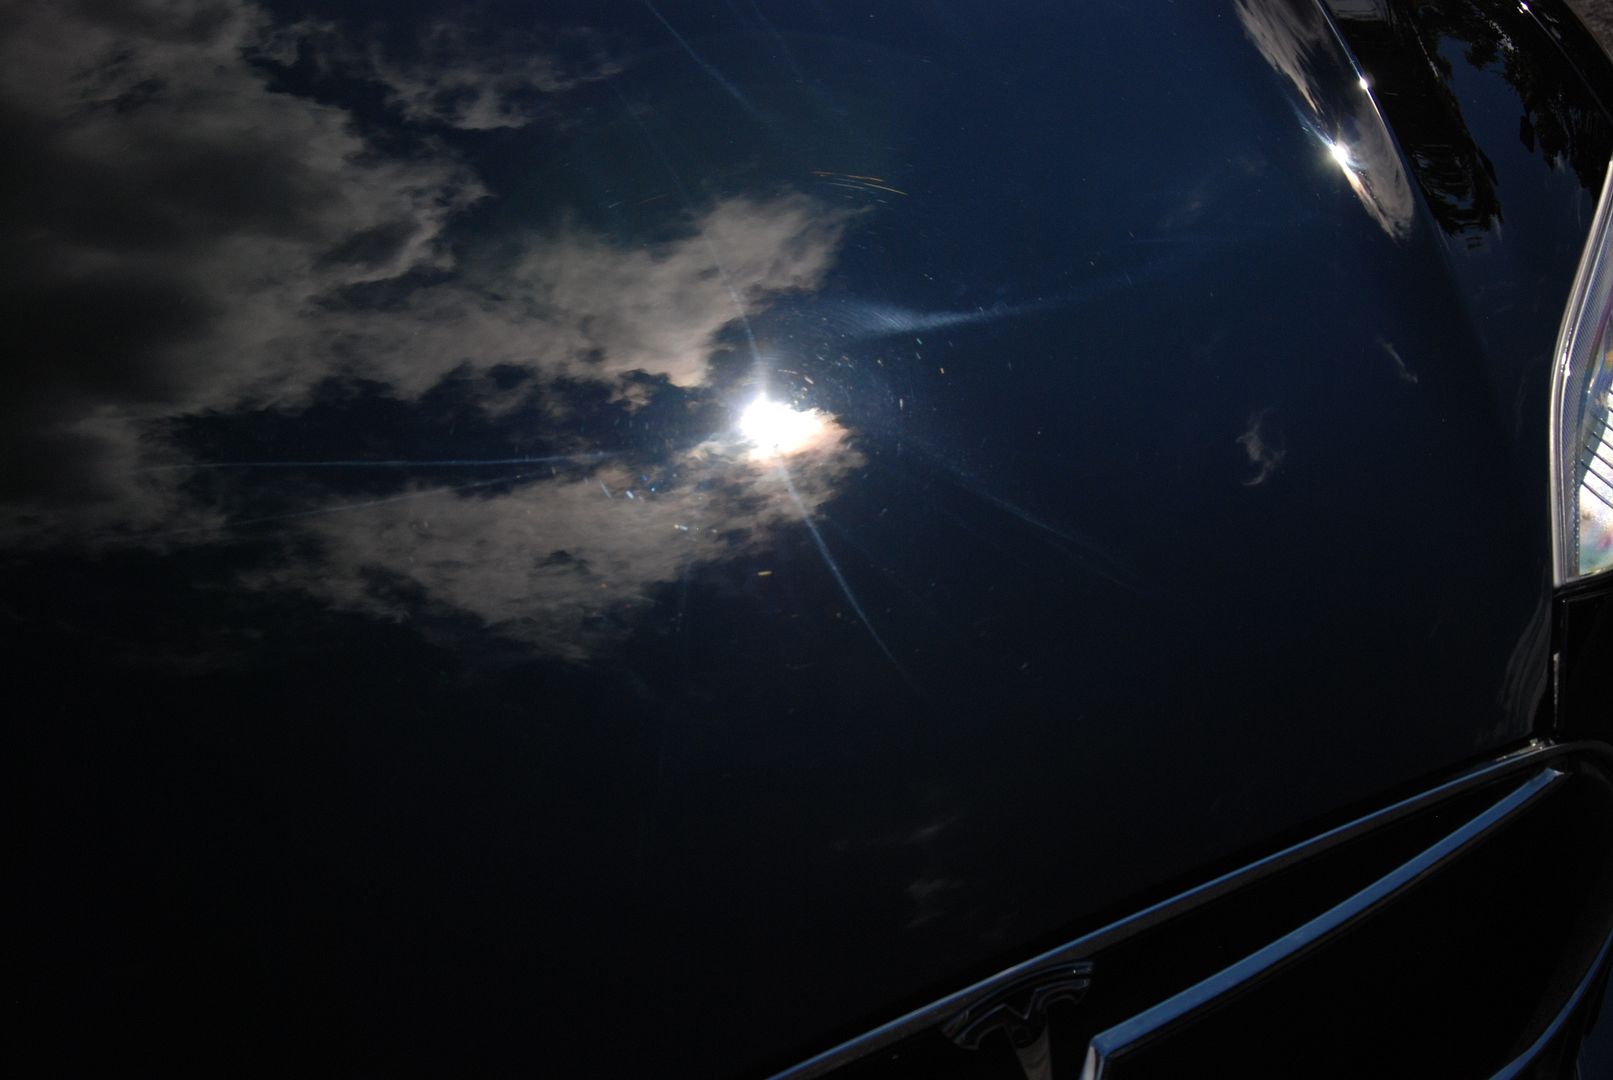
I decided to do a test section to see what process I needed to get as much safe correction I could. I went with M105 on a MF pad, followed with Optimum Hyper Polish on a Rupes Yellow pad. This left a really clear finish on the paint and I was able to get 90+% correction. Although there was some deeper scratching that I didn't feel safe "chasing" to remove. I did a 50/50 to show exactly how much correction I got from the two steps.
After completing the full 2 step correction I washed it again to assist in removing any oils from the paint and to remove dust from seams throughout the entire car. I then followed with a IPA wipe down and coated every inch I could with Opti-Coat Pro. Unfortunately, it was raining so there are no "after" sun shots.
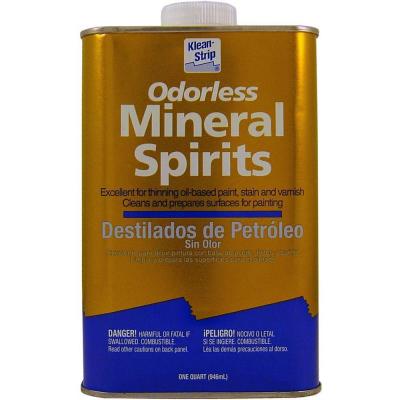
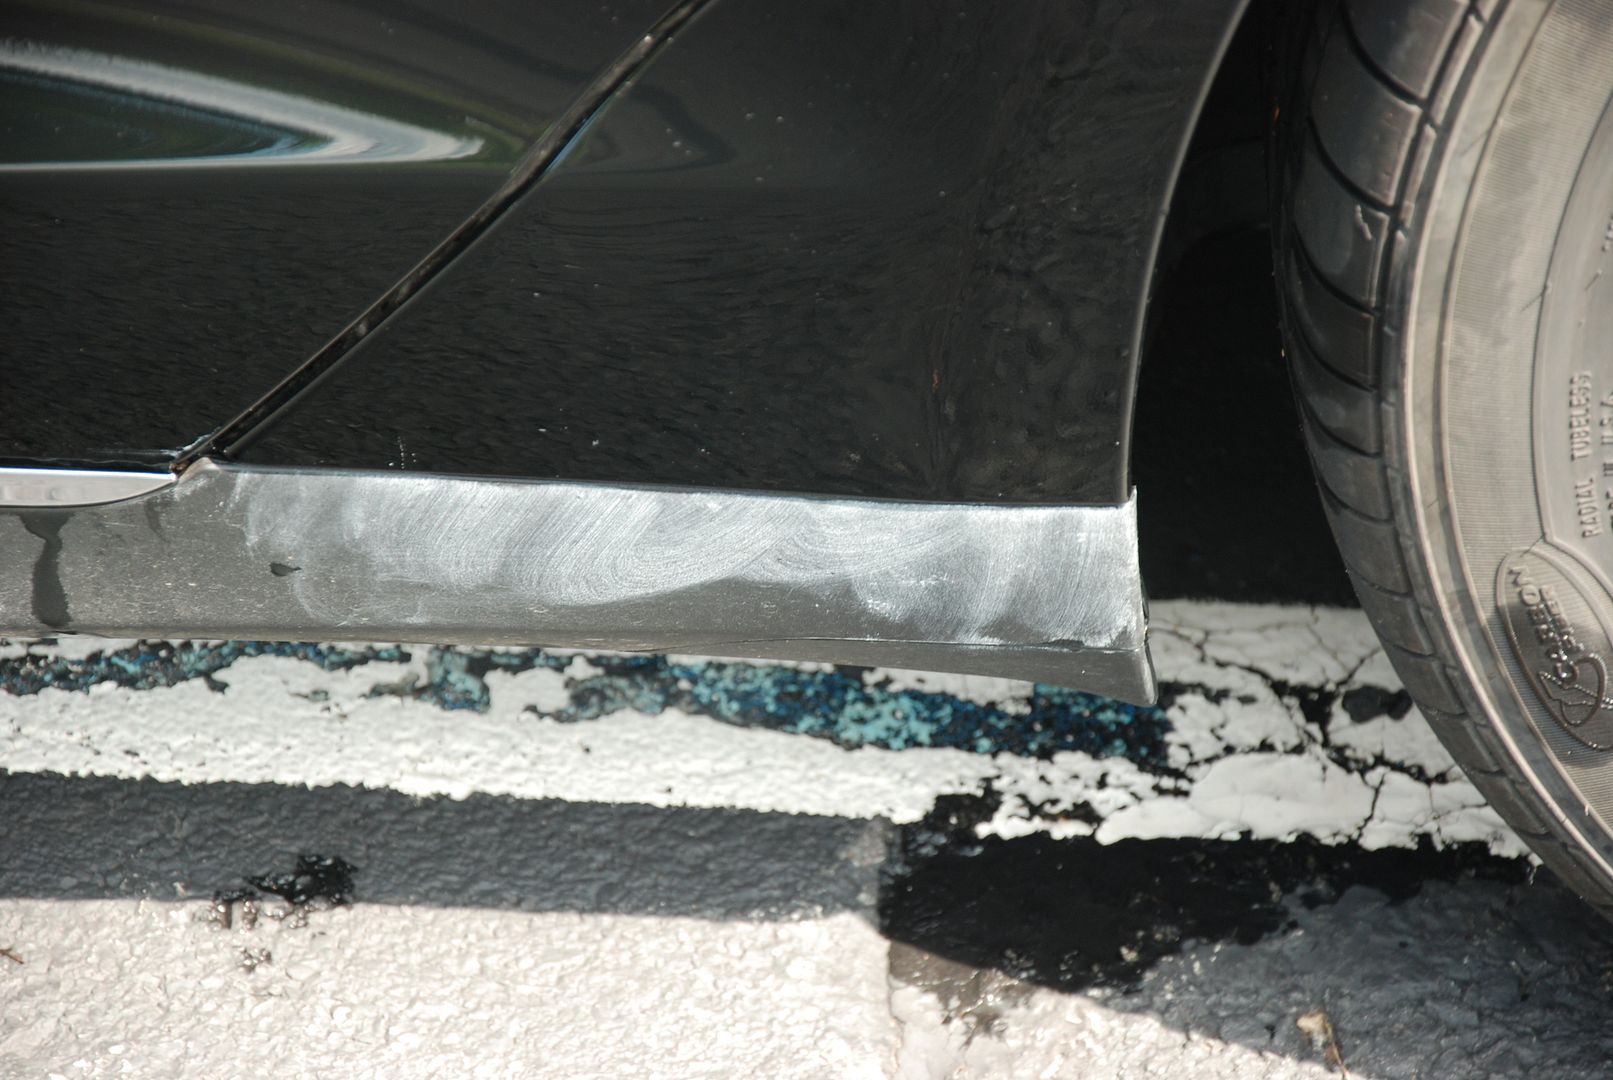
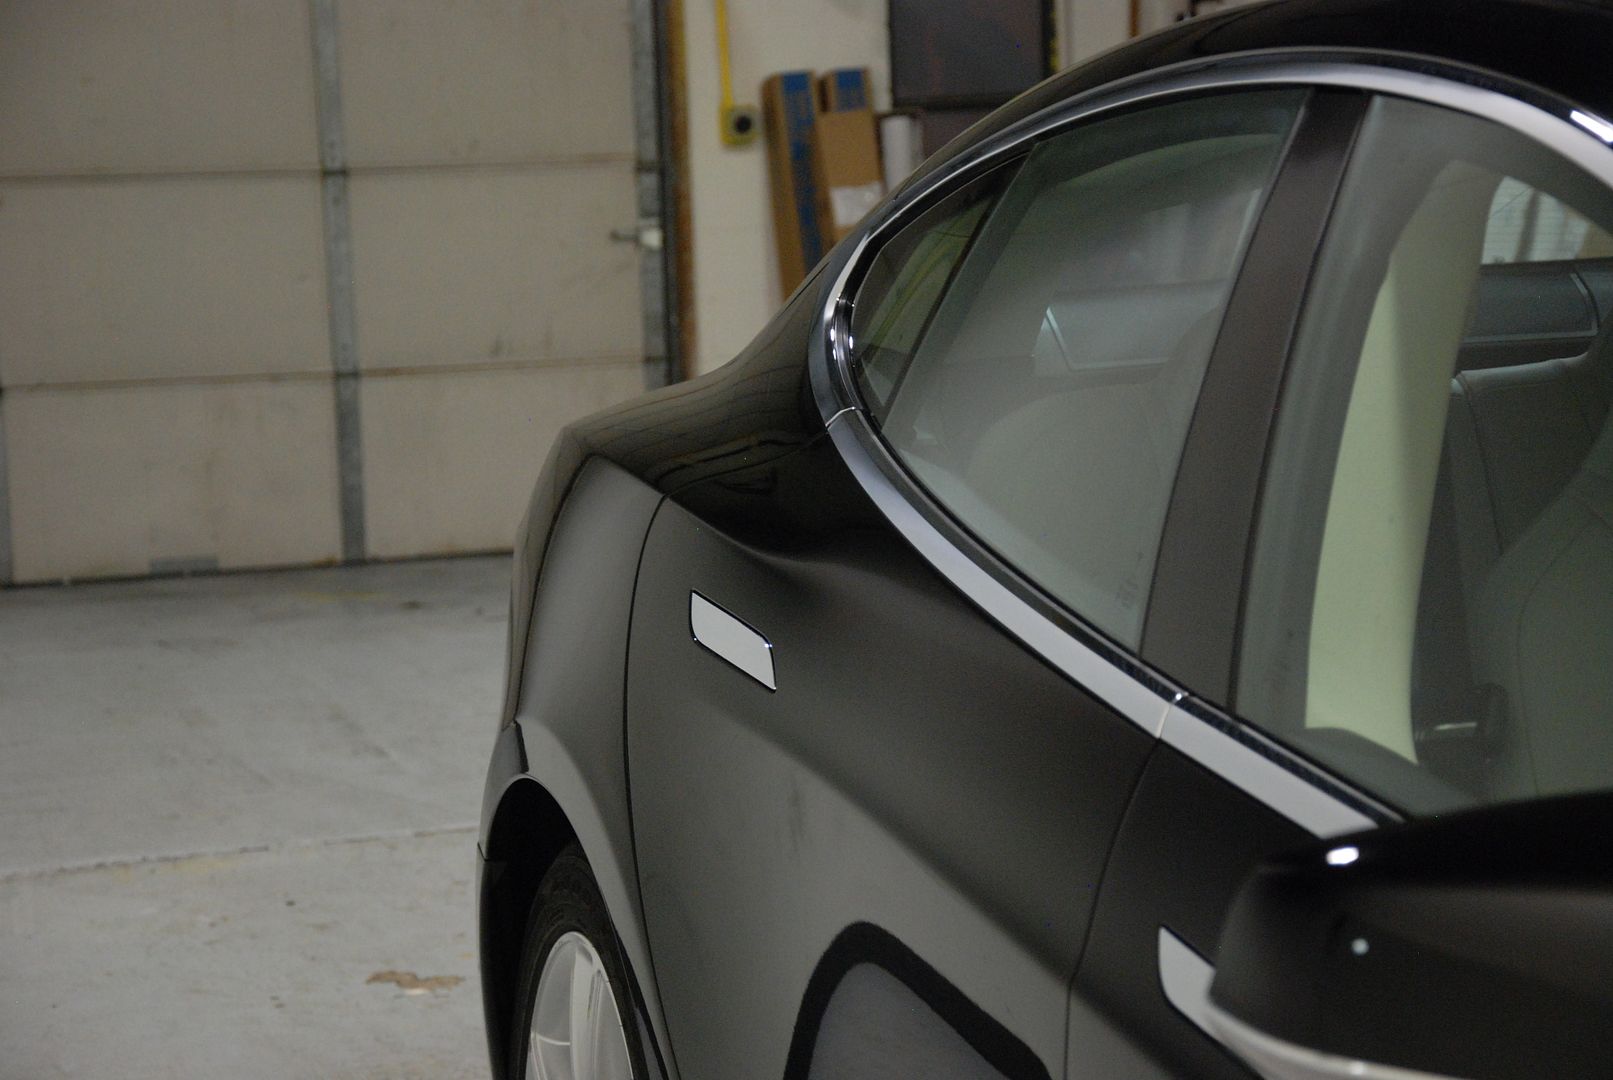
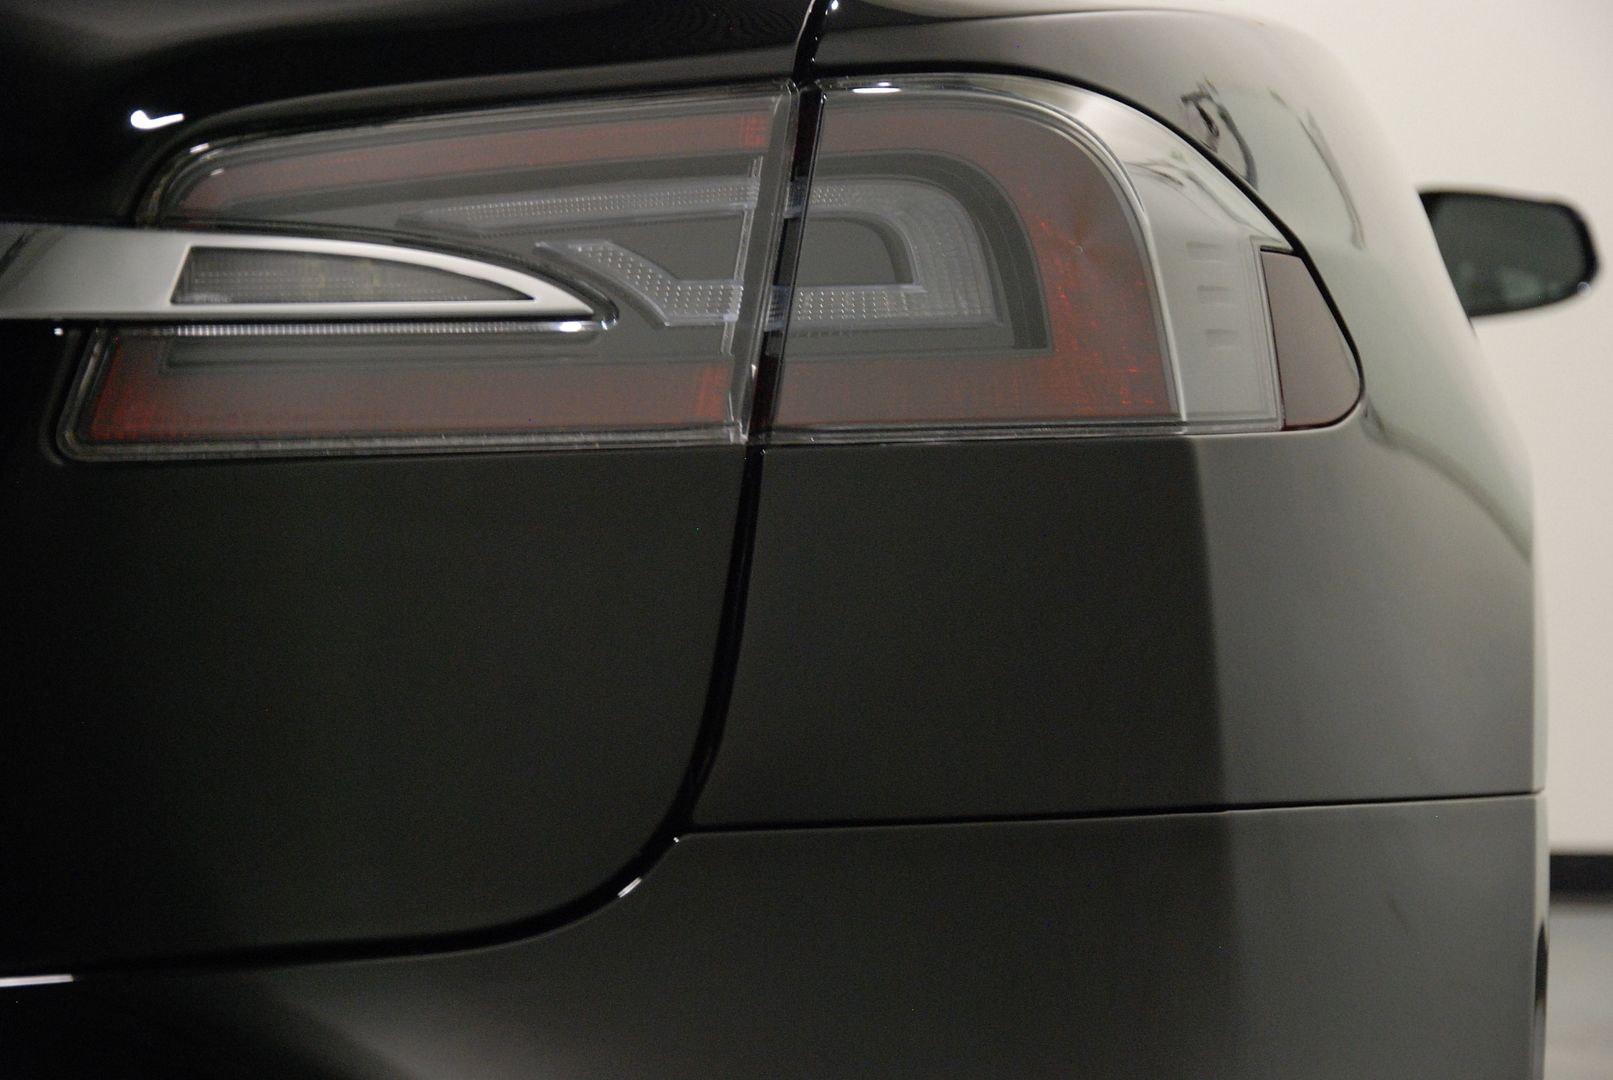
Here you can see that after a boars hair brush and some mineral spirits, I was able to remove the Wax from the trim. Some of the other afters are before the wax was removed.
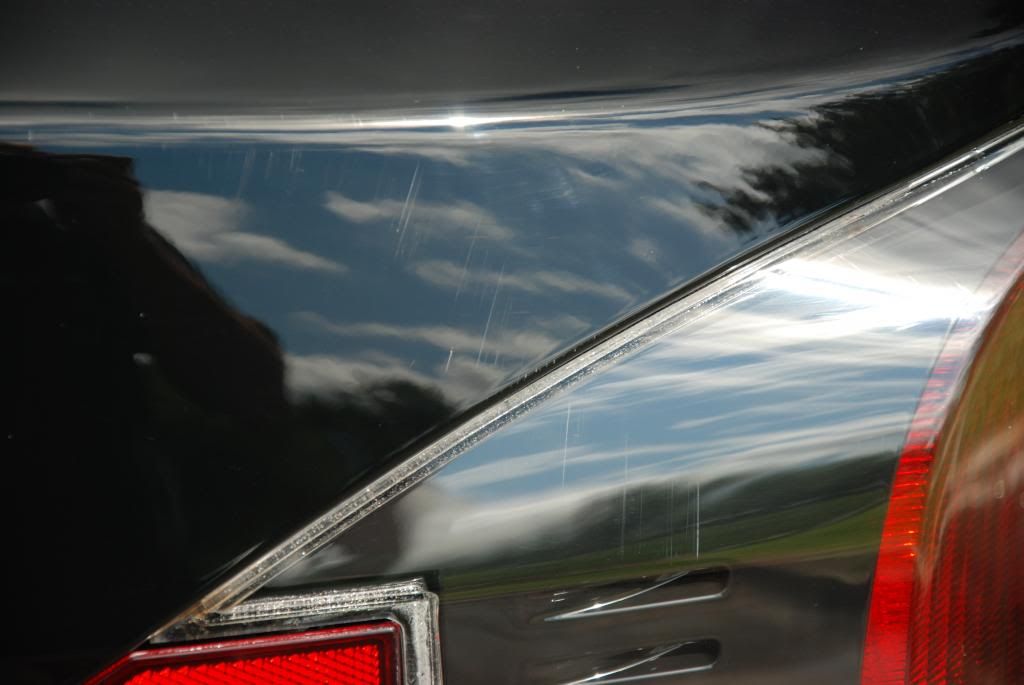
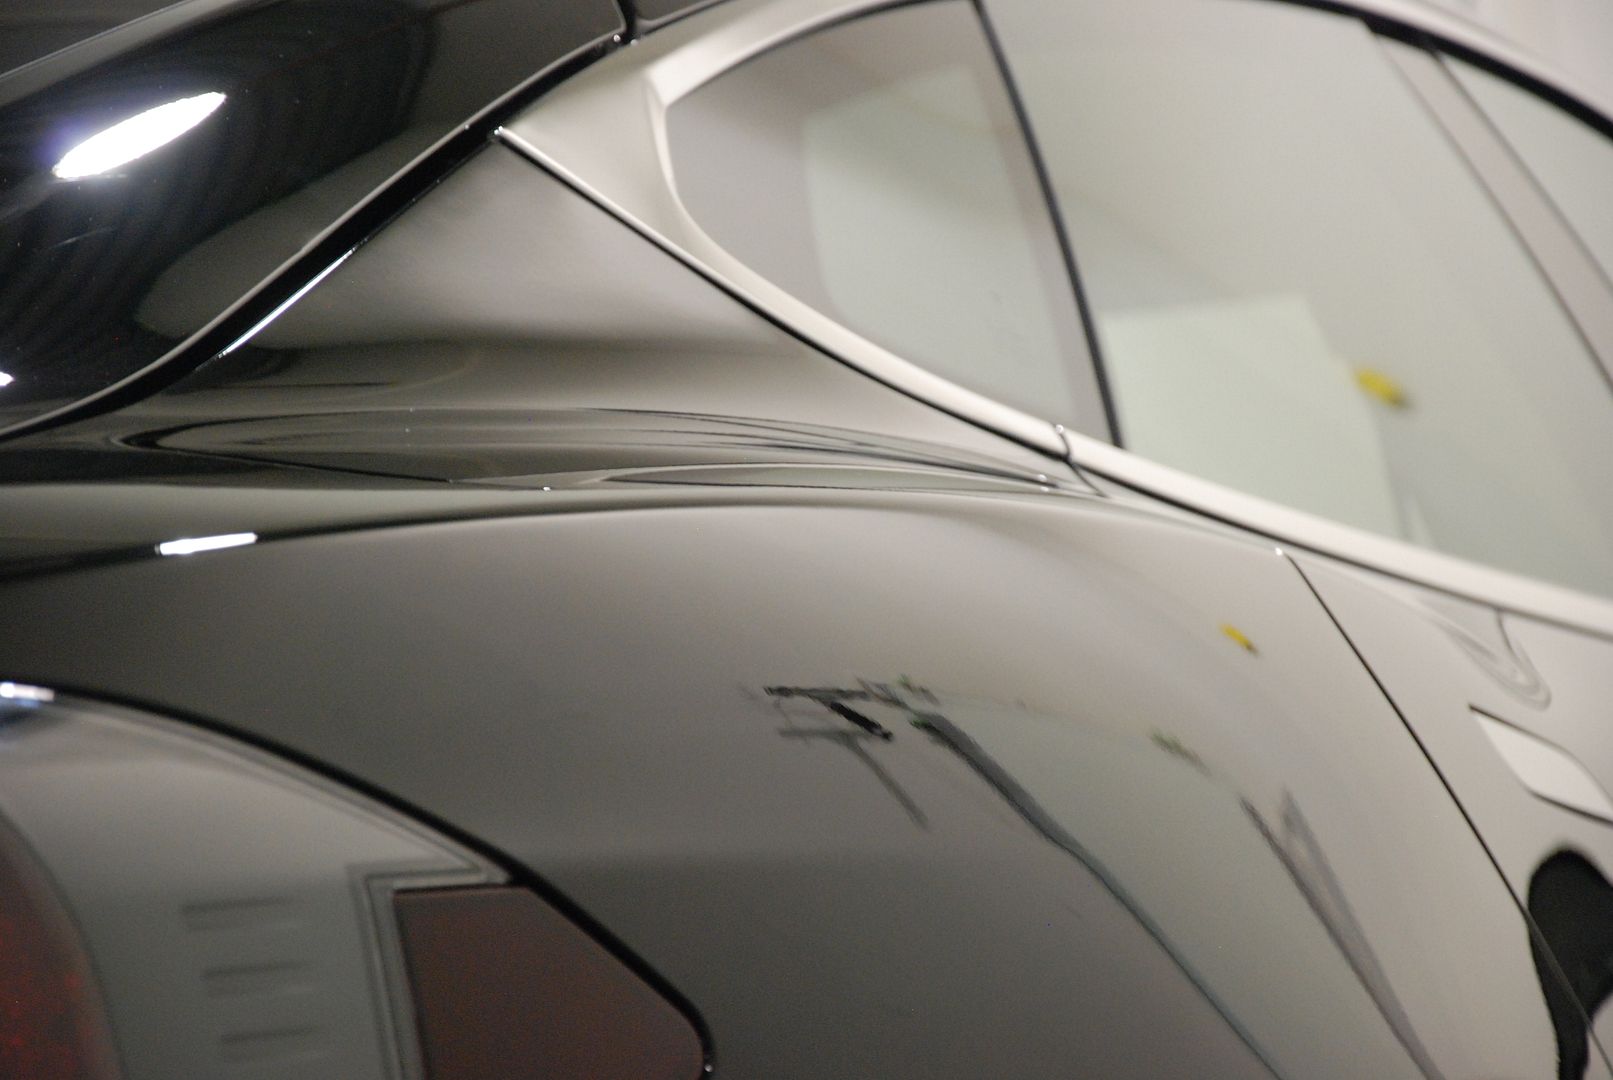
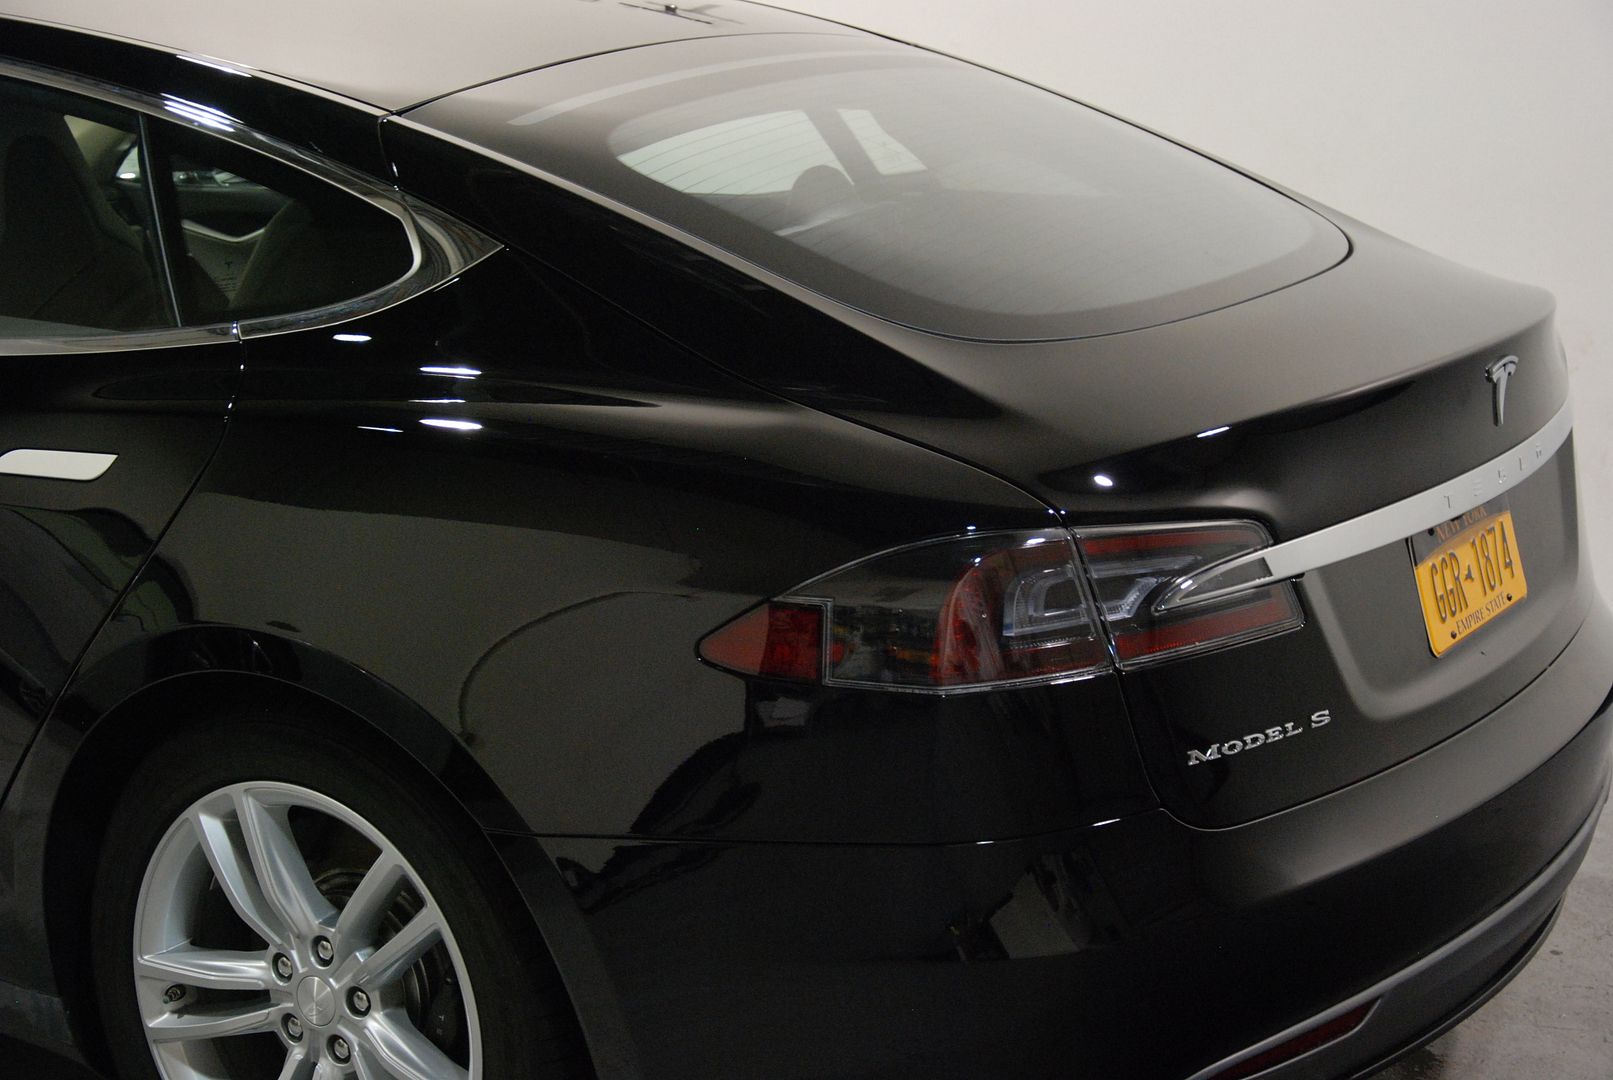
You can see a few deeper scratches that I had to leave in the trunk pillar. They were just too deep to safely remove.
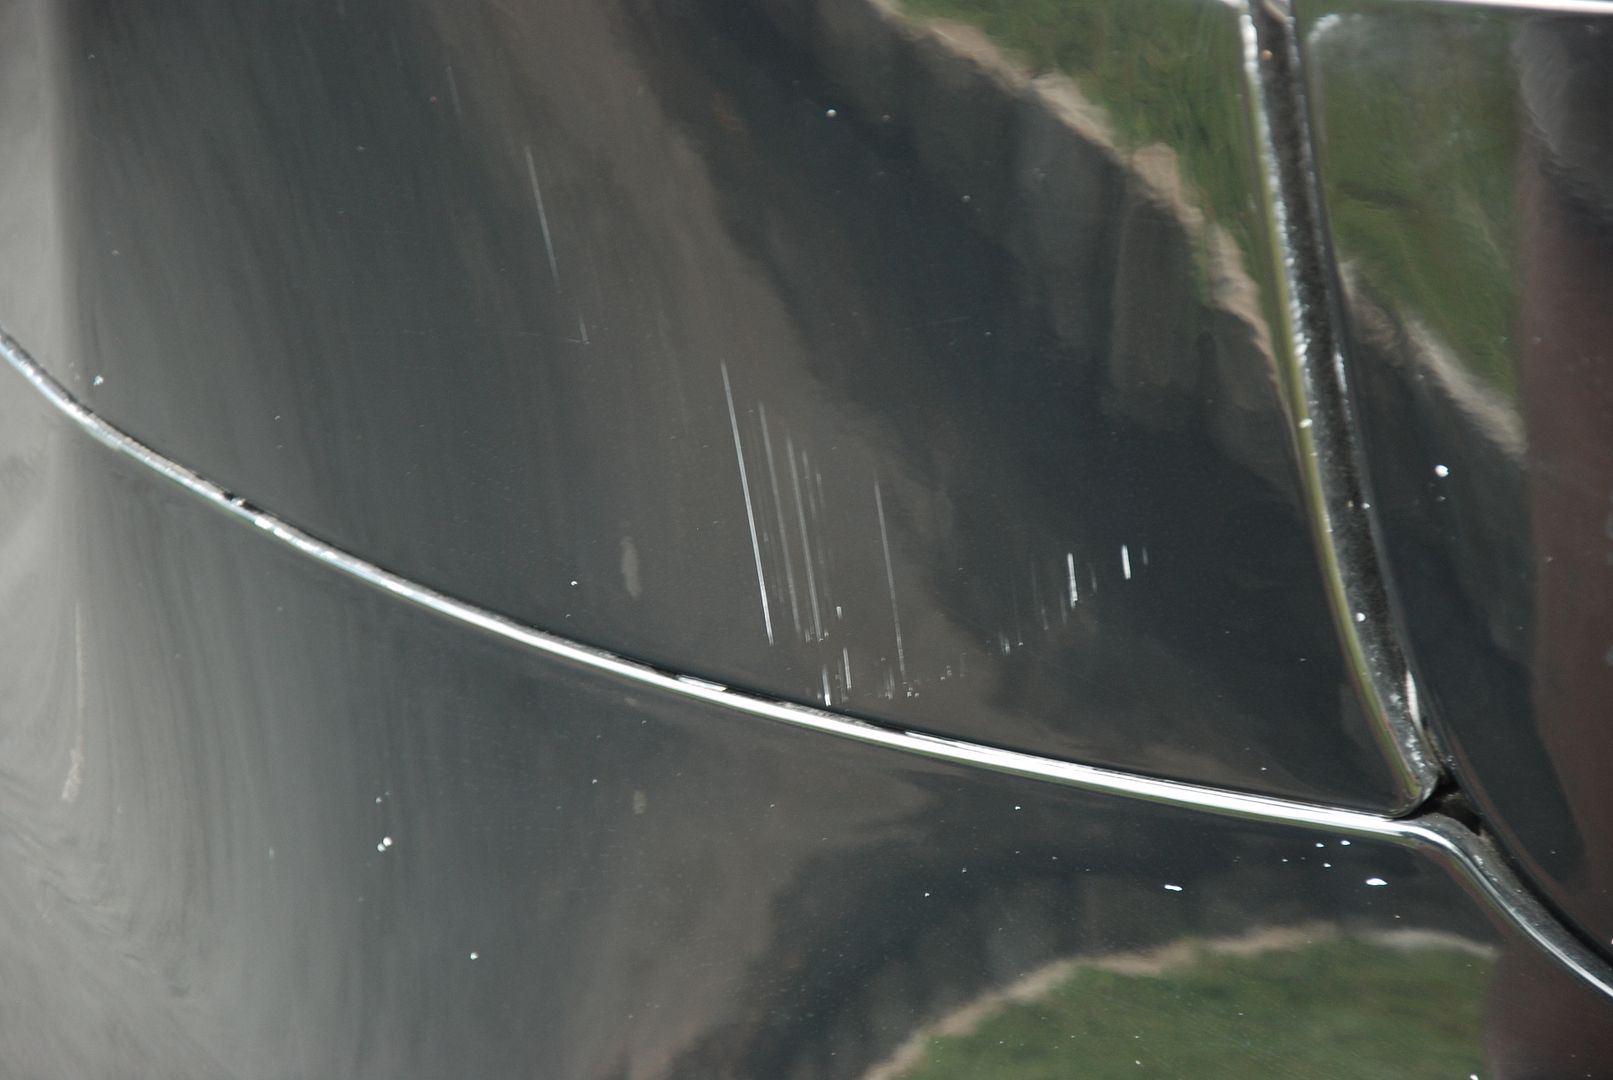
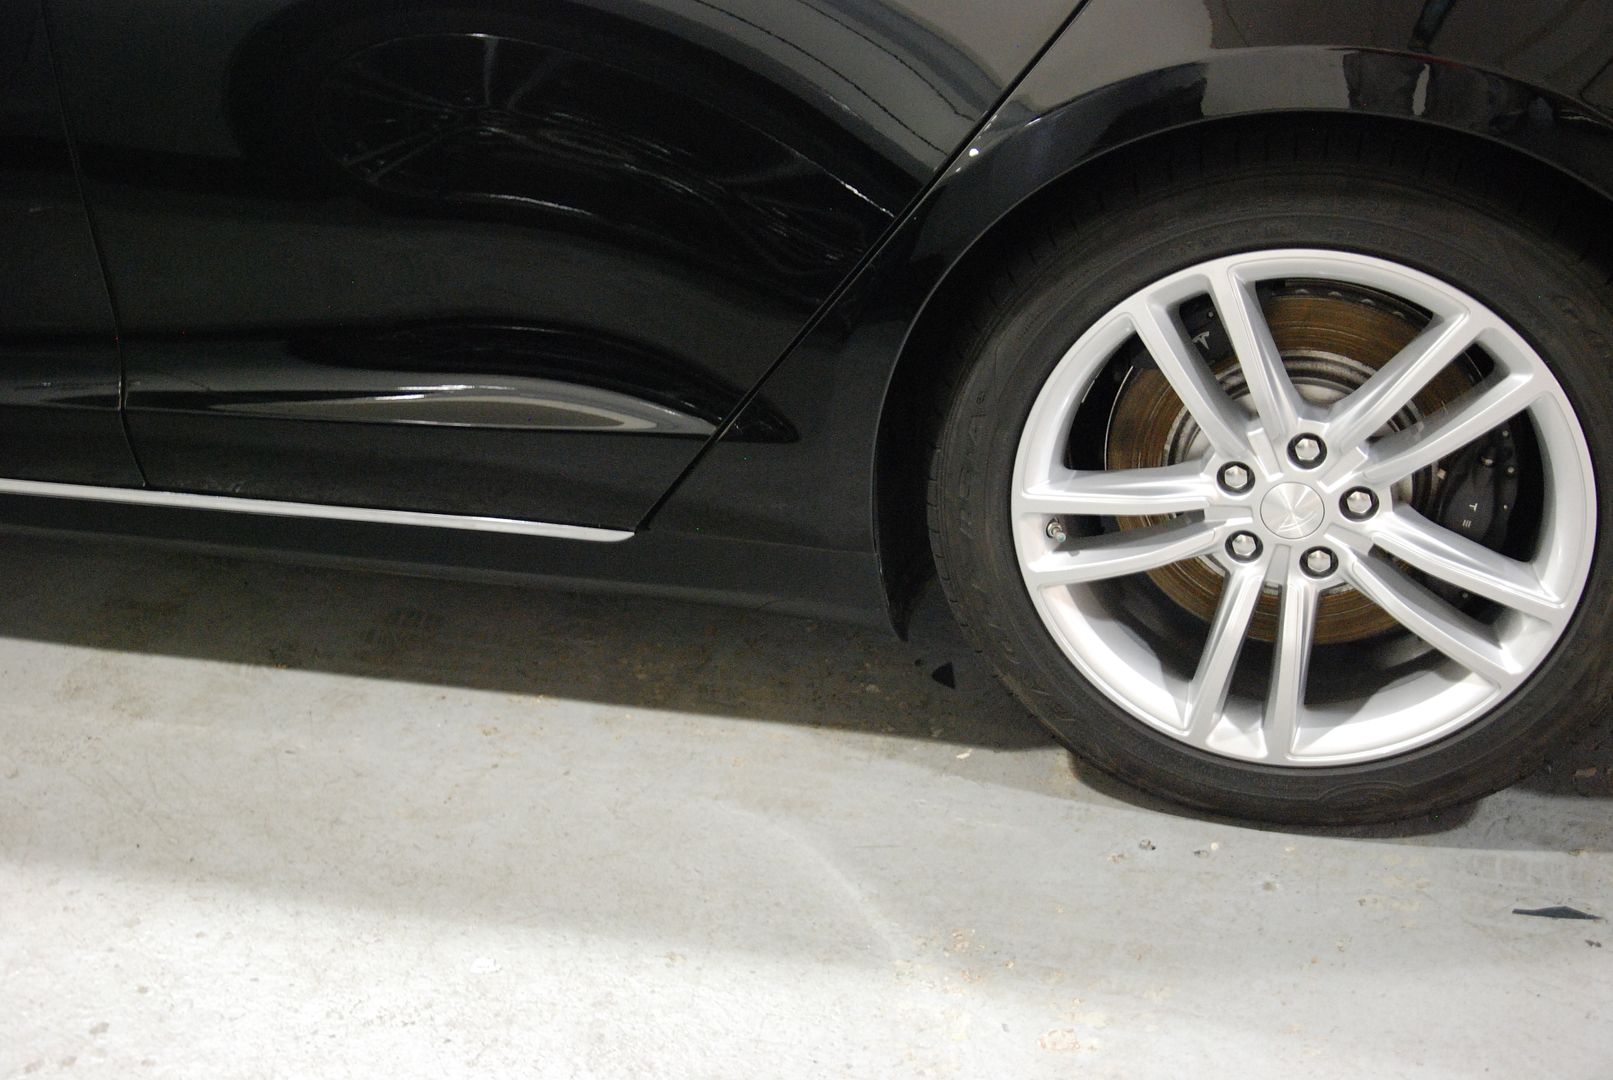
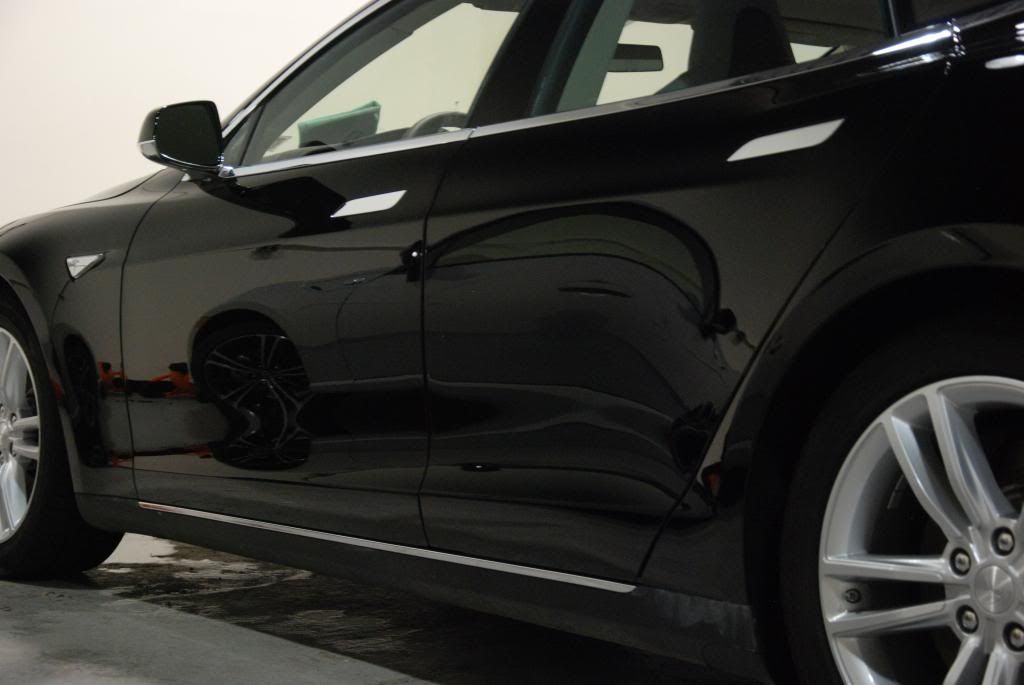
The straight line scratches in the rear passenger side door were all removed.
As always thanks for looking Greg Gellas")
After pulling in up, I used a Nanoskin clay pad, Iron-x, and a citrus based wash to fully decon the paint.

Using a Waffle Weave drying towel I dried and then pulled it out to inspect the paint. As you can see there were deep scratches, buffer trails, and swirling throughout the paint. In addition the owner was hoping to protect the paint by waxing it hit some of the white trim. This needed to be corrected.


I decided to do a test section to see what process I needed to get as much safe correction I could. I went with M105 on a MF pad, followed with Optimum Hyper Polish on a Rupes Yellow pad. This left a really clear finish on the paint and I was able to get 90+% correction. Although there was some deeper scratching that I didn't feel safe "chasing" to remove. I did a 50/50 to show exactly how much correction I got from the two steps.


After completing the full 2 step correction I washed it again to assist in removing any oils from the paint and to remove dust from seams throughout the entire car. I then followed with a IPA wipe down and coated every inch I could with Opti-Coat Pro. Unfortunately, it was raining so there are no "after" sun shots.
Here you can see that after a boars hair brush and some mineral spirits, I was able to remove the Wax from the trim. Some of the other afters are before the wax was removed.

You can see a few deeper scratches that I had to leave in the trunk pillar. They were just too deep to safely remove.

The straight line scratches in the rear passenger side door were all removed.


As always thanks for looking Greg Gellas