billboard2001
New member
- Sep 15, 2013
- 119
- 0
Hey Guys,
So I finally decided my car needed some lovin' in terms of the paint. I've never done anything like this before but I did some research about which products I'd like to try and proceeded from there. I went online and ordered a setup to begin my paint correction/detail and ended up with an armload of supplies.
A friend and I worked on this together and I estimate the total time taken on the paint correction to be 26 hours. I would attribute this to the heavy amount of cutting needed and being the first I've ever done...
Supplies:
-I used a porter cable 7424 for this job.
-Clayed it using meguiar's clay bar kit
-For polish I used meguiar's m105 and m205.
-For trim I used BlackWow
-For sealant I used Menzerna's Powerlock.
-On the exhaust, Mothers mag and aluminum polish
-Shampoo was a meguiar's type as well, which is standing in until I can get something better.
-2 bucket method for washes
-Assorted microfibers for wiping/drying/buffing ect.
-Blackfire Crystal Seal Paint Sealant
One tool I wish I had is a foam cannon or a foam master type prerinser. Since this car wasn't that dirty it wasn't as much of a problem, but I can imagine on other/future details having a heavily soiled car could really use that kind of treatment...
None the less, I was very happy with the results anyway (see pictures...)
The before pictures weren't all as "showing" as they could have been ($70 camera
 ) but I did end up being able to use a DSLR from about half way through to the end of the detail. Those pictures were much more revealing as you'll be able to see.
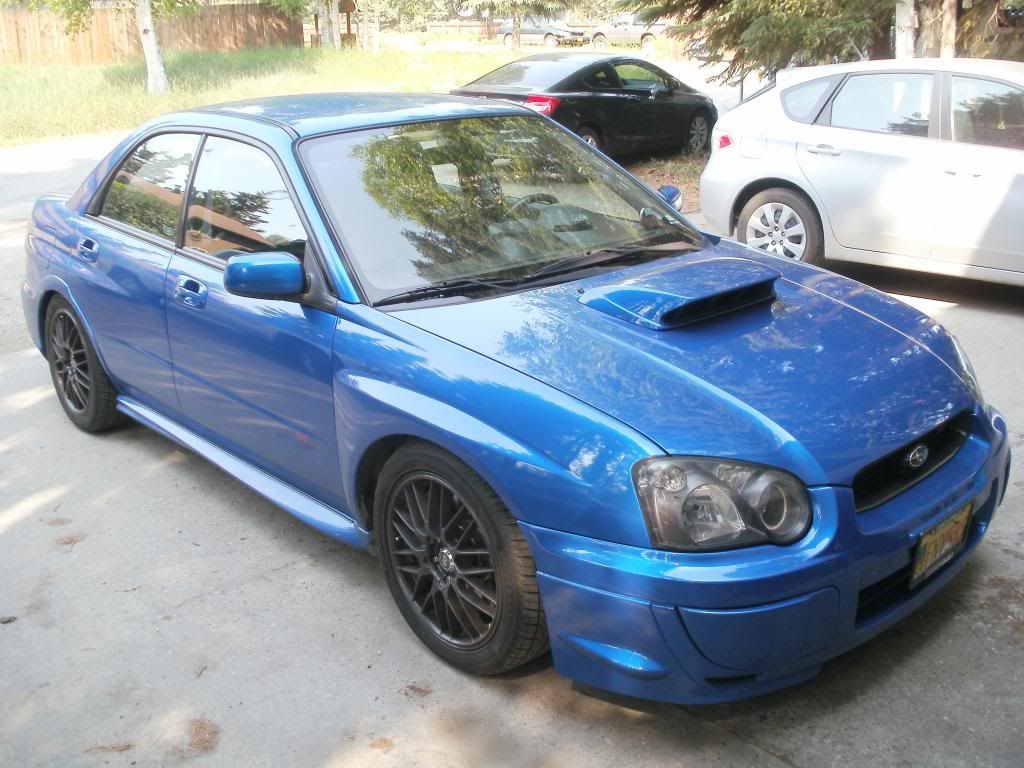
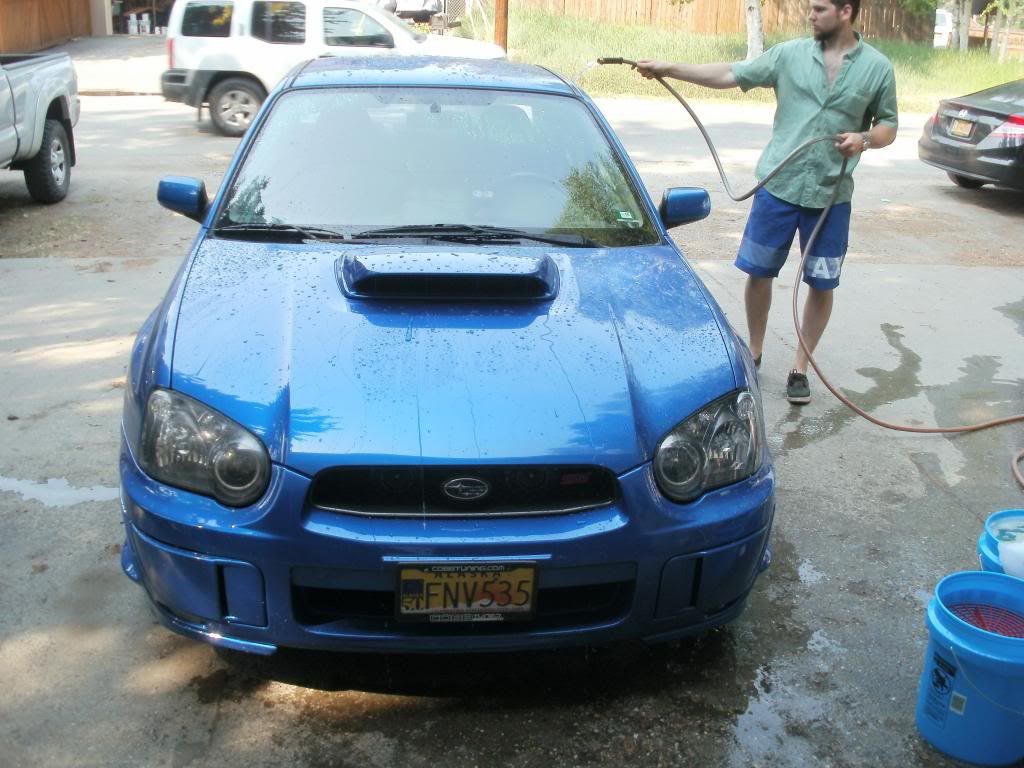
The car before it started. It wasn't too dirty anyway, just the paint was faded and swirled up fairly bad...

Trunk with swirls (camera didn't give the best image of how bad they were)
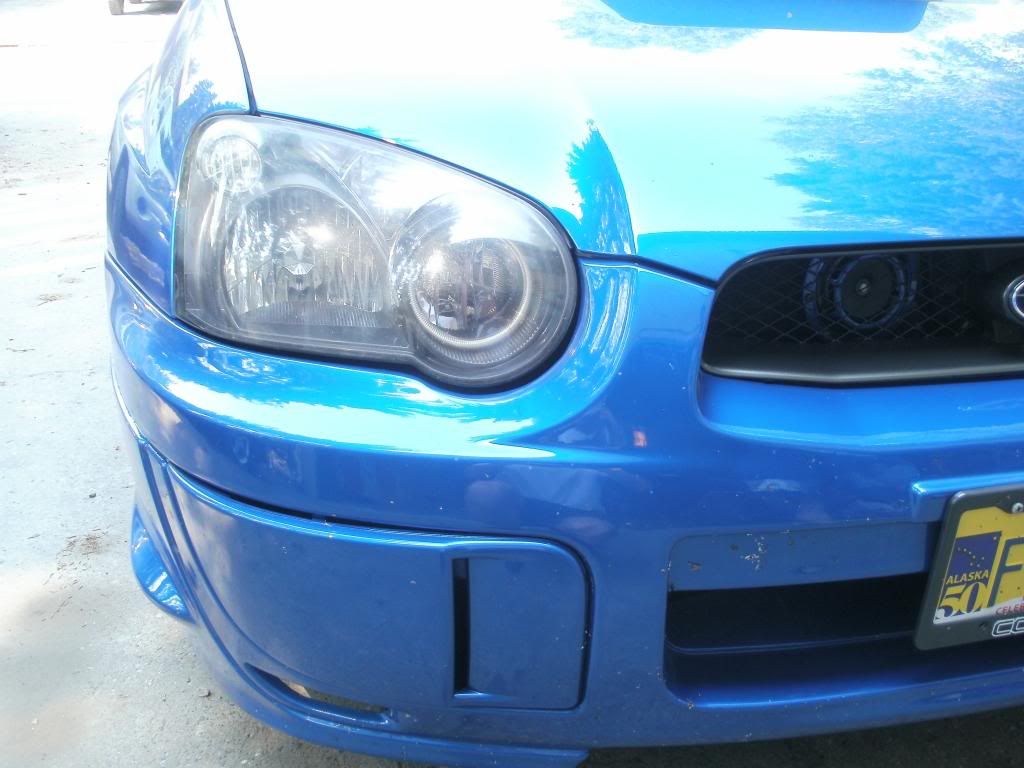
Hazy Headlights that I planned on trying to correct
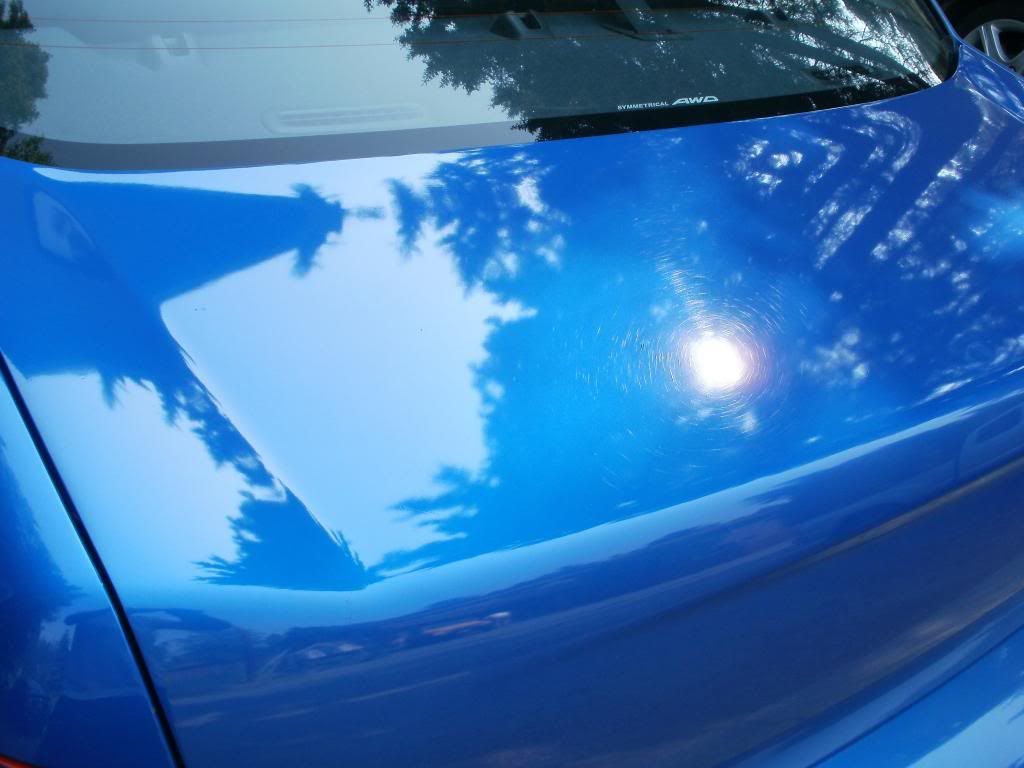
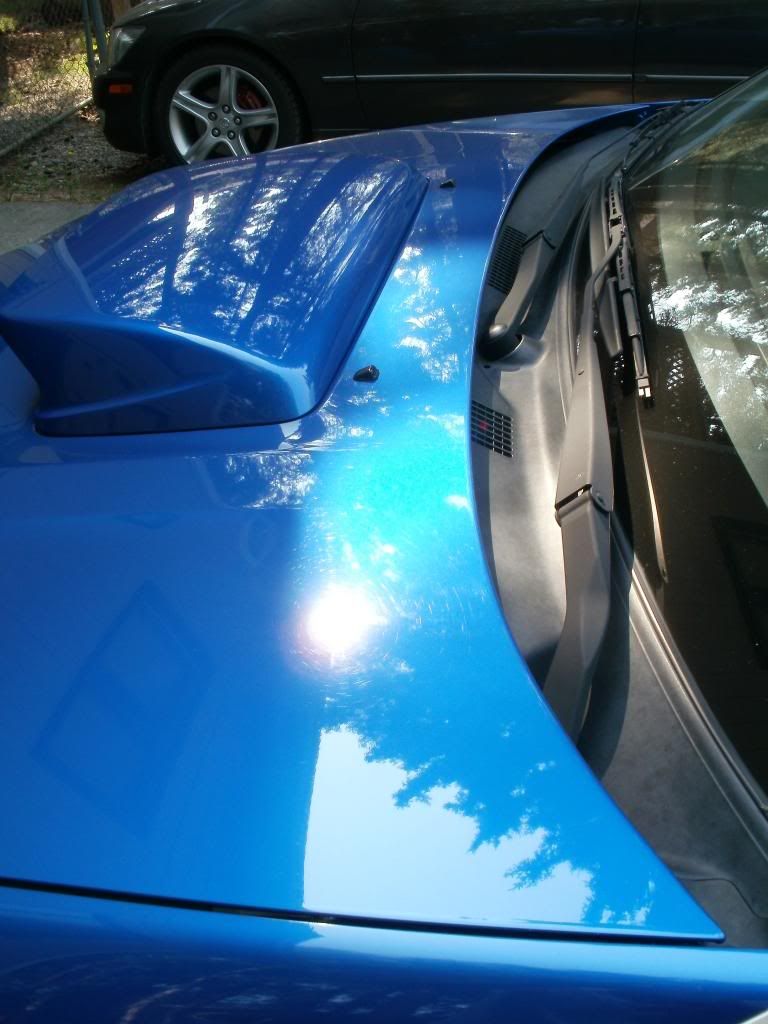
More swirls, on the hood this time
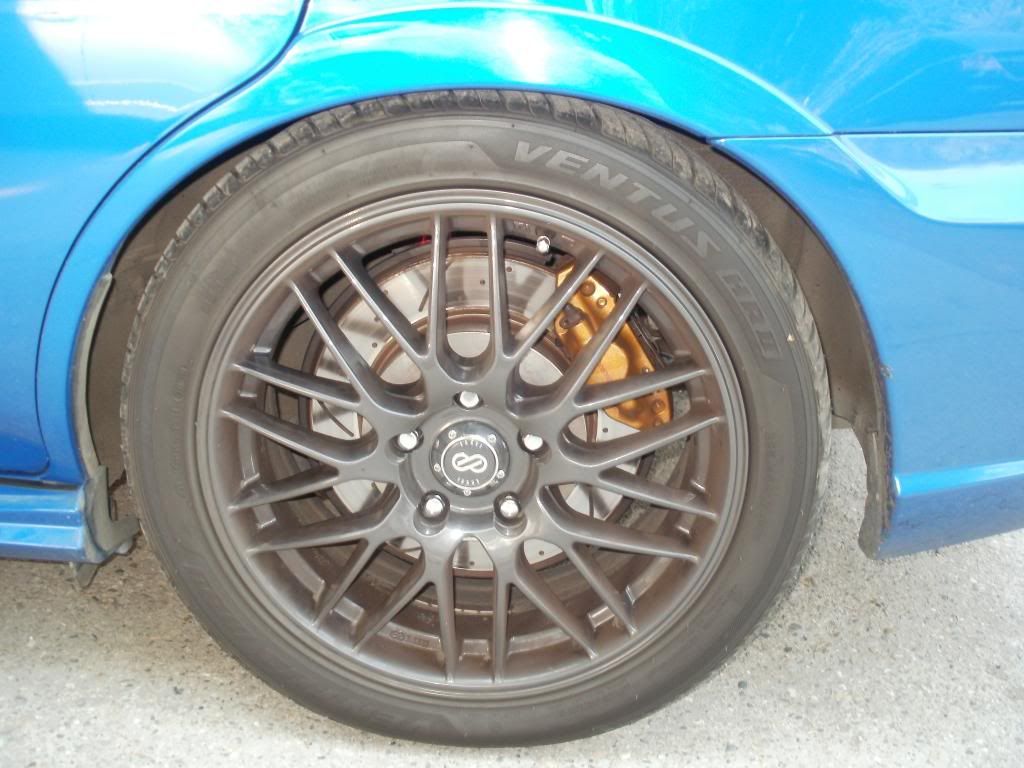
Dirty Wheels and Tires
Beginning to wash for the first time to really bring out the defects and blemishes. The previously applied wax seemed to be holding up pretty well from the water sheeting/beading
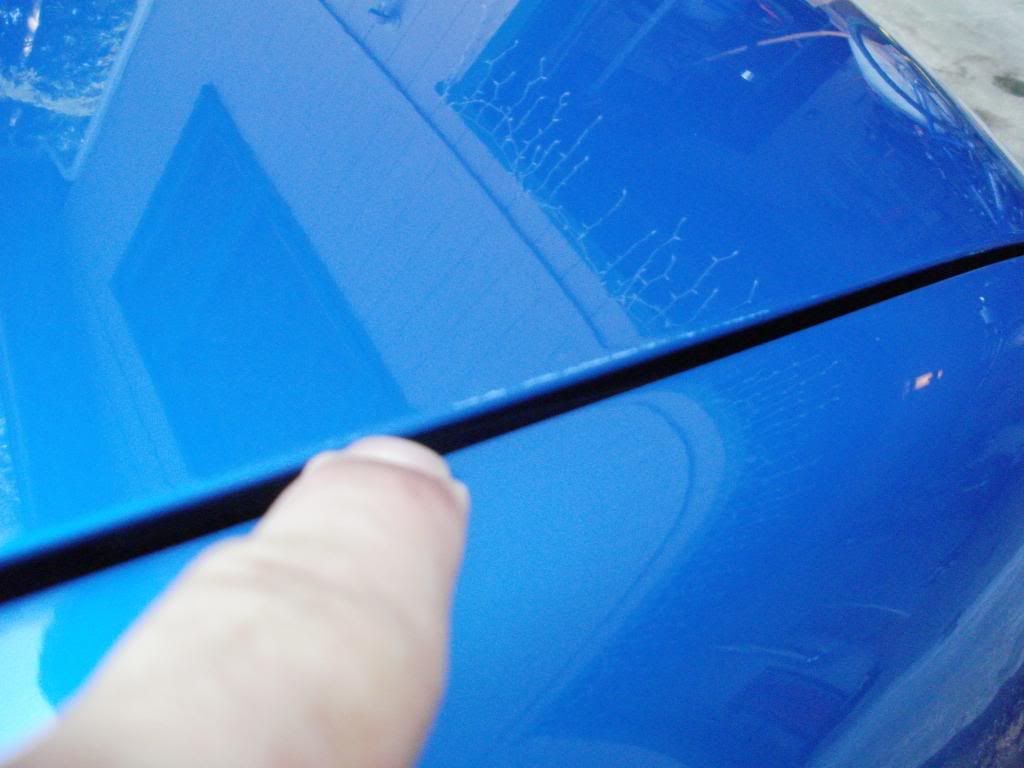
Old polish from the body shop when I had the hood repaired:
So I finally decided my car needed some lovin' in terms of the paint. I've never done anything like this before but I did some research about which products
I'd like to try and proceeded from there. I went online and ordered a setup to begin my paint correction/detail and ended up with an armload of supplies.A friend and I worked on this together and I estimate the total time taken on the paint correction to be 26 hours. I would attribute this to the heavy amount of cutting needed and being the first I've ever done...
Supplies:
-I used a porter cable 7424 for this job.
-Clayed it using meguiar's clay bar kit
-For polish I used meguiar's m105 and m205.
-For trim I used BlackWow
-For sealant I used Menzerna's Powerlock.
-On the exhaust, Mothers mag and aluminum polish
-Shampoo was a meguiar's type as well, which is standing in until I can get something better.
-2 bucket method for washes
-Assorted microfibers for wiping/drying/buffing ect.
-Blackfire Crystal Seal Paint Sealant
One tool I wish I had is a foam cannon or a foam master type prerinser. Since this car wasn't that dirty it wasn't as much of a problem, but I can imagine on other/future details having a heavily soiled car could really use that kind of treatment...
None the less, I was very happy with the results anyway (see pictures...)
The before pictures weren't all as "showing" as they could have been ($70 camera
The car before it started. It wasn't too dirty anyway, just the paint was faded and swirled up fairly bad...


Trunk with swirls (camera didn't give the best image of how bad they were)

Hazy Headlights that I planned on trying to correct

More swirls, on the hood this time

Dirty Wheels and Tires

Beginning to wash for the first time to really bring out the defects and blemishes. The previously applied wax seemed to be holding up pretty well from the water sheeting/beading

Old polish from the body shop when I had the hood repaired:


")
