dublifecrisis
New member
- Mar 25, 2008
- 1,158
- 0
Recently, we discussed in a thread I started regarding the length of time spent on a 1 step and how it still takes quite a bit of time but usually resulting in charging a smaller fee. It’s partly my own fault that I end up doing these types of details and I think mentally, I just know I’m up against the wall with just a PC, especially on harder clearcoats (like this VW). I know the PC is capable of full paint correction but it seems to thrive with the right products on doing a 1 stepper. It’s safe around all the edges, the BP’s make it easily adaptable…and well, it’s all I have at the moment.
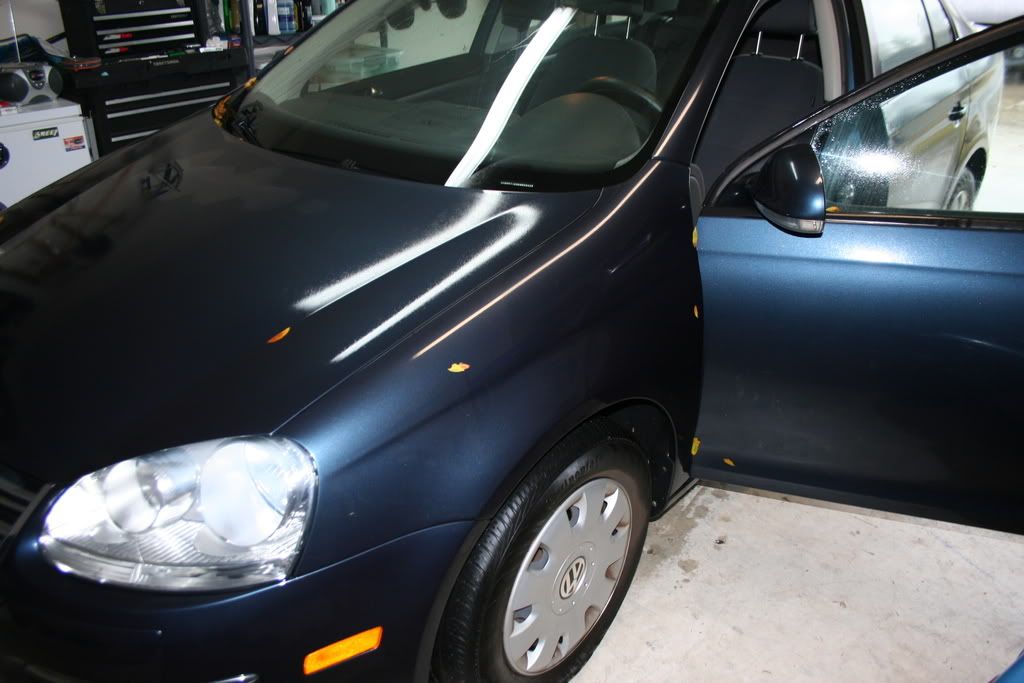
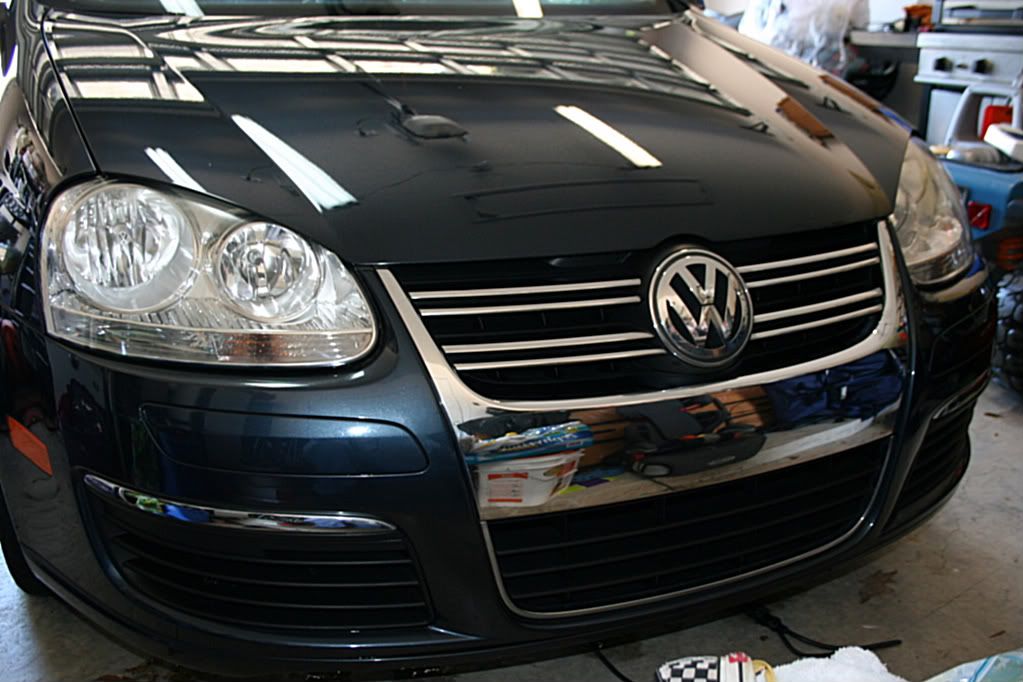
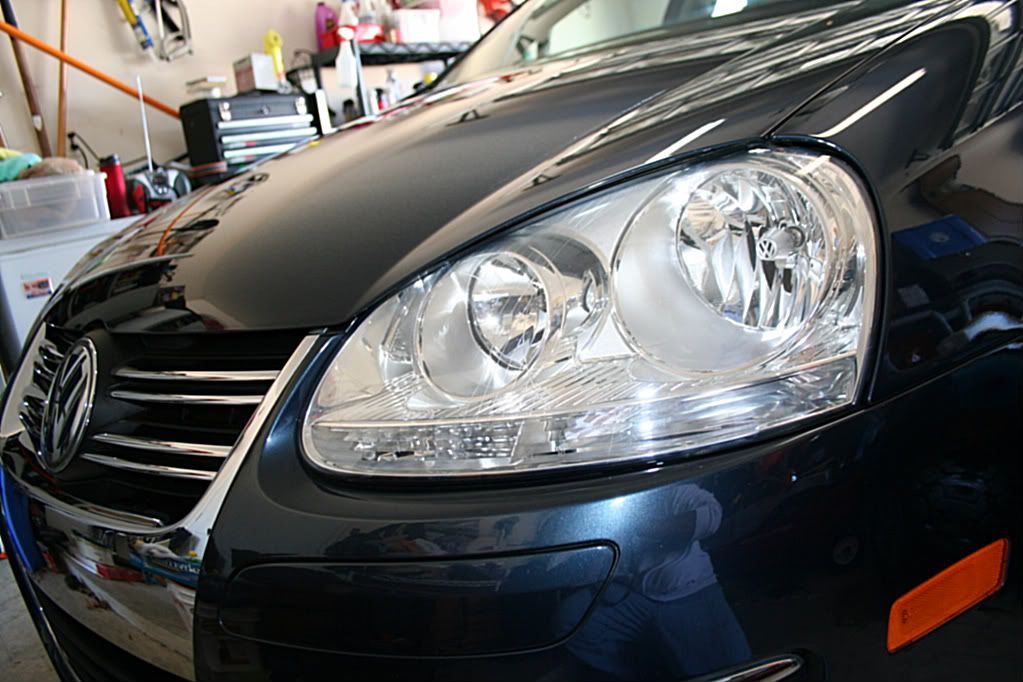
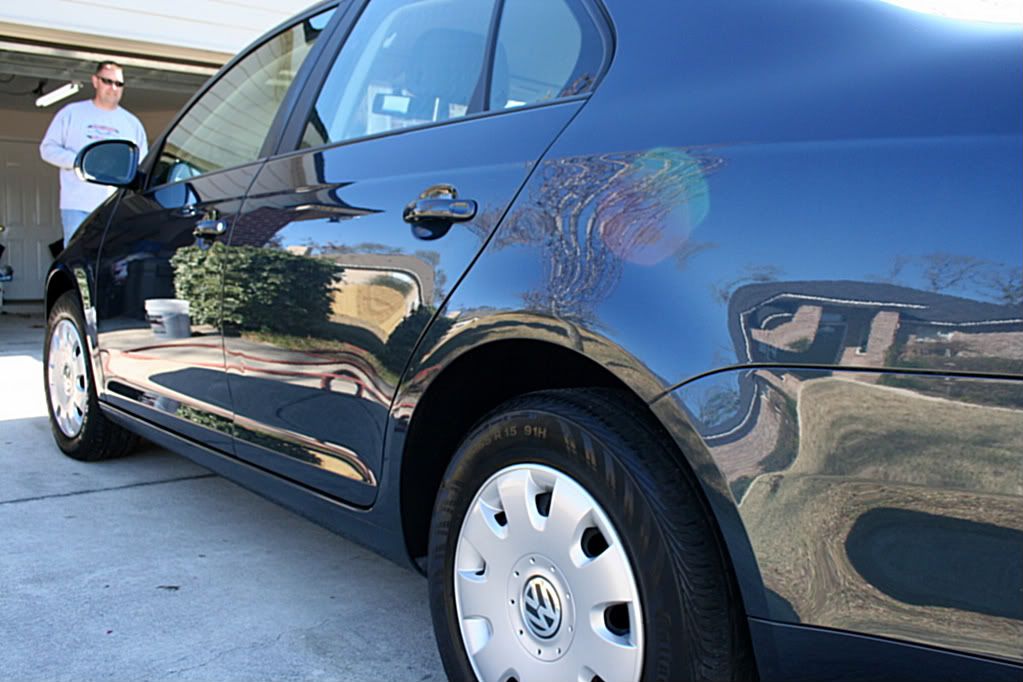
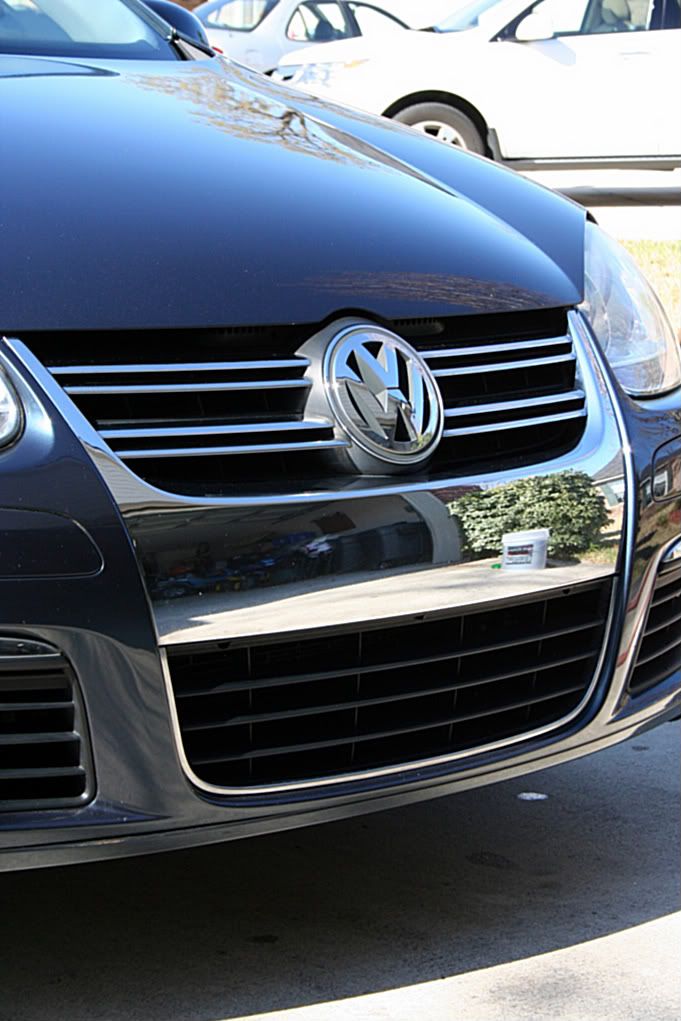
Here we have the 1 stepper of the month which is a 2006 VW Jetta. It’s a beautiful metallic blue, base model with a 5spd manual. It has a great shifter, handles fairly well. The 2.5 litre 5 cylinder engine sounds a little rough around the edges but it’s not all that bad.
This is a leased car and the VW lease inspectors actually come out to your house these days. The car is in good shape and not over it’s allowed mileage but the customer wanted to get it cleaned up for peace of mind.
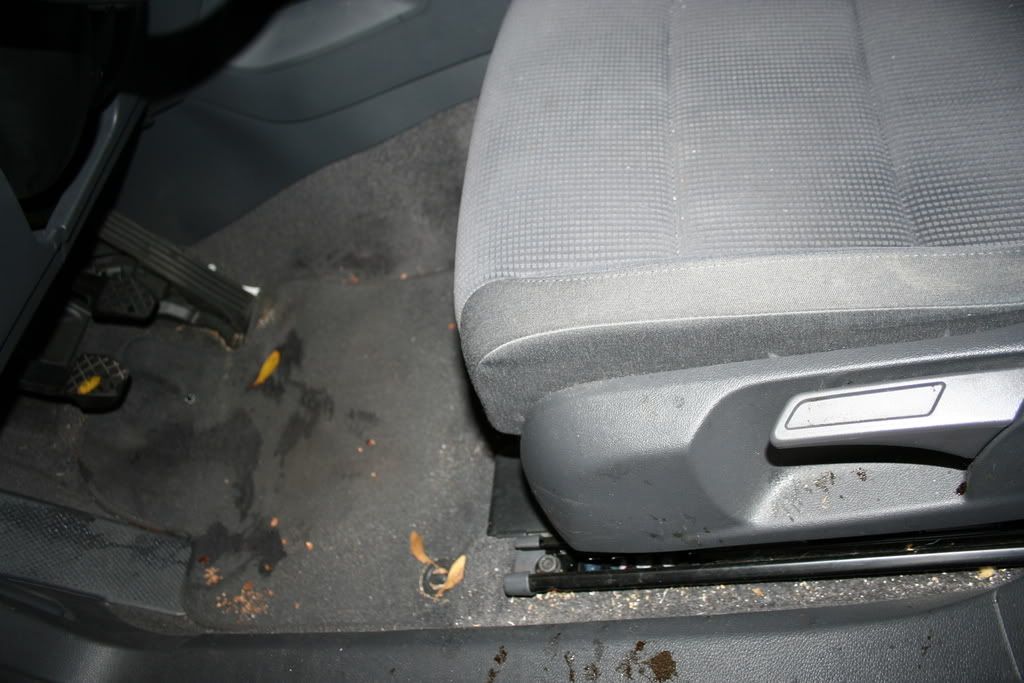
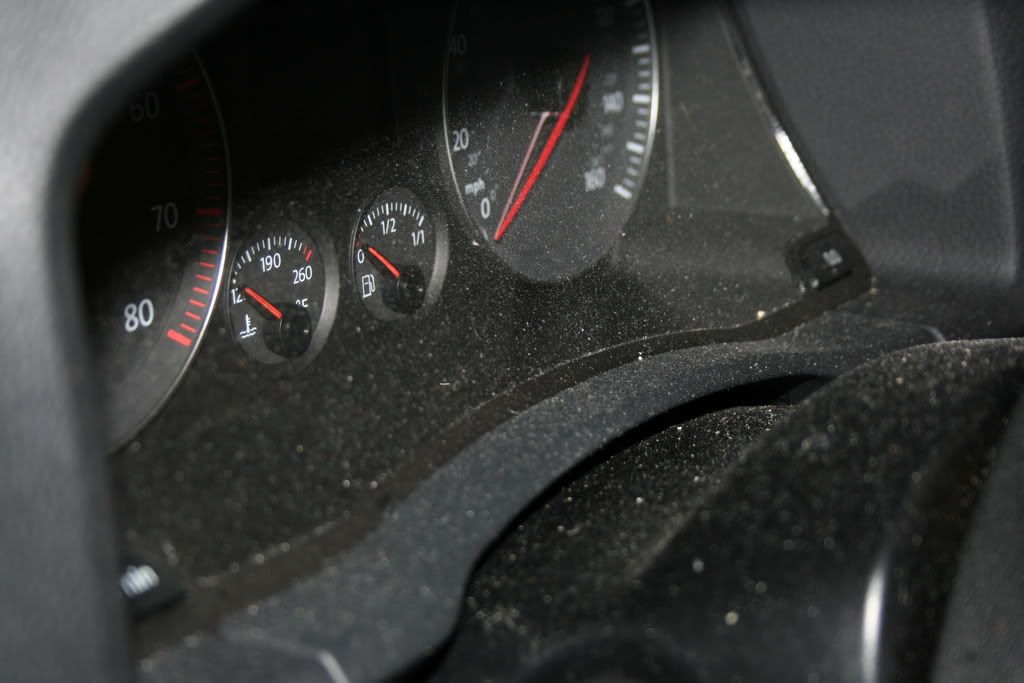
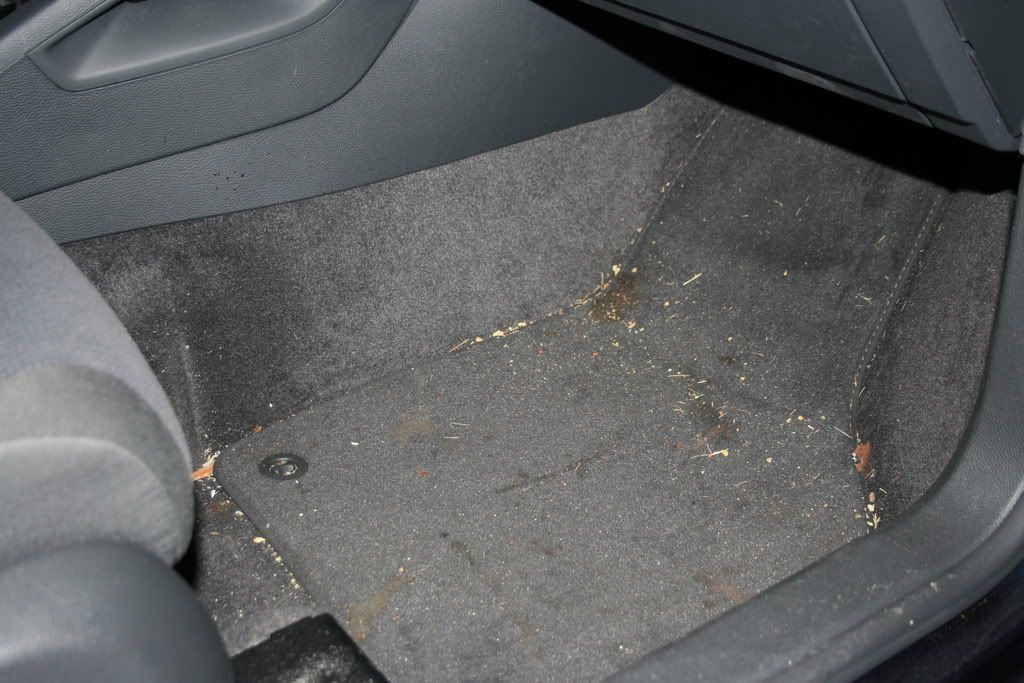
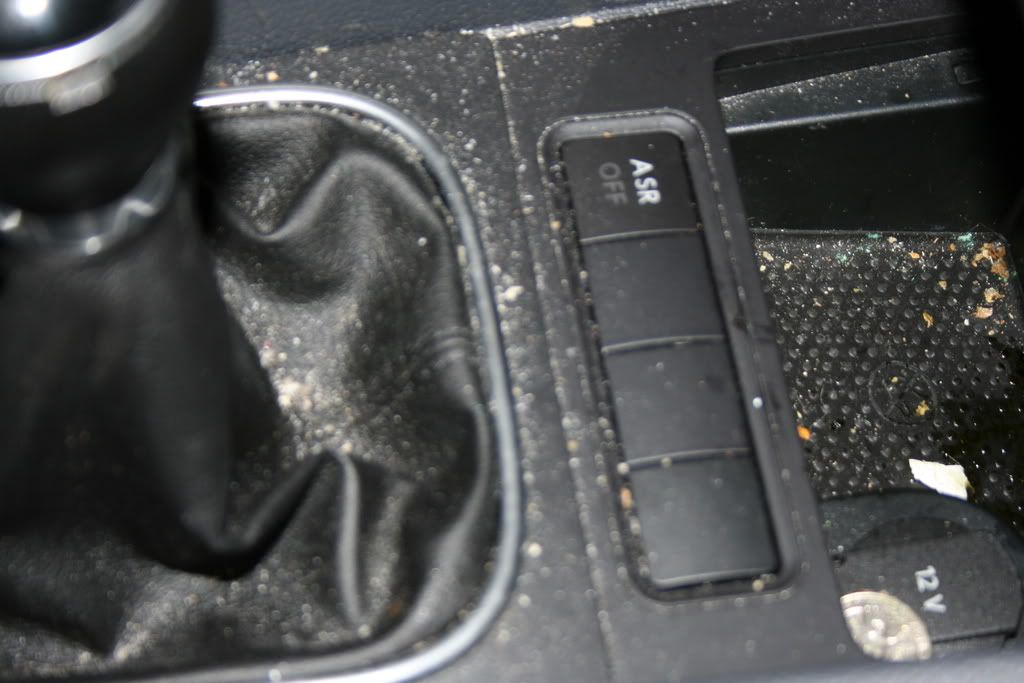
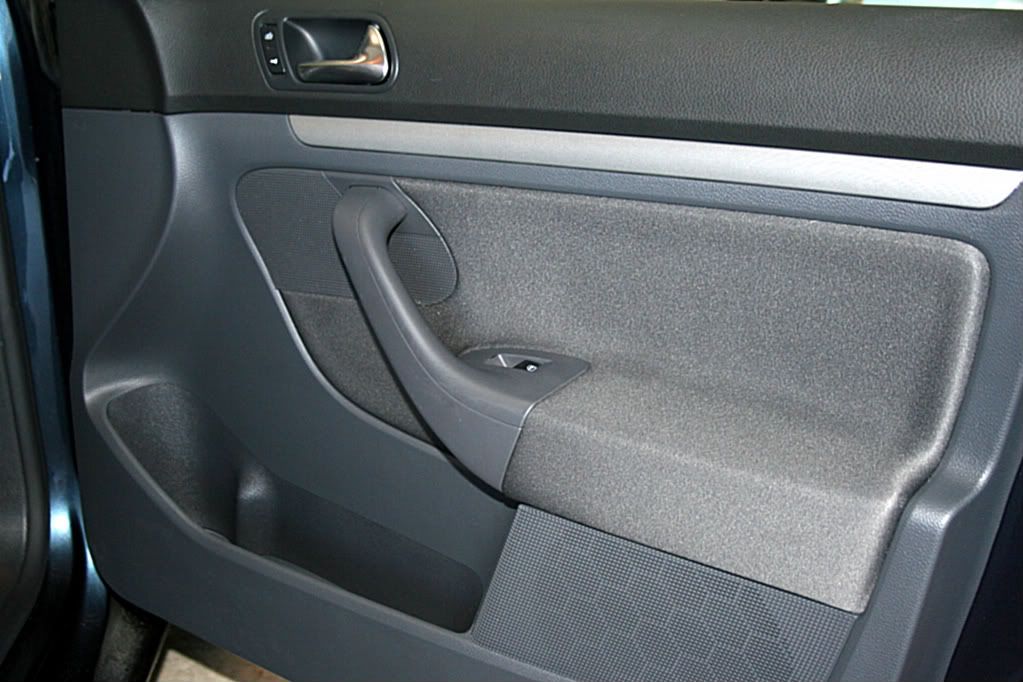
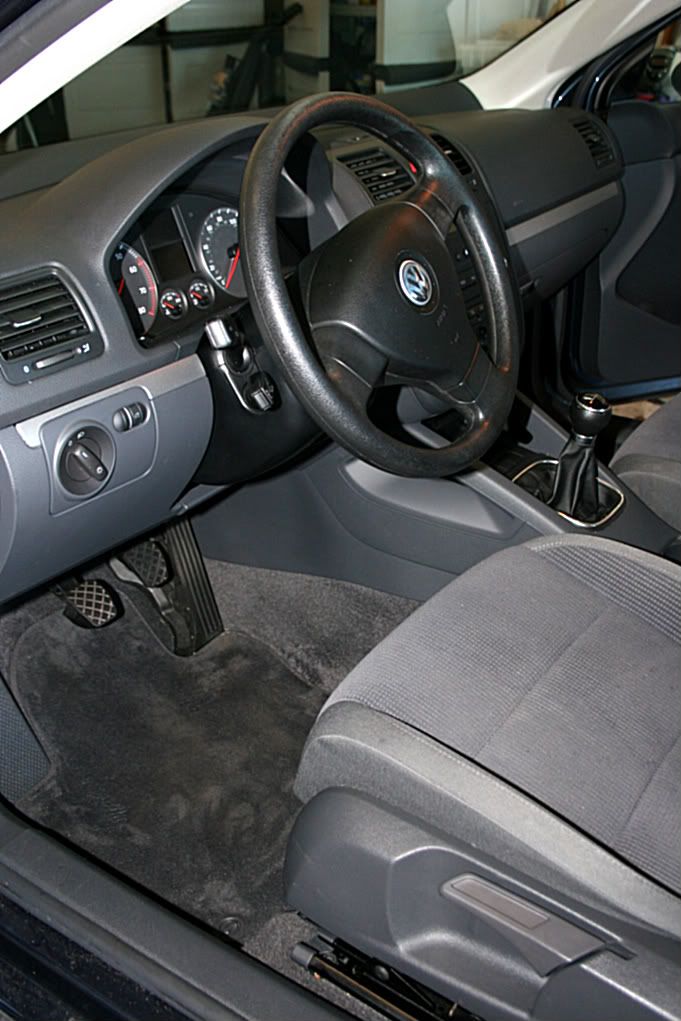
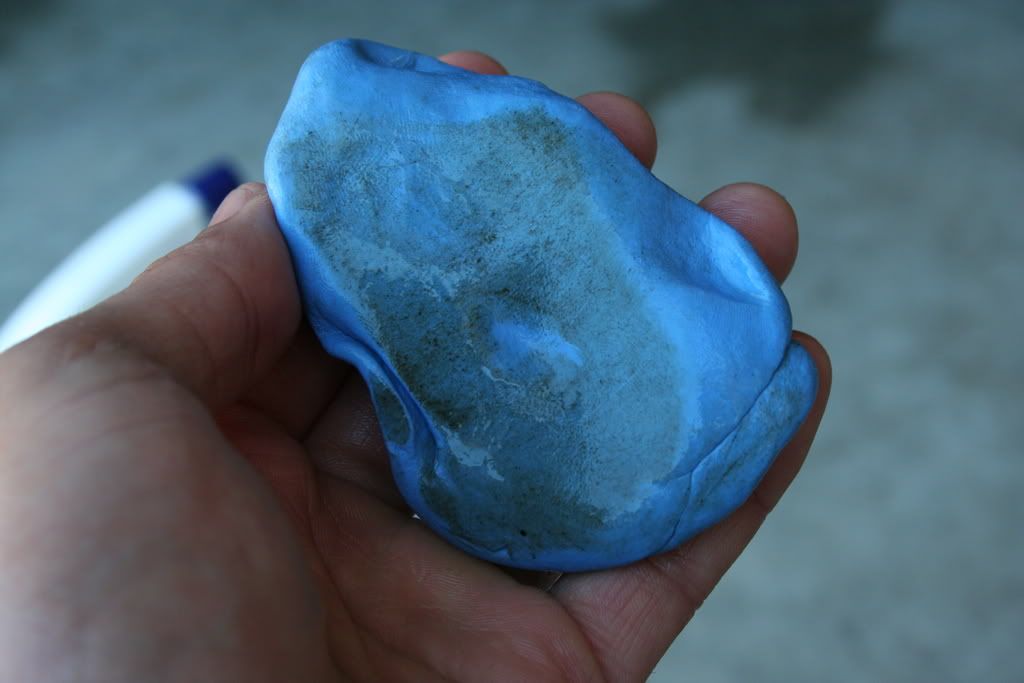
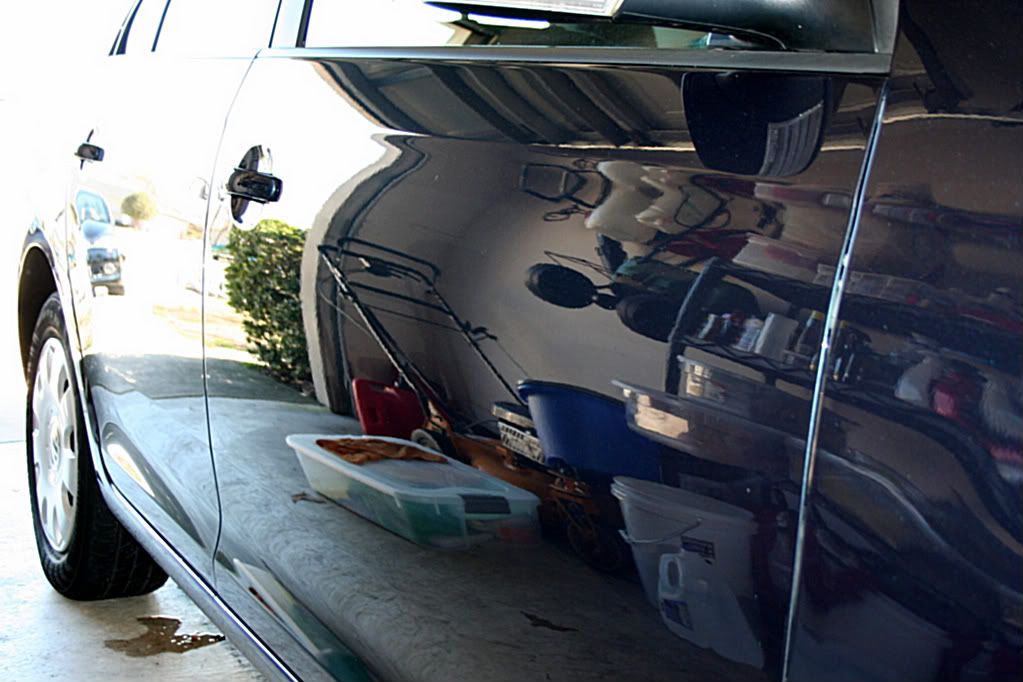
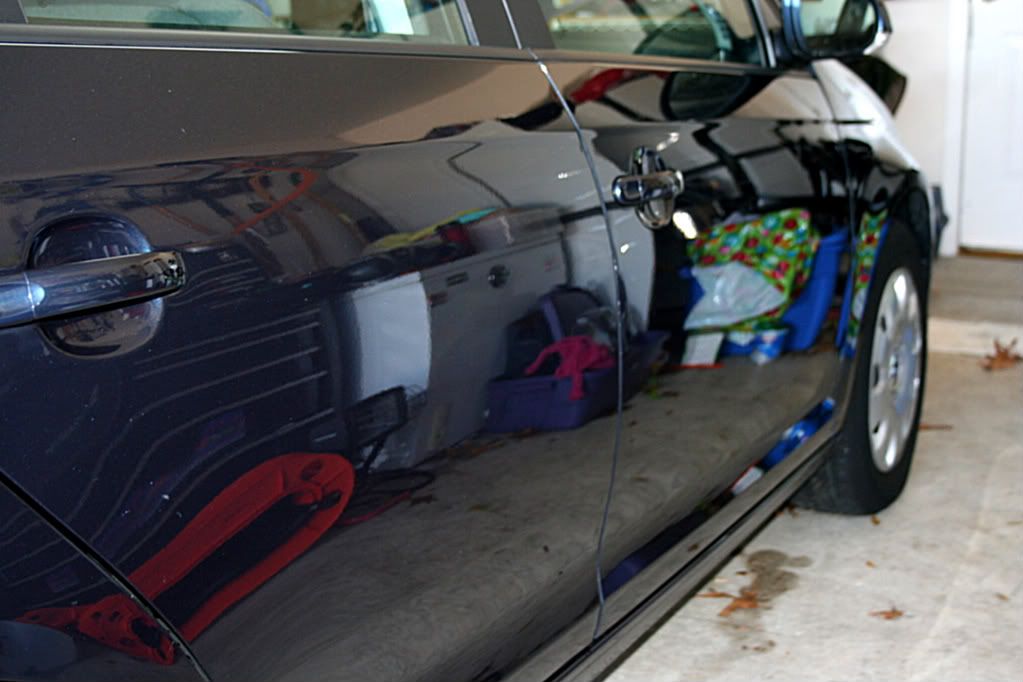
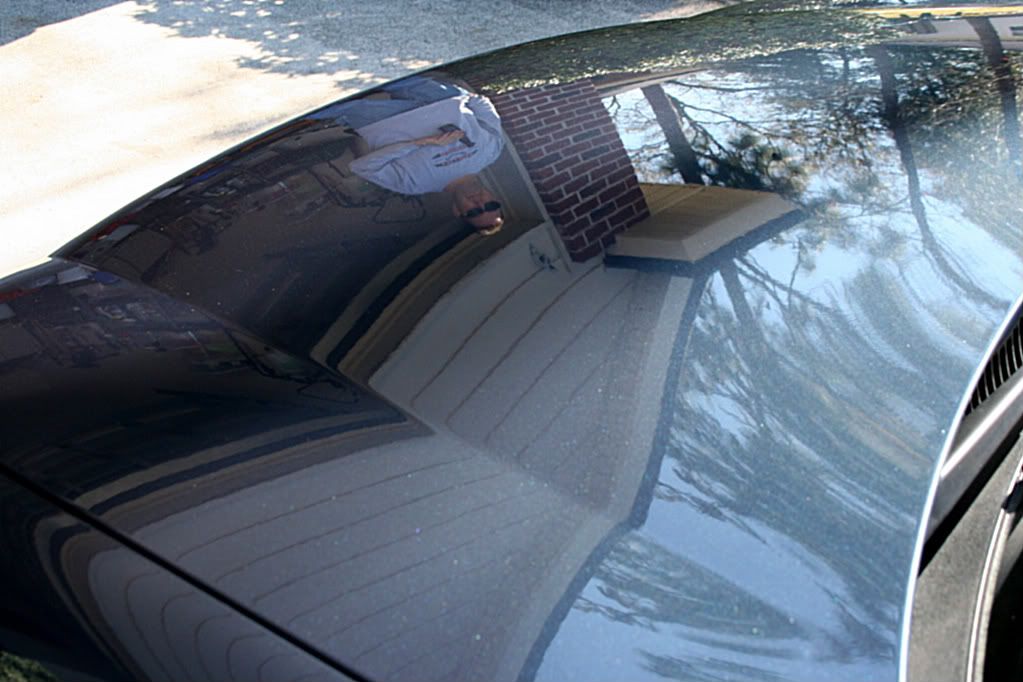
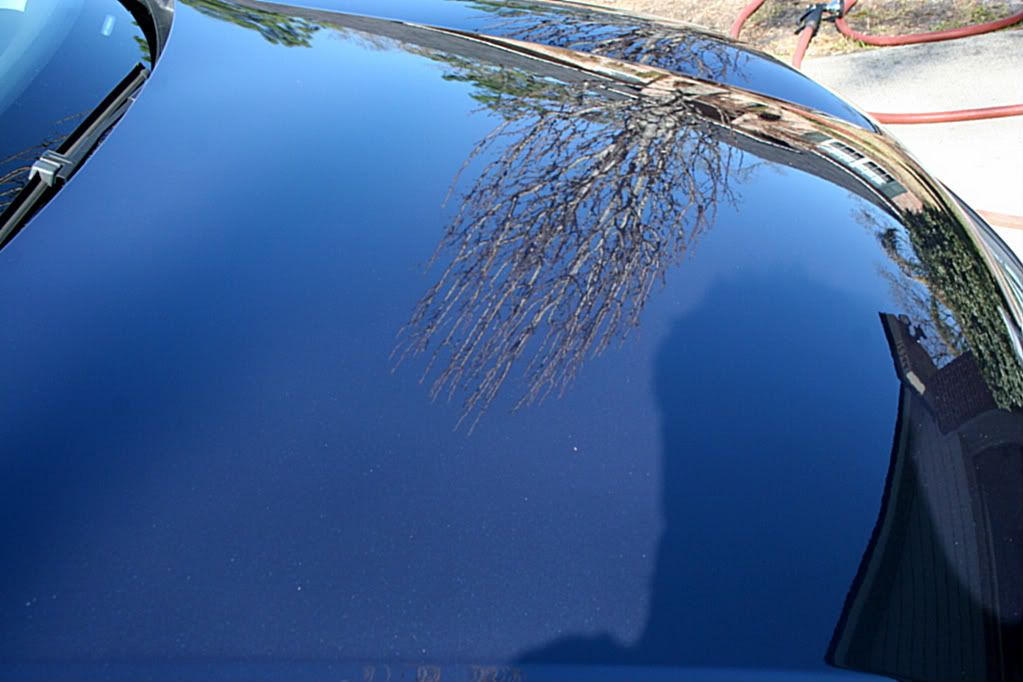
This meant a good interior clean (boy was it dirty) and bringing the exterior back to par. The outside has hardly ever been washed…ok maybe never. As a result, the paint really shine with only a few defects to be seen. After claying, it was really smooth and the swirls were minimal. But as you can see, the clay was pulling significant bits of nastiness out of the paint.
Products and tools used:
2 buckets
DG901
ONR
ONR QD
Dilluted simple green
full strength purple power
2 MF mitts
Absorber
Cobra guzzler WW
Cobra MF
Viking MF
Vroom MF
shop-vac
Black Magic protectant (still love it)
mixed Optimum polish, poli-seal, opti-seal (amped up AIO)
DGAW
DG FC&S (wow, great QD!!!)
Mother's wheel brushes
OXO tire brush
Meg's GC trim detailer
Meg's vinyl/rubber protectant
Clay Magic Blue
Stoner's IG
DG 105
CCS pads
probably more stuff
Before:

Afters:


thanks!
Here we have the 1 stepper of the month which is a 2006 VW Jetta. It’s a beautiful metallic blue, base model with a 5spd manual. It has a great shifter, handles fairly well. The 2.5 litre 5 cylinder engine sounds a little rough around the edges but it’s not all that bad.
This is a leased car and the VW lease inspectors actually come out to your house these days. The car is in good shape and not over it’s allowed mileage but the customer wanted to get it cleaned up for peace of mind.
This meant a good interior clean (boy was it dirty) and bringing the exterior back to par. The outside has hardly ever been washed…ok maybe never. As a result, the paint really shine with only a few defects to be seen. After claying, it was really smooth and the swirls were minimal. But as you can see, the clay was pulling significant bits of nastiness out of the paint.
Products and tools used:
2 buckets
DG901
ONR
ONR QD
Dilluted simple green
full strength purple power
2 MF mitts
Absorber
Cobra guzzler WW
Cobra MF
Viking MF
Vroom MF
shop-vac
Black Magic protectant (still love it)
mixed Optimum polish, poli-seal, opti-seal (amped up AIO)
DGAW
DG FC&S (wow, great QD!!!)
Mother's wheel brushes
OXO tire brush
Meg's GC trim detailer
Meg's vinyl/rubber protectant
Clay Magic Blue
Stoner's IG
DG 105
CCS pads
probably more stuff
Before:
Afters:
thanks!