slickooz
New member
- Nov 8, 2010
- 2,657
- 0
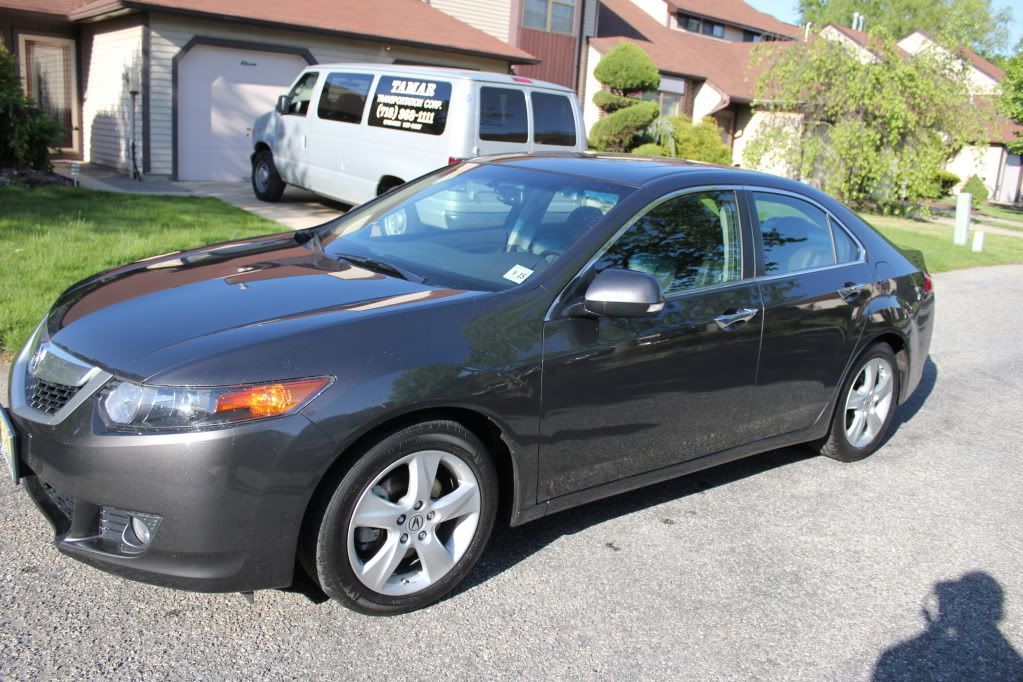
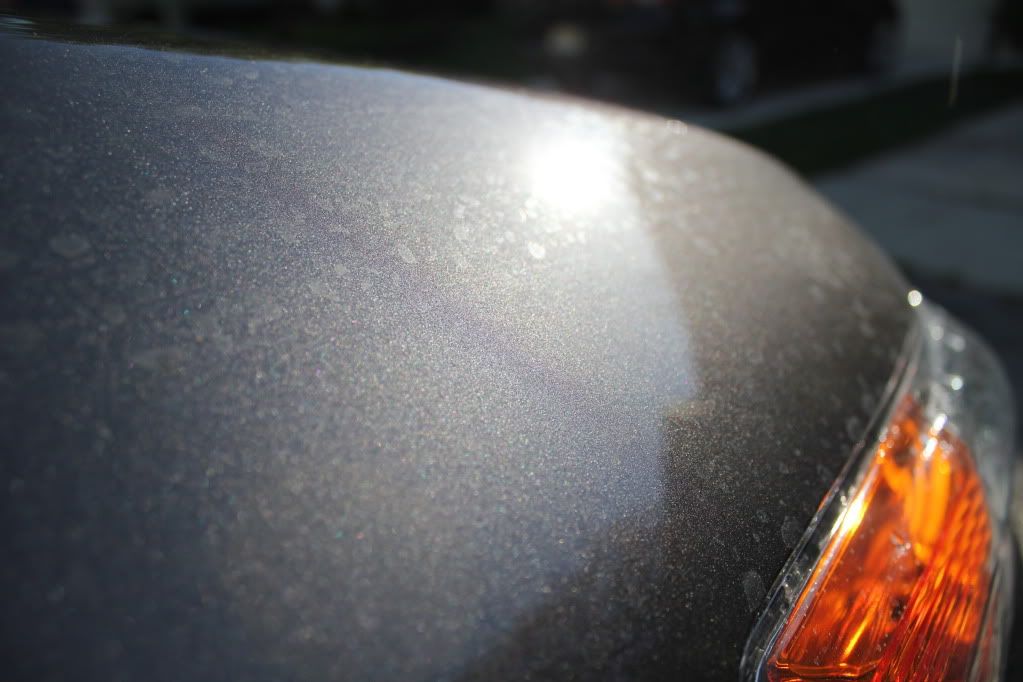
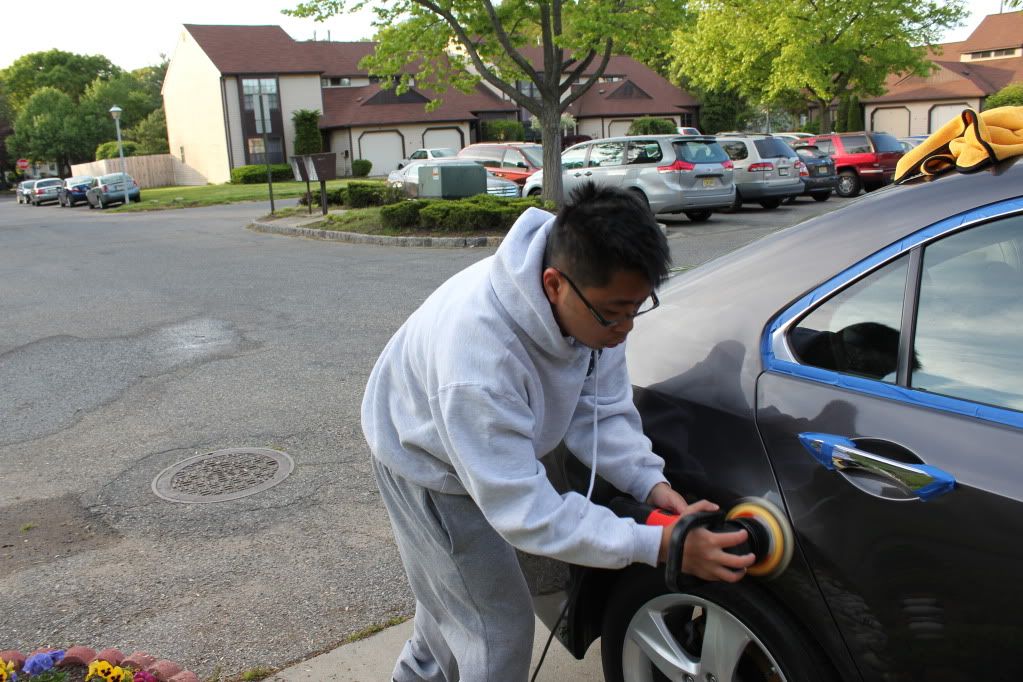
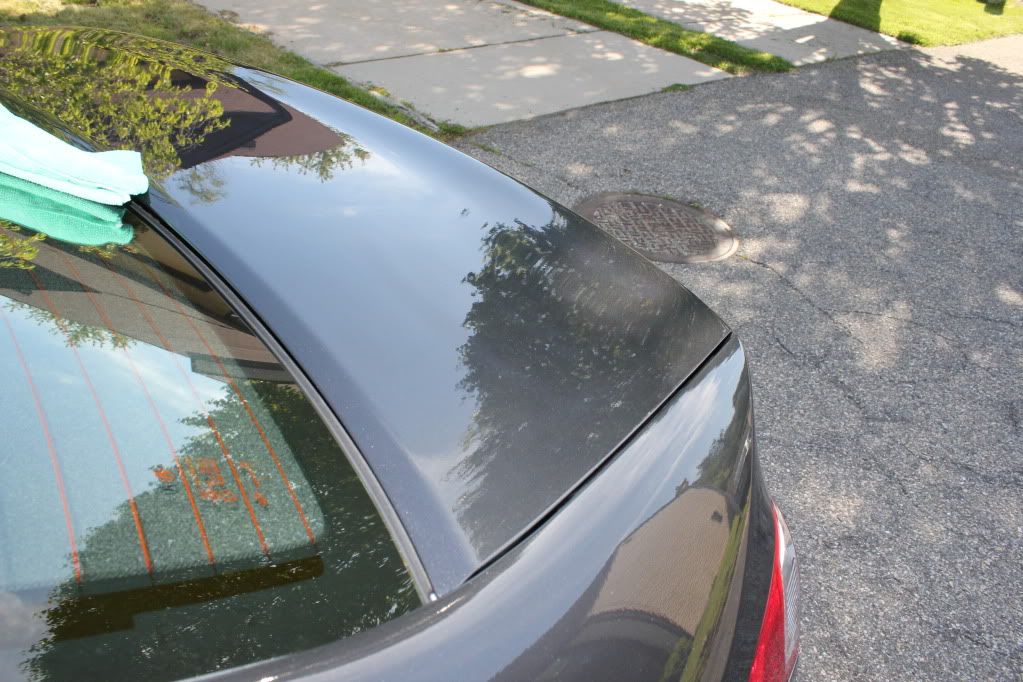
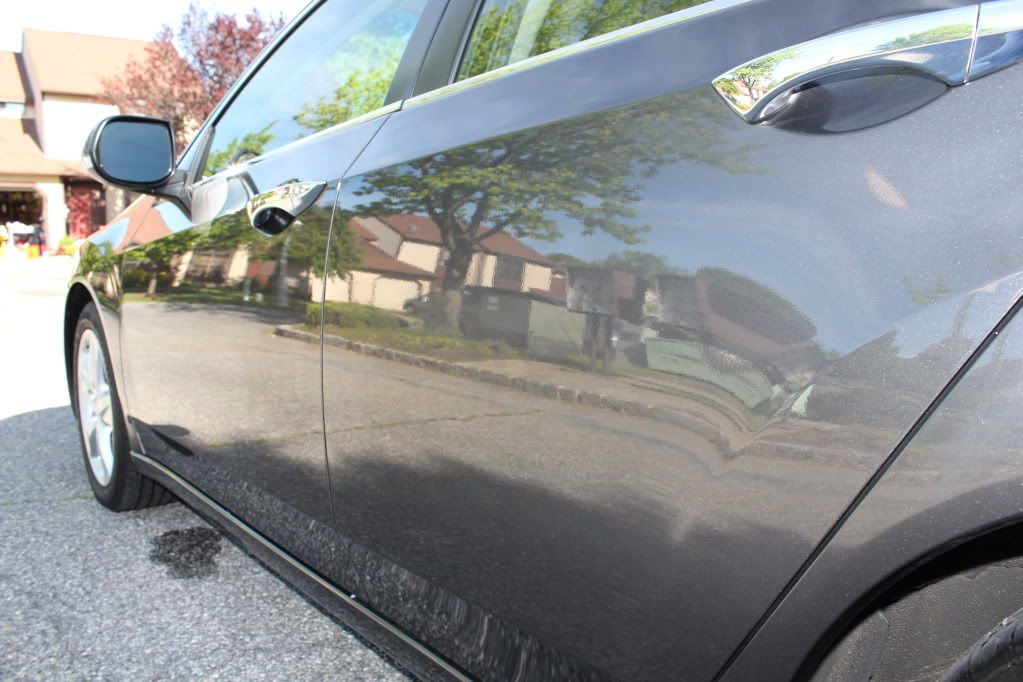
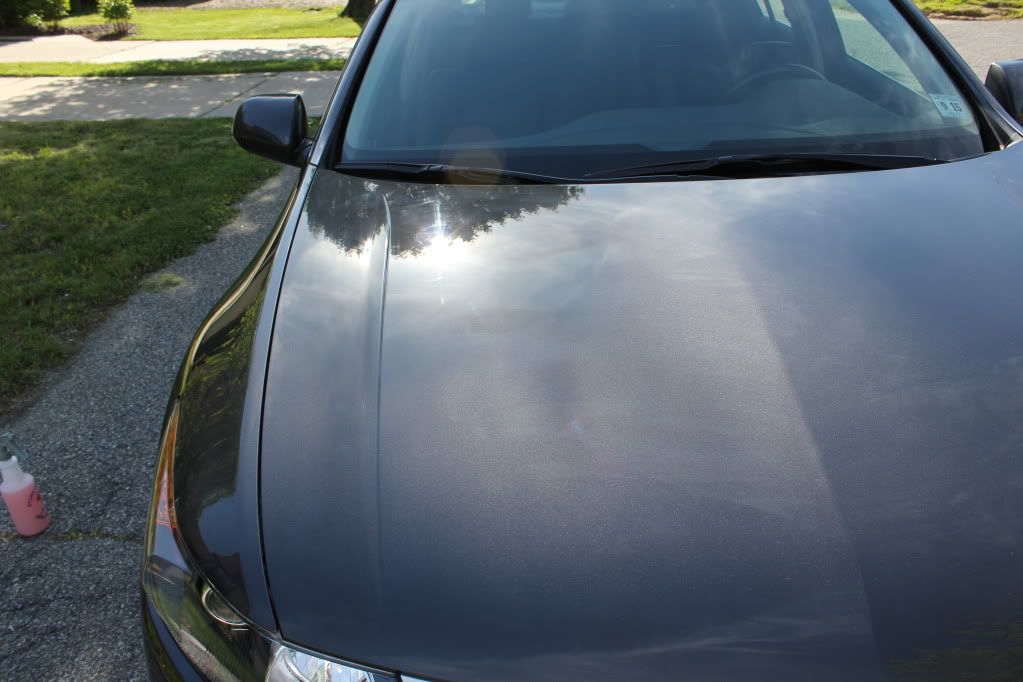
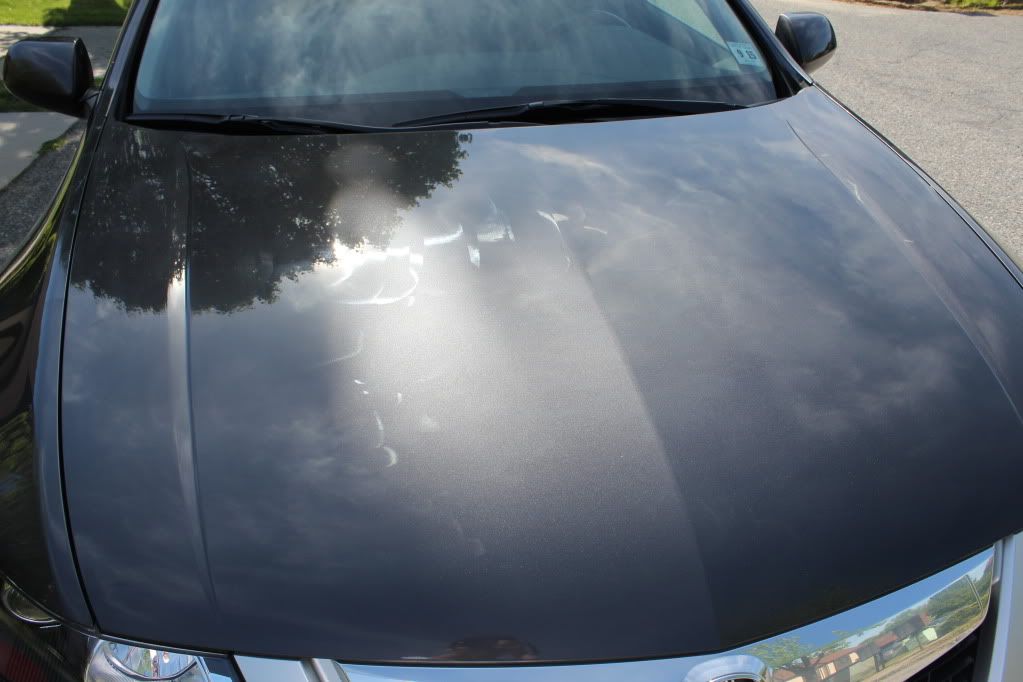
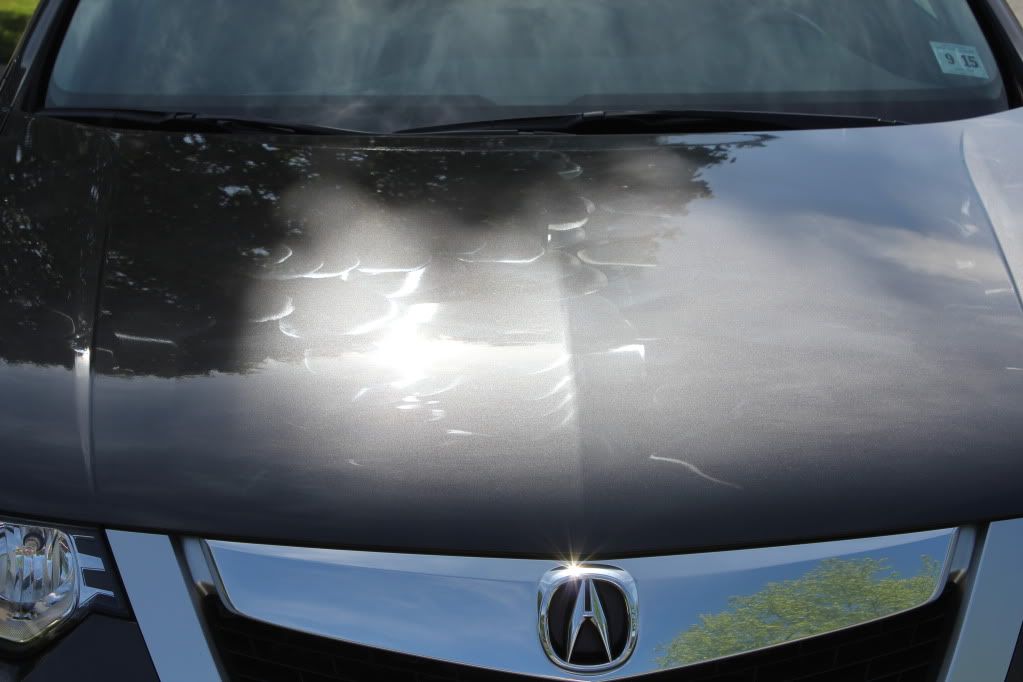
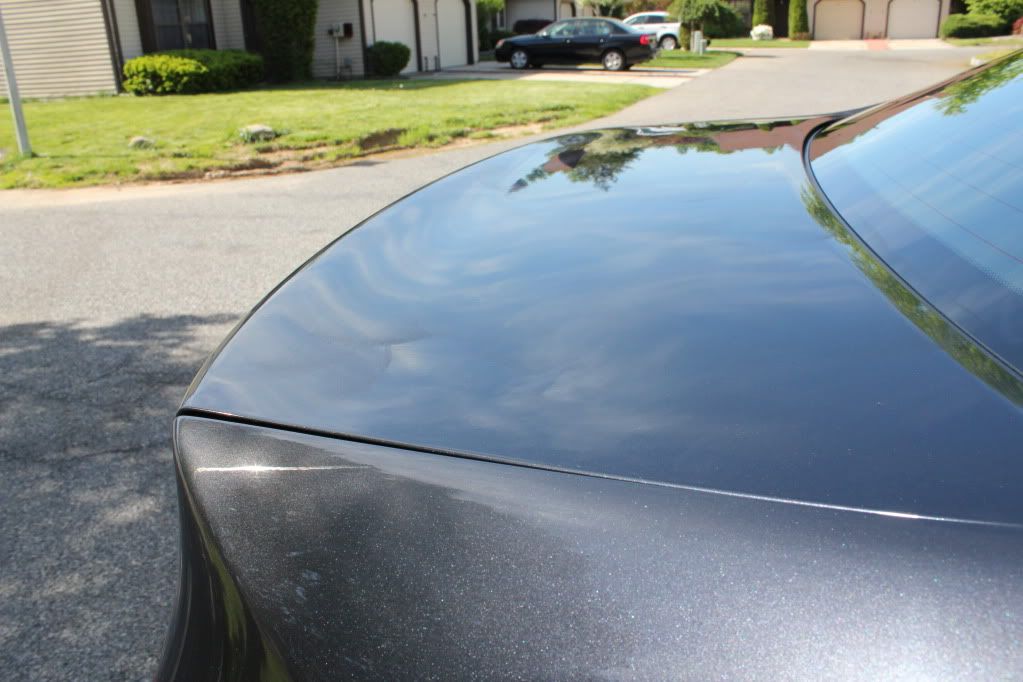
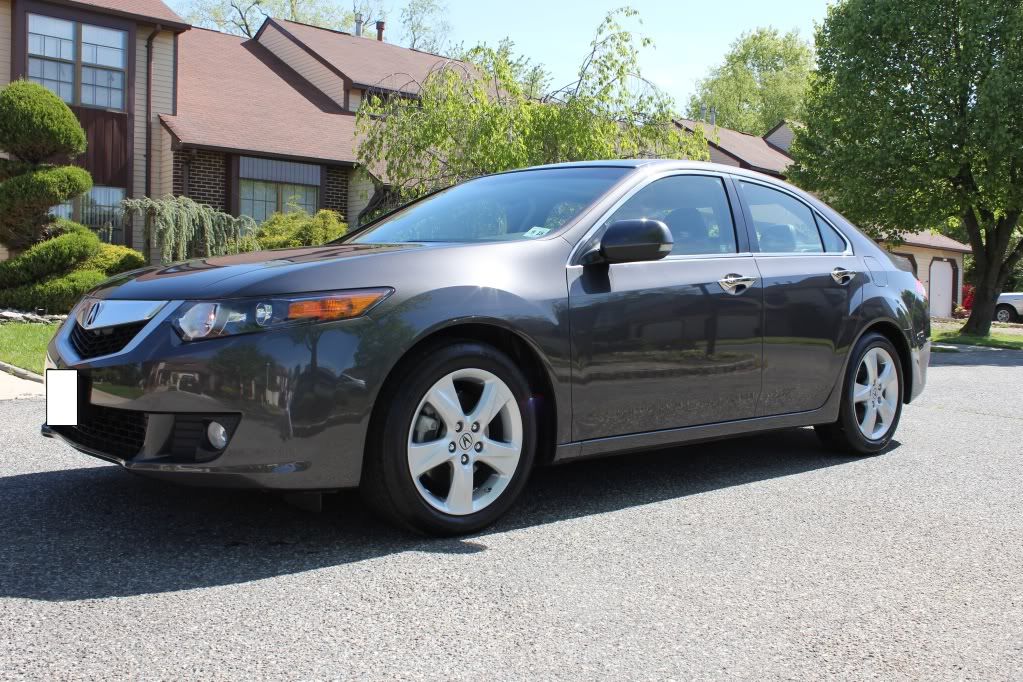
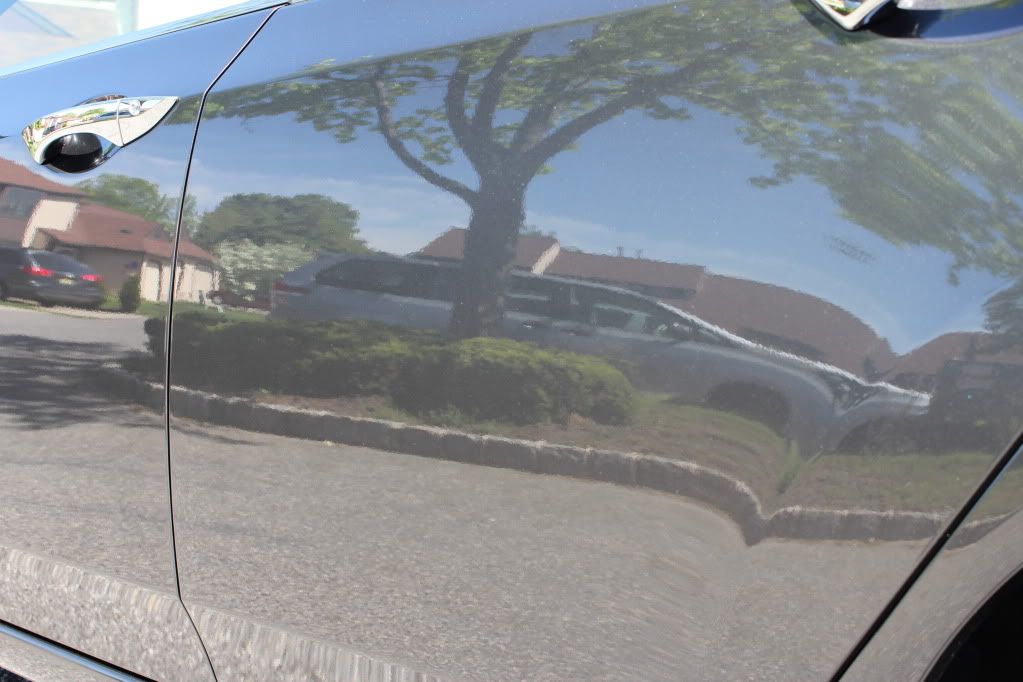
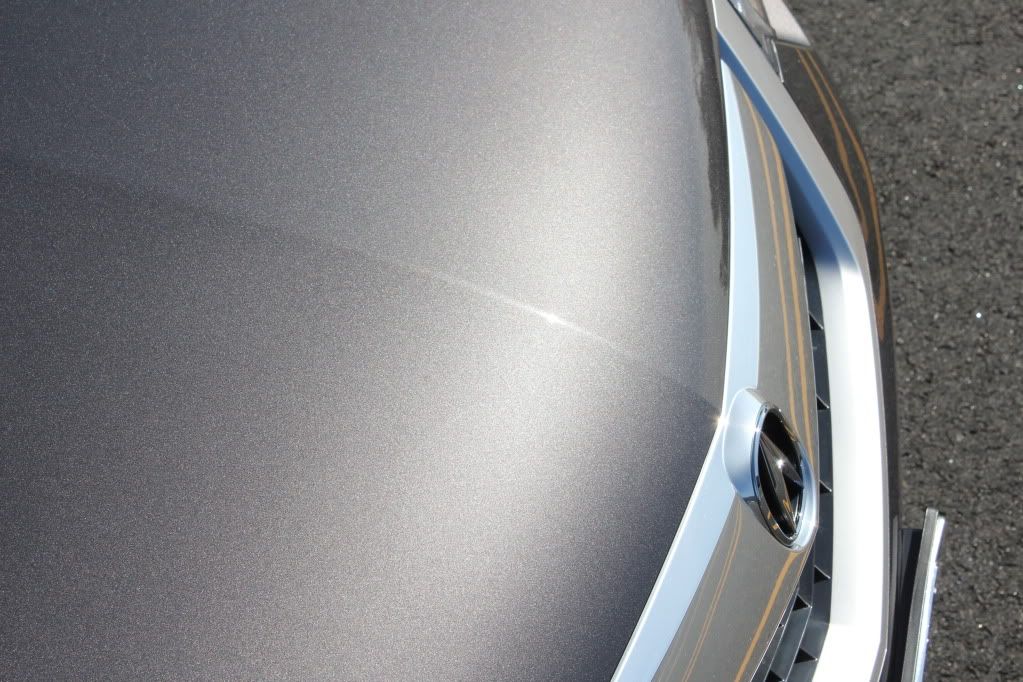
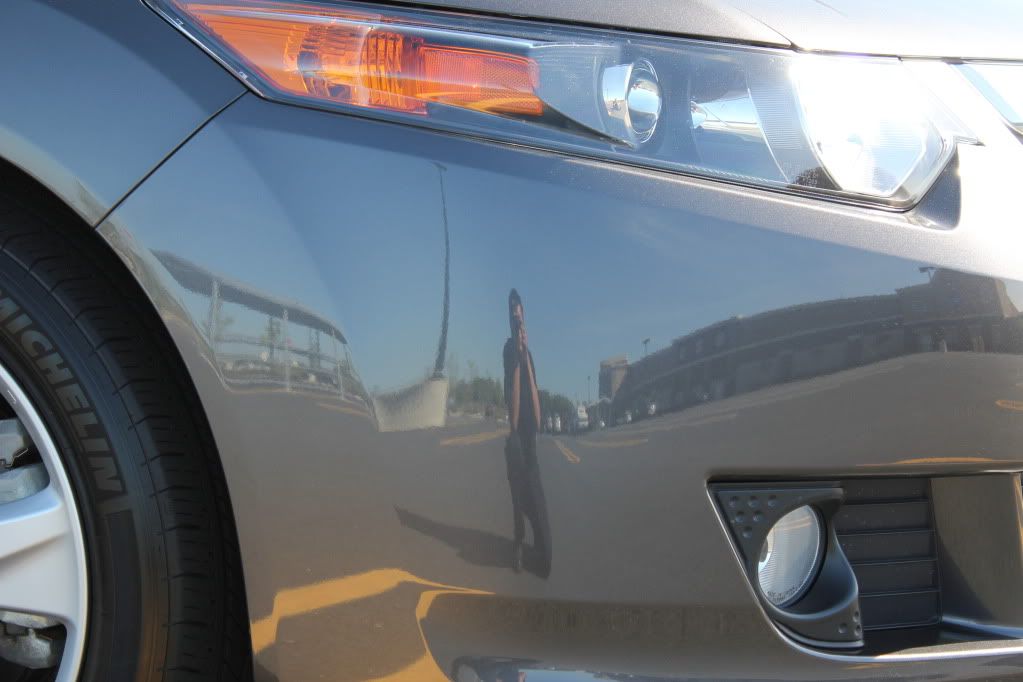
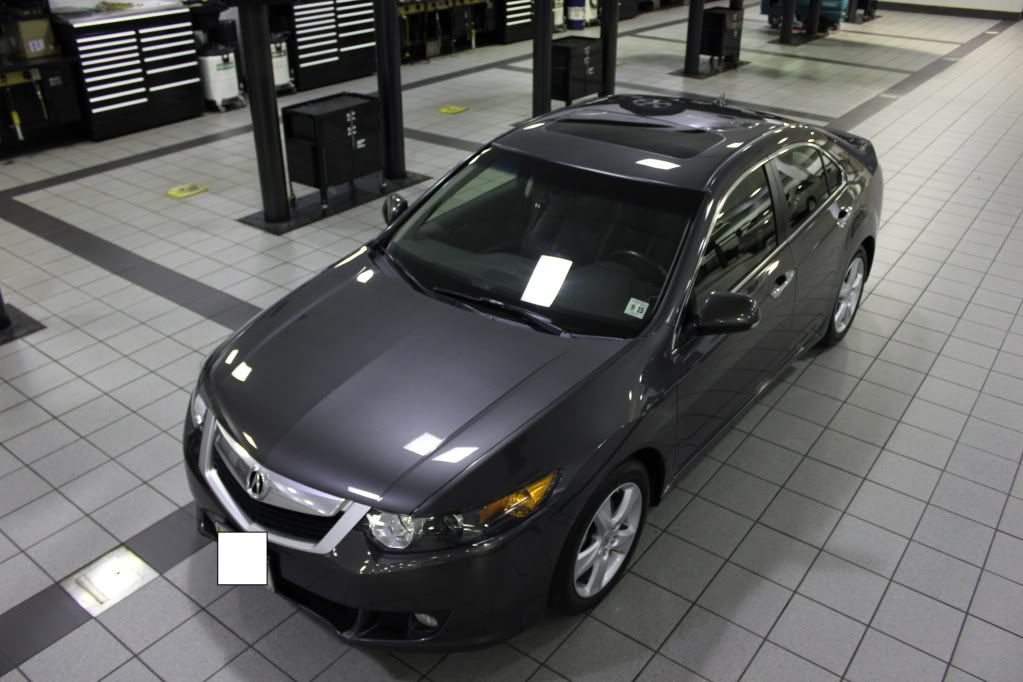
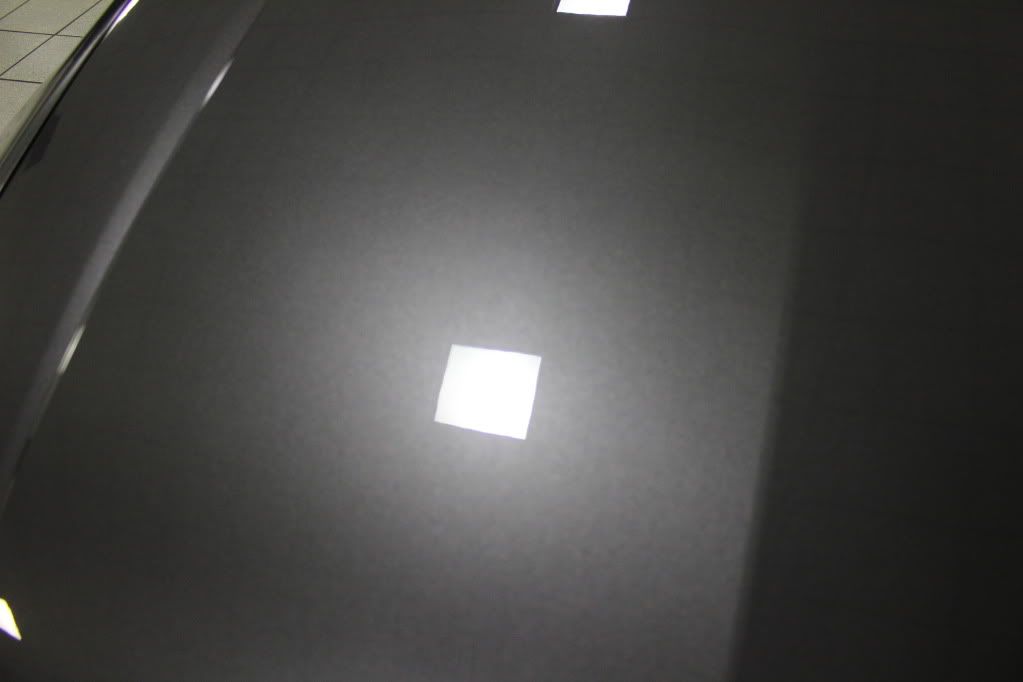
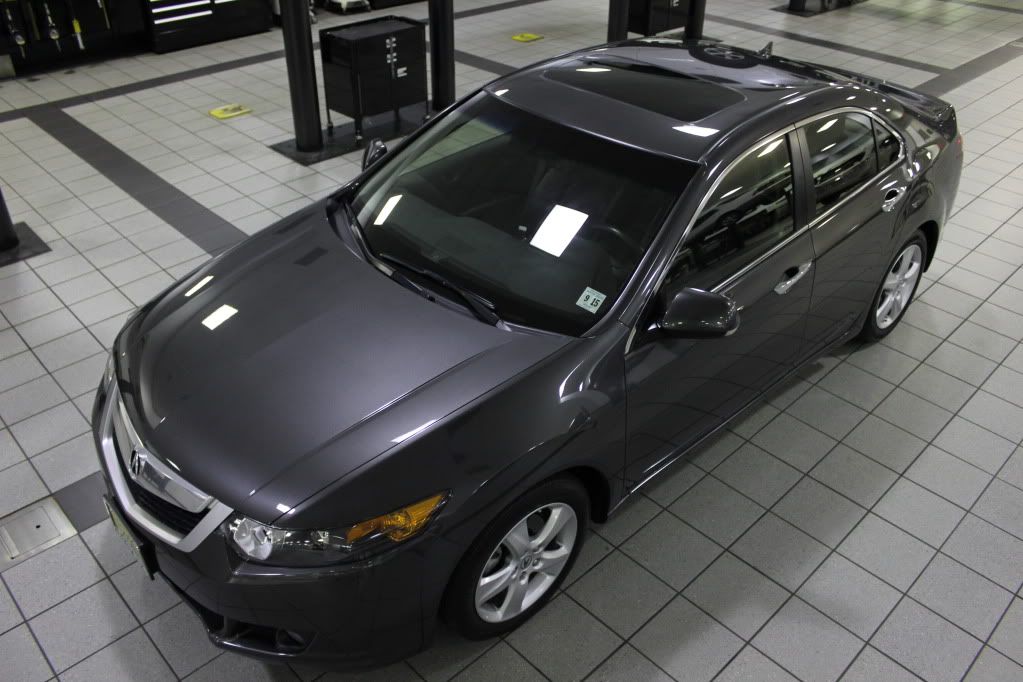
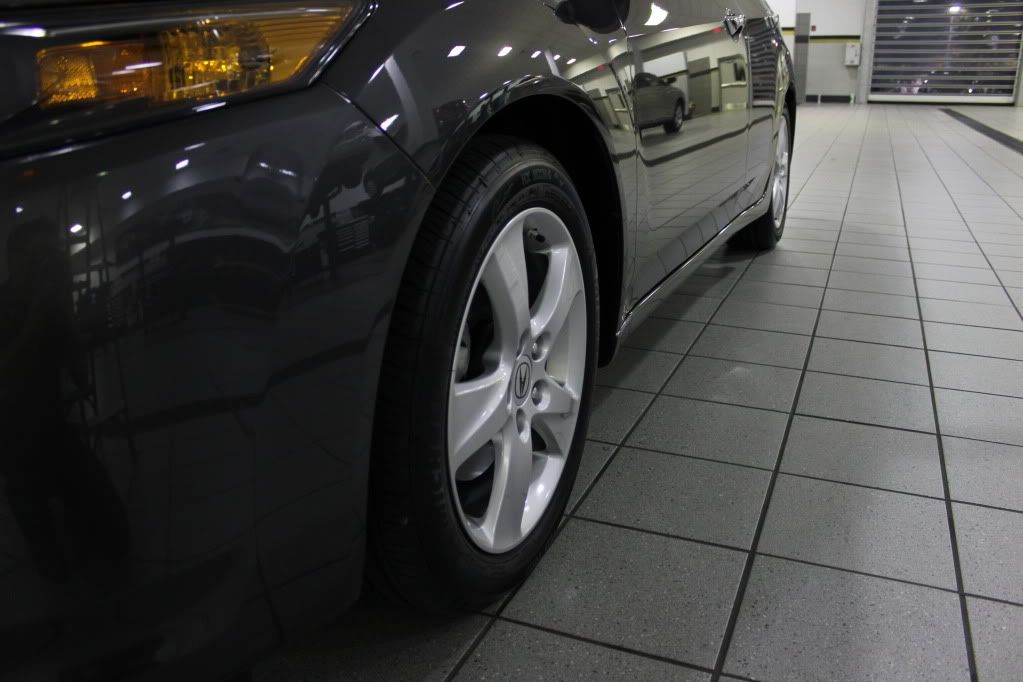
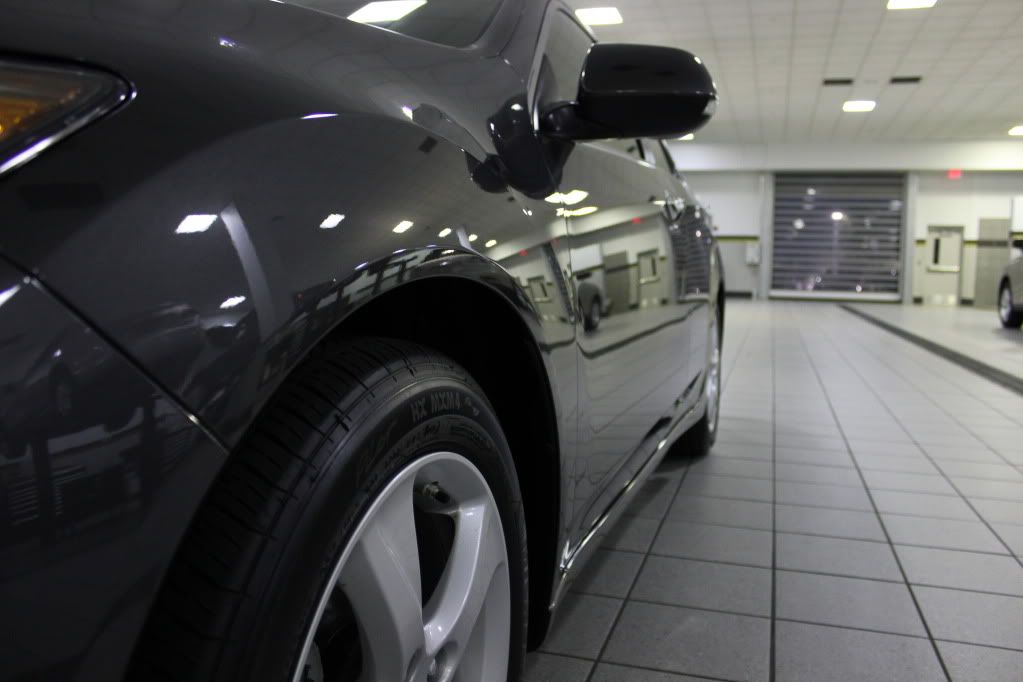
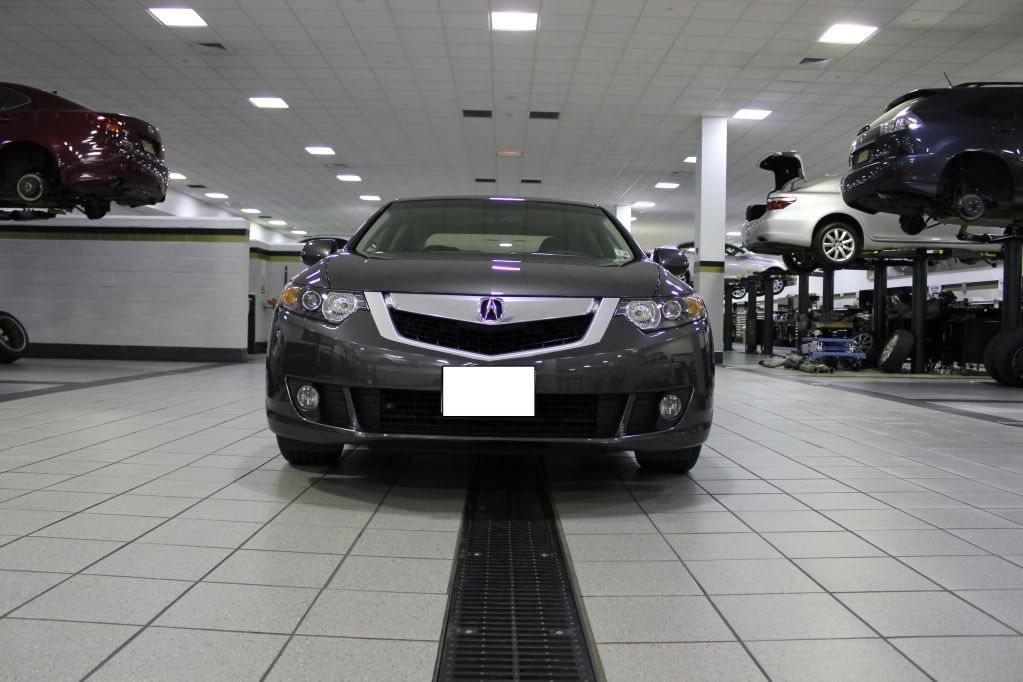
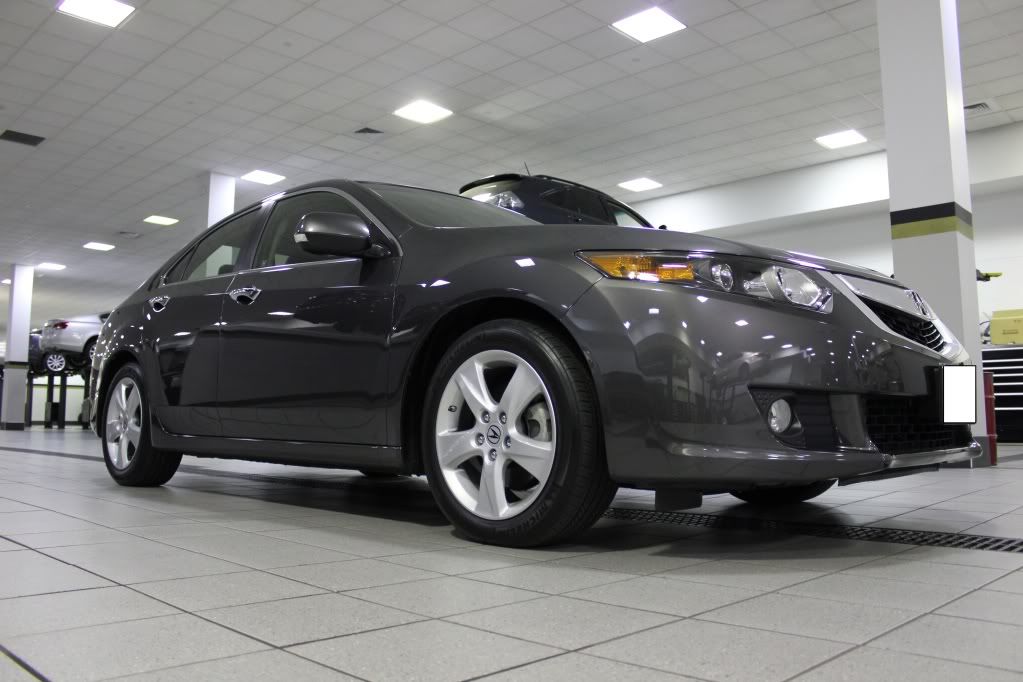
Sup guys, been a little slow lately and haven't had much time detailing cars. So couple days ago while I was waiting for my AG package, I went to start detailing my car. This is a very heavy pictures thread about 280 pictures. I hope this may help some new members and novice detailers. Don’t have much before pictures, the car had very light swirls. My dad brought it in for service and I got a free wash. 
Steps:
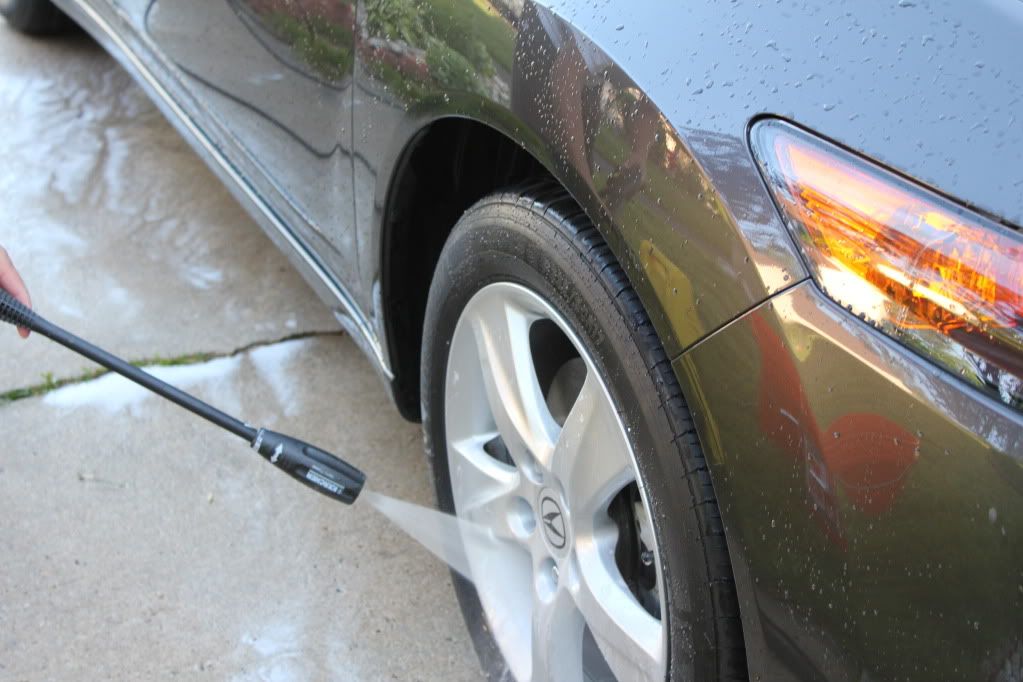
Power washed
Foamed cannoned
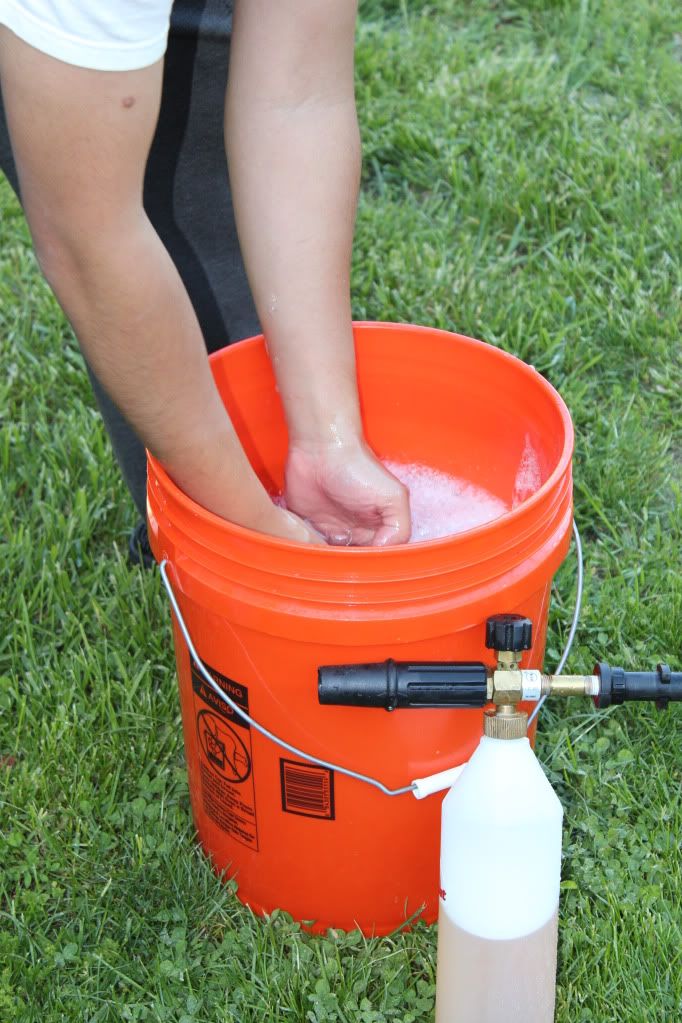
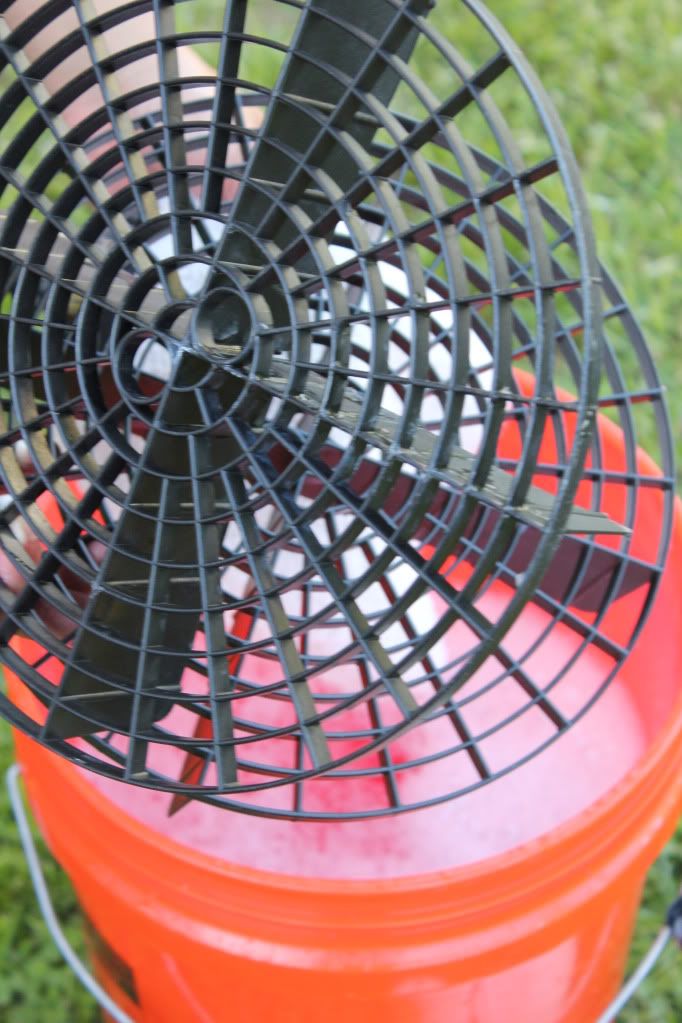
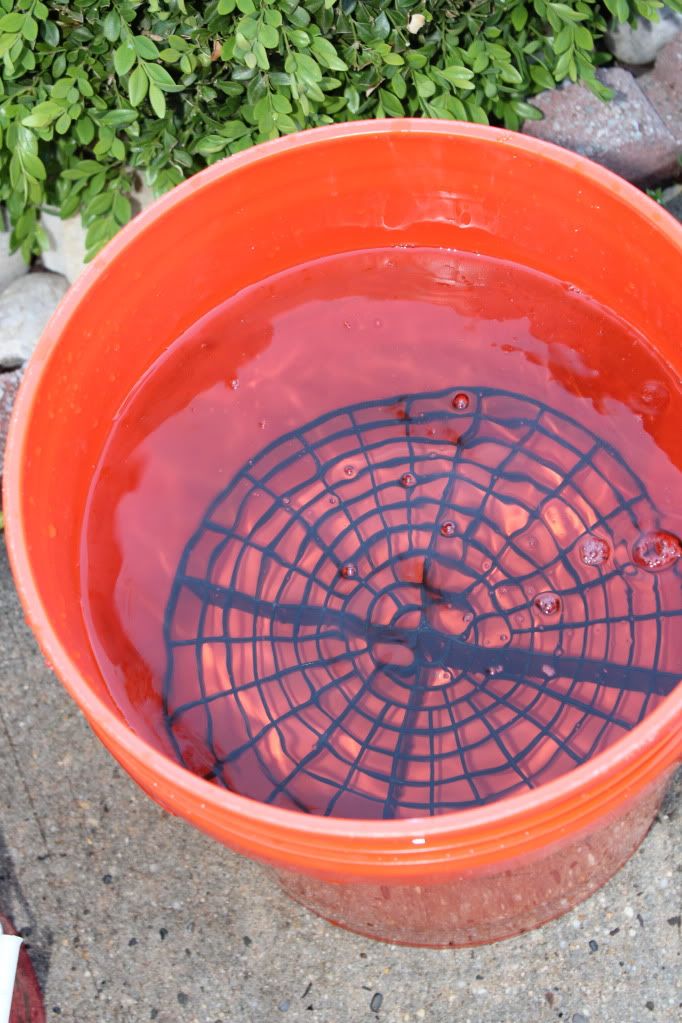
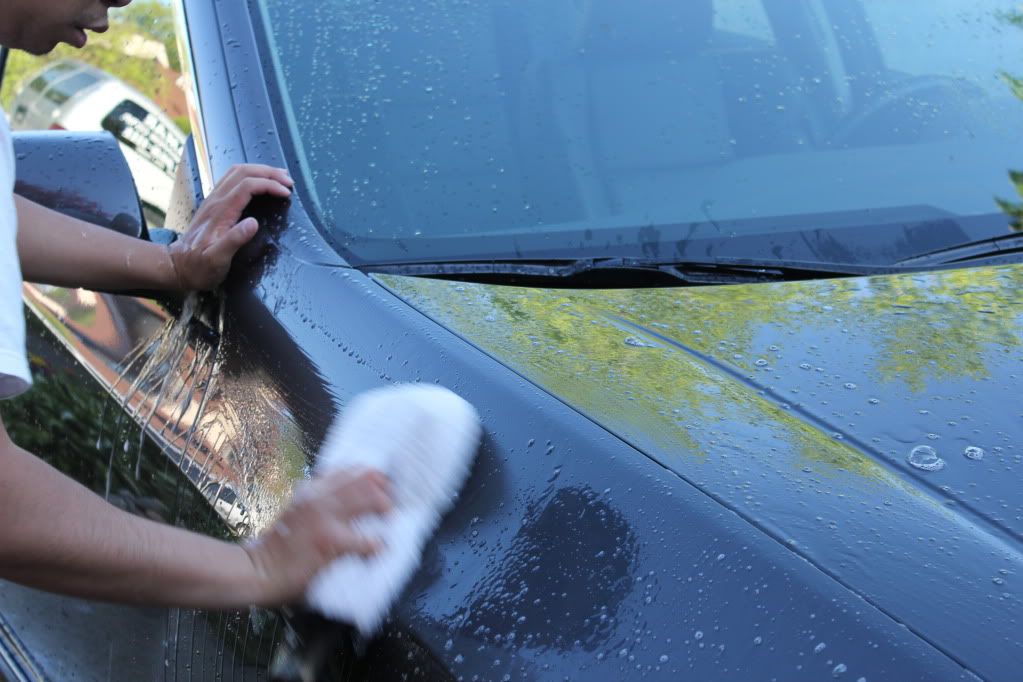
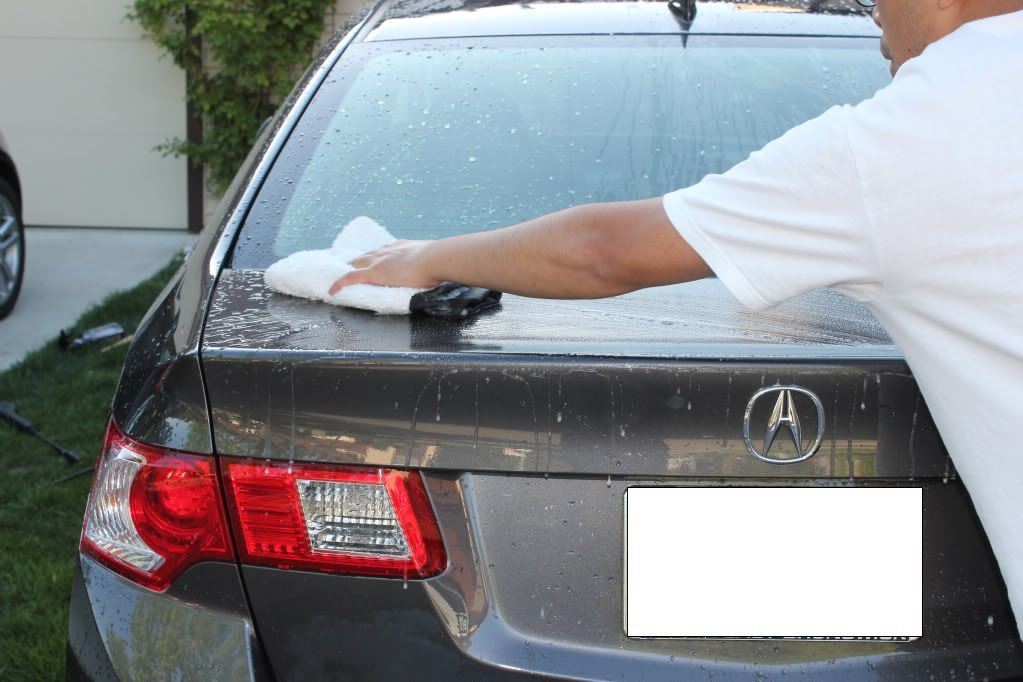
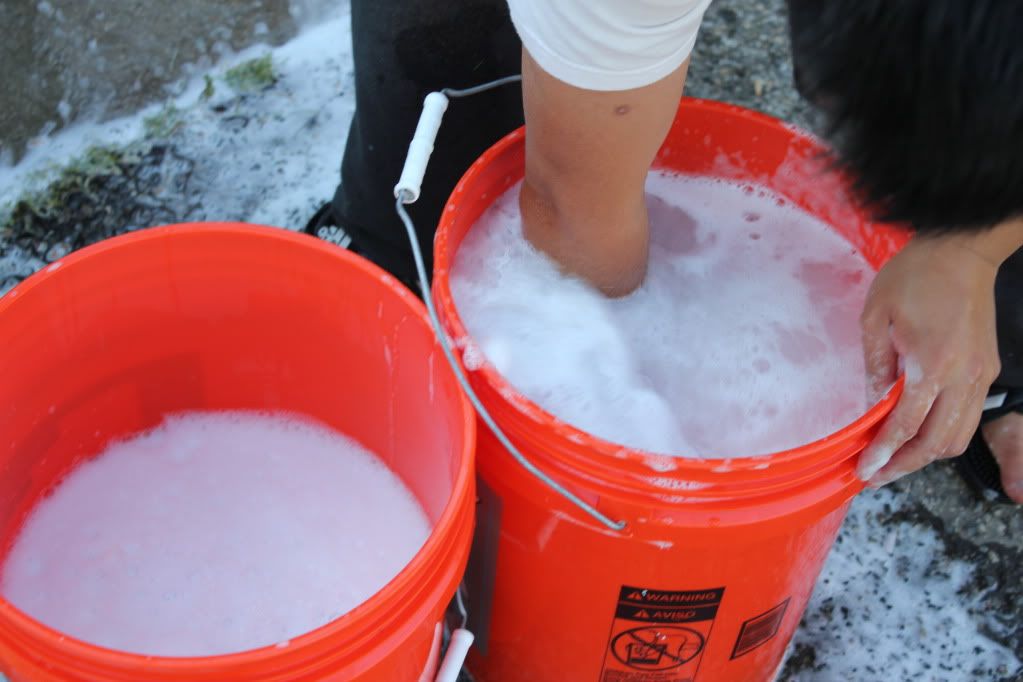
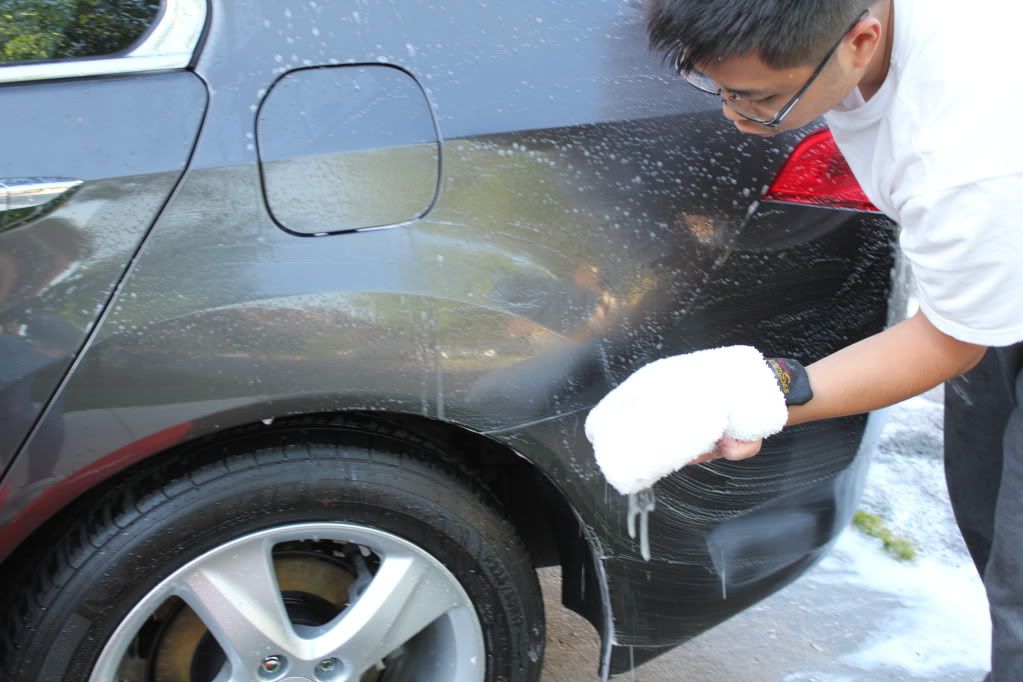
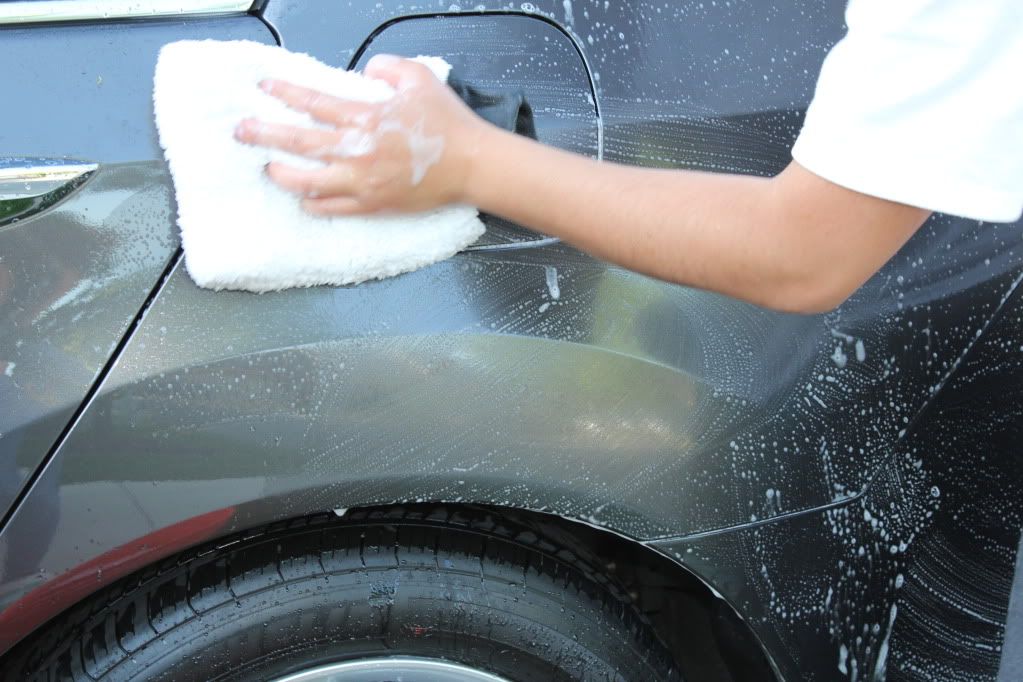
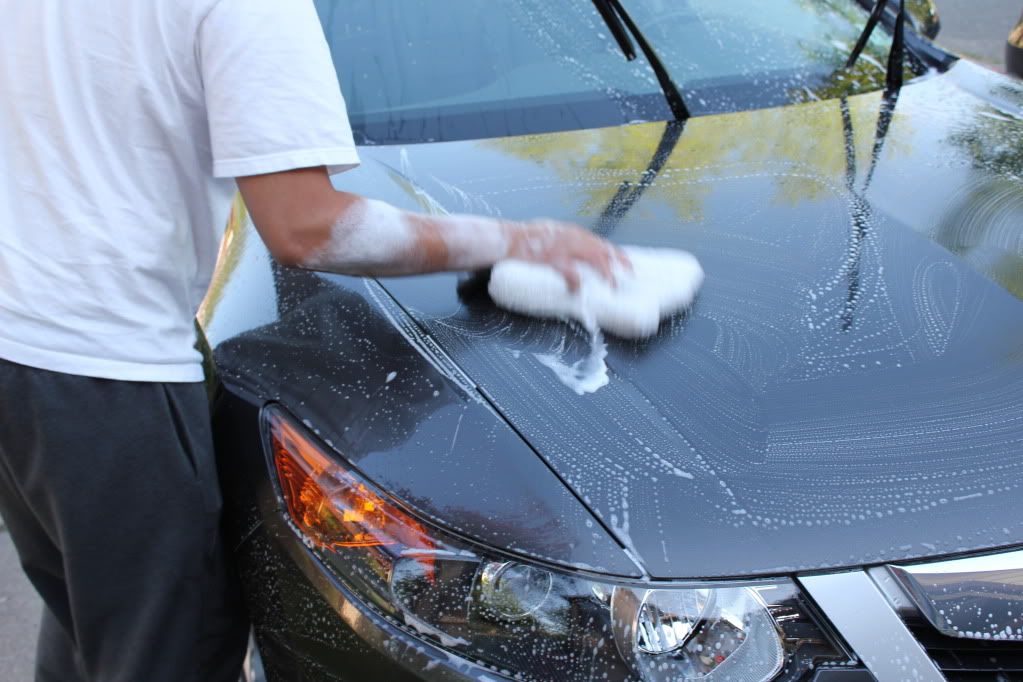
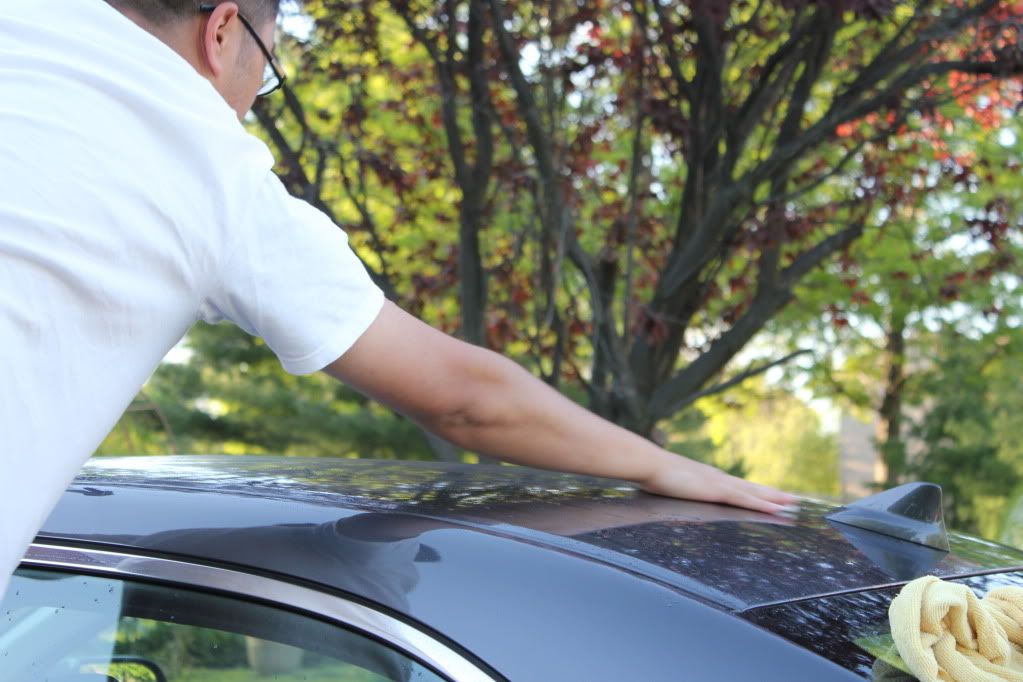
2 bucket wash with Grit guards
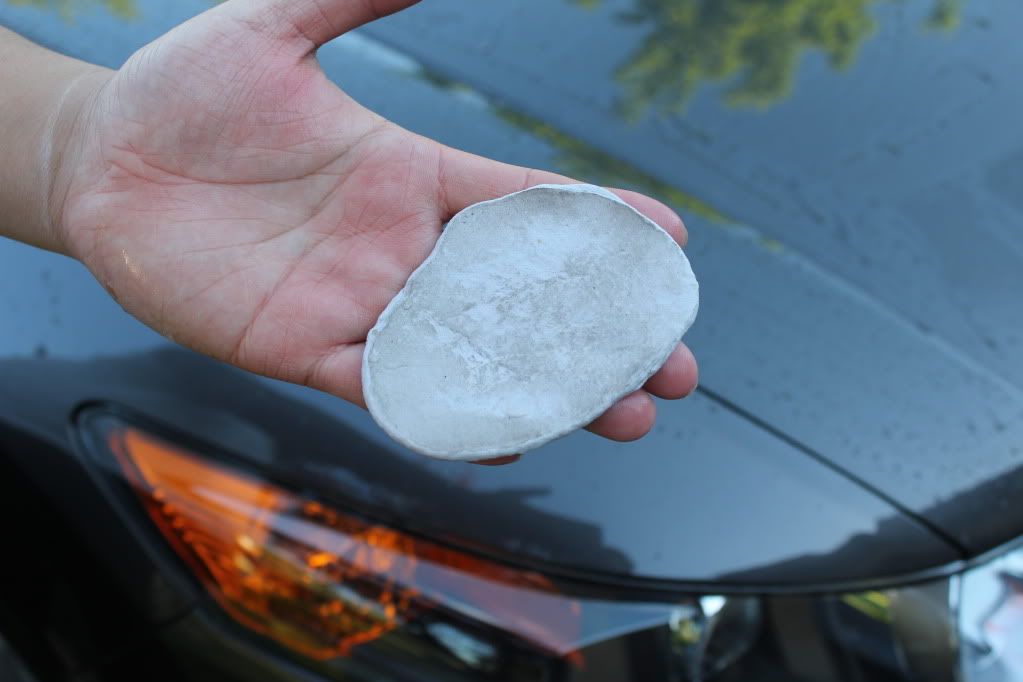
Clayed
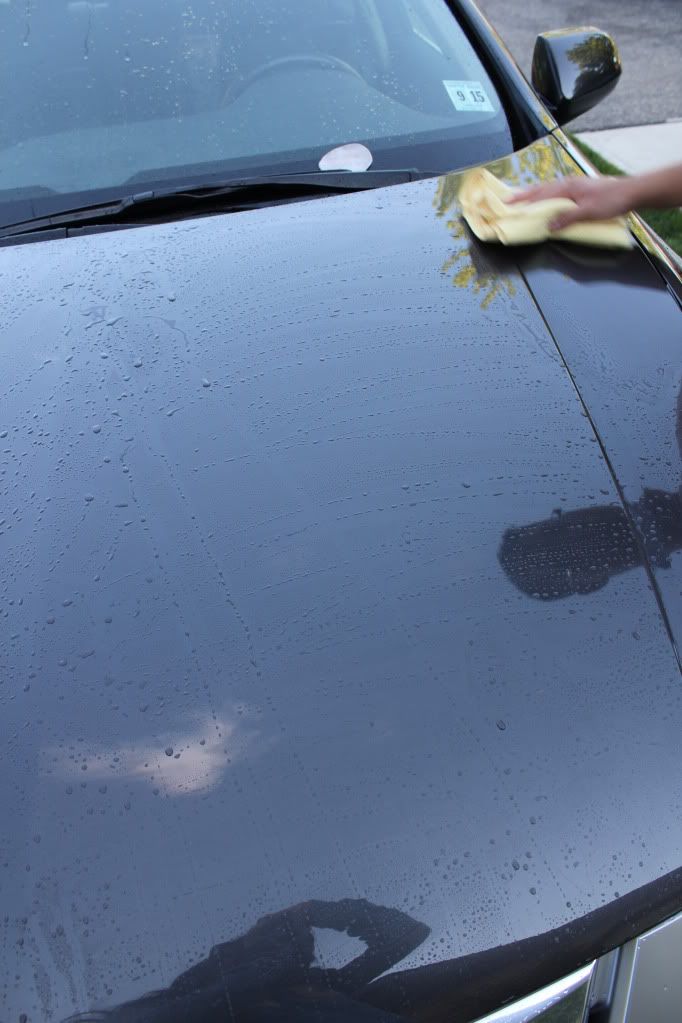
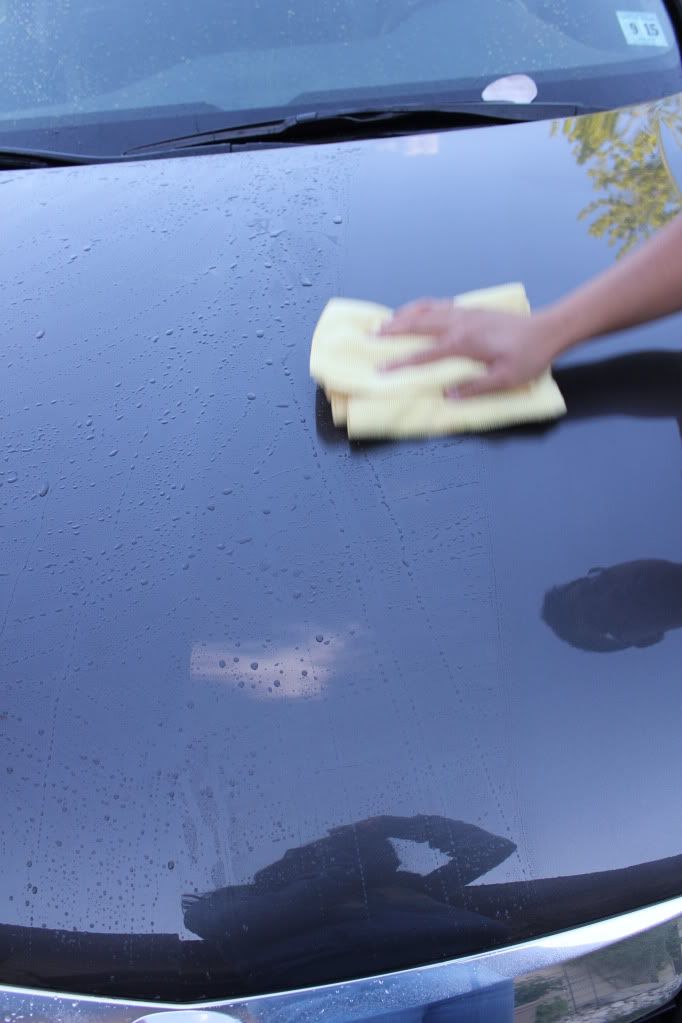
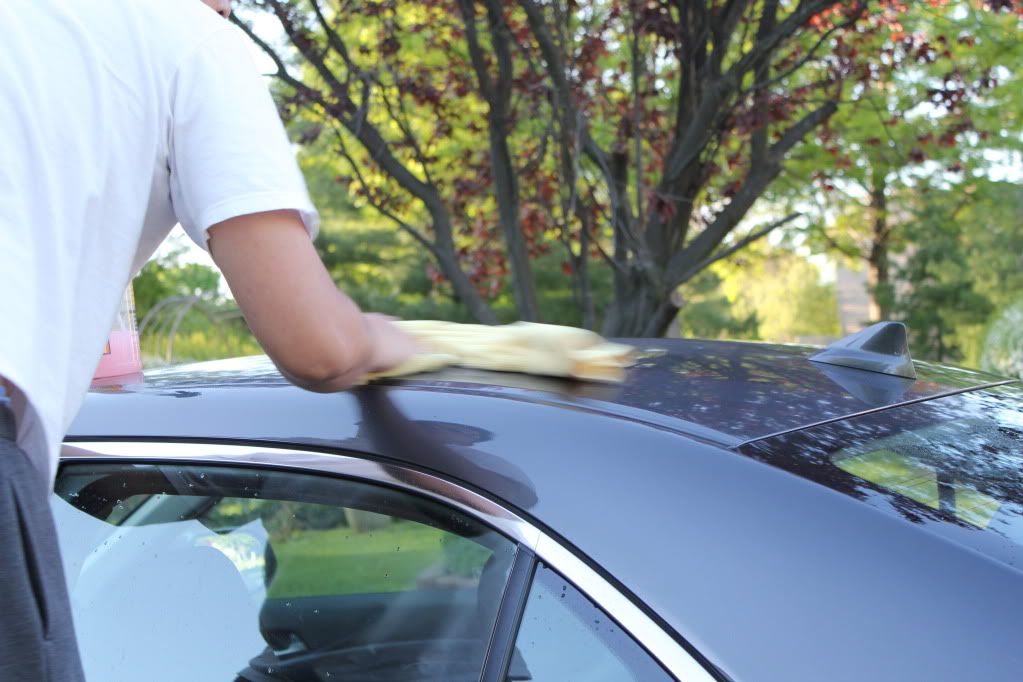
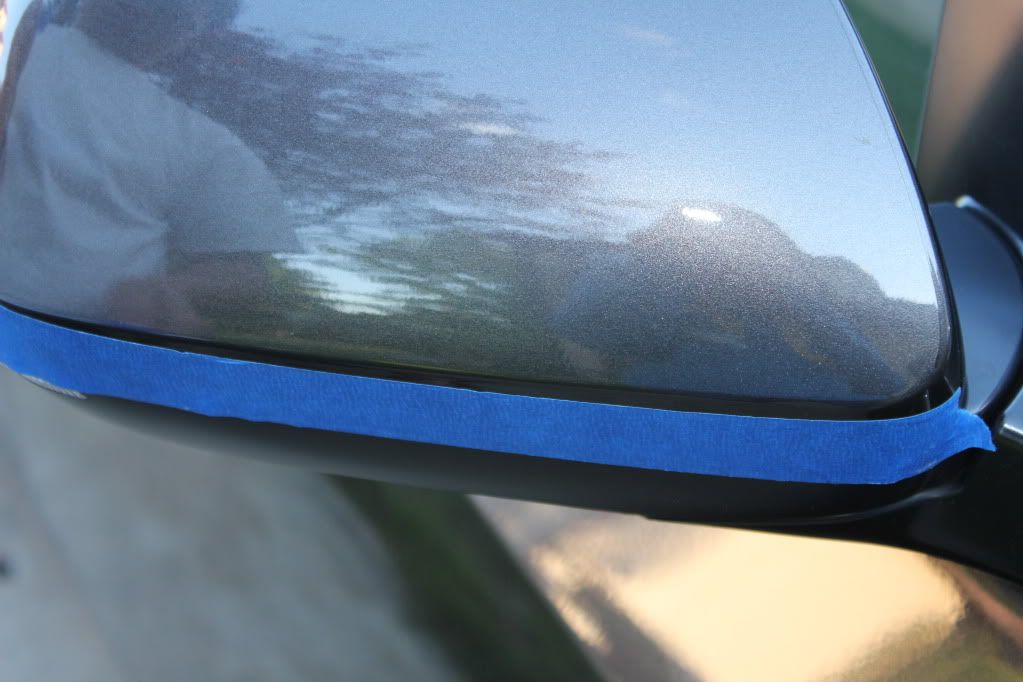
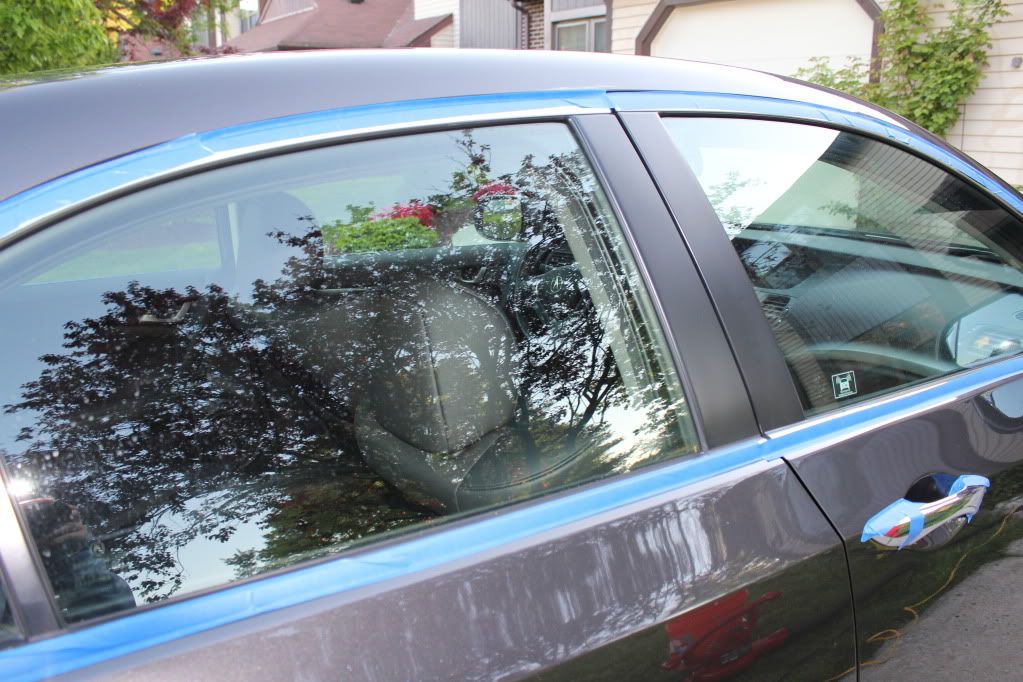
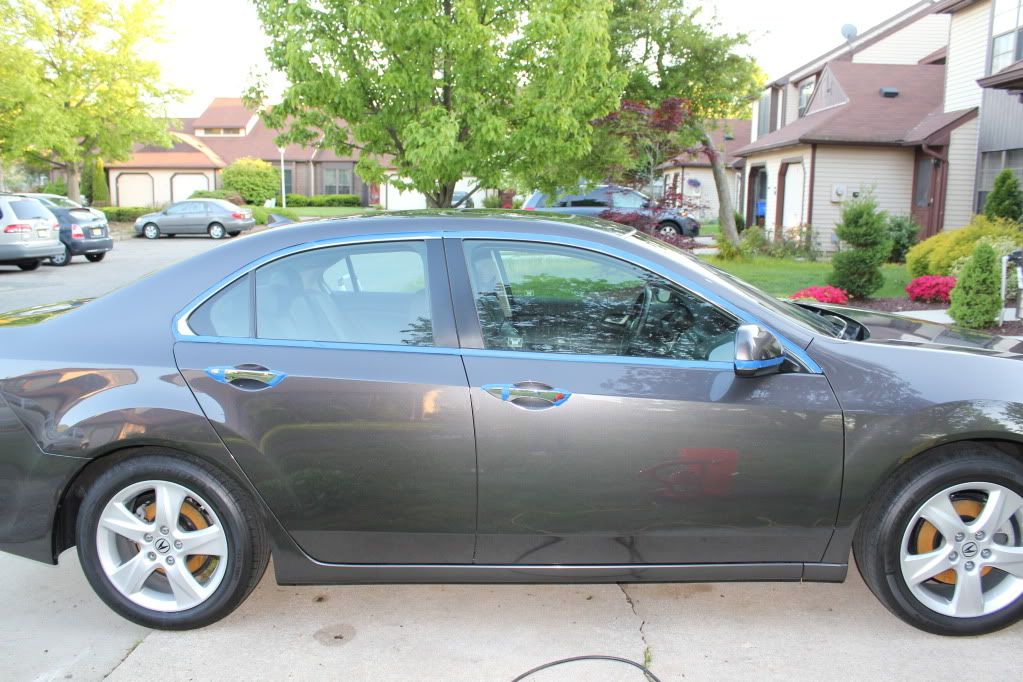
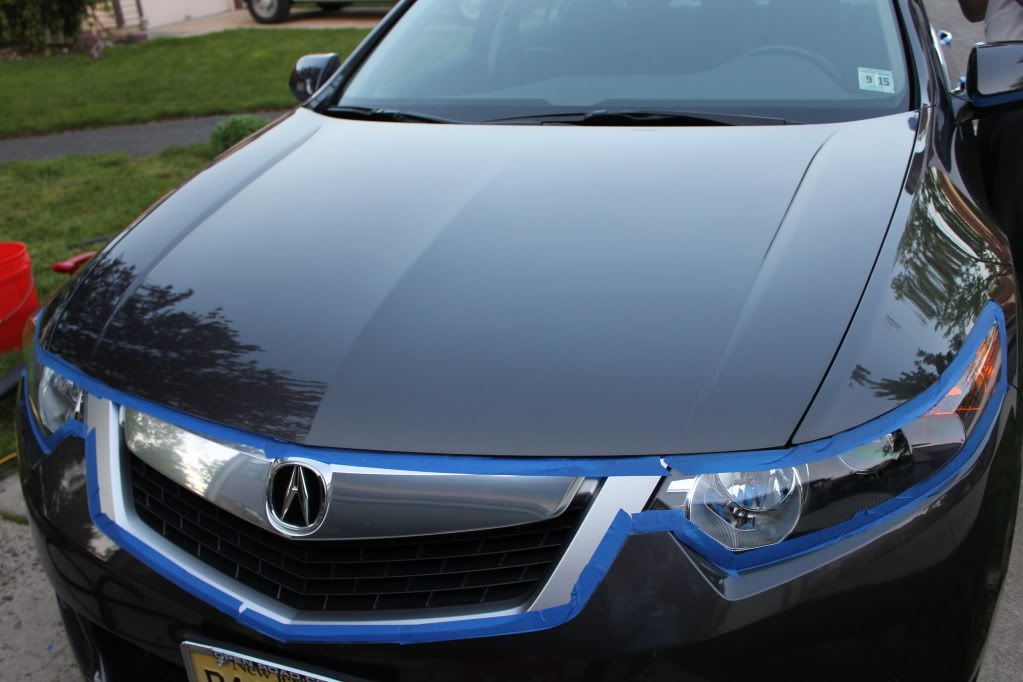
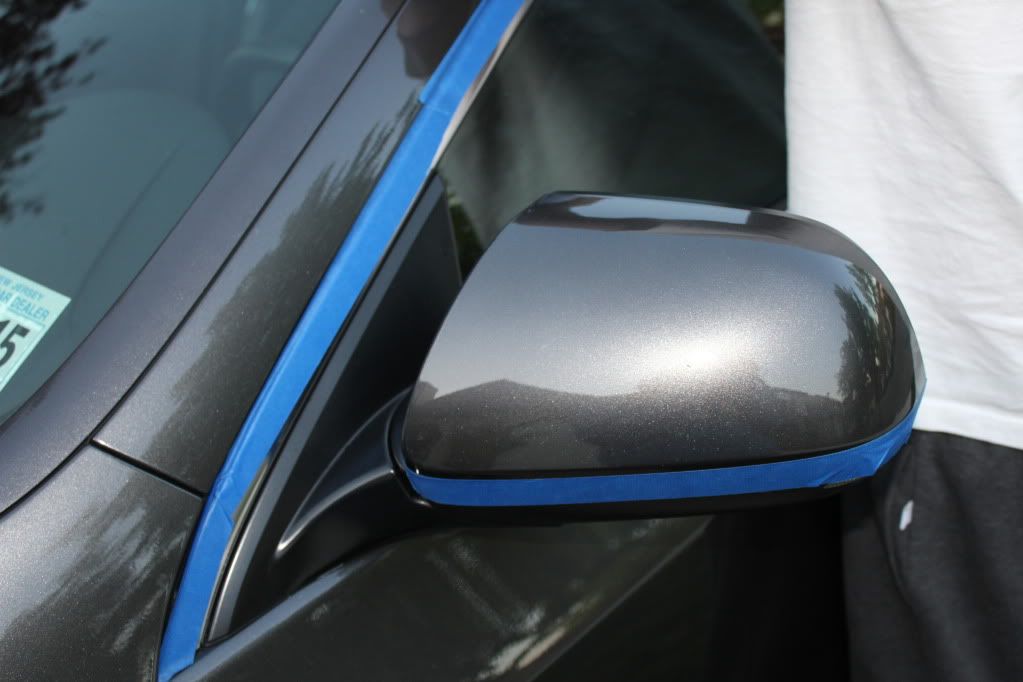
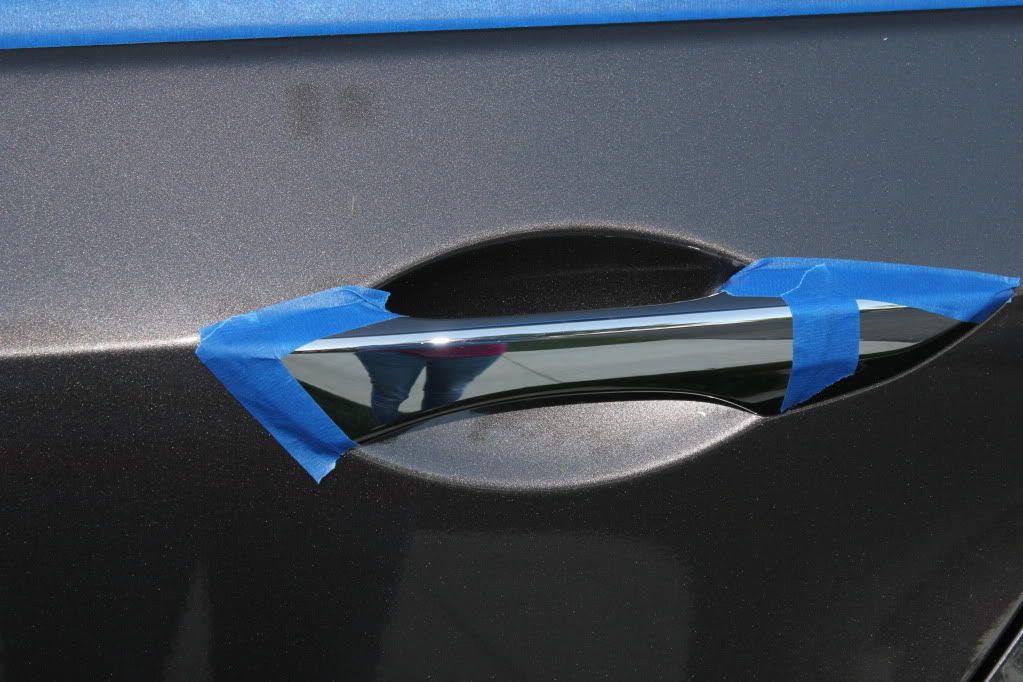
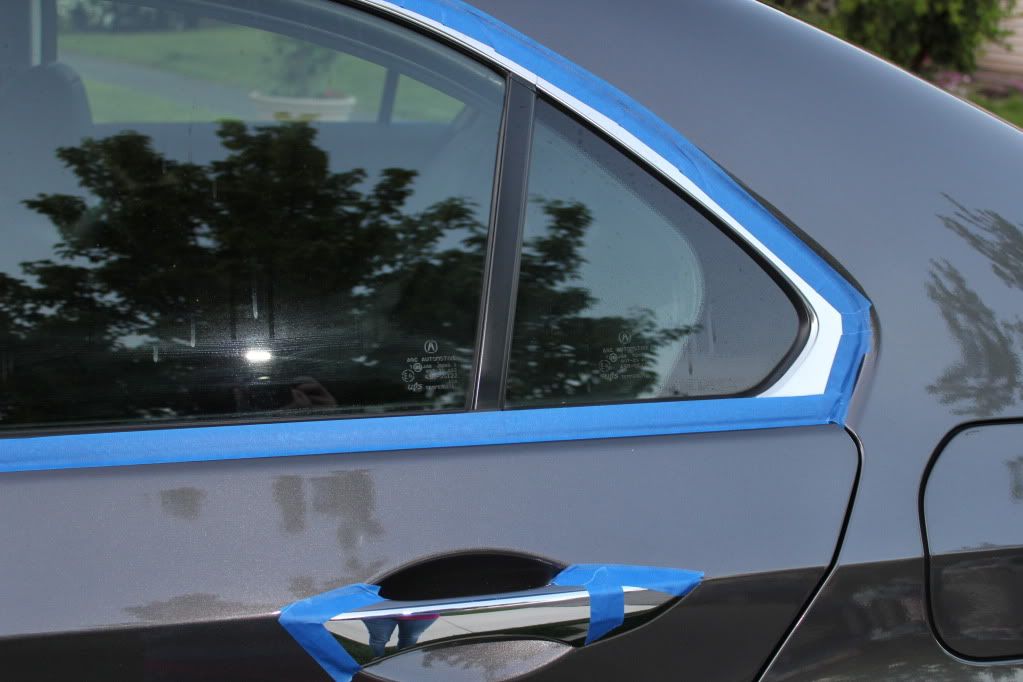
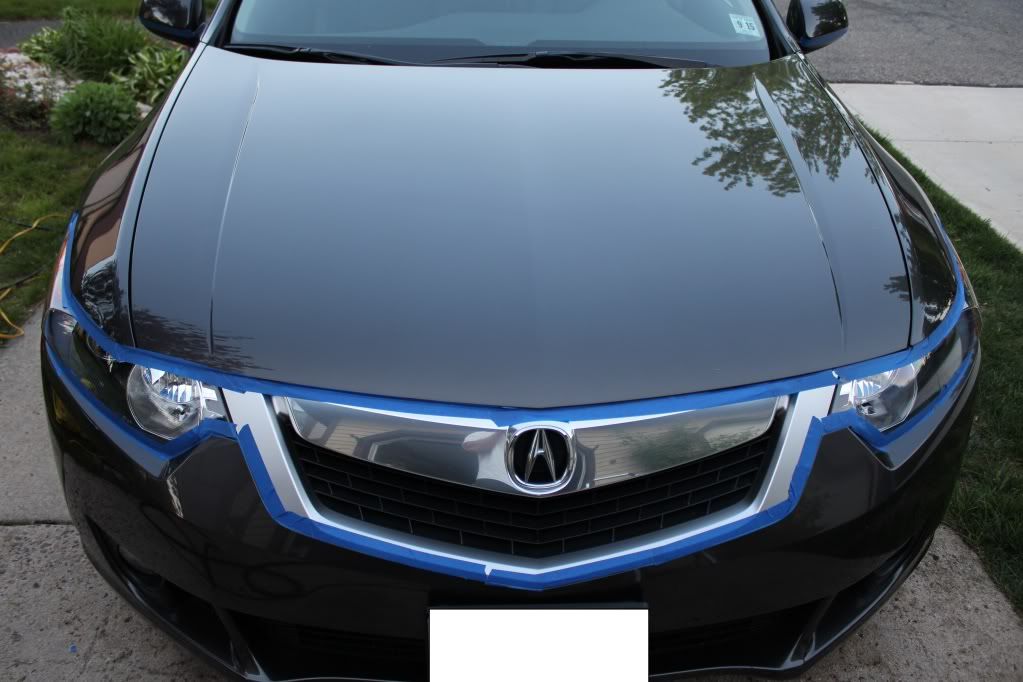
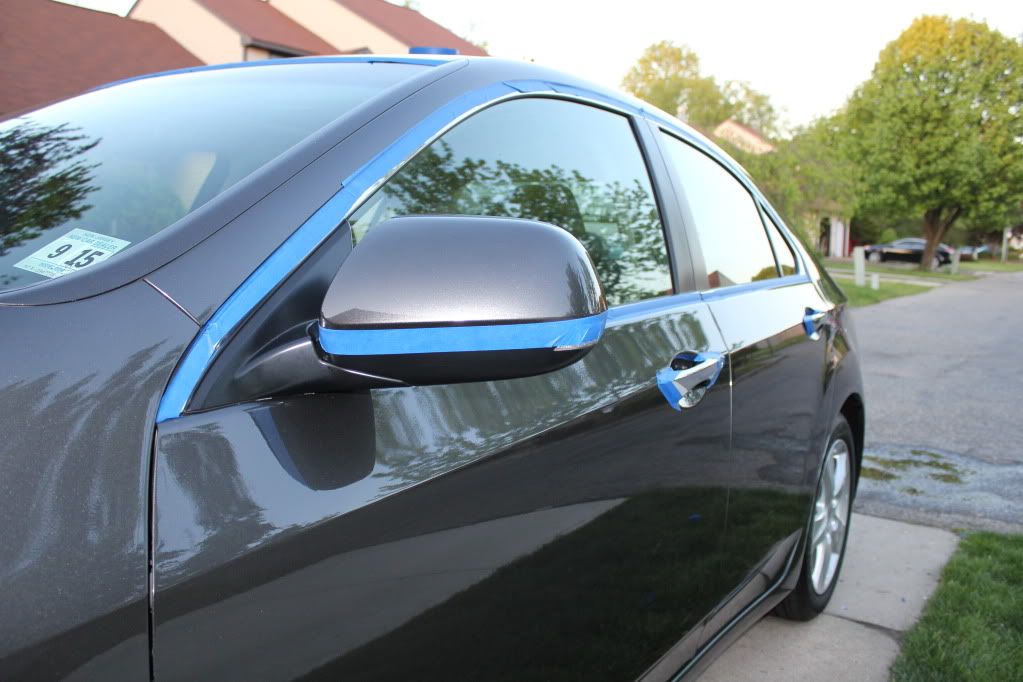
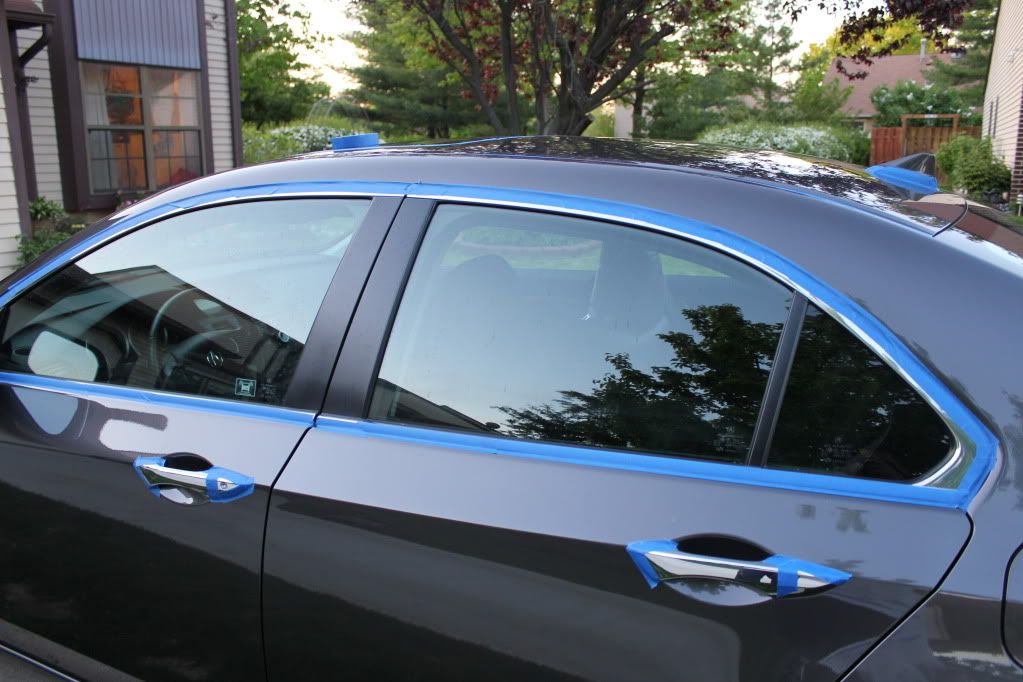
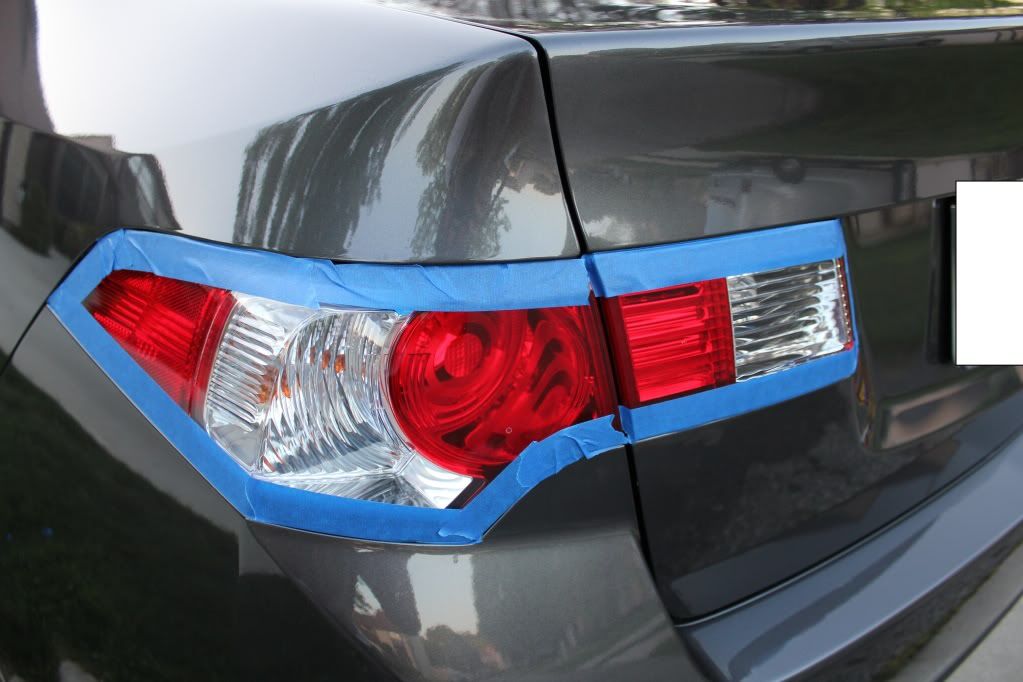
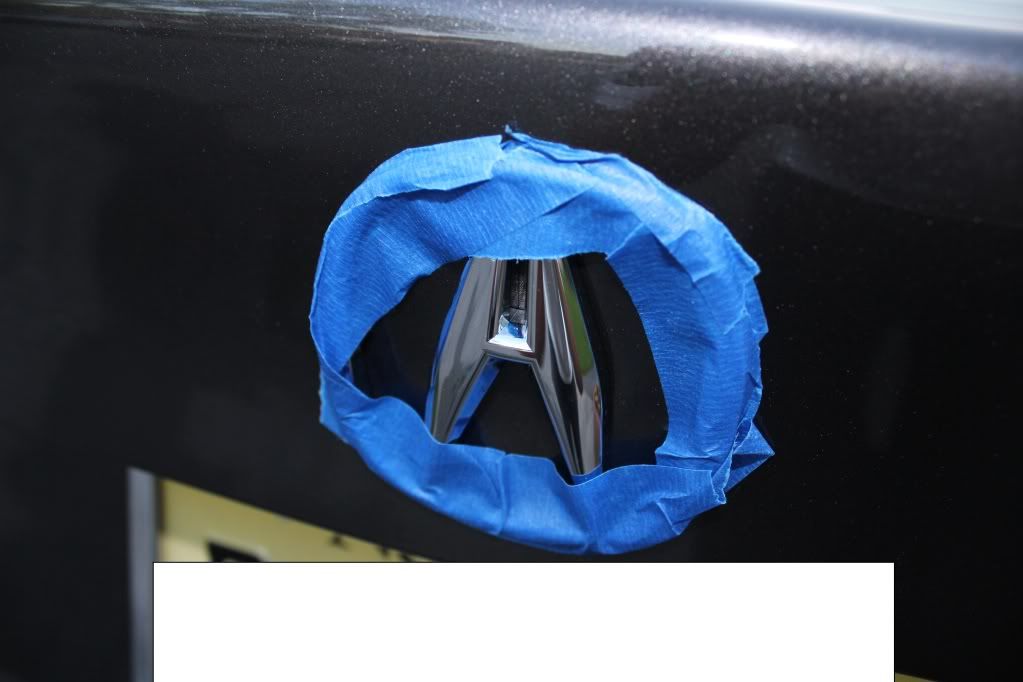
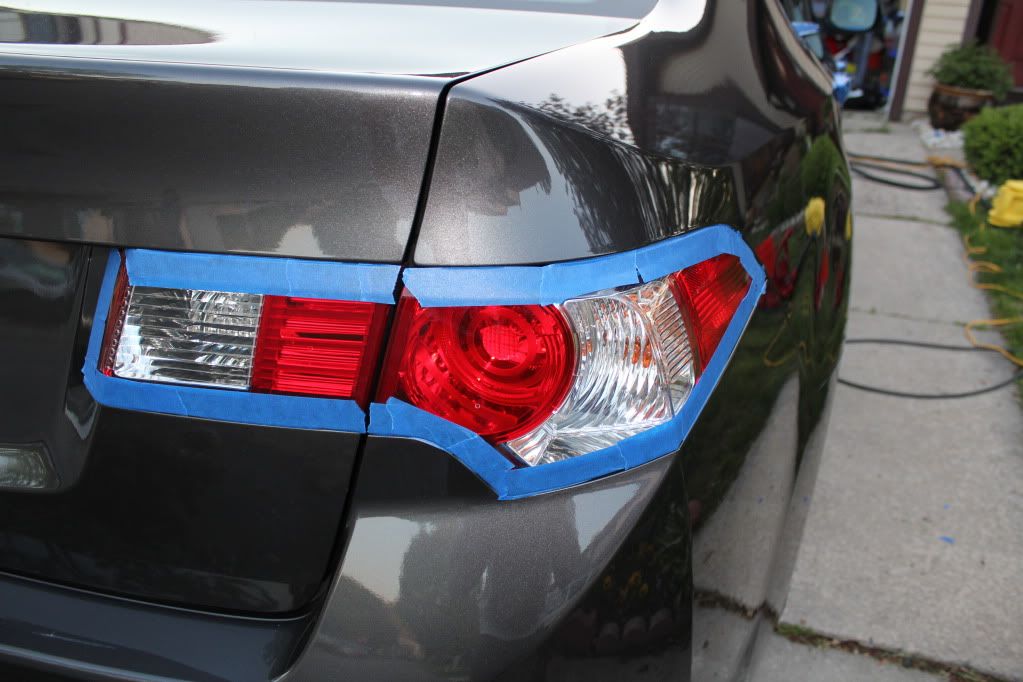
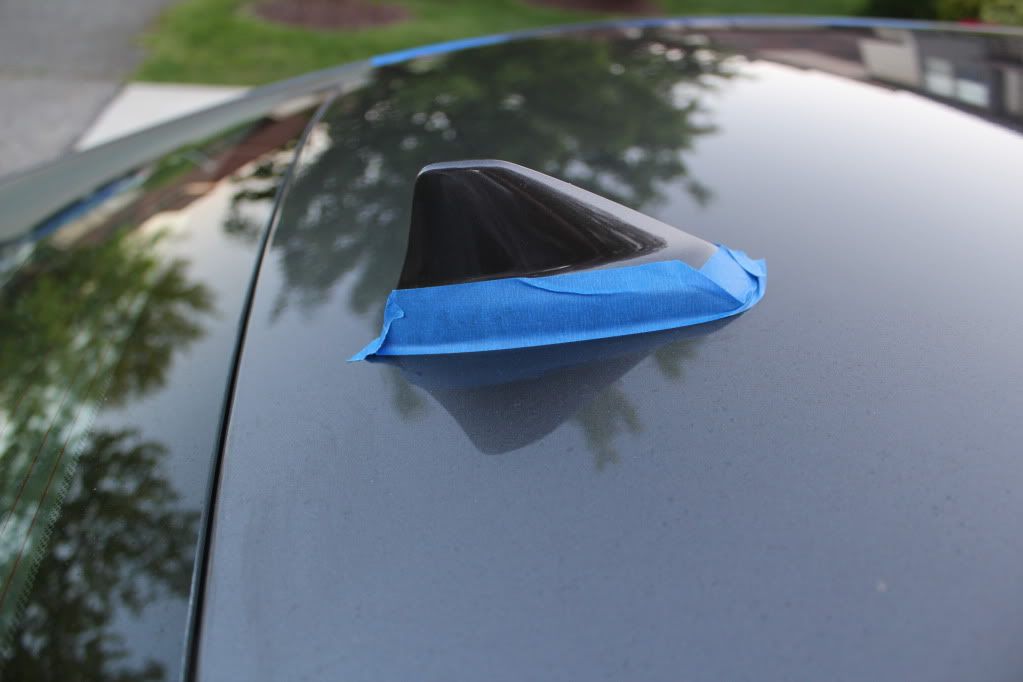
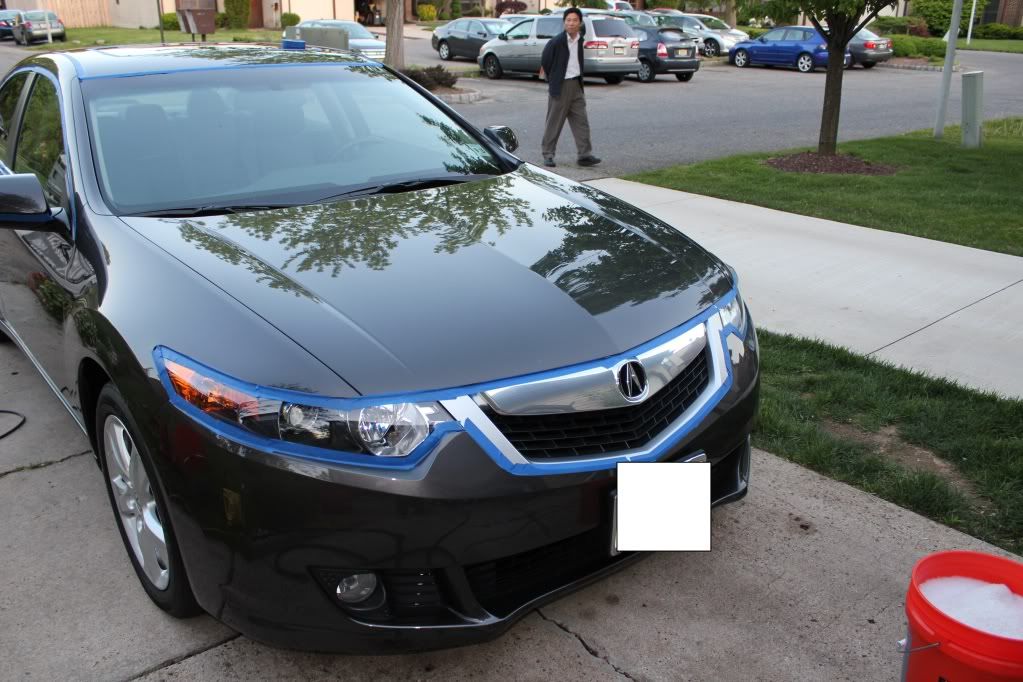
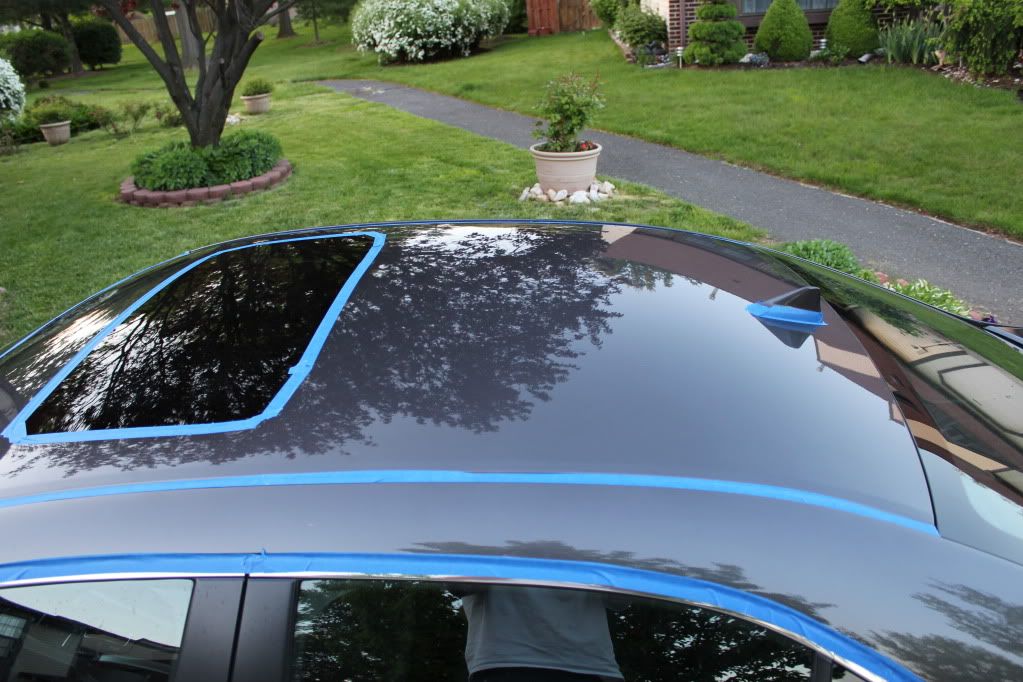
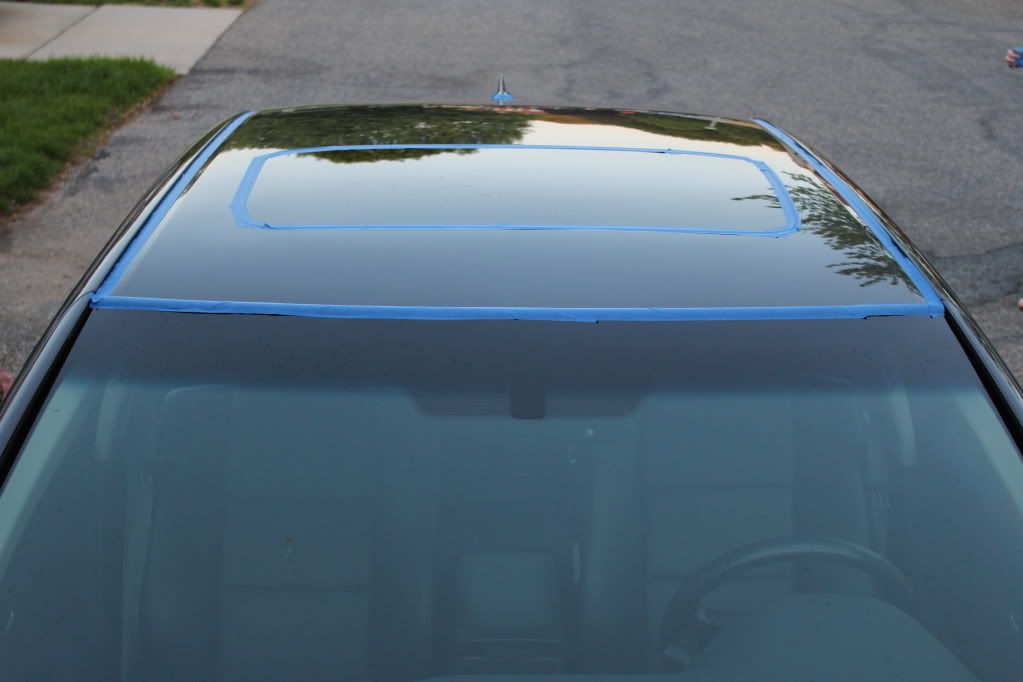
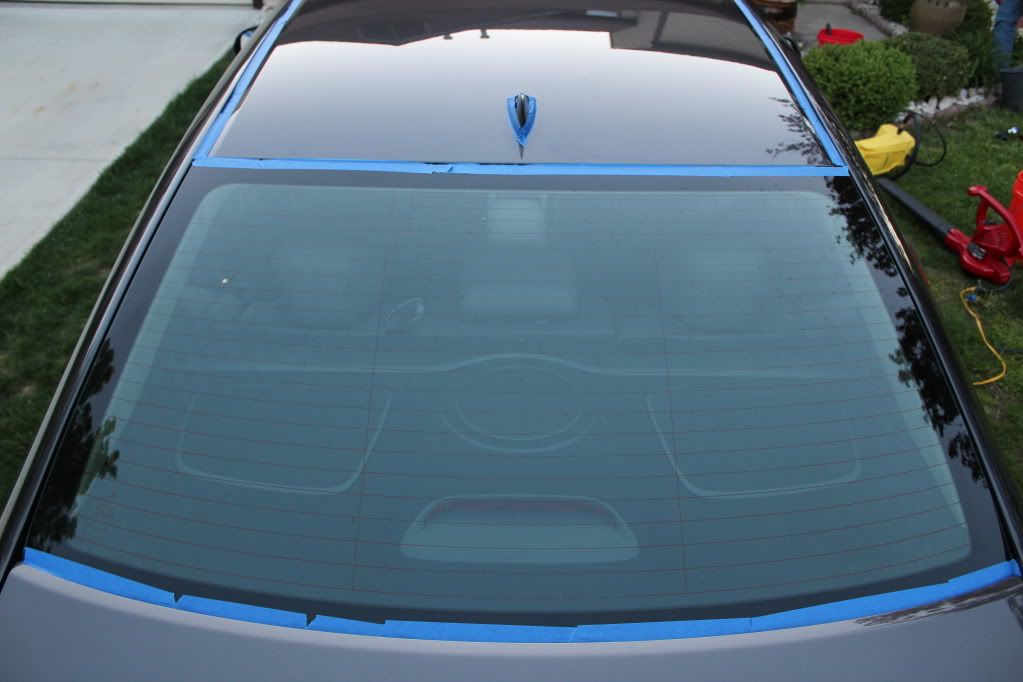
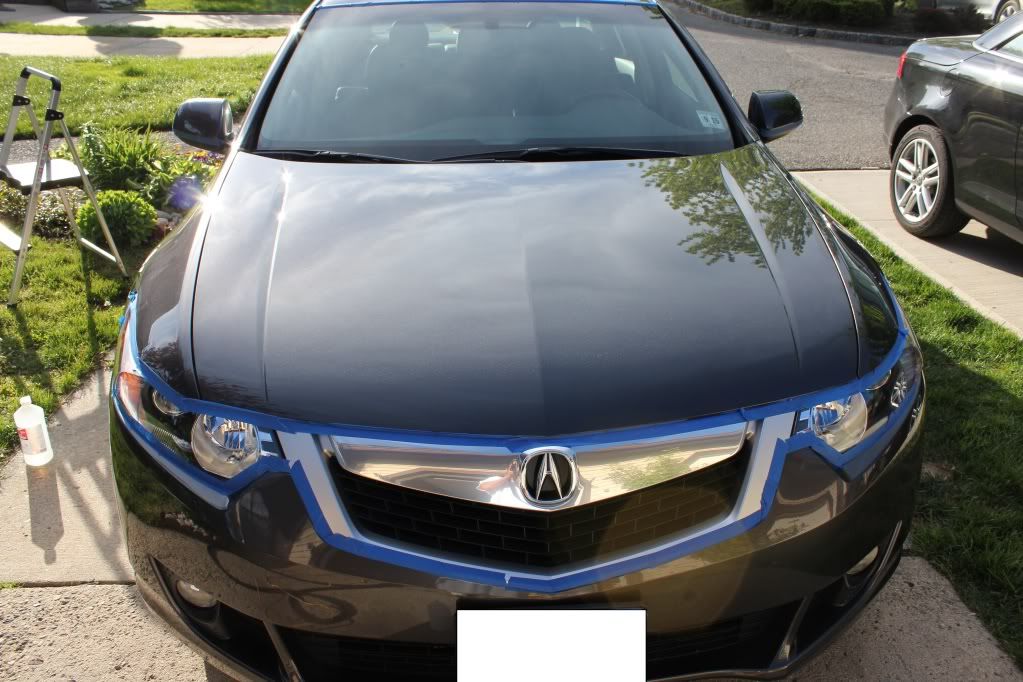
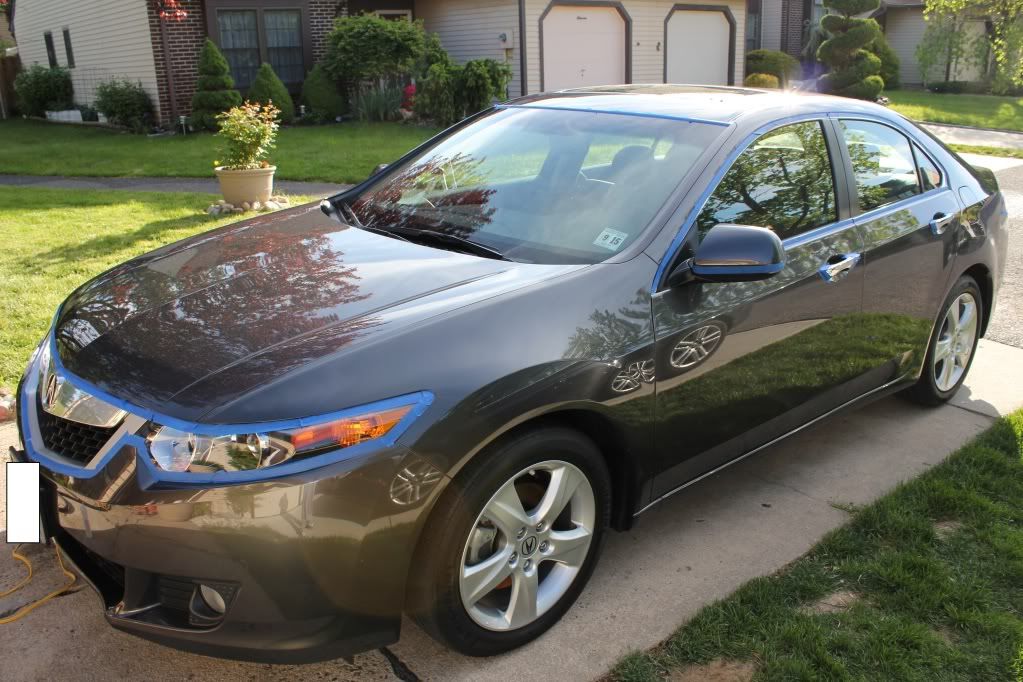
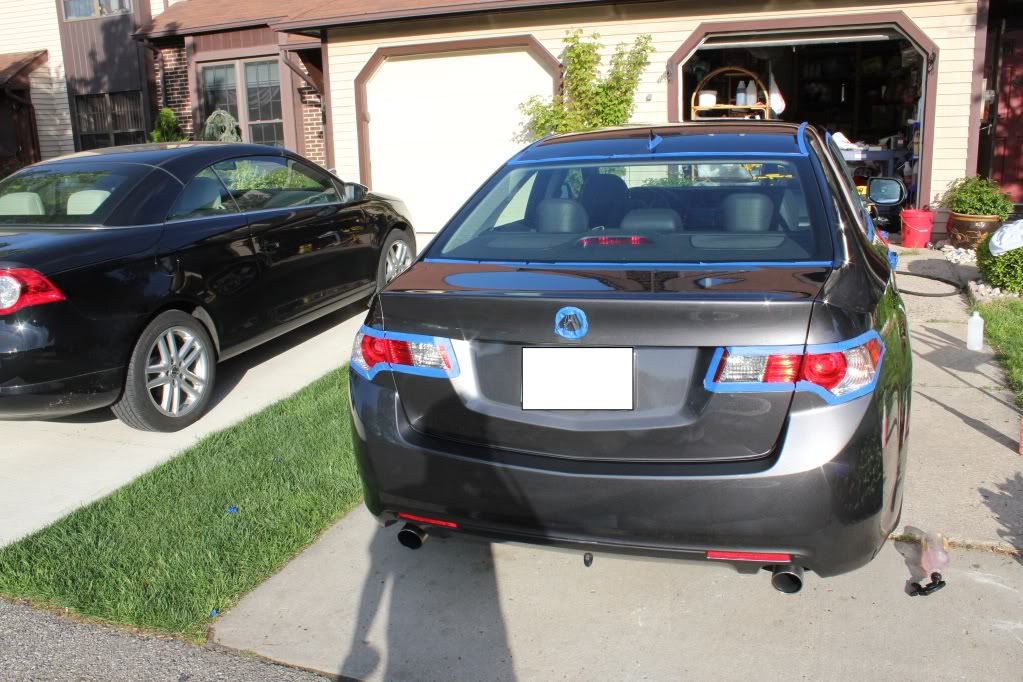
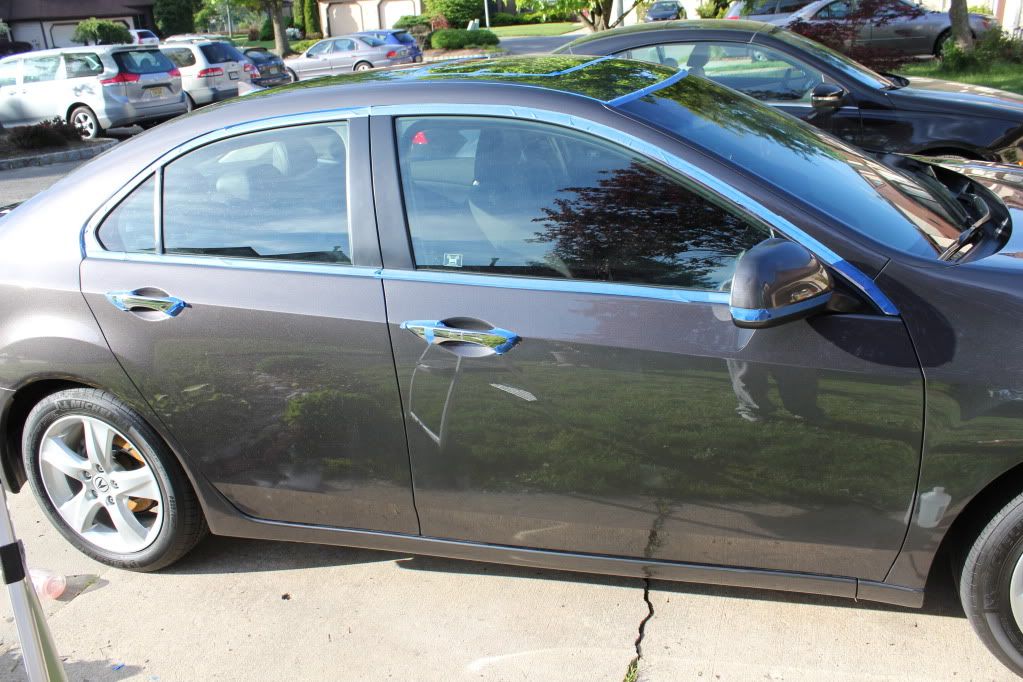
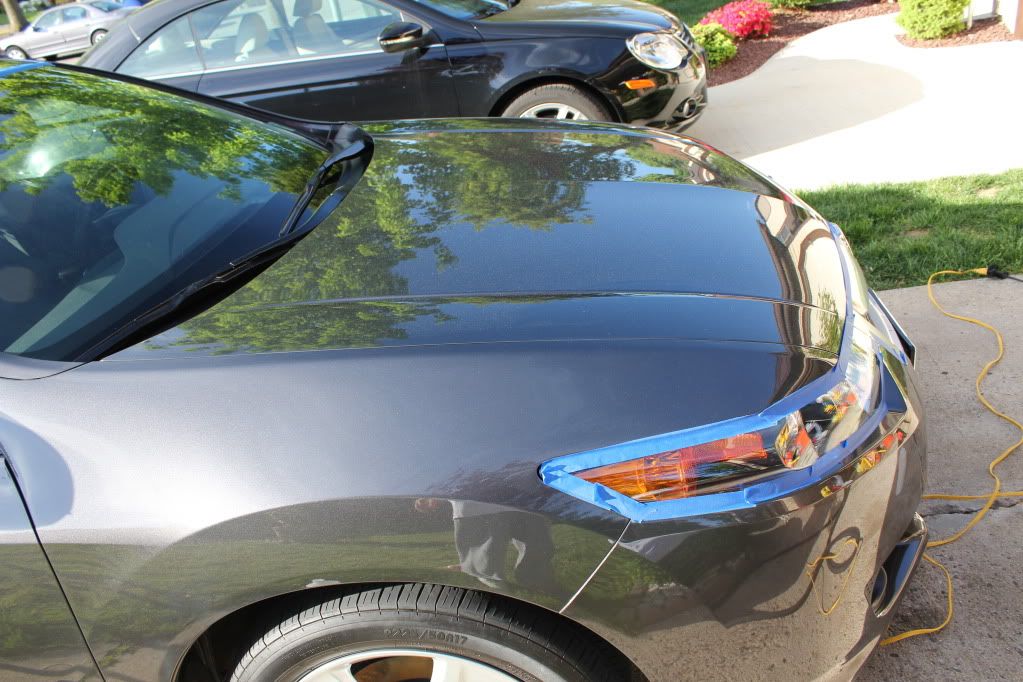
Tapped off car
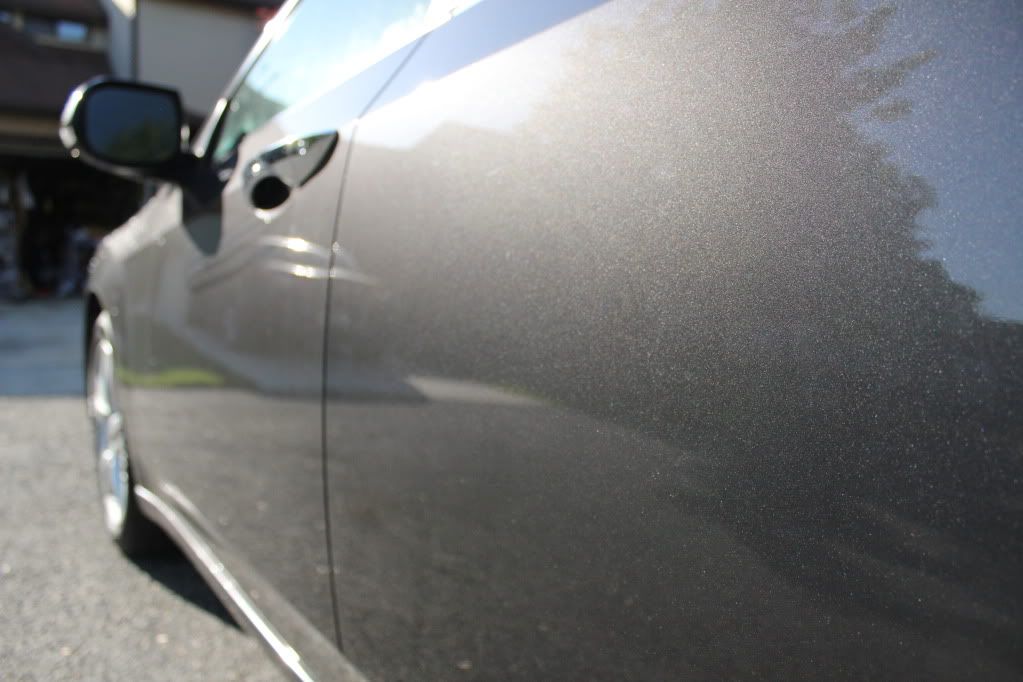
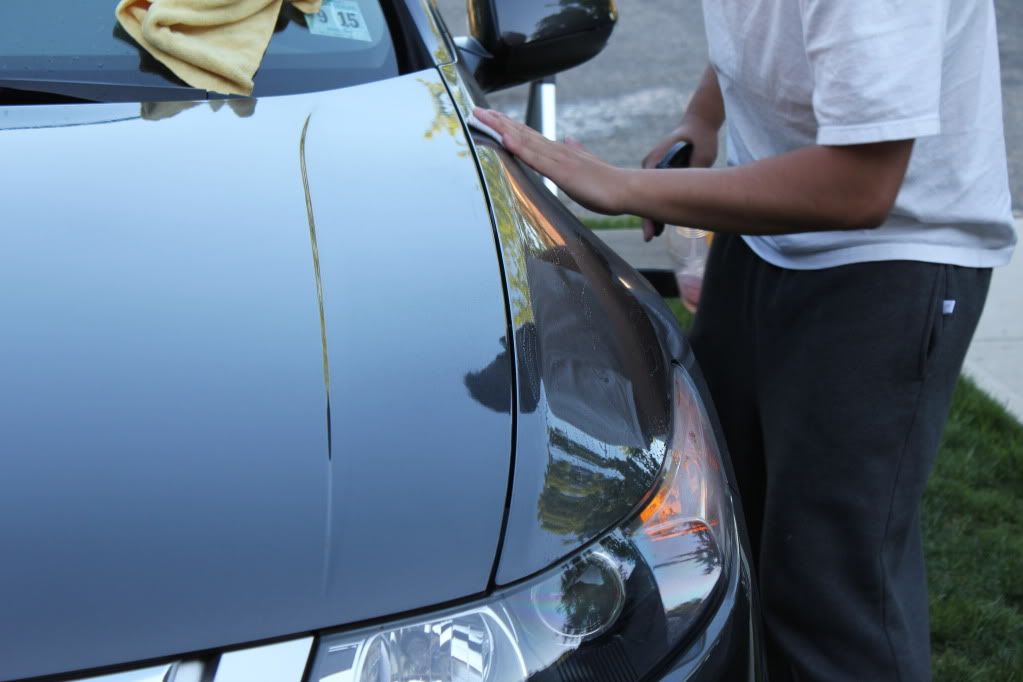
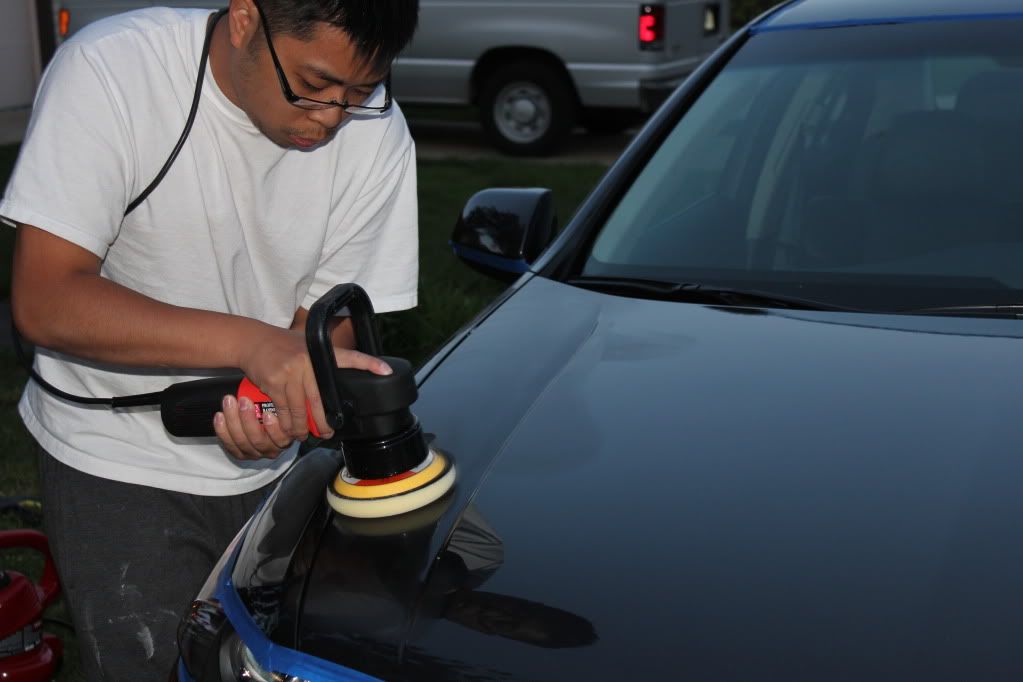
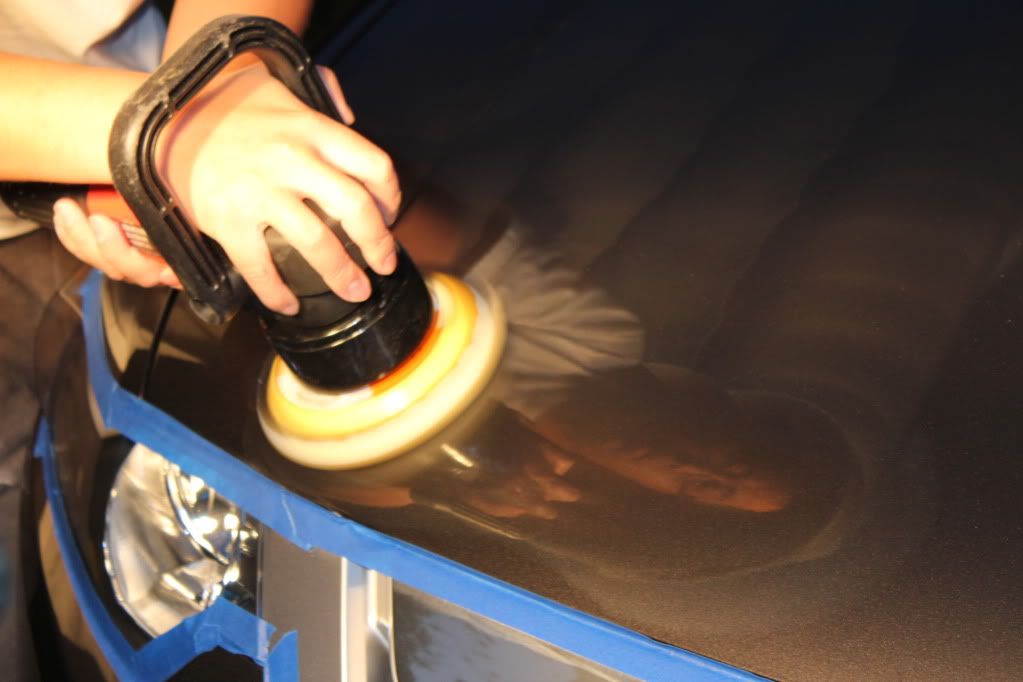
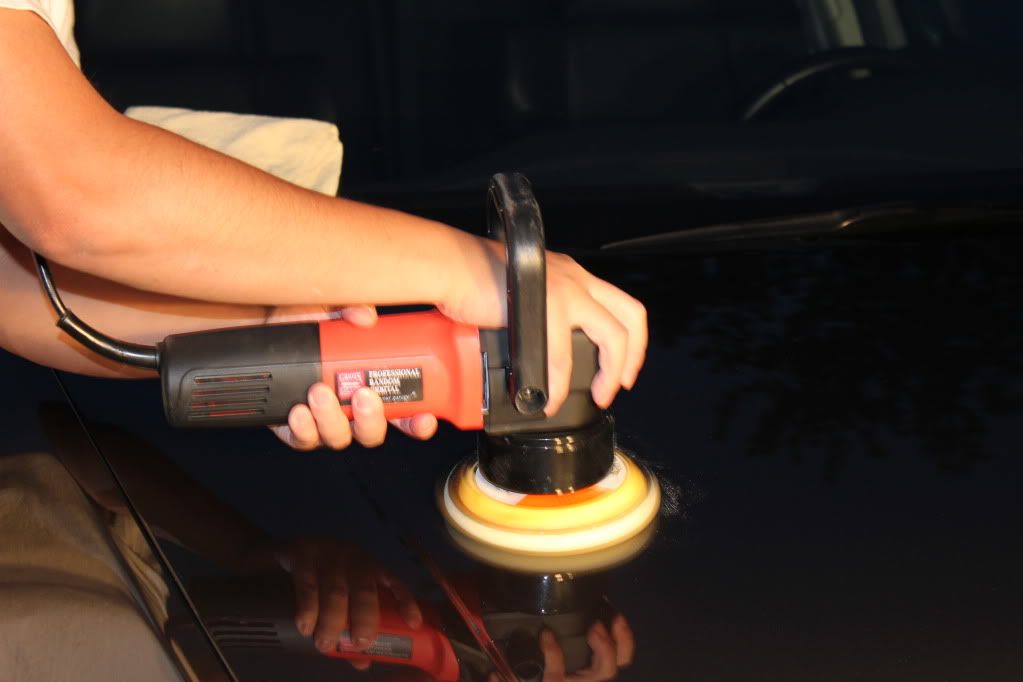
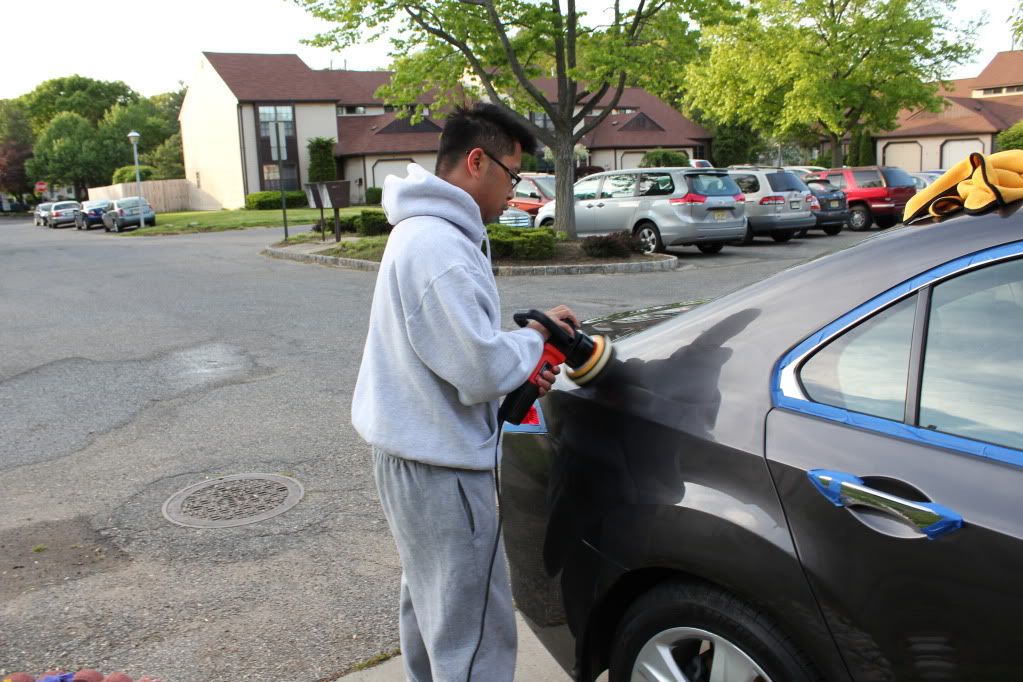
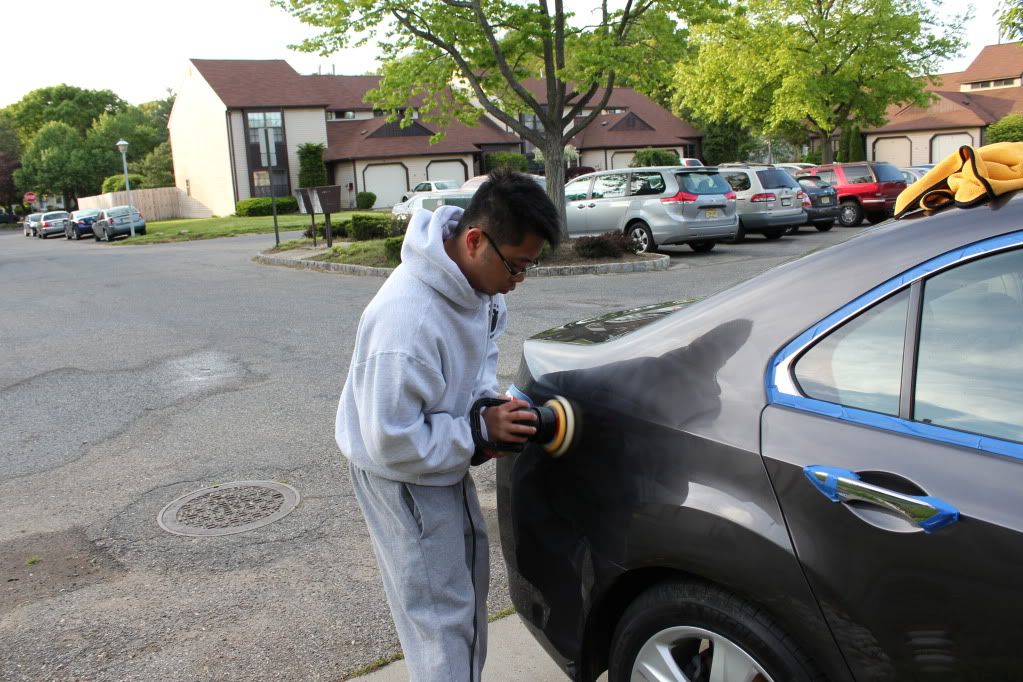
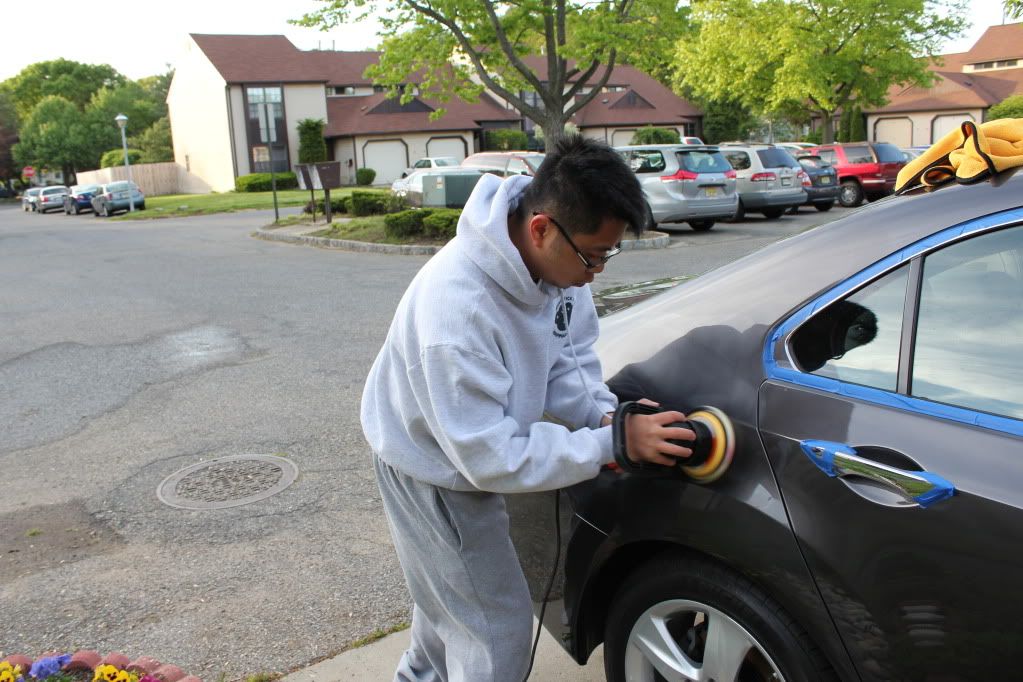
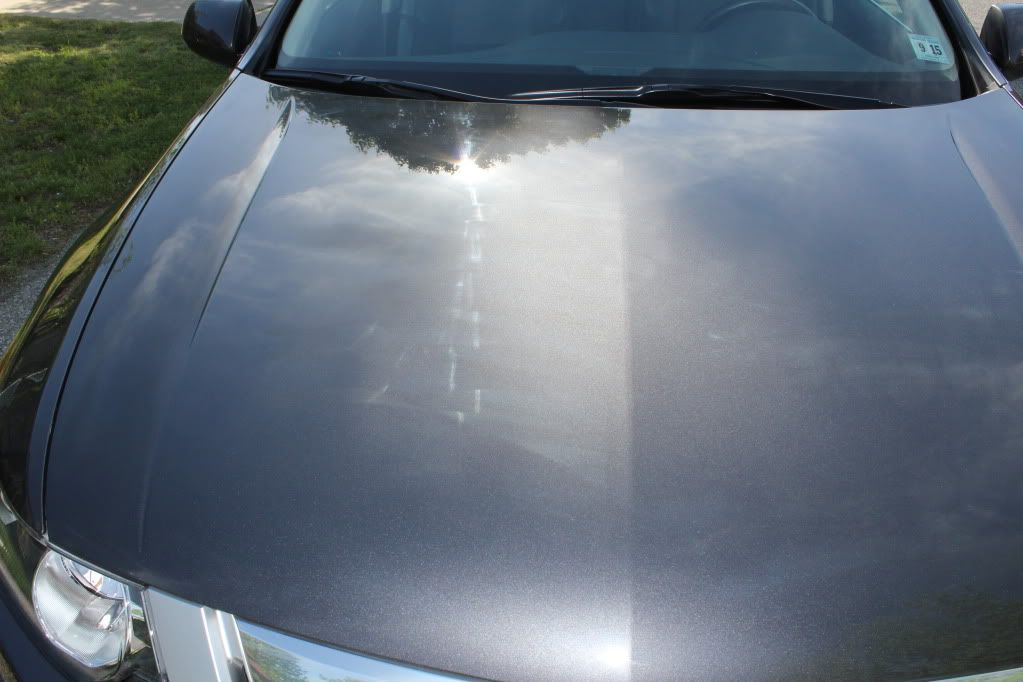
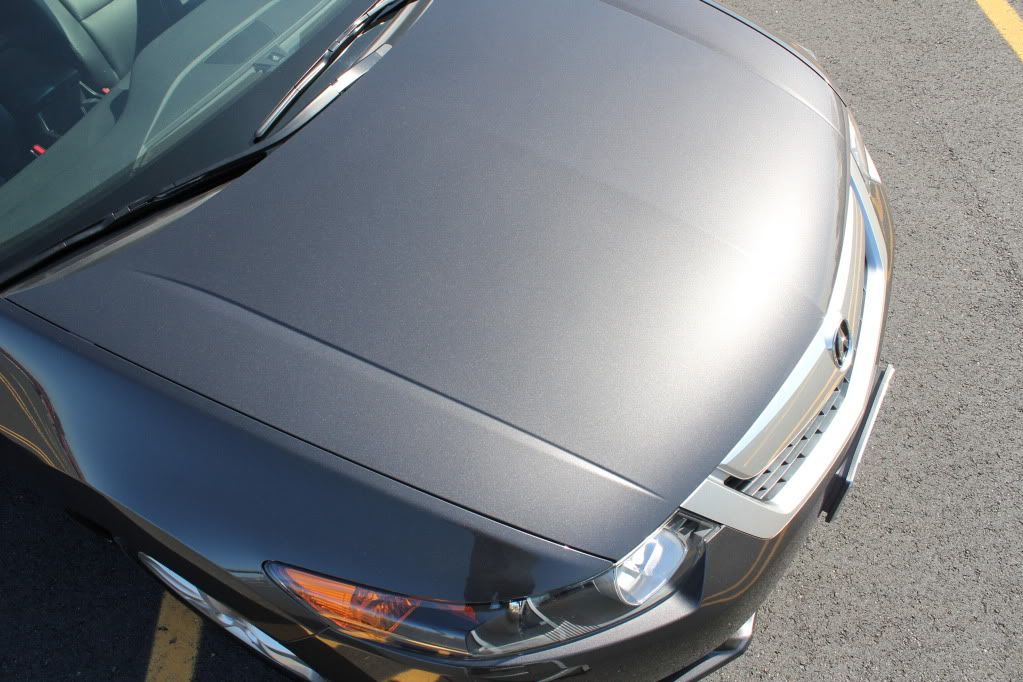
One step polish
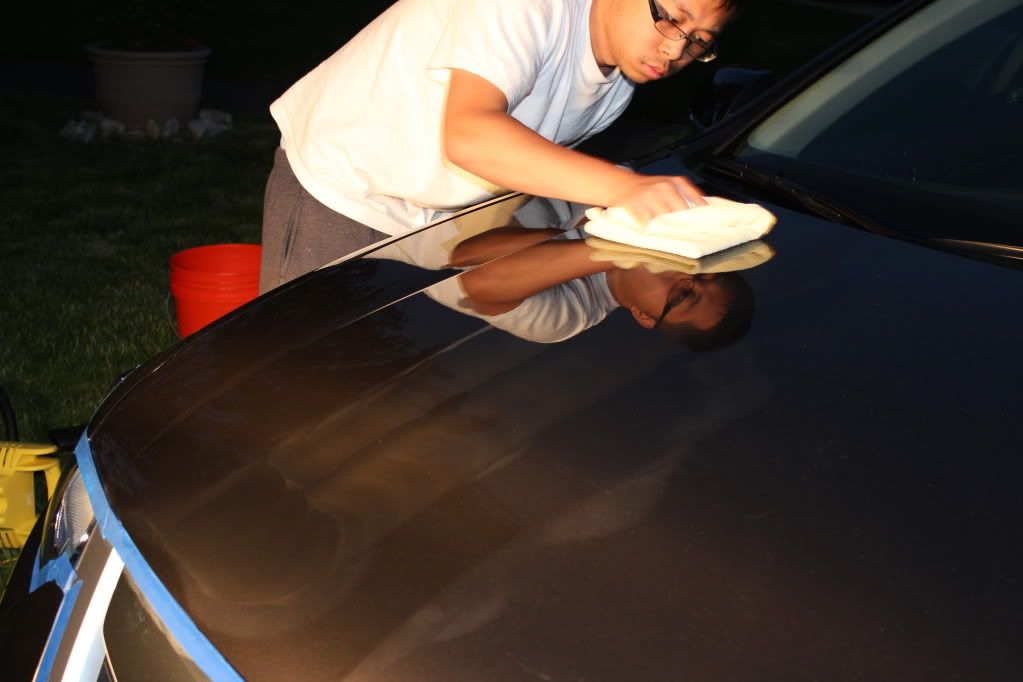
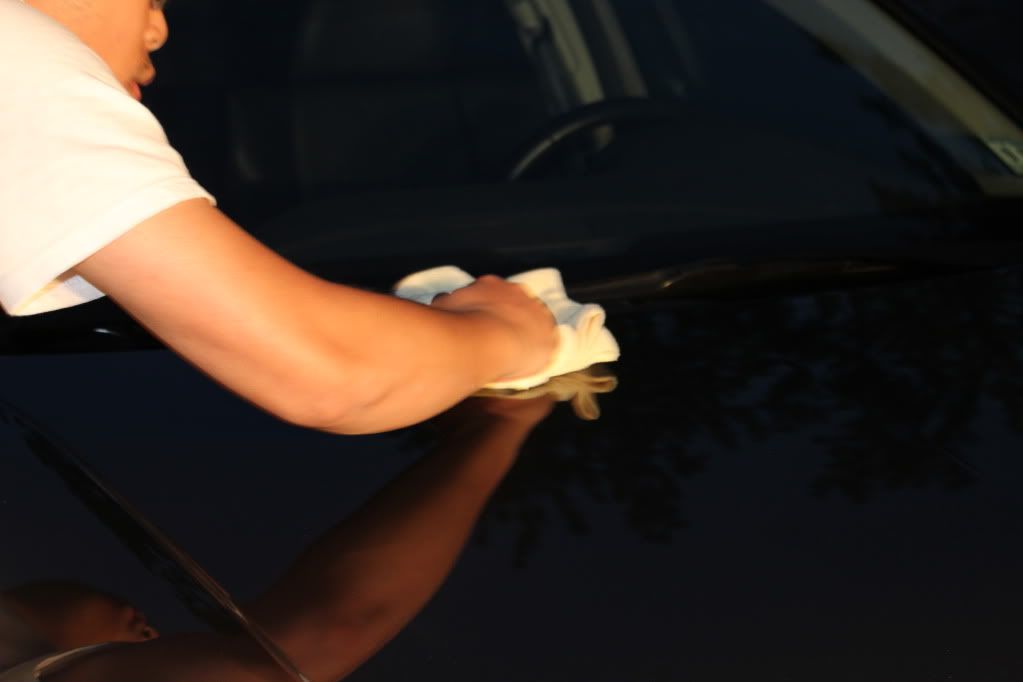
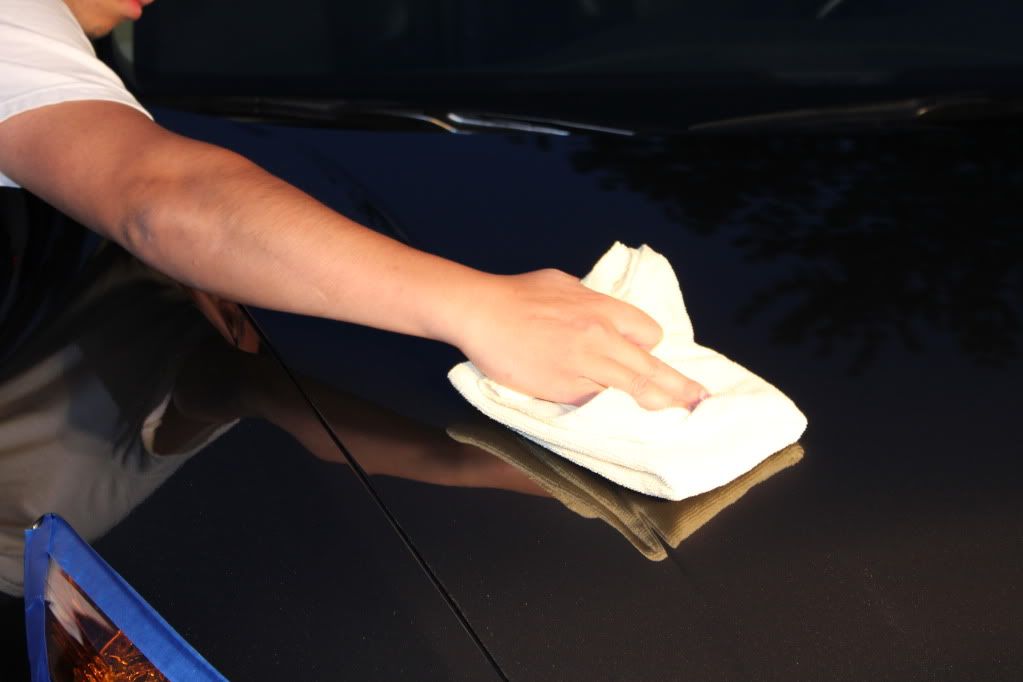
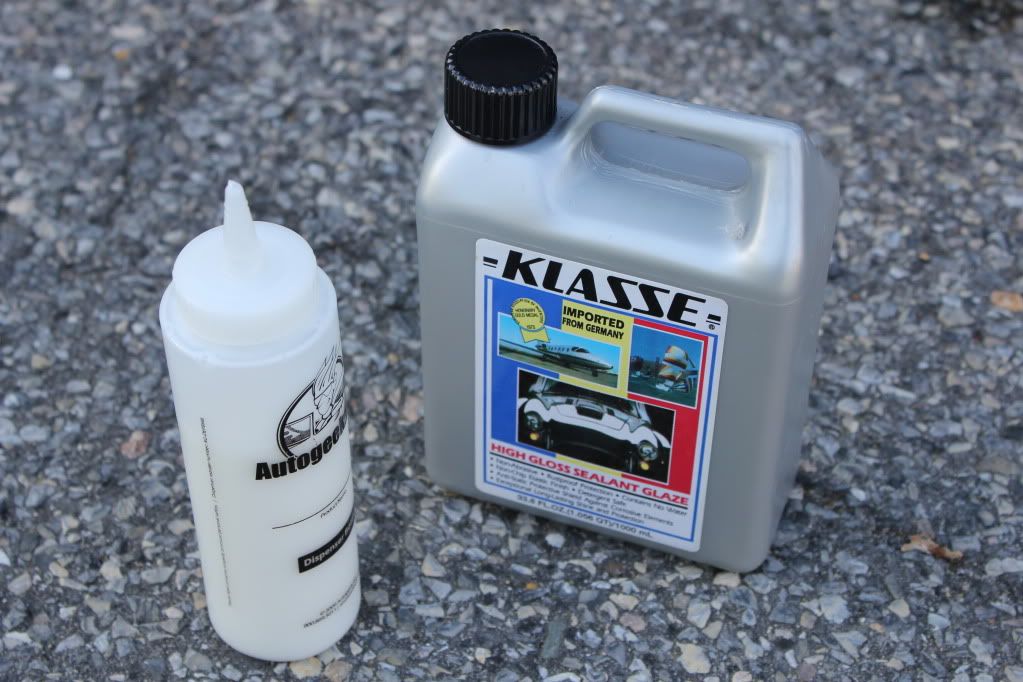
Applied sealant
Then Wax
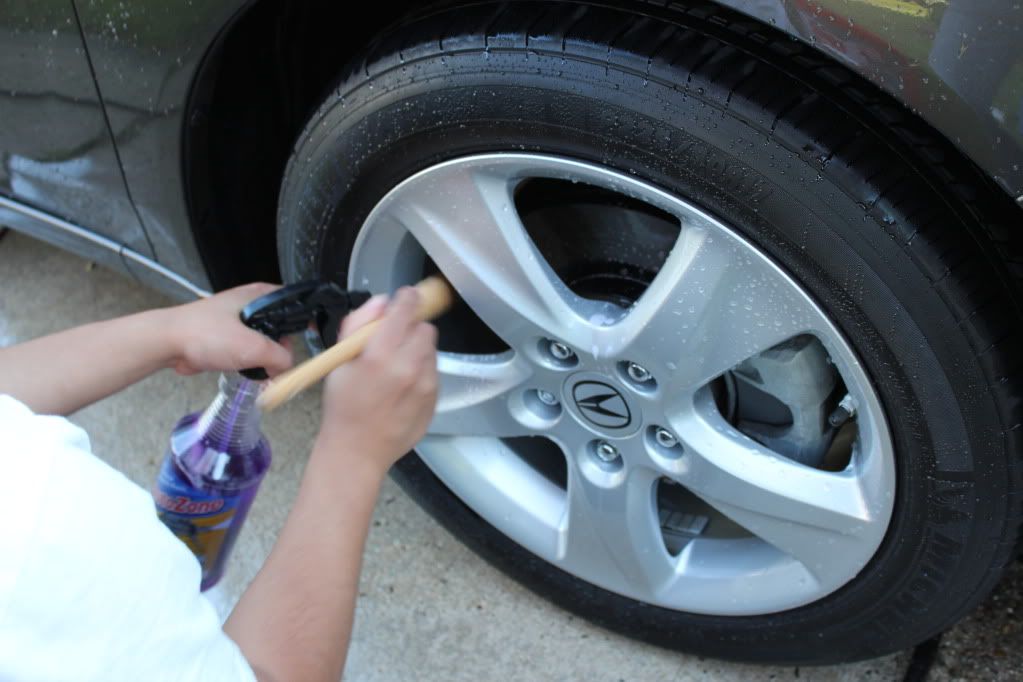
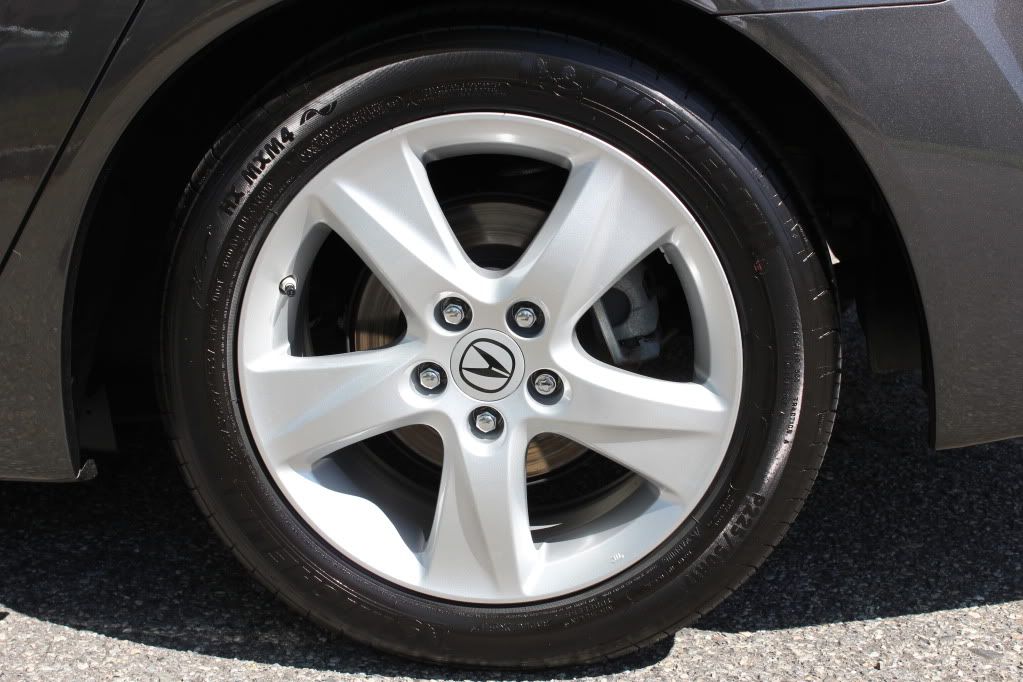
Applied wheel shine
Item used:
Electric power washer
Foam cannon
Hyper wash
Duragloss soap
Meg wheel brighter
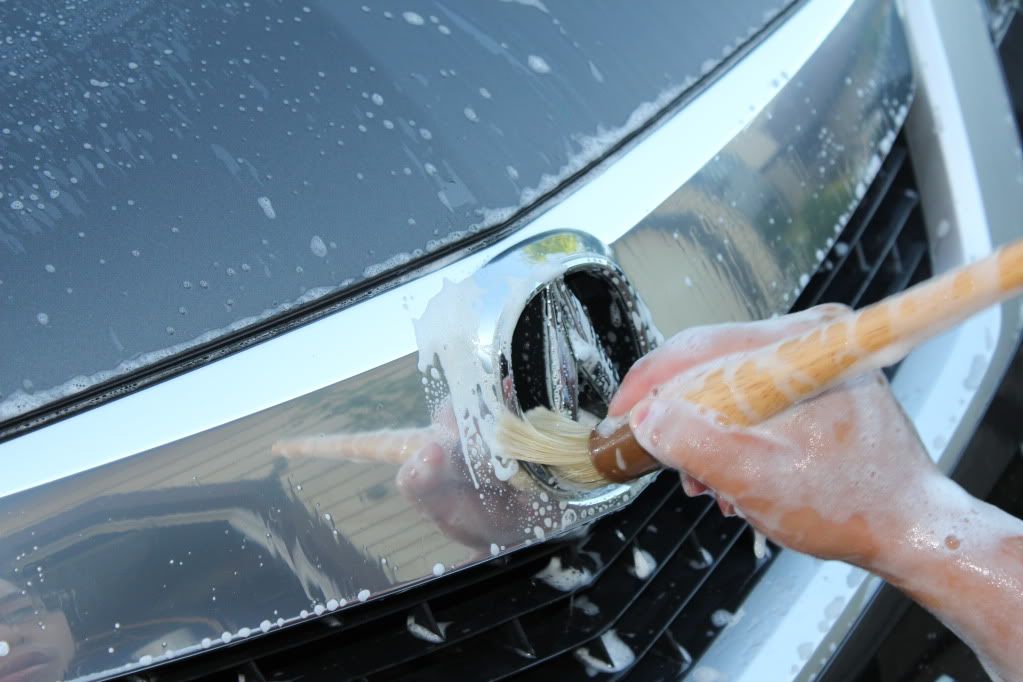
Daytona brush
Lug brush
Homedepot buckets
Grit guards
Meg Mf mitts
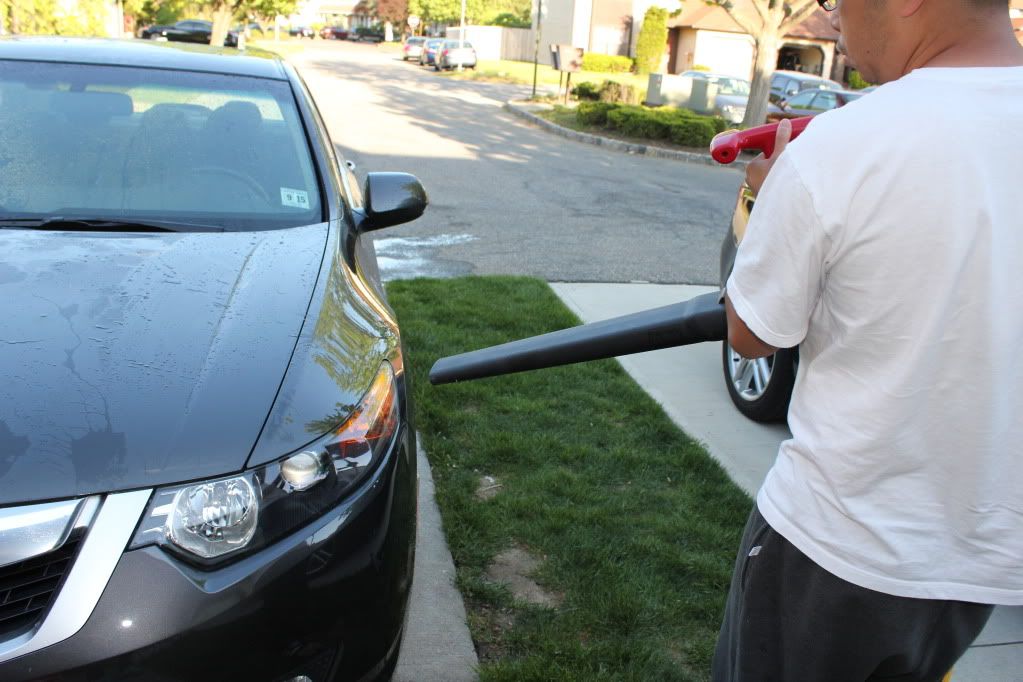
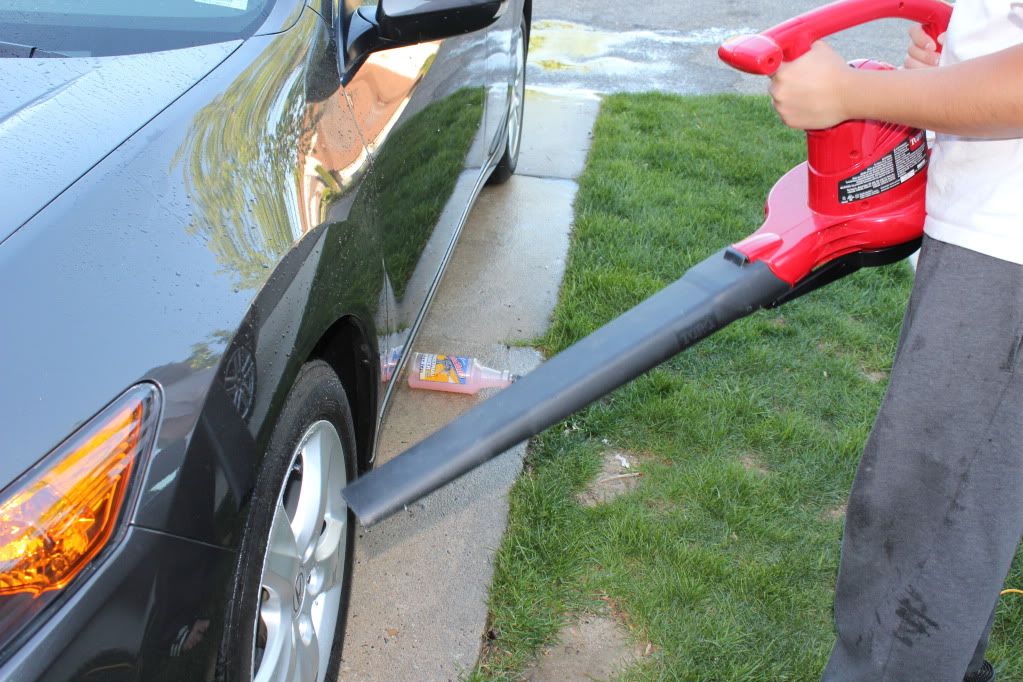
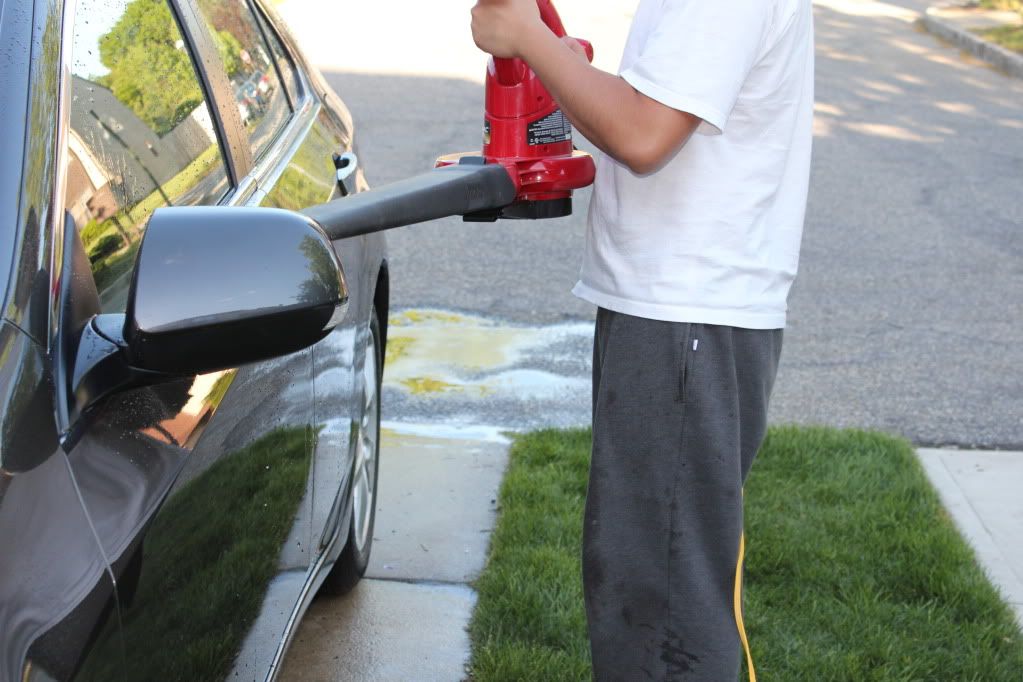
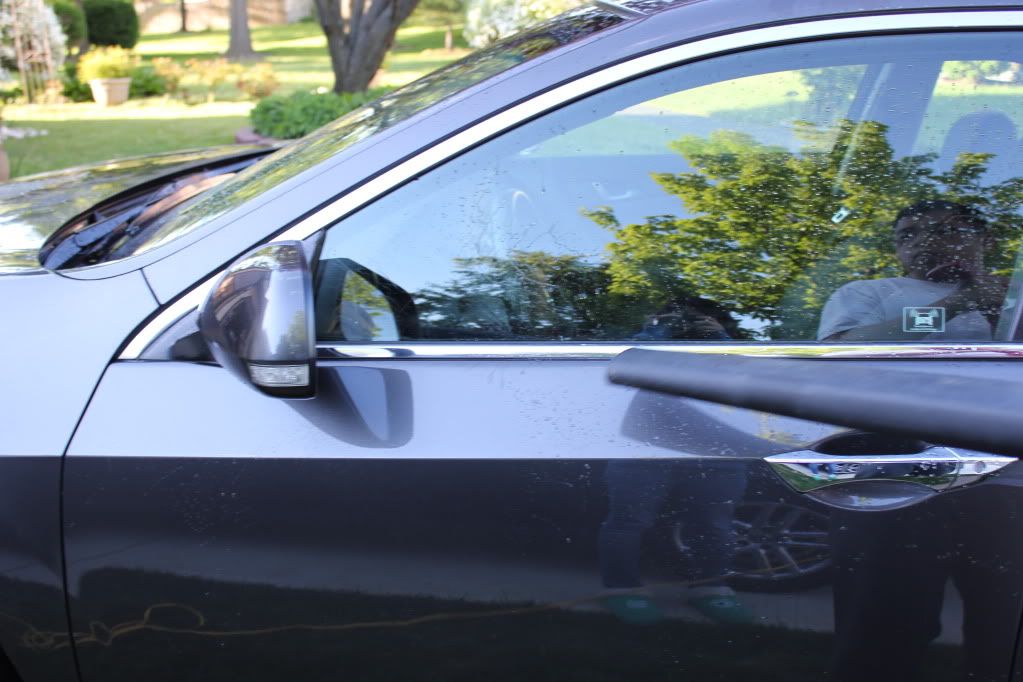
Leaf blow drier
DP clay bar
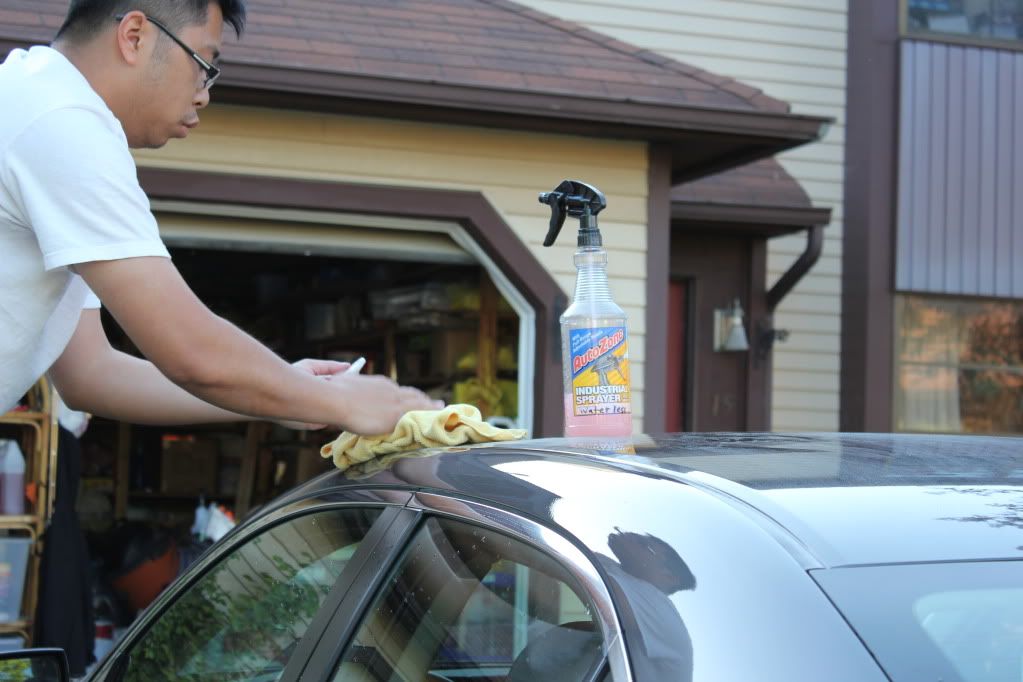
Last touch detail spray
Meg MF
APC+ 10:1
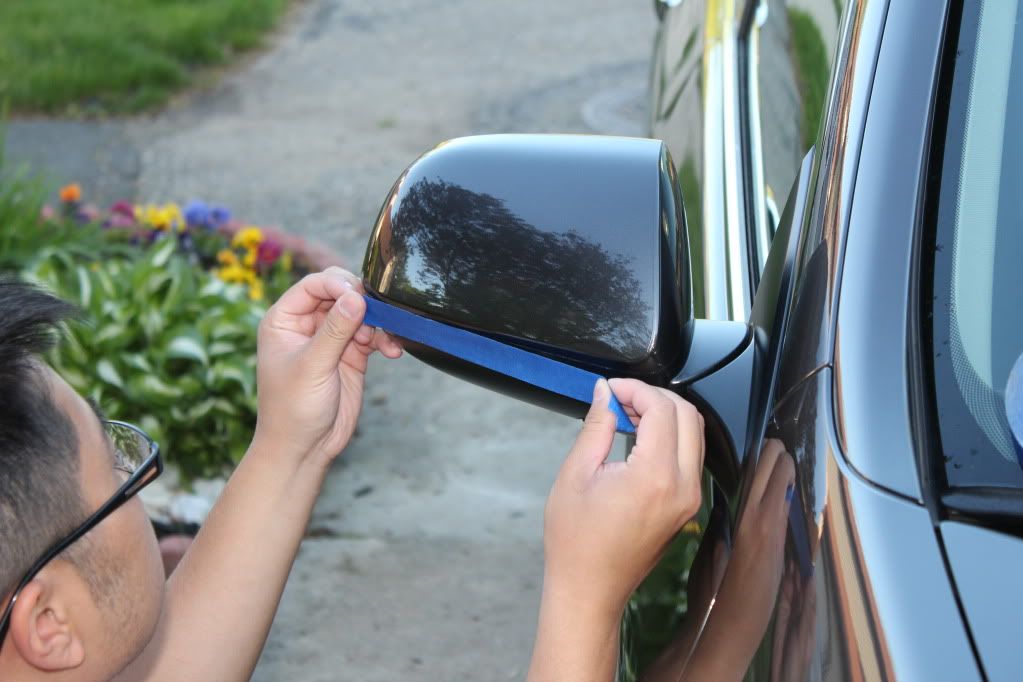
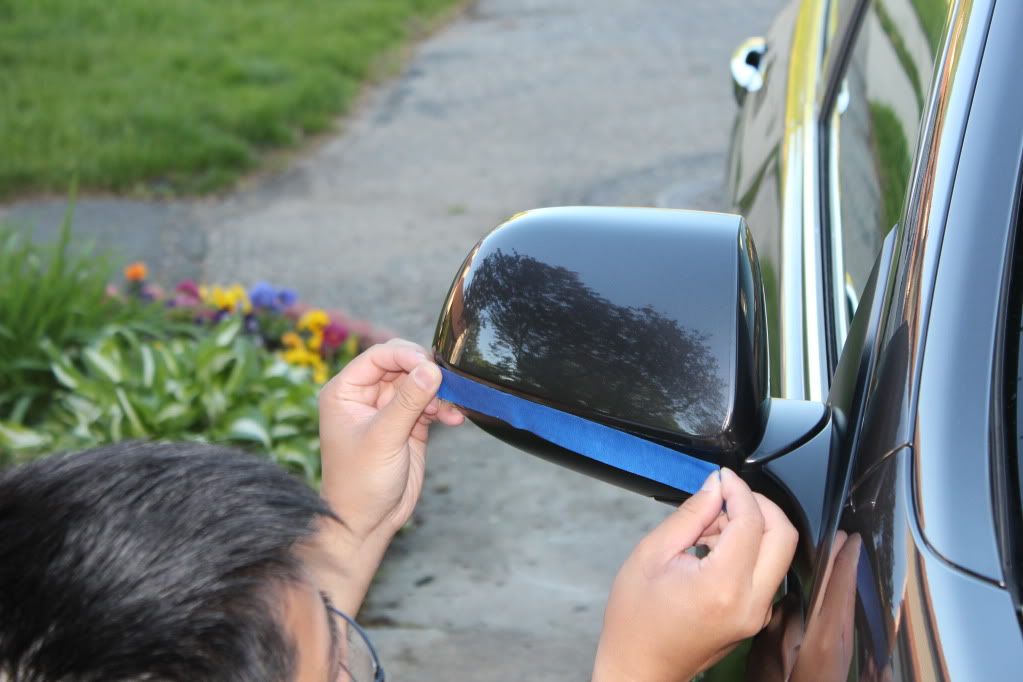
Blue masking tape
Griot’s DA
Lake Country white pads
Meg 205
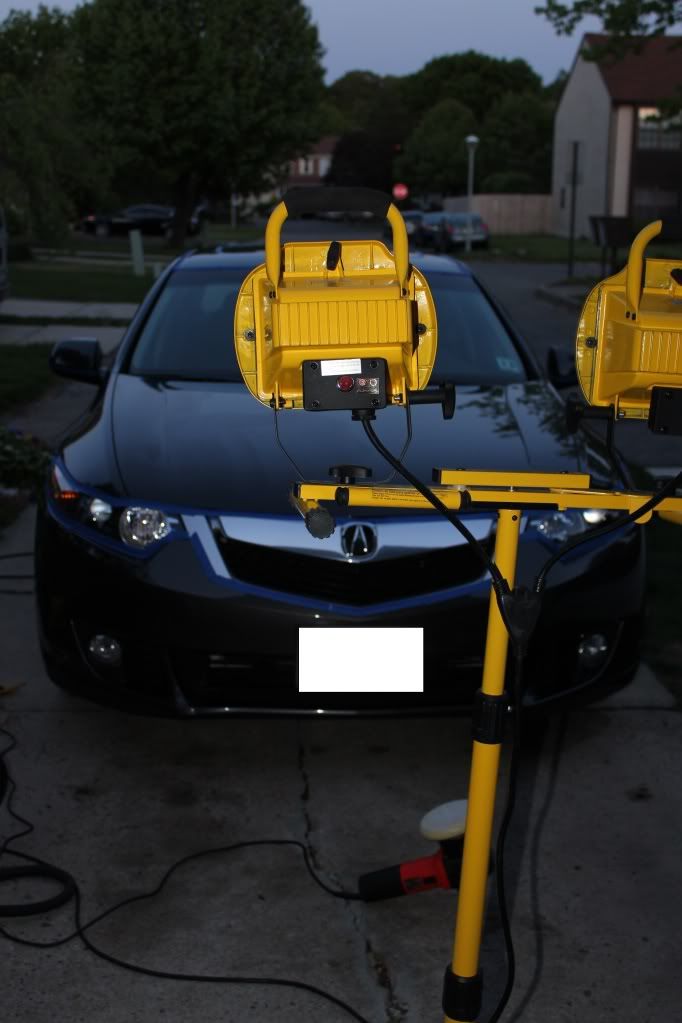
1000 watt halogen lights
Klasse HGSG
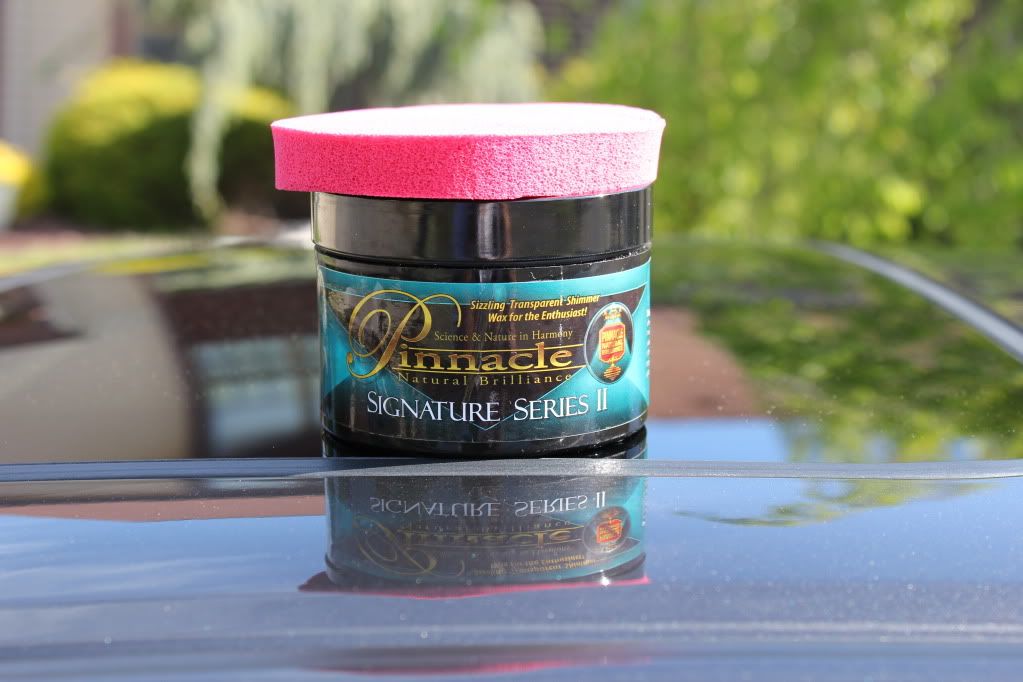
Pinnacle Sig II
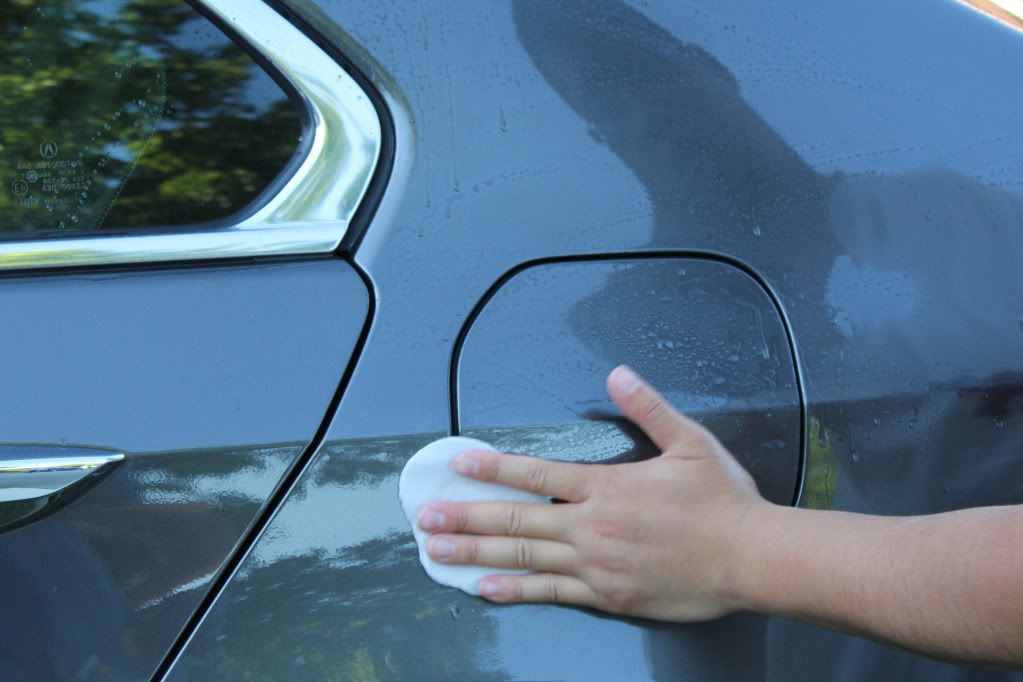
AutoGlym sponge
Ladders
Canon T2i
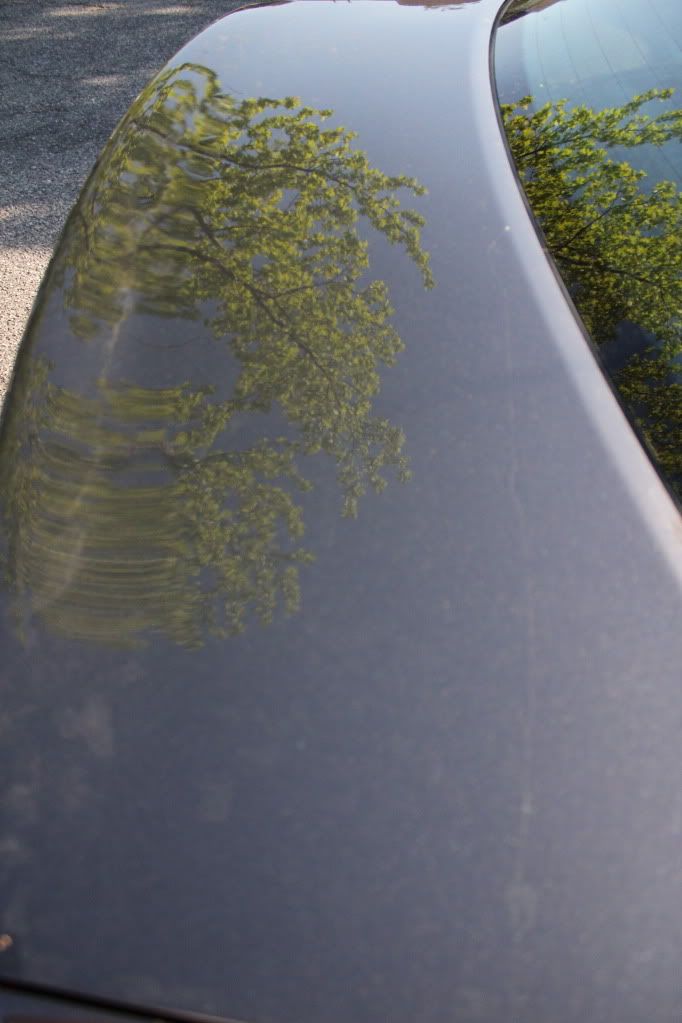
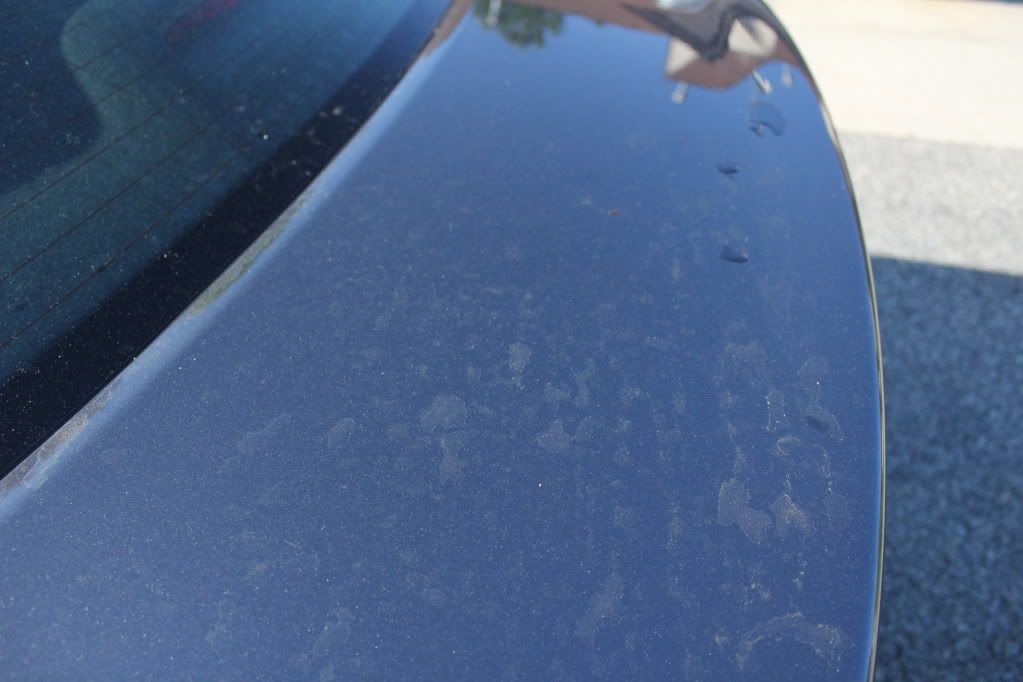
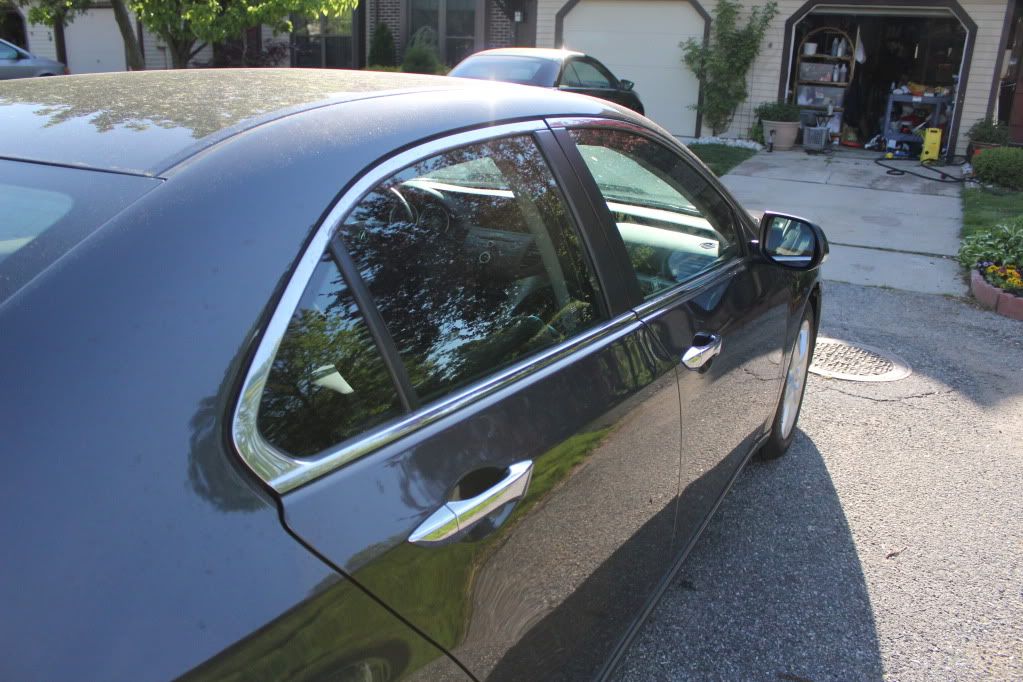
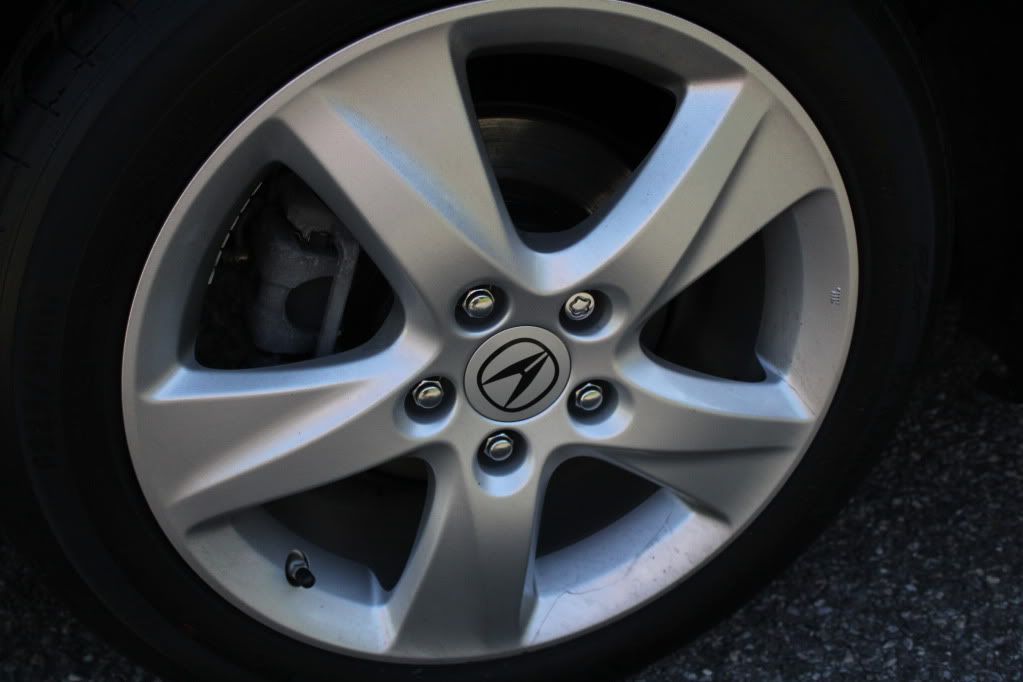
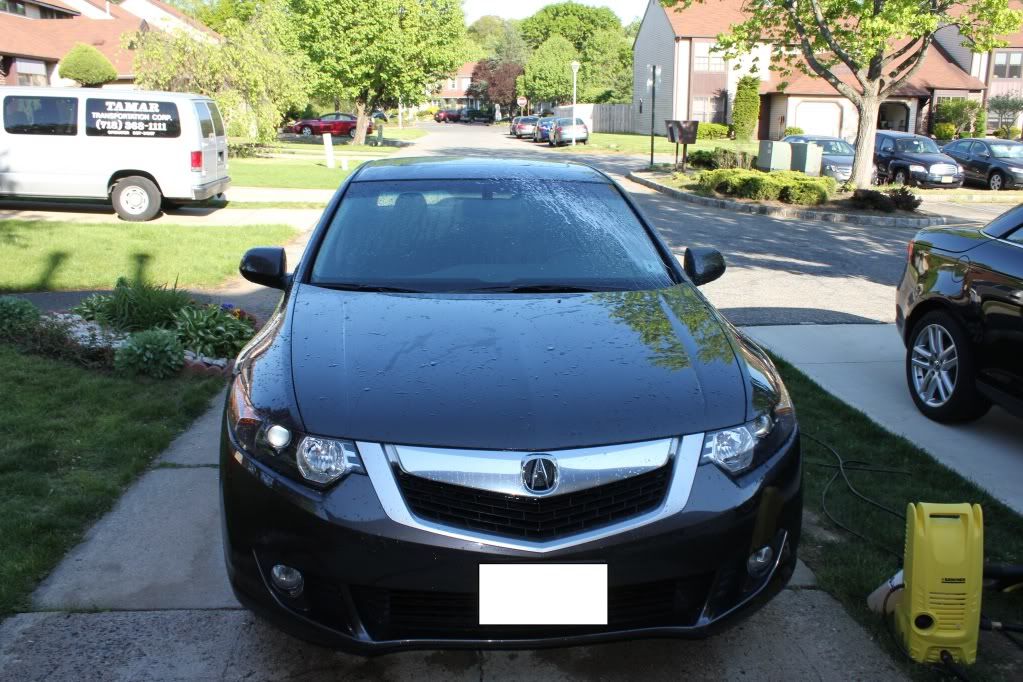
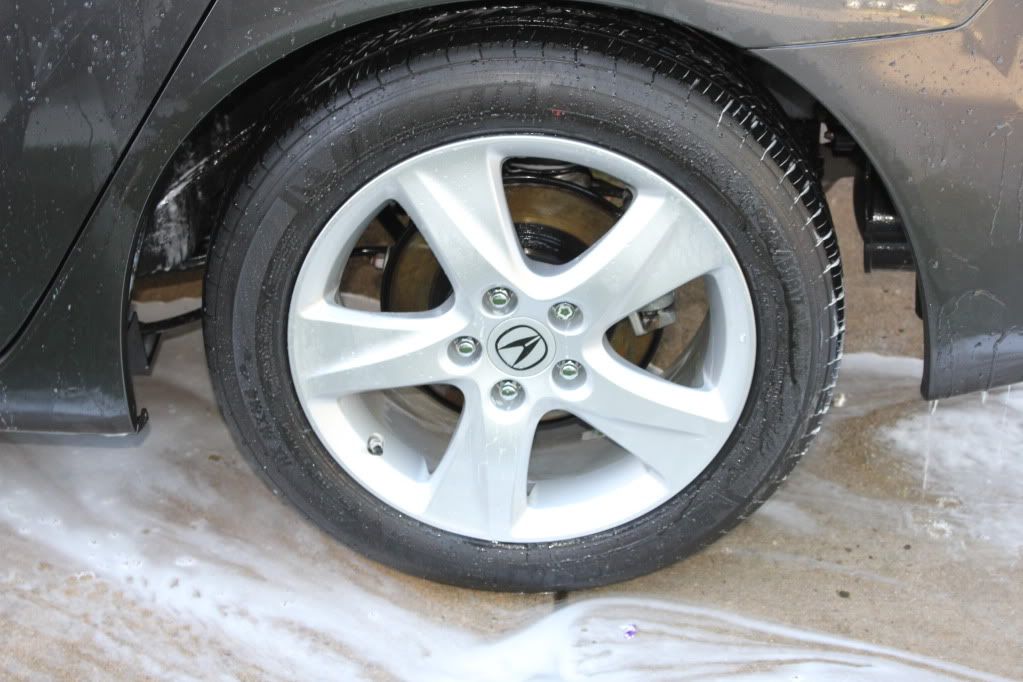
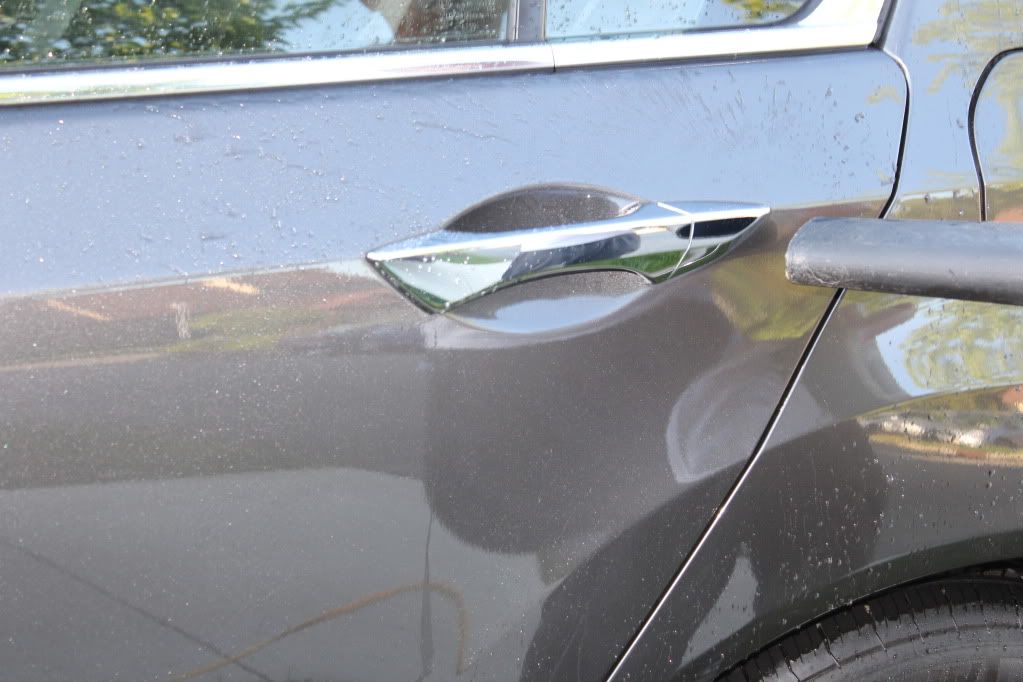
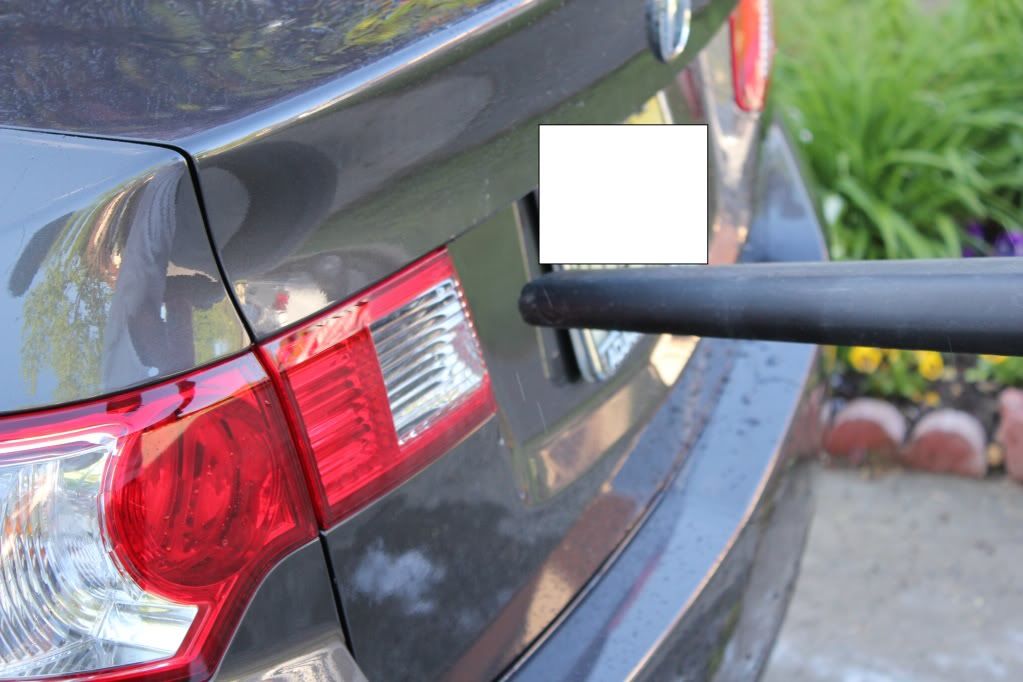
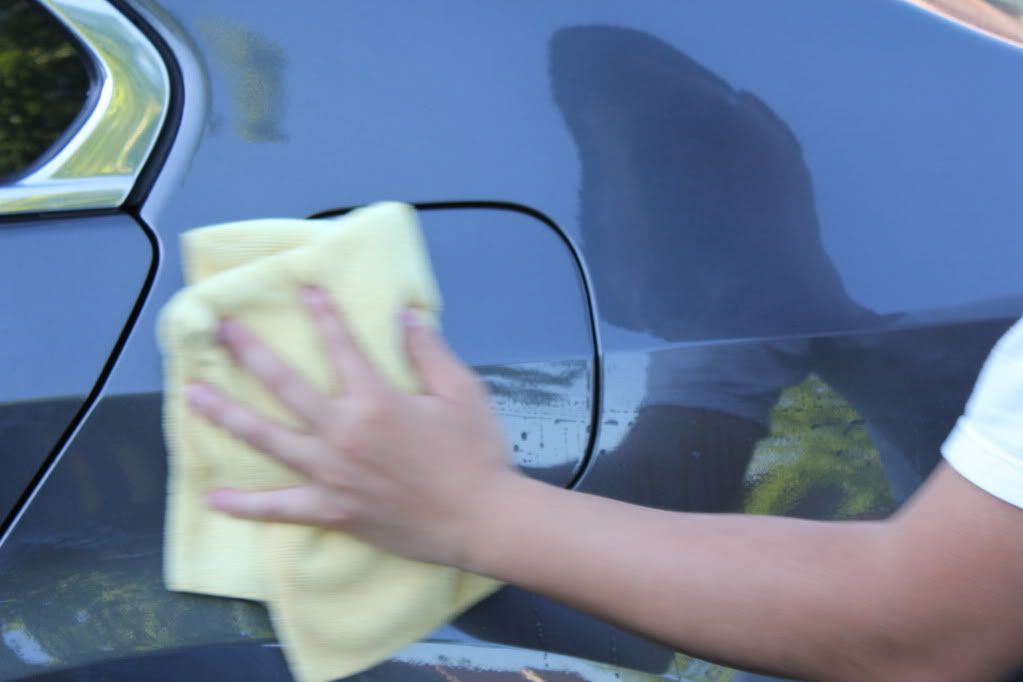
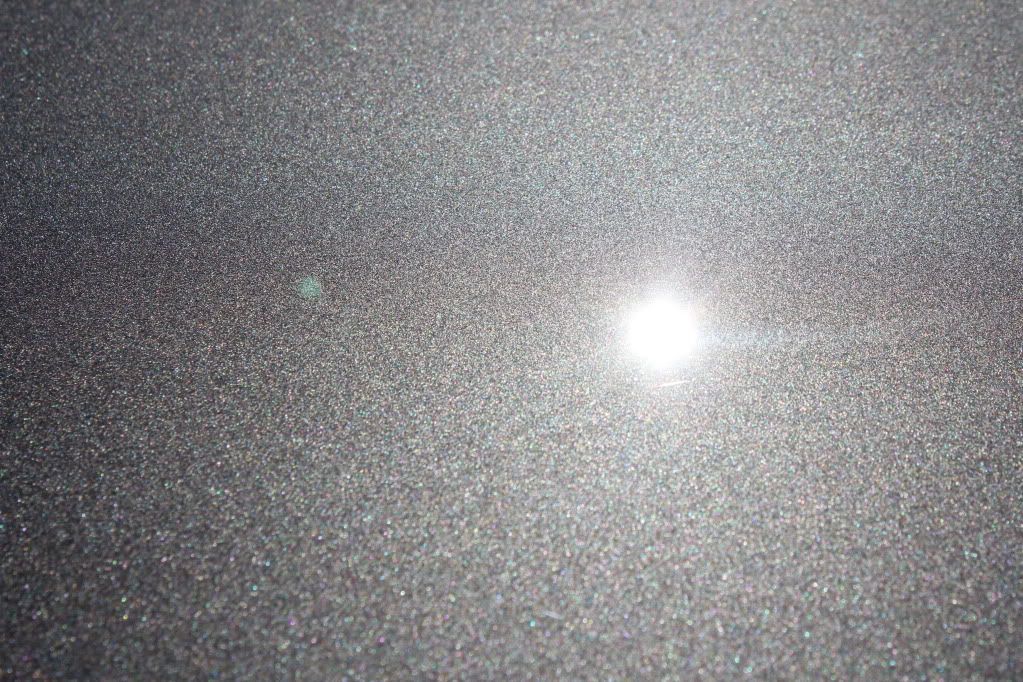
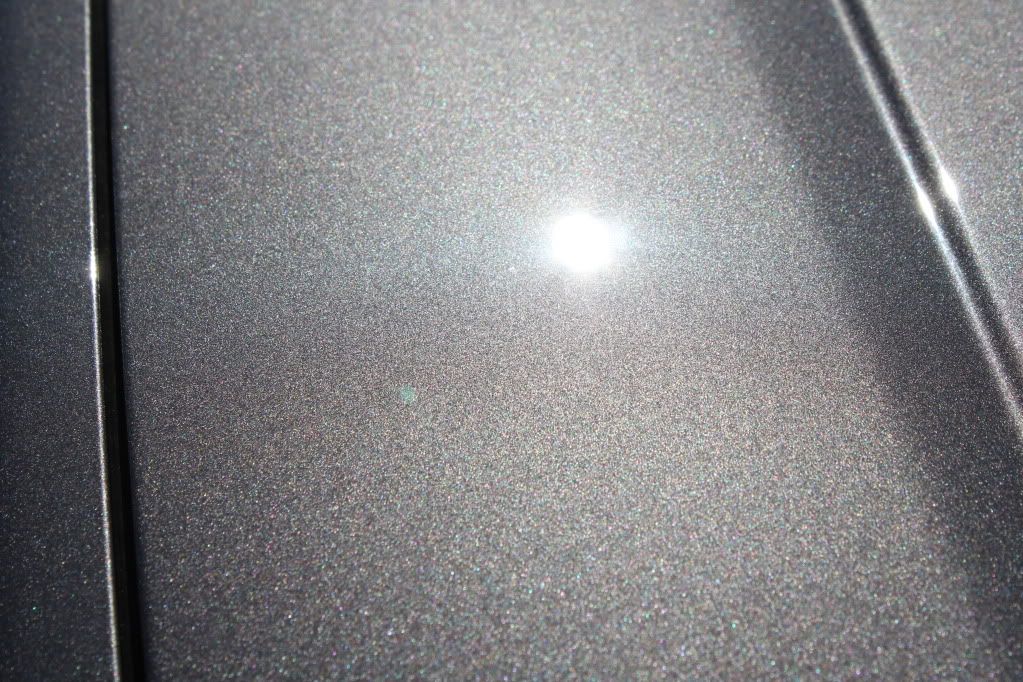
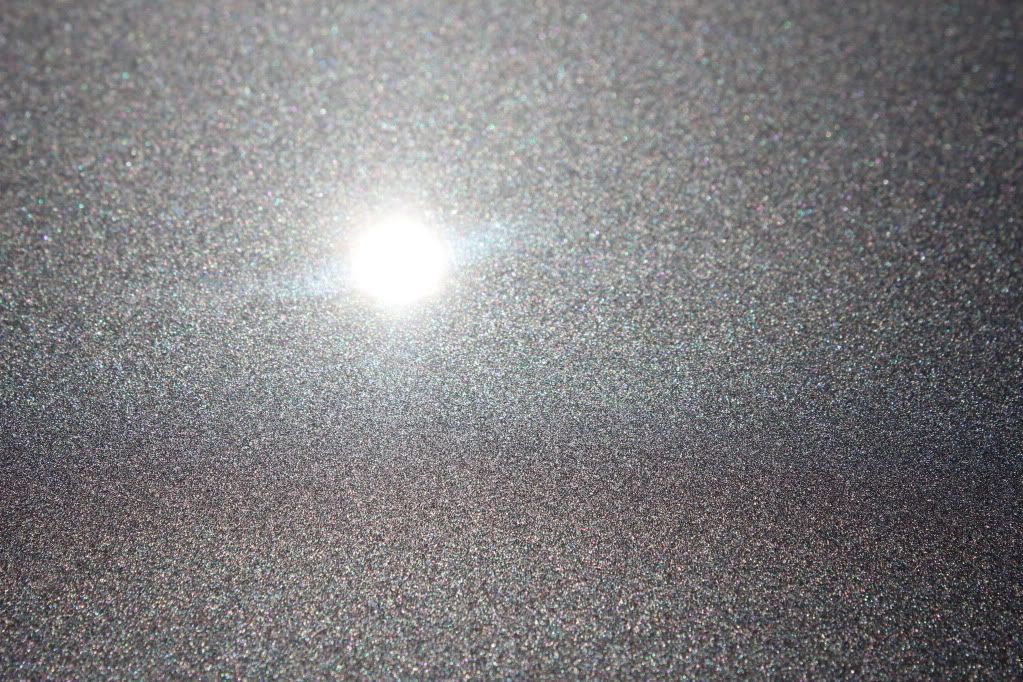
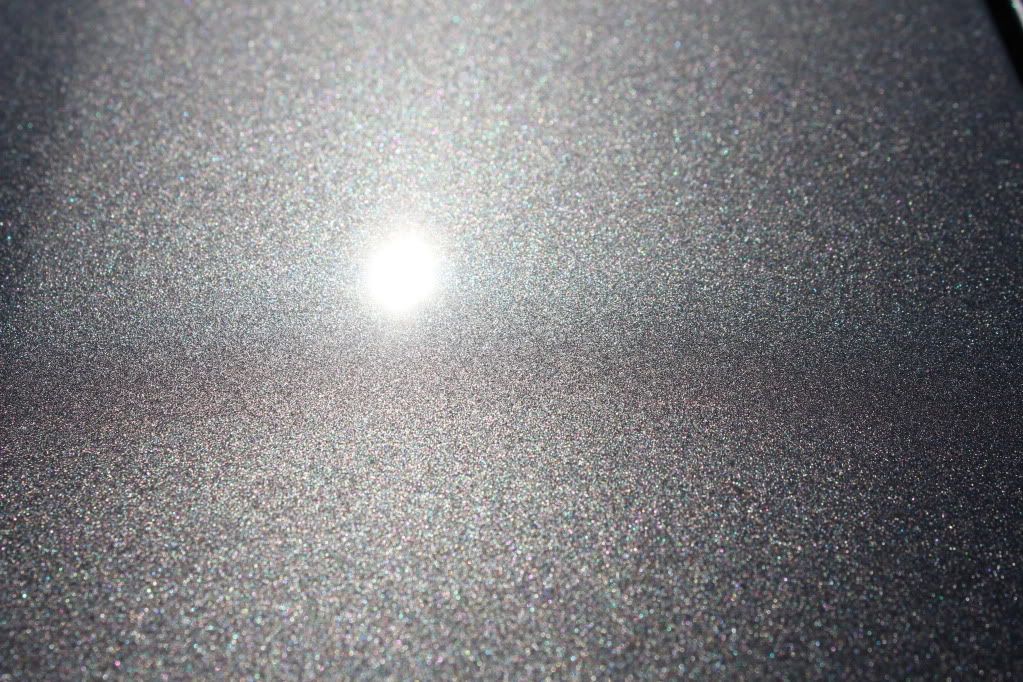
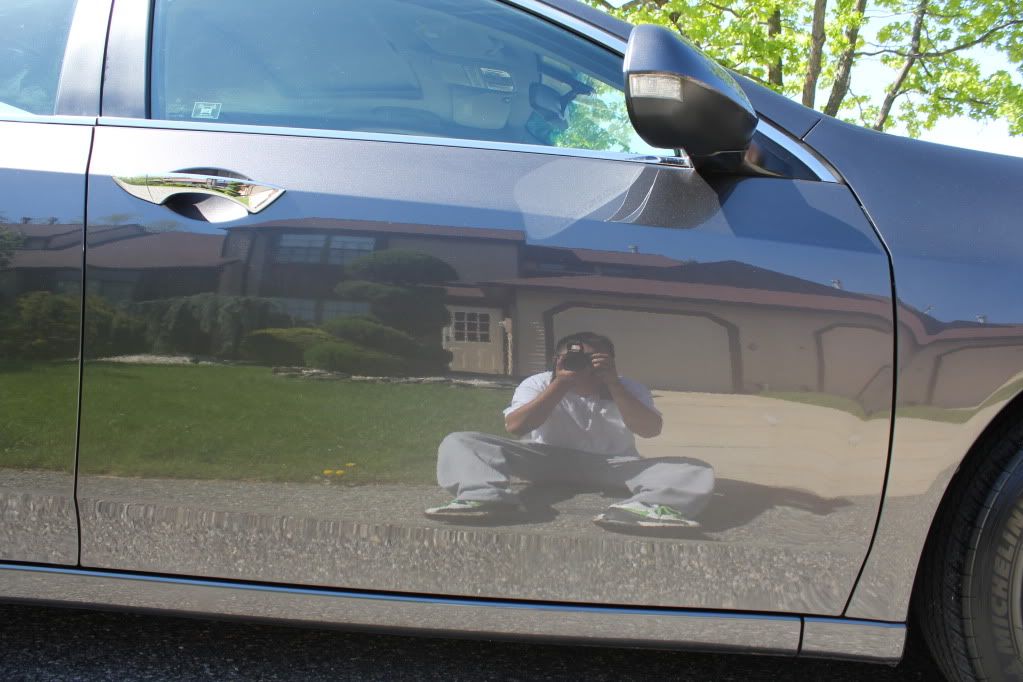
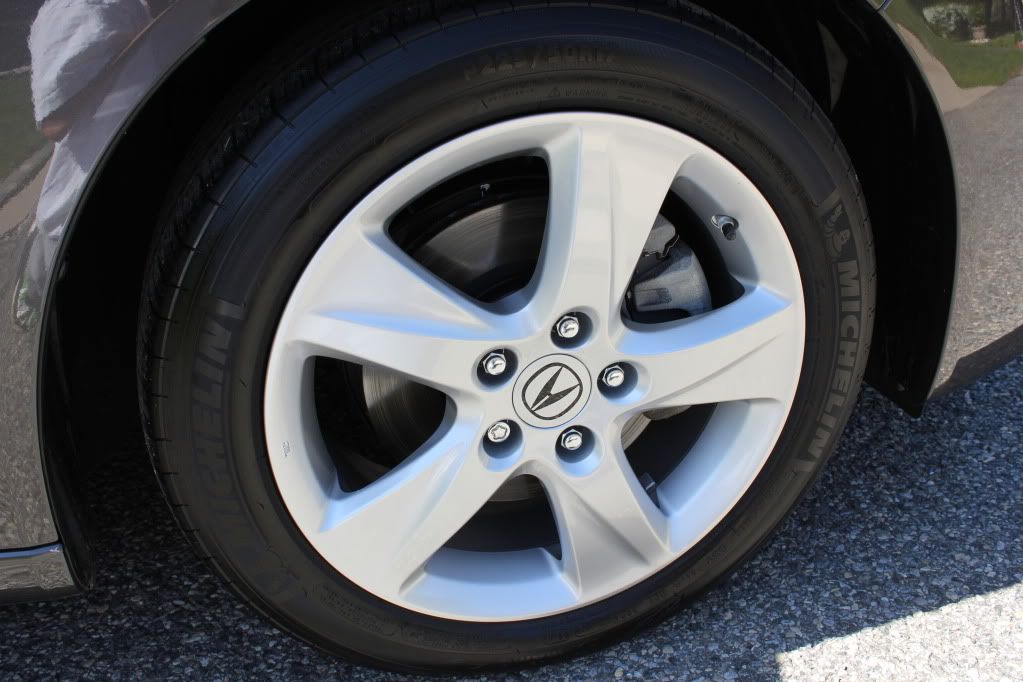
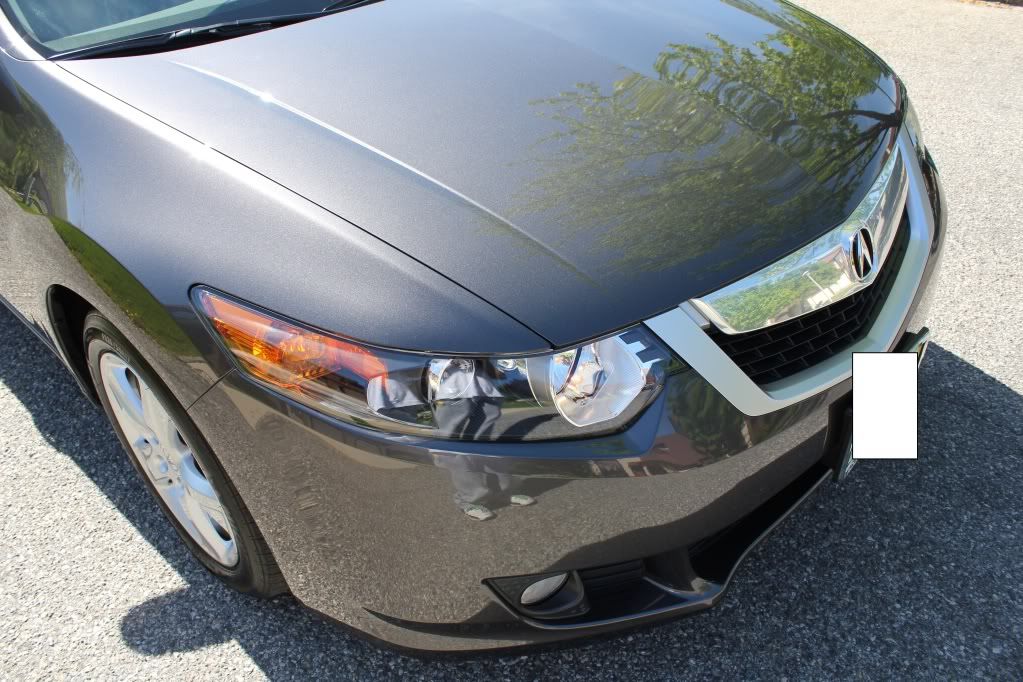
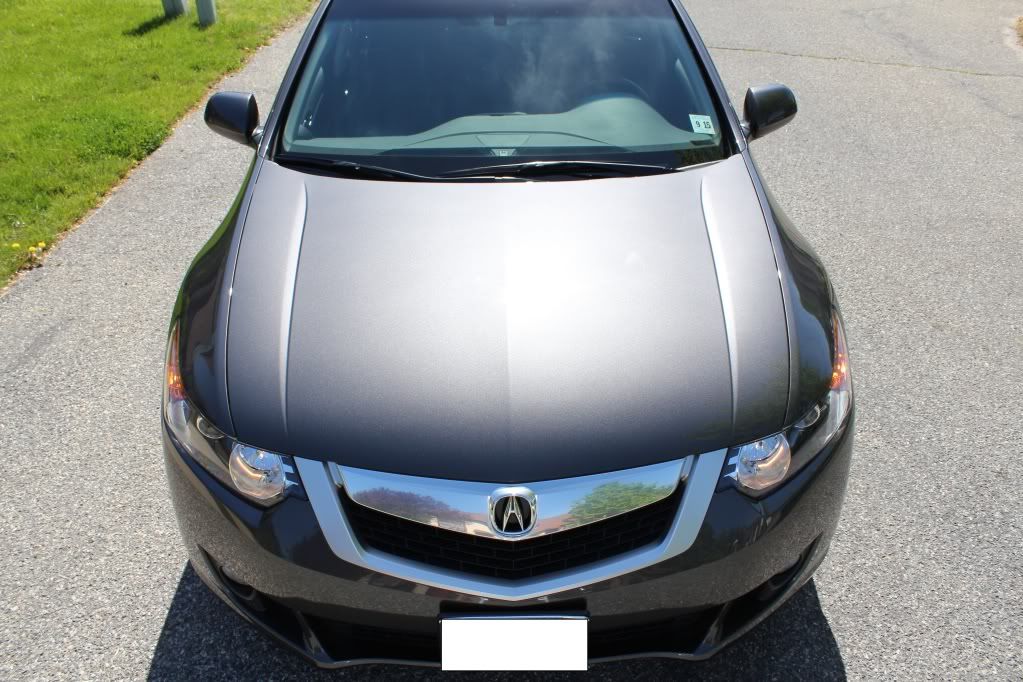
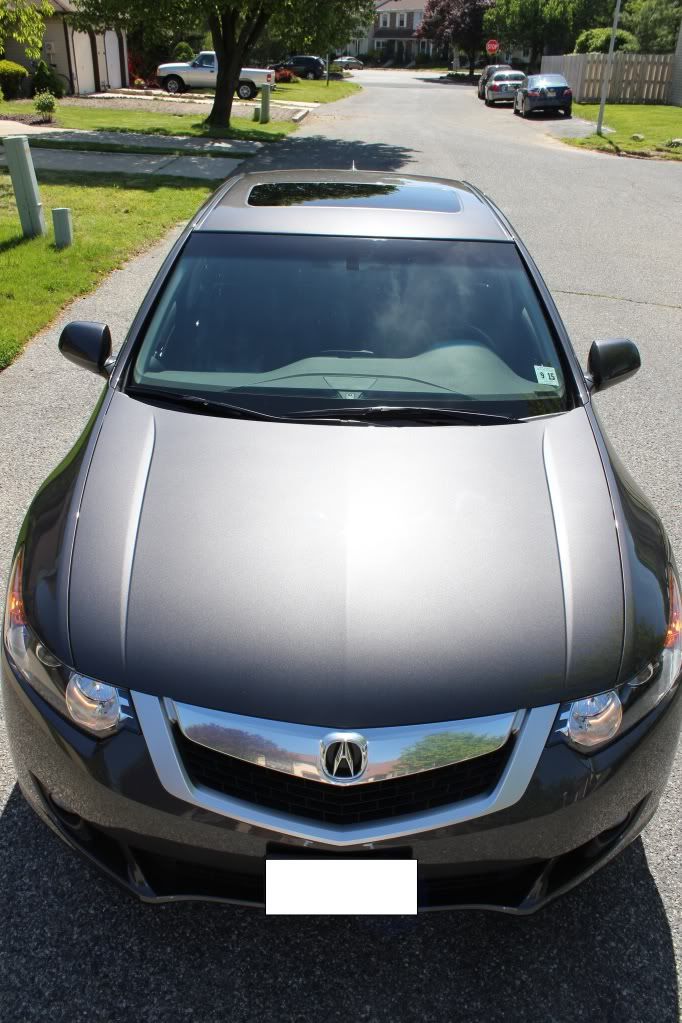
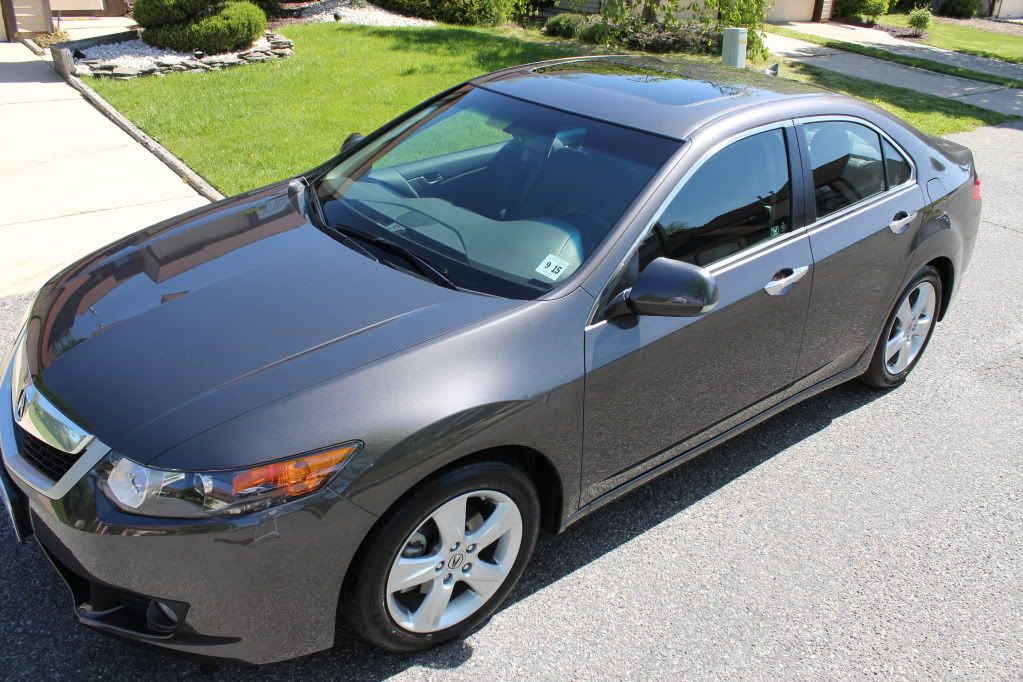
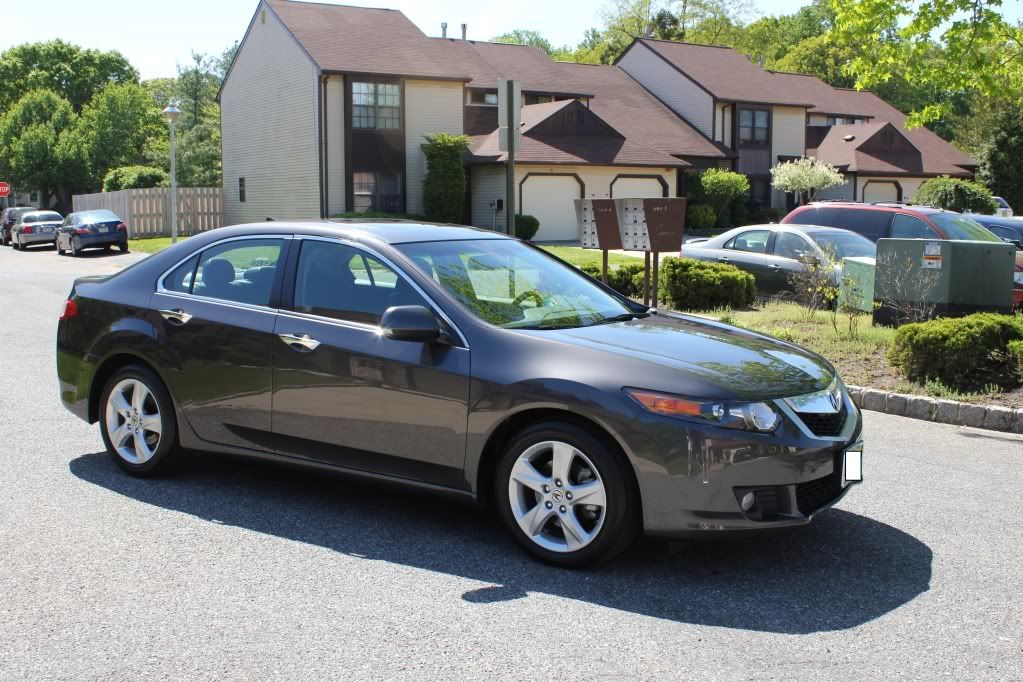
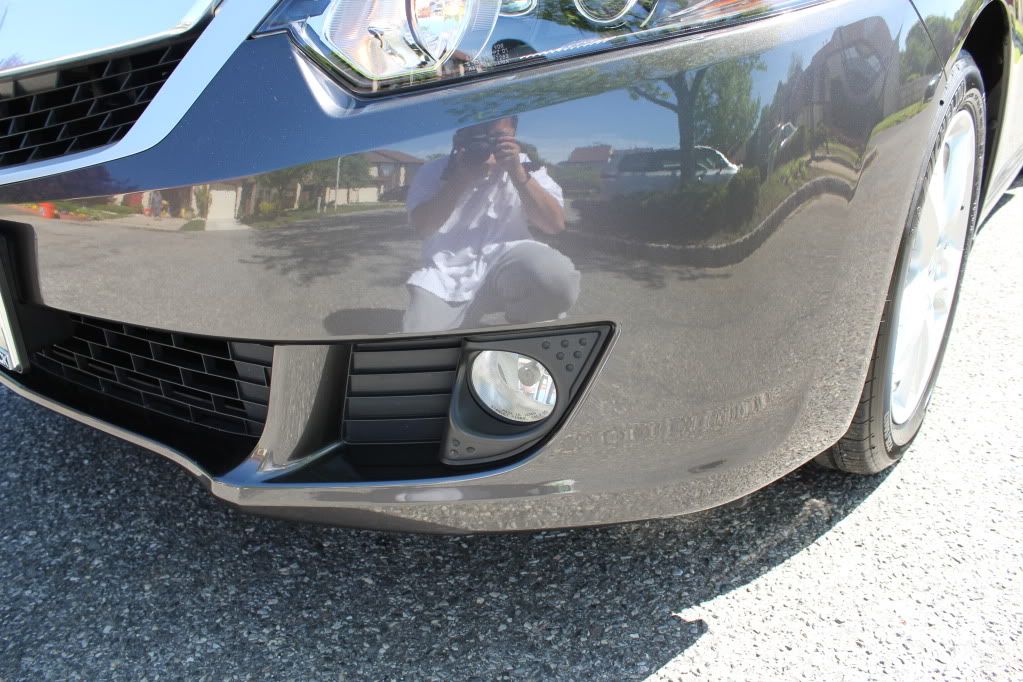
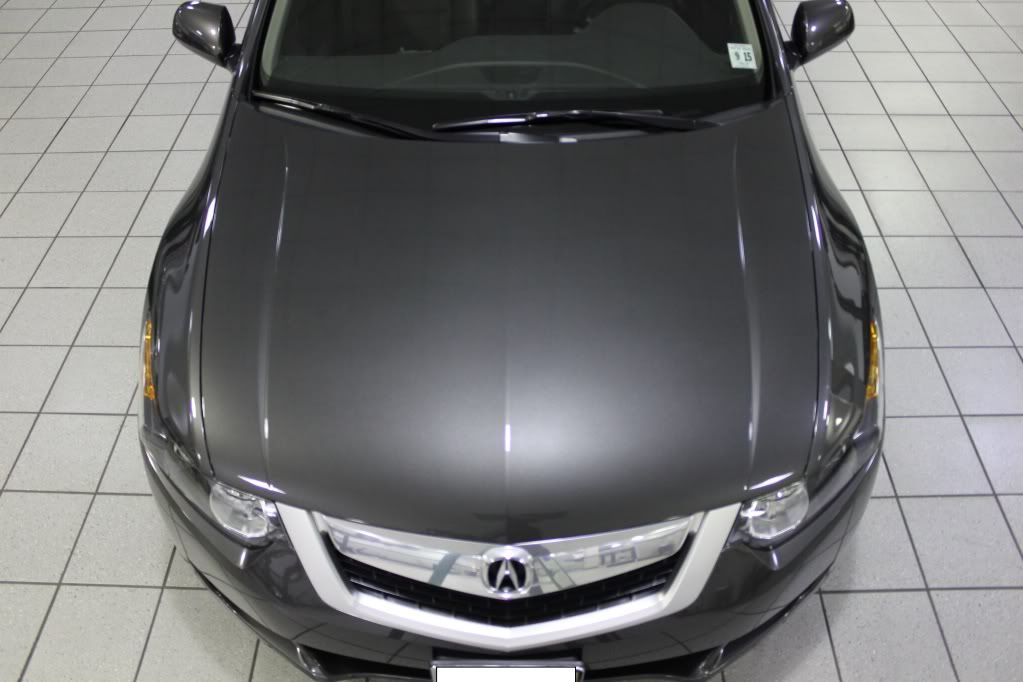
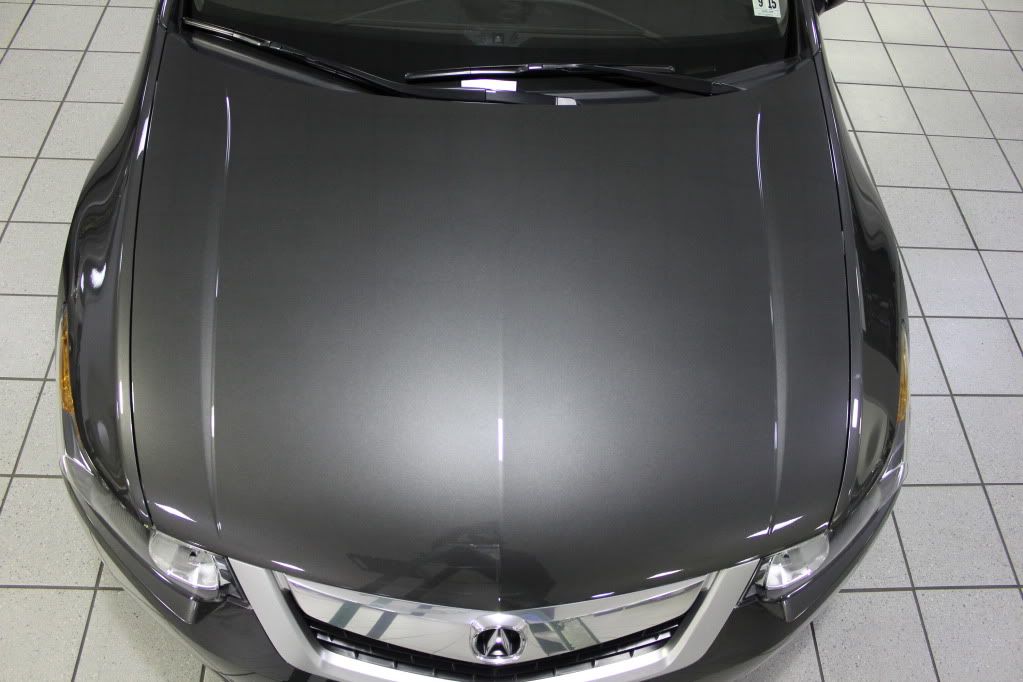
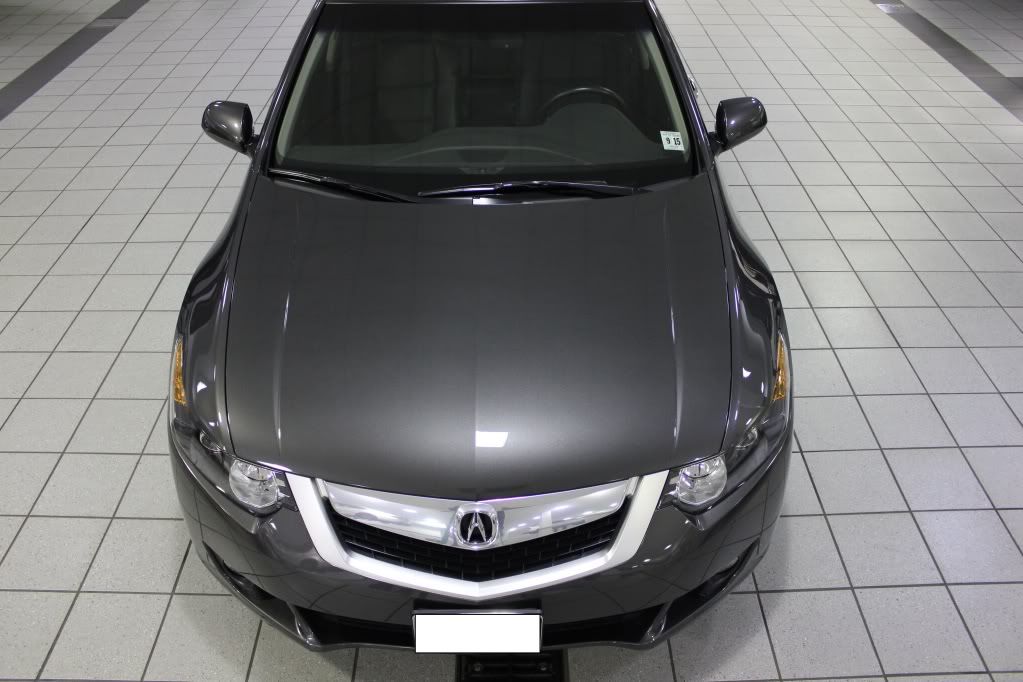
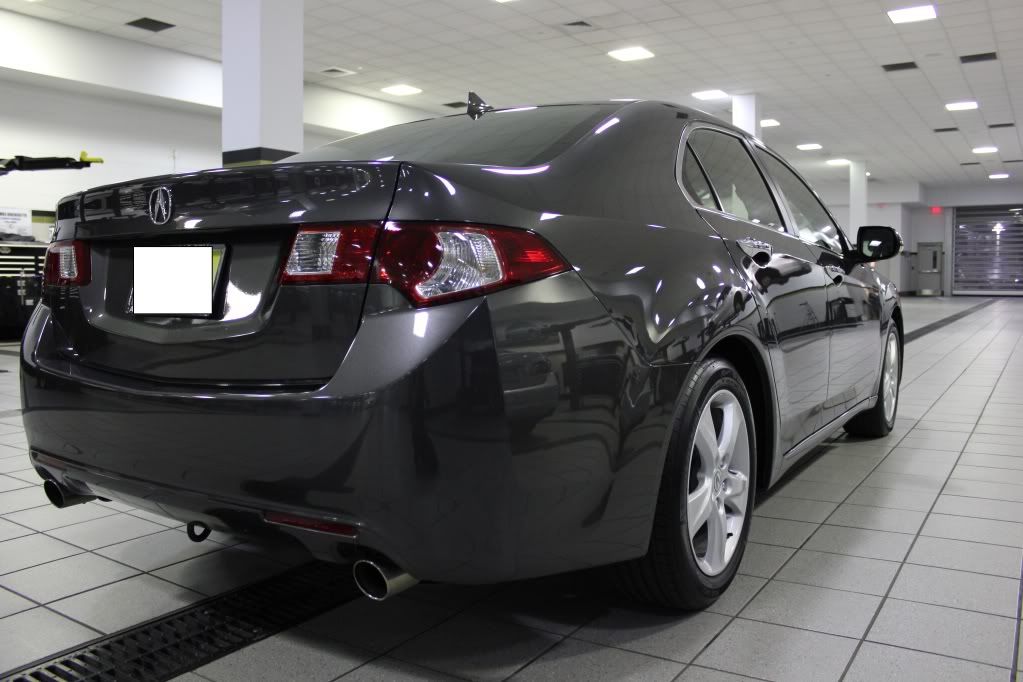
Took a few before pics.
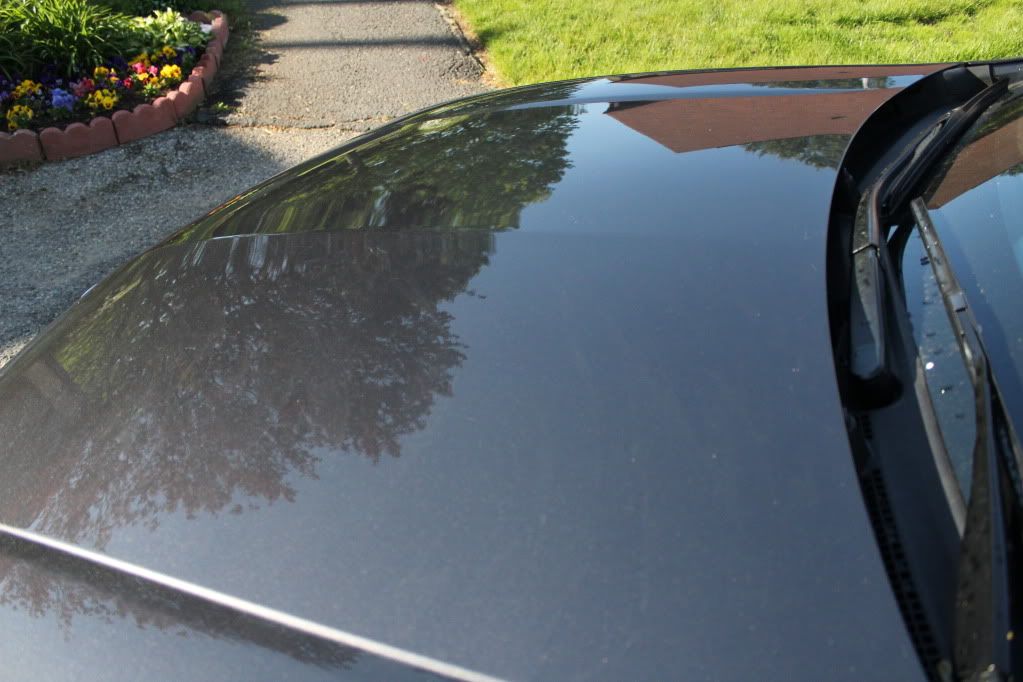
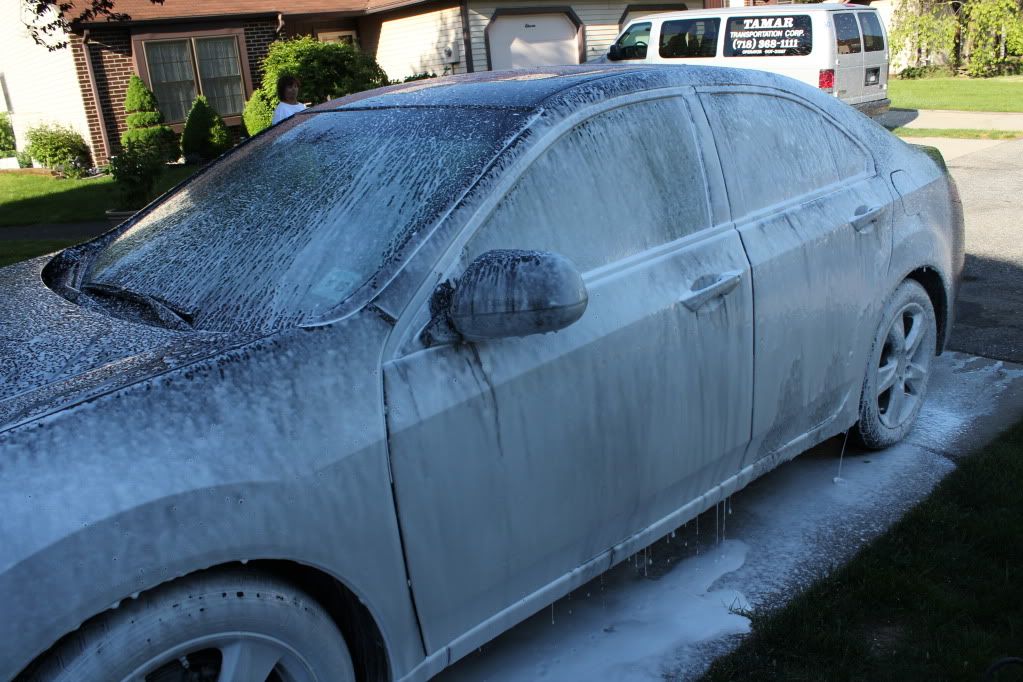
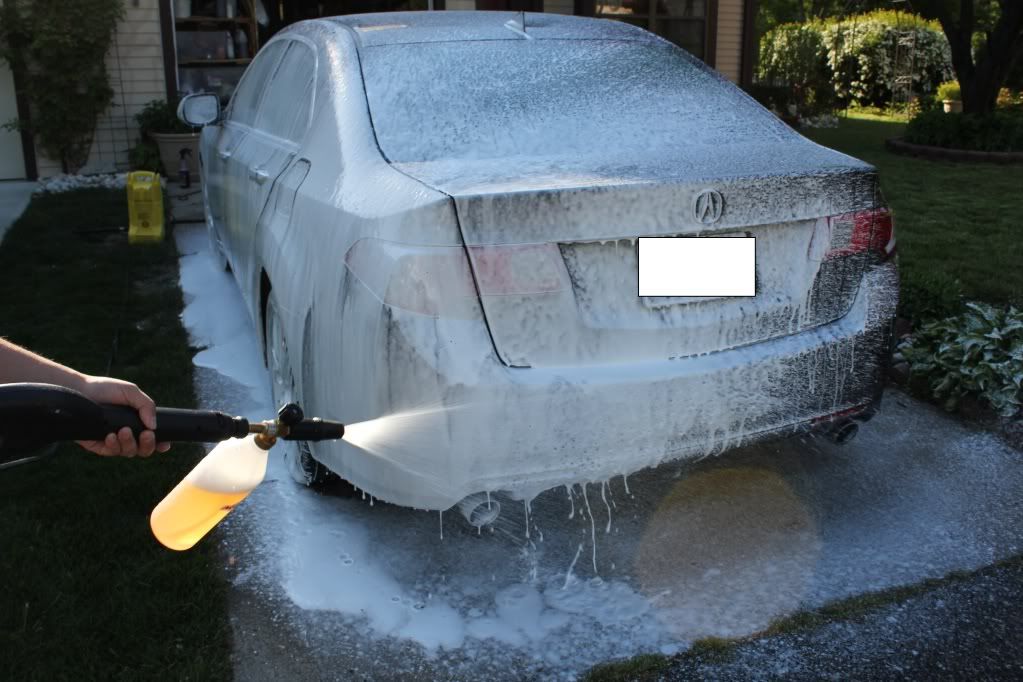
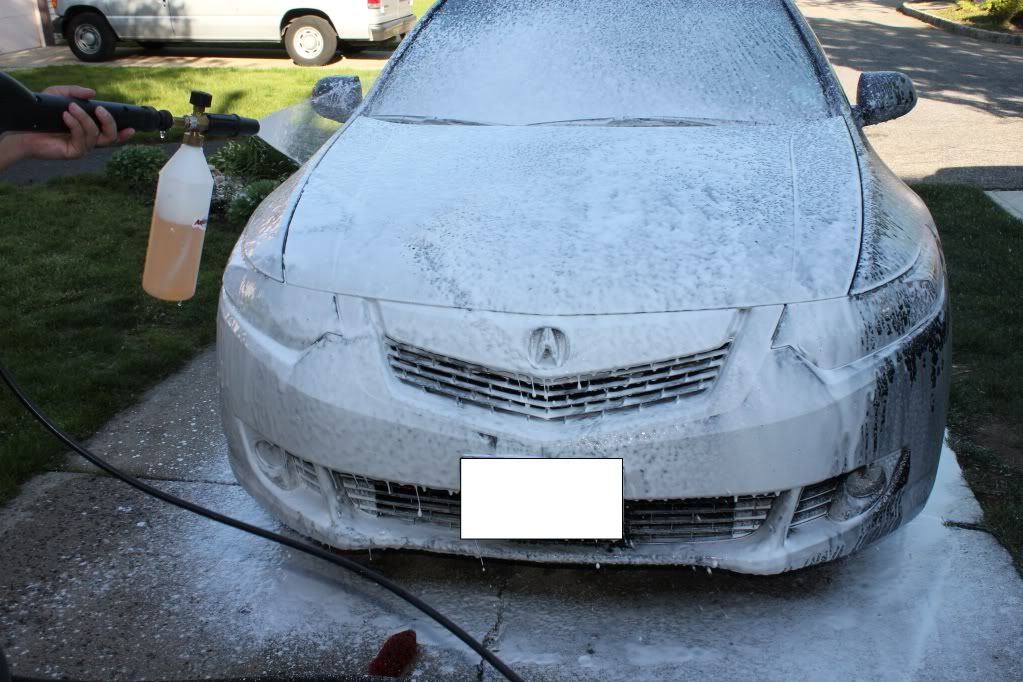
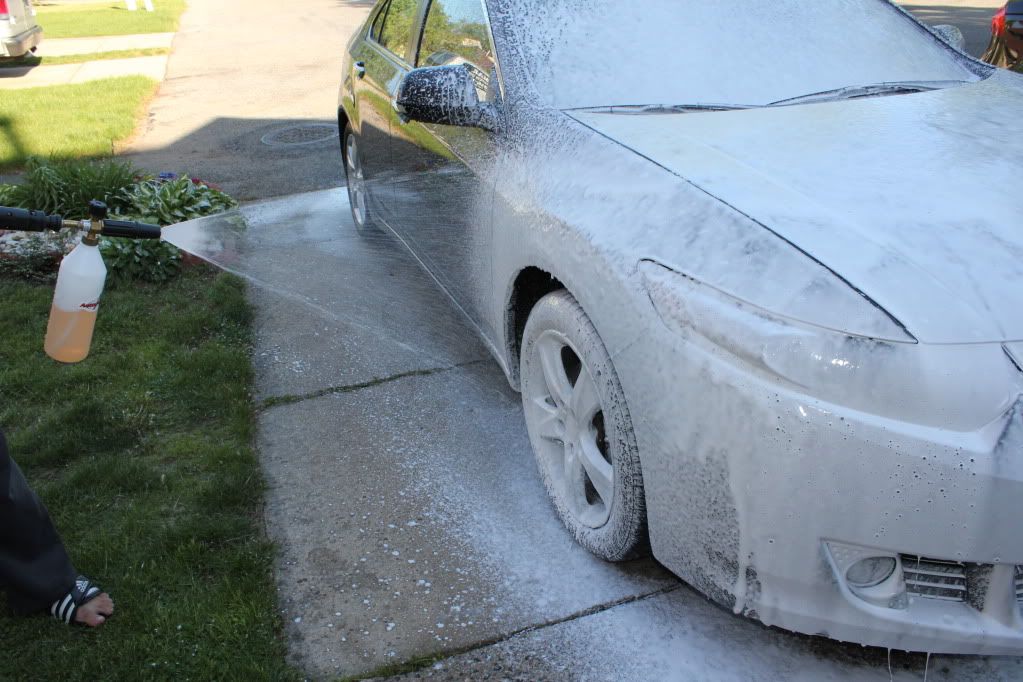
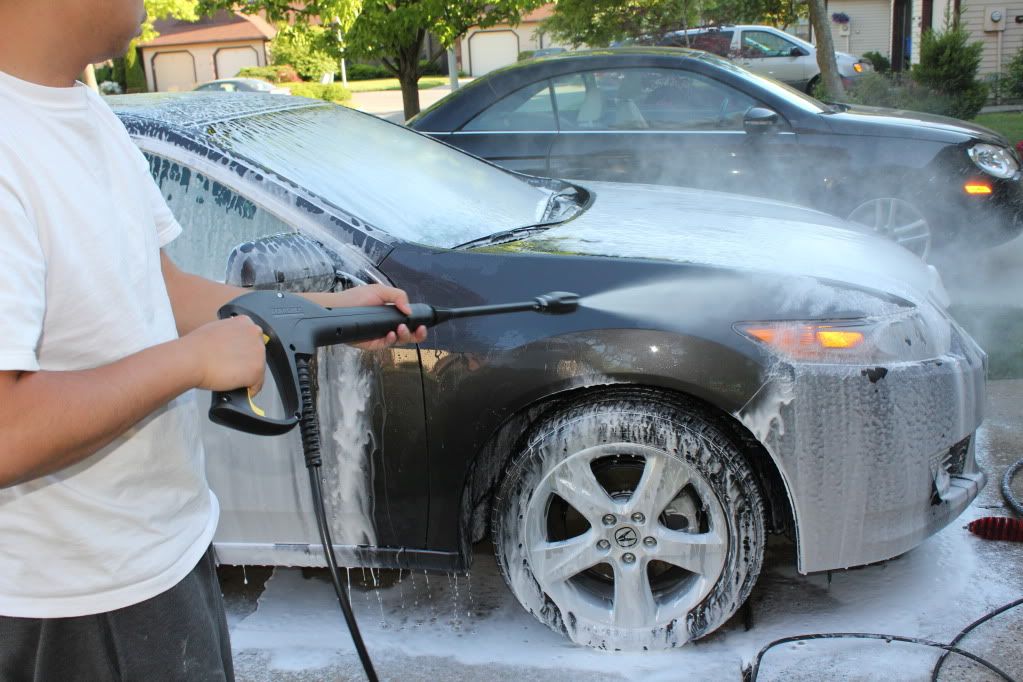
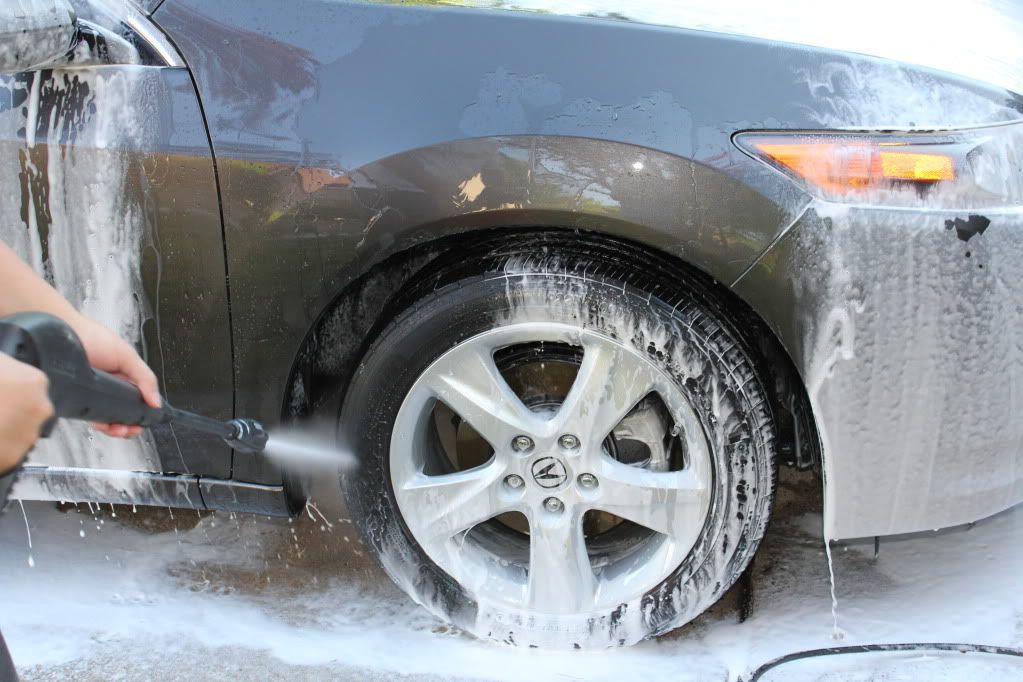
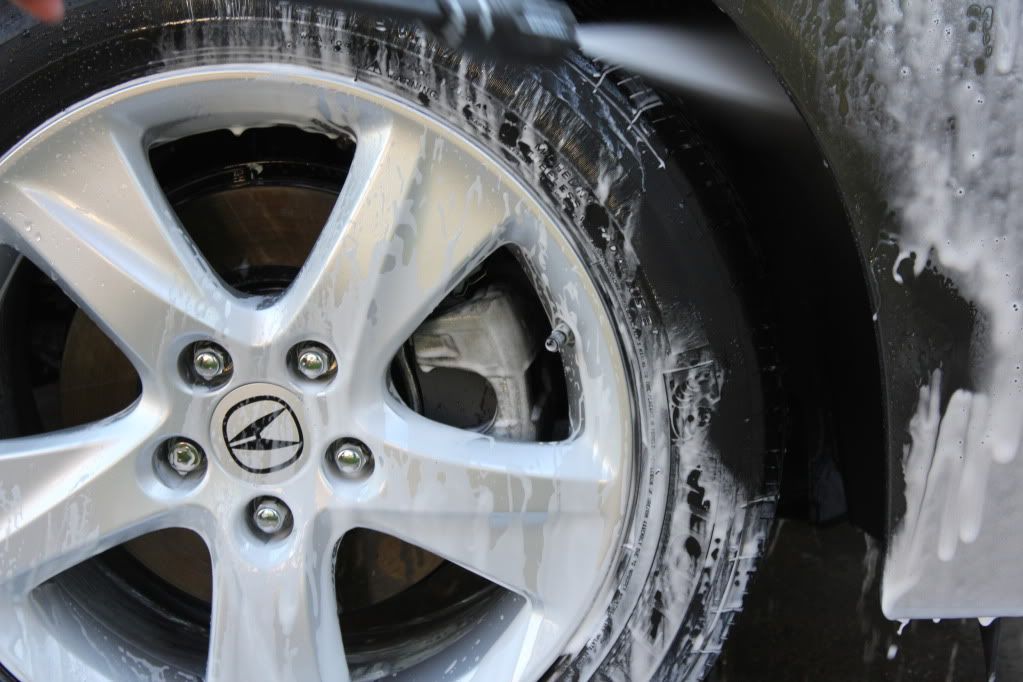
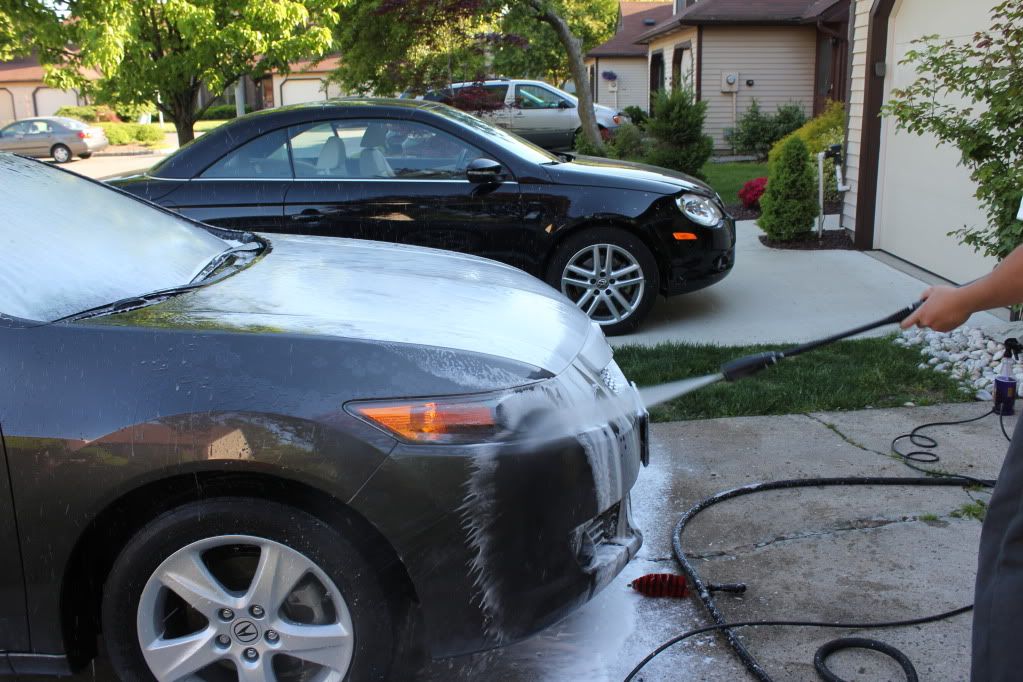
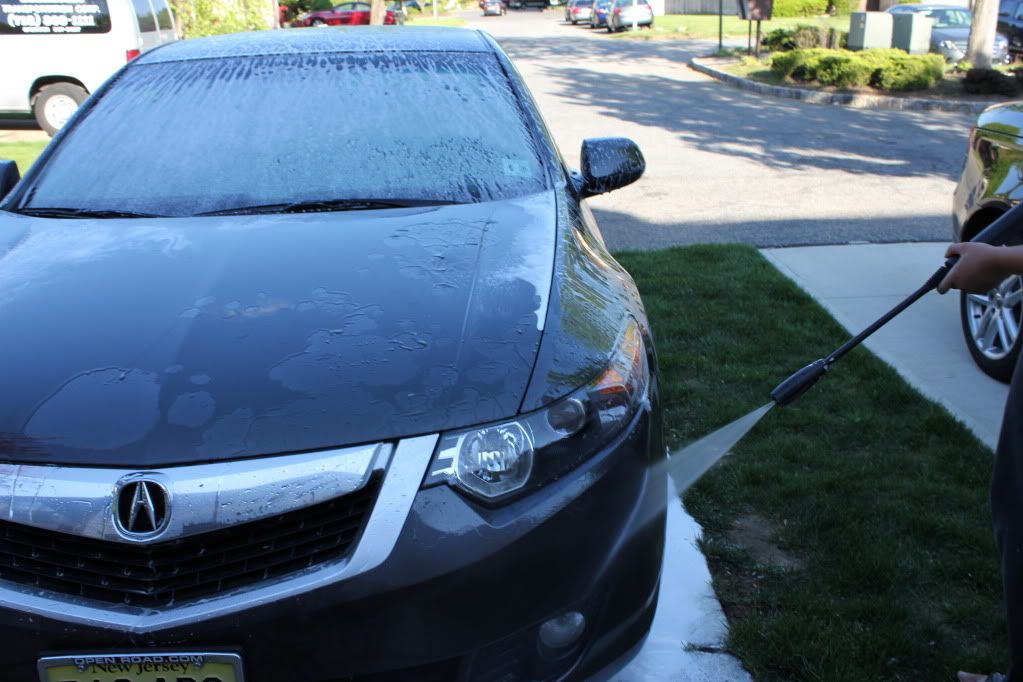
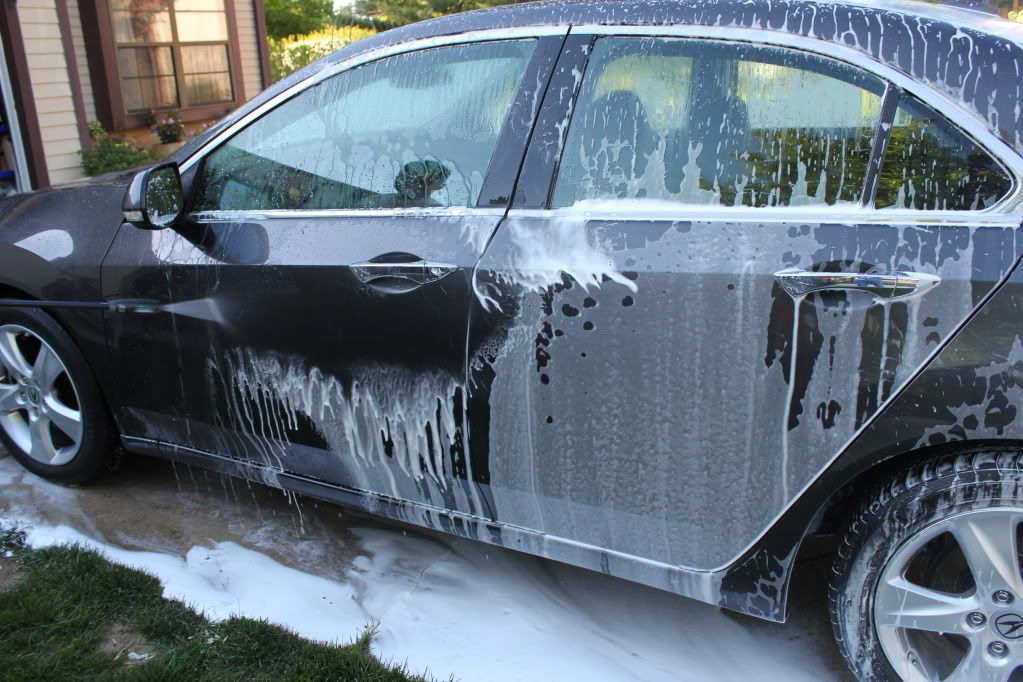
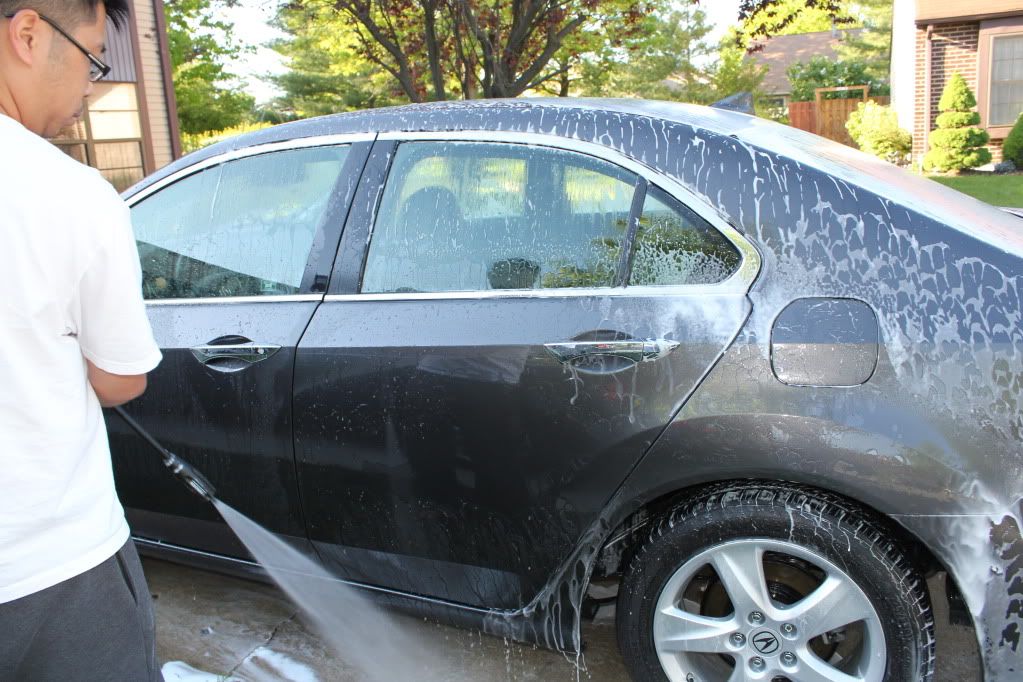
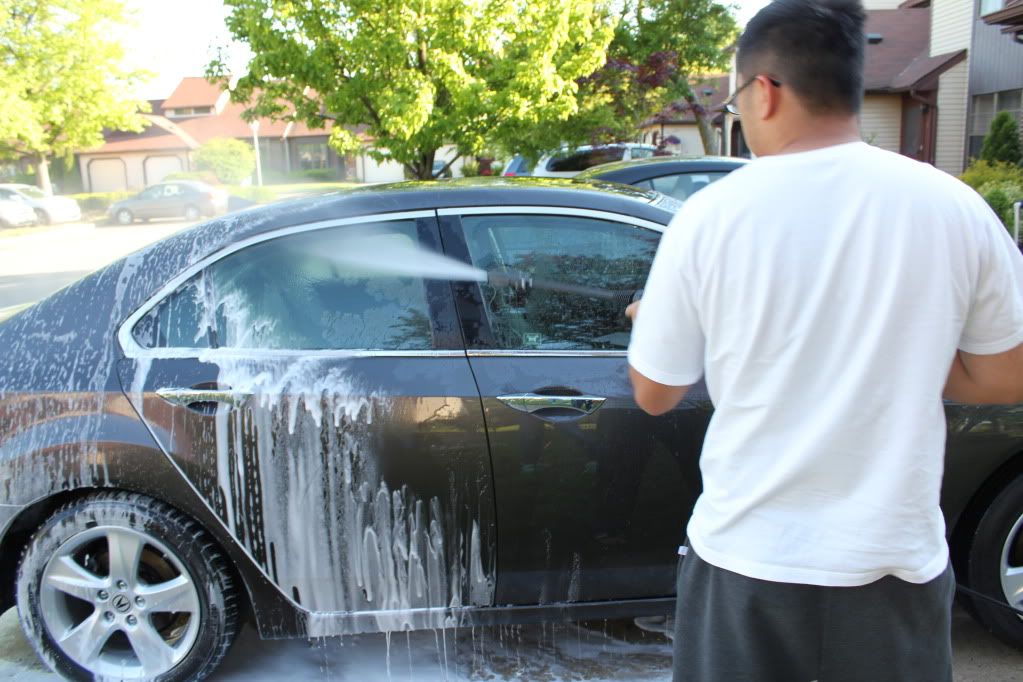
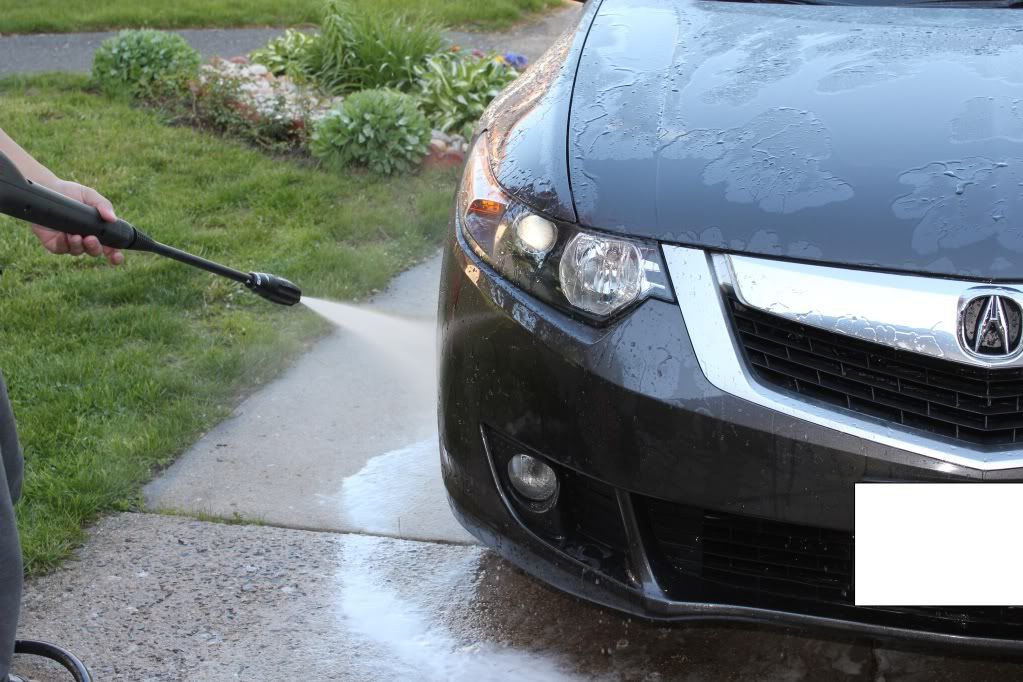
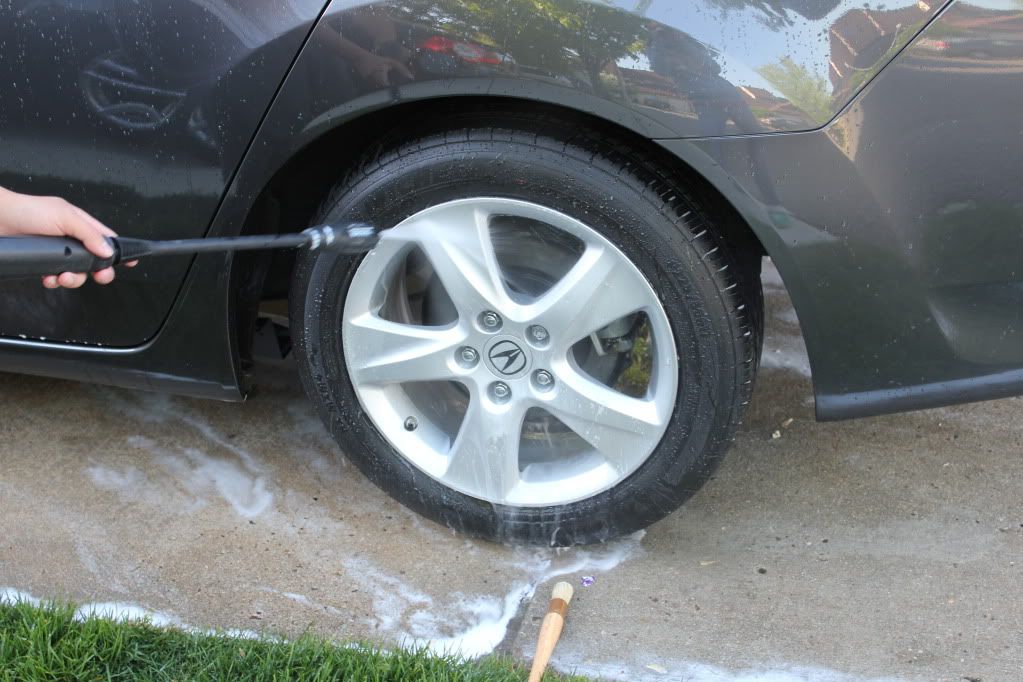
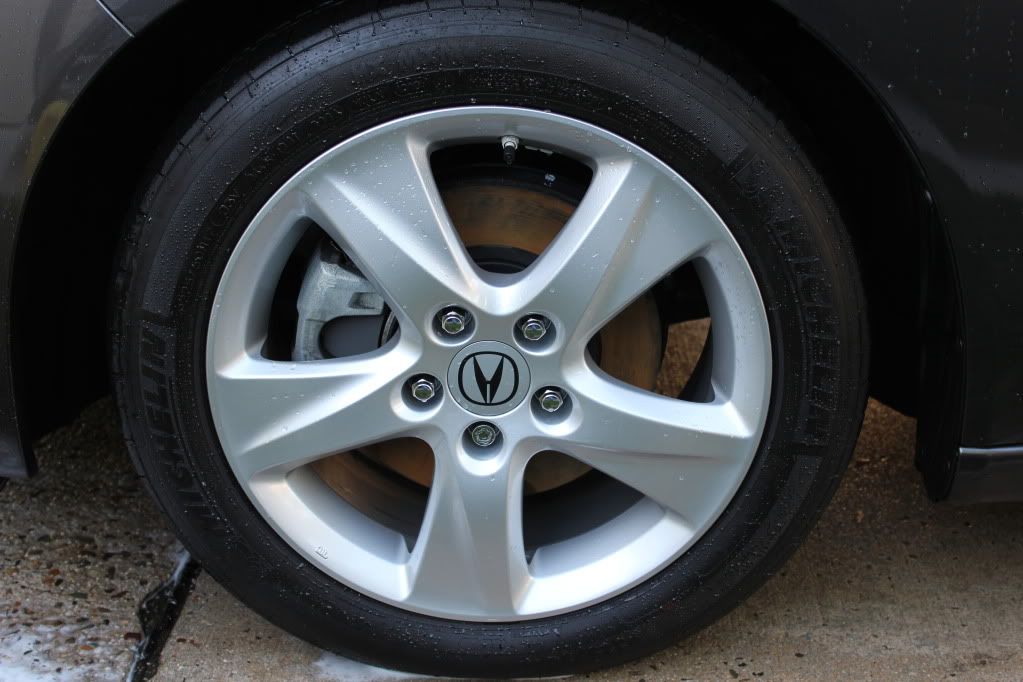
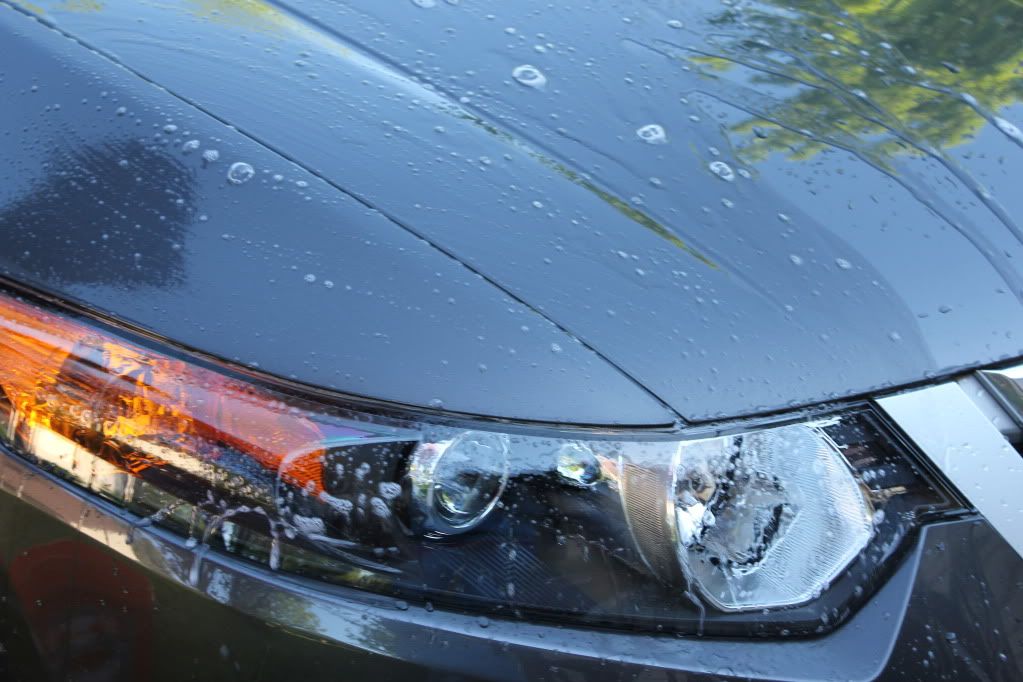
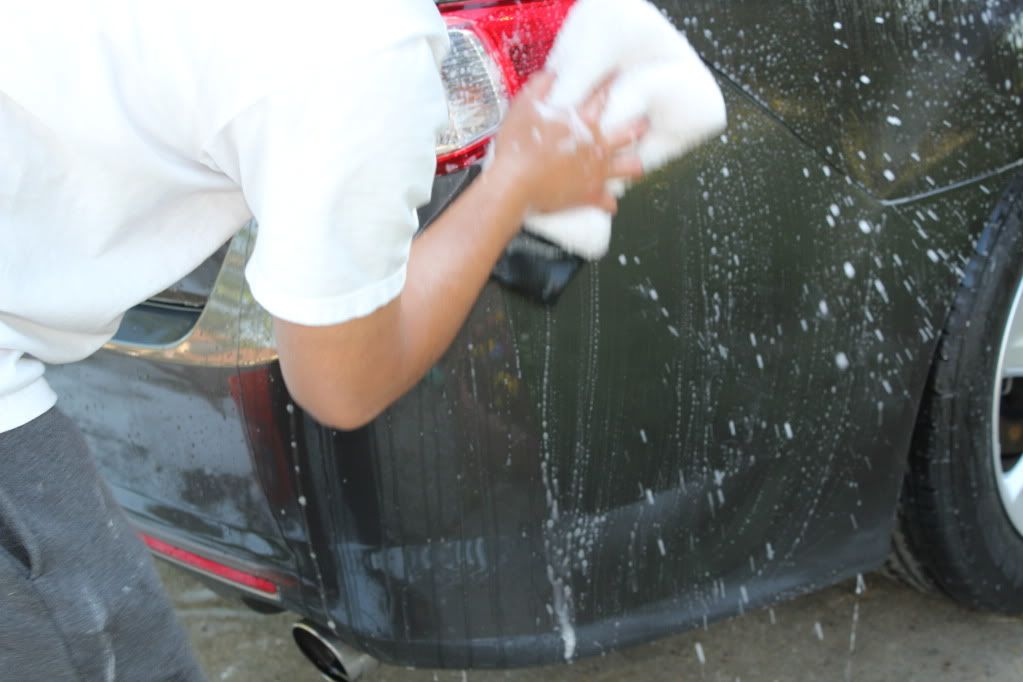
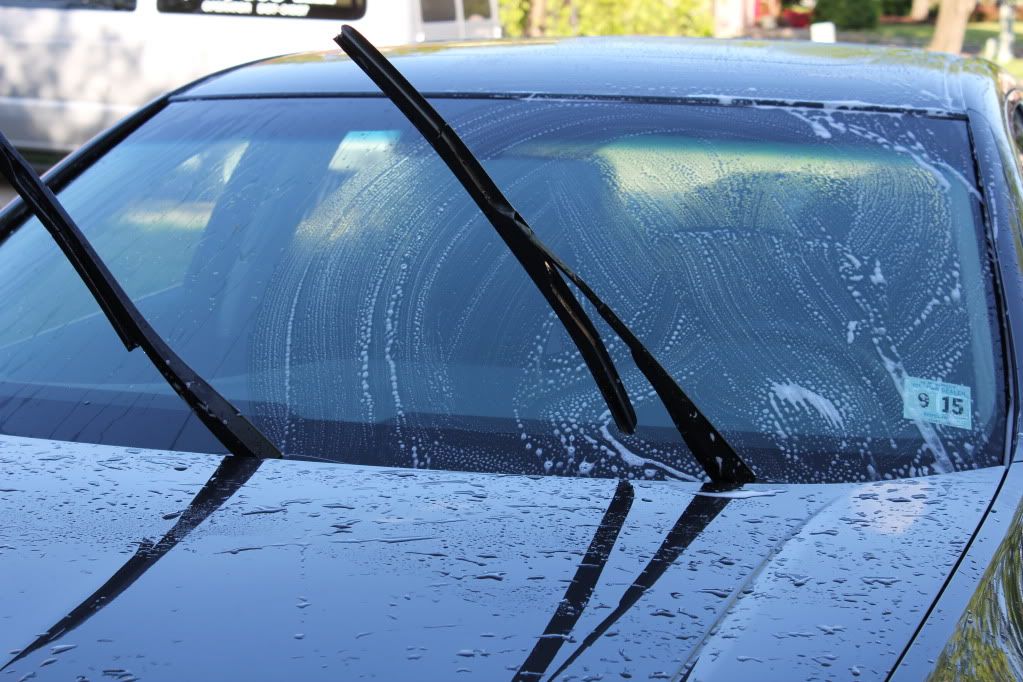
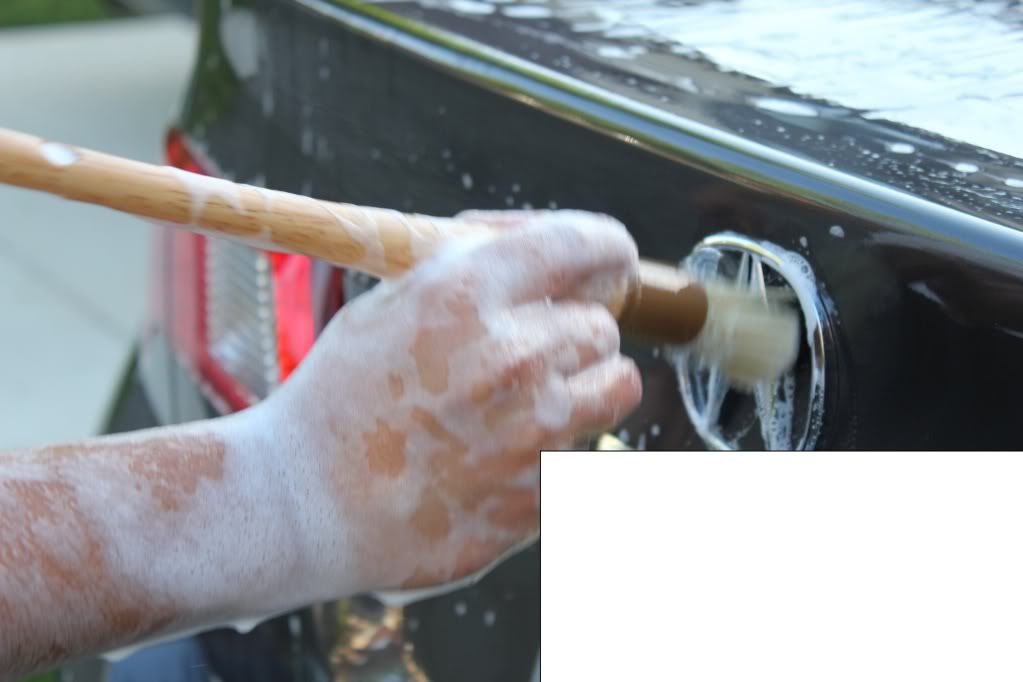
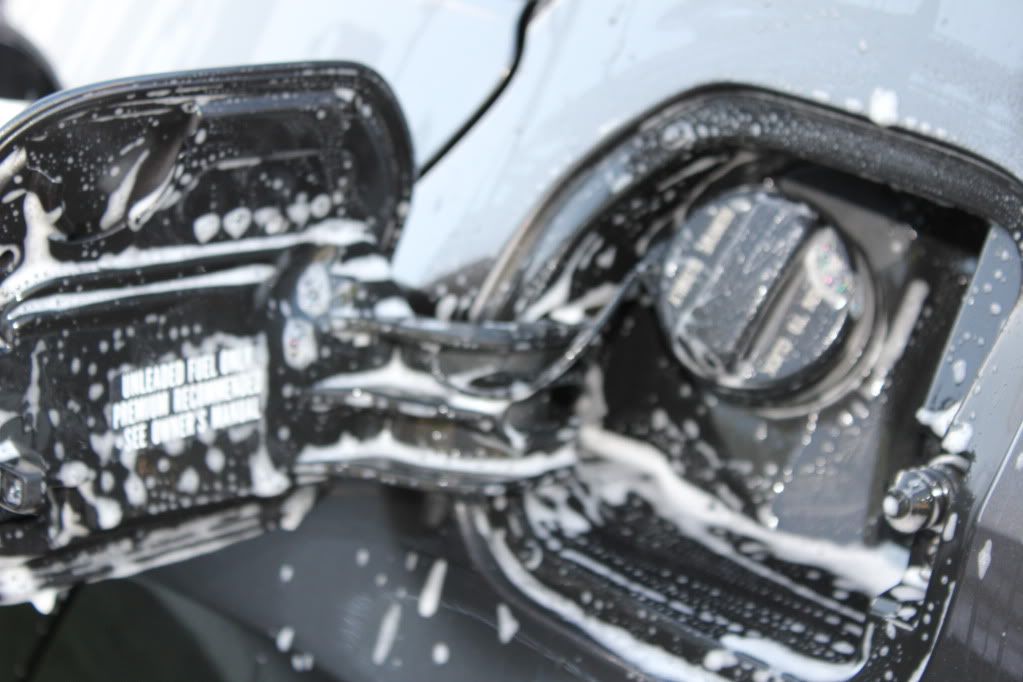
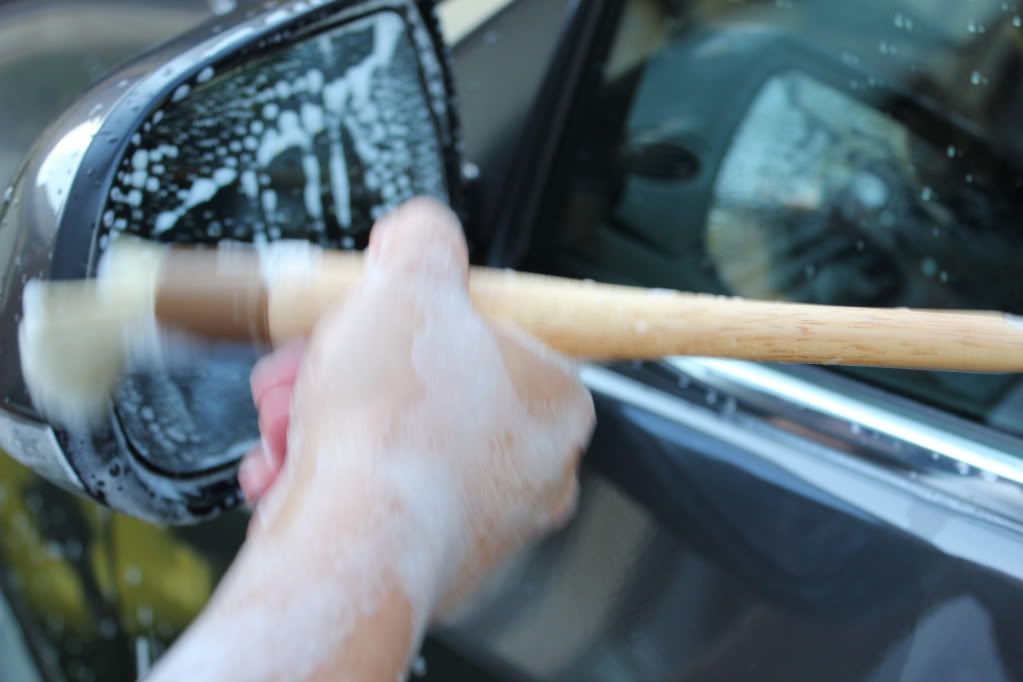
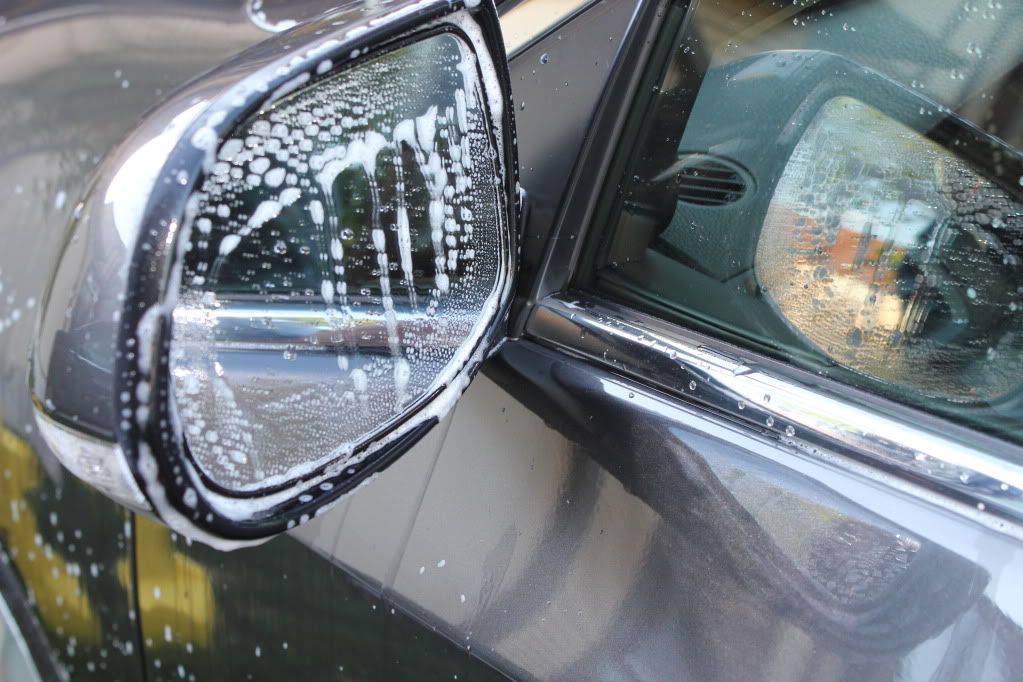
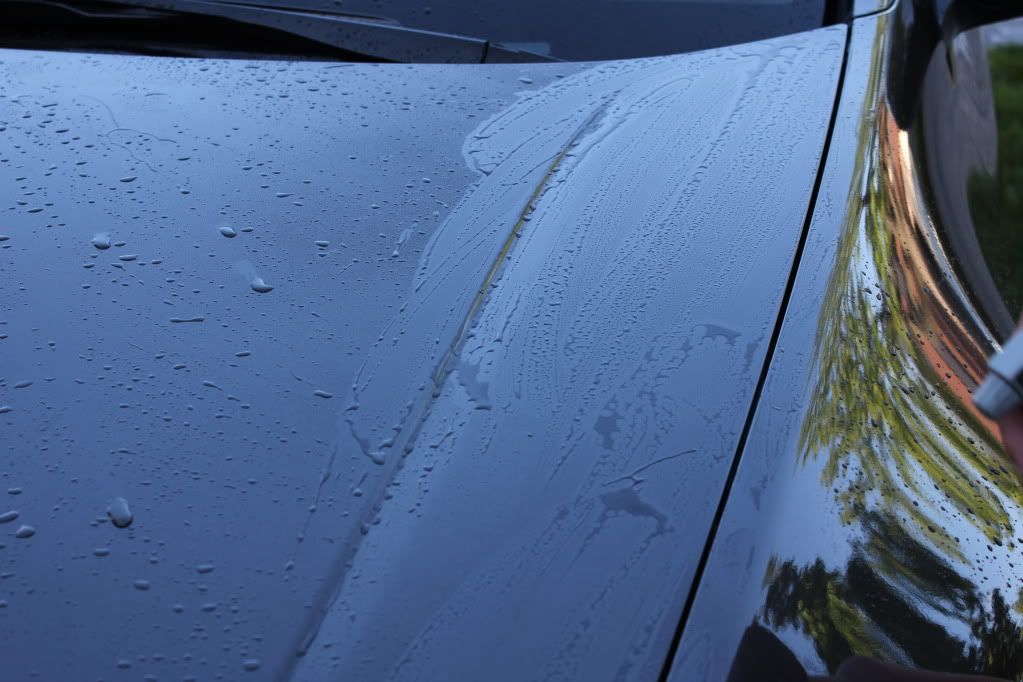
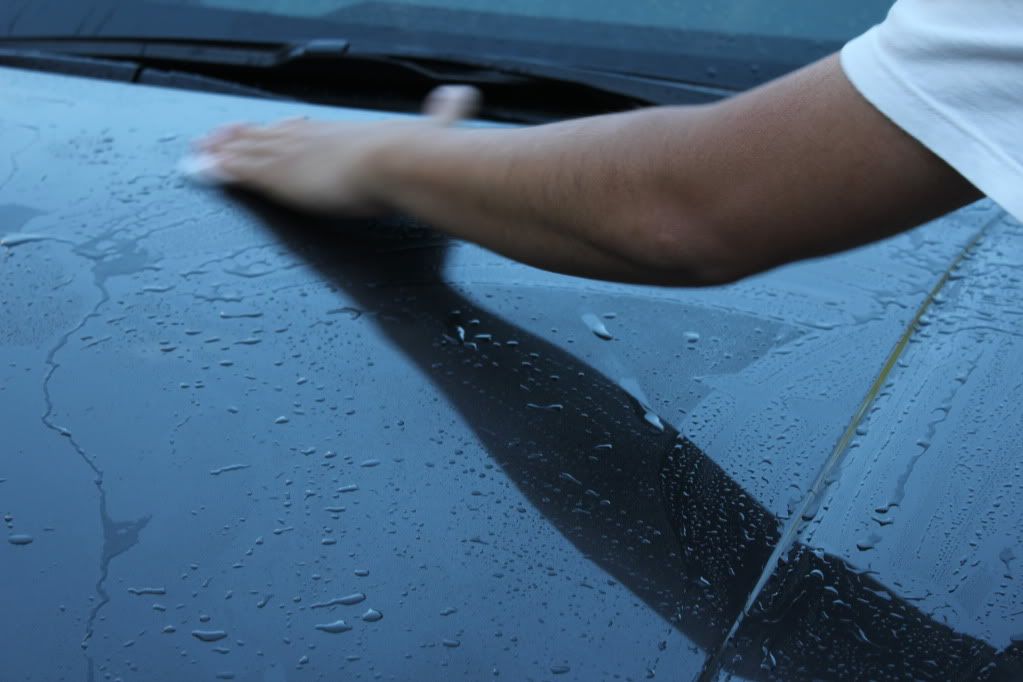
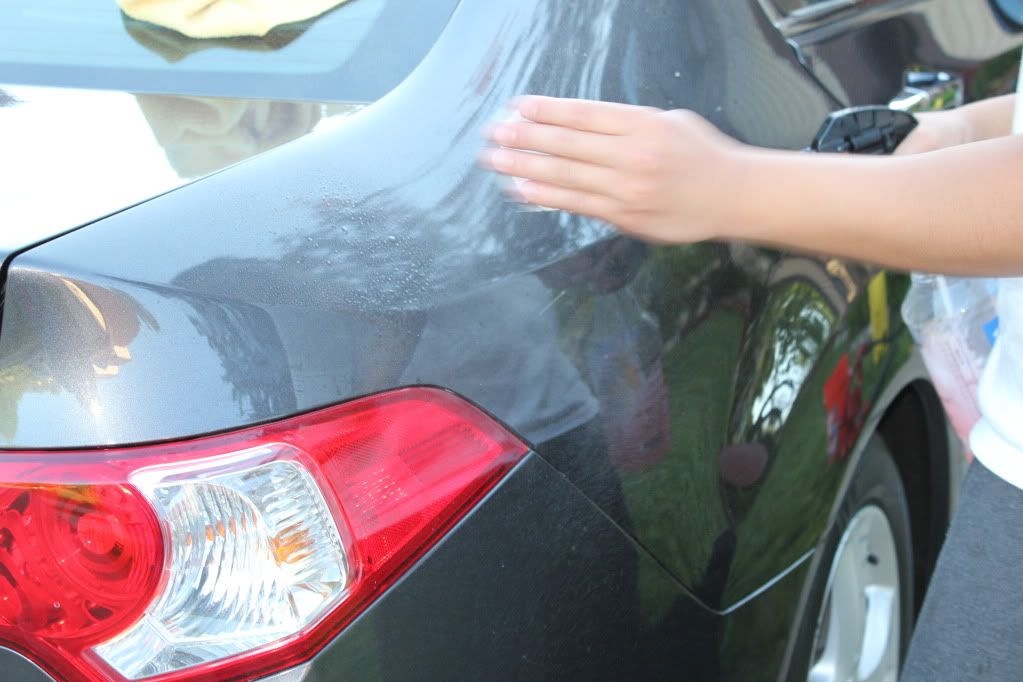
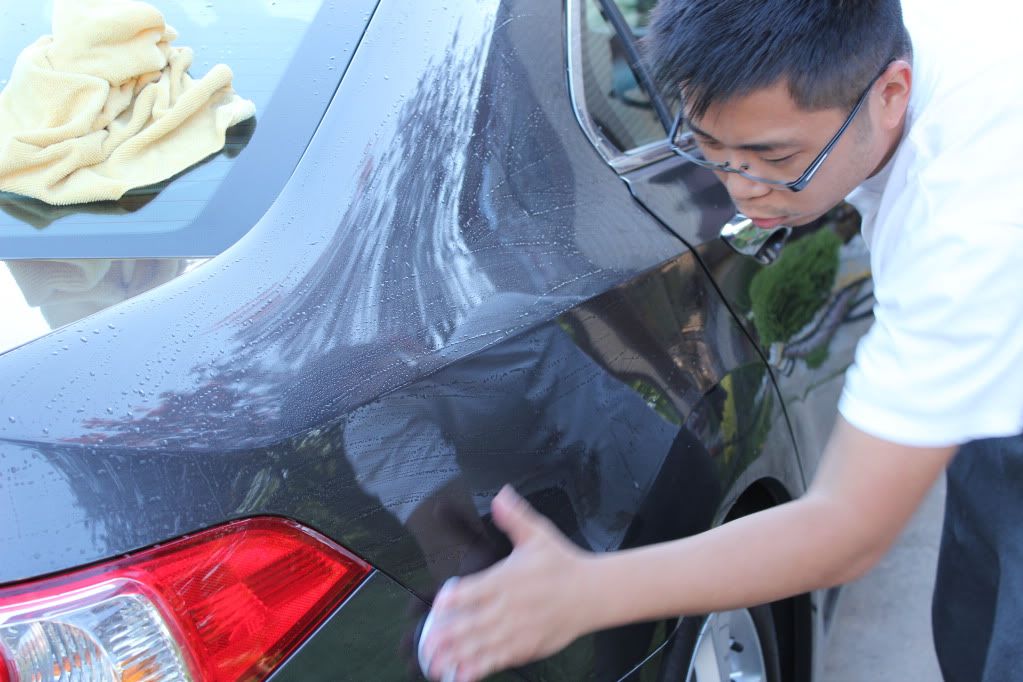
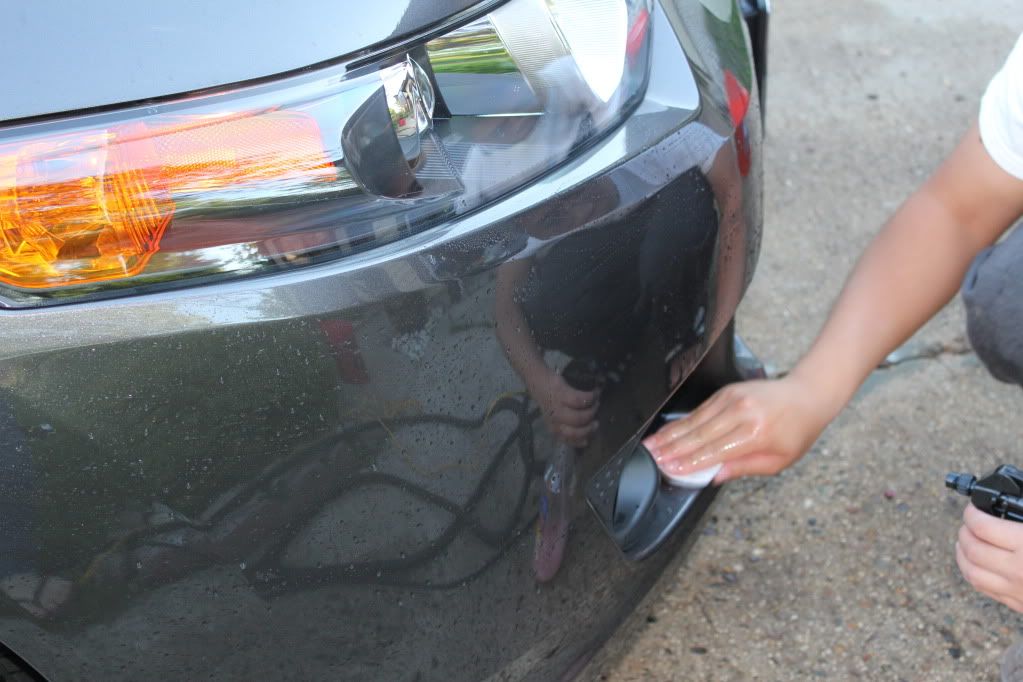
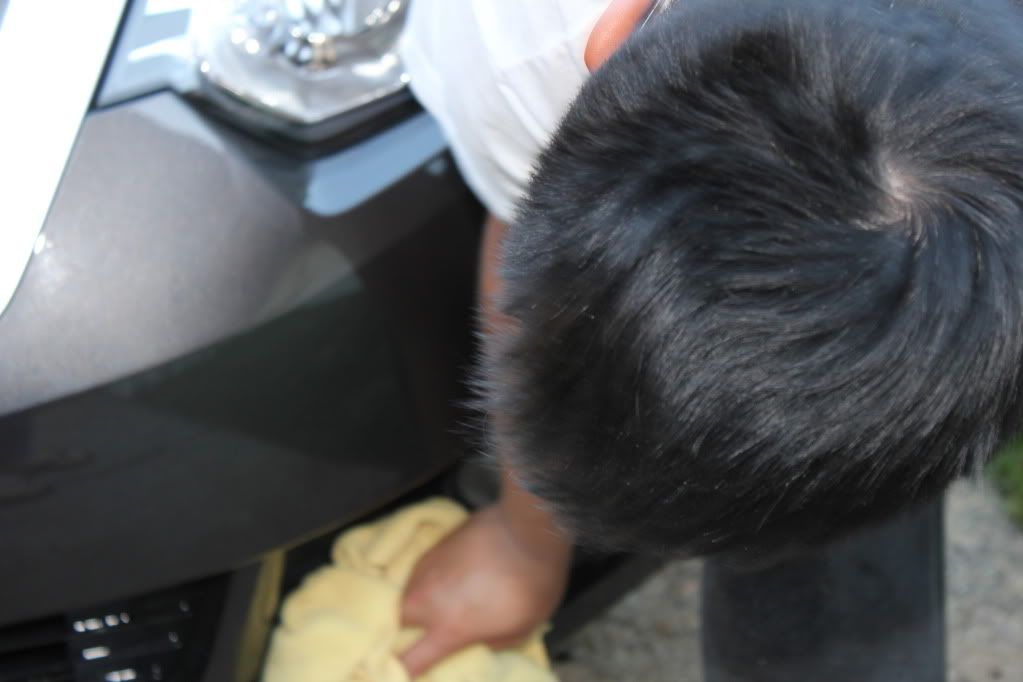
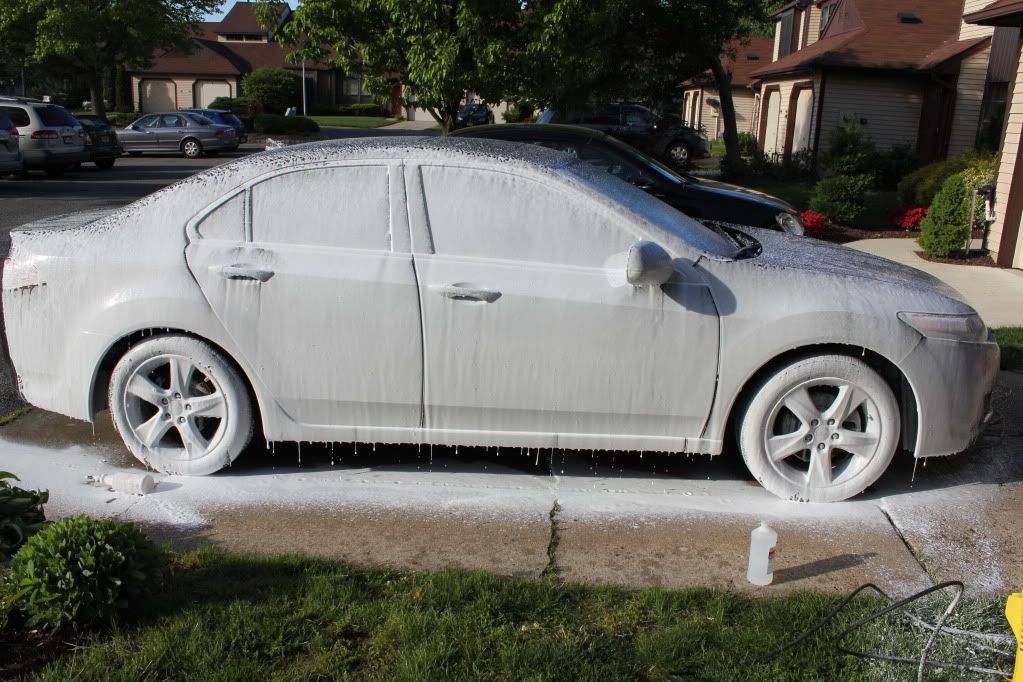
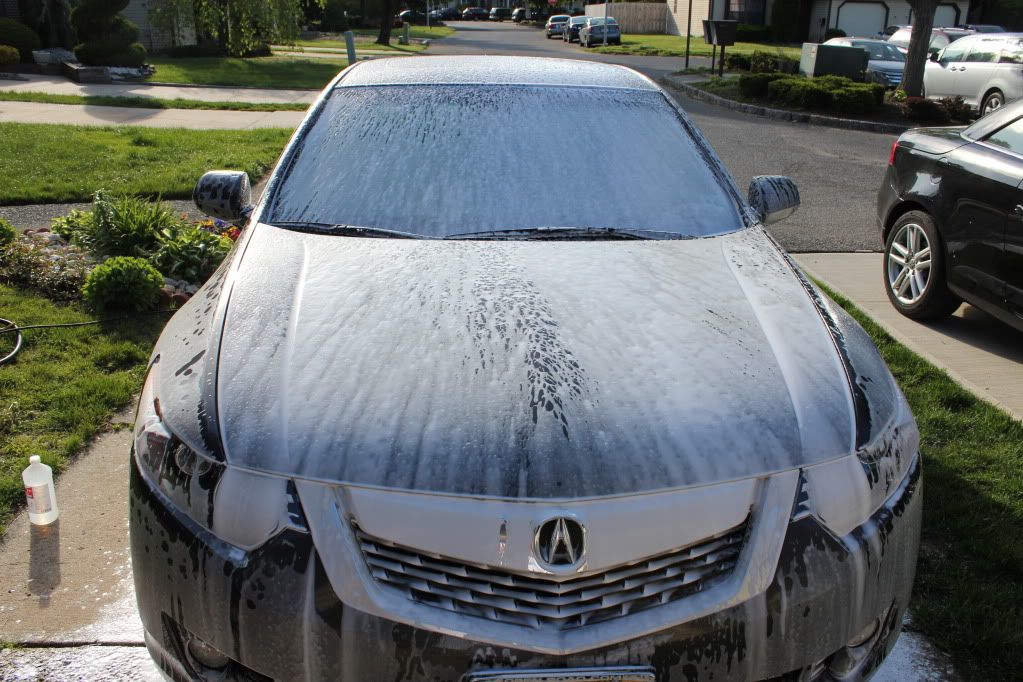
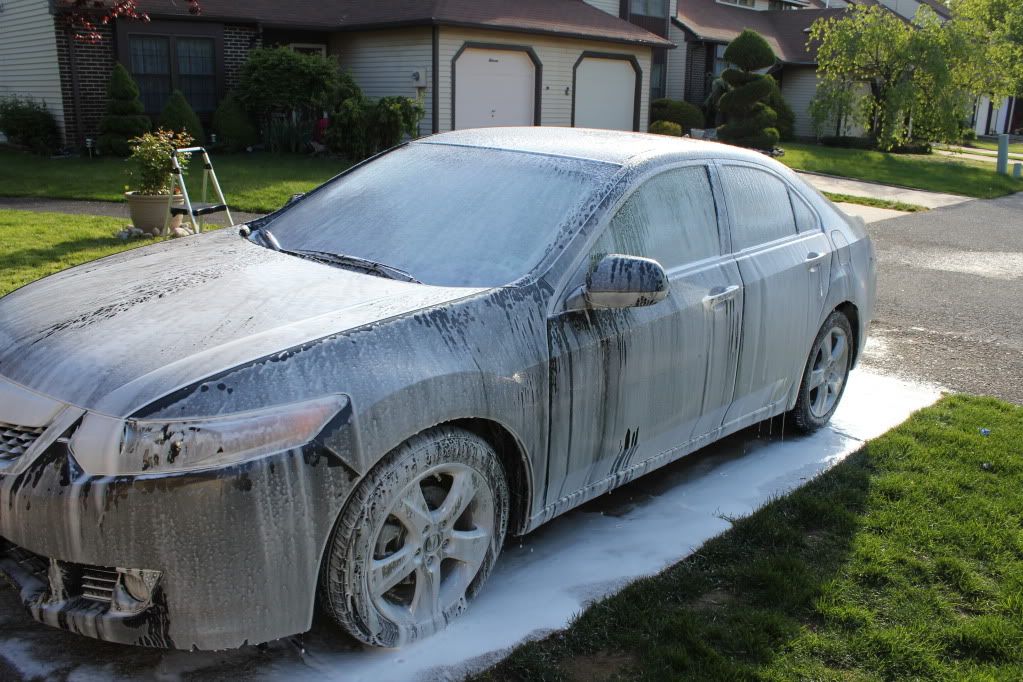
Started to power wash the car, to rinse any contaminant off the car. Then foam cannoned the car with Hyper wash/APC+. Then rinsed with power wash.


Steps:
Power washed
Foamed cannoned
2 bucket wash with Grit guards
Clayed
Tapped off car
One step polish
Applied sealant
Then Wax
Applied wheel shine
Item used:
Electric power washer
Foam cannon
Hyper wash
Duragloss soap
Meg wheel brighter
Daytona brush
Lug brush
Homedepot buckets
Grit guards
Meg Mf mitts
Leaf blow drier
DP clay bar
Last touch detail spray
Meg MF
APC+ 10:1
Blue masking tape
Griot’s DA
Lake Country white pads
Meg 205
1000 watt halogen lights
Klasse HGSG
Pinnacle Sig II
AutoGlym sponge
Ladders
Canon T2i
Took a few before pics.
Started to power wash the car, to rinse any contaminant off the car. Then foam cannoned the car with Hyper wash/APC+. Then rinsed with power wash.


")
 rops:
rops: