PinnacleAutoCT
New member
- Sep 28, 2014
- 110
- 0
1940 Nash attacked by a rotary noob - Pinnacle Auto Detail - CT
Hey guys, I haven’t posted in a while and figured this was a good car to get back into the swing of things with.
Like the title says, this is a 1940 Nash and the paint was absolutely hammered by an inexperienced rotary user. The owner’s son had seen me correcting a few of their cars (1965 Malibu, Dodge 1500, etc) and wanted to try his hand at polishing, buying a Dewalt 849, some pads and polish.
He quickly got in over his head and the father called me in to get things looking proper.
Upon arrival the car looked decent, reflecting light and showing good shine under the florescent lighting, but a quick inspection with my LED headlamp showed heavy marring and lots of rotary swirls.
Given that the paint was quite old and relatively soft, I decided to shoot for around 80% defect removal, which would hopefully remove the rotary trails and most of the straight-line marring, while still leaving a healthy amount of paint behind.
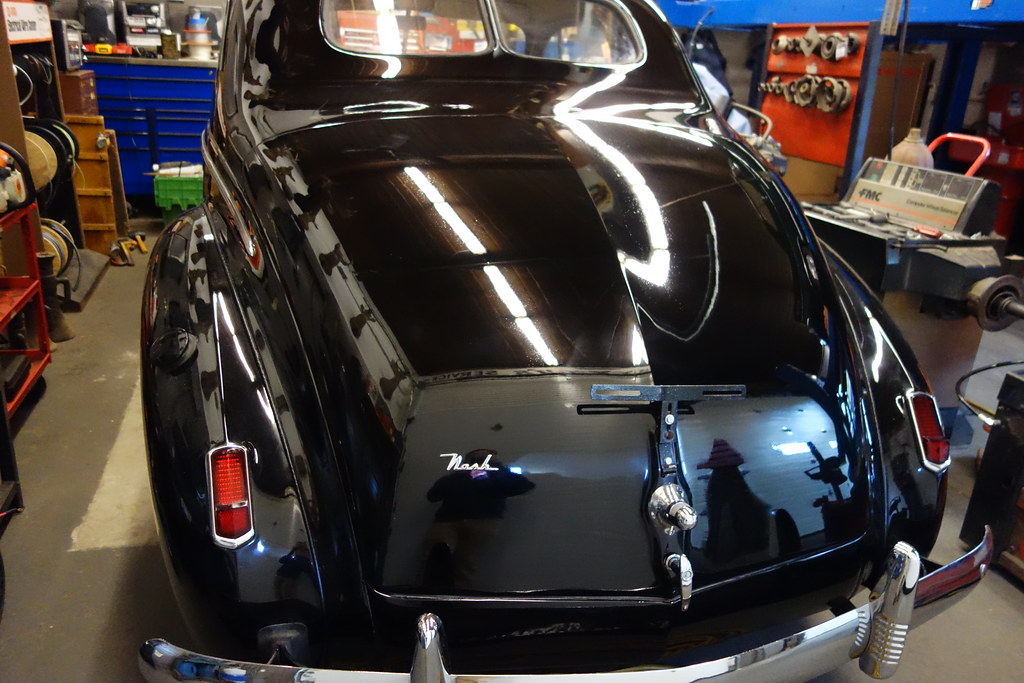
Before:
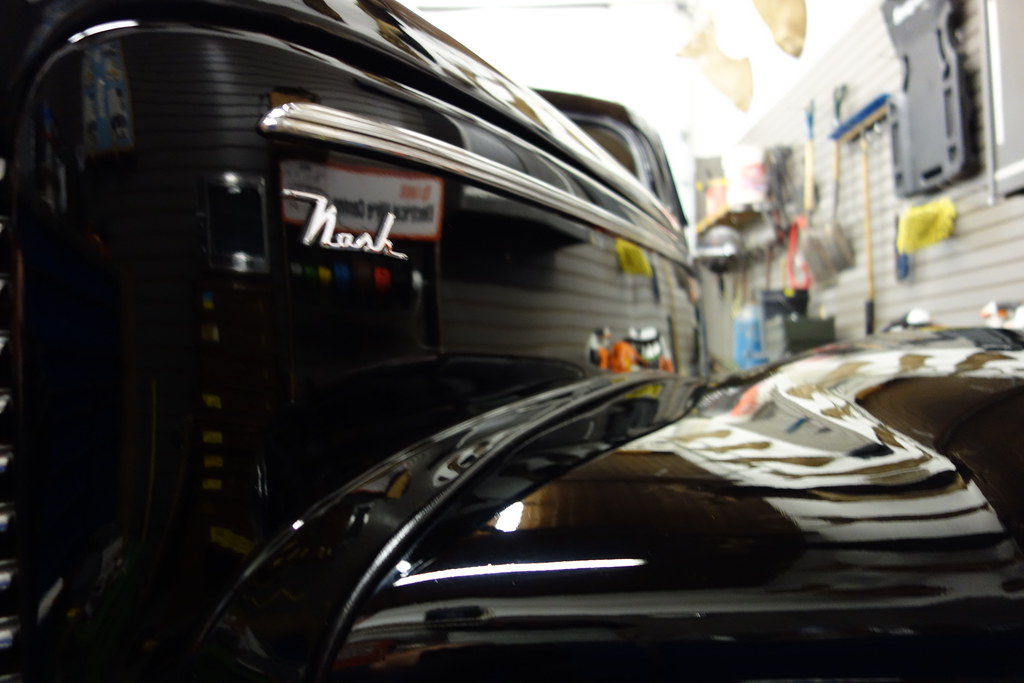
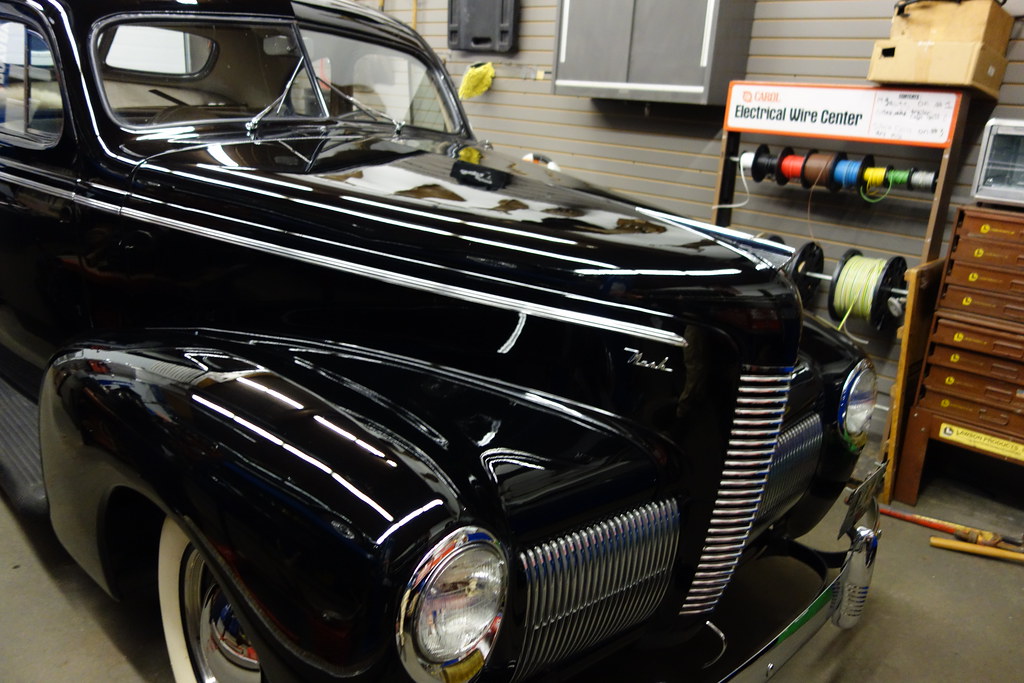
The car actually looked decent under the dim overhead lighting:
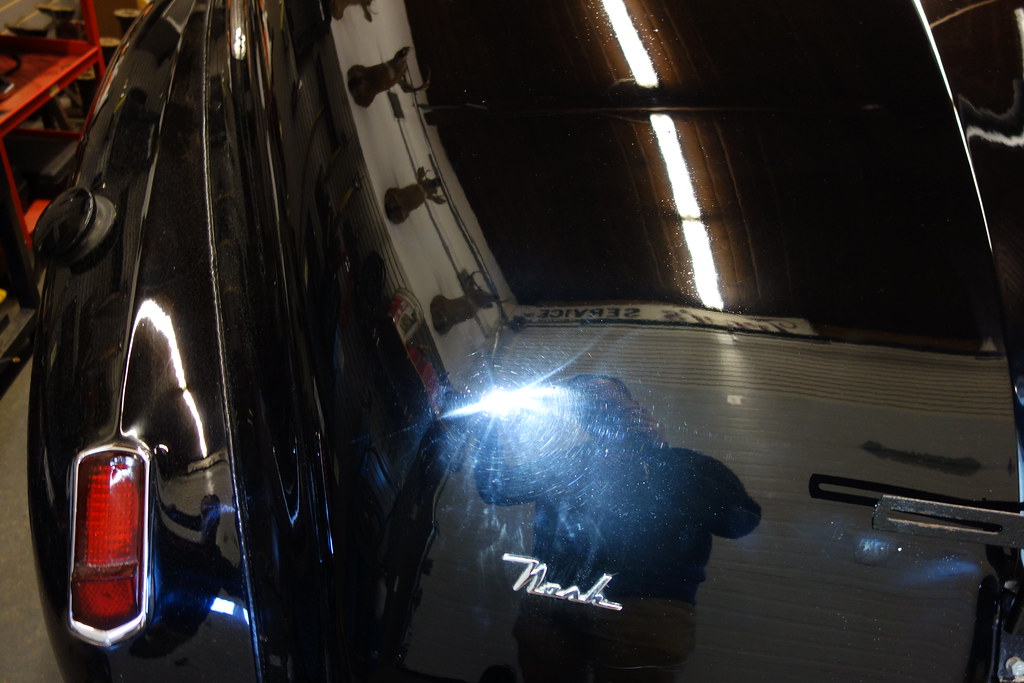
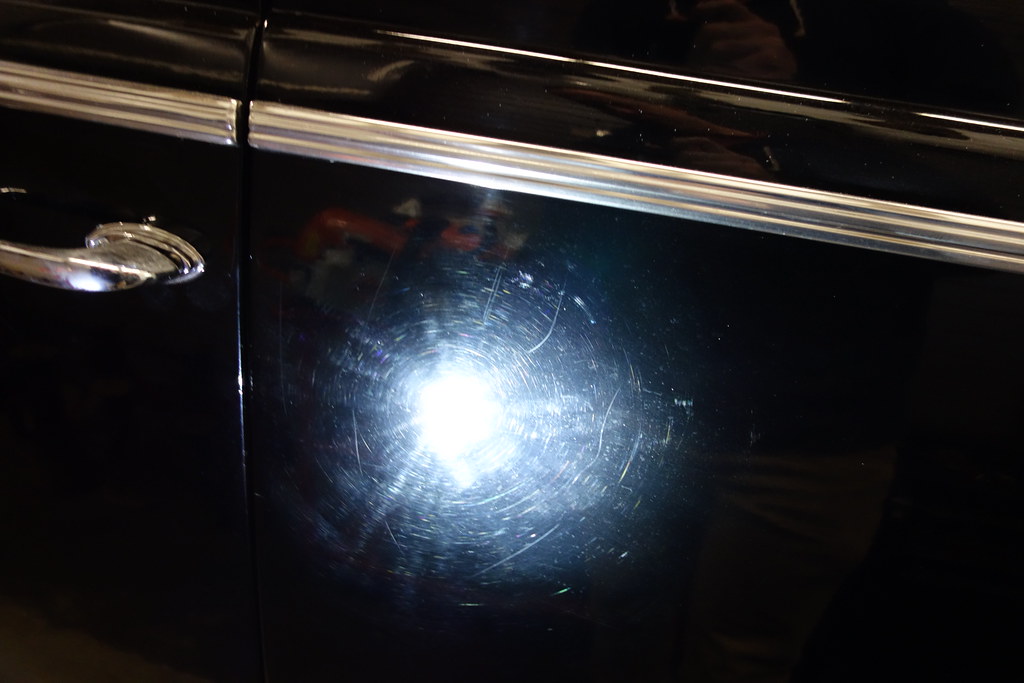
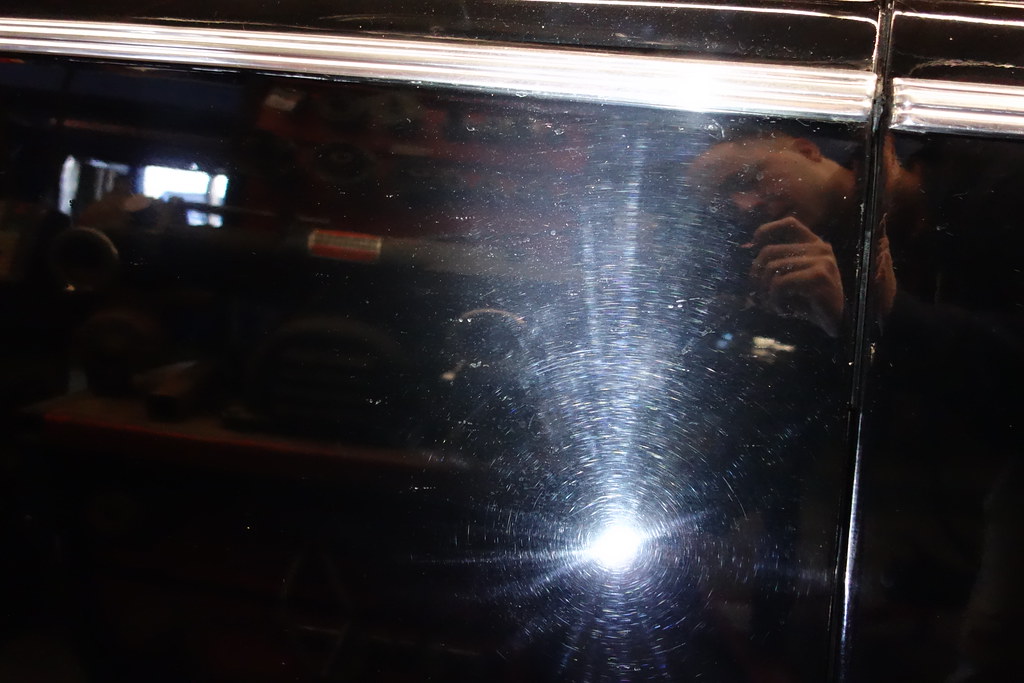
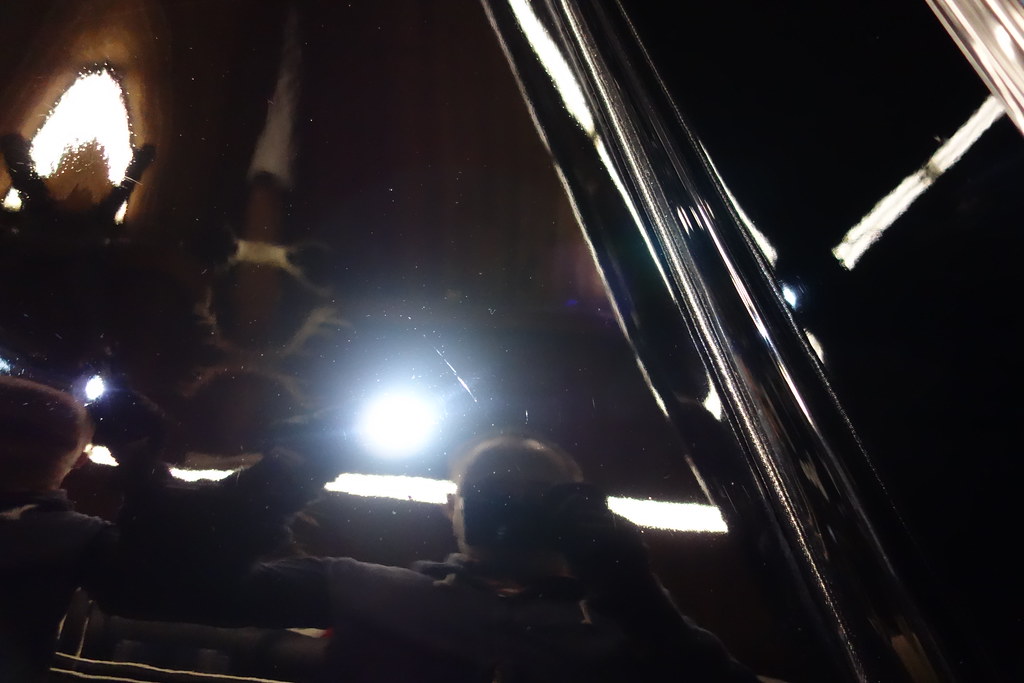
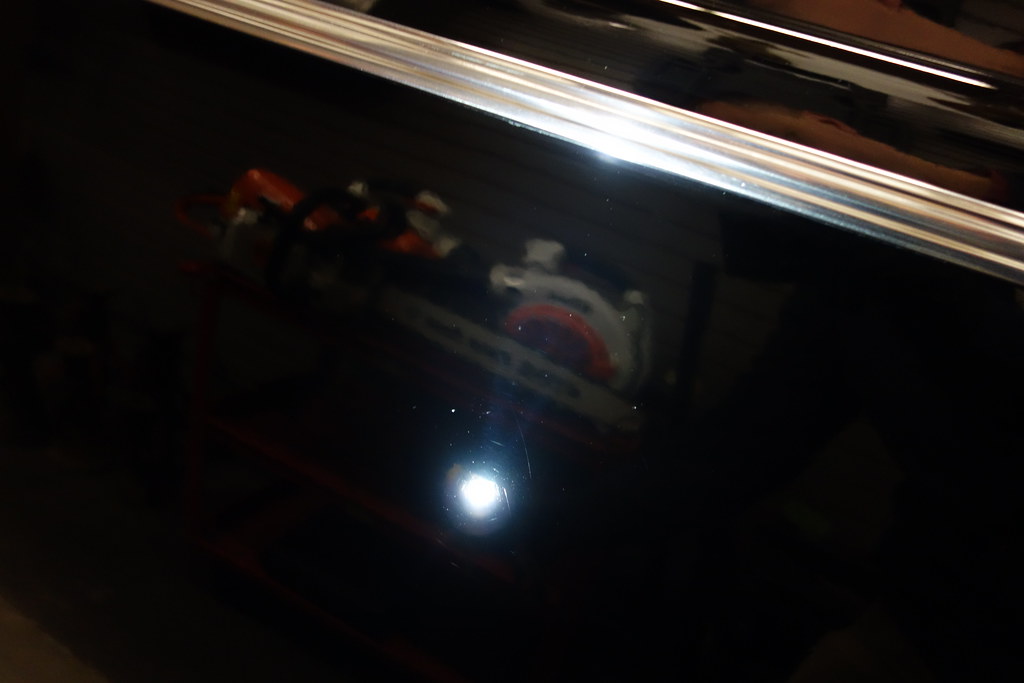
Further inspection with a 150 lumen LED light showed the true condition of the paint:
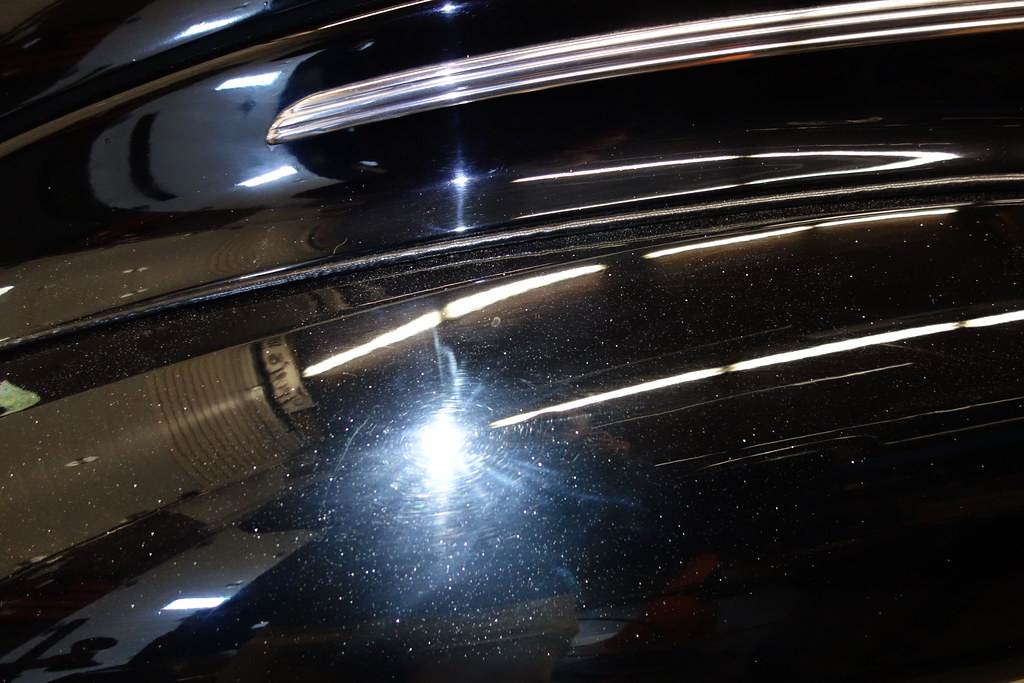
Compound dust still speckled the fender:
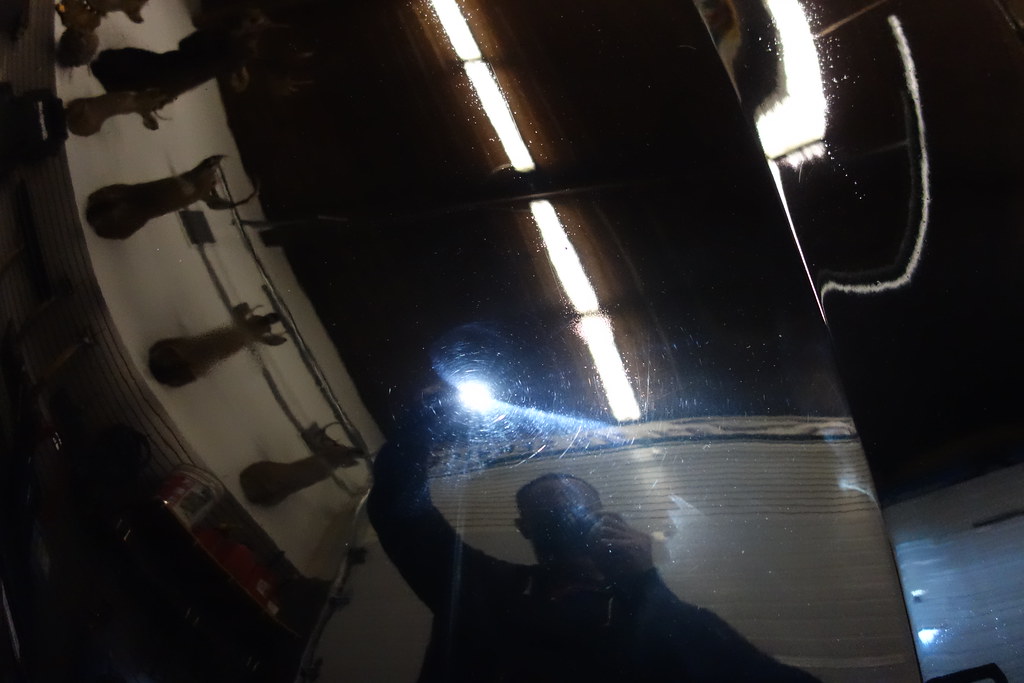
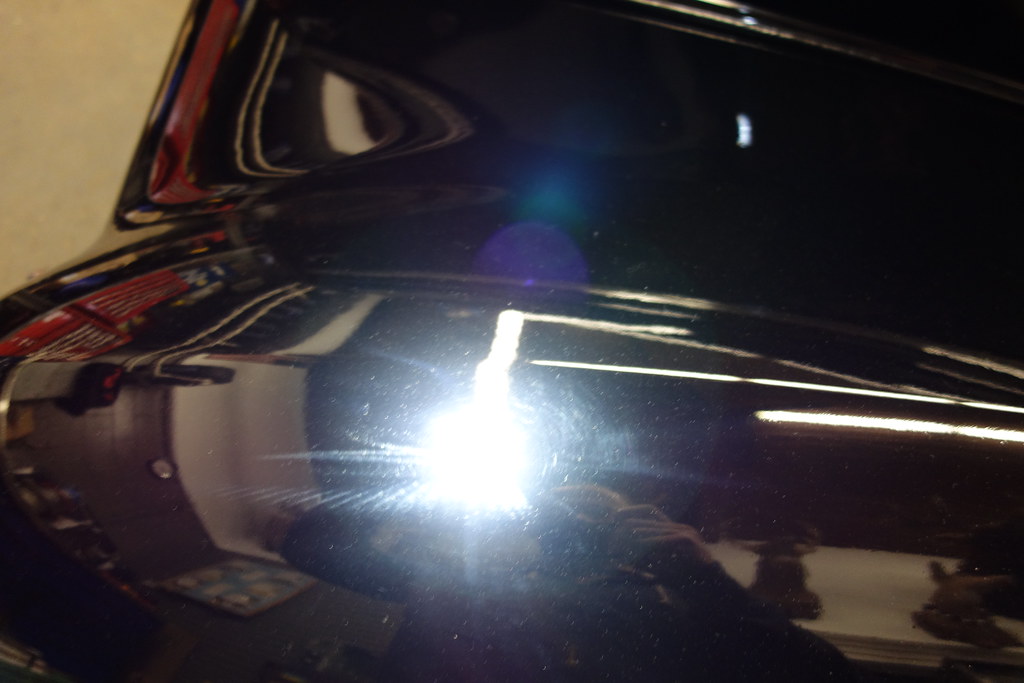
Here you can see a mixture of deeper vertical scratches and some heavy marring from improper wipe-downs:
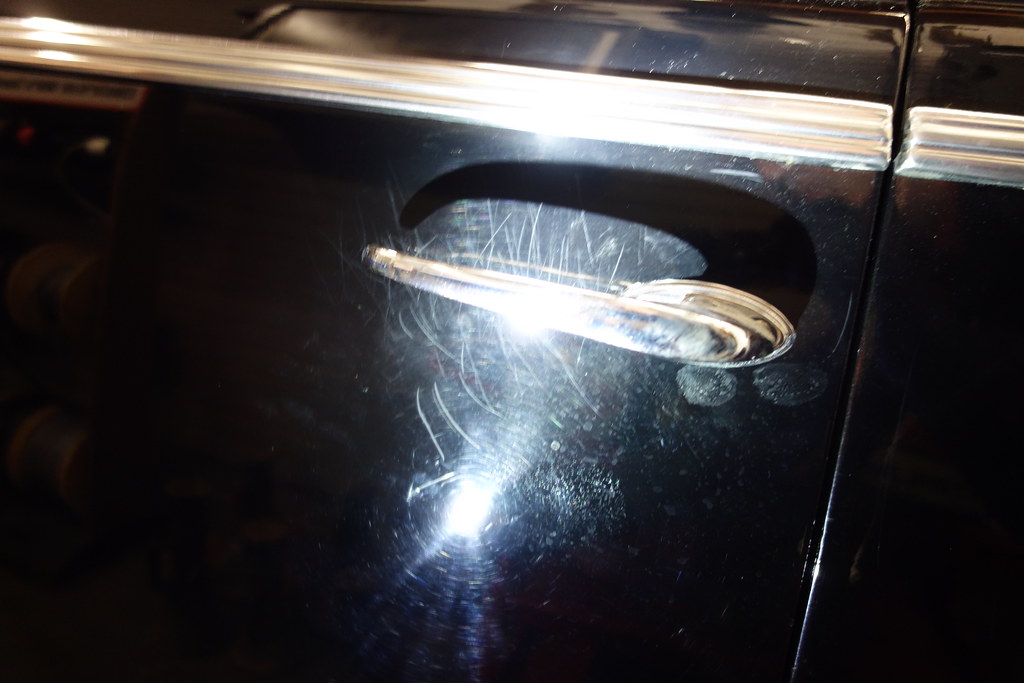
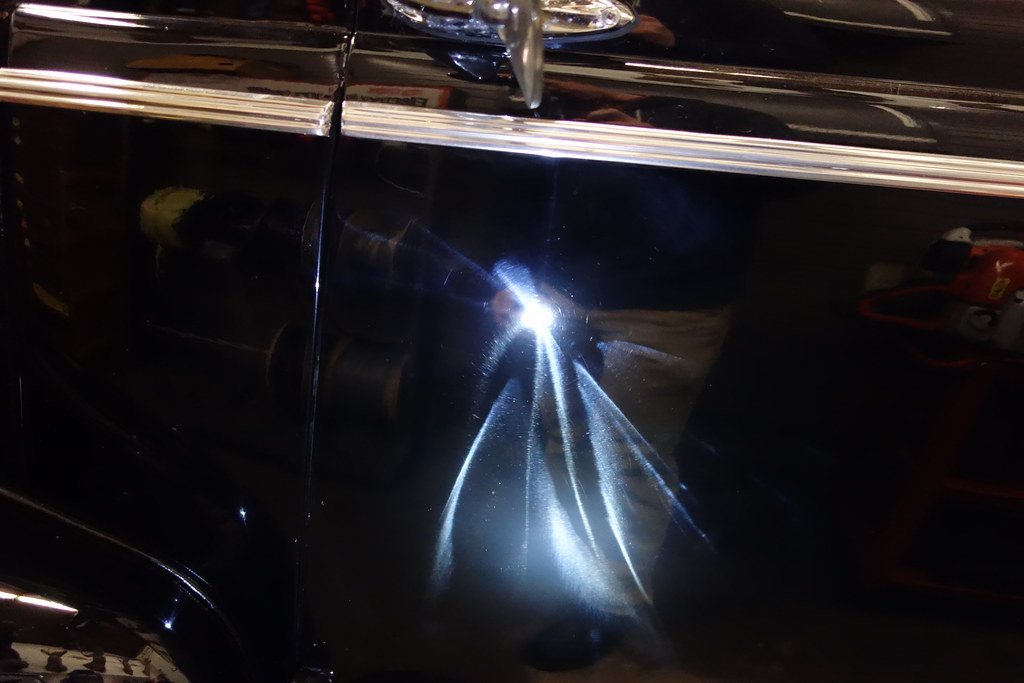
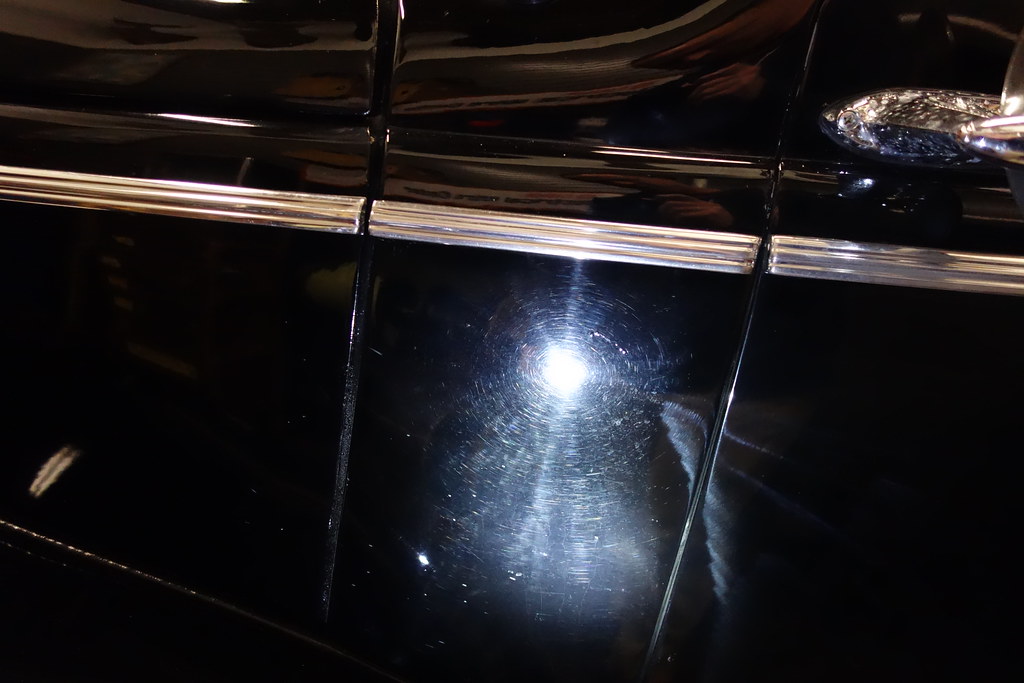
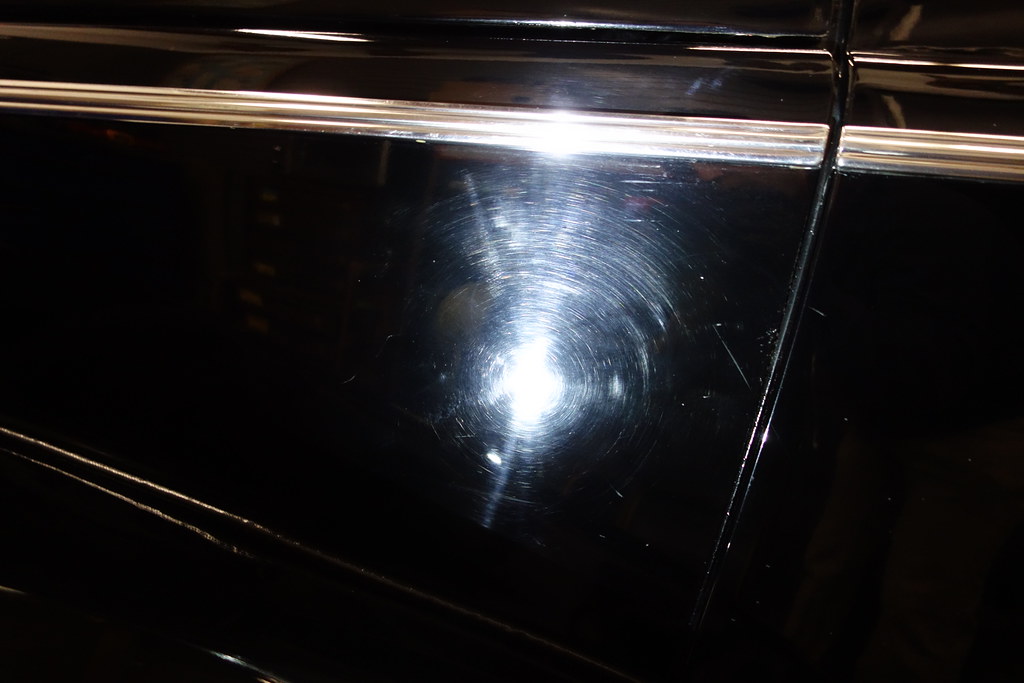
The rotary swirls were especially apparent on the driver’s door, I can only imagine what this must have looked like on a sunny day:
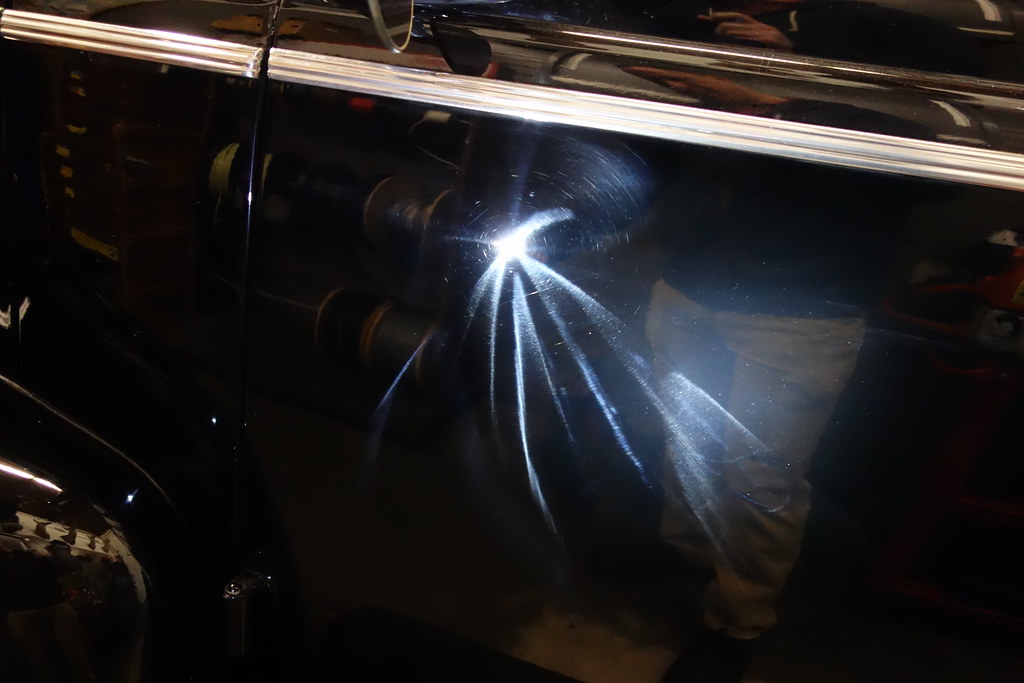
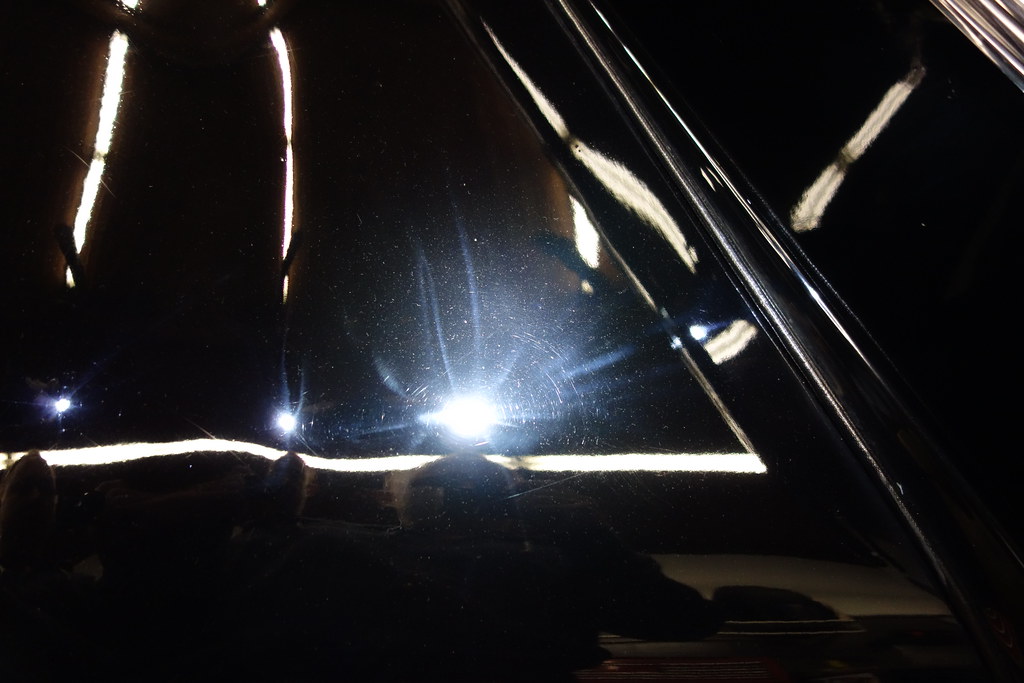
Here you can view the overlap from the son’s polishing effort on the door spilling into the intermediate panel. Given these polishing techniques which probably were hard on the panel edges, and the age of the paint, I felt it would be best to avoid going for perfection with my correction process:
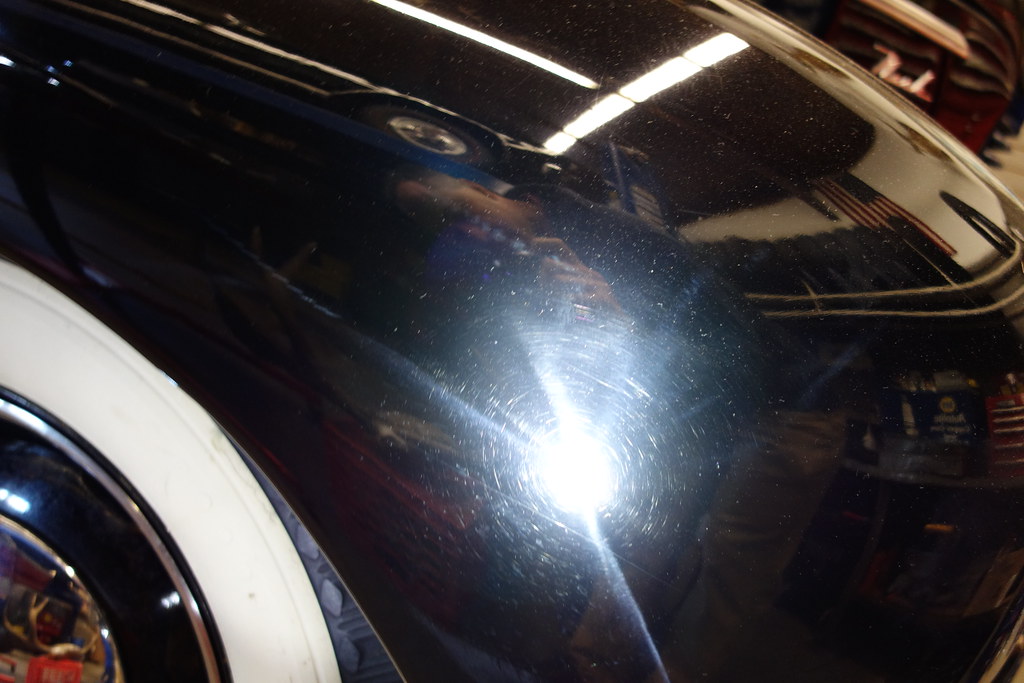
The fender tops unfortunately weren’t spared the rotary treatment either:
This is a little hard to make out, but it’s a gouge that would later be touched up:

Some panels were untouched by the rotary, revealing the swirly mess that had accumulated over the course of decades:
To start my process the car was wiped down with Optimum No Rinse at QD dilution to prevent water from pooling in any cracks or crevices and causing rust. Next the paint was treated with Meguiar’s #7 to restore some oils to the single stage, even though it didn’t appear to be oxidized or excessively dry.
I then ran through a bunch of different polishes and polish/compound mixtures, finally settling on HD Polish on Lake Country black finishing pads, with the Rupes 21 and 75E polishers.
I did my cutting work between speeds 5-6 with moderate pressure for 3-5 passes, and finished around speeds 4-4.5 with light pressure for an additional pass or two.
The finishing passes at lower speeds and lighter pressure while using proper technique to maintain pad rotation allowed me to leave behind a properly refined finish without any micromarring.
The paint was then sealed with CarPro Reload, the whitewalls were cleaned with OPC @ 3:1 dilution, and the chrome bumpers and wheels were lightly polished with HD Speed, LC black pads and the Rupes 75E, and were then sealed with Reload.
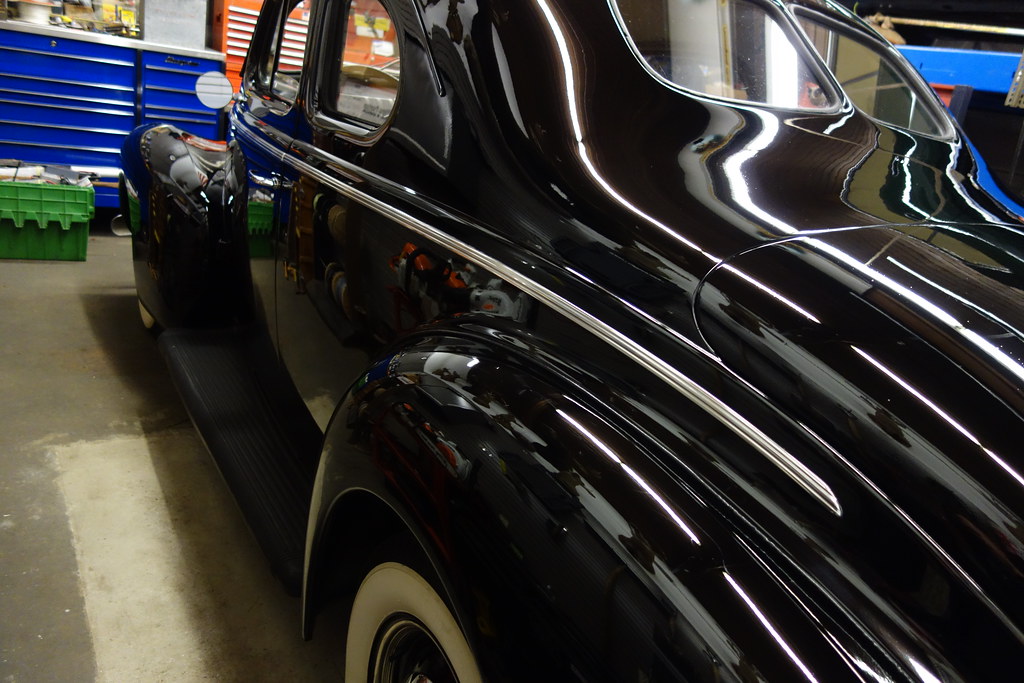
Here are the final results:
The LED light showed an 80%+ correction rate, massively improved from the initial condition:
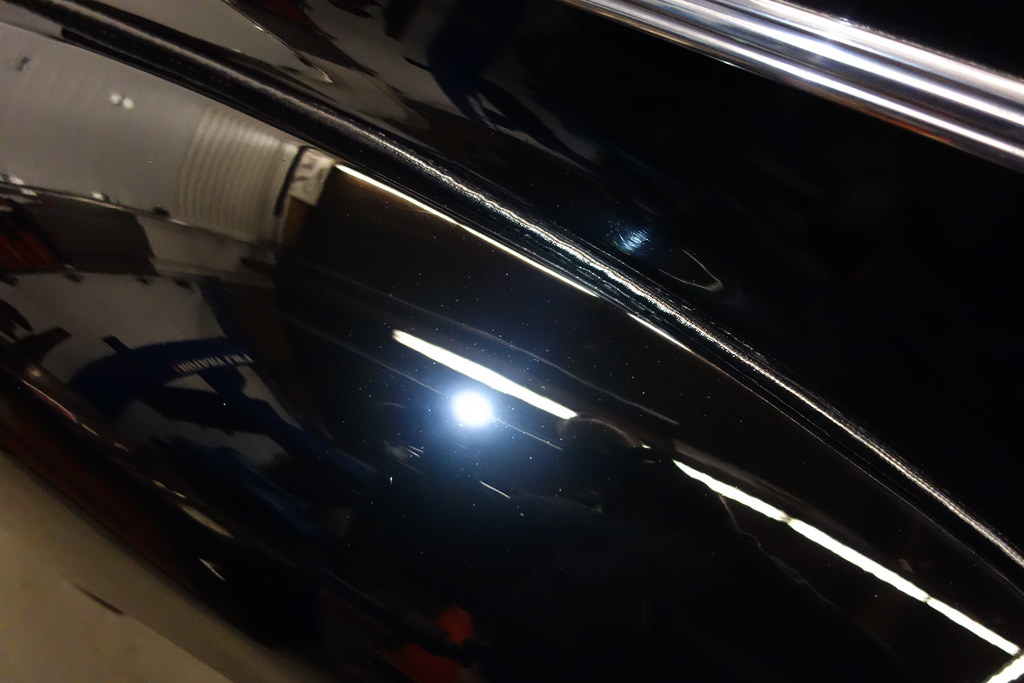
Some deeper defects still remained, but it just wasn’t worthwhile to eat through more paint chasing them:
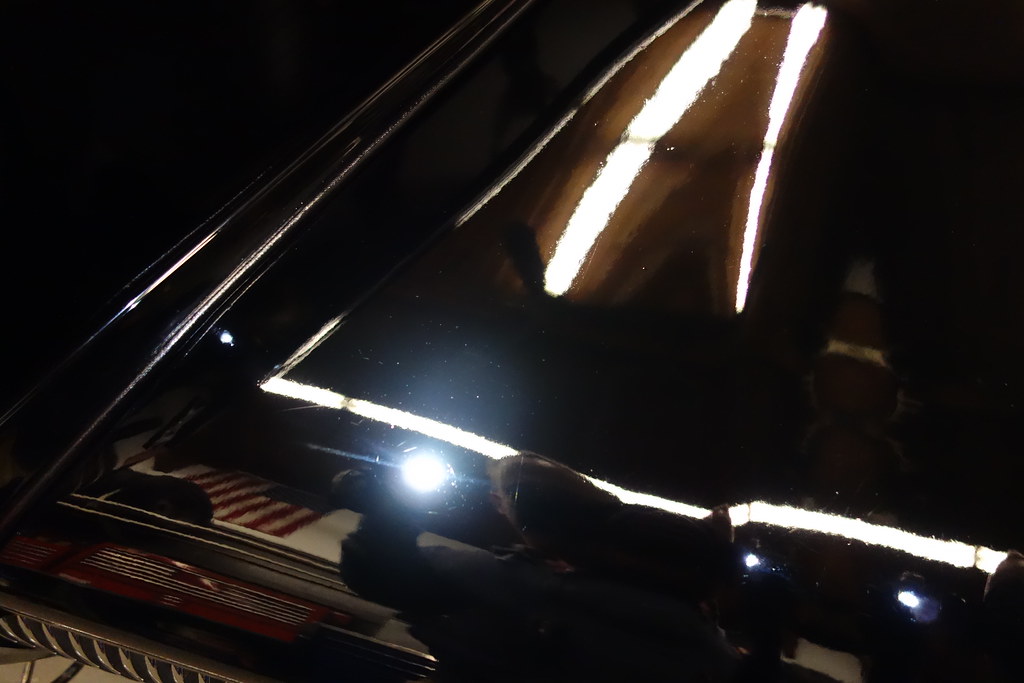
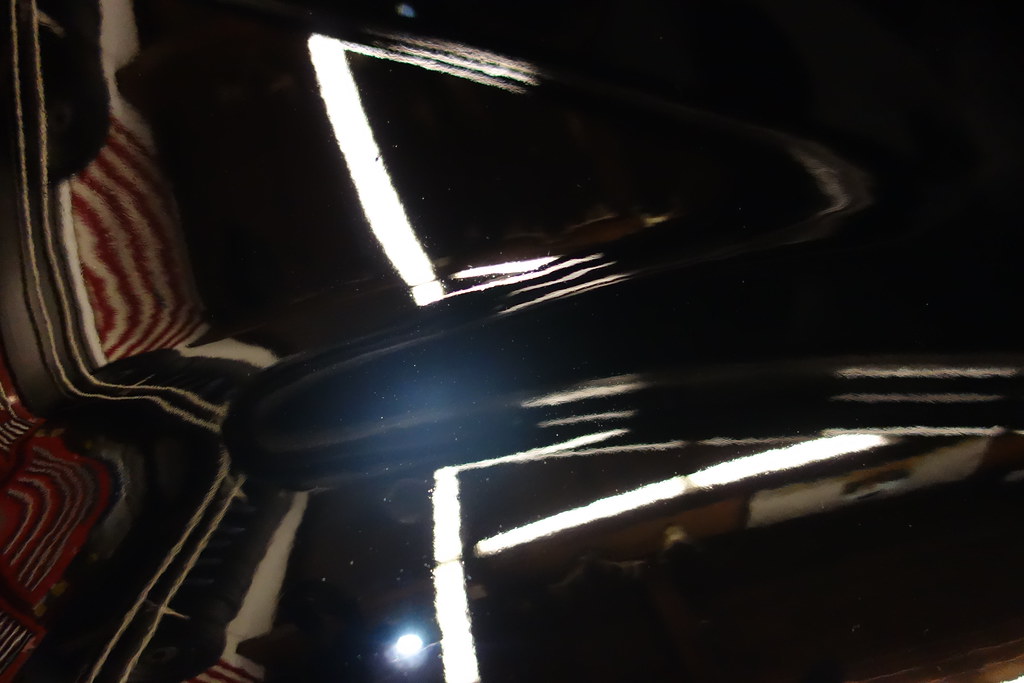
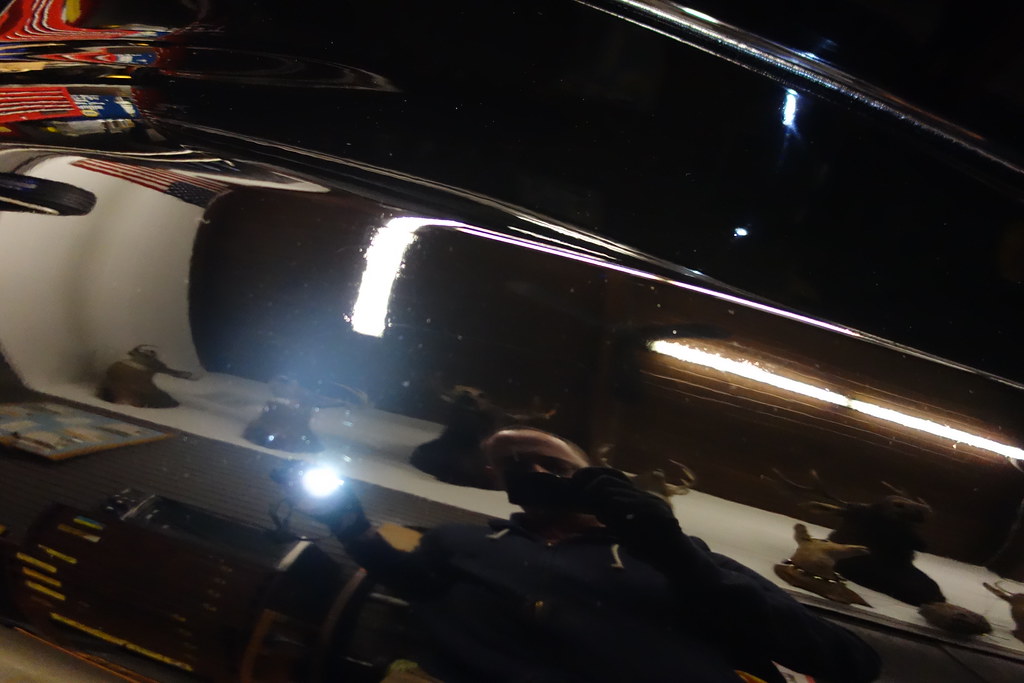
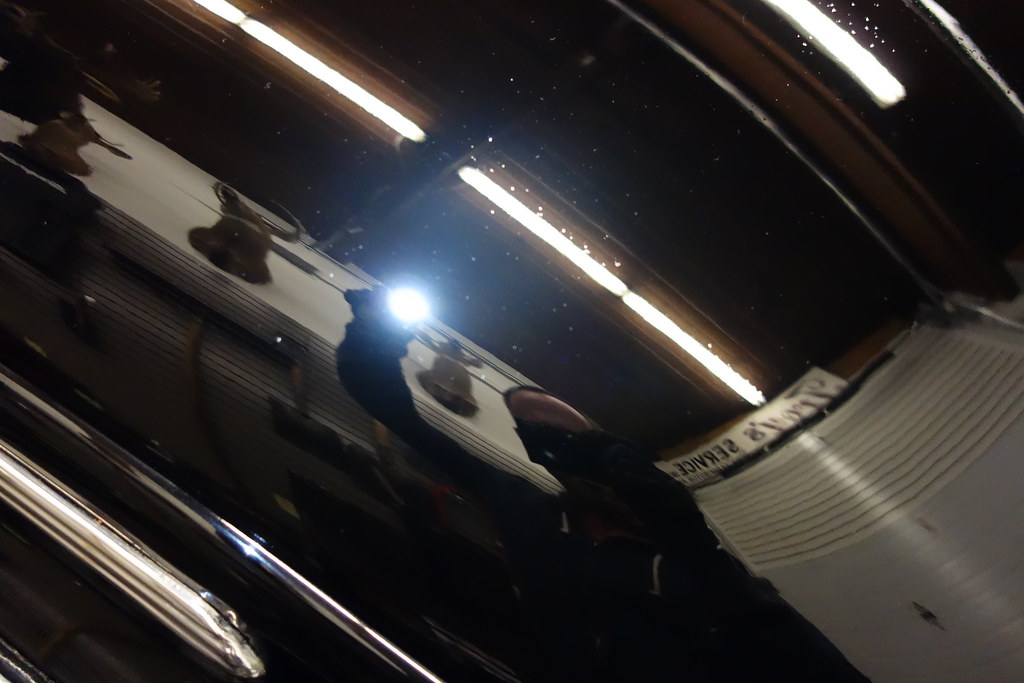
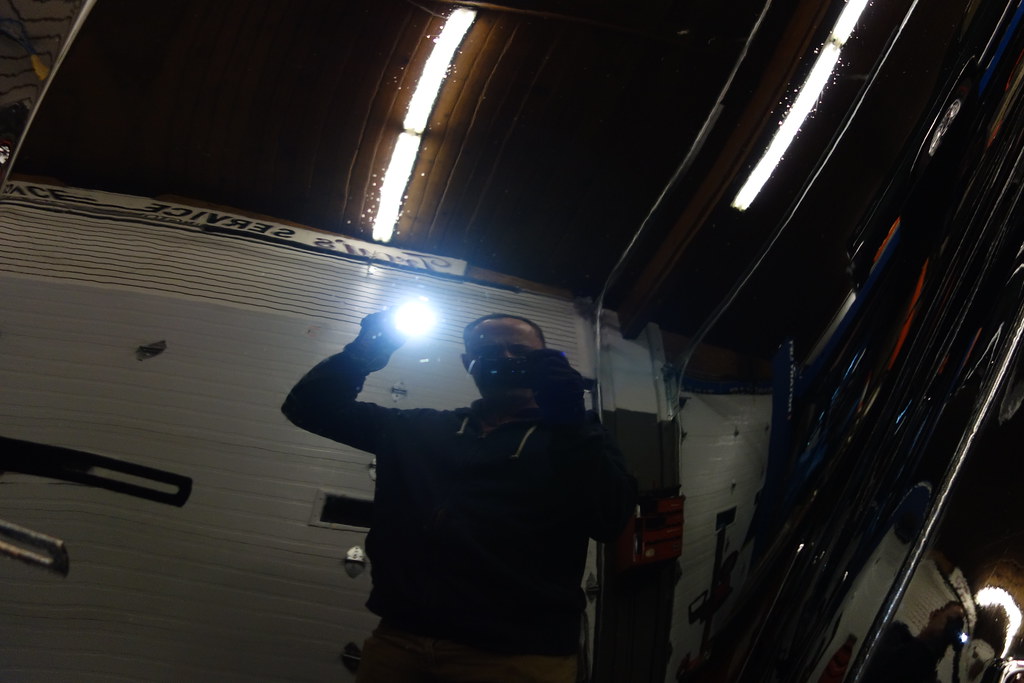
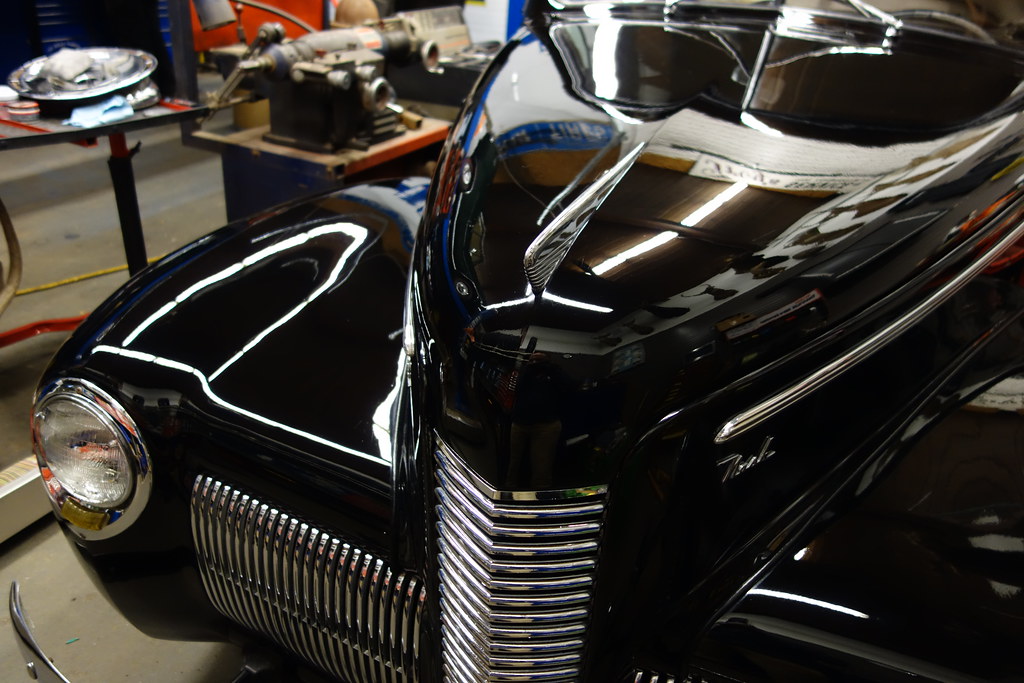
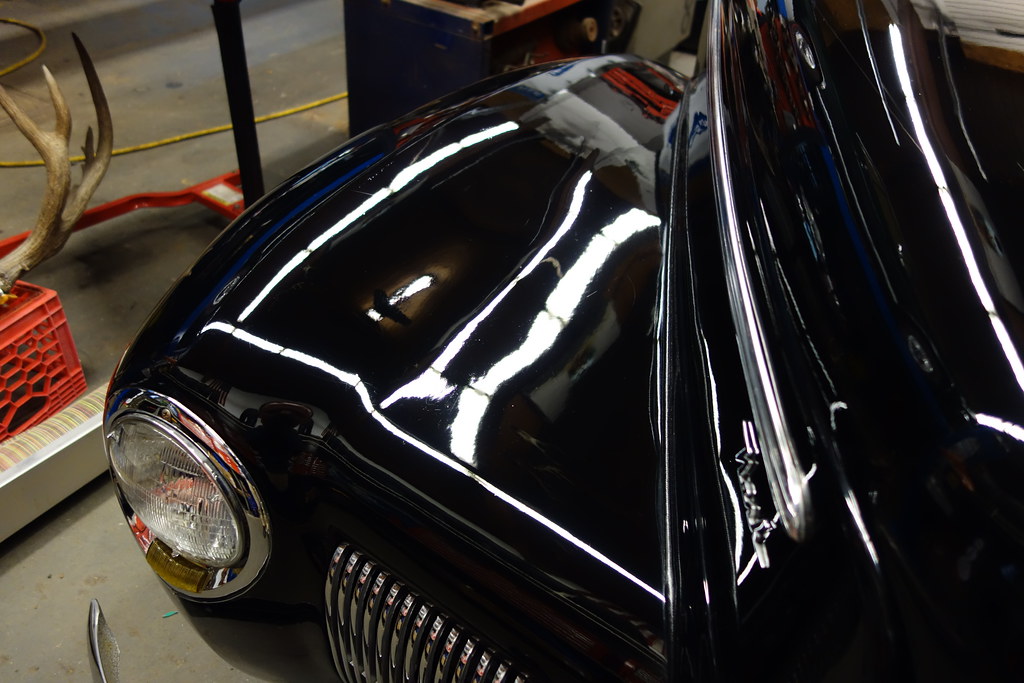
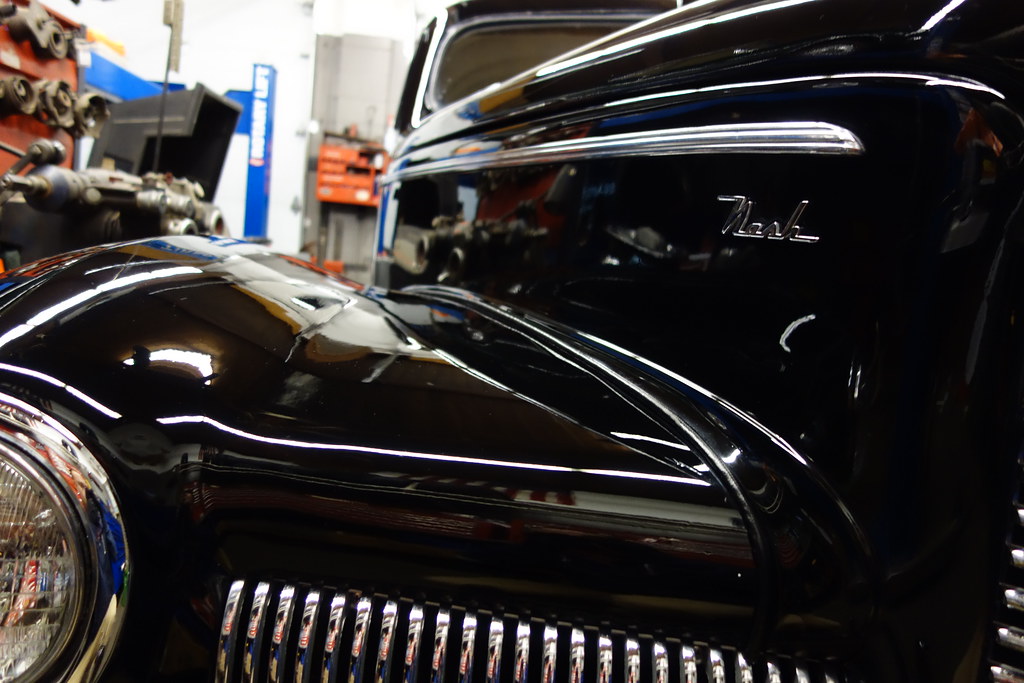
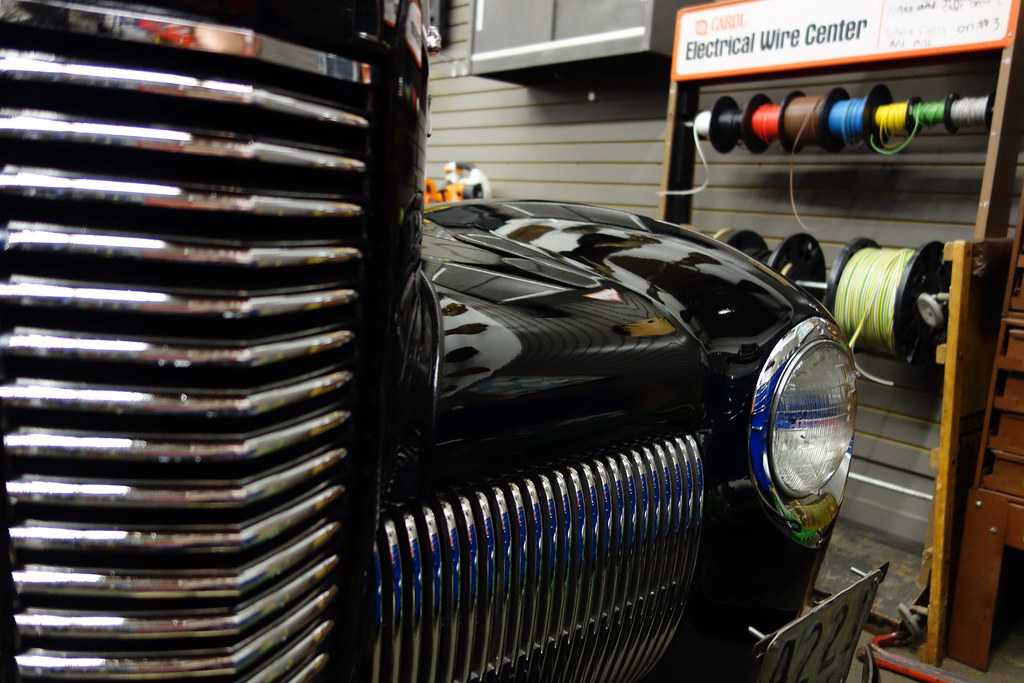
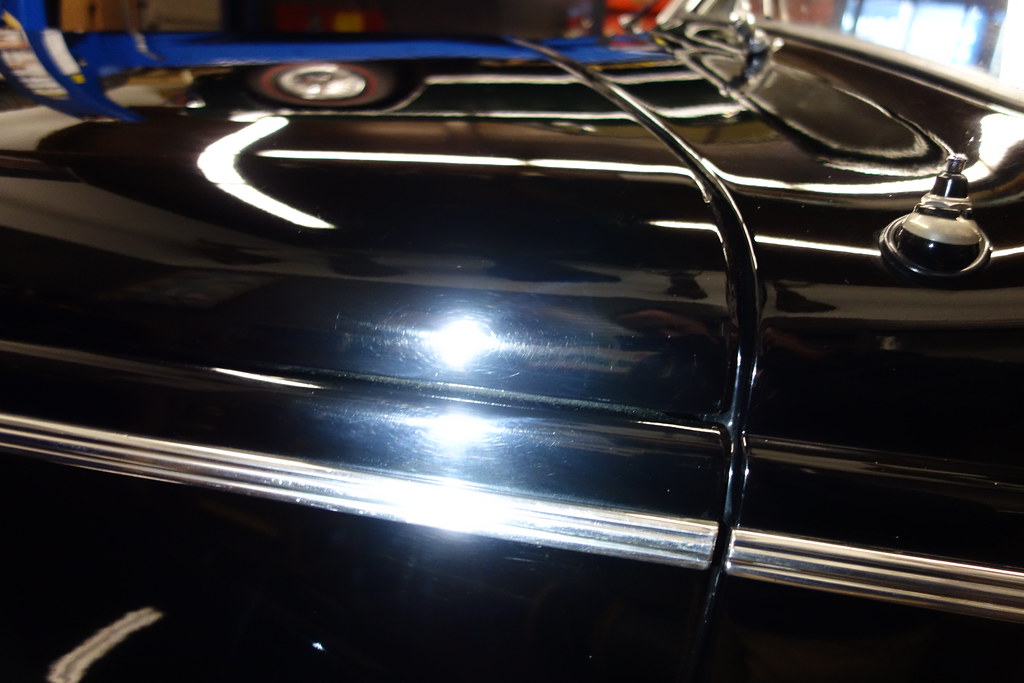
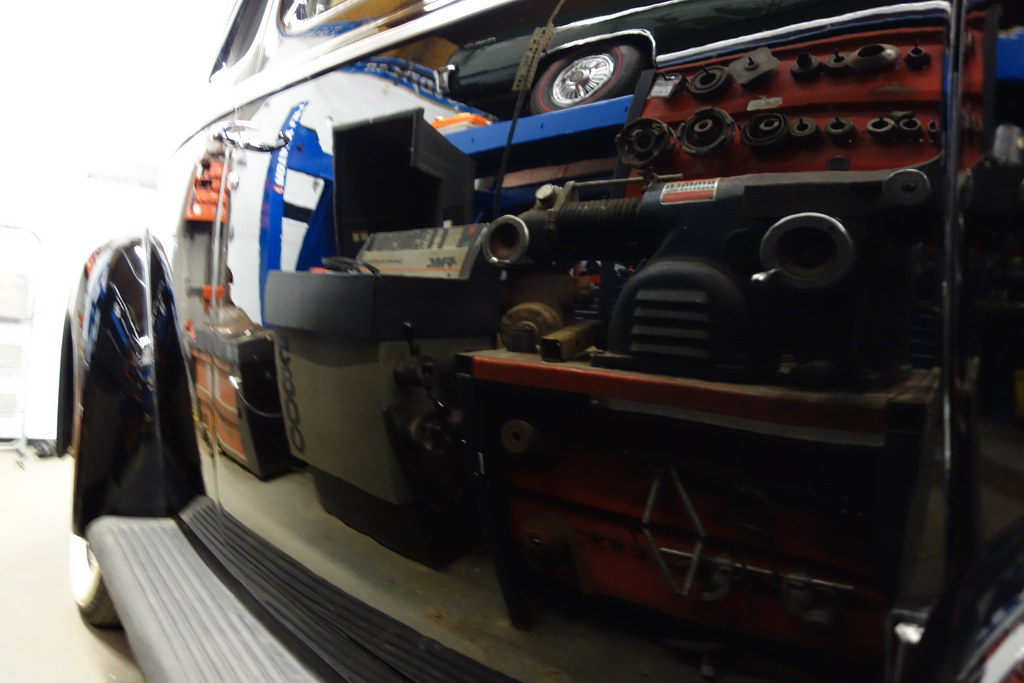
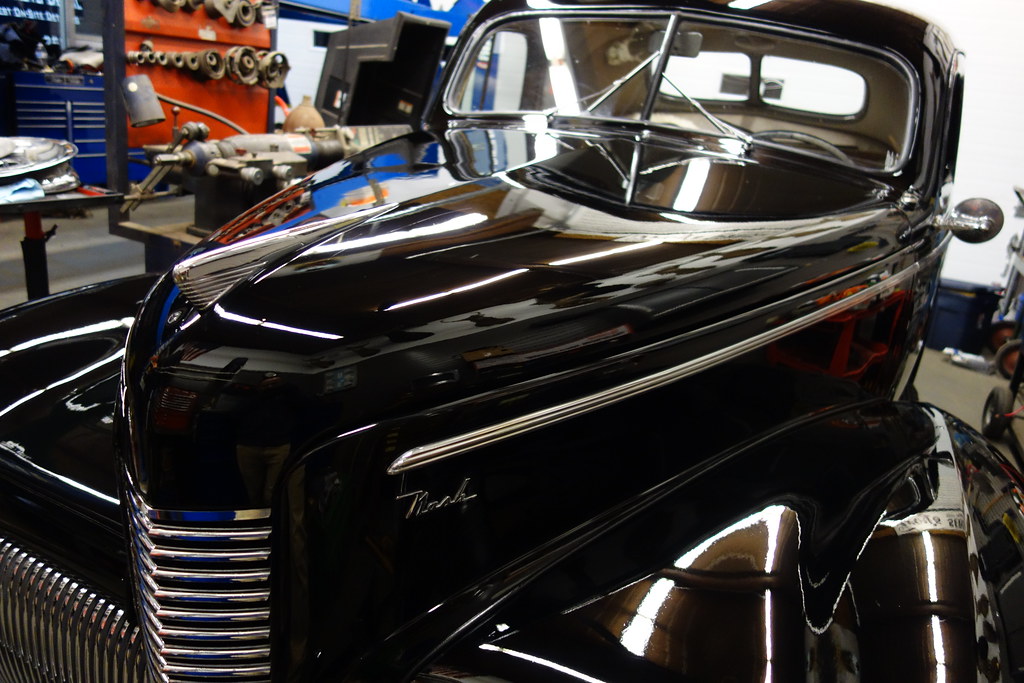
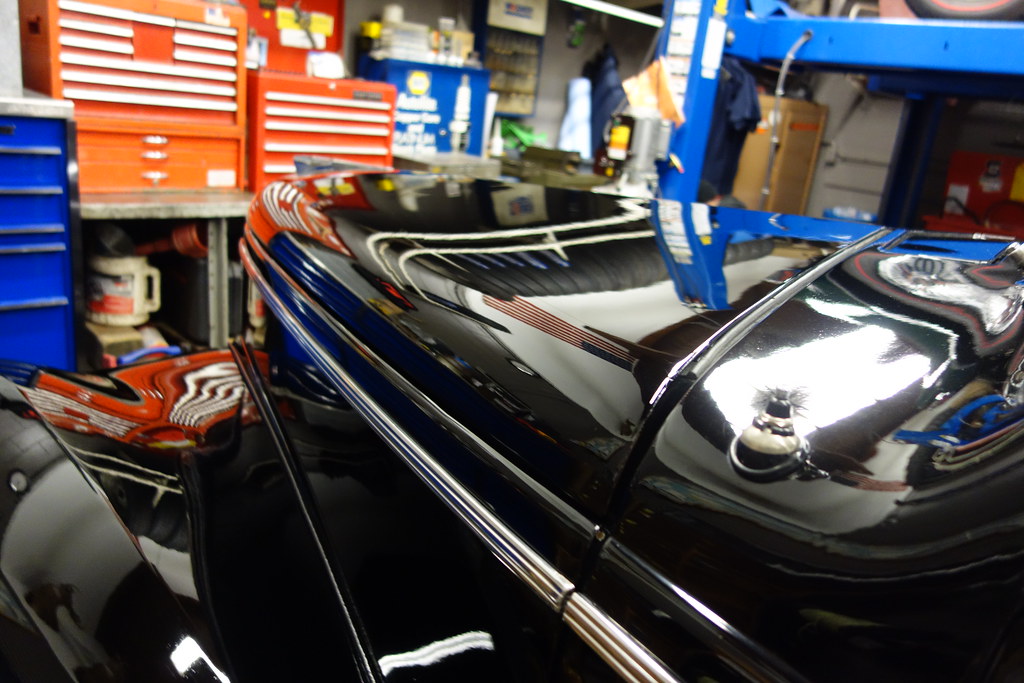
These fenders are great for reflection shots:
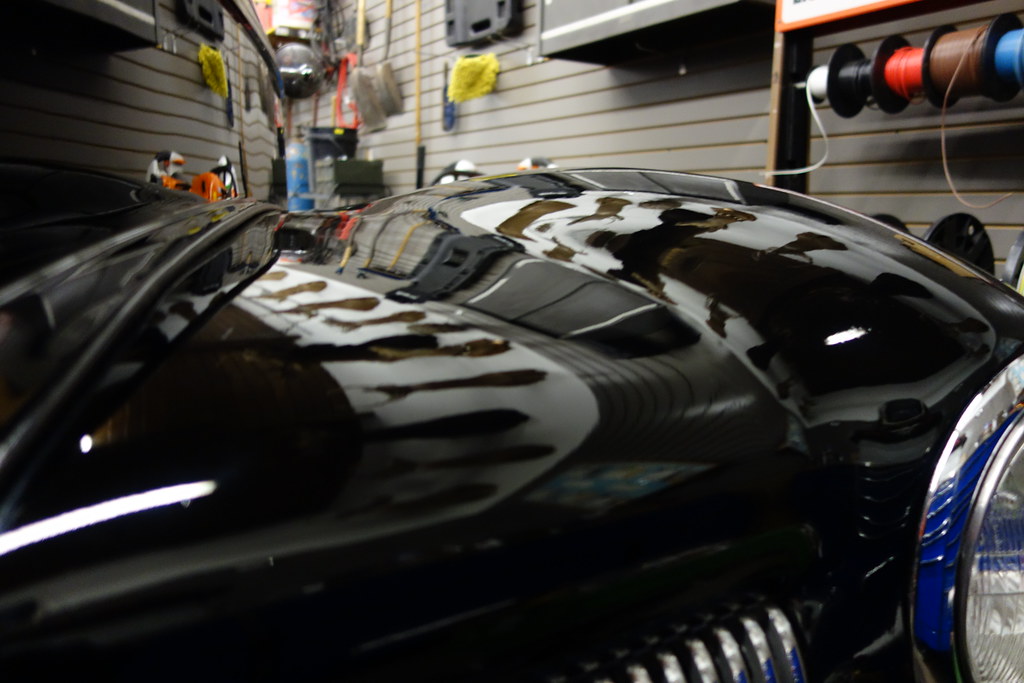
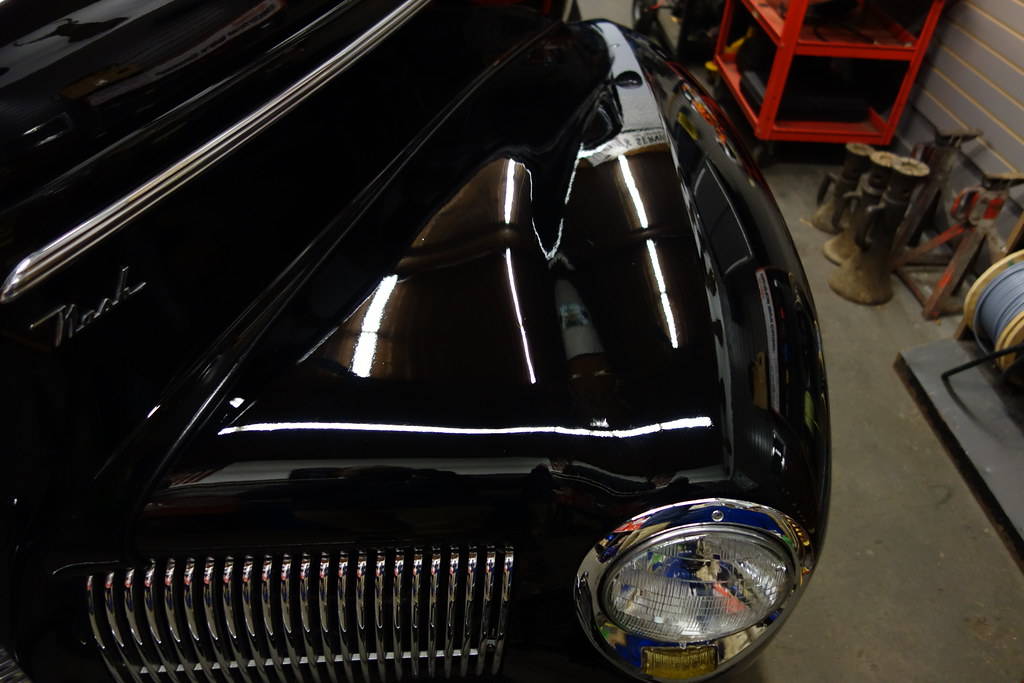

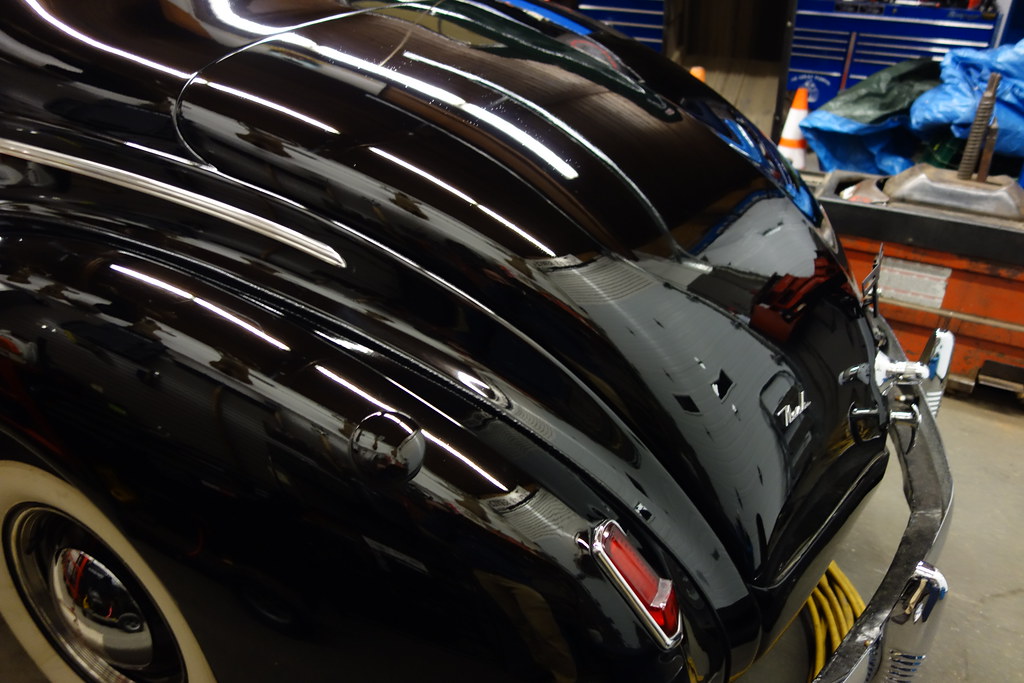
Like a black mirror!:
Thanks for looking, comments and questions are welcome!
")
Hey guys, I haven’t posted in a while and figured this was a good car to get back into the swing of things with.
Like the title says, this is a 1940 Nash and the paint was absolutely hammered by an inexperienced rotary user. The owner’s son had seen me correcting a few of their cars (1965 Malibu, Dodge 1500, etc) and wanted to try his hand at polishing, buying a Dewalt 849, some pads and polish.
He quickly got in over his head and the father called me in to get things looking proper.
Upon arrival the car looked decent, reflecting light and showing good shine under the florescent lighting, but a quick inspection with my LED headlamp showed heavy marring and lots of rotary swirls.
Given that the paint was quite old and relatively soft, I decided to shoot for around 80% defect removal, which would hopefully remove the rotary trails and most of the straight-line marring, while still leaving a healthy amount of paint behind.
Before:
The car actually looked decent under the dim overhead lighting:
Further inspection with a 150 lumen LED light showed the true condition of the paint:
Compound dust still speckled the fender:
Here you can see a mixture of deeper vertical scratches and some heavy marring from improper wipe-downs:
The rotary swirls were especially apparent on the driver’s door, I can only imagine what this must have looked like on a sunny day:
Here you can view the overlap from the son’s polishing effort on the door spilling into the intermediate panel. Given these polishing techniques which probably were hard on the panel edges, and the age of the paint, I felt it would be best to avoid going for perfection with my correction process:
The fender tops unfortunately weren’t spared the rotary treatment either:
This is a little hard to make out, but it’s a gouge that would later be touched up:
Some panels were untouched by the rotary, revealing the swirly mess that had accumulated over the course of decades:
To start my process the car was wiped down with Optimum No Rinse at QD dilution to prevent water from pooling in any cracks or crevices and causing rust. Next the paint was treated with Meguiar’s #7 to restore some oils to the single stage, even though it didn’t appear to be oxidized or excessively dry.
I then ran through a bunch of different polishes and polish/compound mixtures, finally settling on HD Polish on Lake Country black finishing pads, with the Rupes 21 and 75E polishers.
I did my cutting work between speeds 5-6 with moderate pressure for 3-5 passes, and finished around speeds 4-4.5 with light pressure for an additional pass or two.
The finishing passes at lower speeds and lighter pressure while using proper technique to maintain pad rotation allowed me to leave behind a properly refined finish without any micromarring.
The paint was then sealed with CarPro Reload, the whitewalls were cleaned with OPC @ 3:1 dilution, and the chrome bumpers and wheels were lightly polished with HD Speed, LC black pads and the Rupes 75E, and were then sealed with Reload.
Here are the final results:
The LED light showed an 80%+ correction rate, massively improved from the initial condition:
Some deeper defects still remained, but it just wasn’t worthwhile to eat through more paint chasing them:
These fenders are great for reflection shots:
Like a black mirror!:
Thanks for looking, comments and questions are welcome!