1957 Chevrolet Belair Extreme Makeover - Flex 3401 & Wolfgang Smackdown!

  • Thread starter Thread starter Mike Phillips
  • Start date Start date
M

Mike Phillips

Guest
1957 Chevrolet Belair Extreme Makeover - Flex 3401 & Wolfgang Smackdown!

57TuqChev002.jpg


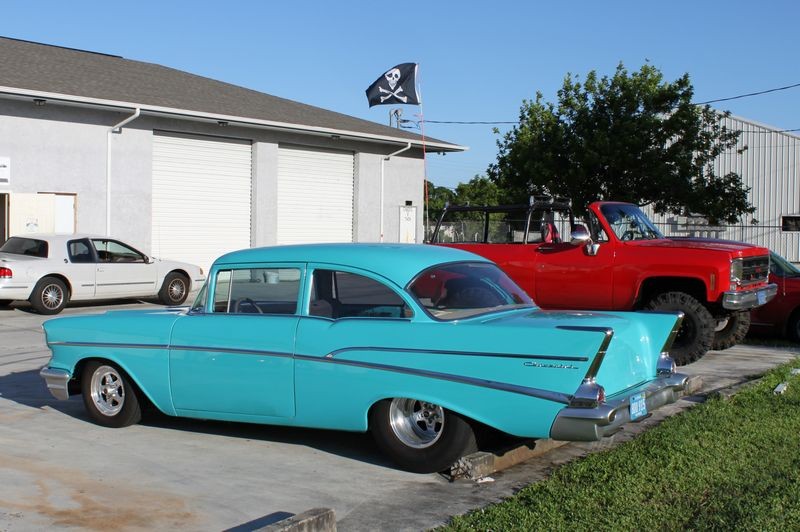
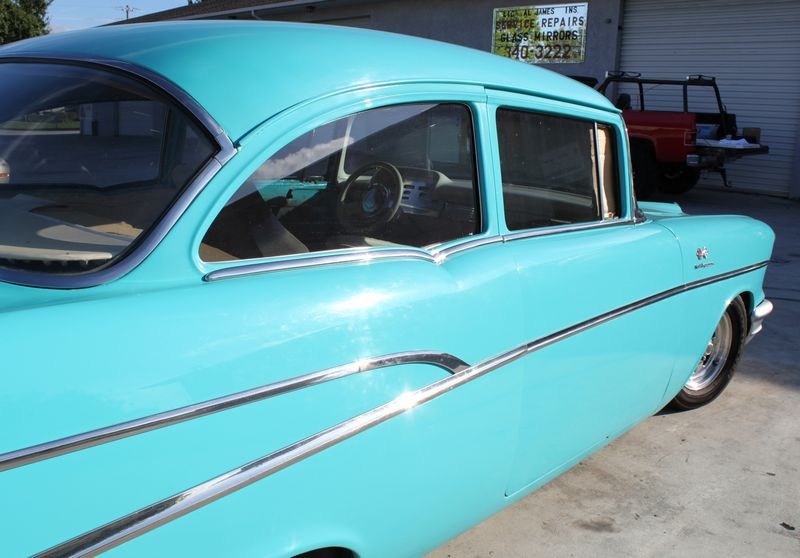
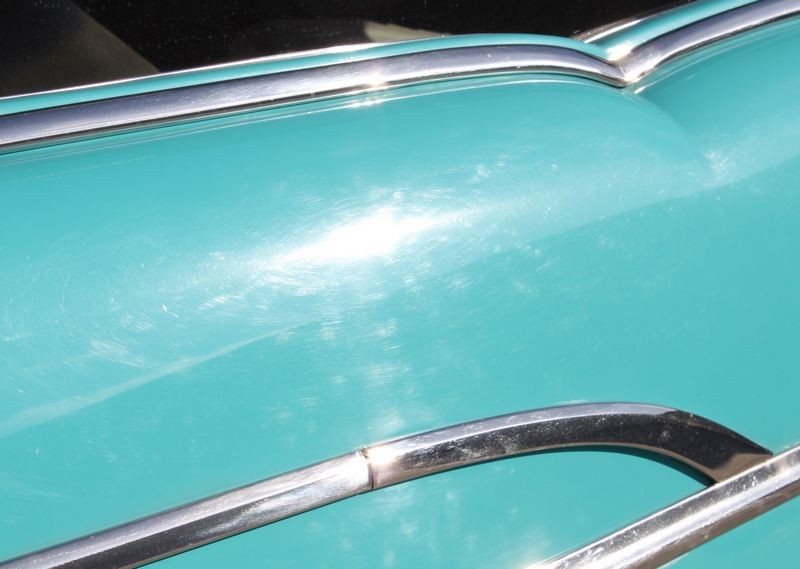
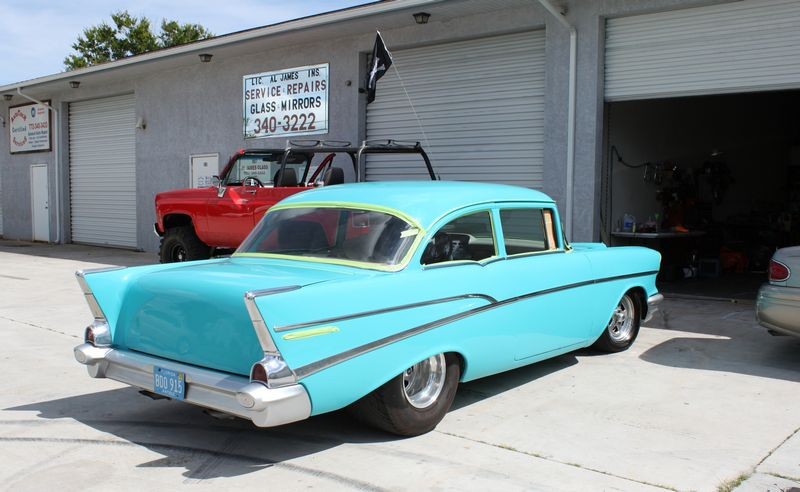
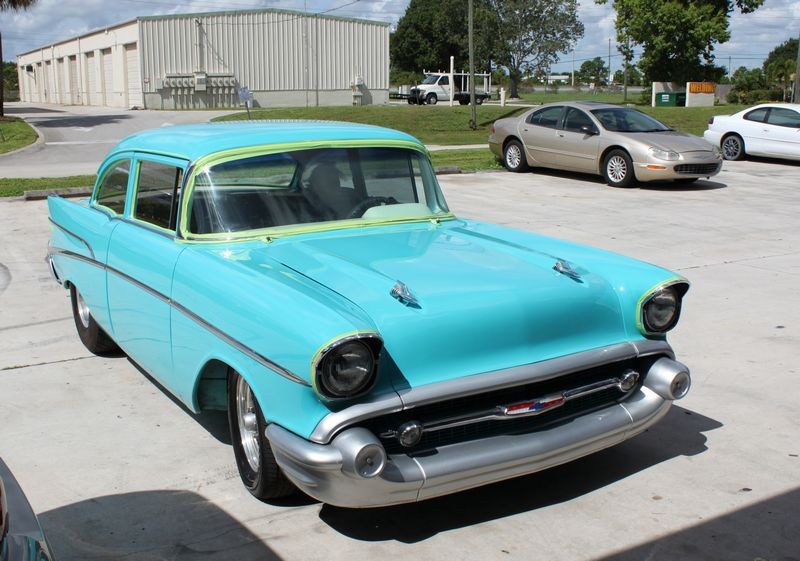
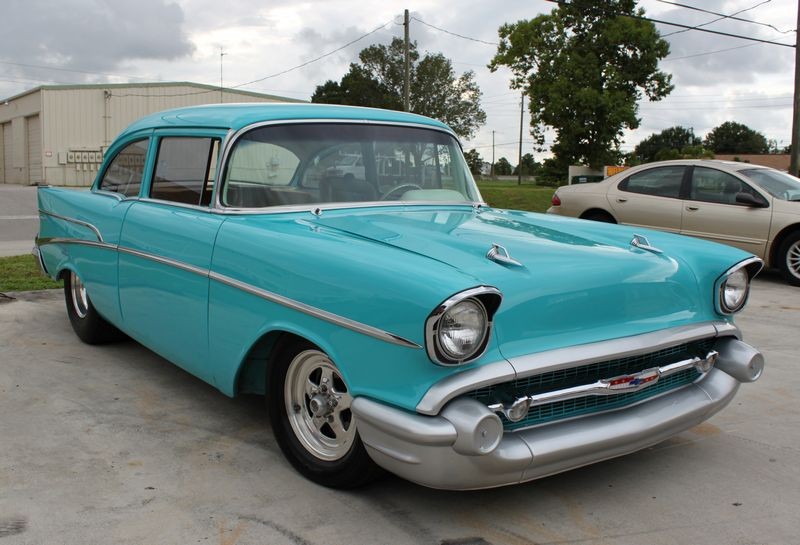
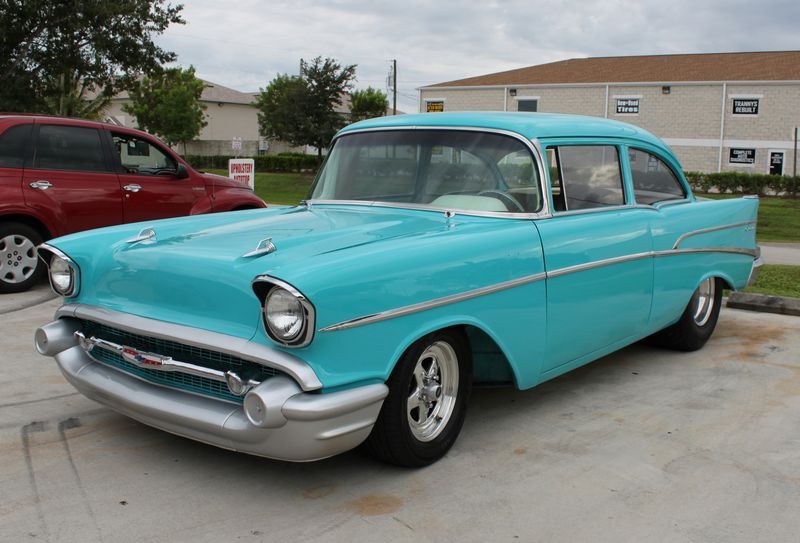
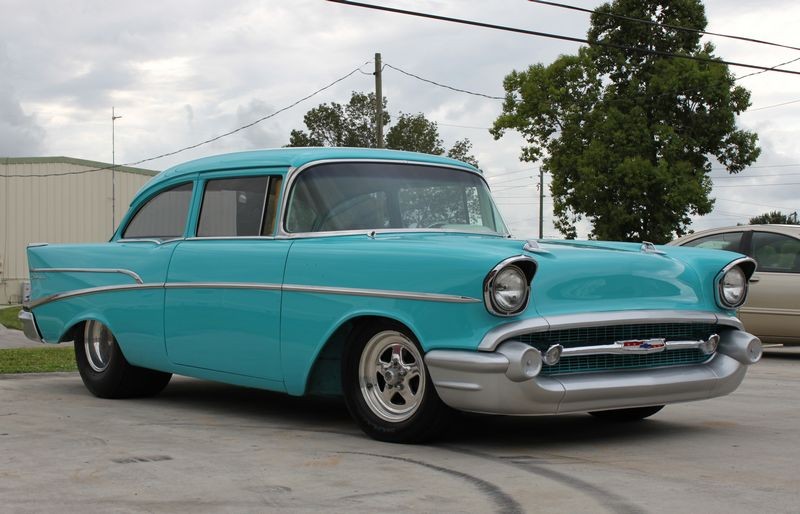
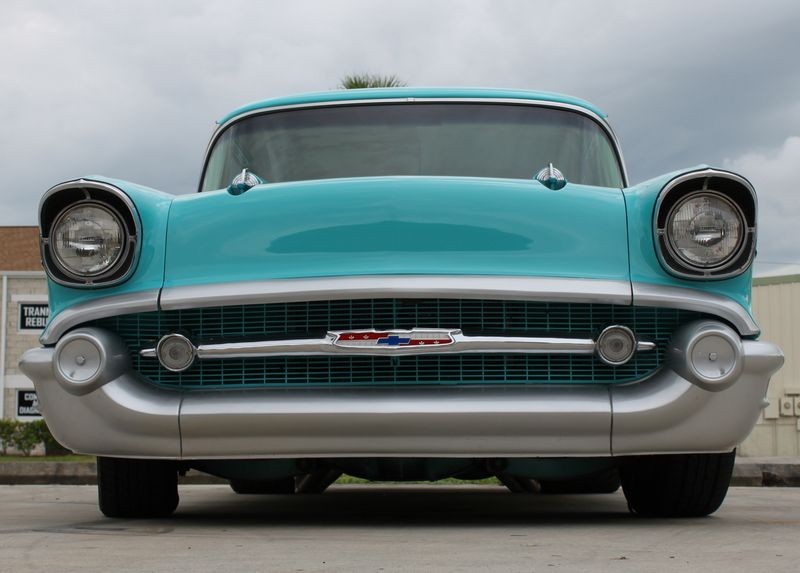
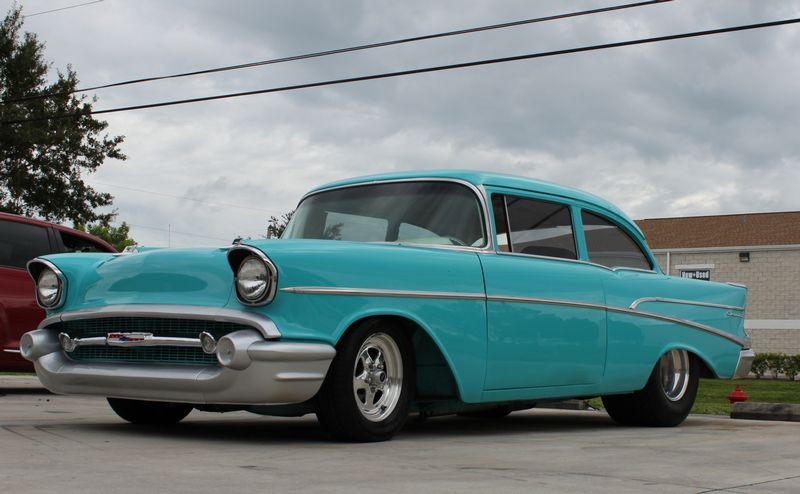
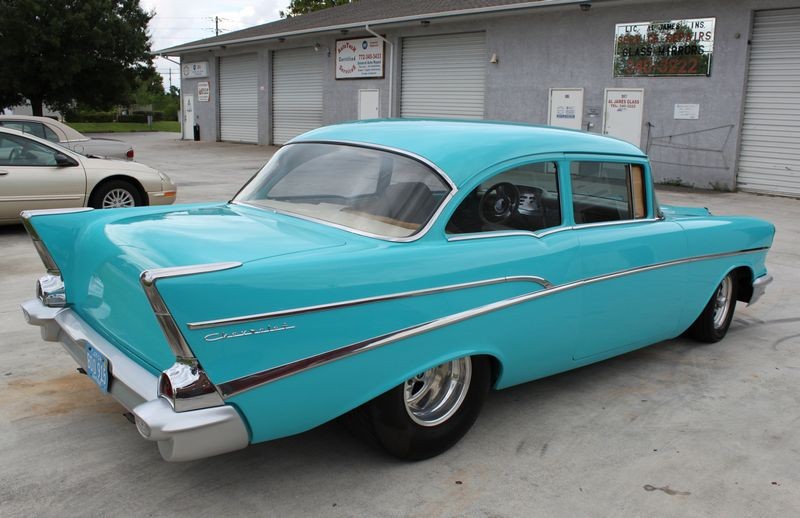
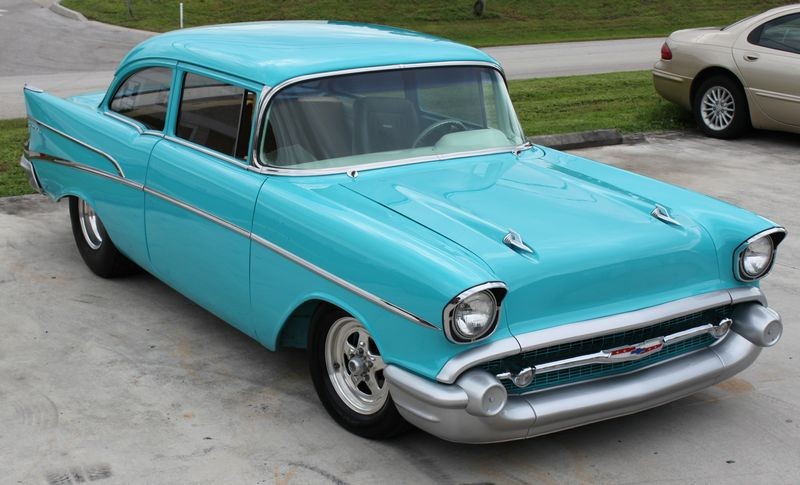
Here's a candidate, a 1957 Chevrolet Belair. This car was painted approximately 10 years ago and while the color is very pretty for this body style, it's filled with swirls and scratches through the entire finish.

57TuqChev003.jpg


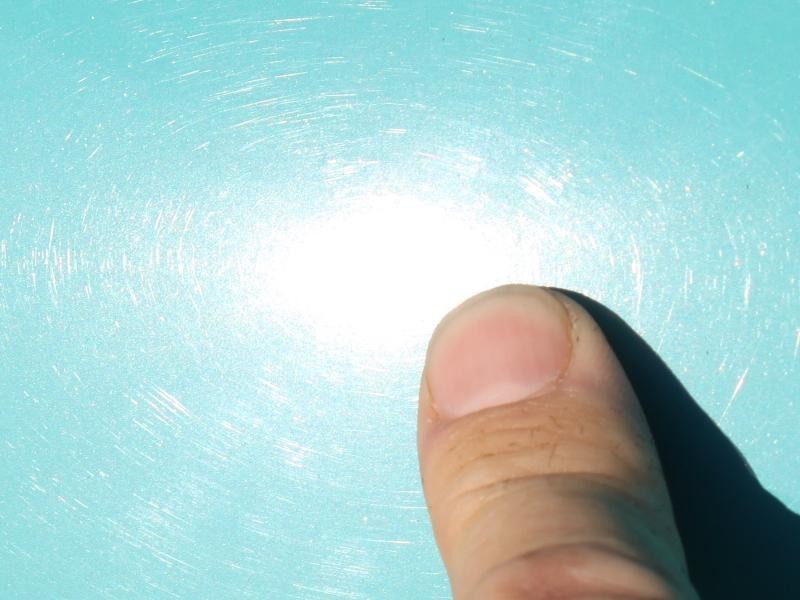
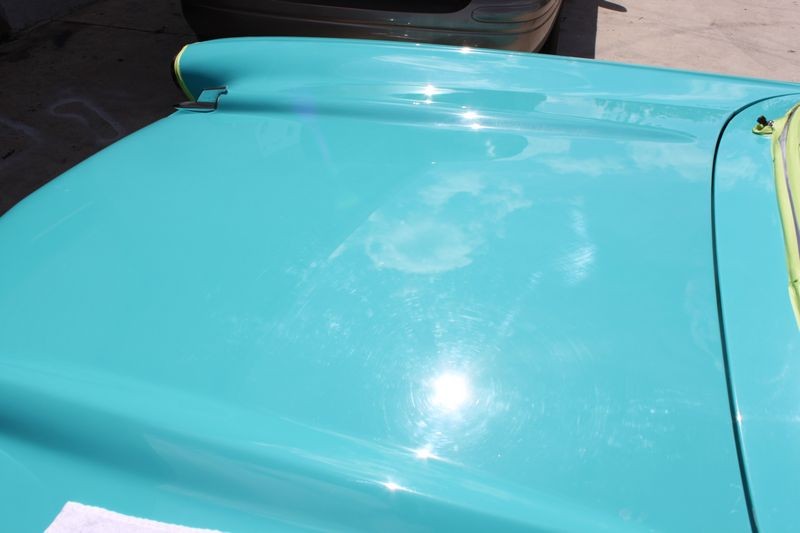
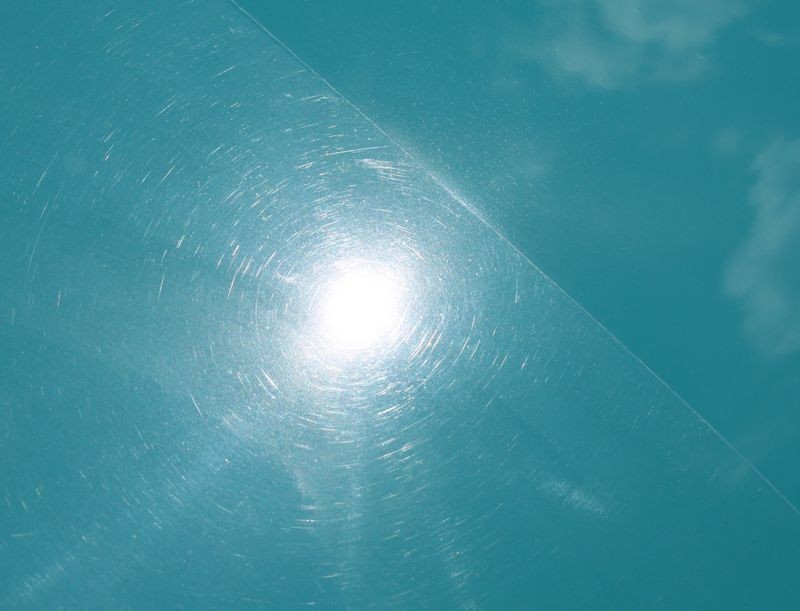
When the sun shines on the paint instead of having a deep, wet, high gloss shine, the paint turns all hazy looking. The swirls take your focus off the beautiful body lines the Tr-Fives are famous for and blinds you with ugliness.
57TuqChev004.jpg


57TuqChev005.jpg


57TuqChev006.jpg


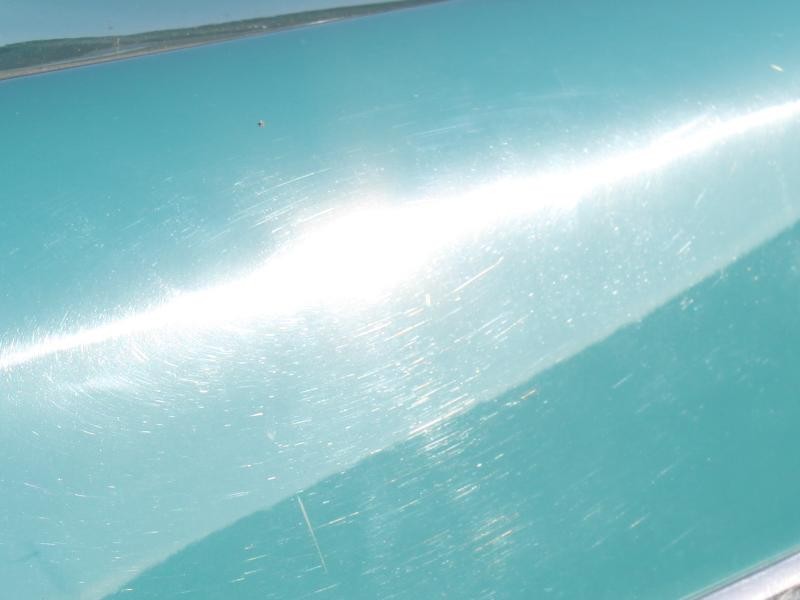
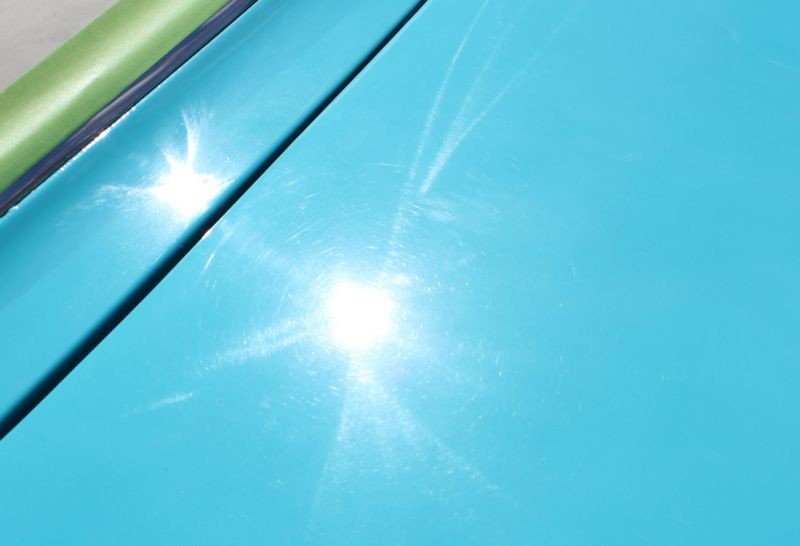
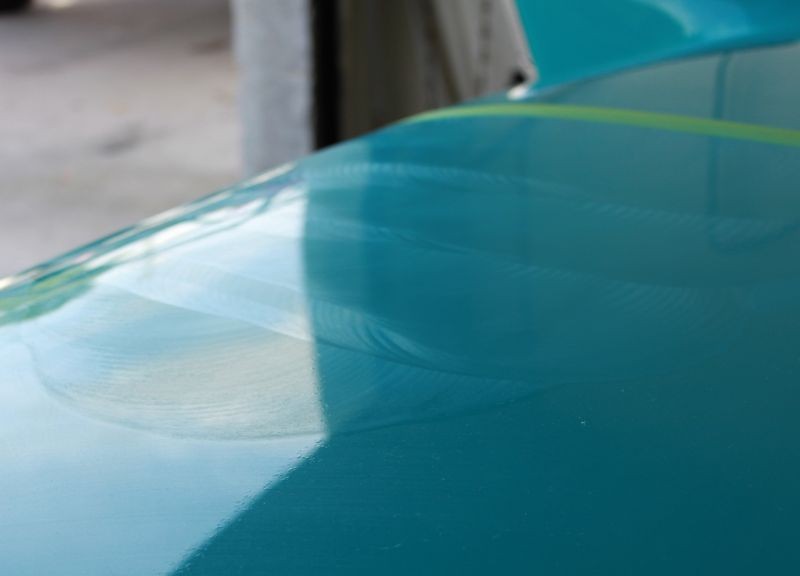
You can see these kinds of holograms or rotary buffer swirls throughout each panel when the sun hits them.
57TuqChev007.jpg


The below picture is a good representation of what's called holograms or rotary buffer swirls.
57TuqChev011.jpg


57TuqChev012.jpg


57TuqChev013.jpg


57TuqChev014.jpg


More rotary buffer swirls - Swirls in paint make the paint hazy looking so you never really see the true color.
57TuqChev015.jpg


57TuqChev016.jpg


57TuqChev017.jpg


57TuqChev017c.jpg


After wiping the car clean and capturing some shots of the overall condition, we swept out the shop and removed as much dirt and debris as possible and then pulled the 1957 Chevy back in to do a Test Spot.
57TuqChev019.jpg


When doing mobile detail work consider yourself lucky to have any kind of covered shop or shelter to work under and before starting, help to sweep and tidy up a little so you can work clean throughout the paint polishing process.
57TuqChev020.jpg


57TuqChev021.jpg
 
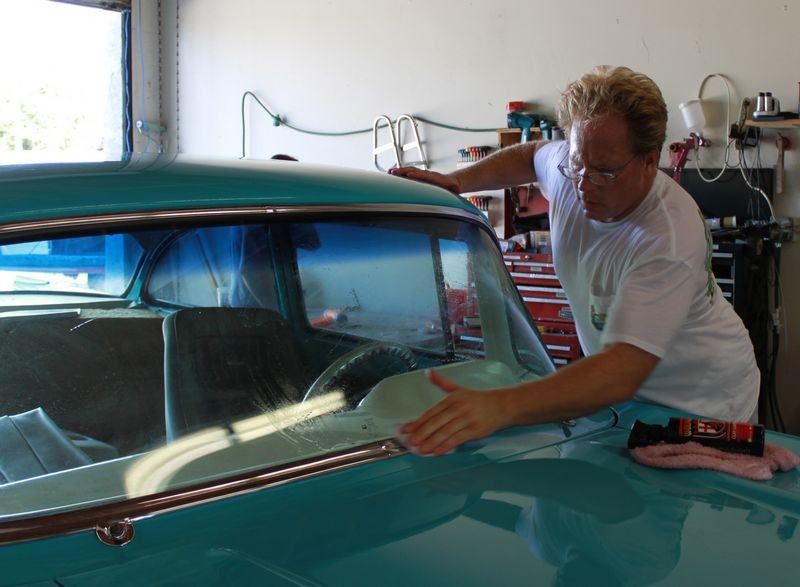
Now that we've wiped the car clean and moved it back into the shop we're ready to clay all the painted panels. Normally you only need to clay the horizontal panels but after we wiped this car clean we went ahead and felt all the vertical panels as well as the glass, trim and bumpers and everything had a rough or textured feel to it.

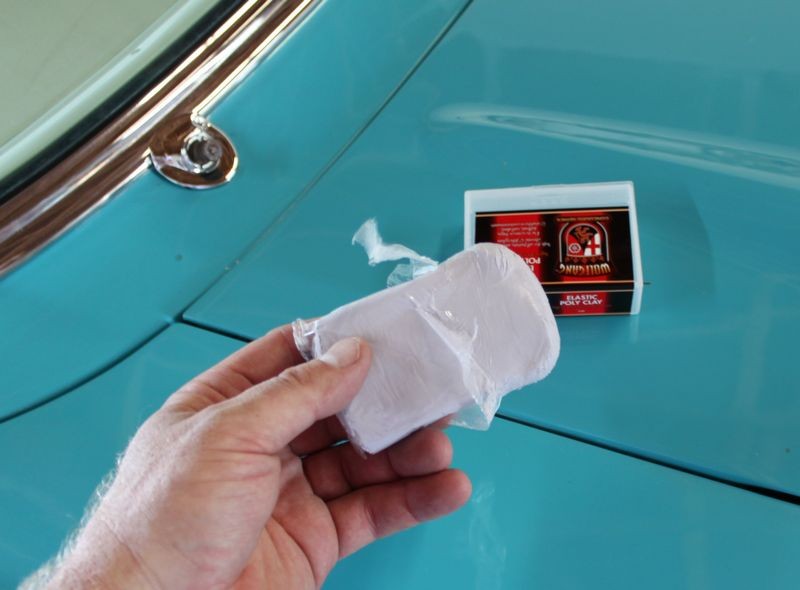
The Wolfgang Elastic Poly Clay weighs in at 200 grams and you can easily tear it in half, into thirds and even four pieces of clay and still be able to form a healthy clay patty for claying the paint while saving the rest of the clay for your next detailing session.
57TuqChev022.jpg


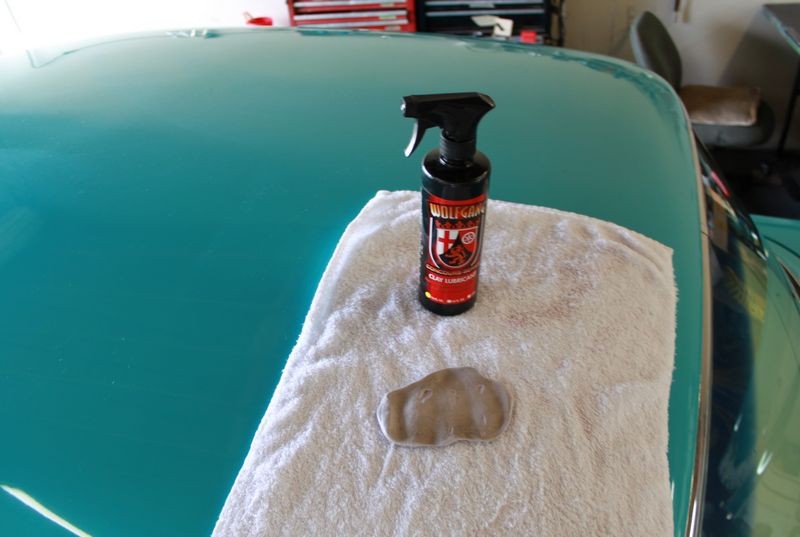
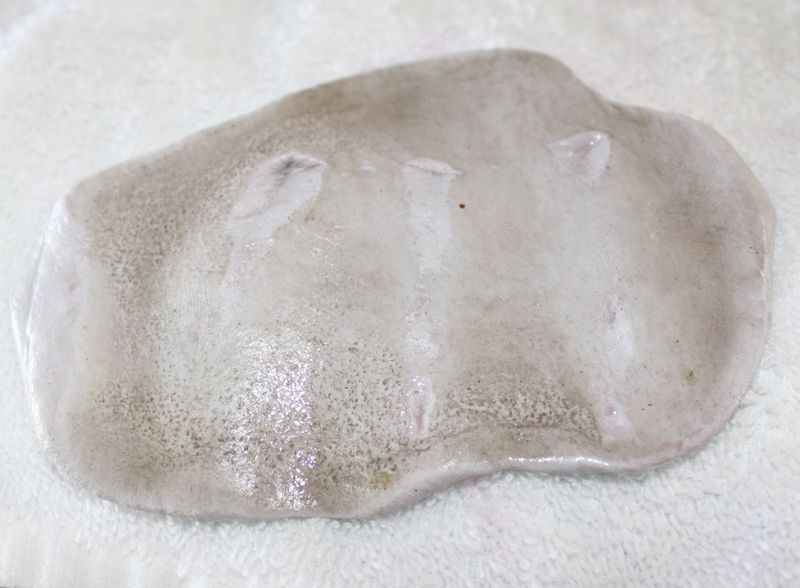
In the shot below, we've only clayed the section under the towel and then placed the towel back onto the paint to show you how large of an area we clayed at one time. Then we placed the clay on the towel to get a good picture to show you just how dirty the paint is on the surface. The roof, hood and trunk lid all feel like 40 grit sandpaper.

57TuqChev023.jpg


57TuqChev024.jpg


As we worked around the car we would continually fold and re-knead the clay to expose fresh clay.
57TuqChev025.jpg


57TuqChev026.jpg


Even the thin horizontal panels outlining the windows had above surface bonded contaminants on them as did all the chrome and glass.
57TuqChev027.jpg


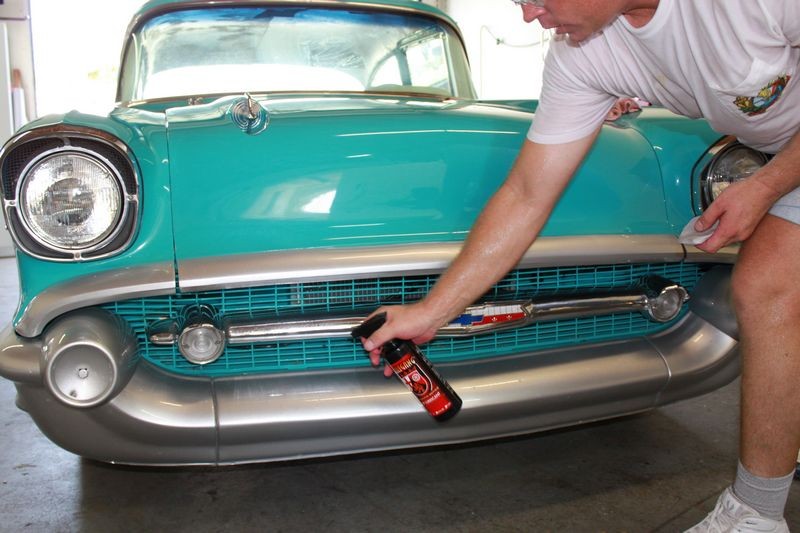
The bumpers were painted with a silver metallic paint and then clear coated, they had a rough feel to them also so we misted on some Wolfgang Clay Lubricant and clayed them too, later we'll clean, polish and protect them just like the car's paint.
57TuqChev028.jpg


57TuqChev029.jpg


57TuqChev030.jpg


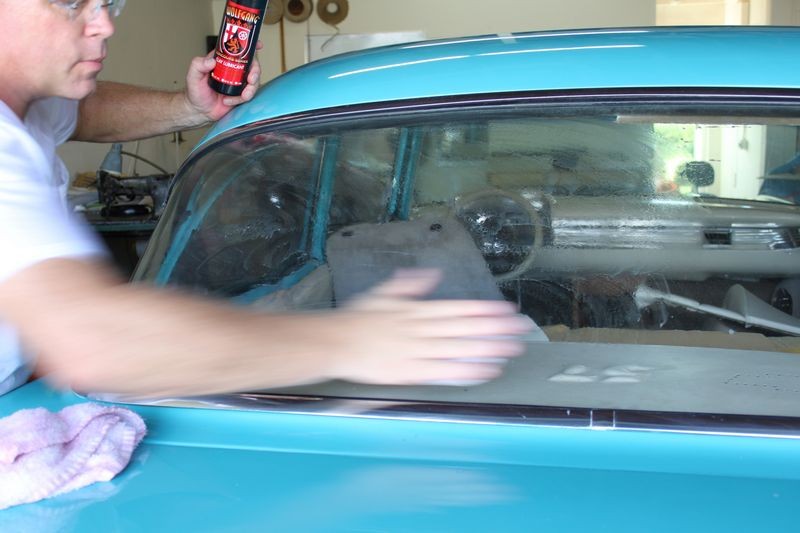
All the window glass felt rough and textured so all the exterior glass was clayed.
57TuqChev031.jpg


57TuqChev032.jpg


In the shot below I'm claying the chrome trim that surrounds the windshield.
57TuqChev033.jpg


57TuqChev033c.jpg
 
Anytime you can remove any trim, badges emblems it's a good idea to do so, this protects the component and allows you to polish the paint under and surrounding the place where the component was attached.

57TuqChev035.jpg


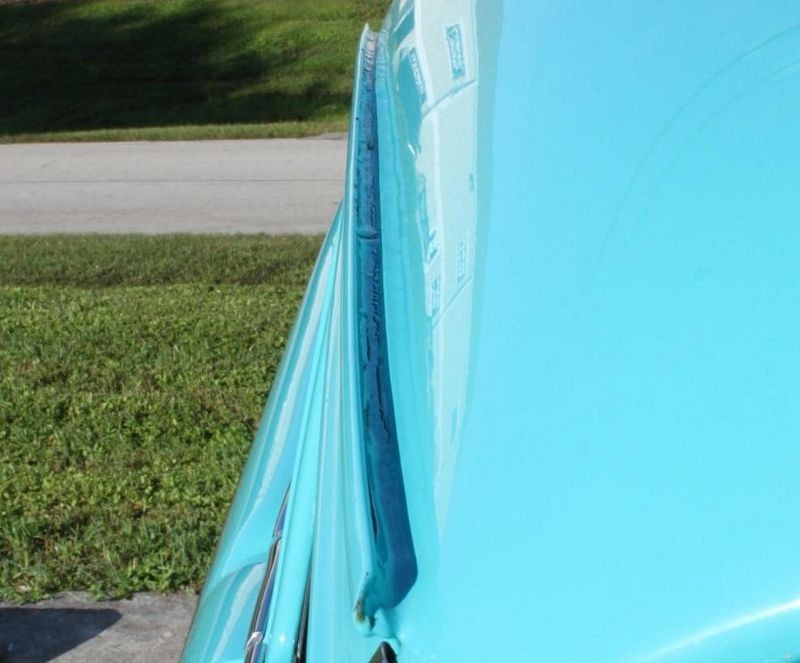
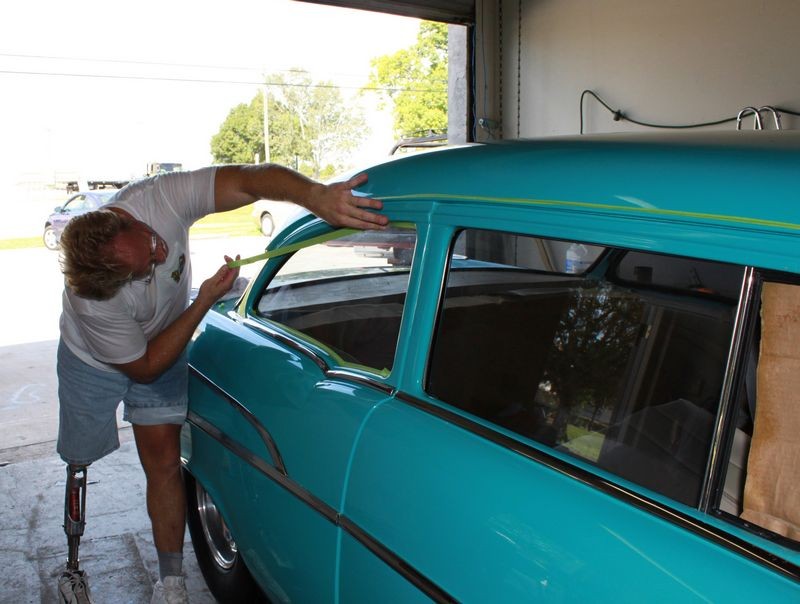
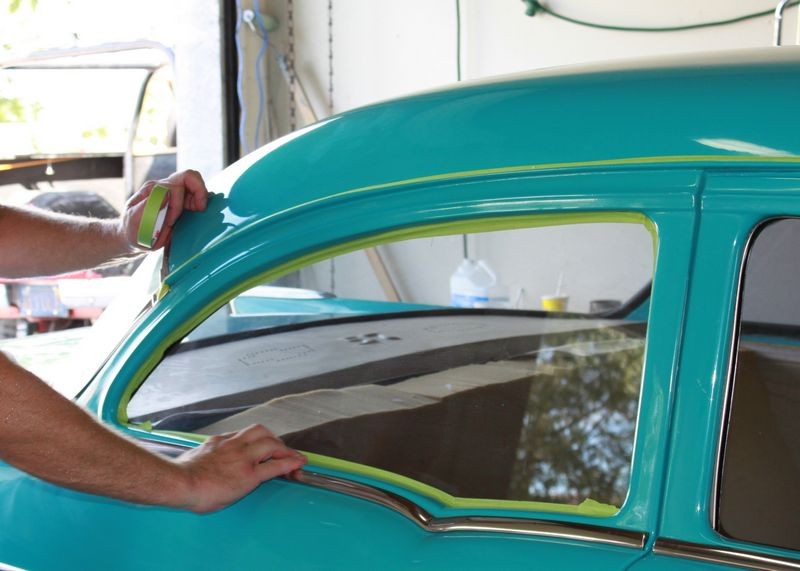
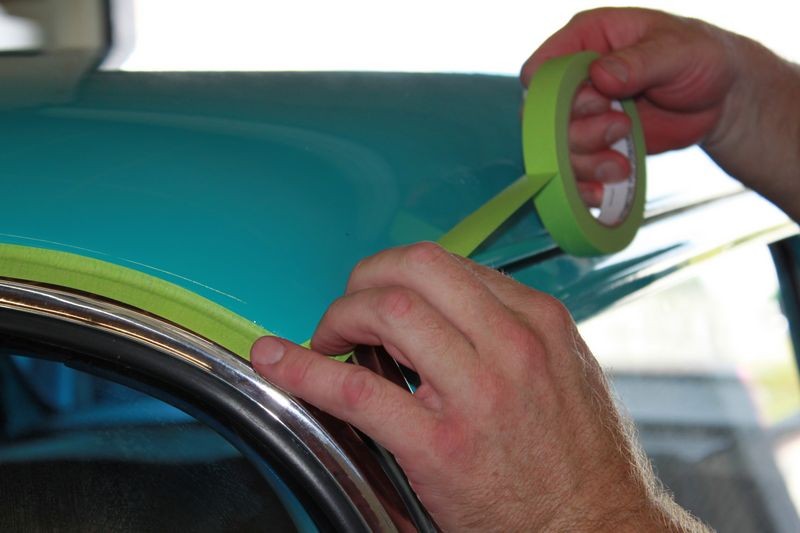
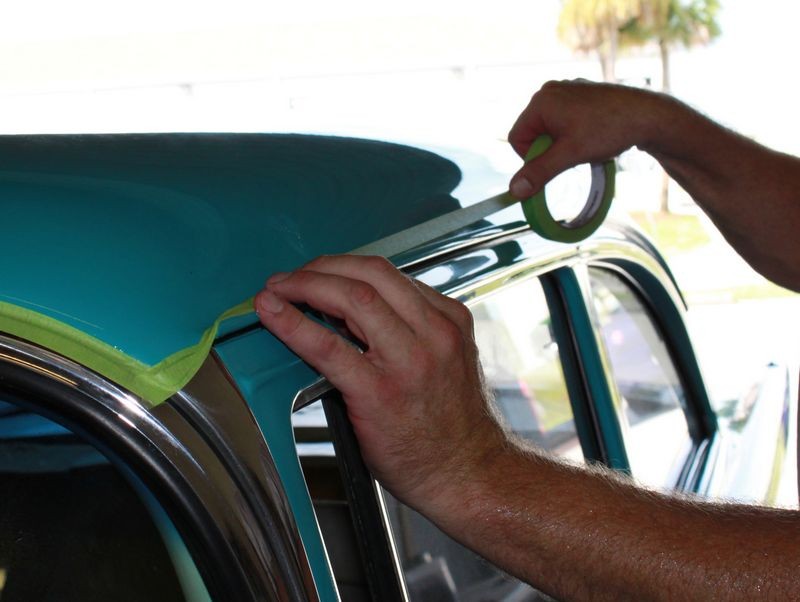
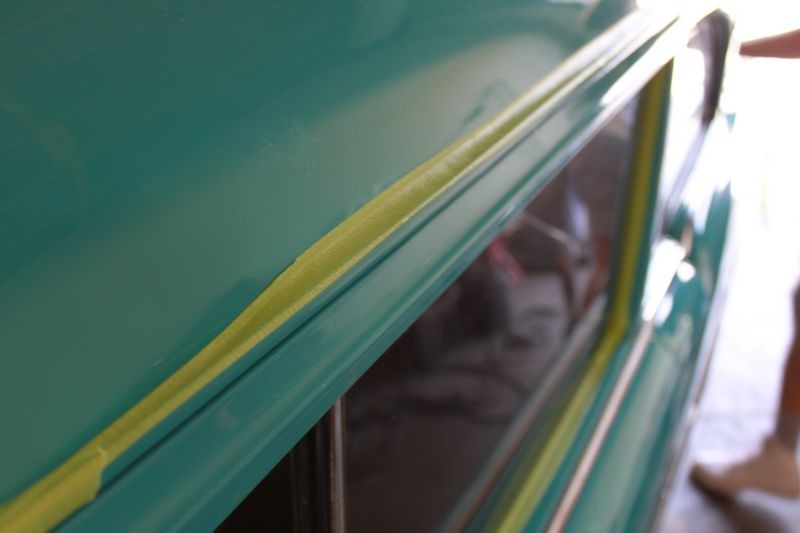
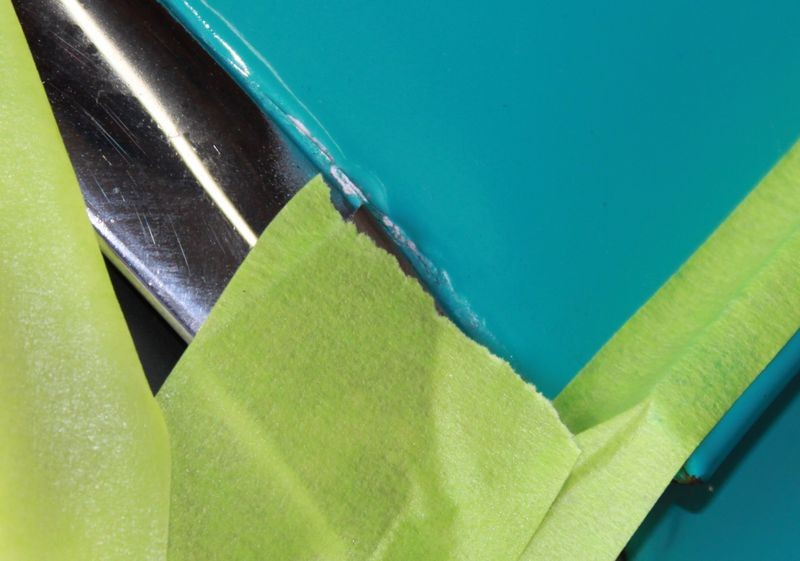
Old classic cars have a very pronounced rain gutter to channel water off the roof and away from the side windows. The outer, curled up edge of the rain gutter is very thin and it's easy to bump into it with your buffing pad if you're not careful. Usually the paint inside the channel is not 100% smooth and polish and wax residue can become easily stuck into any irregular surface, so when I tape these off I run tape to the outer edge of the rain gutter and then to the paint to seal off the channel.

57TuqChev036.jpg


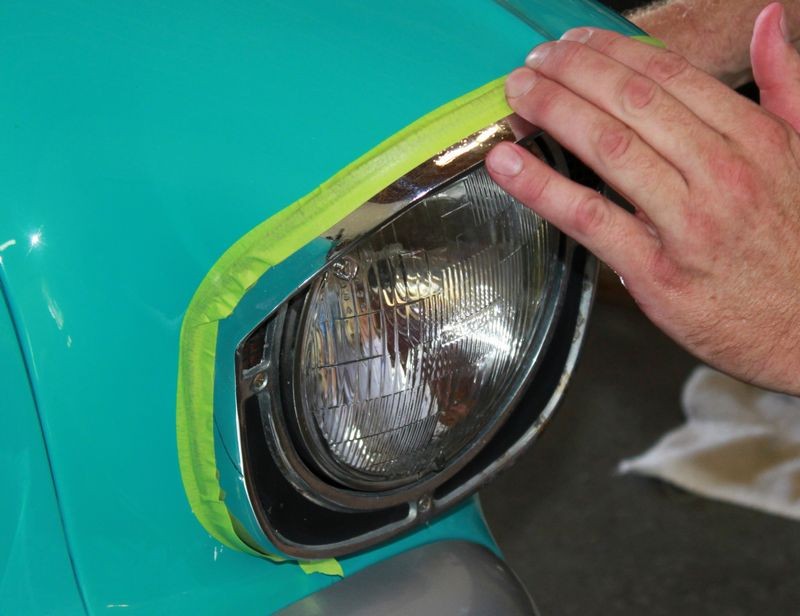
Next up we're going to tape off any places we don't want spatter, (by accident), or want to protect, for example the fuzzy trim surrounding the window frame that cushions and guides the flat glass. using 3M Painters Tape
57TuqChev037.jpg


57TuqChev038.jpg


57TuqChev039.jpg


57TuqChev040.jpg


57TuqChev041.jpg


57TuqChev042.jpg


Florida weather is hot and muggy!
57TuqChev043.jpg


57TuqChev044.jpg


57TuqChev045.jpg


57TuqChev046.jpg


57TuqChev047.jpg


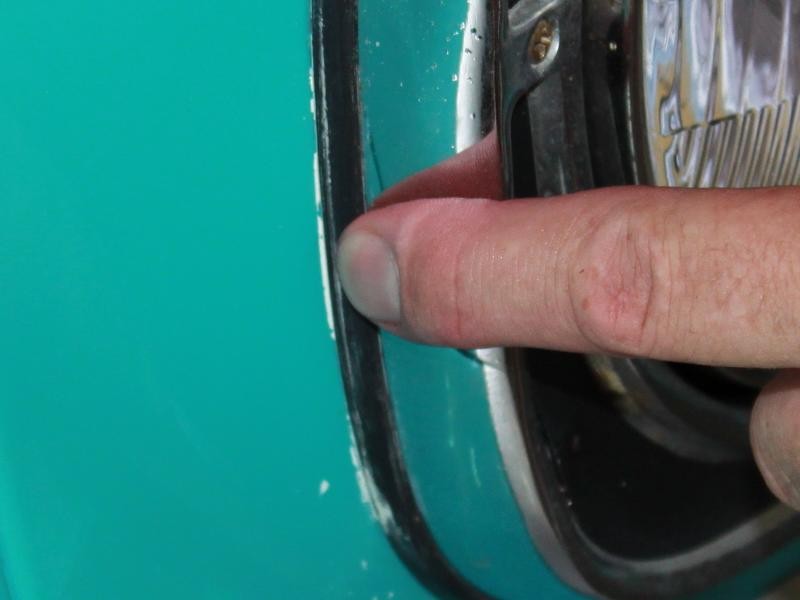
Be careful and avoid placing tap on any paint that looks like it might lift-off if you were to put tape on it and then remove the tape.

57TuqChev048.jpg


You can even use a piece of tape to make a visual reminder of areas to be careful around.
57TuqChev049.jpg


Compound residue from the other guy....
57TuqChev050.jpg


57TuqChev051.jpg


I always like to tape my plug ends together so they don't pull apart as I'm dragging my cord around. I don't like the method of tying them in a knot as this always gets caught under the tires.
57TuqChev052.jpg


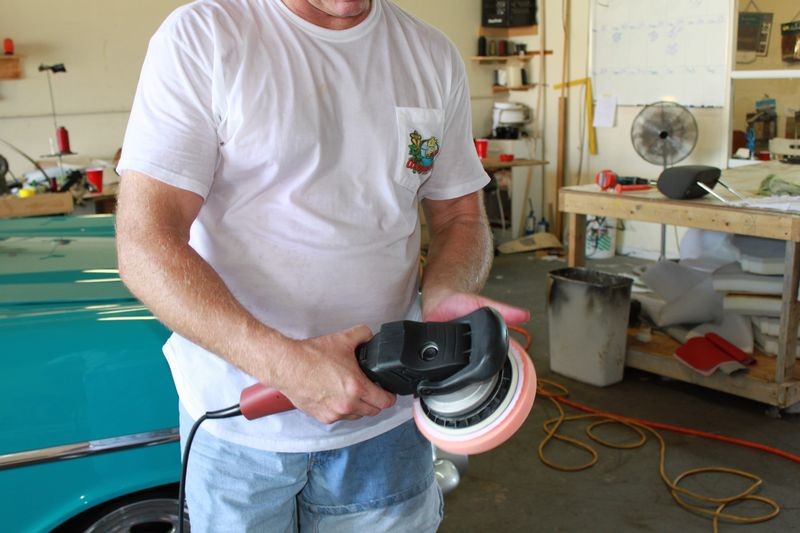
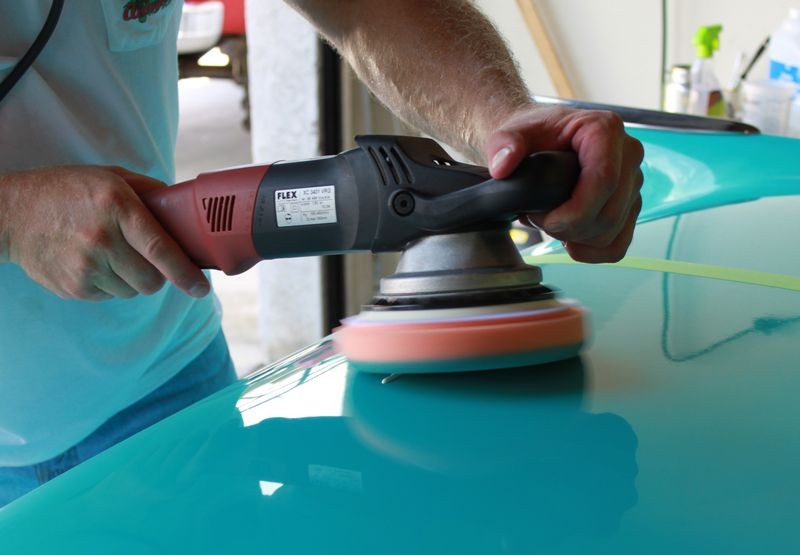
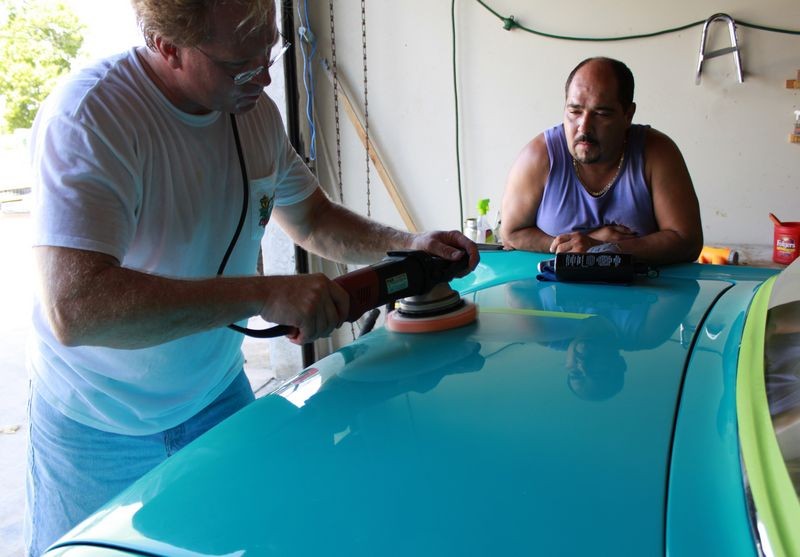
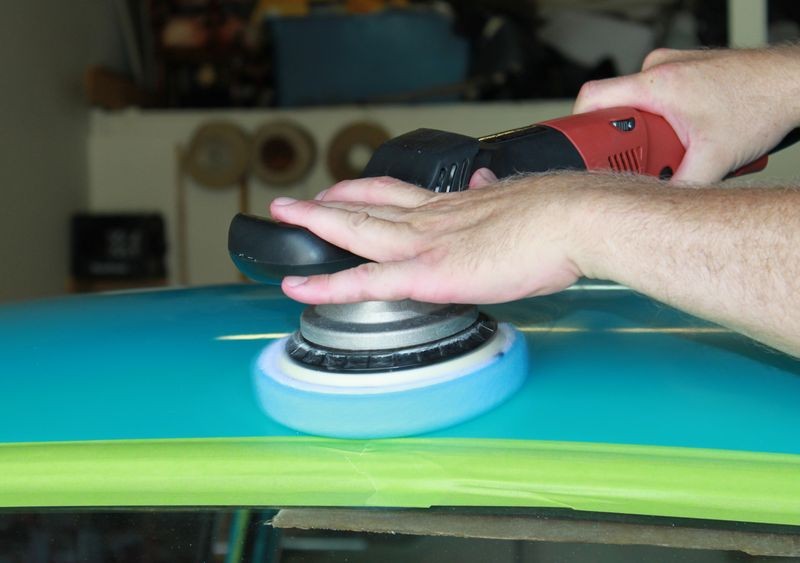
We're ready to do our test spot and for this we're going to use the Wolfgang Total Swirl Remover 3.0 with the LC Hydro-Tech foam polishing pad with the Flex 3401 If this isn't removing the swirls fast enough or effectively enough then will stick with the same product but try the more aggressive LC Hydro-Tech Cutting pad.


Center the pad onto the backing plate...
57TuqChev053.jpg


And then press the pad firmly against the backing plate to fully engage the Velcro.
57TuqChev054.jpg
 
Continued...


Horizontal surfaces like the hood or the trunk lid always work best for the Test Spot. Here we're using the trunk lid and we've applied a piece of painter's tape to separate between the before and after sides for easier and more accurate evaluation.

57TuqChev055.jpg


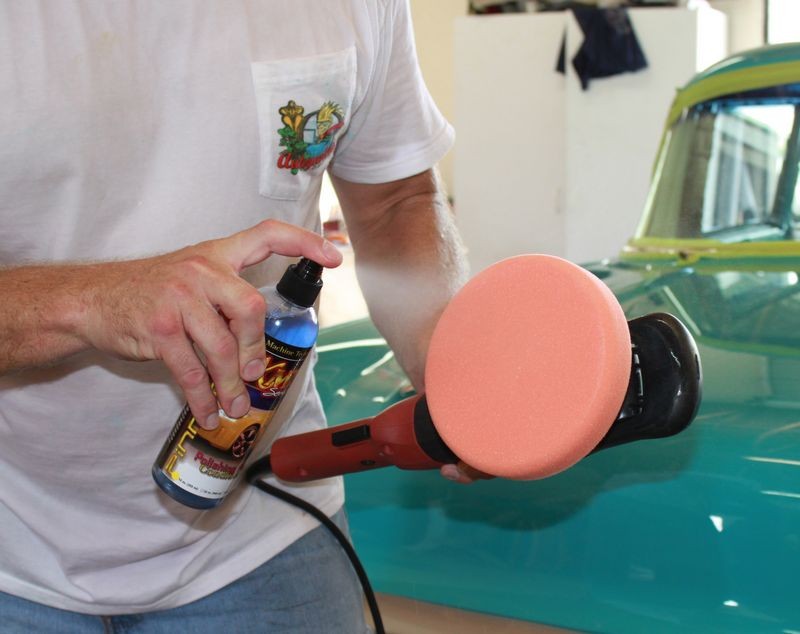
Always shake your products well before using them... I like to twist them back in forth at my side...
57TuqChev056.jpg


Lay down a thin strip of product about 6" to 8" long. You'll tend to use less product as you move around the car and your pad becomes more wet with product so it's less likely to absorb product into itself.
57TuqChev057.jpg


57TuqChev058.jpg


57TuqChev059.jpg


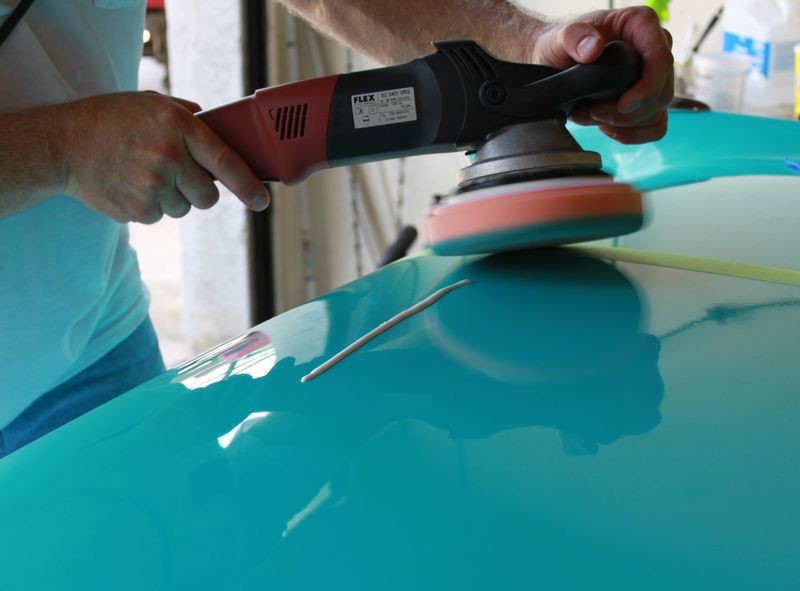
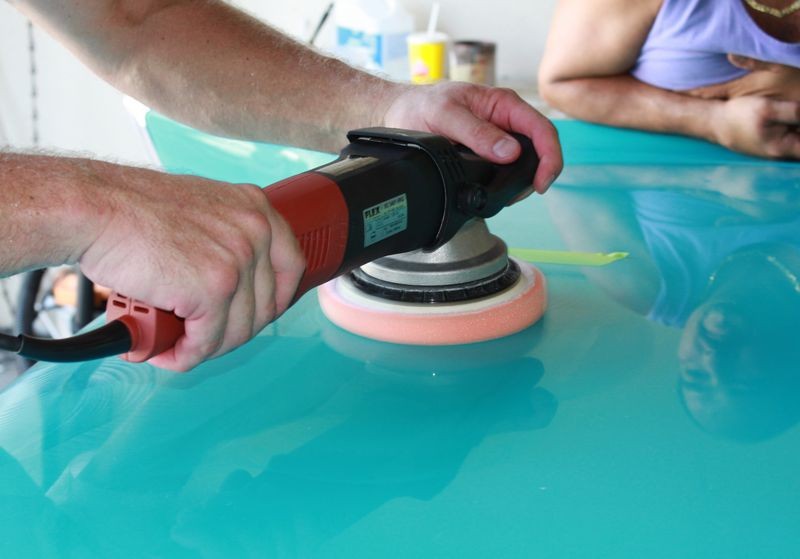
Unlike a true Rotary Buffer which the pad would rotate clockwise as you look down on it from behind the buffer, the Flex 3401 rotates counterclockwise and as such we're going to pick up our strip of product running the pad across the panel from left to right and running the strip into the pad at the 4 O'Clock position.
(See the YouTube Video below).

57TuqChev060.jpg


57TuqChev061.jpg


57TuqChev062.jpg


57TuqChev063.jpg


57TuqChev064.jpg


After picking up our bead, we lay the pad flat against the paint and begin making slow, overlapping passes over our test section.
57TuqChev065.jpg


57TuqChev066.jpg


57TuqChev067.jpg


Try to always have a wet film of product at the end of the buffing cycle as buffing to a complete dry buff might lead to hazing if you lose all lubricity on the surface.
57TuqChev068.jpg


YouTube Video Performing A Test Spot using the Flex VRG 3401

[video=youtube_share;3CtUaI_8HhE] - Performing a "Test Spot" to the paint on a 1957 Chevrolet Belair[/video]​


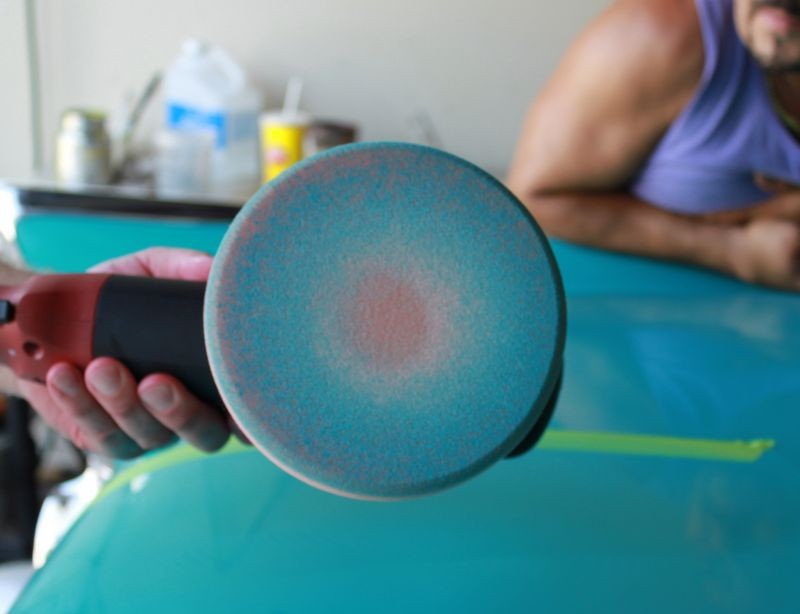
Turning the pad over reveals we're working on a single stage paint job, not a basecoat/clear coat finish. Single stage paints are generally softer and easier to work on than clear coat finishes with the exception of white single stage paints as the pigment type for white paint is Titanium Dioxide Powder and the pigment alone will make the paint, (resin), very unworkable or hard-to-polish.
57TuqChev069.jpg


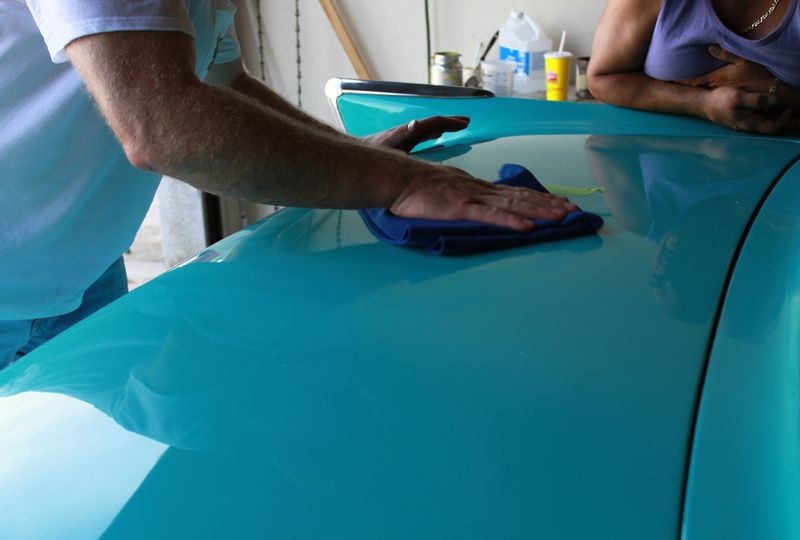
Next we'll wipe the residue off using a Cobra Indigo Microfiber Polishing Cloth and inspect the results both in the shop and outside in full sun.
57TuqChev070.jpg


57TuqChev071.jpg


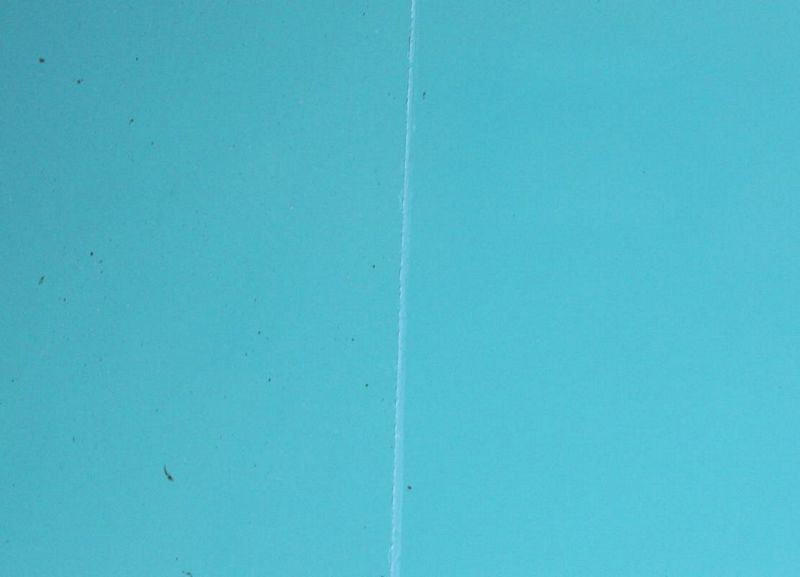
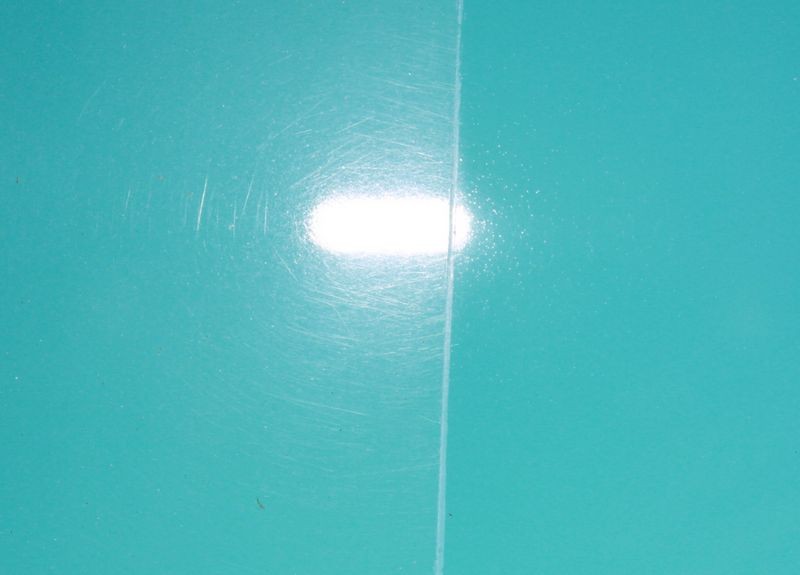
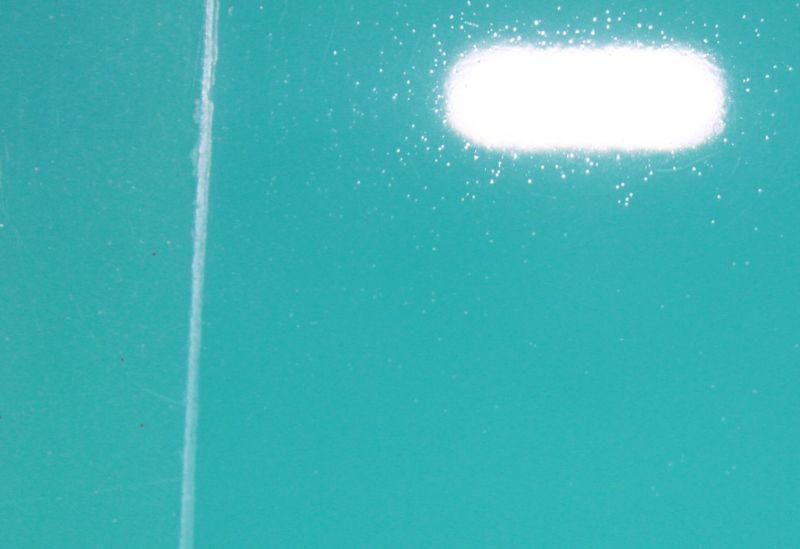
This is with the before side being lit up using the flash of the Rebel T1i
57TuqChev072.jpg


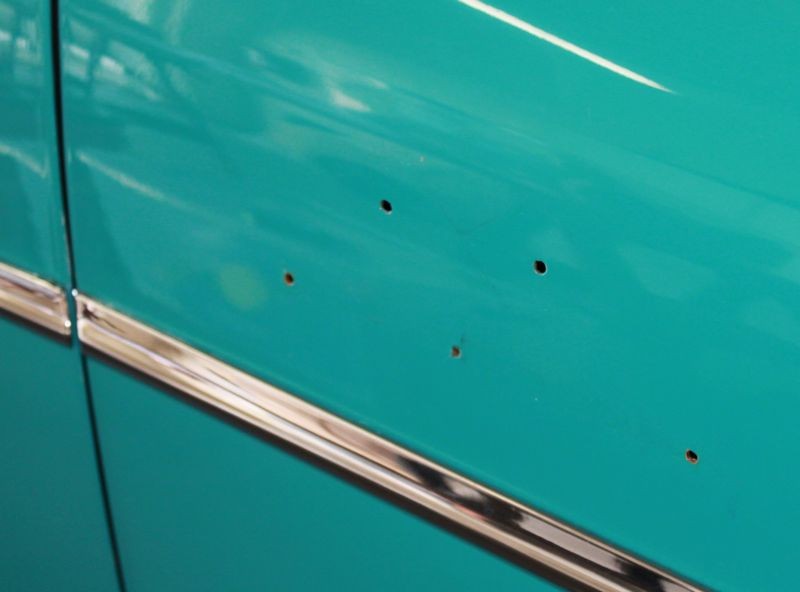
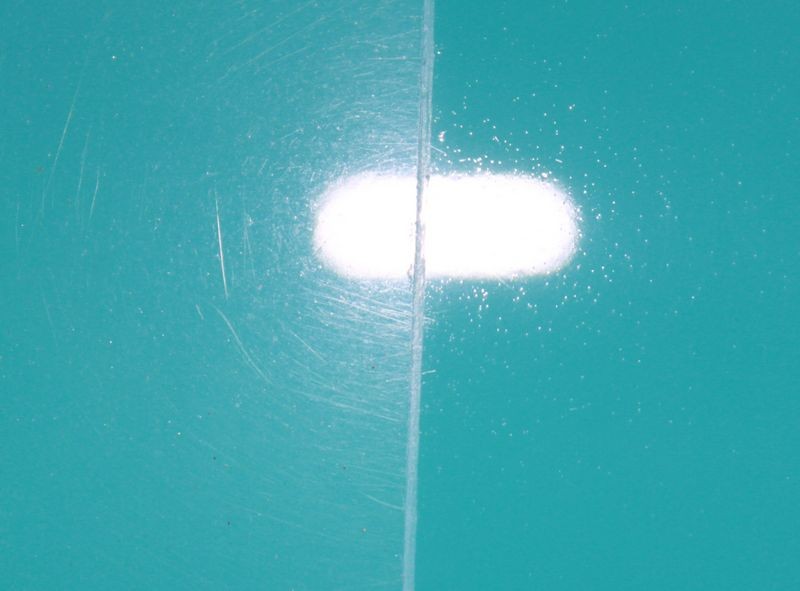
This is the after side. The tiny craters or pin holes you see are more than likely what' called Solvent Popping, which occurred when the paint was sprayed. These pin holes are actually present on the before side except because there are so many swirls in the before side, the swirls hide the solvent popping pin holes.

No amount of buffing will remove solvent popping because the holes are throughout the layer of paint, not just on the surface. Compounding and polishing more and more will just remove more paint and reveal a greater depth of the pin holes, it won't make the problem go away.

Keep in mind this is a very high resolution camera and it's being held very close to the paint. After polishing and waxing and then looking at the paint from a normal distance you don't really see them. The only fix is to repaint the entire car or the affected panels.
57TuqChev073.jpg


And a shot right on the tape-line...
57TuqChev074.jpg
 
Continued...

It's aways a good idea to check your results in at least two kinds of light, so after checking our results with the Swirl Finder Light and the Camera Flash inside the shop, we backed the car out into the sun and inspected our results with full sun directly overhead. At this point this is only the Total Swirl Remover 3.0, no final polishing or jeweling has been performed and there is no paint sealant on the paint.


YouTube Video showing the results from our Test Spot
[video=youtube_share;bBBgveQdndA] - 57ChevyWolfgangTestSpotResults[/video]​


57TuqChev075.jpg


57TuqChev076.jpg


57TuqChev077.jpg


With our Test Spot finished, the car taped-off, we're ready to move the car back into the shop and get busy.
57TuqChev078.jpg


57TuqChev079.jpg


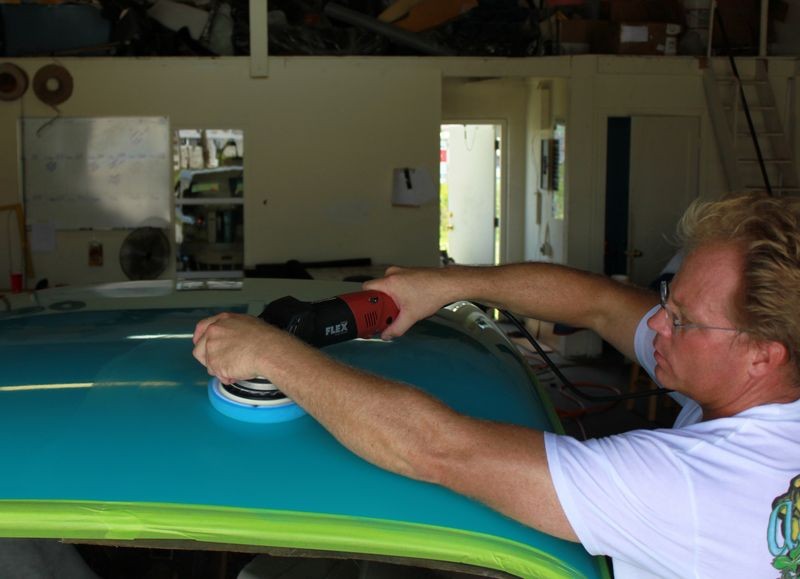
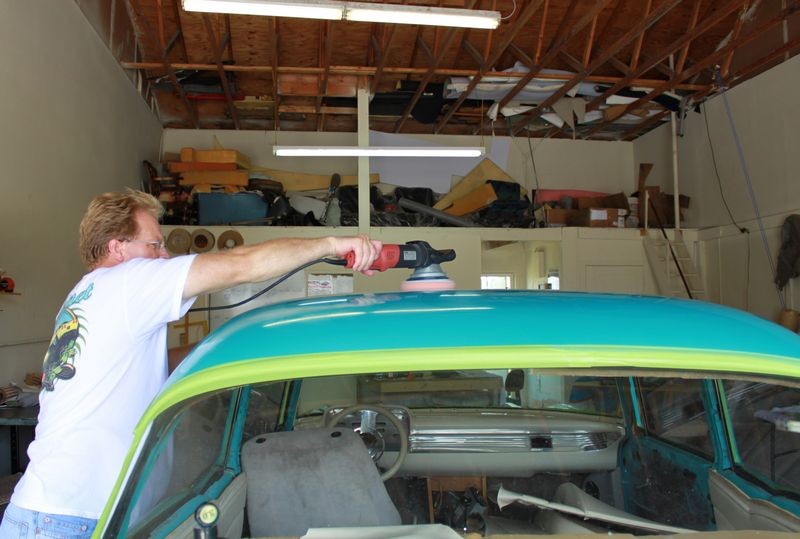
After we saw how well the swirls were coming out using just the polishing pad we tried the same combination on the roof but found a lot deeper scratches, (not swirls), so we switched to the Cyan colored foam cutting pad but stayed with the Total Swirl Remover 2.0 and polished out all the panels with this combination of pad and chemical on the 5.0 speed setting.
57TuqChev080.jpg


The Flex VRG 3401 has PLENTY of power, it's very close to being as powerful as a true rotary buffer without the heat and swirl issues associated with a true rotary buffer. Note the paint will still become very warm so always use good technique and don't overheat the paint in one section when using this tool. Check the temperature with the palm of your hand and as long as your Fight or Flight Reflexes don't kick in and make you jerk your hand away it's probably not too hot.


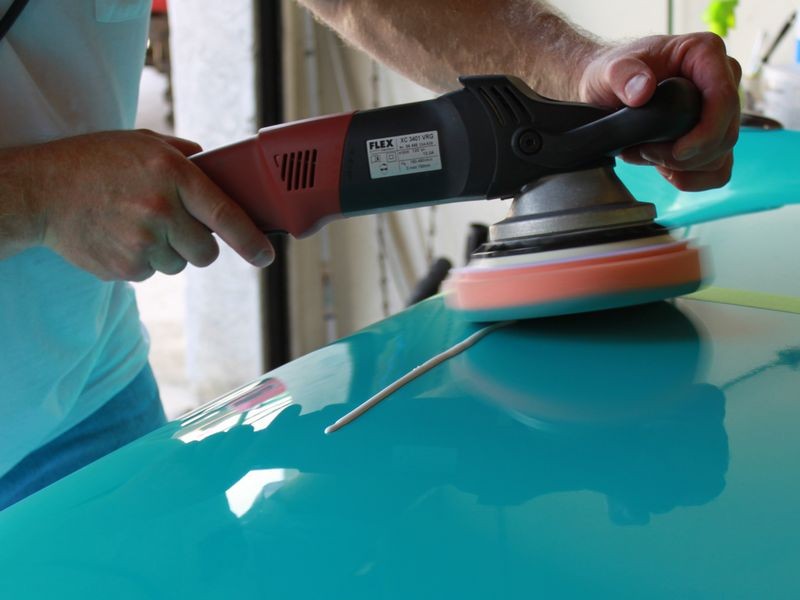
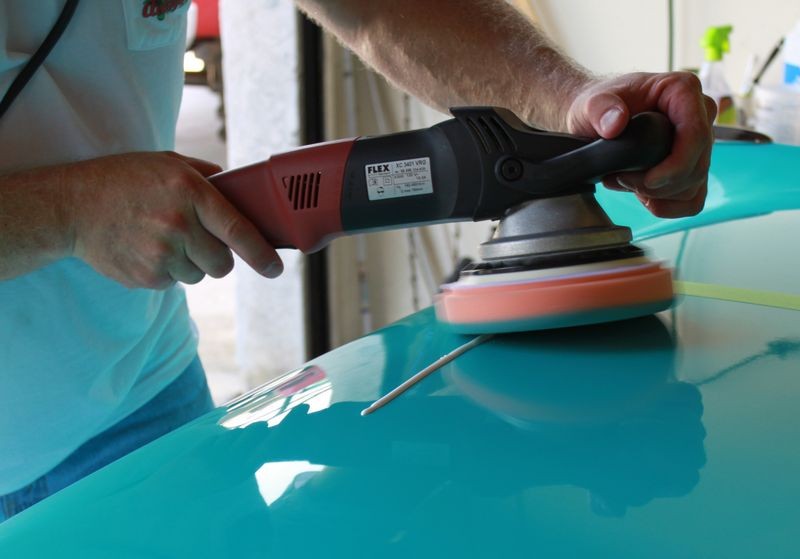
The Flex 3401 is easier to learn and control than a true rotary buffer but more difficult than a Porter Cable style dual action polisher. The key to keeping the tool easy to use is keeping the pad flat whenever you're working on flat surfaces.

57TuqChev081.jpg


57TuqChev082.jpg


57TuqChev083.jpg


57TuqChev084.jpg


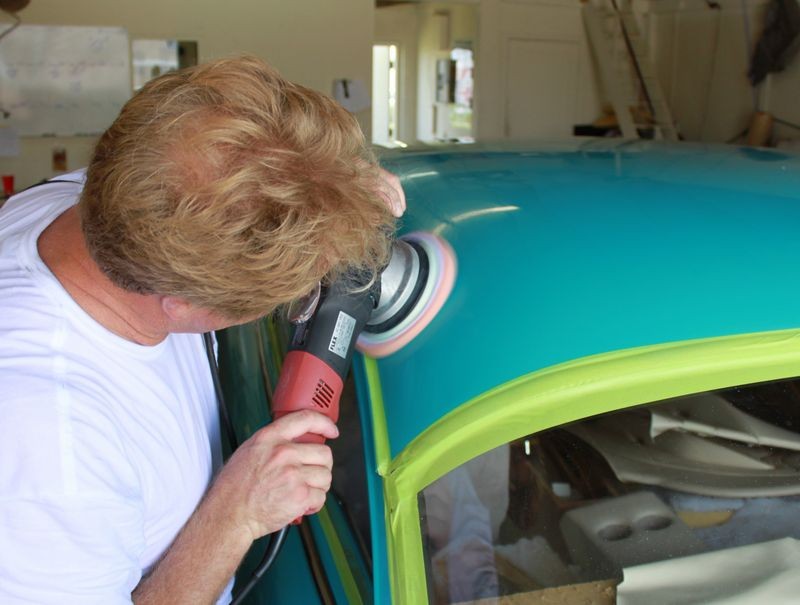
It's important to hold the tool firmly and in such a way as to keep the pad flat at all times. If you tilt the polisher in any direction so as to put more pressure on any of the edges of the pad, the rotating action of the pad will tend to want to walk the polisher in the direction of the rotation of the pad where the pressure is applied. So it's vitally important to hold the pad flat when using this type of tool.

57TuqChev085.jpg


57TuqChev086.jpg


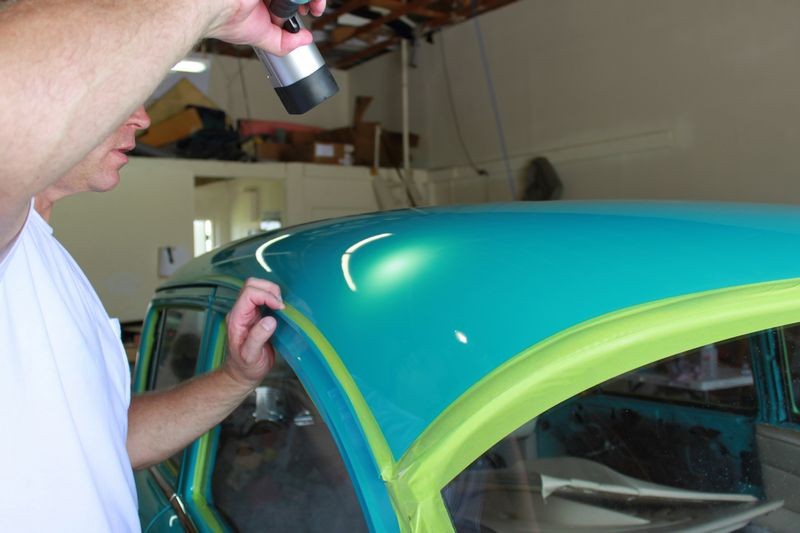
The Brinkman Dual Xenon Flashlight works great for checking your results as your work around the car.
57TuqChev087.jpg


Brinkman1.jpg
 
Continued...

After machine cleaning all the paint next up we're going to machine polish the paint only for this step we're going to use the softer Lake Country Hydro-Tech Polishing Pad with the Wolfgang Finishing Glaze on the 4.0 speed setting of the Flex VRG 3401 Polisher.

57TuqChev088.jpg


Conditioning a brand new dry pad with Pinnacle XMT Polishing Pad Conditioner before starting.
57TuqChev089.jpg


57TuqChev090.jpg


57TuqChev091.jpg


57TuqChev092.jpg


57TuqChev093.jpg


57TuqChev094.jpg


Inspecting with the Brinkman Xenon Flashlight
57TuqChev095.jpg


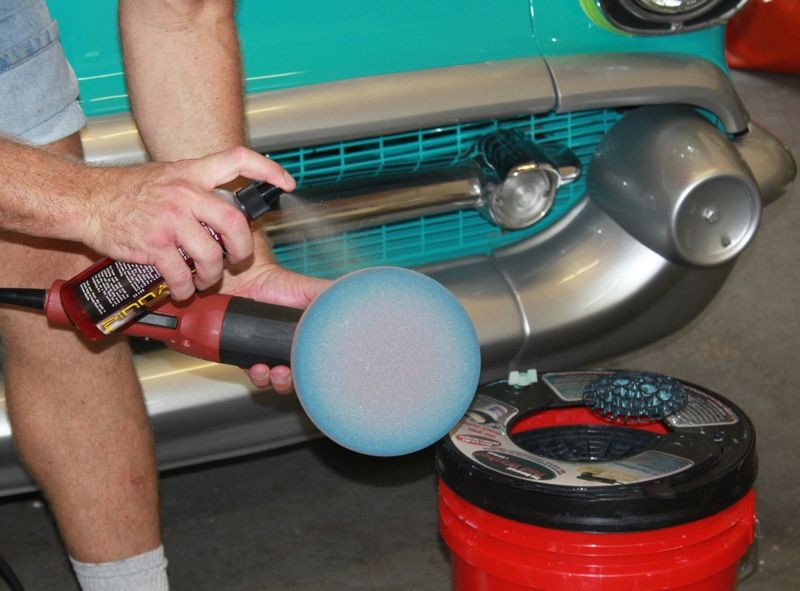
Misting on some Pinnacle XMT Polishing Pad Cleaner
57TuqChev096.jpg


Using the Grit Guard Pad Washer to clean the pad in-between applications of Finishing Glaze. Inside the Grit Guard Universal Pad Washer is one scoop of Wolfgang Polishing Pad Rejuvenator
57TuqChev097.jpg


57TuqChev098.jpg


There's a little Mini Grit Guard type grill that attaches to the top of the pad cleaner and you can run your buffing pad against this and remove a lot of the water that doesn't spin out from centrifugal force.
57TuqChev099.jpg


Much, much cleaner and this will make buffing easier with less gumming up and enable you choice of product to work without being diluted by spent product and removed paint still on the pad.

Working clean is in my opinion, the most important factor next to correct pad and product choice. Technique is very important but if some portion of the process is dirty, then you lose all control over quality of results and product performance, and in this context, product can mean more than just the chemical, it can mean the buffing pad, the wiping cloth, even the tool.
57TuqChev100.jpg


There is no finishing pad in the new LC Hydro-Tech Pad system at the time of this project so we used a Meguiar's W9207 Softbuff Finishing pad on the 3.0 setting to apply the Wolfgang Deep Gloss Paint Sealant 3.0

57TuqChev101.jpg
 
While the wax was setting up we remove the painters tape and by hand rubbed-out any tape residue lines using a Pinnacle Foam Wax Applicator and the Wolfgang Deep Gloss Paint Sealant 3.0. After that we removed all the paint sealant using Cobra Indigo Microfiber Polishing Cloths and took a few inside shots before pulling the car outside for more after photographs.

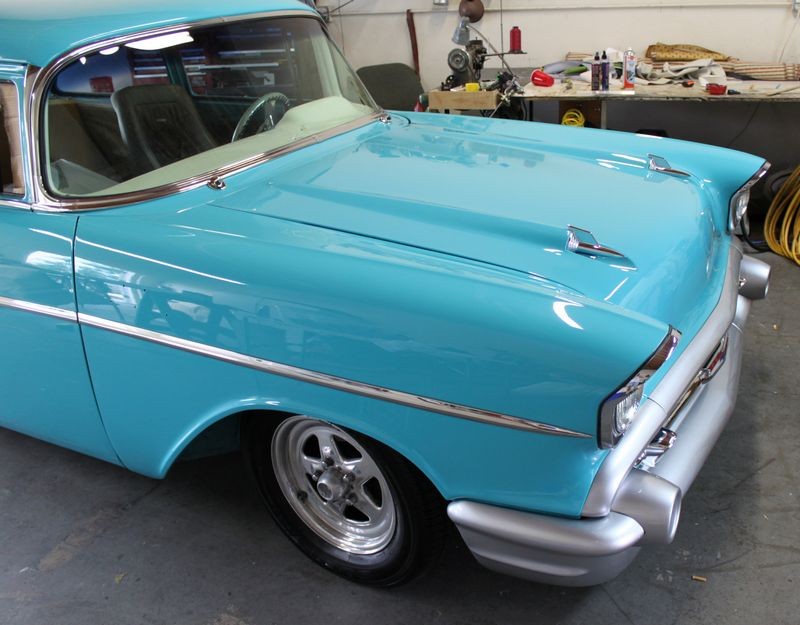
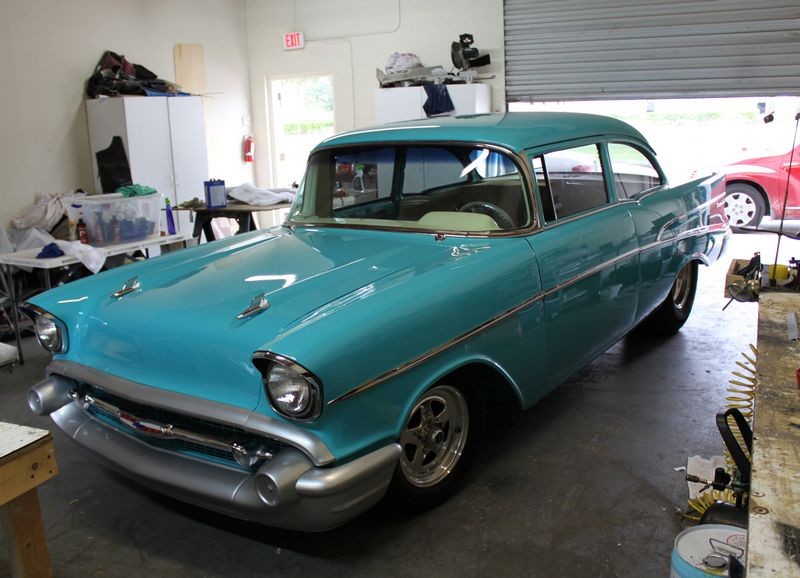
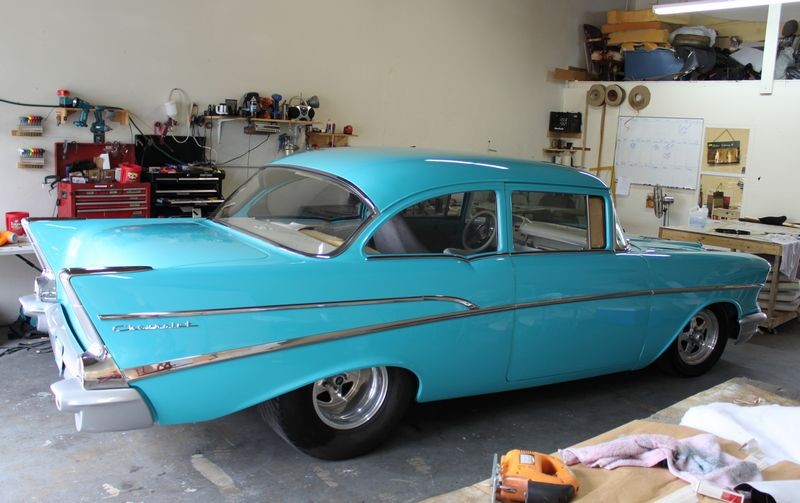
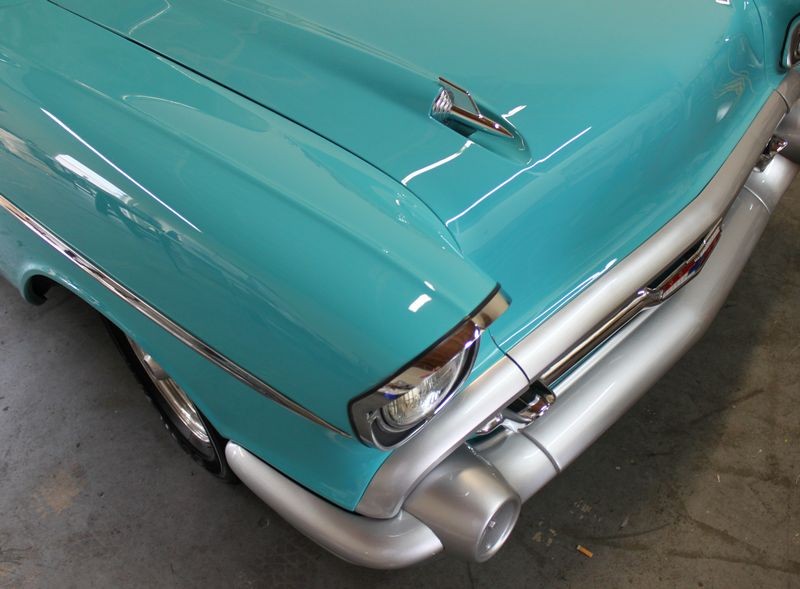
The weather turned cloudy so there are no sun-shots but they would have looked better than the results from the Test Spot as at this point the paint has been machine polished and machine sealed.

Frank the owner and everyone else in the shop said the car has never looked this wet and glossy.

57TuqChev102.jpg


57TuqChev103.jpg


57TuqChev104.jpg


57TuqChev105.jpg


57TuqChev106.jpg


57TuqChev107.jpg


57TuqChev108.jpg


57TuqChev109.jpg


57TuqChev110.jpg


57TuqChev111.jpg


57TuqChev112.jpg


57TuqChev113.jpg


57TuqChev114.jpg


57TuqChev115.jpg


57TuqChev116.jpg


57TuqChev117.jpg
 
I took two videos of the results, one using my iphone, one using the company's Canon Digital Rebel T1i, both came out about the same with the Rebel video looking a little sharper. I've included both of them for your viewing pleasure.

Rebel T1i Video​
[ame=http://www.youtube.com/watch?v=ZHQbvshlw_8]YouTube - 1957 Chevy "After" results from machine cleaning and polishing with Wolfgang Paint Polishing System[/video]​

iphone Video​
[ame=http://www.youtube.com/watch?v=UNH9PQ_9ynU]YouTube - 1957 Chevy "After" results from machine cleaning and polishing with Wolfgang Paint Polishing System[/video]


:xyxthumbs:
 
Comments

This was the first time I buffed out an entire car using the Flex VRG 3401, the new Lake Country Hydro-Tech Buffing Pads and the Wolfgang Paint Polishing System, so that's a lot of new products to tackle at one time but everything performed as advertised and expected.

Below are a few comments from this experience.

Flex VRG 3401 Forced Rotation Dual Action Polisher
Lots of power, in fact no lack of power for serious correction work just choose and use the right pad and product for the task at hand. The tool is lightweight and this is a plus for any tool especially when doing complete, multi-step buff-outs to large vehicles.

Because of it's power you can tackle a larger section than you would normally tackle when using a PC style DA Polisher but don't go crazy and try to tackle areas like half a hood at one time as it's too hard to focus on UMR if your section are too big. Try to never buff a section wider than the with of your shoulders and usually a little smaller. (UMR = Uniform Material Removal for a Uniform Appearance)

This tool is well made with good fit and finish. I will be tempted to try it without the forward handle next time as the placement of this handle did get in the way when trying to get into complex curves and panel designs. This would mean man-handling the tool a lot more because you would lose leverage over it. So I'll give it a try as I tend to never use handles on Rotary Buffers or DA style Polishers as a personal preference.

The body of the tool around the motor got quite hot, this was expected, not a surprise but some people might not like this characteristic. As long as you keep you hands on the handle up front and the grip in the rear it's not a problem, just an observation I wanted to mention.

I discussed and demonstrated in one of the YouTube videos how holding the pad on edge will cause the polisher to want to walk around, rotary buffers do something similar so no surprise here but did want to point it out as a lot of people may purchase this as their first time entering into machine polishing. Again this isn't so much a problem as an observation as it's a best practice to hold the face of the buffing pad flat to the panel whenever you're buffing out a flat surface.

I used the pad on edge for tight areas and for thin panels, this can be a tad on the risky side so be sure of your purpose first and your grip second and make sure you have plenty of product on the surface for good lubrication. I would not recommend this practice to anyone and instead switch to a tool that offers a smaller pad.

If you're experienced with a rotary buffer you'll figure this tool out in about 60 seconds. If you're new to machine polishing my honest opinion is you'll find learning to machine clean and polish easier with a PC style Dual Action Polisher. Note I didn't say you'll find a PC style Dual Action Polisher BETTER, I typed... easier.

The word better is too subjective for use with online enthusiasts on discussion forums and able to start a Flame War with a handful of hardcore Flex 3401 devotees. :D


Wolfgang Paint Polishing System
The Wolfgang Paint Polishing System is a Bubba-proof multi-step system that is well suited for restoring most daily drivers from neglected condition to excellent condition.

Total Swirl Remover 3.0
The Total Swirl Remover 3.0 is easily capable of removing medium swirls and scratches while finishing out LSP ready on at least the paints I've used it on so far. It has a long play-time or buffing cycle so it's pretty hard to buff too long with this product and as long as you're making at least 4-6 "Section Passes" on any paint with any tool you're going to have a hard time messing up anything by not buffing long enough, i.e. it's Bubba-Proof.

Wipe-off is also easy and when buffing out large real-estate vehicles like this 1957 Chevy, easy wipe-off is a real blessing a few hours into the project.

Finishing Glaze
The Finishing Glaze does a good job of maximizing the clarity and gloss created by the first step product and also offers a long play time or buffing cycle. Wipe-off is easy as long as you wipe the product off as you go around the car. I let it dry in a few places just a tad to long as I was hustling pretty fast on this project to to get it done in time for some sun shots, (which just didn't happen), and wipe-off became a little more difficult. If you do leave it on too long, a little mist of any spray detailer makes it easy to wipe off.

Wolfgang Deep Gloss Paint Sealant
Application by hand or machine is easy with this paint sealant. I would say again from experience, a DA style polisher like the Porter Cable units, the Meguiar's units or the Griot's Garage Polishers seem to work smoother and thus easier for applying a finishing wax or paint sealant at low OPM's but this tool is certainly capable of being used for applying a wax or paint sealant and as long as you're focusing on the task at hand you can lay down a nice thin coat of this paint sealant which is the goal.

It took me about 20 minutes to remove the 3M Painter's Tape and another 10 to 15 minutes to rub-off any residue lines left by the different products accumulating next to the tape lines. After that I removed the Wolfgang Deep Gloss Paint Sealant and it wiped off very easy with no streaks, smears, or splotchiness.

On a personal note I try not to use spray detailers to remove or even-out the end-results but instead would prefer to wait for 24 hours to allow all the protection ingredients to fully dry and set-up. I'm happy to say on this single stage paint system the results were even, slick and glossy. Wipe-off was a breeze, it took me about 20 minutes to make my first pass all the way around the car using a Cobra Indigo Microfiber Polishing Cloth in each hand with a Rock Star primer. A final wipe using the techniques outlined here,


The Final Wipe


Lake Country Hydro-Tech Foam Cutting and Polishing Pads
Love these pads. (Do I need to type more?)

The Cyan foam cutting pad is very nice because it's not as aggressive as most foam cutting pads but offers more cut than most polishing pads. Use it with the right chemical, tool and technique and it offers a lot of correction ability with the ability to still finish out quite nicely. Besides that, the foam itself appears to be very durable as I used only 2 pads for the entire car with no signs of wear to either pad and that includes a lot of pad cleaning. I believe I could have easily done the job with just one but I'm used to switching pads out more often than I did with this job.

The Tangerine Polishing Pad seems a little more aggressive than the average polishing pad like both the white LC foam formulas and the Meguiar's 8000 series foam pads and this is good and bad. If you're looking for a versatile foam polishing pad with plenty of cleaning power this this is a great pad. If you're looking for a soft, cushy foam polishing pad for light cleaning then this might be just a little too much in the way of density and aggressiveness and you might like a softer pad. This just depend upon what you're trying to do. A good example would be when using a one-step cleaner/wax to restore a neglected finish in one step, this would be a great polishing pad for this application. For applying a finishing wax to a perfect finish I think it's just a tick or two on the aggressive side as compared to a softer polishing foam pad or even a finishing foam pad.

This is very nice new entry to the foam pad market and I would really like to see a finishing pad introduced to complete the Hydro-Tech line. Also a smaller size option in all 3 foam formulas, like 5", maybe 4.5" for use with PC style polishers, especially because there are literally thousands of first generation PC style polishers in the hands of enthusiasts all across the country and segment of the market really needs a smaller pad than 6" due to their lack of torque and power to rotate a pad for correction work.

Large finishing pads just use up a lot of wax and don't work well for thin panels, especially new cars with all their plastic and rubber trim. So a smaller size like 5" might be a strong niche market for this new system with a good matching backing plate for both rotary and DA Polishers.

The above complete system, including the Flex 3401, Wolfgang Paint Polishing System and LC Hydro-Tech Buffing pads, (plus a finishing pad from another line to apply a finishing wax or paint sealant), is a well rounded system-approach capable of tackling a good chunk of swirled-out daily drivers across the country.


A Big Thank You! to Frank at F.M. Custom Trim & Upholstery for allowing us to touch his baby. It was fun working at your shop with you and Derrick and the rest of the crew. On a side note, if you're in the Port St. Lucie, Florida area and looking for some top notch upholstery work I would whole heartedly recommend Frank and his team for high quality, custom work.

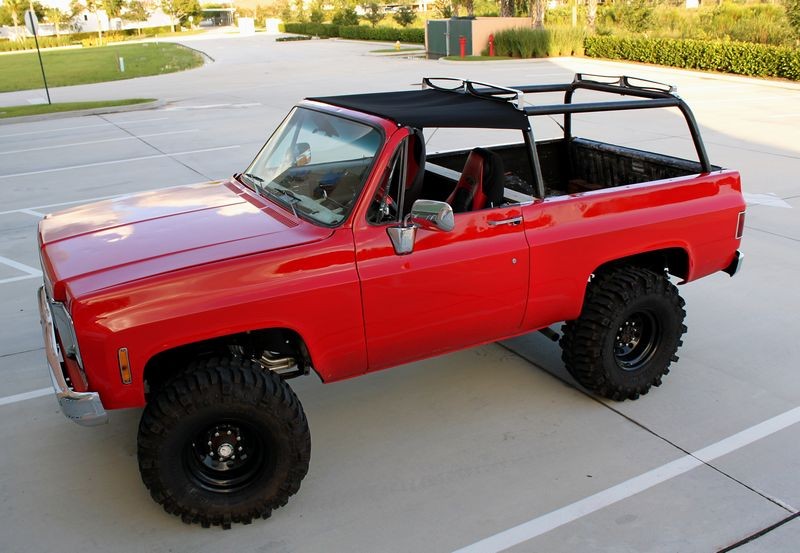
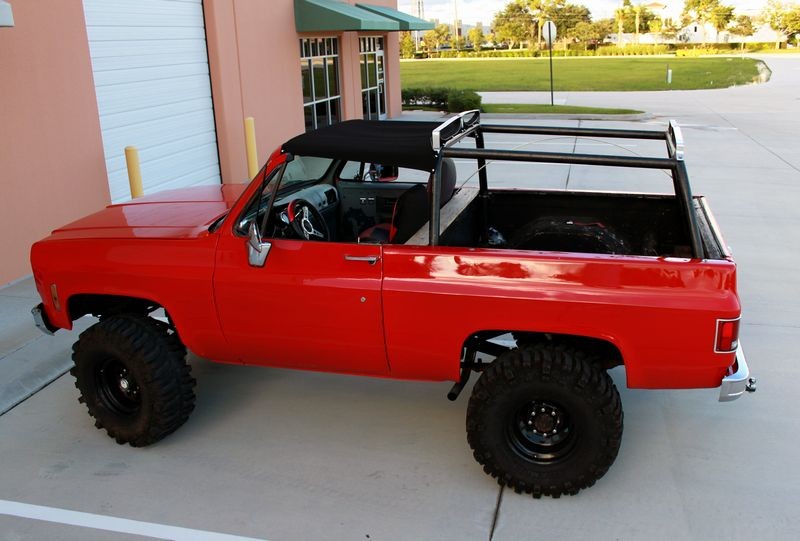
I met Frank while looking for someone to make a Bikini Top for my hot rod 1975 Jimmy and after one phone call to Frank I could tell he was the man for the job. Here's a picture of his handiwork and just in time as the rain has been coming down in buckets lately. As I sat in my office processing the photos and videos for this write-up I could look out the window and take comfort knowing my seat was dry.

Oh yeah! Bring on the rain!

JimmysNewTop01.jpg


JimmysNewTop02.jpg


:D
 
:goodpost:no GREAT POSTING:applause::urtheman::goodjob2: NO CORRECTION FANTASTIC JOB!!!!! :thankyousign: :dblthumb2::cheers:
 
Truly an epic write up and absolutely complete. The Chevy went from a sow's ear to a silk purse in your most capable hands. Thank you for all the hard work only some of which was done on the car itself. The pictures, film clips, opinions, and writing all take time and talent. Thank you Sir....
 
Mike, how did you polish the smaller sections (roof pillars, etc) with the flex or did you do these by hand.
 
Mike, how did you polish the smaller sections (roof pillars, etc) with the flex or did you do these by hand.
Remembered reading this part when I saw your post...
I used the pad on edge for tight areas and for thin panels, this can be a tad on the risky side so be sure of your purpose first and your grip second and make sure you have plenty of product on the surface for good lubrication. I would not recommend this practice to anyone and instead switch to a tool that offers a smaller pad.

Mike - excellent write up. Thank You!

DLB
 
Mike, thanks it was a truely amazing restoration and very formative. Thanks for all ther pictures it sure is nice to learn from a true professional.
 
Mike great job on that car. Knowing that your a gearhead, did you happen to get any pictures of what is under the hood?
 
Great work on the car and write-up. It was well worth the wait. I especially like the videos. Keep em coming.
 
Great write up. That is quite a bit of paint to correct. Thats not much of a roof on the Jimmy! I though you were from the PNW originally.
 
Back
Top