Hazcat
New member
- Jan 14, 2013
- 680
- 0
This project came my way so I used Mike's method for restoring oxidized single stage paint. I started by washing with ONR and scrubbing on Meguiars #7 times 4 with 24 hour soaks between applications and scrubbing it off with terry cloth towels.

If you look closely you can see tiger stripes from a former buffing job. This car had quite a bit of shade tree body work, rust, and a couple of hail dents.

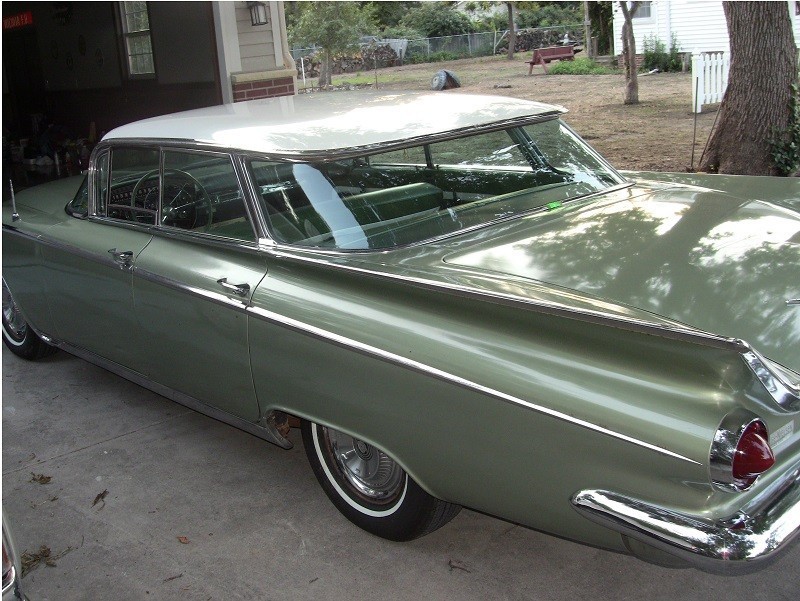
Here's a rear view showing oxidation and bird donations.

The paint is quite thin from age and buffing over the years. There are several spots where her grandson tried his hand with a wool pad and a buffer.

The top was horrendous and this picture is the better part of it. I didn't think I was going to be able to do much with it.

Here's a 50/50 shot after compounding.

Compounding completed with a purple kompressor pad and XMT#4. I used my fingers next to the trim. They didn't want to remove the trim because the clips were rusted and would break off. They were on a tight budget and wanting to show it at the Blacktop Grand Nationals the next weekend.

I followed up with Megs 205 with an orange hybrid pad.

I used the same combination on the remainder of the car.

One more.
The owner was quite surprised by the outcome. He actually jumped up and down. I just followed the leader here at Autogeek Forums. It certainly got a lot of looks and comments when I drove it home for them. It's a fun car to drive.
ONR
Meguiars #7
Flex VRG 3401
Purple Kompressor Pad
Pinnacle XMT#4 Compound
LC Orange Hybrid Pad
Meguiars 205 polish
Pad Washer (Ended up with several inches of paint in the bottom)
Optimum Poliseal
If you look closely you can see tiger stripes from a former buffing job. This car had quite a bit of shade tree body work, rust, and a couple of hail dents.
Here's a rear view showing oxidation and bird donations.
The paint is quite thin from age and buffing over the years. There are several spots where her grandson tried his hand with a wool pad and a buffer.
The top was horrendous and this picture is the better part of it. I didn't think I was going to be able to do much with it.
Here's a 50/50 shot after compounding.
Compounding completed with a purple kompressor pad and XMT#4. I used my fingers next to the trim. They didn't want to remove the trim because the clips were rusted and would break off. They were on a tight budget and wanting to show it at the Blacktop Grand Nationals the next weekend.
I followed up with Megs 205 with an orange hybrid pad.
I used the same combination on the remainder of the car.
One more.
The owner was quite surprised by the outcome. He actually jumped up and down. I just followed the leader here at Autogeek Forums. It certainly got a lot of looks and comments when I drove it home for them. It's a fun car to drive.
ONR
Meguiars #7
Flex VRG 3401
Purple Kompressor Pad
Pinnacle XMT#4 Compound
LC Orange Hybrid Pad
Meguiars 205 polish
Pad Washer (Ended up with several inches of paint in the bottom)
Optimum Poliseal
")